
- Prep Time90min + 24 hours to dry
- Total Time1 hour
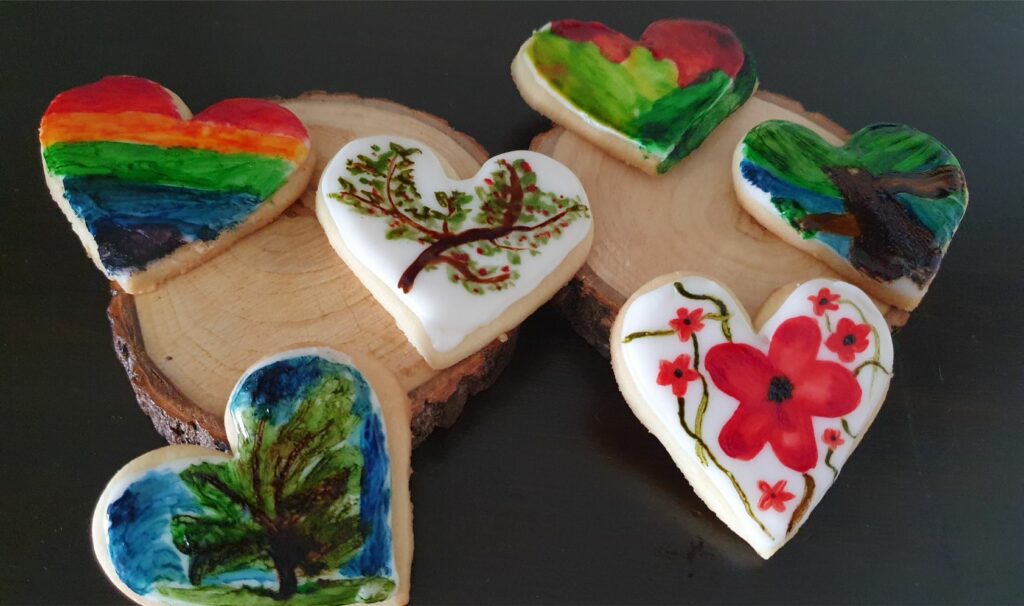
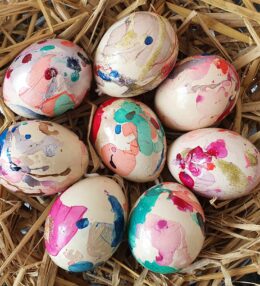
I LOVE a creative activity, like this cookie painting activity, that we can have tons of fun with -and then eat afterwards. We spent a few happy hours on a Monday afternoon painting and decorating Easter egg shaped cookies. Who says the Easter eggs have to be actual eggs, right? 🙂
You can also easily make them for Christmas, Halloween, Diwali, birthday parties or as a party activity for smaller groups of kids.
Cookie painting with kids
It has recently become a thing for bakers and artists to draw or paint on cookies using food colour. The results are usually amazing and the designs so intricate! But who says it has to be limited to professionals only? I say, kids can do it too!
Cookie painting as a party activity
We first tried to do this together last year. It was such good fun, that we decided to add it as a joined activity for our recent Unicorn Party too. Click here to see my tips on how to do it for a bigger crowd of kids and what to watch out for to make it fun for everyone. The cookies also doubled as a part of the return present. We had an age gap of 10 years between the youngest and the oldest child, but they all did an amazing job on their cookies. And most importantly, it is super fun!
Getting ready for this activity
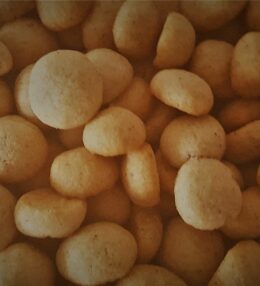
You have to bake and ice the cookies before the cookie painting can start. I use this butter cookie recipe and this easy icing recipe. You could also use gingerbread dough or any other smooth cookie dough that tastes good with plain icing. To make it easier, space out the tasks like this:
Day 1:
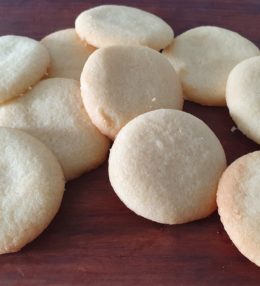
Bake the cookies using the cookie cutter of your choice. The cookie cutter set of stars, hearts, flowers and circles is quite inexpensive on amazon.in. I recommend using the biggest shape for these, so there is room to be creative later. Let the cookies cool fully and store them in an airtight container.
Day 2:
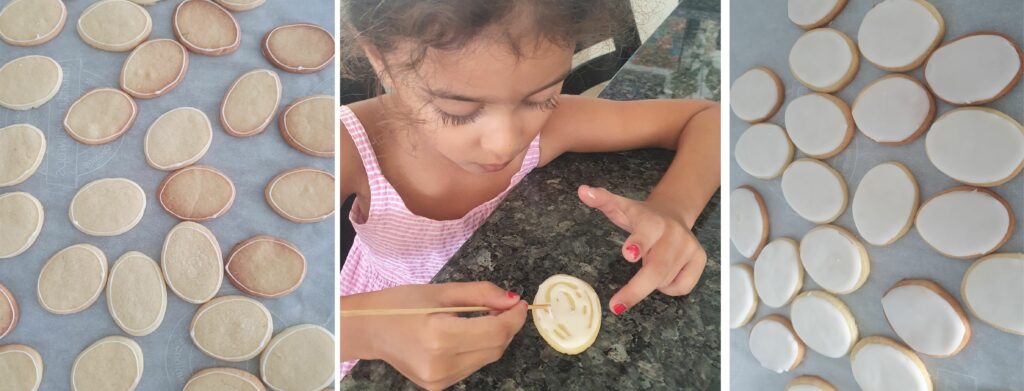
Ice the cookies with plain white icing. Do the border with a less runny icing and fill in the middle with a runnier icing. See the recipe and more tips for this here. Let the icing harden as much as possible. This can take up to 24 hours when you need to paint on them afterwards (otherwise the tip of the pen can break the icing). If you live in a humid country (like me) the cookies will start to absorb the moisture from the air and quickly become soft if left outside too long. I let the icing set for 2-4 house on the kitchen counter and then I carefully pack them away in a large Tupperware container without letting the cookies touch each other. I put a new sheet of baking paper between the layers (an old sheet might have wrinkles and will damage the icing).
Kids can also help with this task. My 5-year old helped me spread the runny icing with a toothpick while I got started on the next cookie.
Day 3-4:
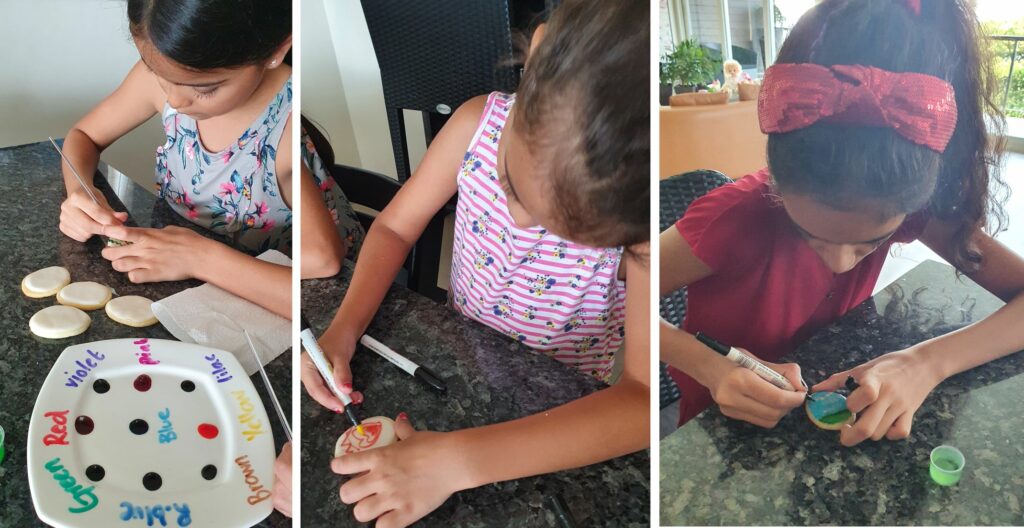
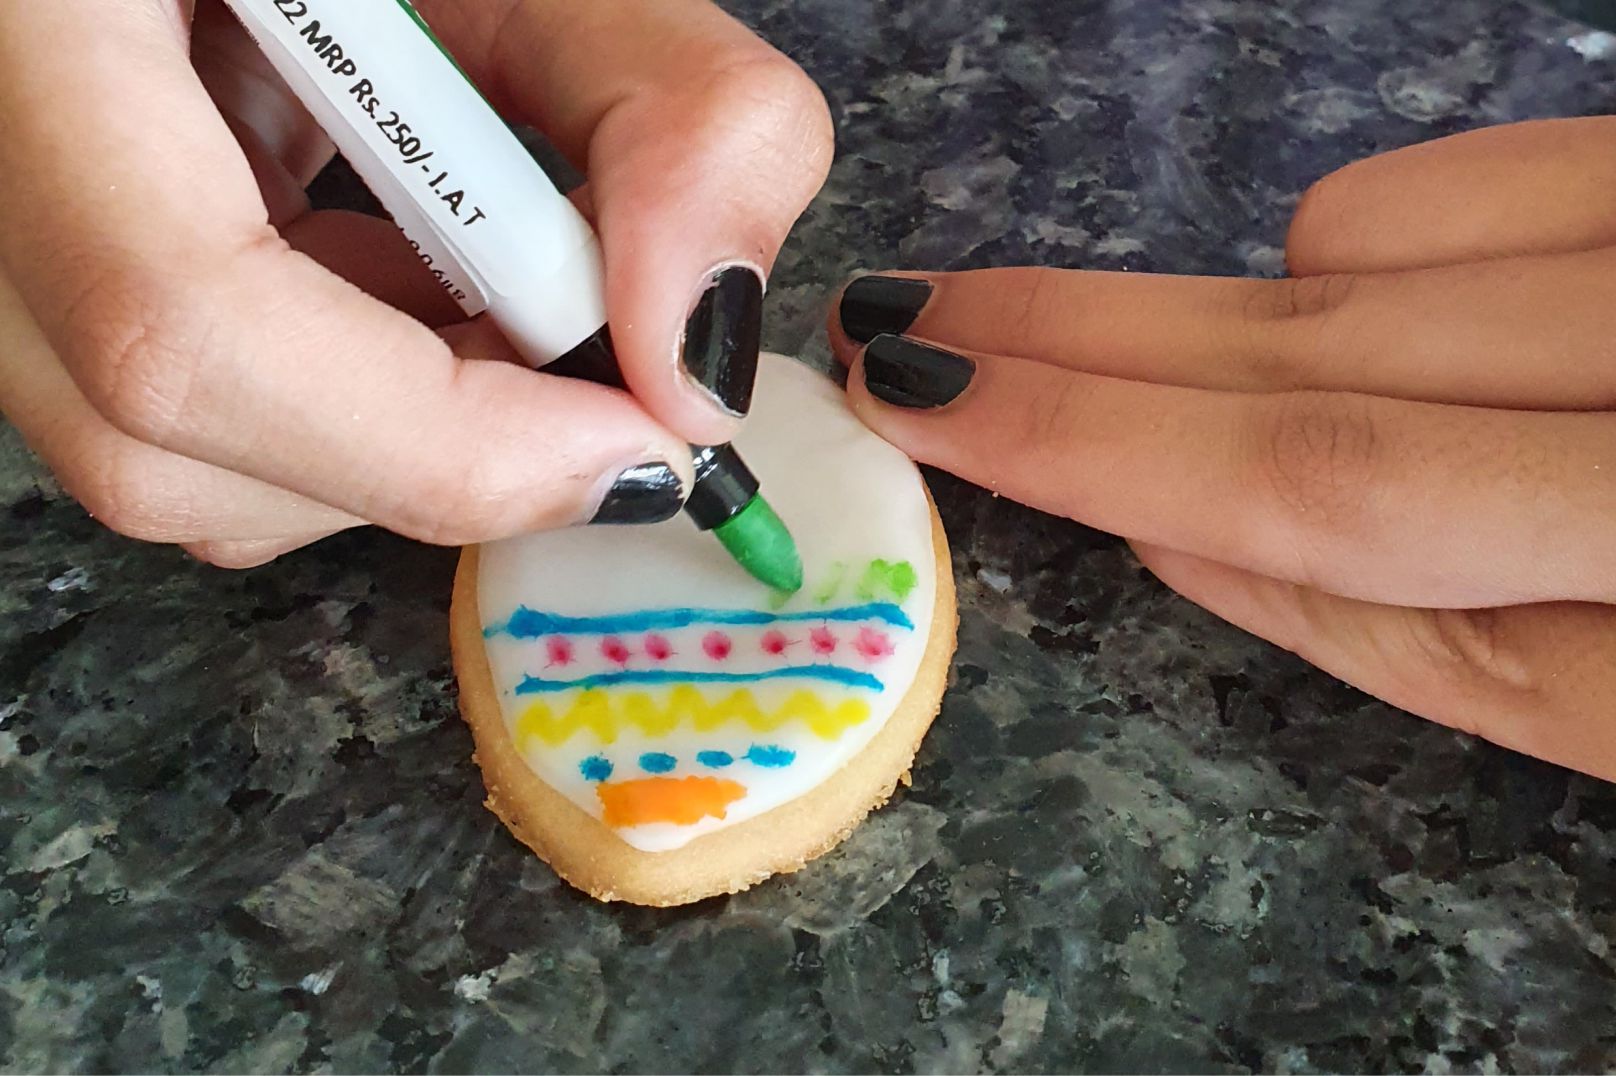
Cookie painting time! Get the food gels and/or the food colouring pens ready. I buy all my food colours from www.bakewala.com. Divide the cookies amongst the kids and you are ready to decorate.
My top tips for cookie painting with kids:
- Give everyone a clean paint brush, a glass of water to rinse the brush and a paper towel to wipe it dry.
- Don’t rush the kids. Some kids will decorate fast and be done in 5 minutes. Others will take their time and spend 10 minutes on each cookie. There is no right and wrong, so just let them do their thing.
- Divide the cookies equally before you start so everyone gets the same amount
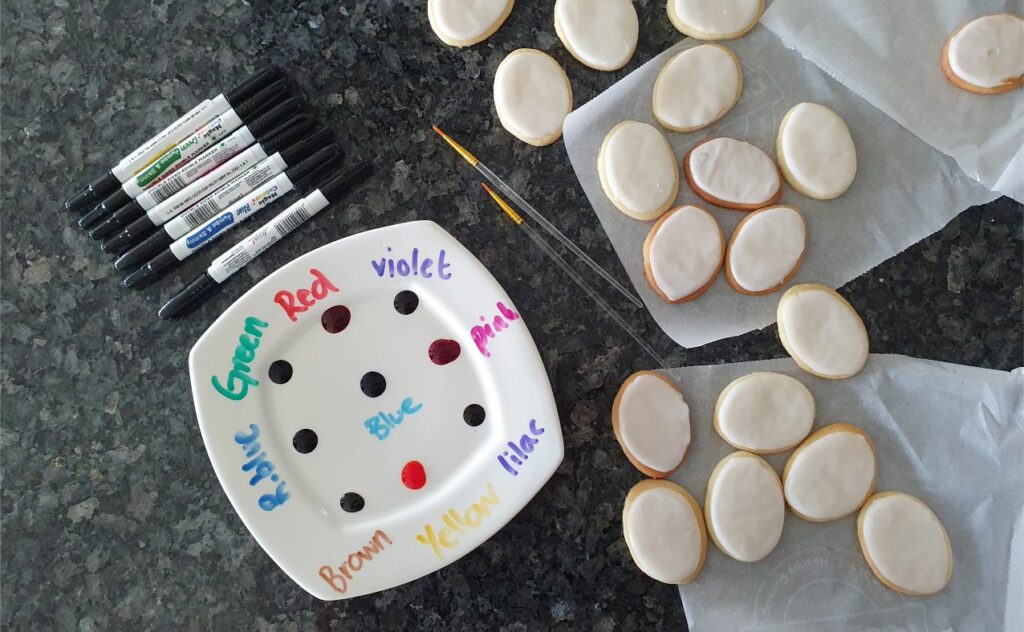
- To make it easier to recognize the gel colours, I use white border marker pens to write around the edges of the plate. My younger daughter sees the colours and my older ones read the text. Coloured stickers or small coloured pieces of tape will work too.
- Keep a tiny jar (about 5ml) of vodka on the table in case the colours need to be diluted. The vodka has no flavour and the alcohol will evaporate quickly without getting the cookie wet in the process. We usually just dip the tip of the brush in the vodka if we need it.
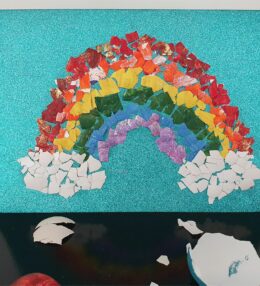
Edible art for kids
Whenever the kids do a new art or craft project, the same problem always arises afterwards: what to do with the masterpiece? They usually end up in some dusty box which is a bit sad. I have a few ideas on how to make them a part of your décor at home. You can check out all the ideas here.
The true beauty with this art project is that you can decorate, paint and have tons of fun… and then you just eat it! Edible art for kids should be a new trend, right? A little unhealthy perhaps but certainly different and without any need to store and display. 🙂
Please note. The decorated cookies do not stay beautiful for more than a day or so. The colours start to fade and blend a little after that so be sure to plan accordingly if you want to use them for a party.
Hope you have lots of fun with this project. Don’t forget to tag me on Facebook or Instagram when you do this activity with the kids. 🙂
Ingredients
Directions
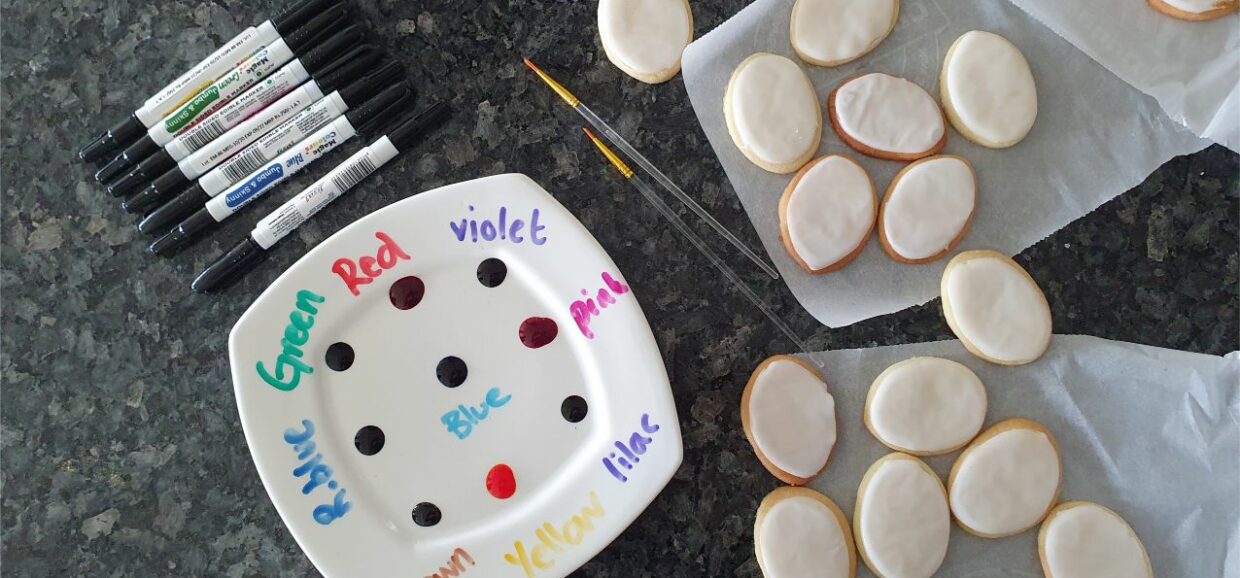
Get all the iced cookies, the food colours on the plate, water, vodka and brush ready.
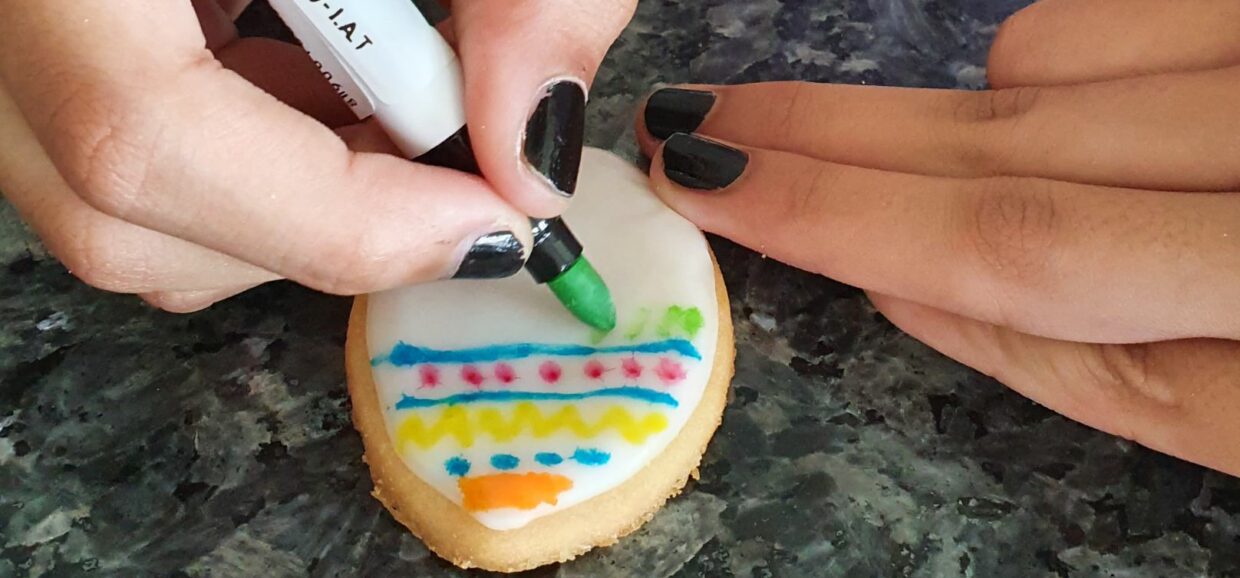
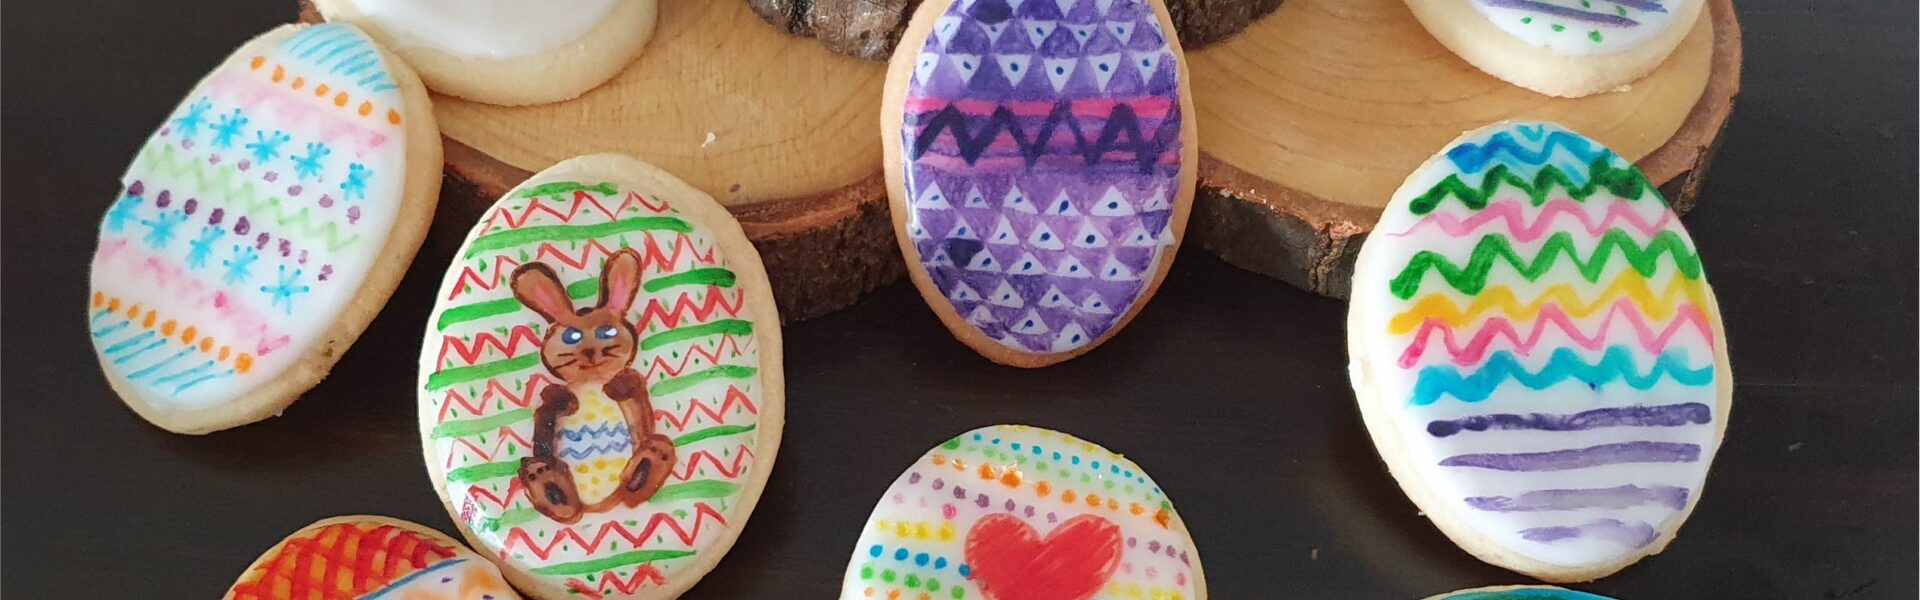
Paint and draw on the cookies as you wish. As these were Easter egg shaped cookies, we decided to make Easter egg decorations like circles, squiggles and lines.
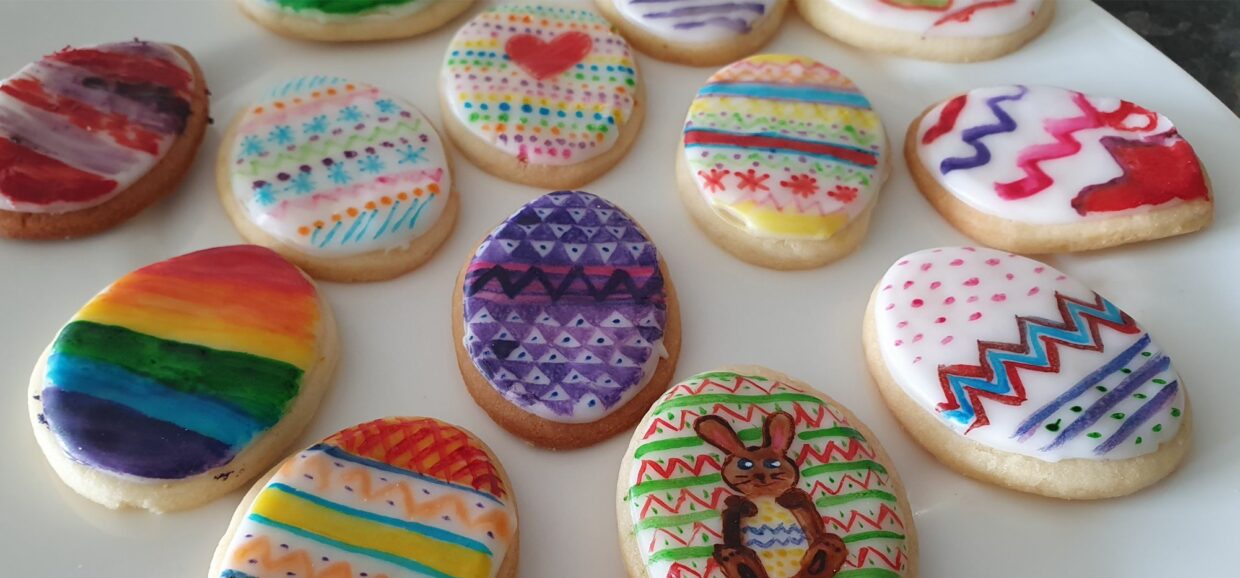
Let the paint dry for about 30min-1 hour (if you aren't eating the cookies straight away). Store in an airtight box with baking paper between the cookie layers. The cookies will last for about 2 weeks in an airtight container but the painted on colours will start to fade and mix after a day or two.


Leave a Review
You must be logged in to post a comment.