- June 2, 2020
- 3 Like
- 0 / 5
- 3,422 Total Views



- Prep Time5 min
- Total Time20 min
I always strive to make things as easy as possible, so forget merengue powder and royal icing. This is just a plain icing sugar mixed with water. If you aren’t a professional baker with really high standards then I am sure you will be 100% happy with the results.
Decorating cookies is super fun for the kids (and for you) and really yummy to eat! It’s like painting, except this time you are allowed to eat your artwork. What’s not to like?
Use big cookies as they are easier to decorate like these butter cookies or ginger bread cookies.
Again, to make things as easy as possible, forget piping bags and what have you. Squeezy bottles are easy to manage for both young and old. I use the 230ml/8oz ones which I bought on Amazon.in
I usually make the cookies the day before decorating. Just so it doesn’t create too much stress listening to the kids asking again and again, when they will be ready and cool enough to ice.
You will need to make two types of icing sugar mixes to decorate: One border icing and one runny icing for filling. In this example I have used a white border icing, but you can also add colour to it if you prefer.
I have written 5min for making that batch of icing sugar and 20min to decorate. This time is not set in stone though and all depends on how many colours you want and how many cookies you are decorating.
It can get quite time consuming to decorate cookies but it is also fun to see the cookies “come to life” with colour and sparkles so do it when you have the energy and time for it. If it’s for a birthday party (like these flower cookies were for a flower party), I recommend doing half a batch one day and the other half the day after.
Kids are really fast when it comes to cookie decorating so be sure to have a big stack of cookies ready… and at least one squeezy bottle per child. The younger the child… the faster they seem to be, so get ready for lots of multicoloured cookies with lots and lots of sprinkles and sugar balls. I have done cookie decoration with 3 year olds too so age is not an issue… and they sure have their own ideas and NEVER need any help from a grown-up.
If you have any leftover icing, you can store it in the squeezy bottles in the fridge for 4-5 days. It starts to harden on top after a while and becomes chunky. Bring back to room temperature and mix well before using.
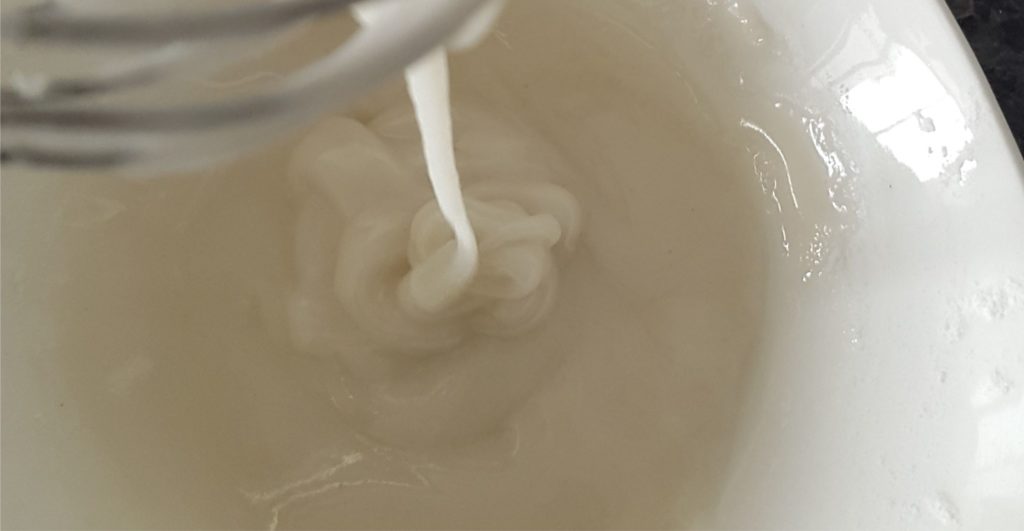

For the border icing you will need:
- 125ml/75g icing sugar
- 2 tsp water
- Colour if you prefer
Mix well with a whisk or a spoon. It will become quite thick but that’s how it’s meant to be. It basically shouldn’t run all over the place. When you hold the whisk high it should form small ringlets in the icing before it evens out again. It should take longer than 5sec for the surface to become completely smooth again.
NOTE: Depending on the humidity of the place you live and the time of the year, please note that the amount of water can vary. Start by adding a little, mix well and hold the whisk up to see the thickness. Add more water if required.
For the runny icing you will need:
- 100ml/60g icing sugar
- 3-4tsp water
- Food colour of your choice
Mix as many batches of runny icing as you need. Put each colour in a squeezy bottle and set aside.
Ingredients
Directions
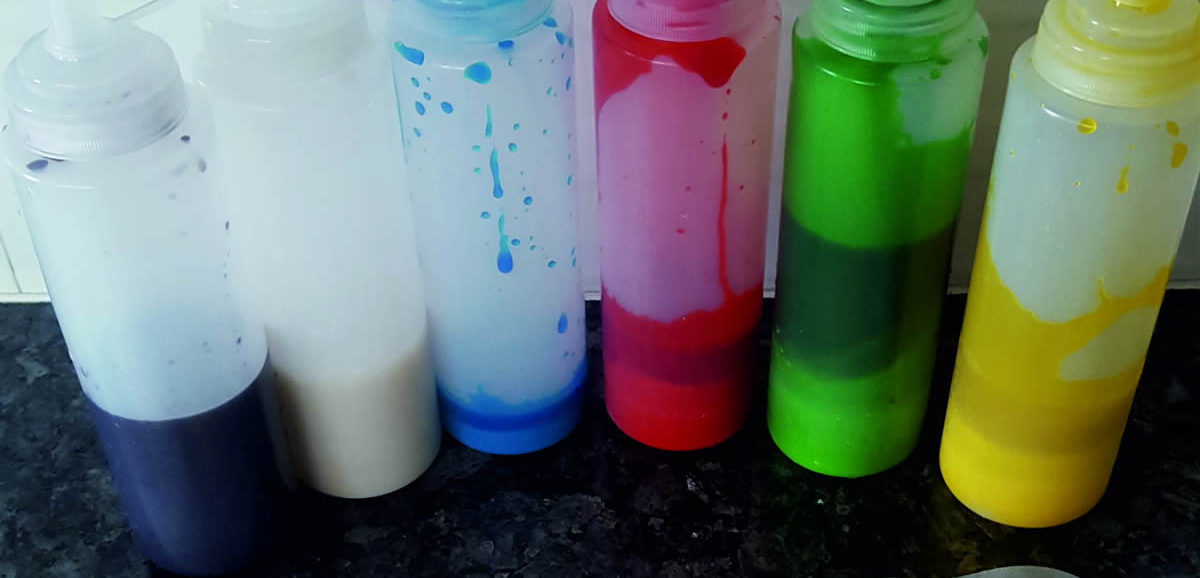

Get both the border icing and all the runny icings ready.
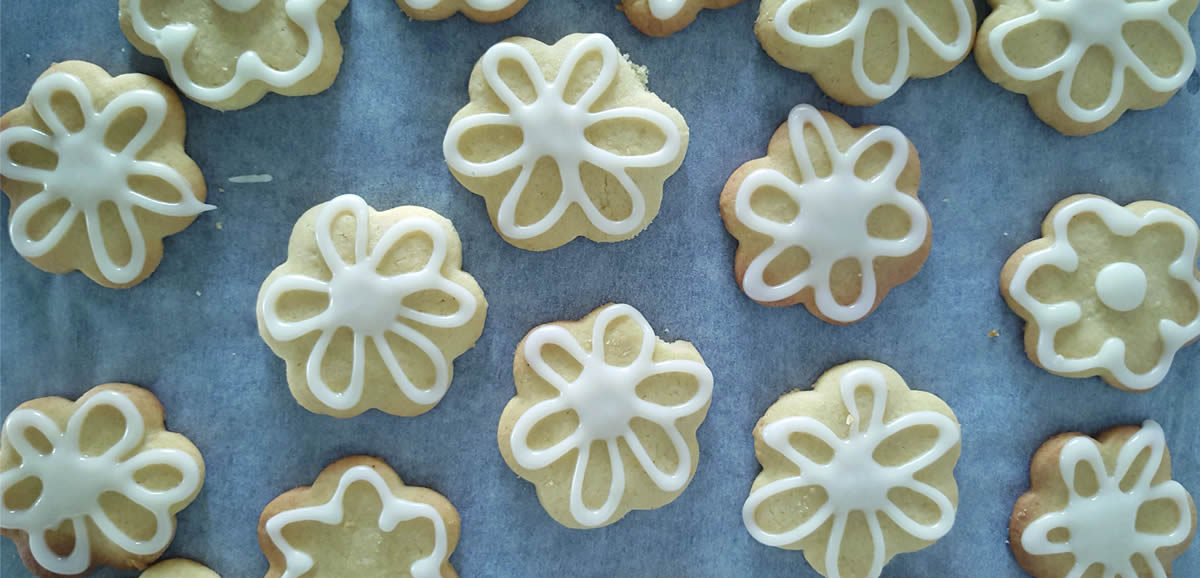

To avoid mess line the cookies up on the piece of baking paper.
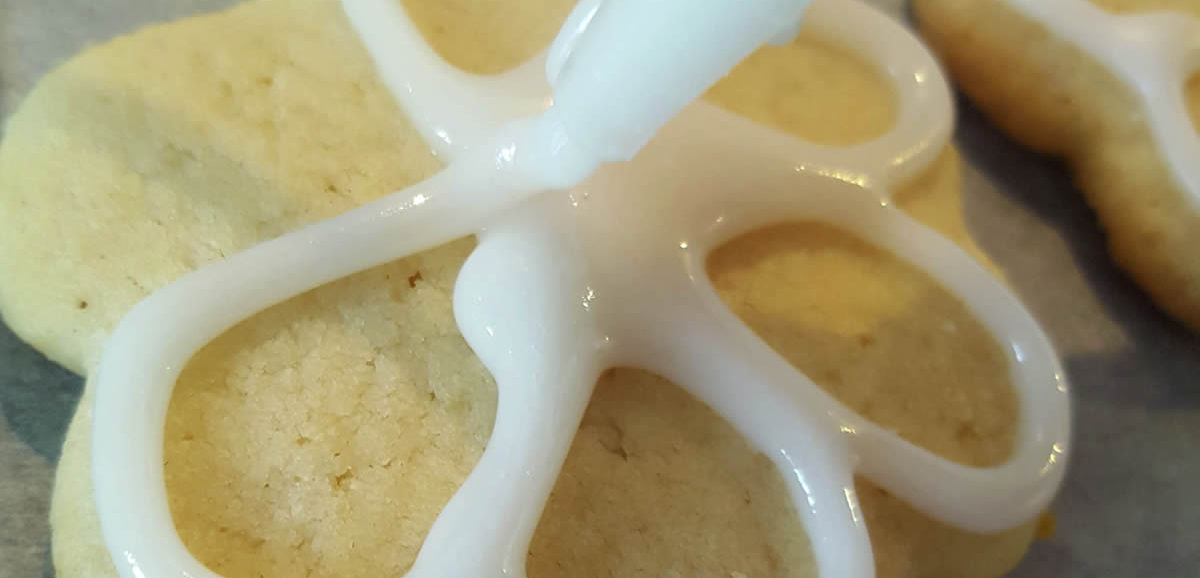

Start with the border icing. You can do any design you want or you can just do a border. It’s up to you. The border icing should stay in place and not run down the sides. If it runs, add a few more spoons of icing sugar and mix well. My younger children find this part boring, so I usually do this for them and they then do the runny icing afterwards. Let the border icing dry for 10min before starting with the colours.
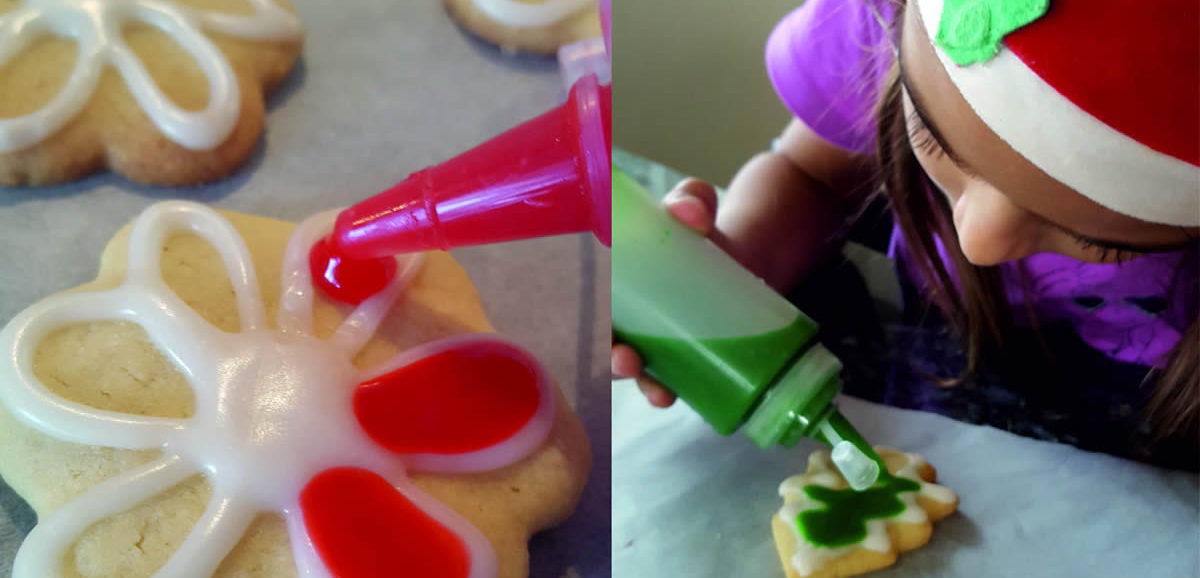

Once the border icing is dry/semi dry you can start to fill all the holes with the runny icing. Children can easily do this themselves. They usually add all 4 colours to each cookie but the results are so pretty. Adding silver balls or other sugary decoration just makes it even more fun for them.


And voila! Your cookies are done. Set the cookies to dry for min. 1-2 hours before packing them carefully away. They will last for about 2 weeks in an airtight container. NOTE: On other websites and baking blogs you can read that the cookies need min 24 hours to airdry. This may be true in other countries, but in India (and maybe especially in Goa where the humidity is high) I recommend packing them away in an airtight container as soon as they have dried as the cookie will start to go soft if left out too long when it takes in all the moisture from the air. They will dry fast, so don't worry about your designs getting spoiled in the box.
You may also like
Easy Icing For Cookies
Ingredients
Follow The Directions
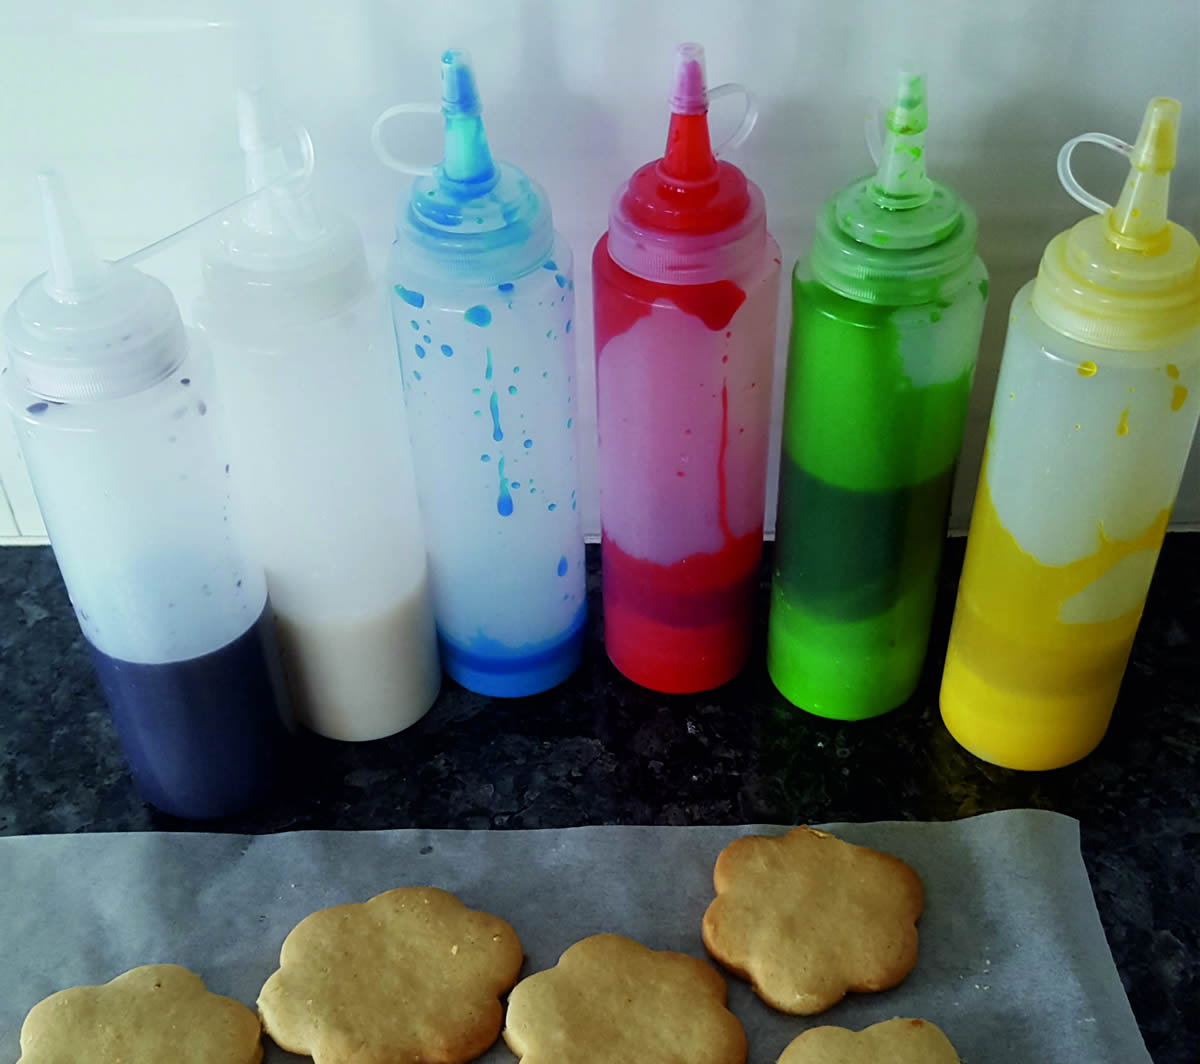

Get both the border icing and all the runny icings ready.
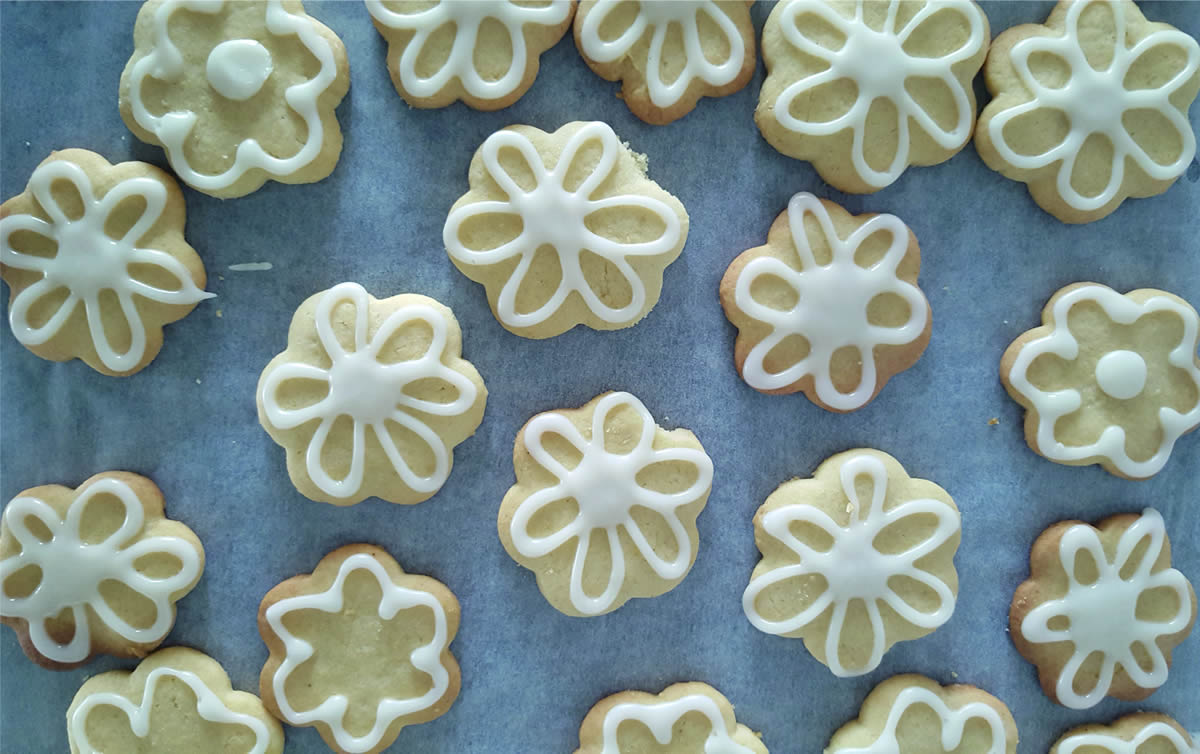

To avoid mess line the cookies up on the piece of baking paper.
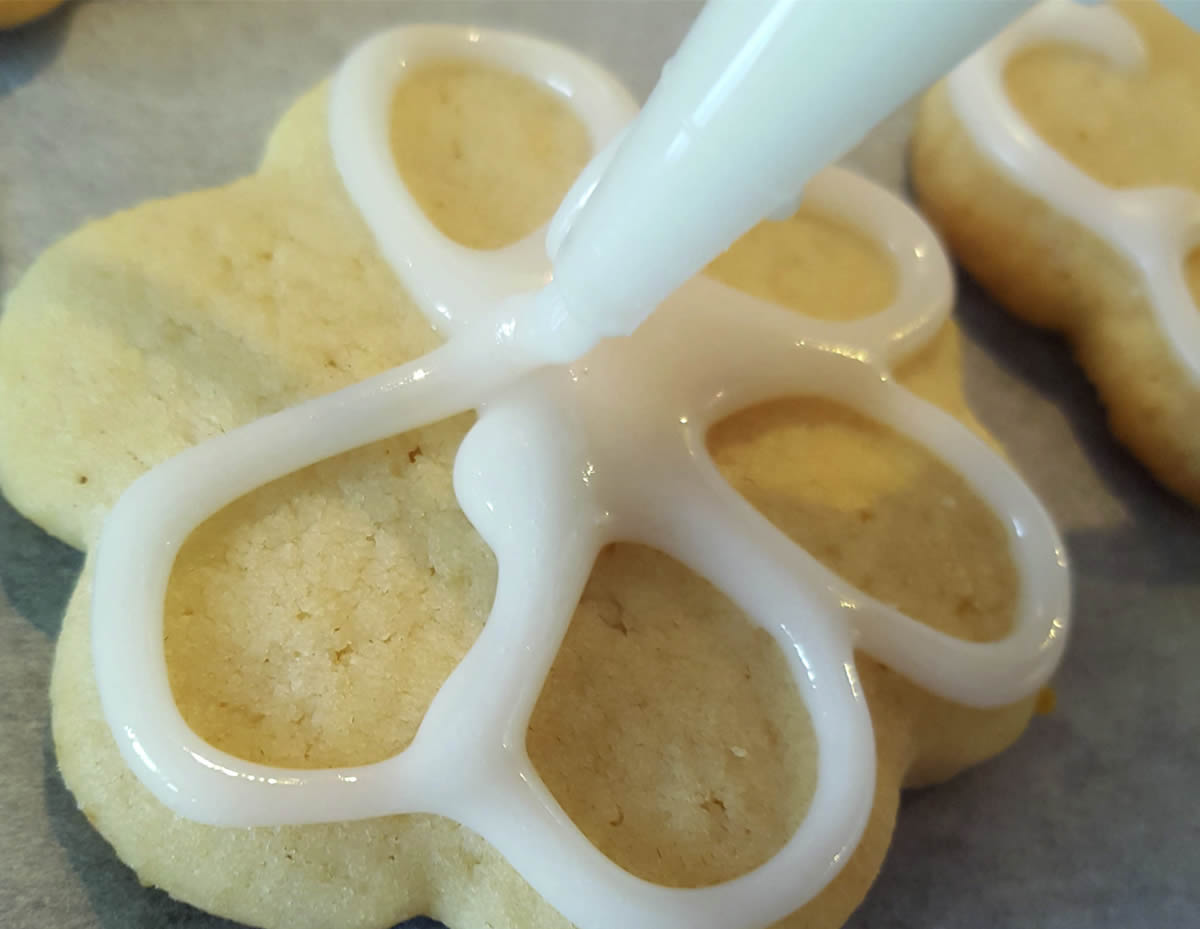

Start with the border icing. You can do any design you want or you can just do a border. It’s up to you. The border icing should stay in place and not run down the sides. If it runs, add a few more spoons of icing sugar and mix well. My younger children find this part boring, so I usually do this for them and they then do the runny icing afterwards. Let the border icing dry for 10min before starting with the colours.


Once the border icing is dry/semi dry you can start to fill all the holes with the runny icing. Children can easily do this themselves. They usually add all 4 colours to each cookie but the results are so pretty. Adding silver balls or other sugary decoration just makes it even more fun for them.


And voila! Your cookies are done. Set the cookies to dry for min. 1-2 hours before packing them carefully away. They will last for about 2 weeks in an airtight container. NOTE: On other websites and baking blogs you can read that the cookies need min 24 hours to airdry. This may be true in other countries, but in India (and maybe especially in Goa where the humidity is high) I recommend packing them away in an airtight container as soon as they have dried as the cookie will start to go soft if left out too long when it takes in all the moisture from the air. They will dry fast, so don't worry about your designs getting spoiled in the box.






Leave a Review
You must be logged in to post a comment.