- December 16, 2020
- 2 Like
- 0 / 5
- 3,883 Total Views


- Prep Time15min
- Total Time75min
Welcome to my blog. Read on to get the best recipe for homemade candy canes right here with step-by-step instructions and lots of tips.
Homemade Candy Canes
My kids always enjoy the taste of candy canes (of course!) and really feel it’s Christmassy to get one at the local Christmas Fair every year in Denmark. This year, with no international travelling and no candy canes in the stores here in Goa, I decided to make our own. It has been 25 years since I last made any kind of hard candy (the last being during a Home-Ed class in school. Can you imagine 24 kids with 12 pots of boiling sugar and one teacher?! There must have been some burns for sure)
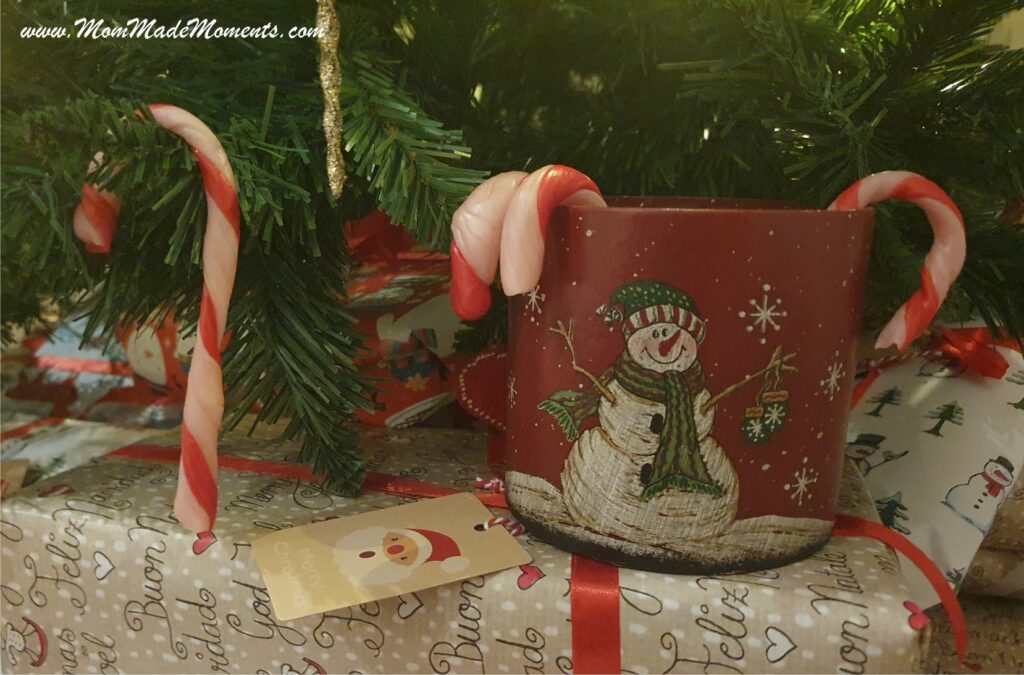

Can kids made homemade candy canes?
I am grateful for the experience though, as I probably wouldn’t have thought to try this otherwise. It’s quite simple, really, but not recommended for kids as the risk of burns is too big. My kids joined in after I had stretched the candy and it had cooled down quite a lot. They enjoyed the rolling and shaping, though my 4-year old couldn’t do it quick enough and the candy hardened before she could shape it -it tasted just as good though. 🙂


Tips for making candy at home
If you are new to candy or working alone in the kitchen, I recommend using an oven at a low temperature to keep the candy soft and moldable. Keep the pieces you don’t need in the preheated oven until you are ready to mold it. If you don’t have an oven, you will probably need another set of hands to stretch the red and white candy simultaneously and shape it straight away. I liked that the oven provided a little less urgency and the kids could join in without it becoming a stressful baking session. The kids also used it to put their half-done candy canes back in the oven for a few minutes (to make them softer again) so they could get the shapes they wanted.
The candy itself it quite fast to cook. It takes about 10 minutes to cook it. The fun part (the stretching, moulding and rolling) can easily take 45 minutes though.
Now to the ingredients:
- I got the corn syrup from www.bakewala.com. It’s a great site for baking ingredients with lower prices on most items.
- The peppermint oil I found on amazon.in. Make sure to buy one made for eating and not scented peppermint oil for infusers. The Ossoro Peppermint Oil is great for this purpose and even though 235rs may seem like a lot for such a small bottle of 30ml, you can make min. 100 candy canes with one bottle if not more.
- Use Sugarin gel colour. I used my trusted Magic Gel colour once and the candy immediately granulated and became hard. With the sugarin gel colour this has never happened and the colour is as great as with the Magic Gel brand.
I recommend measuring out the corn syrup directly into the pot/pan, you plan to use. It’s really sticky stuff and moving it from one container to another is just a waste of energy. I have measured it in a cup here solely for the purpose of taking a photo of the ingredients.


Hope you have lots of fun with this recipe. I know we did. Wishing you all a Merry Christmas.
Need more ideas for Christmas? See my Gingerbread House -a Christmas Activity for Kids with printable templates or perhaps my Perler Beads Snowflakes for Christmas. They are so pretty and quite fast to make.
Yield: 15-20 candy medium sized candy canes
Ingredients
Directions
Preheat the oven to 100 degrees Celsius
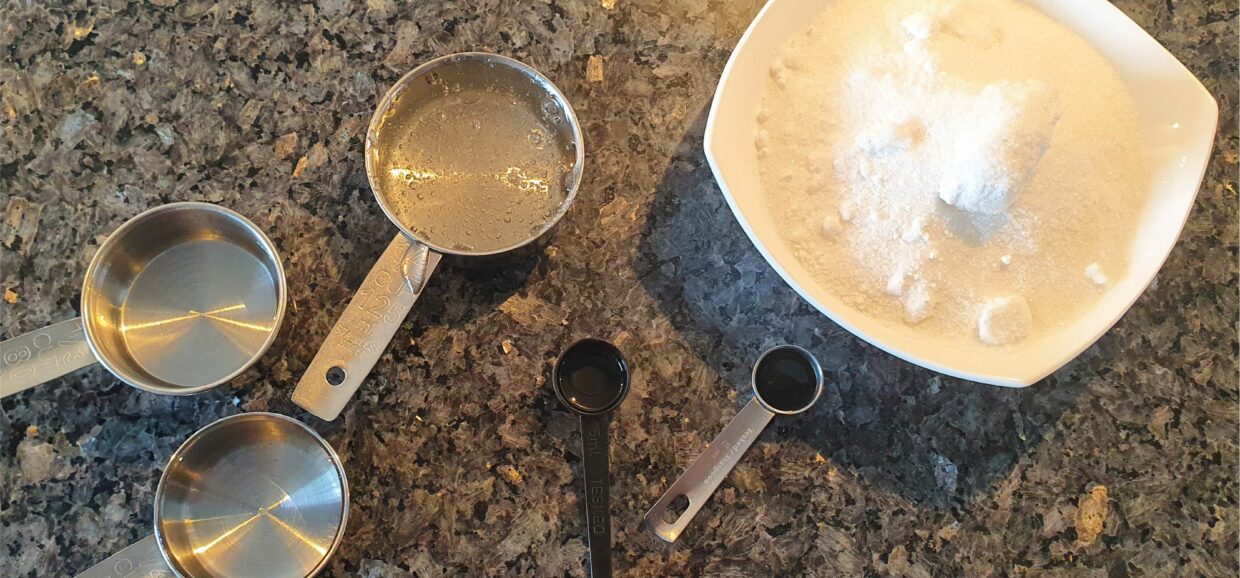

Measure out all the ingredients. There is no time later to do this, so you have to keep it all ready before you start. As you can see here, I have kept 65ml water twice. You will need to add 65ml of water to the ingredients and keep the other on the side for later.
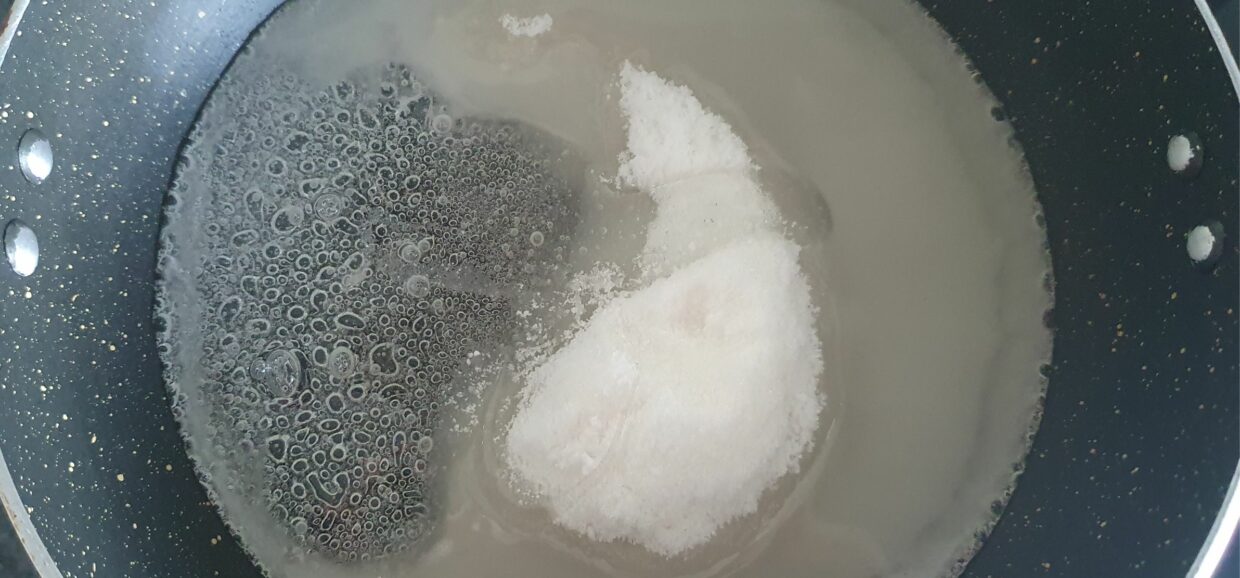

Mix all the ingredients into a thick-bottomed pot or pan with higher sides. Remember to only add 65ml of water. Keep the other 1/4 cup of water in a small bowl on the side. Heat on medium heat. Stir all the ingredients only until the sugar has melted.
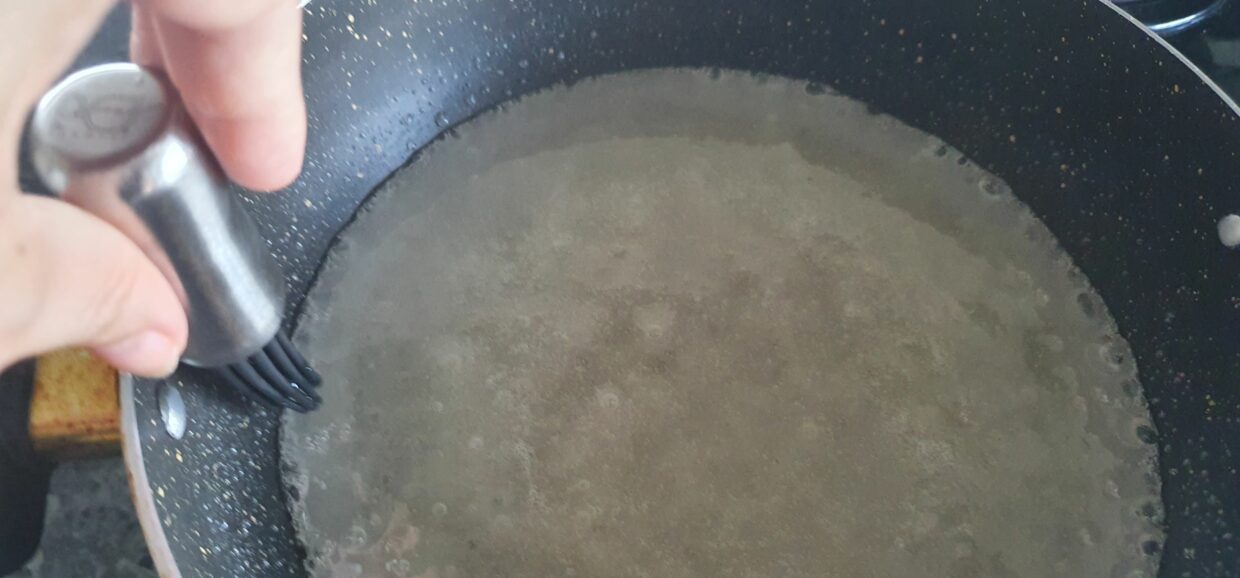

Once the sugar has melted, stop stirring. Let the sugar boil away while you keep an eye on the temperature using a food thermometer. Use the remaining water to wet a pastry brush and run it around the edges of the sugar. It's to keep it from burning or turning brown.
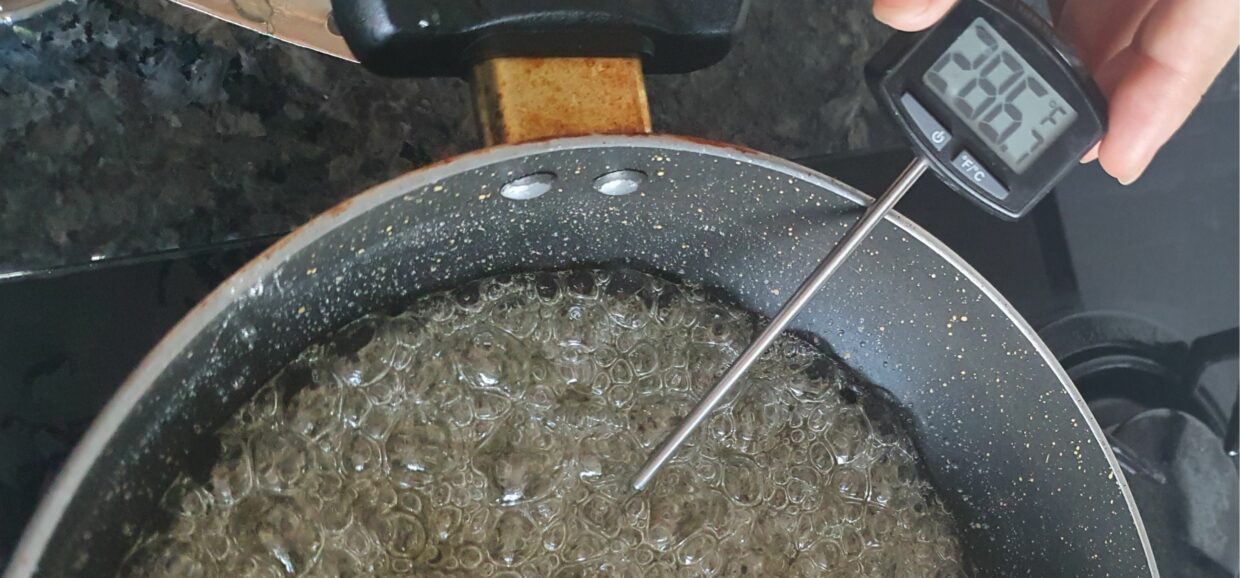

Approximately 8-10min after you started to boil the sugar, the thermometer will reach 285F or 140 degrees Celsius (On this picture the temperature is a bit more because I had to take the picture and the temperature climbed really fast -it did not change the consistency at all though so guess even 287F is okay)
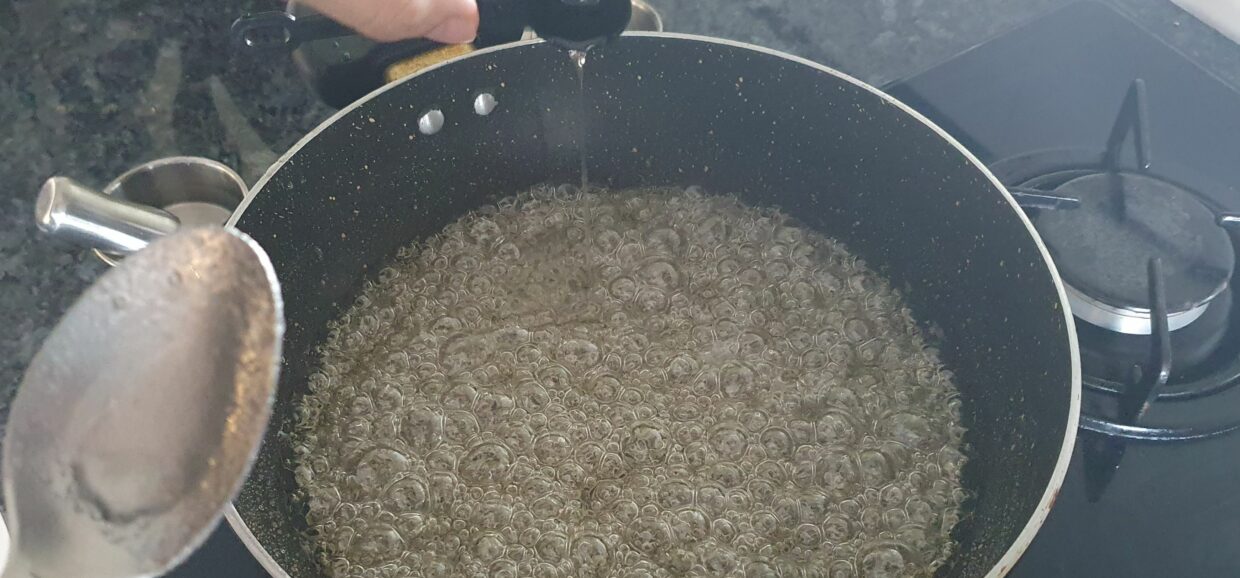

Turn off the heat and stir in the peppermint oil. Be careful to keep the oil off your skin and not to get the fumes in your eyes. It can be quite strong.
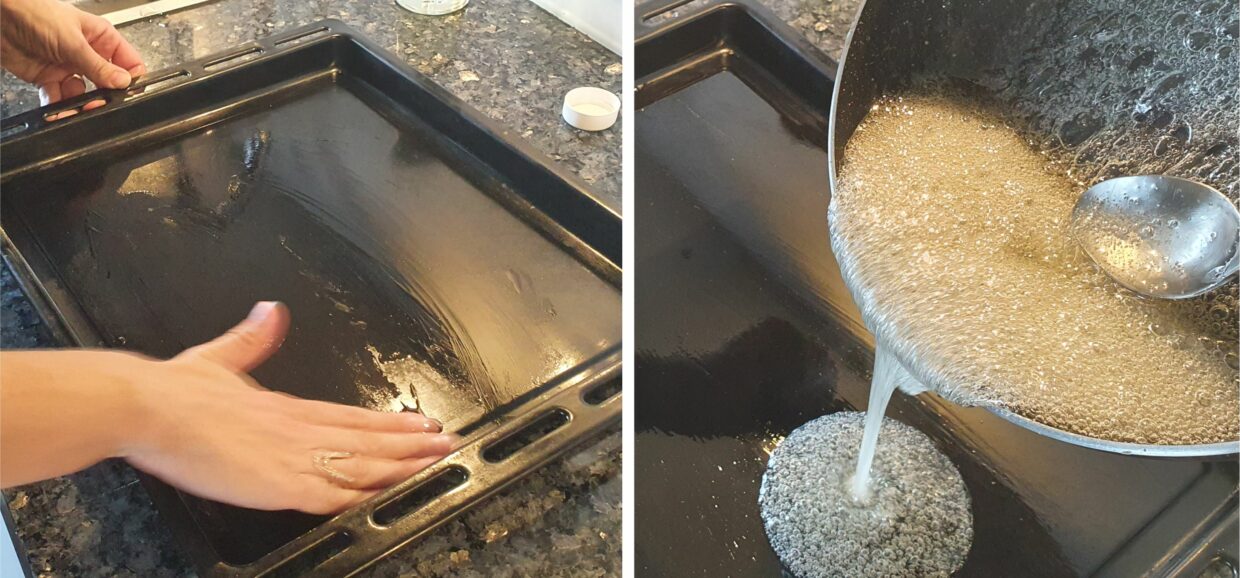

Pour a little oil of the baking tray to keep the candy from sticking. Pour half the candy onto the oiled baking tray and put it into the preheated oven to rest while you get to work on the other half
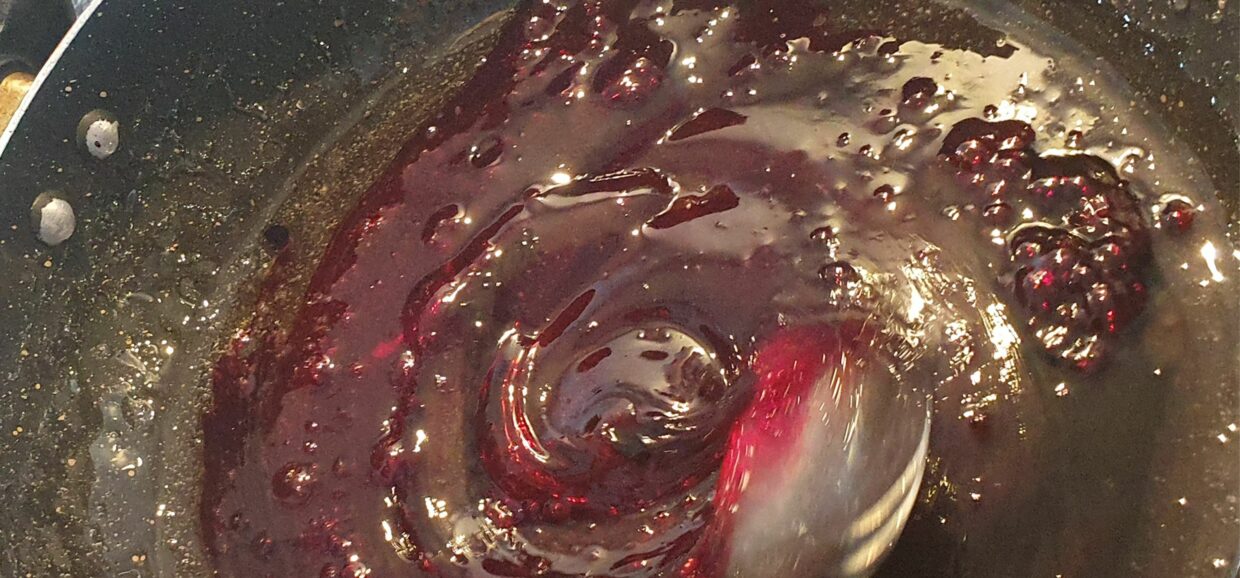

Mix red colour into the other half still in the pan
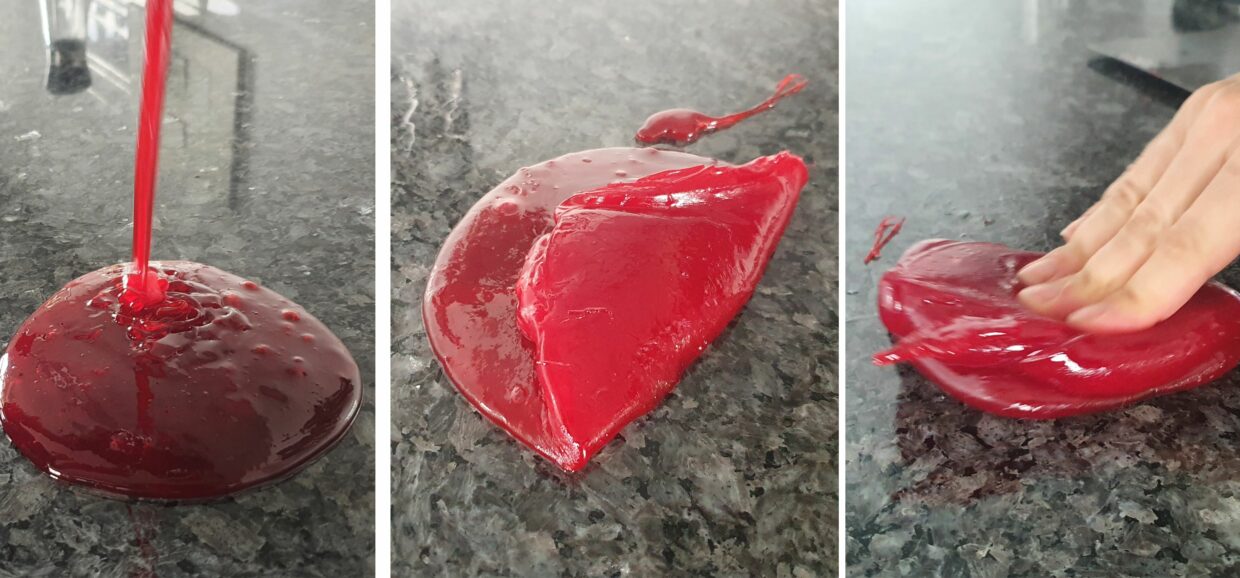

Pour the red candy onto the counter top and leave it for a few minutes until a skin forms. Then fold it over again and again. I used a bench scraper in the beginning and afterwards my bare hands. You can also use heat-resistant gloves but I felt they were too clumsy and hard to use. Twist and knead the candy until it turns glossy. It seems a bit vague instructions but you will know when you have reached this stage. Place the red candy back into the oven while you get to work on the white candy.
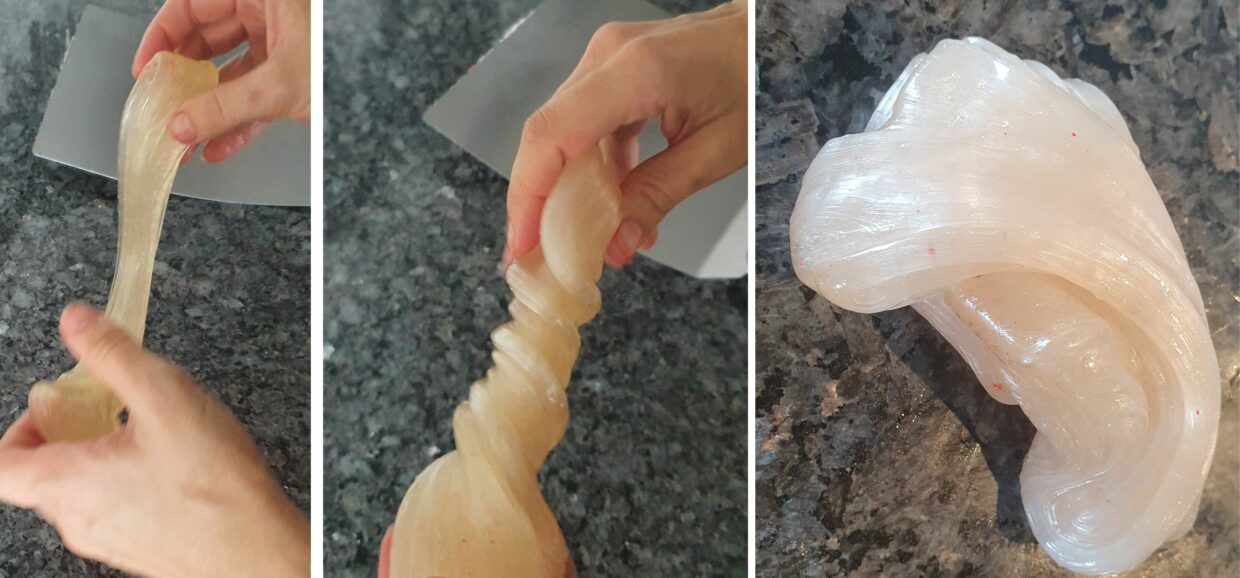

Twist and knead the white candy until it turns glossy too. As seen here the white candy will turn more and more opaque as it reached the correct consistency.
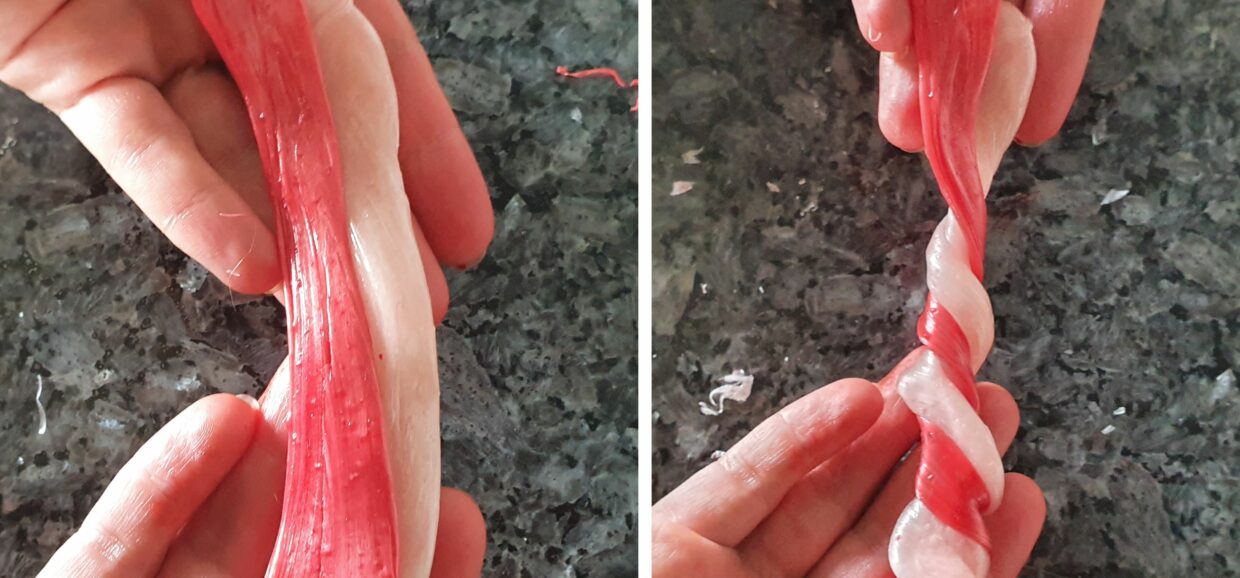

With a sharp knife, cut off a piece of the red and white candy. Make them into two long pieces and twist them together.
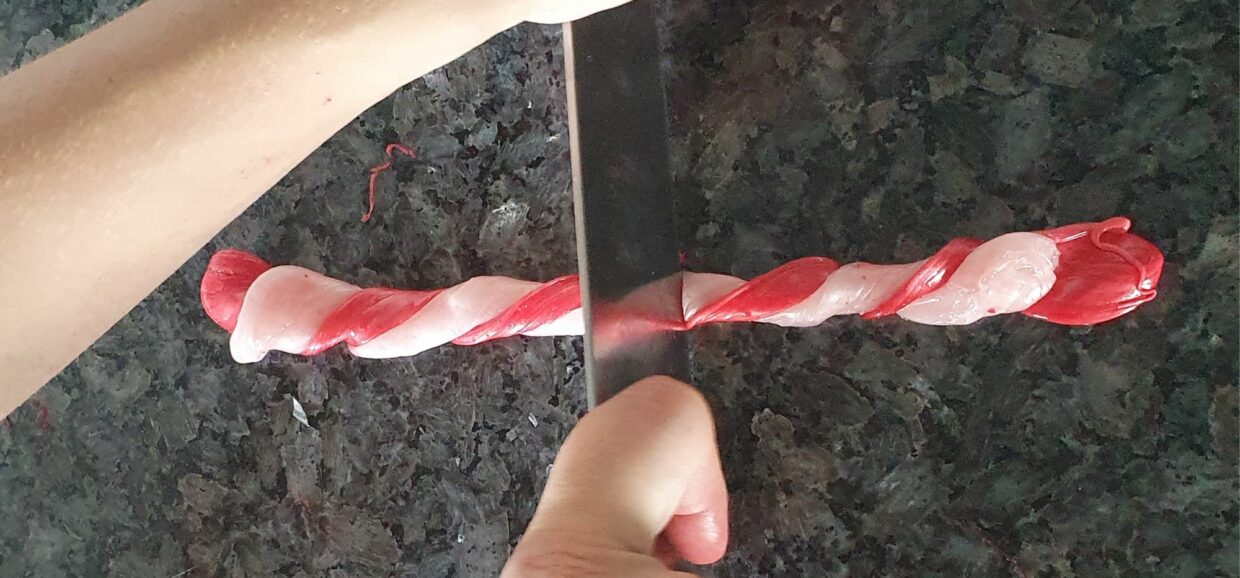

If your piece is too long, cut it in the middle before rolling it smooth. Otherwise it's hard to get the same thickness.
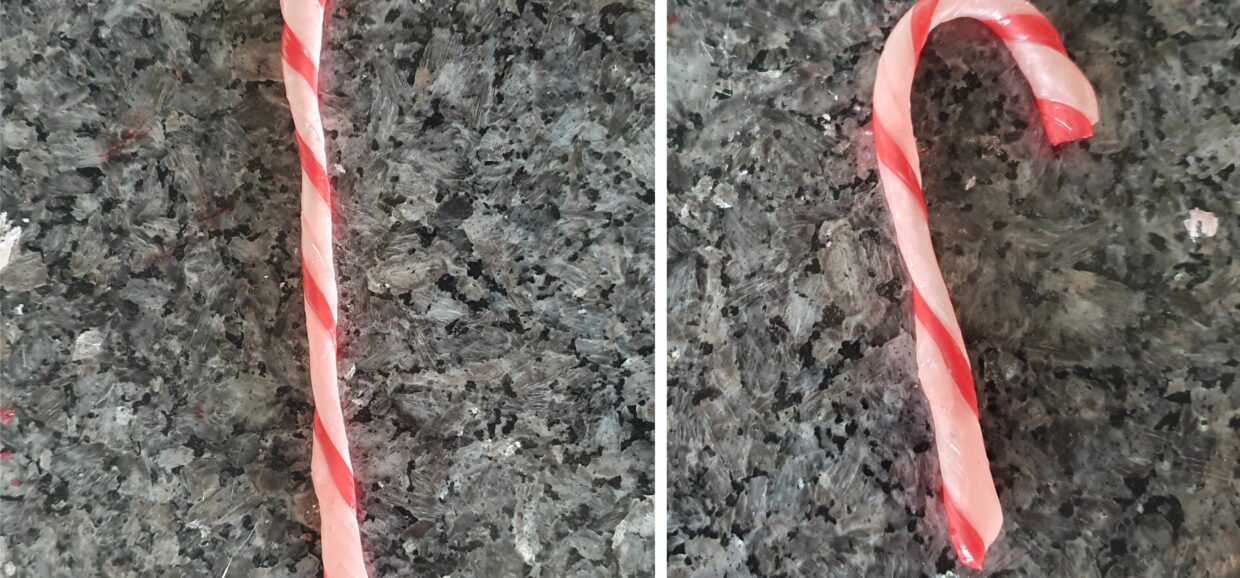

Roll it on the counter until smooth and fold it into the customary candy cane shape.
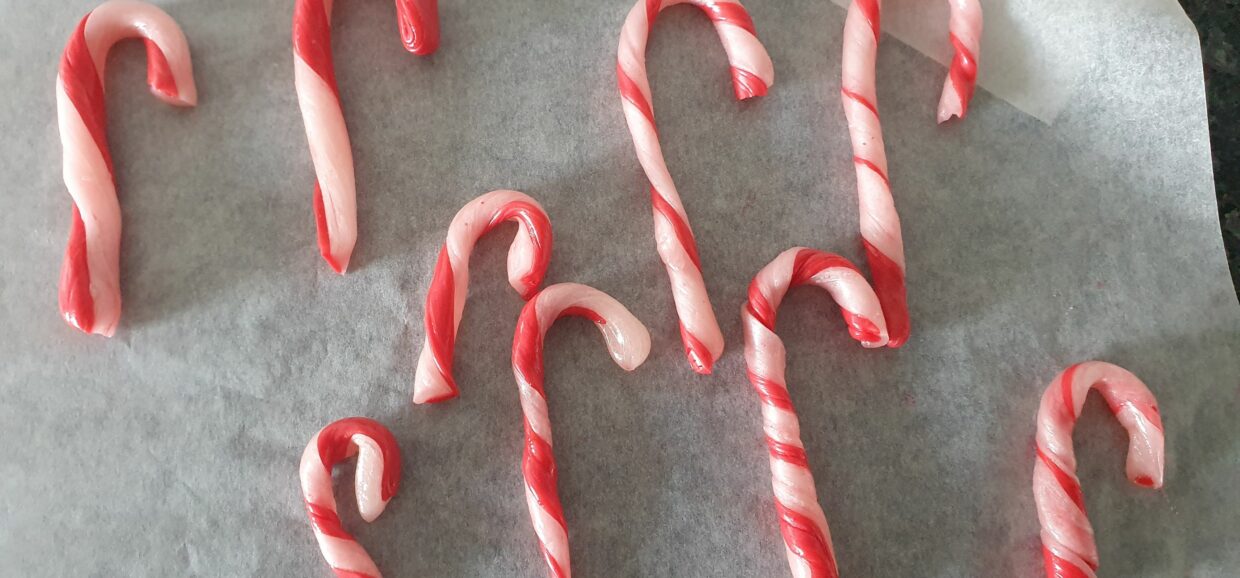

Repeat the process with another white and red piece of candy. Leave the finished candy canes to dry on a baking paper for 30min before packing them away.
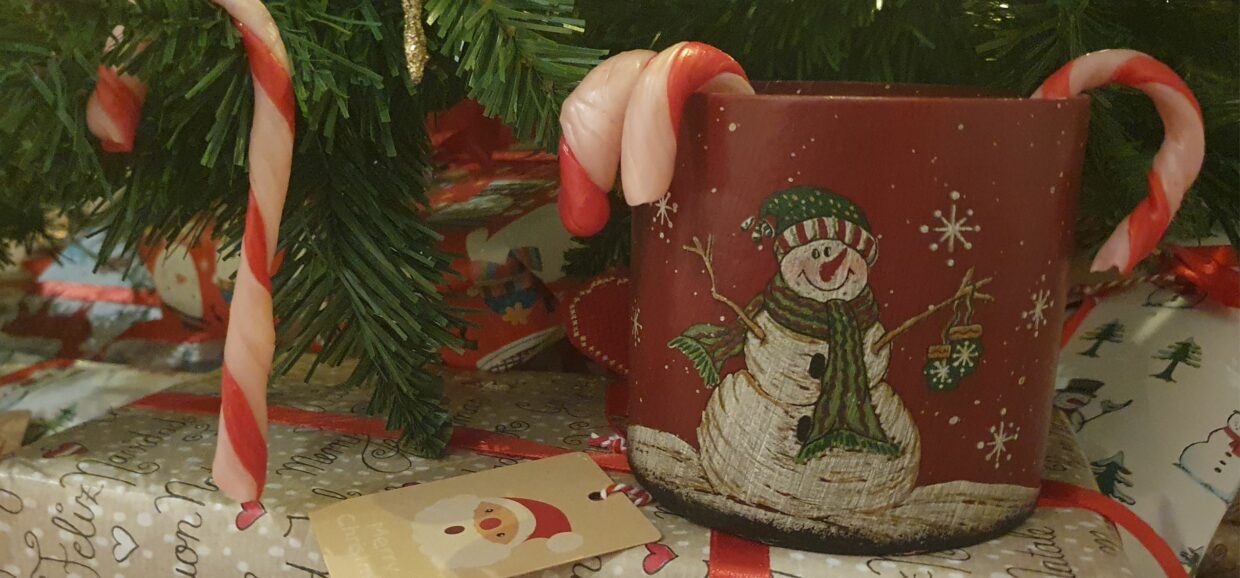

Store the candy canes in an airtight box. As long as they are not exposed to water or too much humidity in the air, they will last for a month or so. Hope you have fun with this. Merry Christmas.
You may also like
Homemade Candy Canes -a Christmas Treat
Ingredients
Follow The Directions
Preheat the oven to 100 degrees Celsius
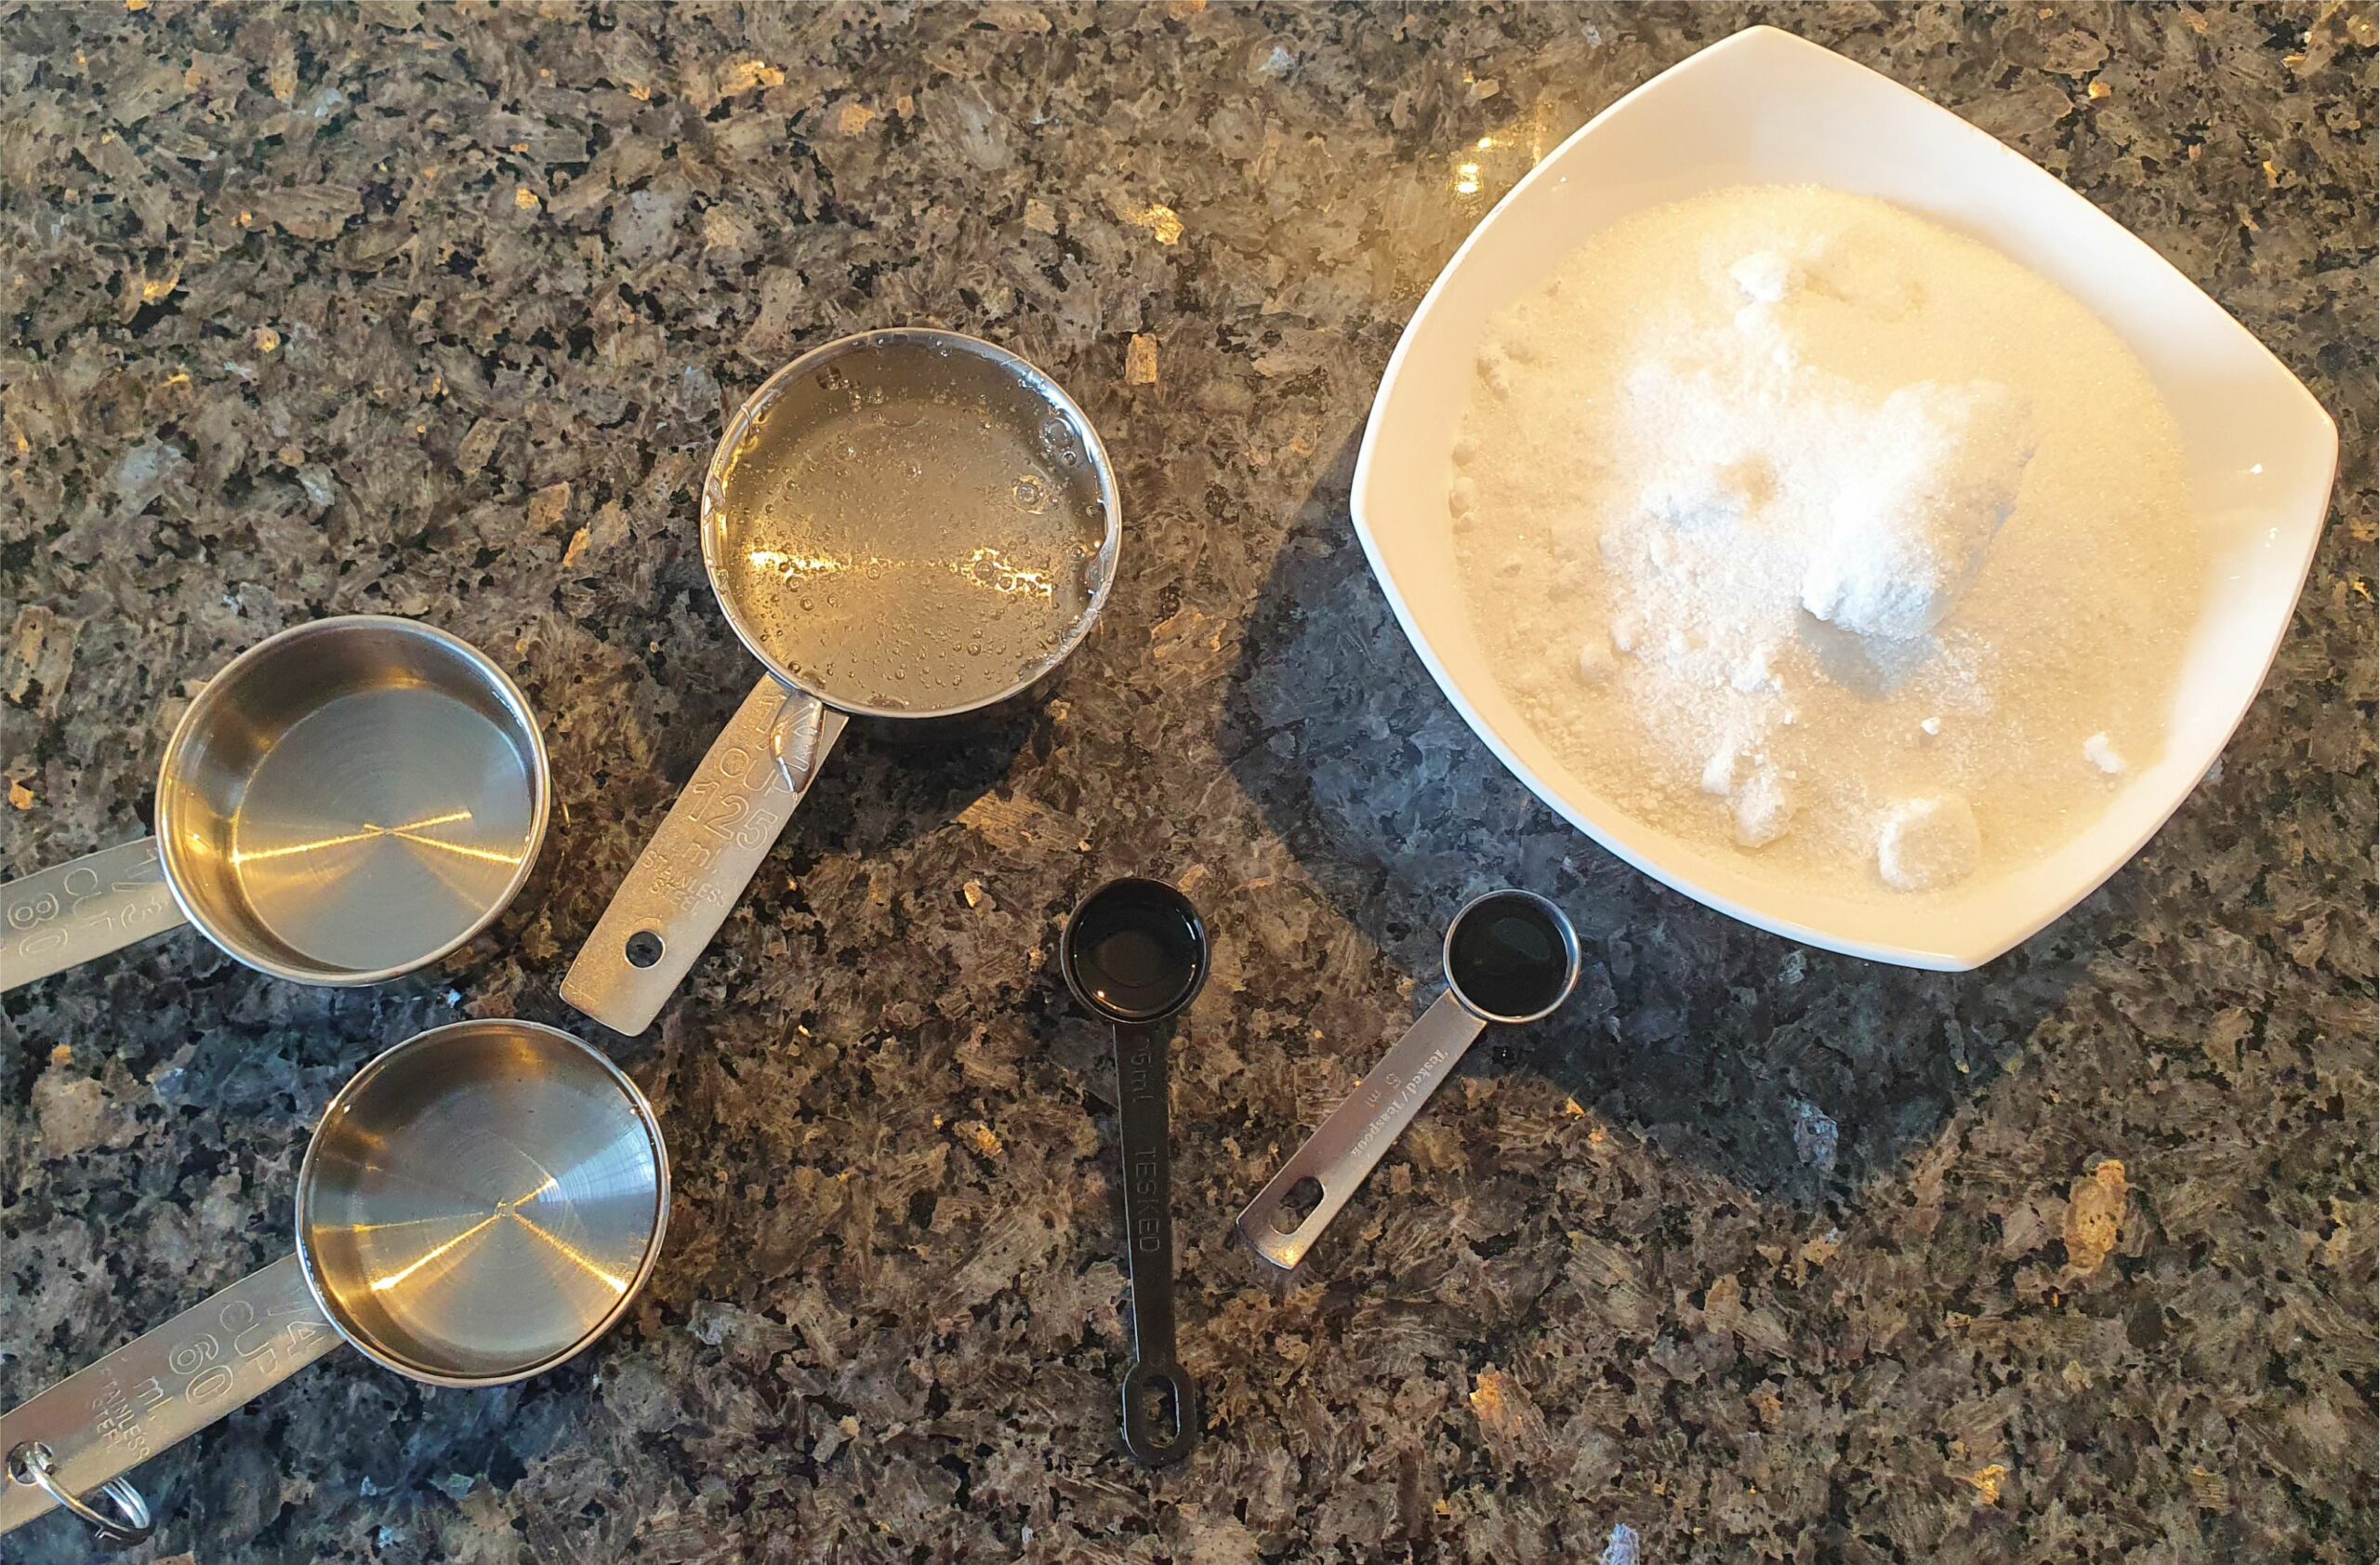

Measure out all the ingredients. There is no time later to do this, so you have to keep it all ready before you start. As you can see here, I have kept 65ml water twice. You will need to add 65ml of water to the ingredients and keep the other on the side for later.
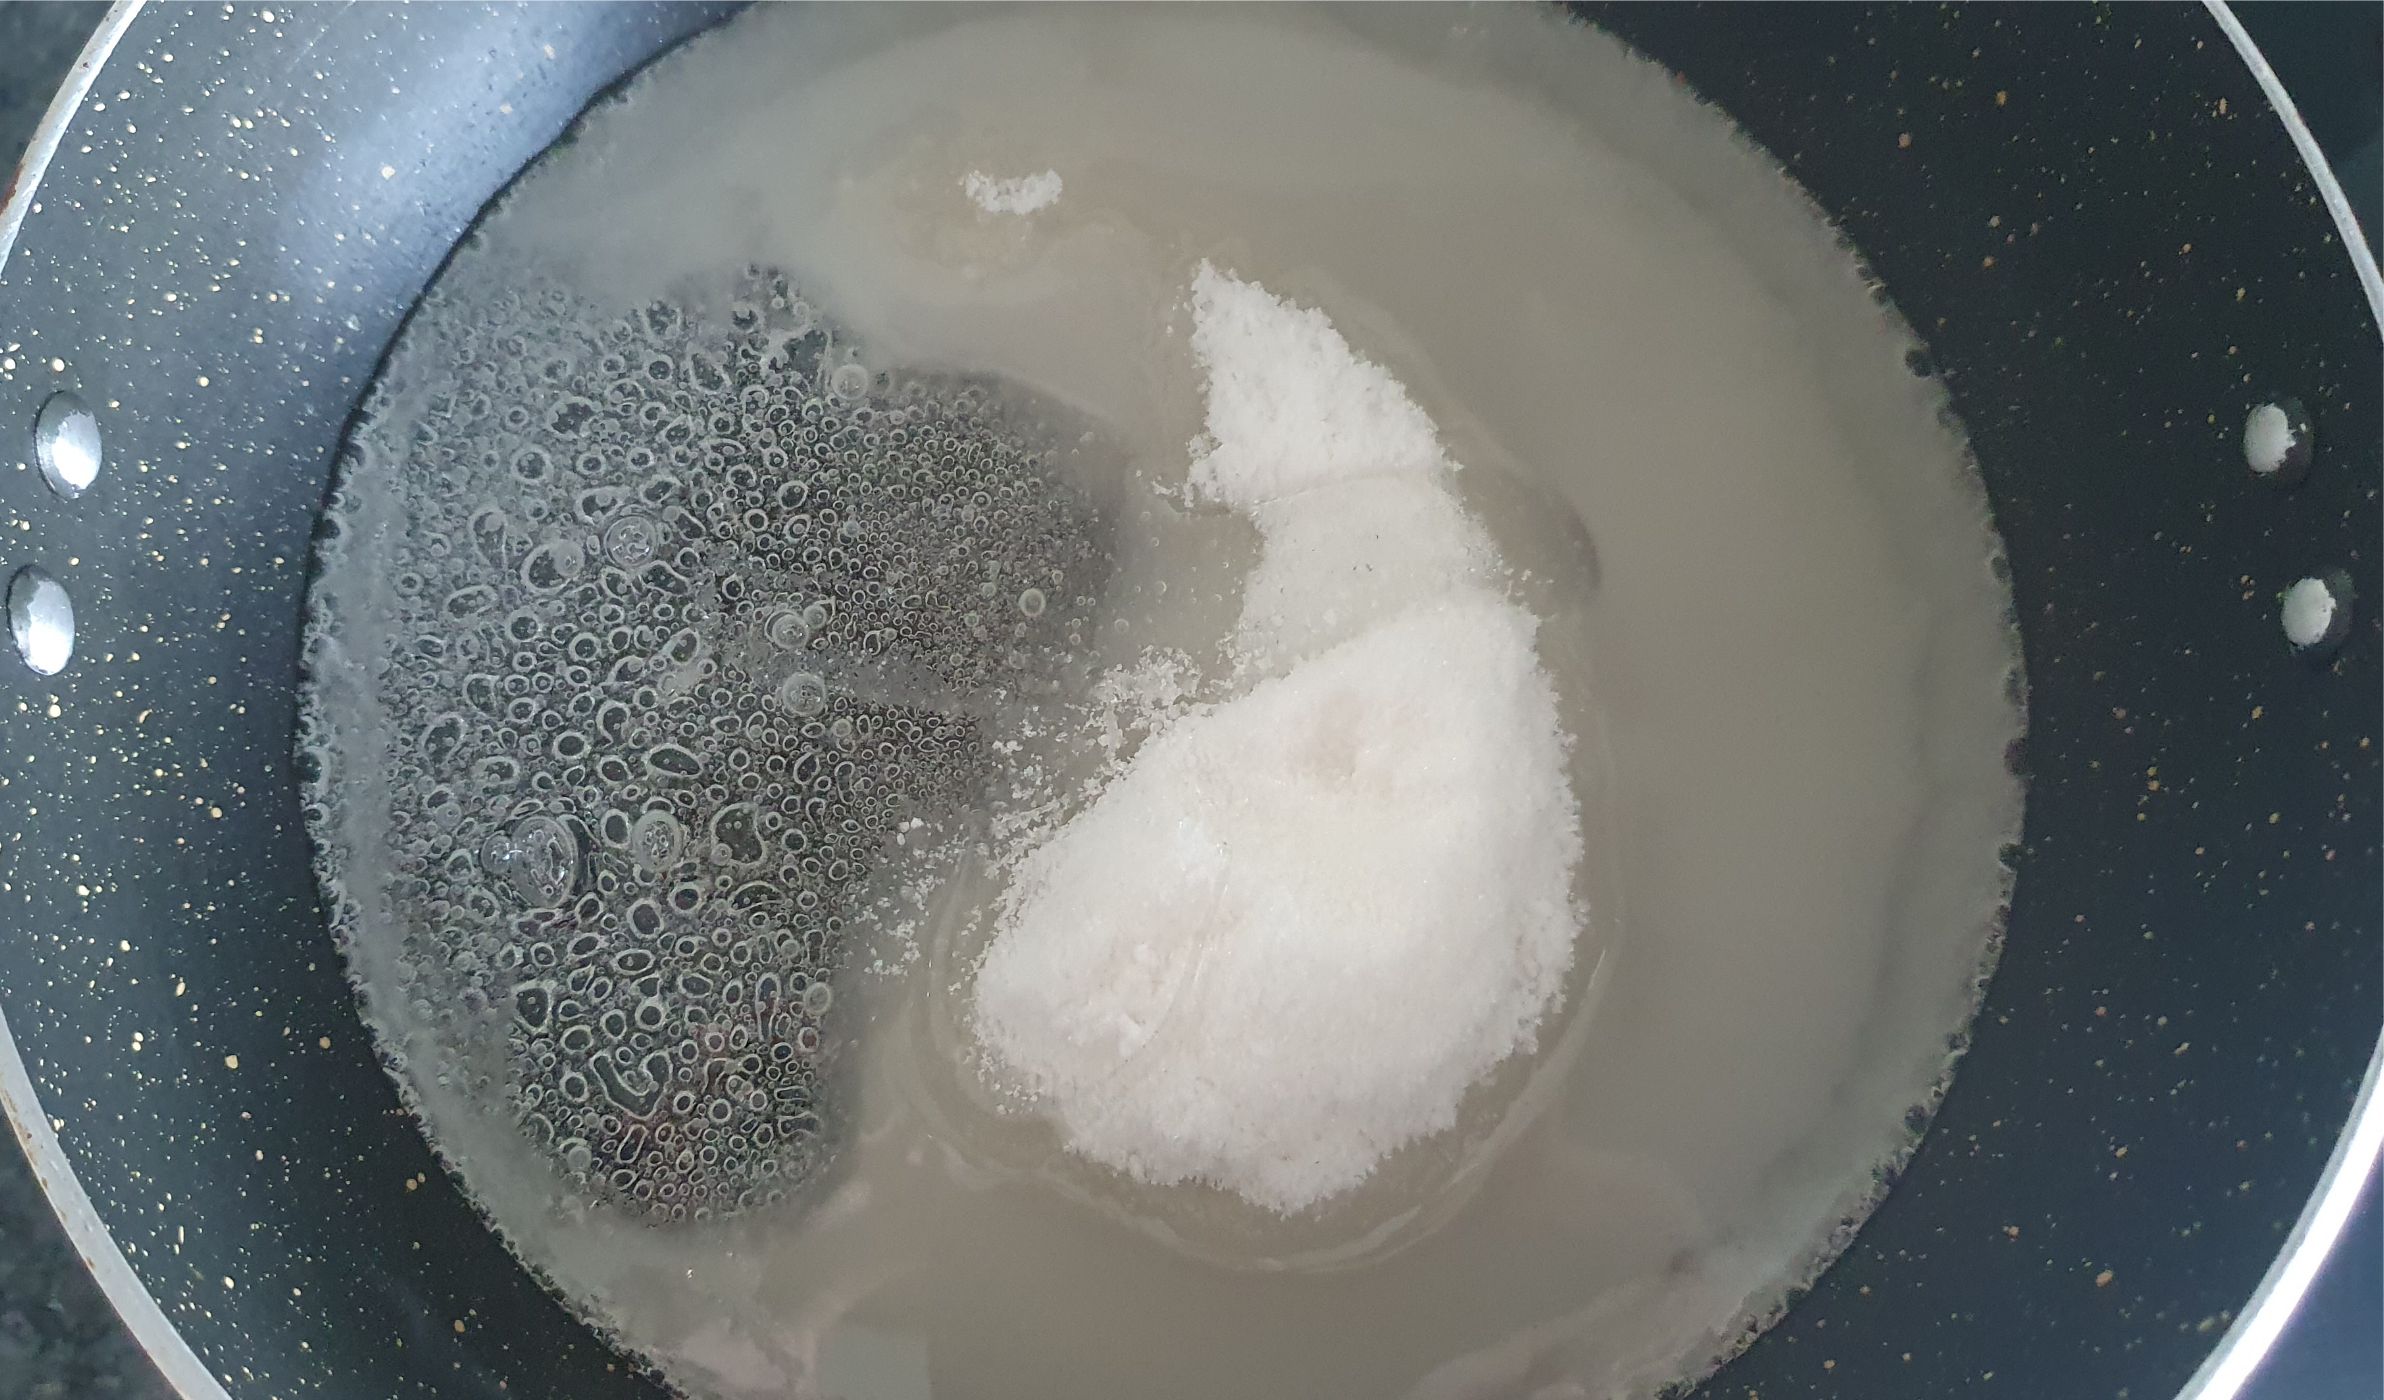

Mix all the ingredients into a thick-bottomed pot or pan with higher sides. Remember to only add 65ml of water. Keep the other 1/4 cup of water in a small bowl on the side. Heat on medium heat. Stir all the ingredients only until the sugar has melted.
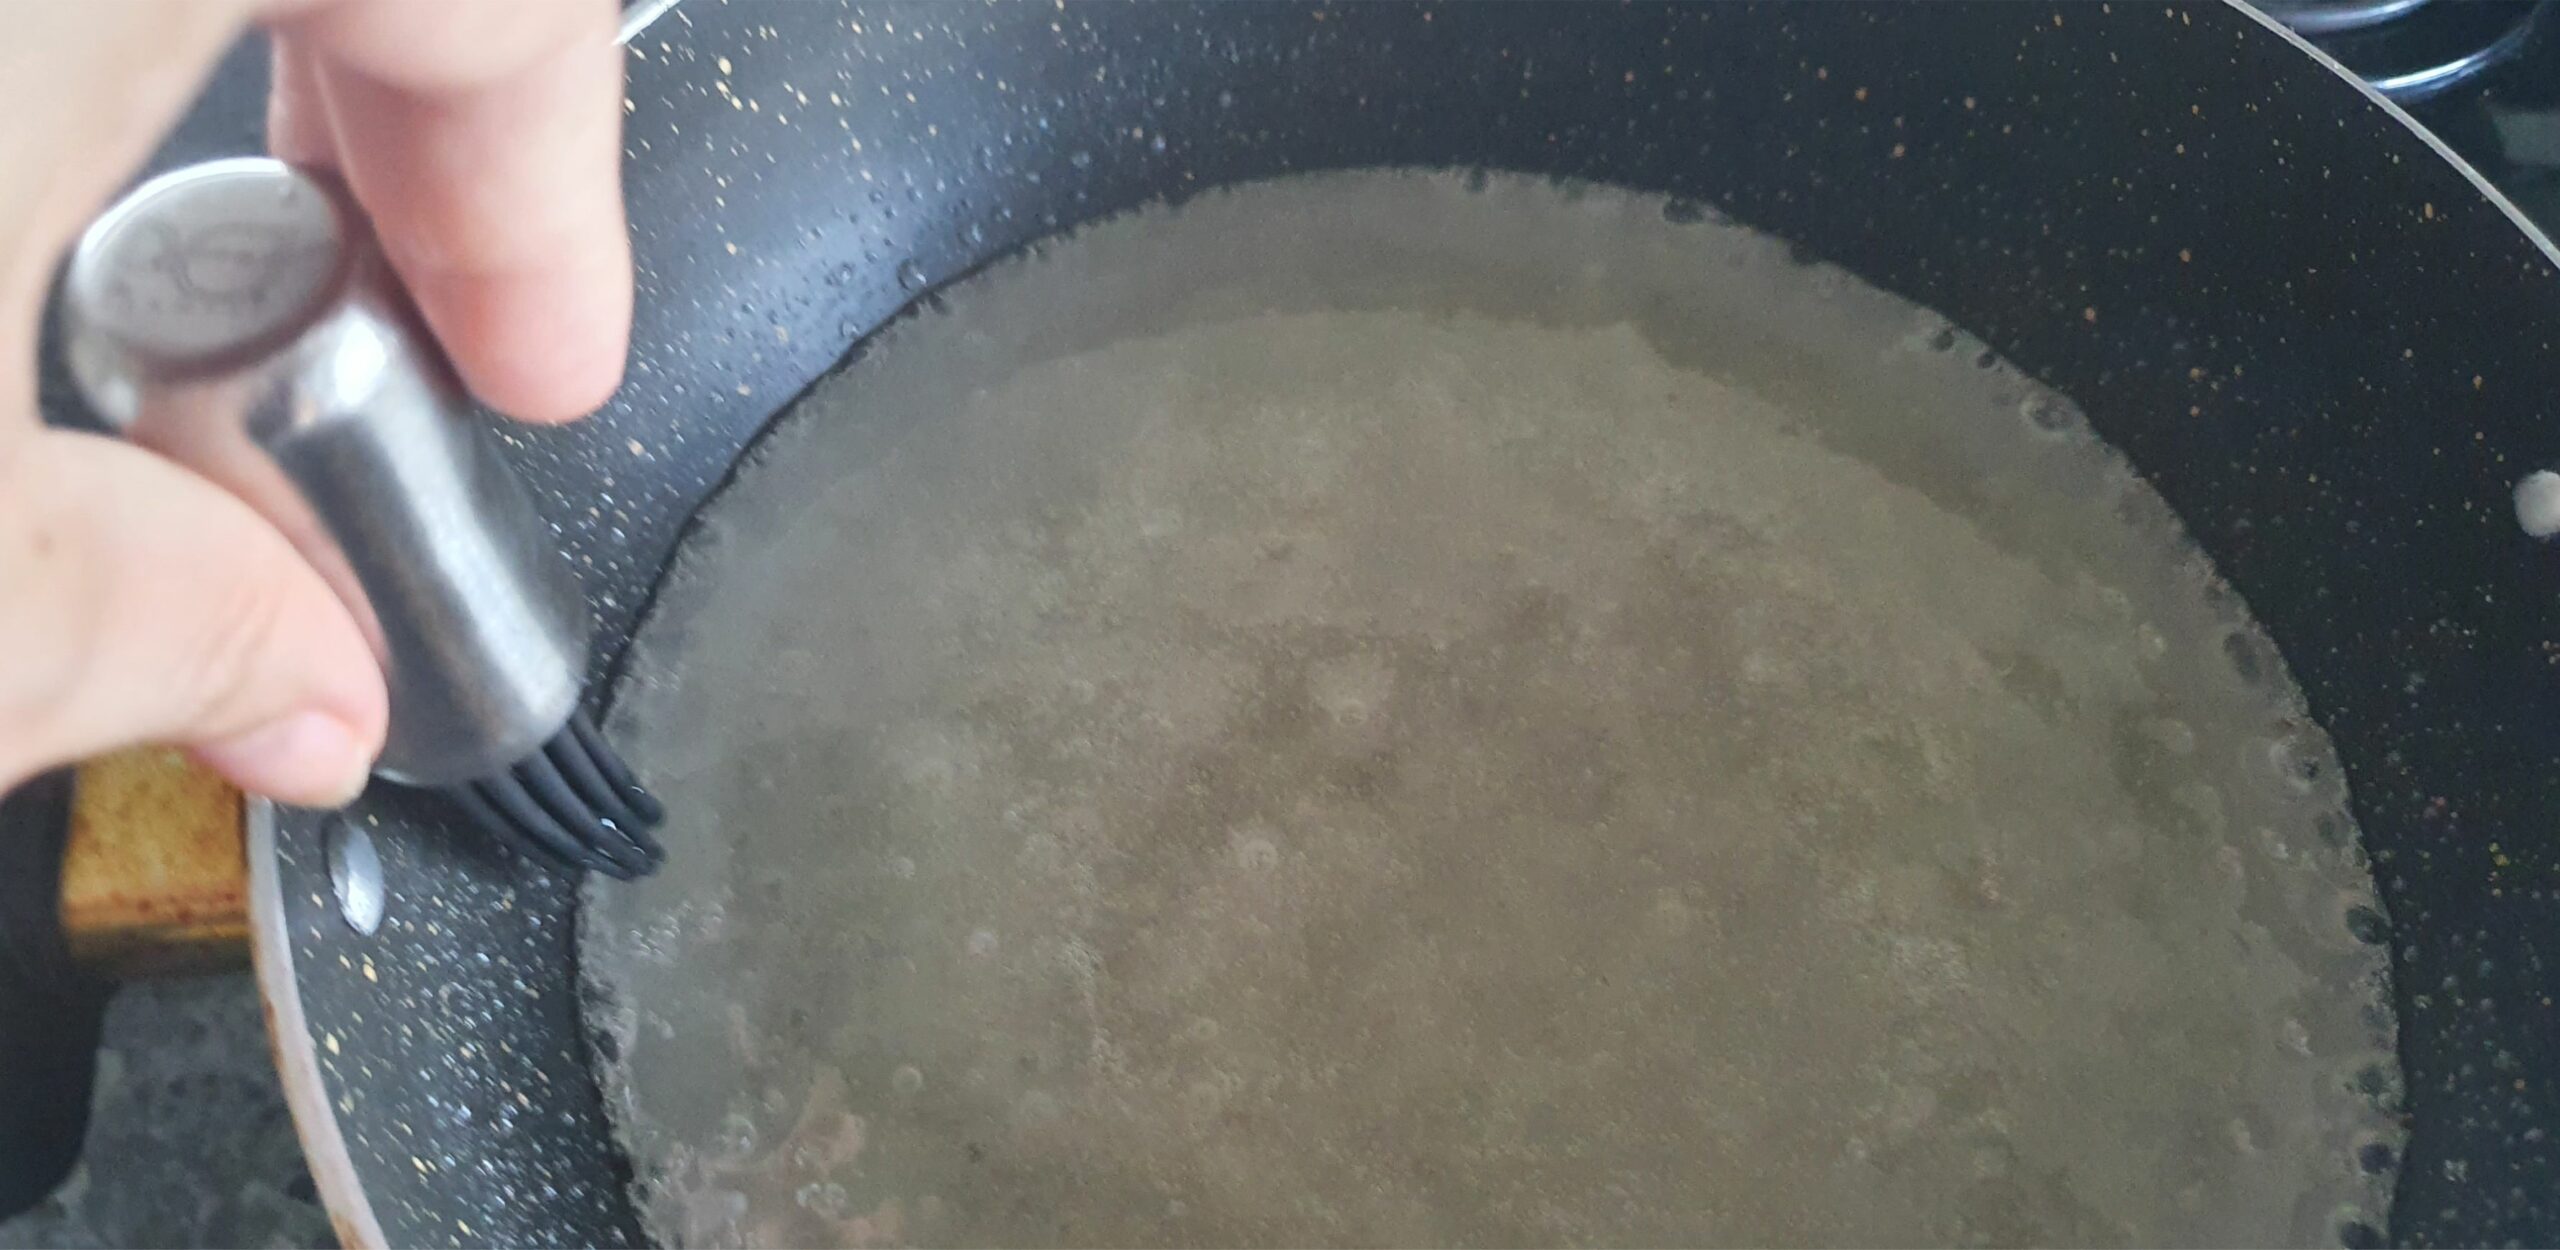

Once the sugar has melted, stop stirring. Let the sugar boil away while you keep an eye on the temperature using a food thermometer. Use the remaining water to wet a pastry brush and run it around the edges of the sugar. It's to keep it from burning or turning brown.
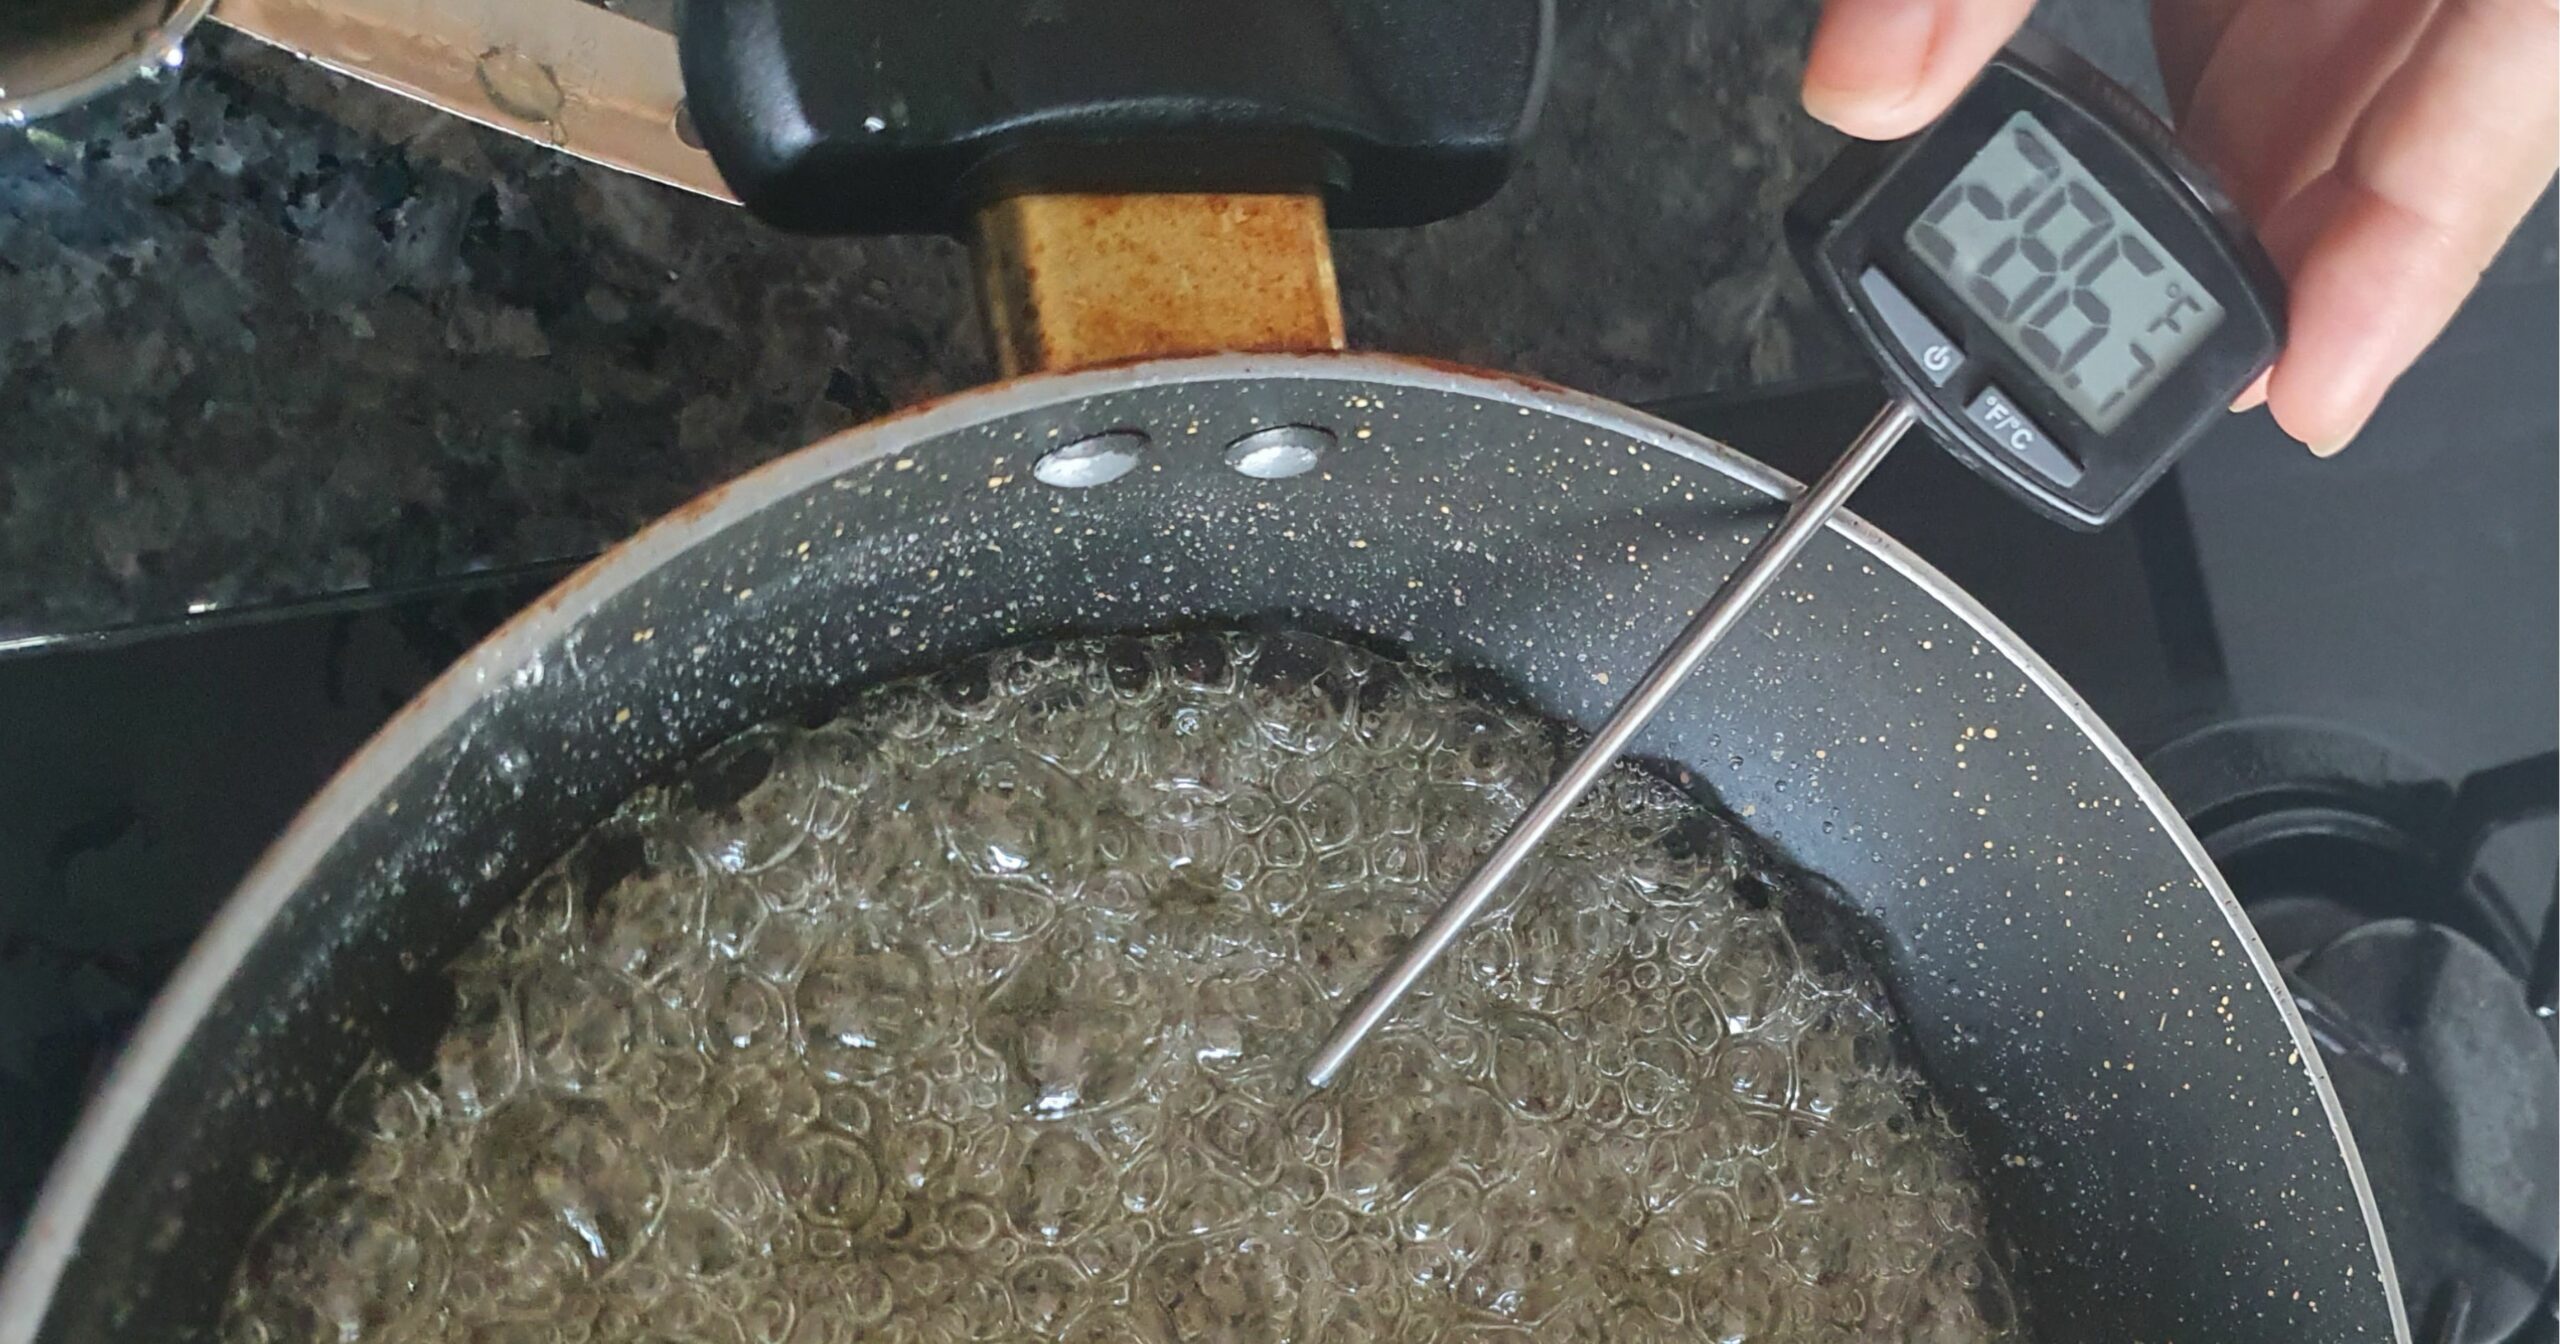

Approximately 8-10min after you started to boil the sugar, the thermometer will reach 285F or 140 degrees Celsius (On this picture the temperature is a bit more because I had to take the picture and the temperature climbed really fast -it did not change the consistency at all though so guess even 287F is okay)
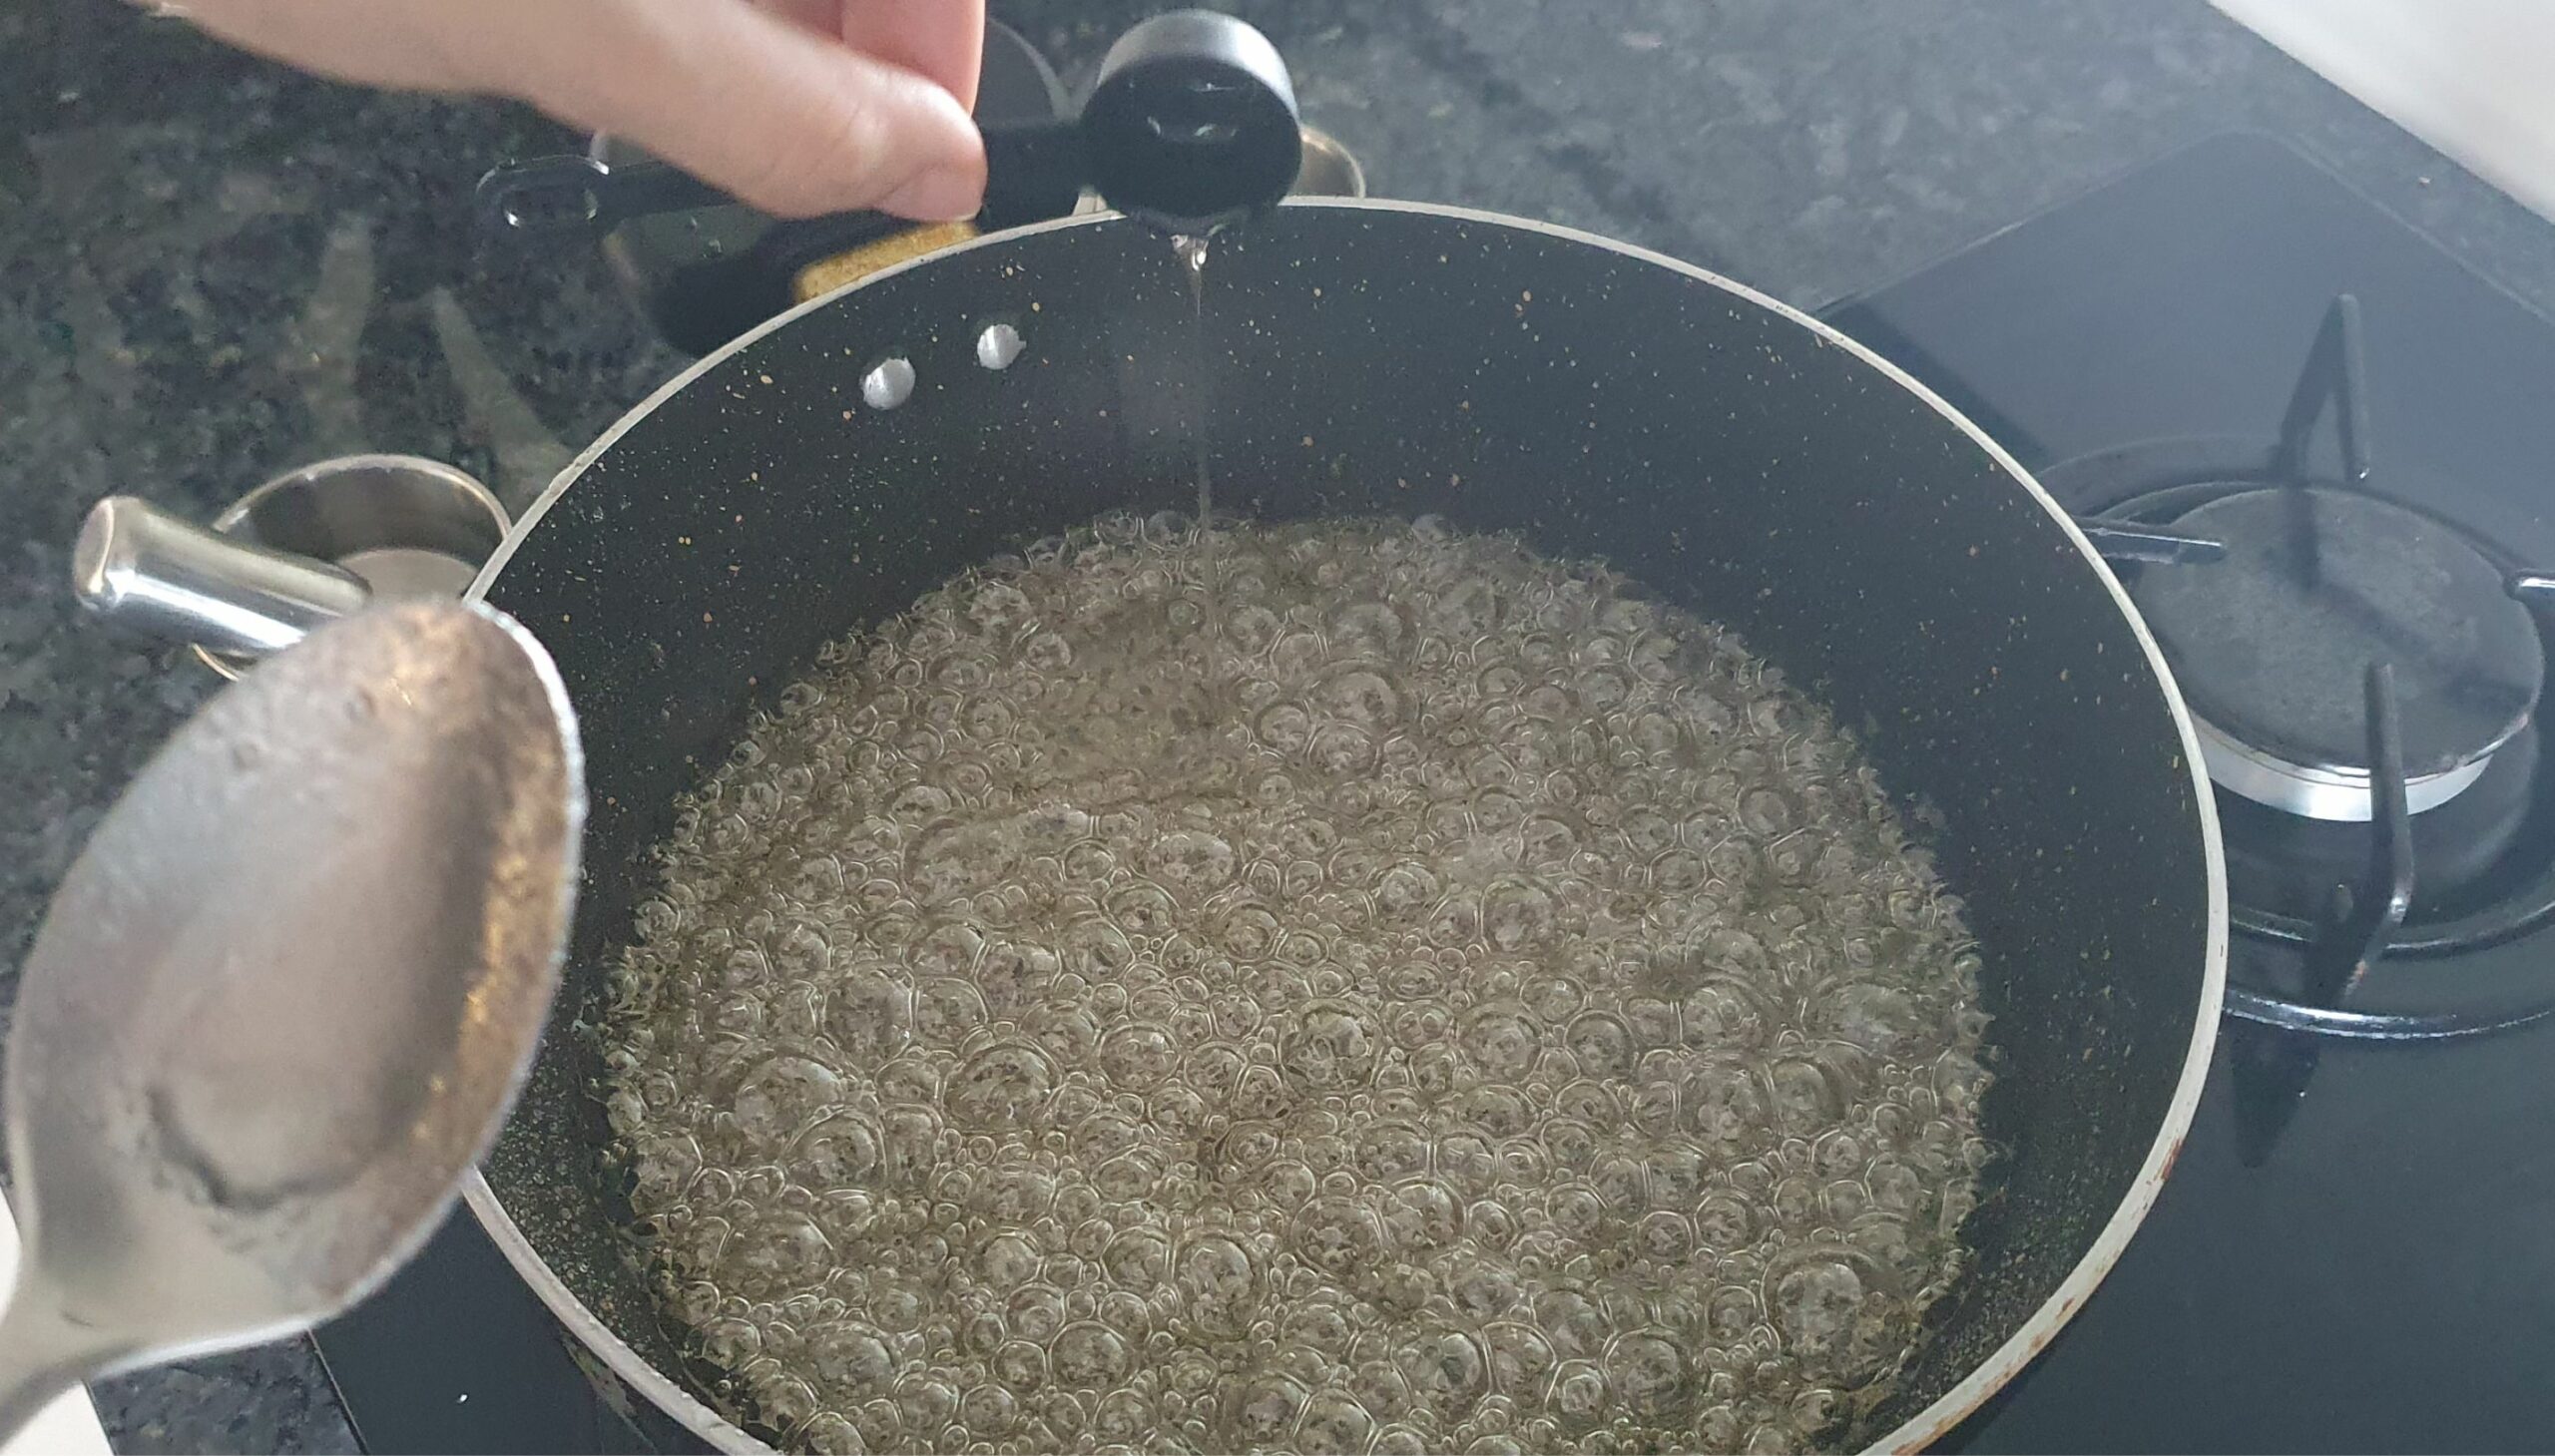

Turn off the heat and stir in the peppermint oil. Be careful to keep the oil off your skin and not to get the fumes in your eyes. It can be quite strong.
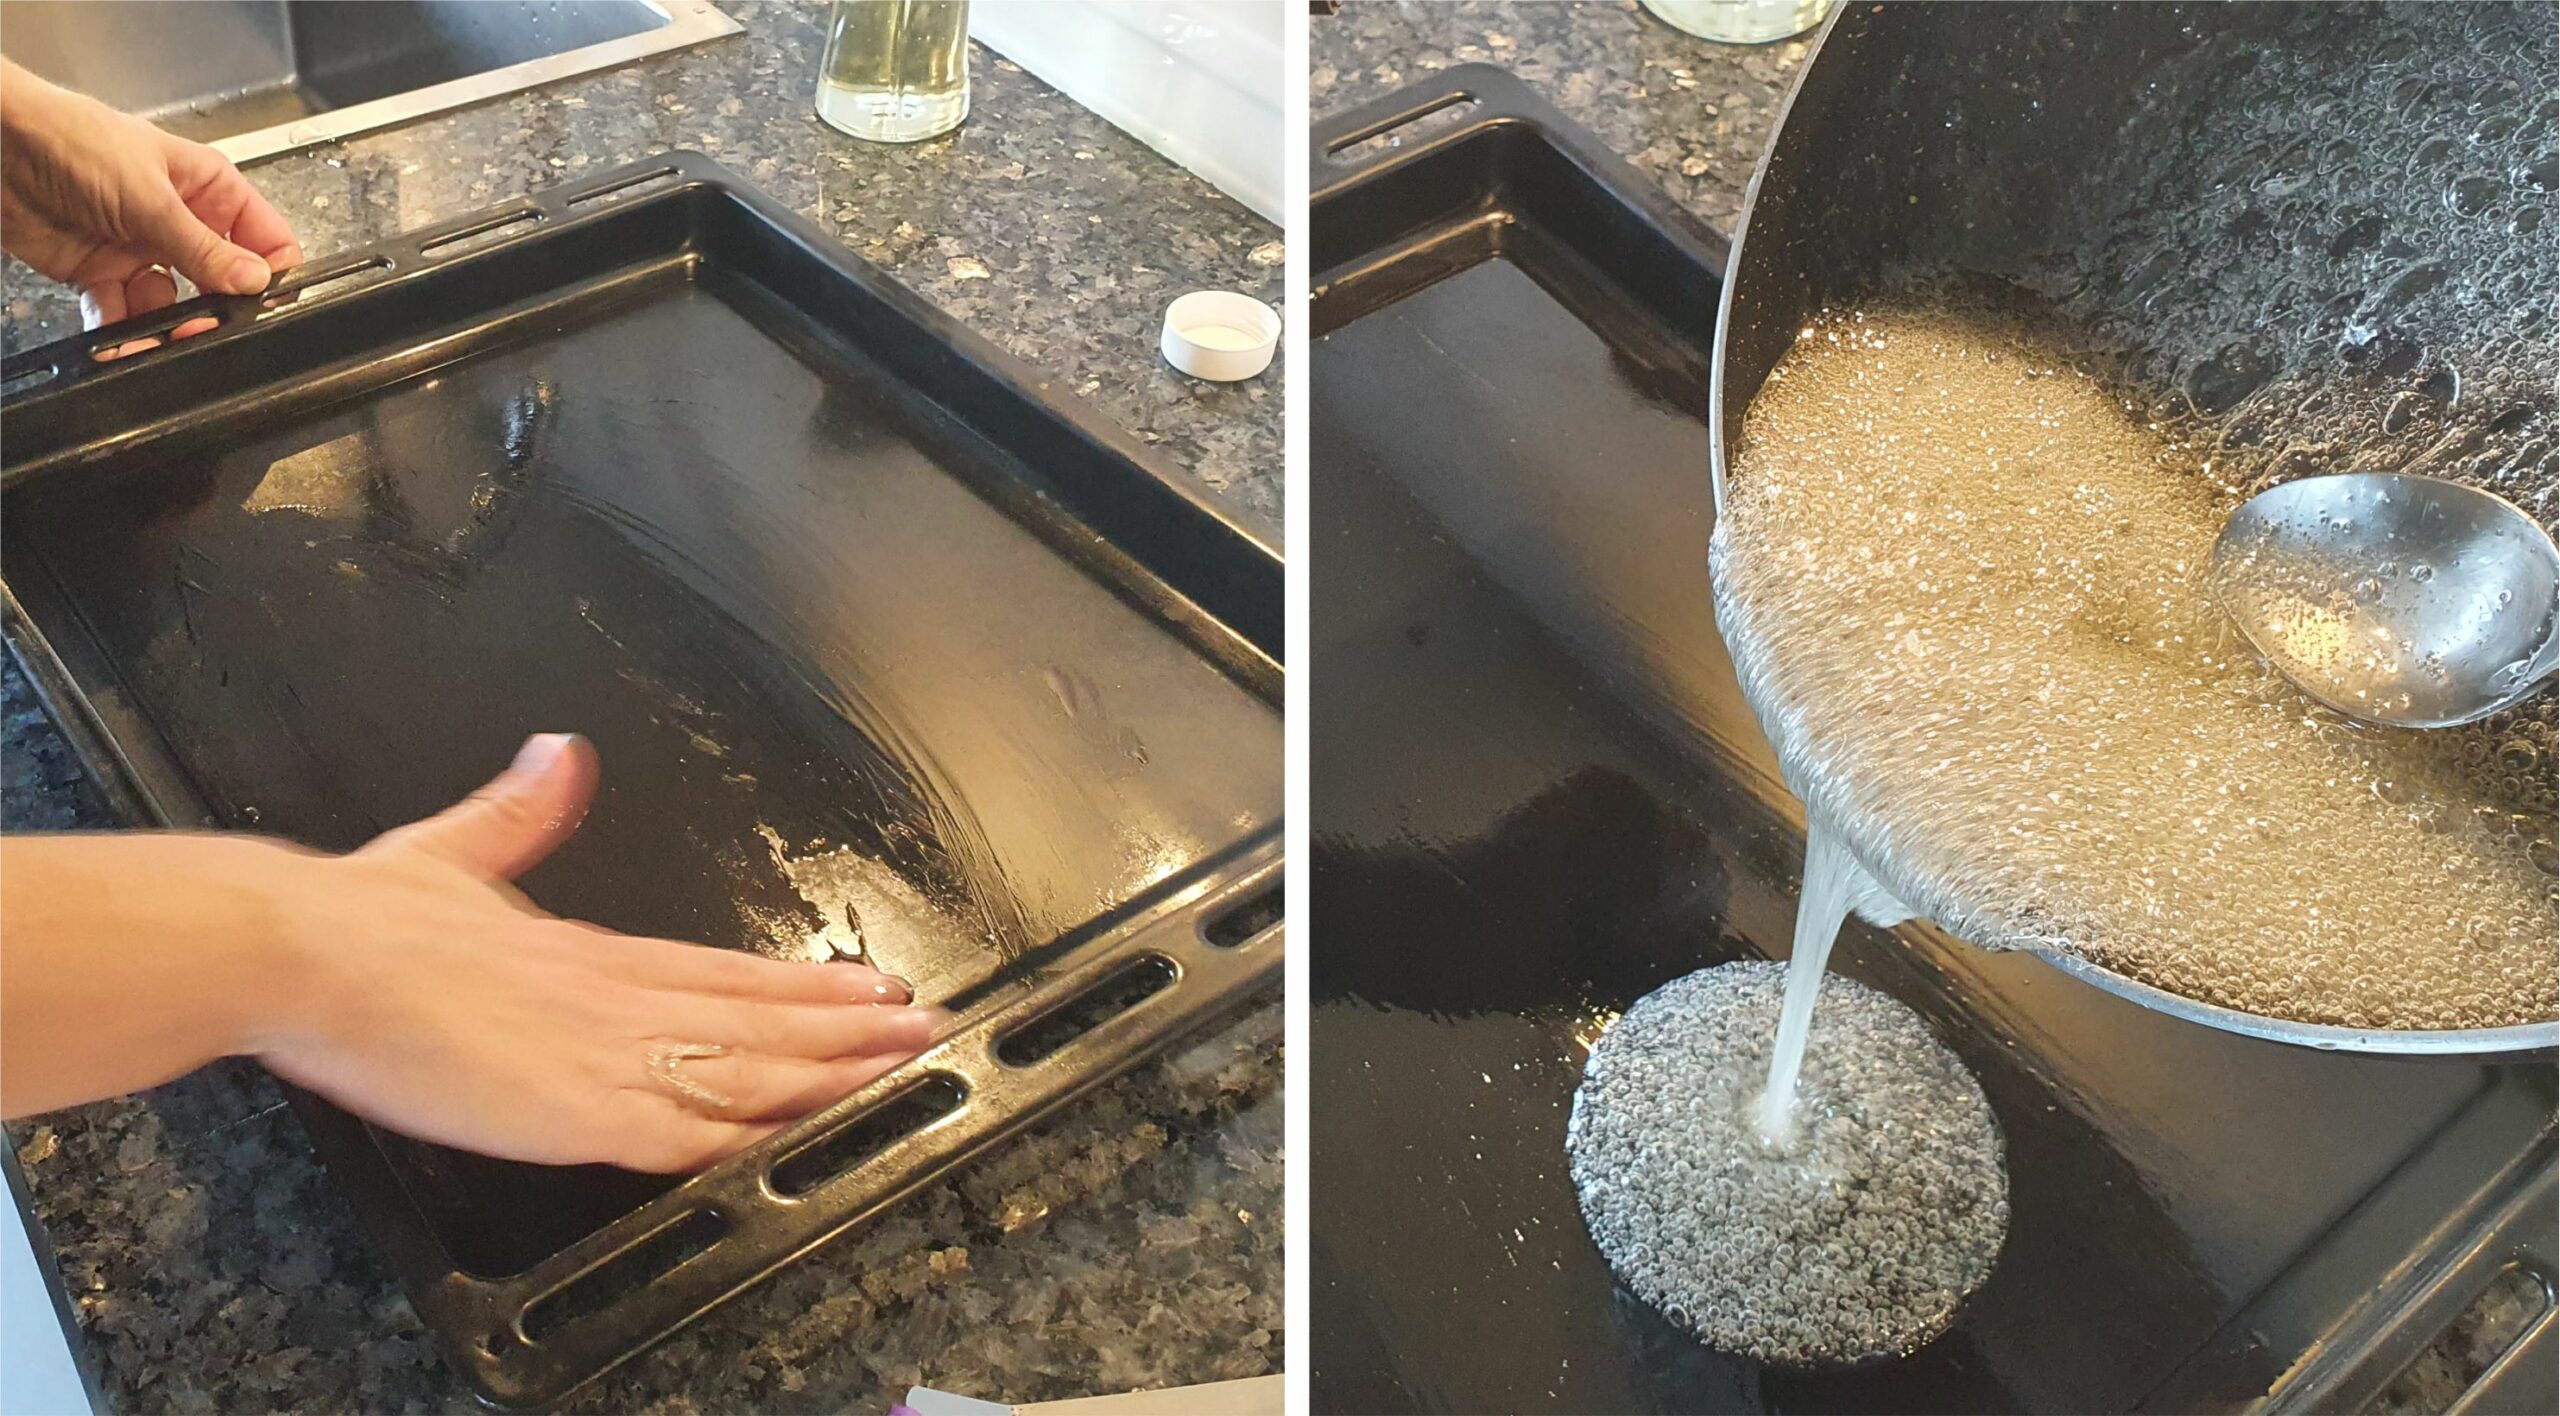

Pour a little oil of the baking tray to keep the candy from sticking. Pour half the candy onto the oiled baking tray and put it into the preheated oven to rest while you get to work on the other half
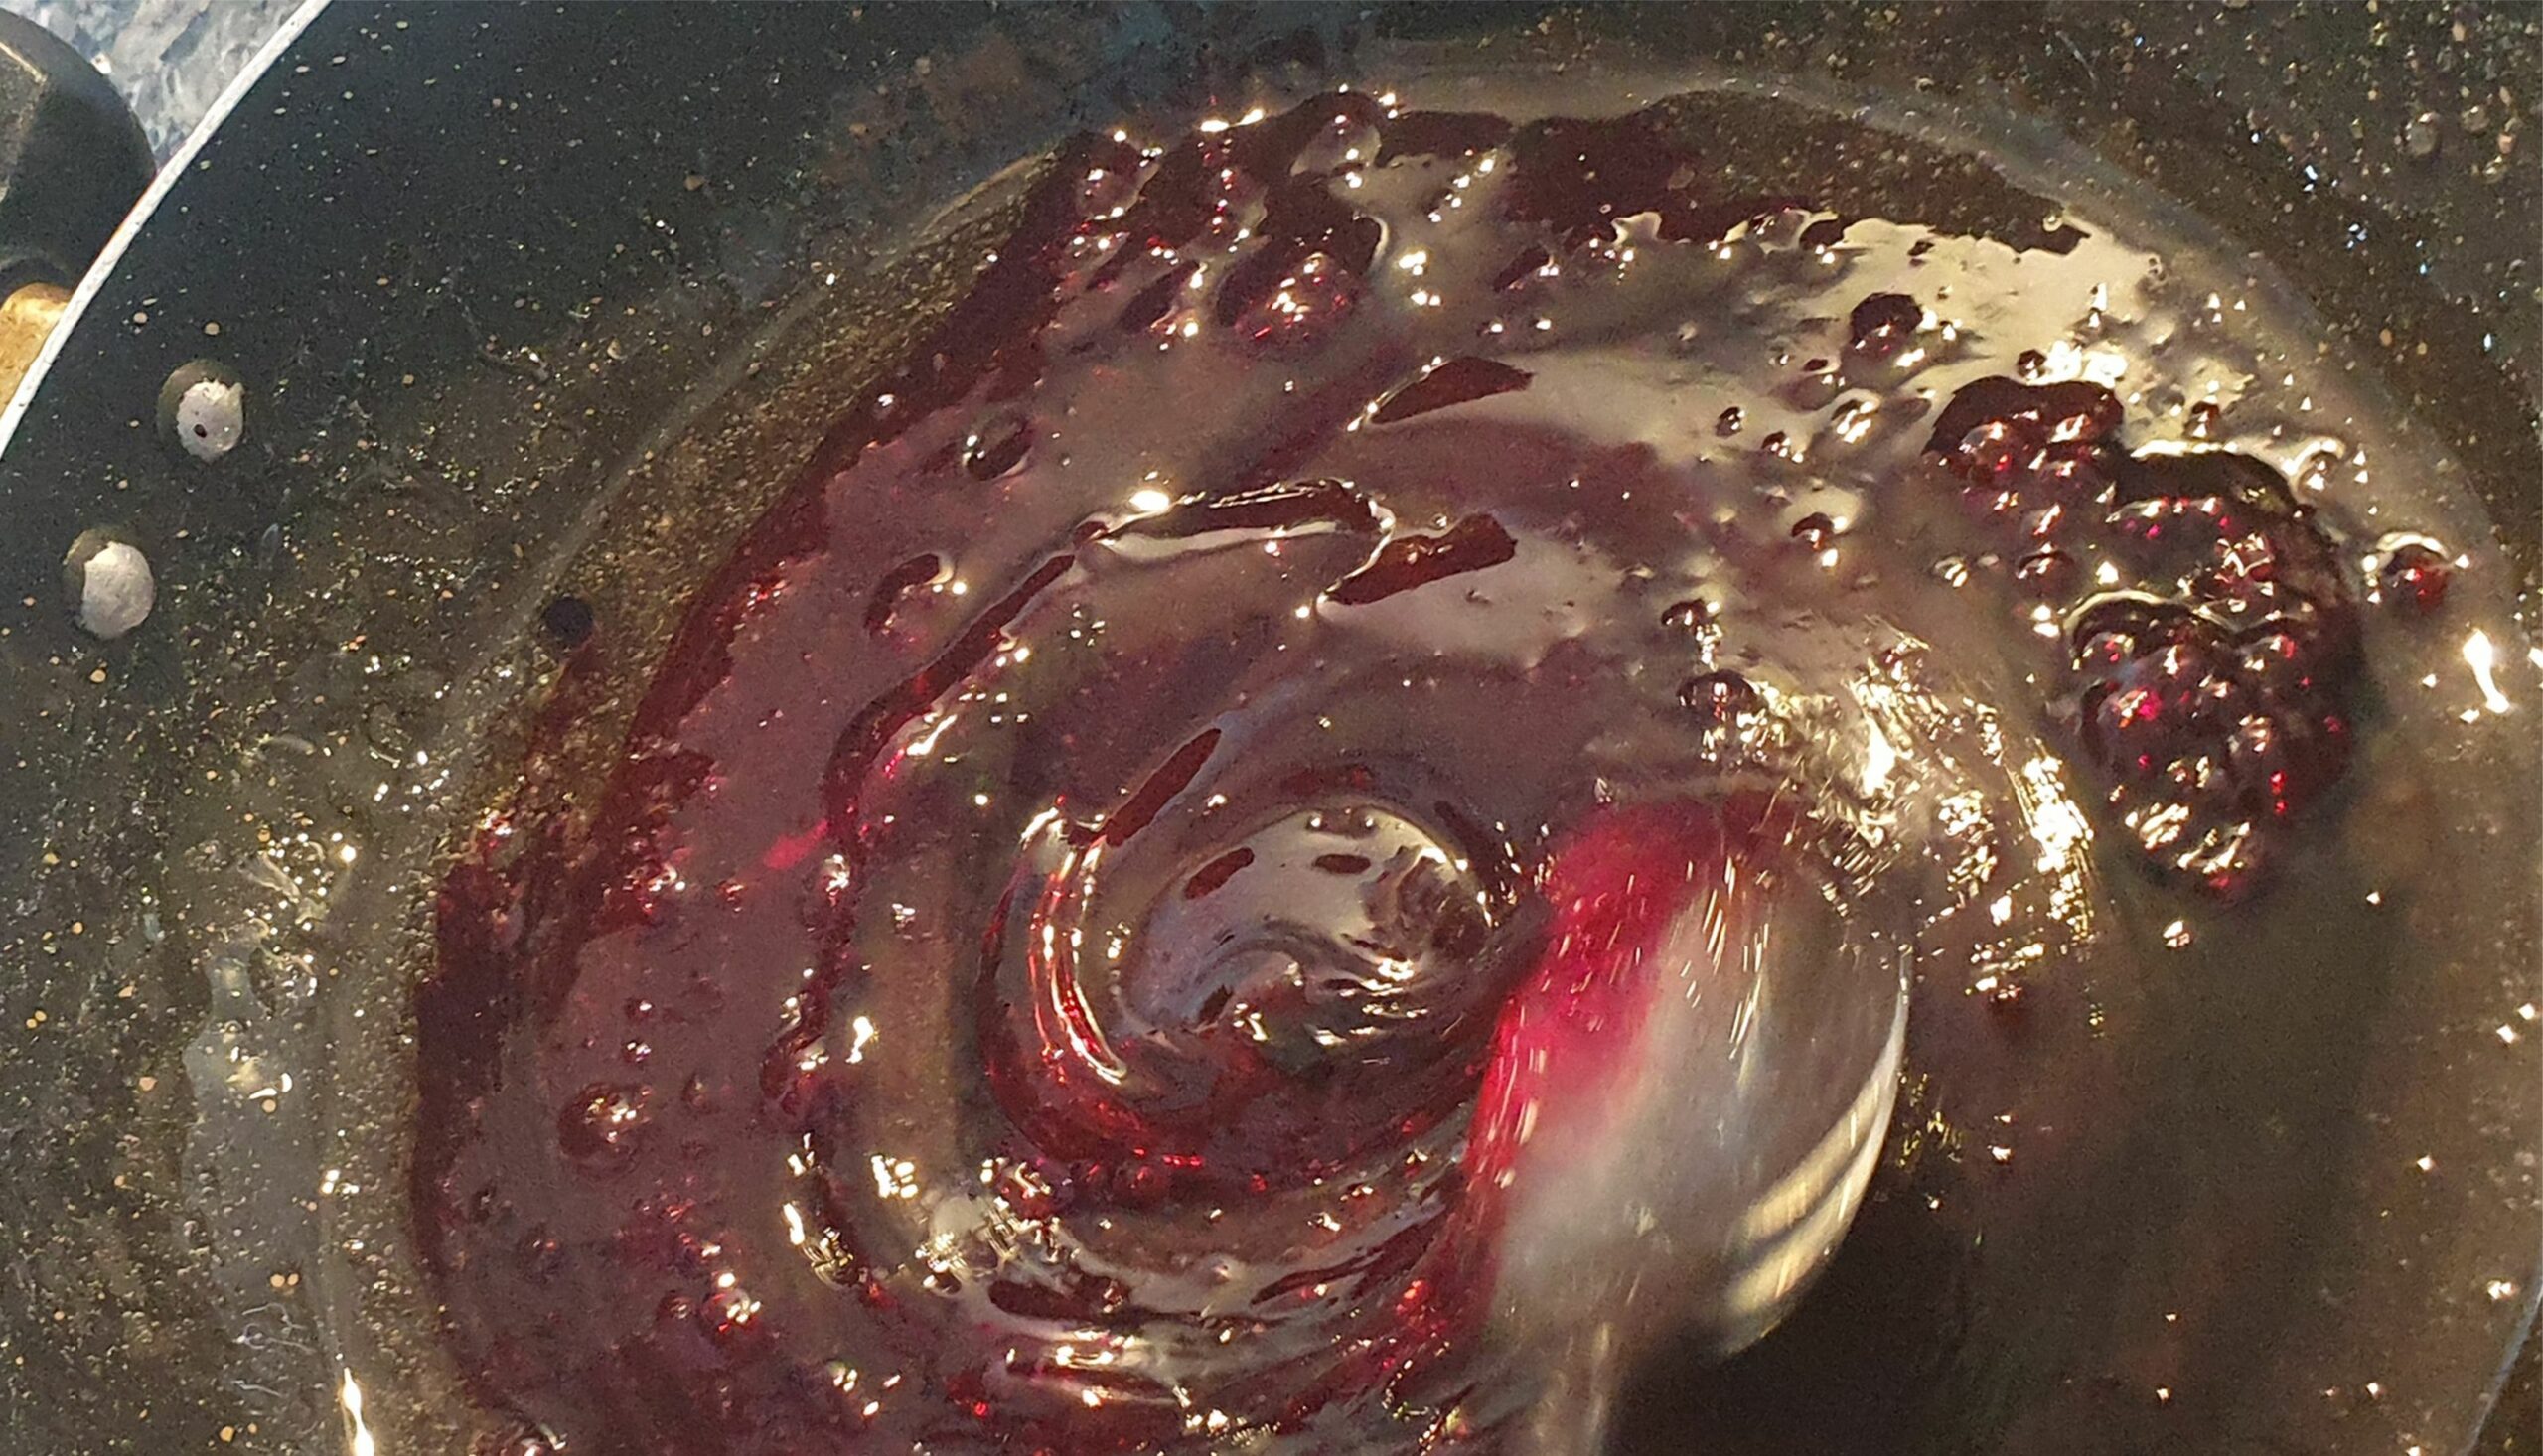

Mix red colour into the other half still in the pan
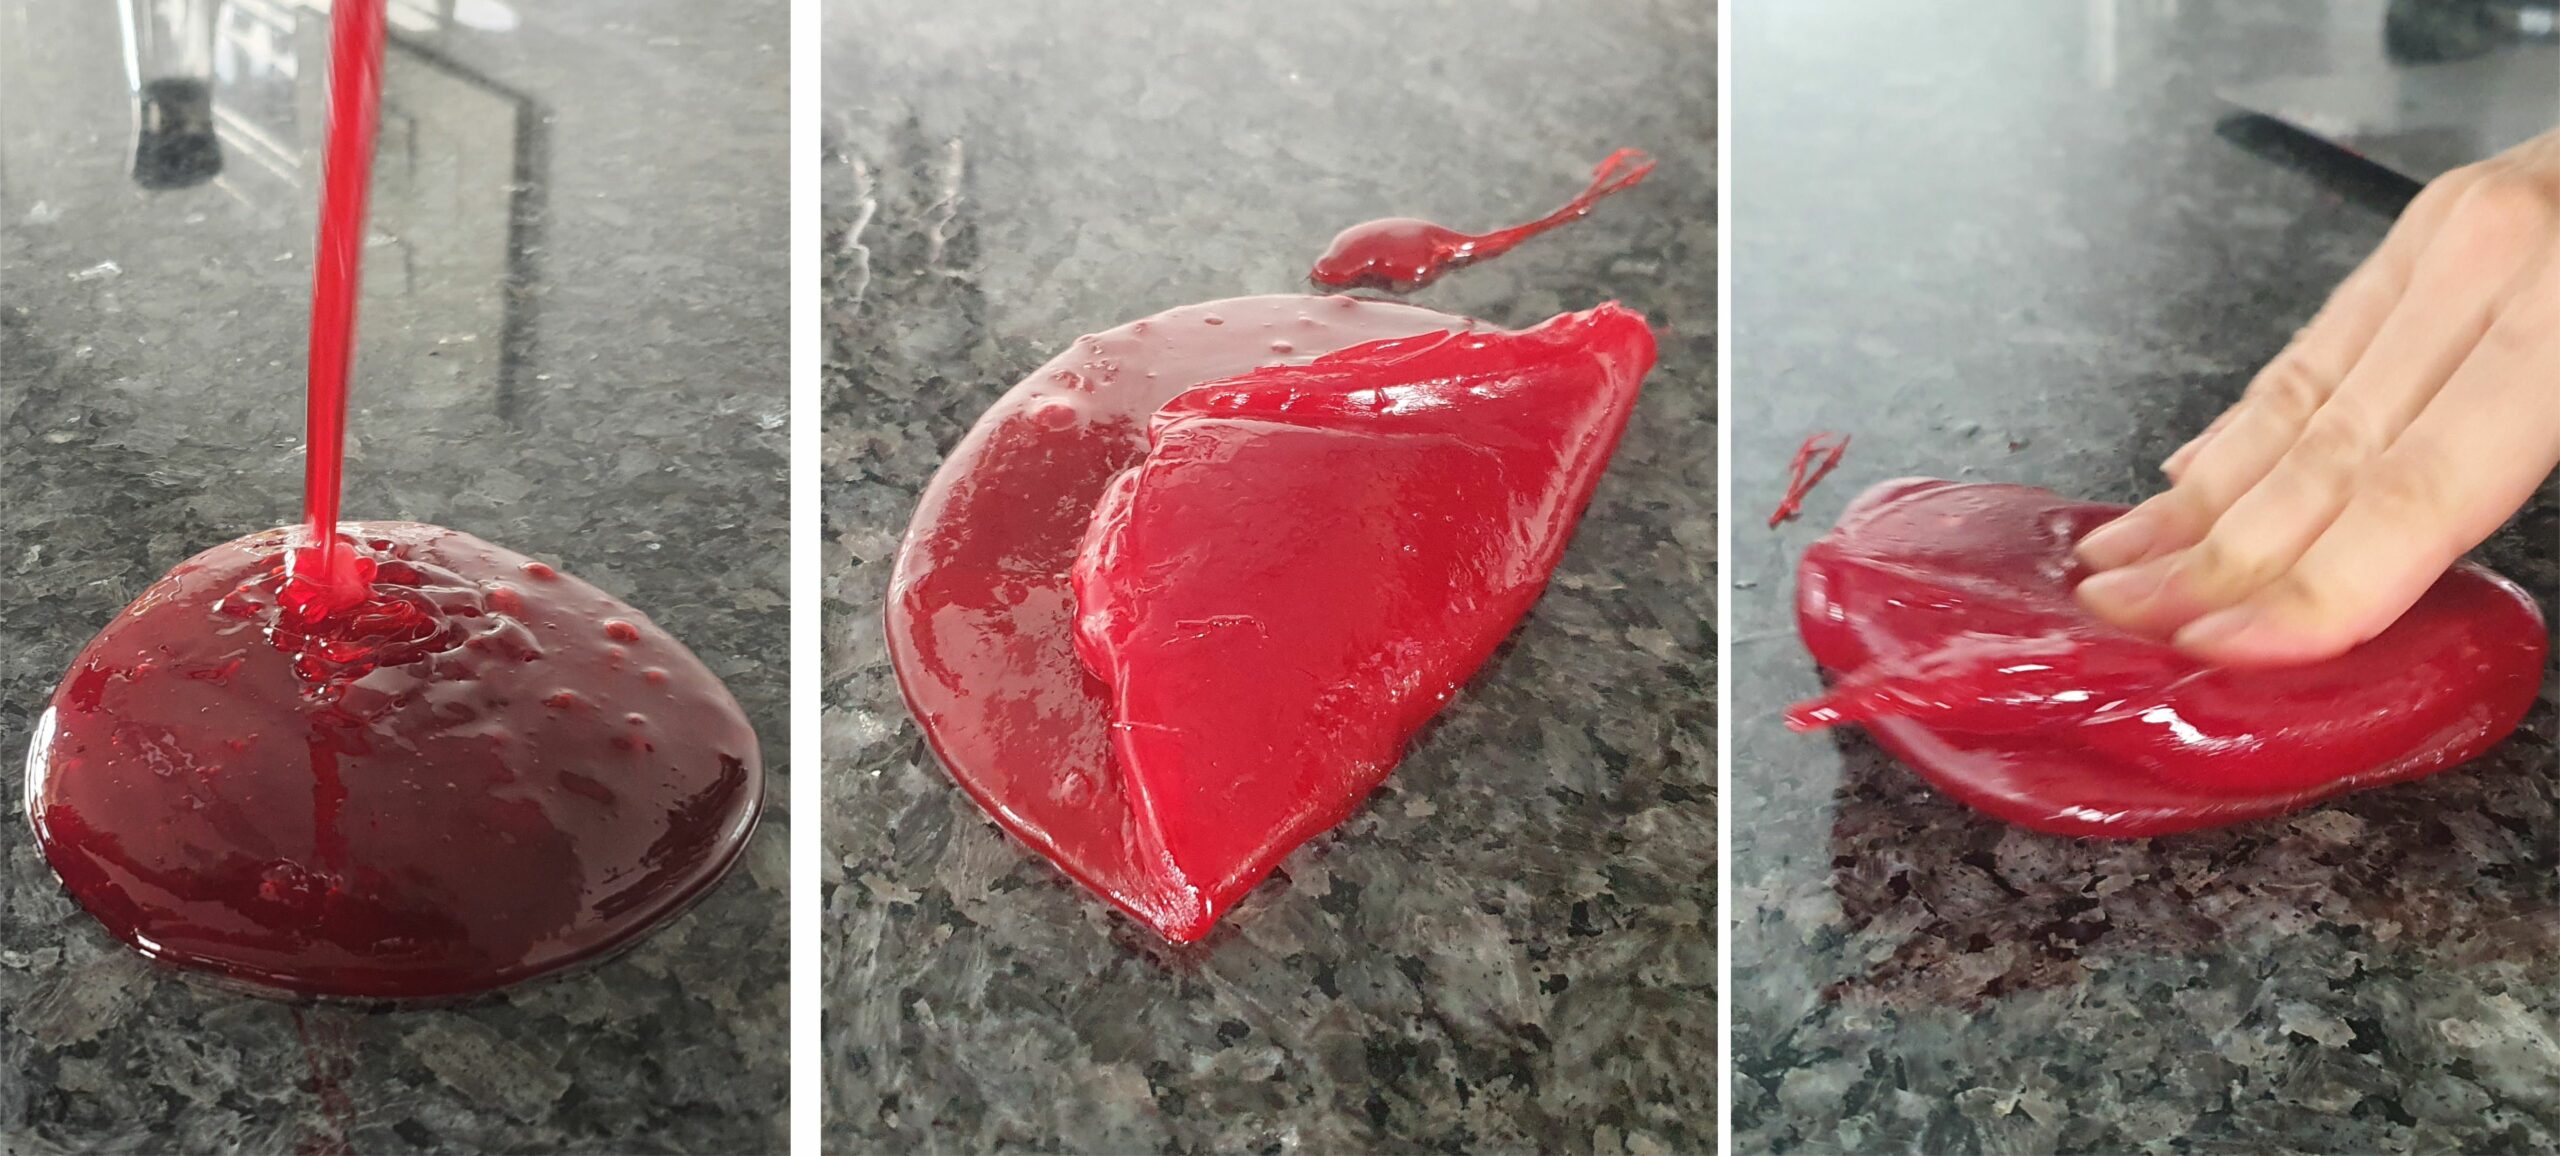

Pour the red candy onto the counter top and leave it for a few minutes until a skin forms. Then fold it over again and again. I used a bench scraper in the beginning and afterwards my bare hands. You can also use heat-resistant gloves but I felt they were too clumsy and hard to use. Twist and knead the candy until it turns glossy. It seems a bit vague instructions but you will know when you have reached this stage. Place the red candy back into the oven while you get to work on the white candy.
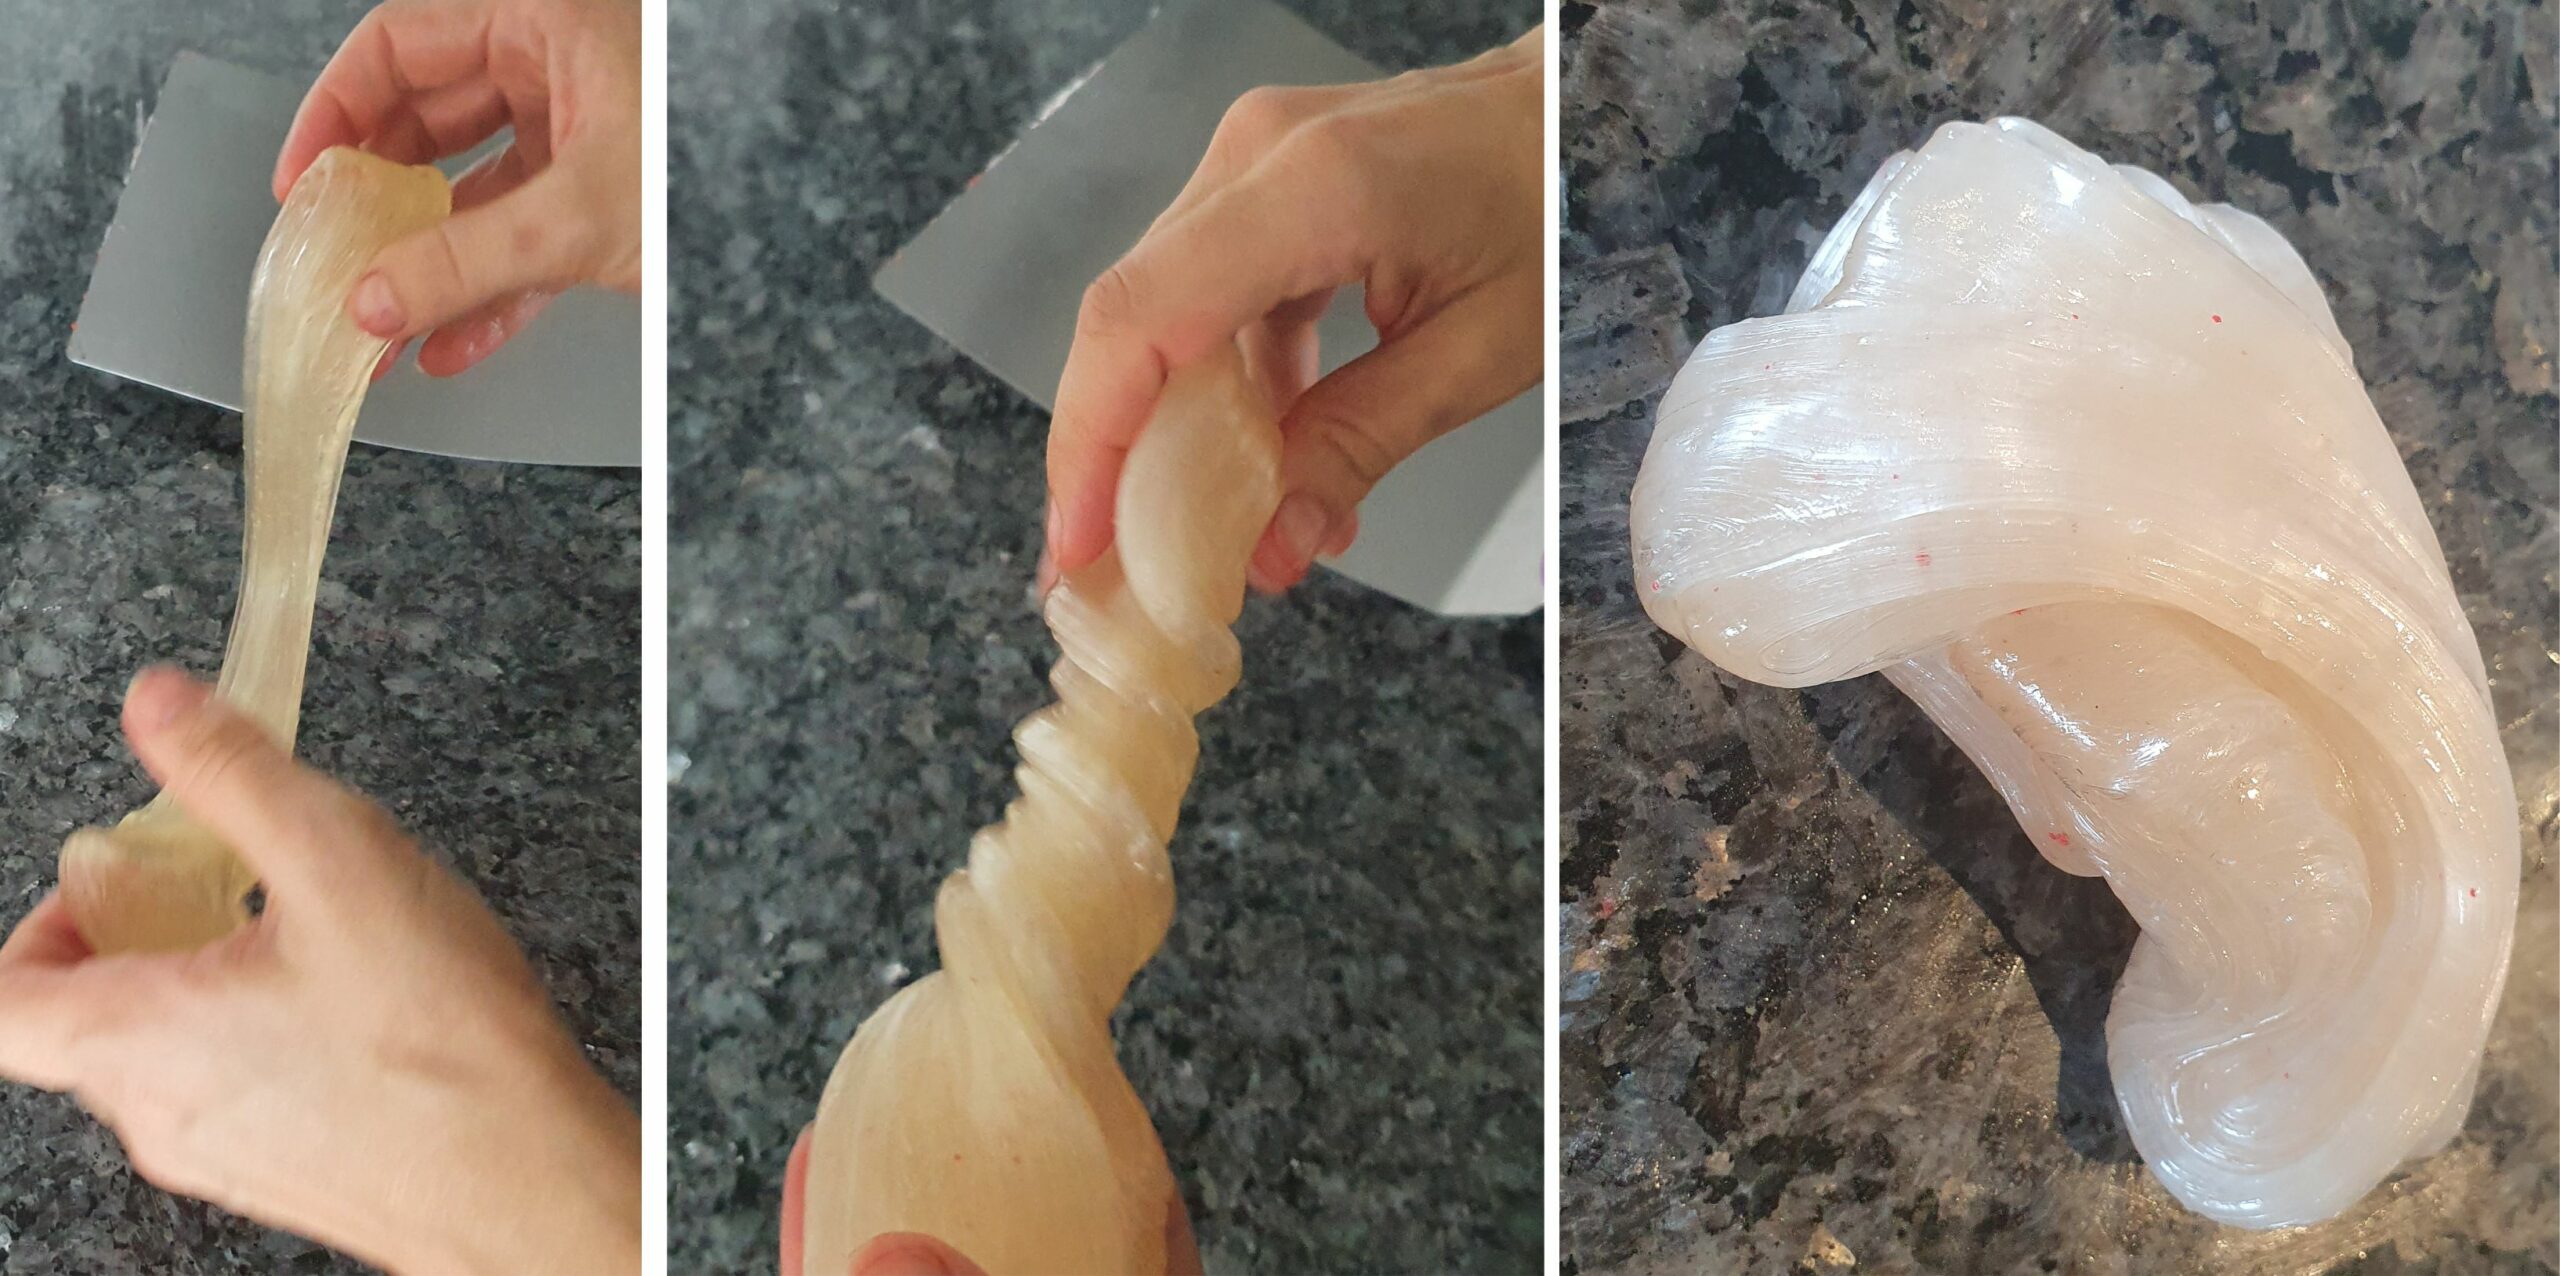

Twist and knead the white candy until it turns glossy too. As seen here the white candy will turn more and more opaque as it reached the correct consistency.
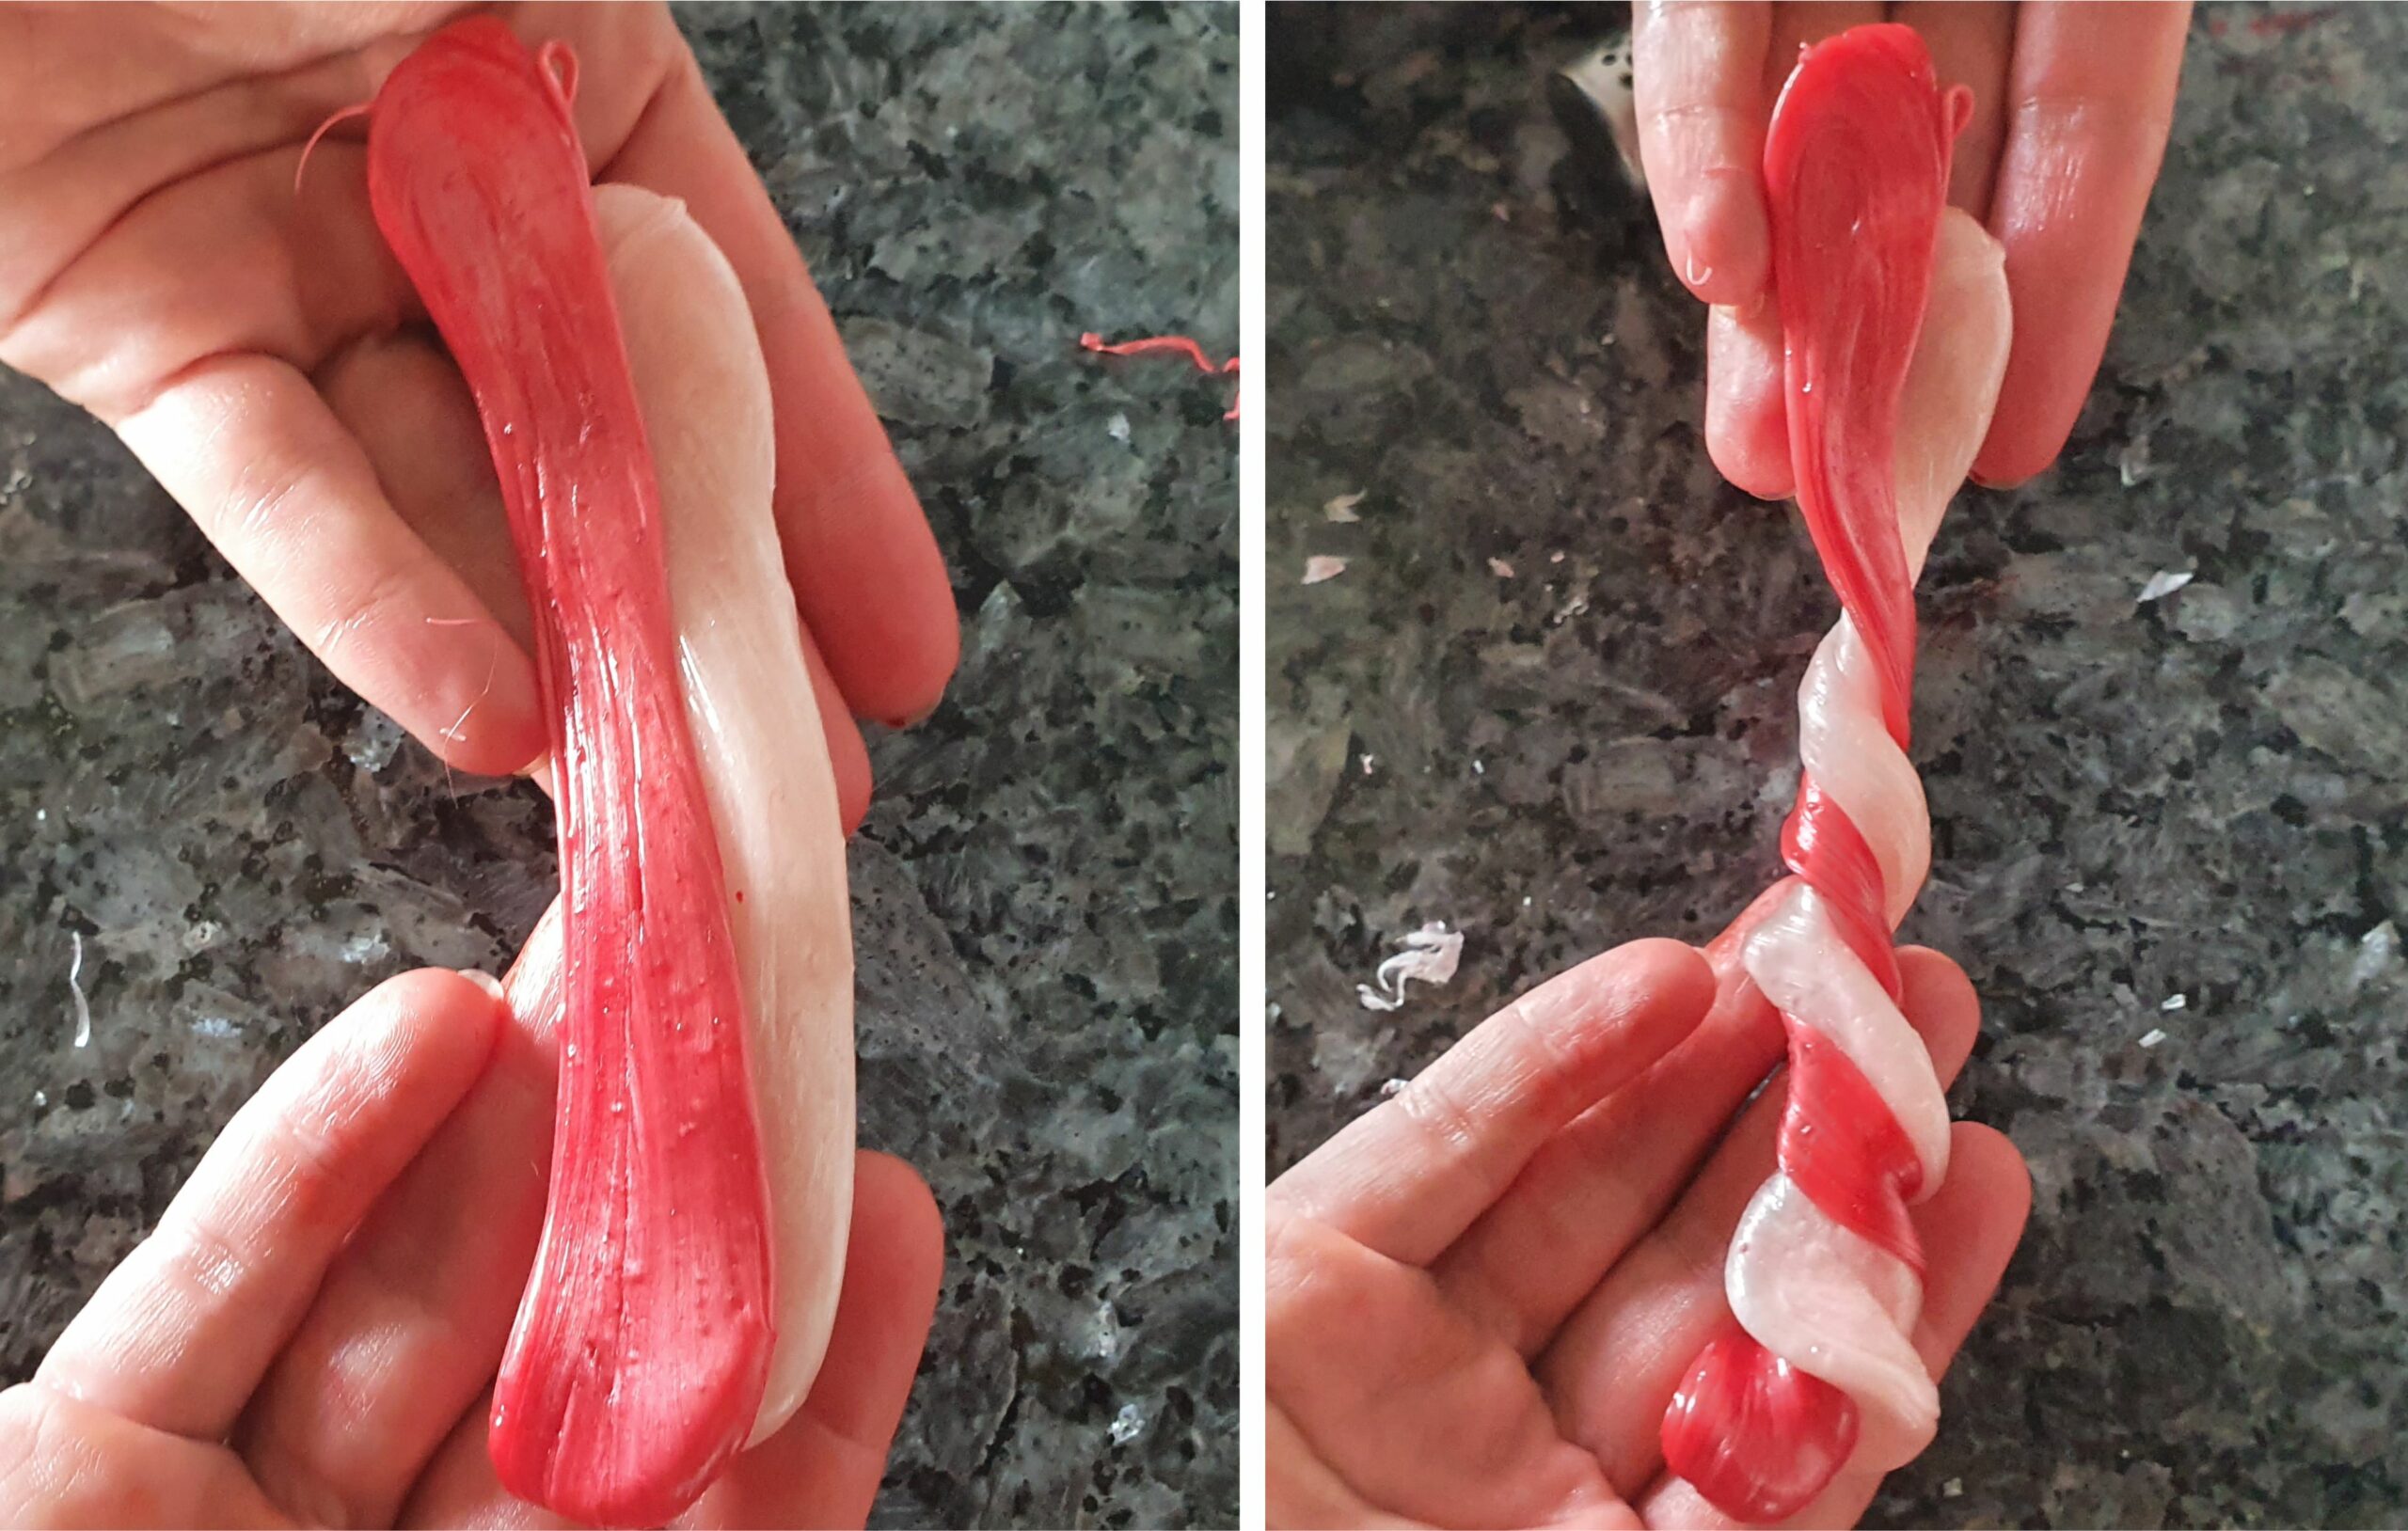

With a sharp knife, cut off a piece of the red and white candy. Make them into two long pieces and twist them together.
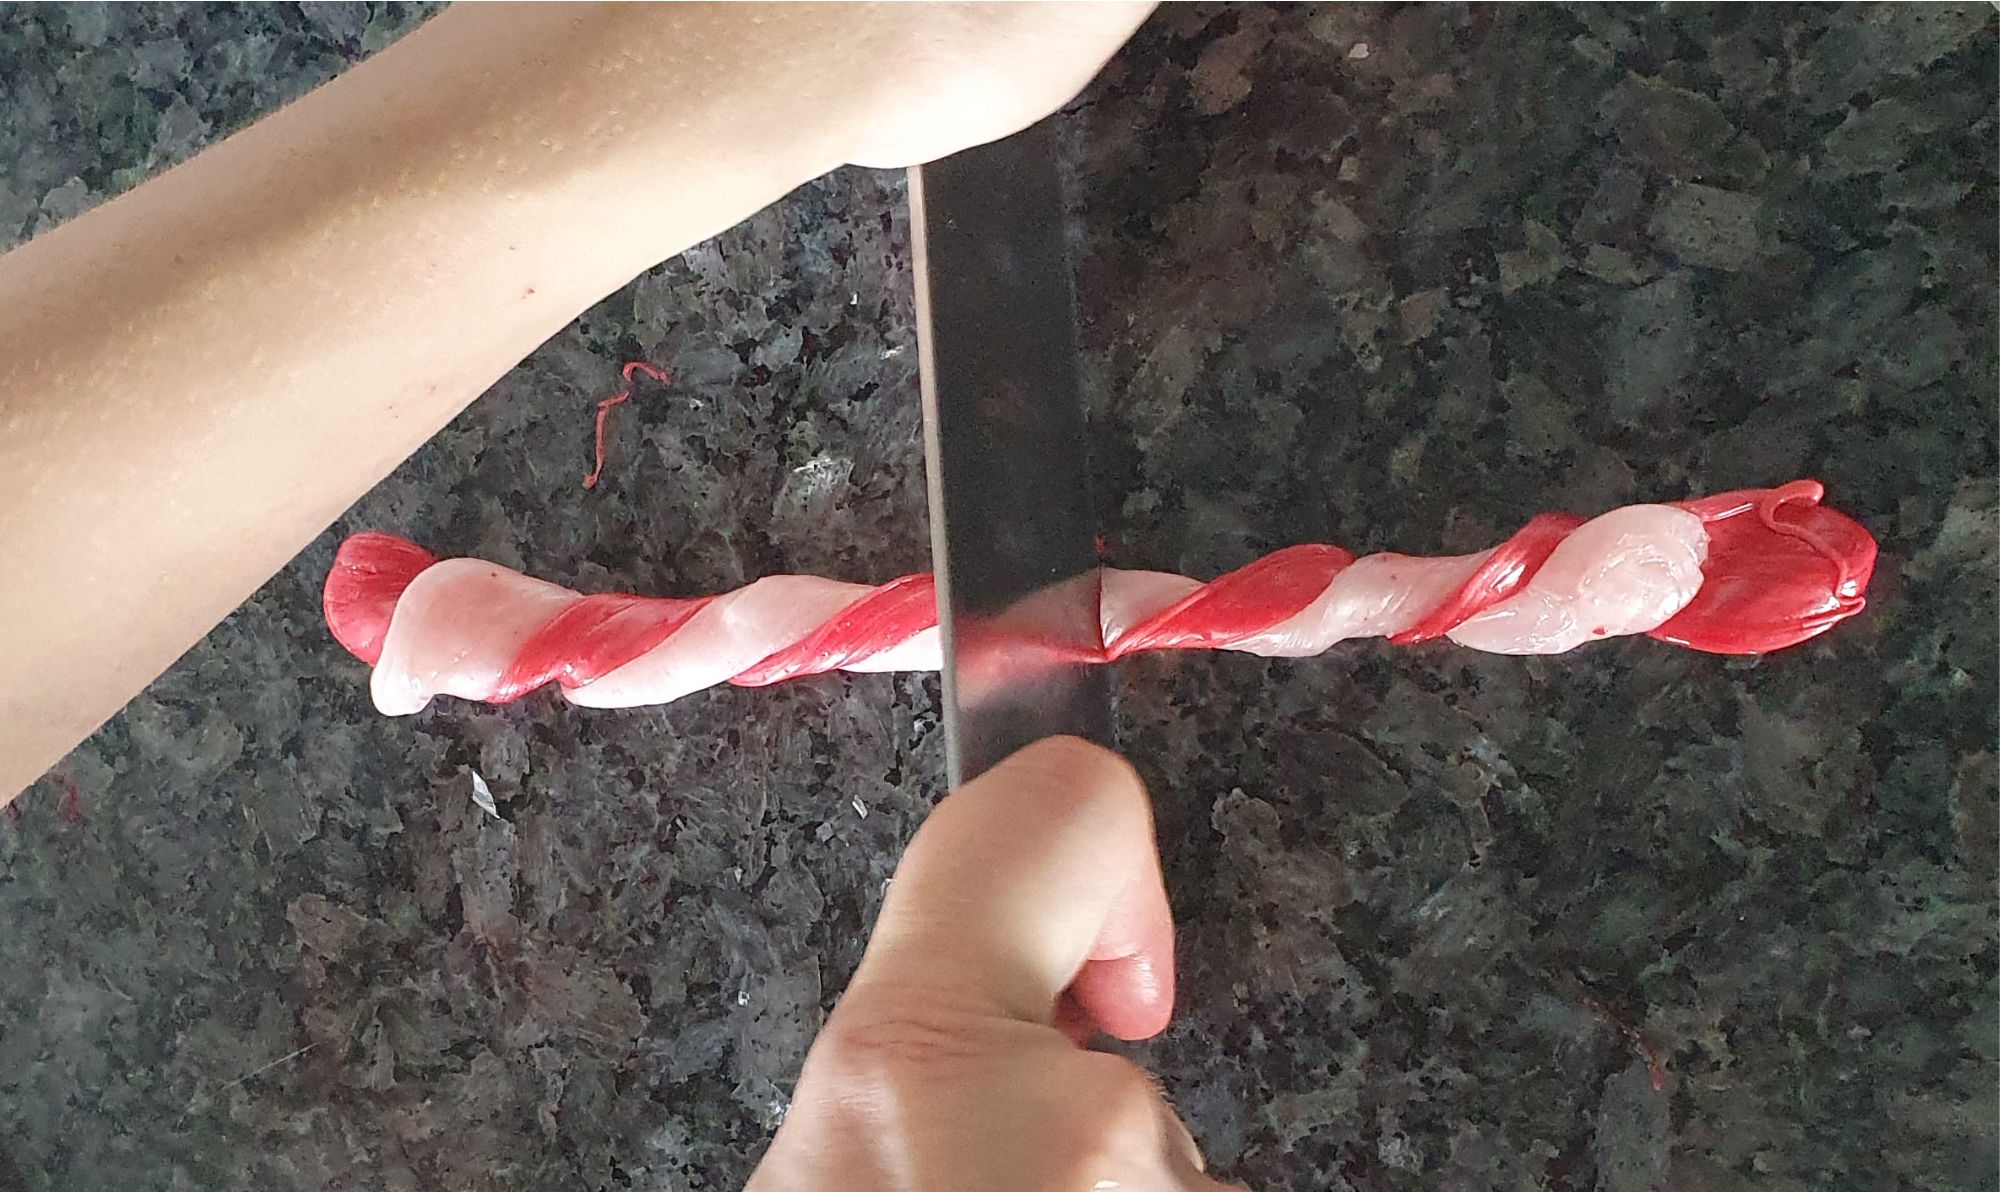

If your piece is too long, cut it in the middle before rolling it smooth. Otherwise it's hard to get the same thickness.
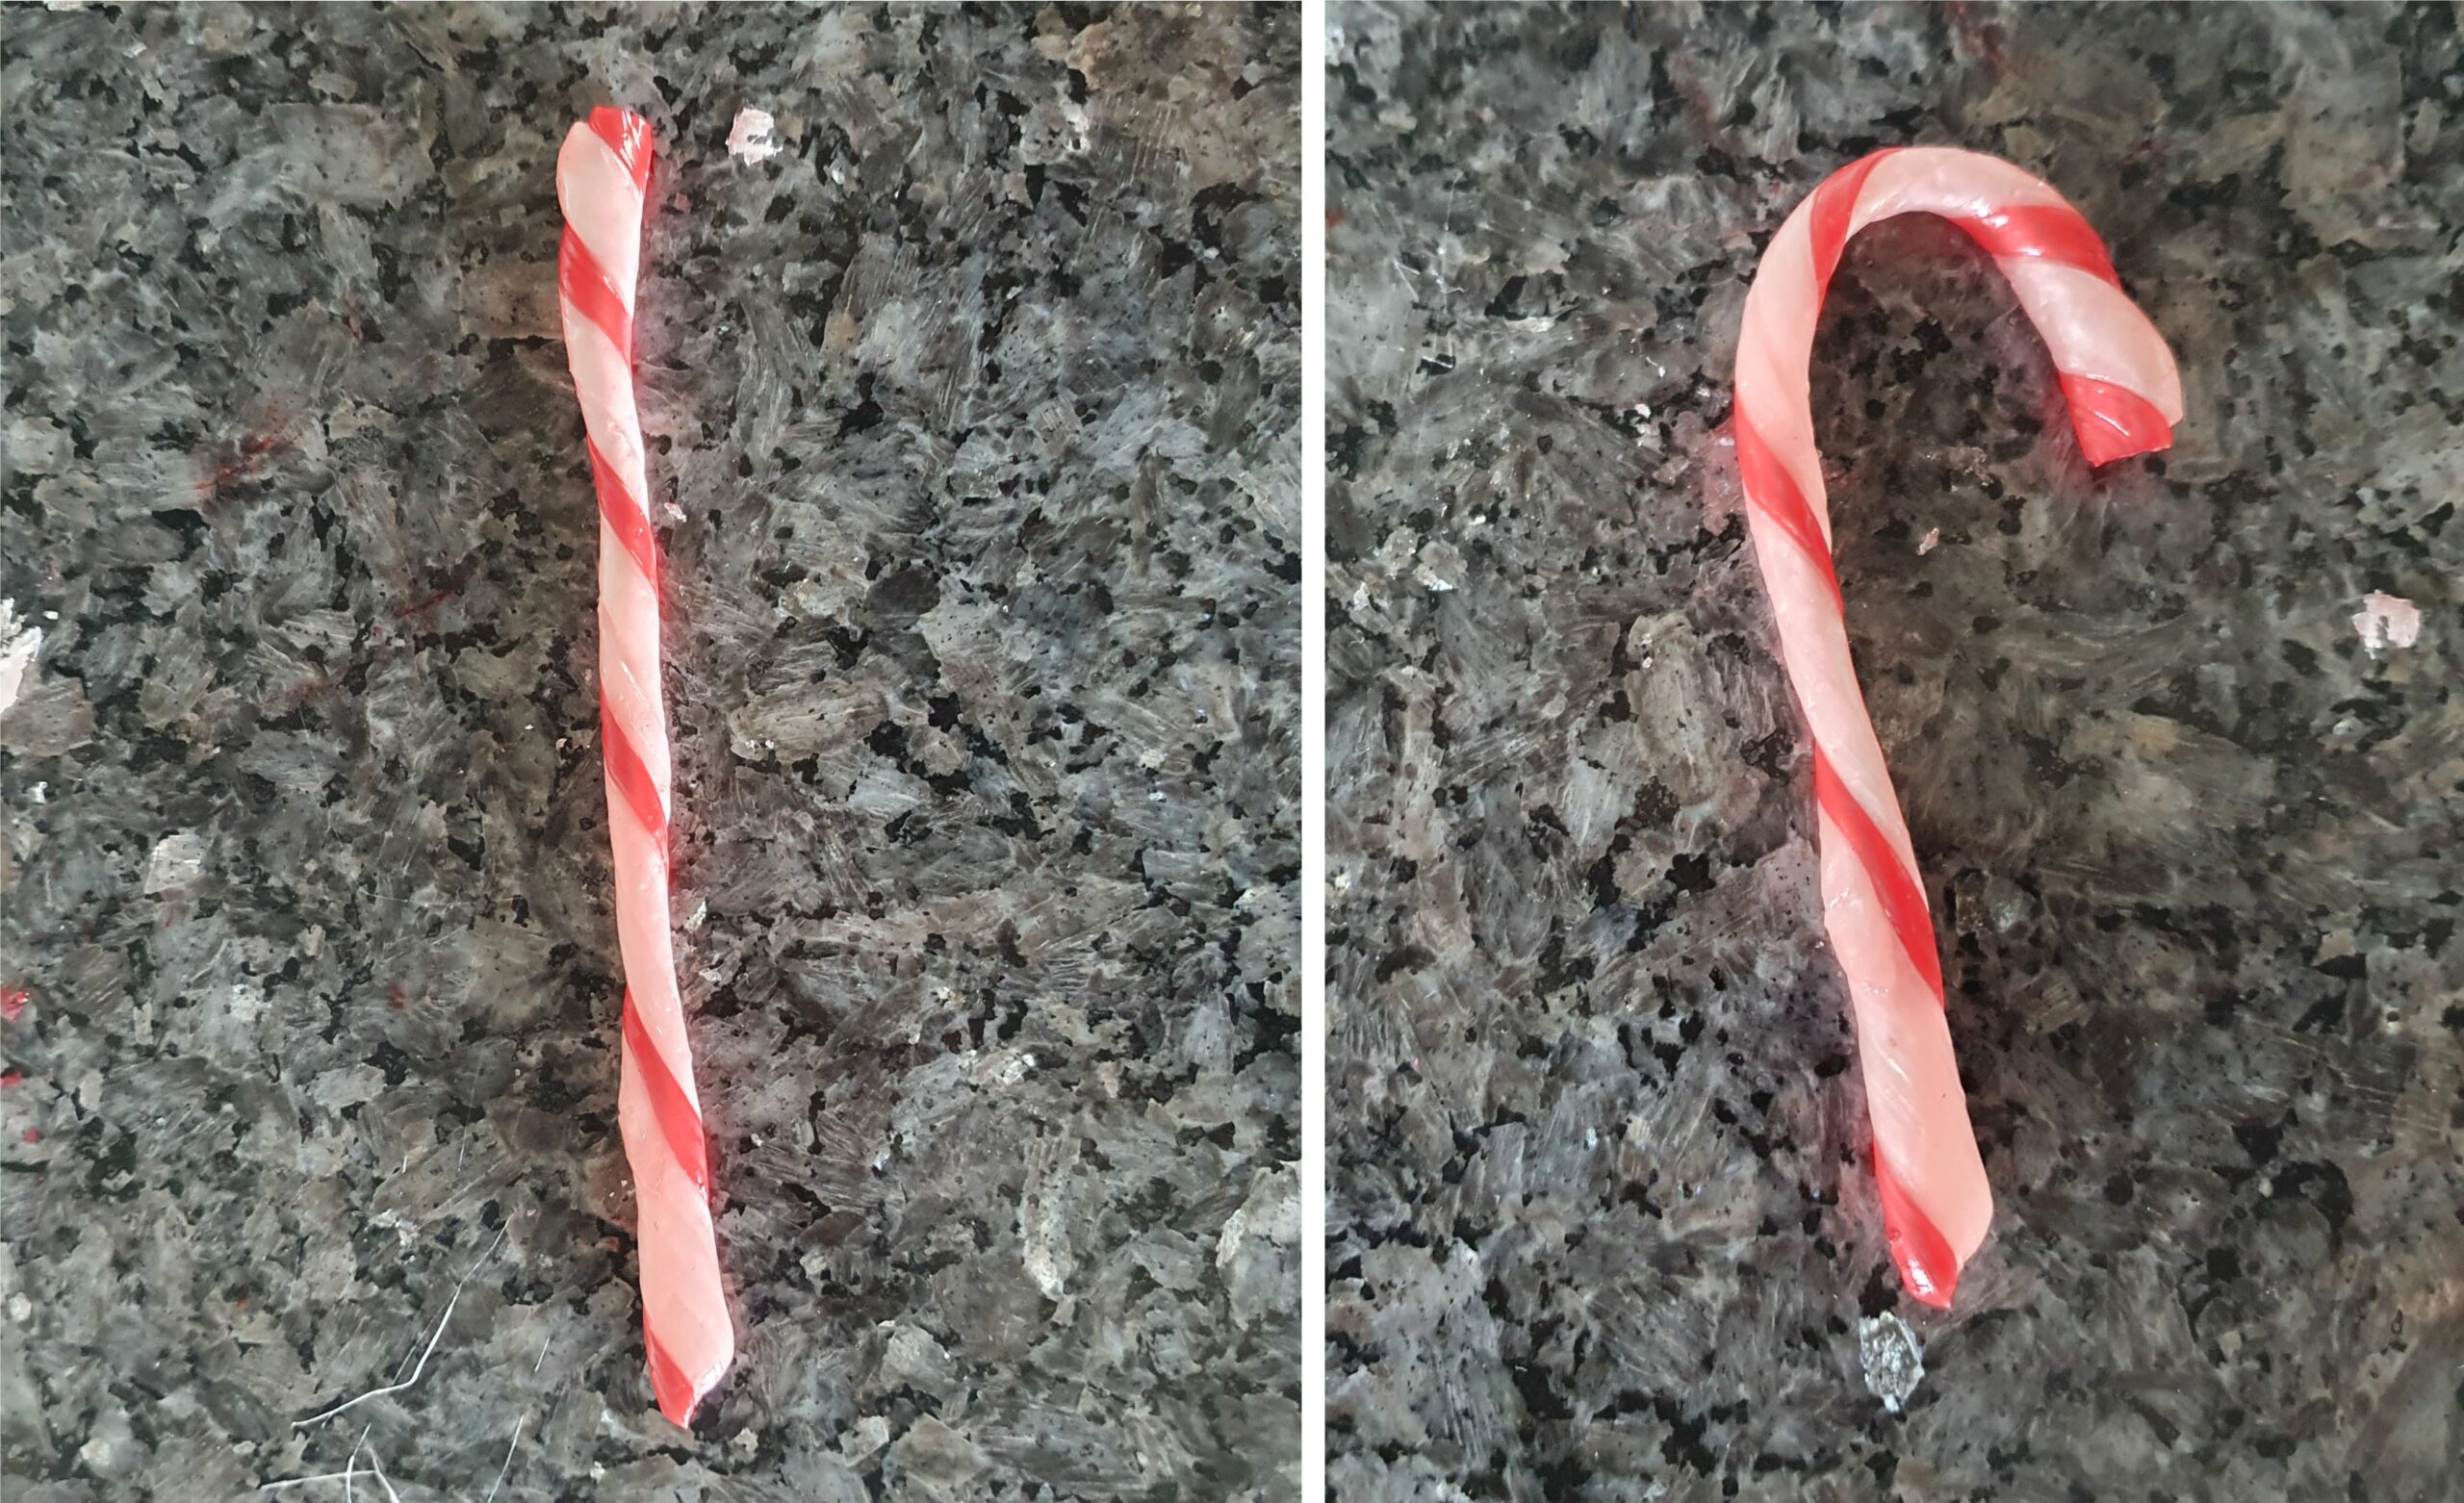

Roll it on the counter until smooth and fold it into the customary candy cane shape.
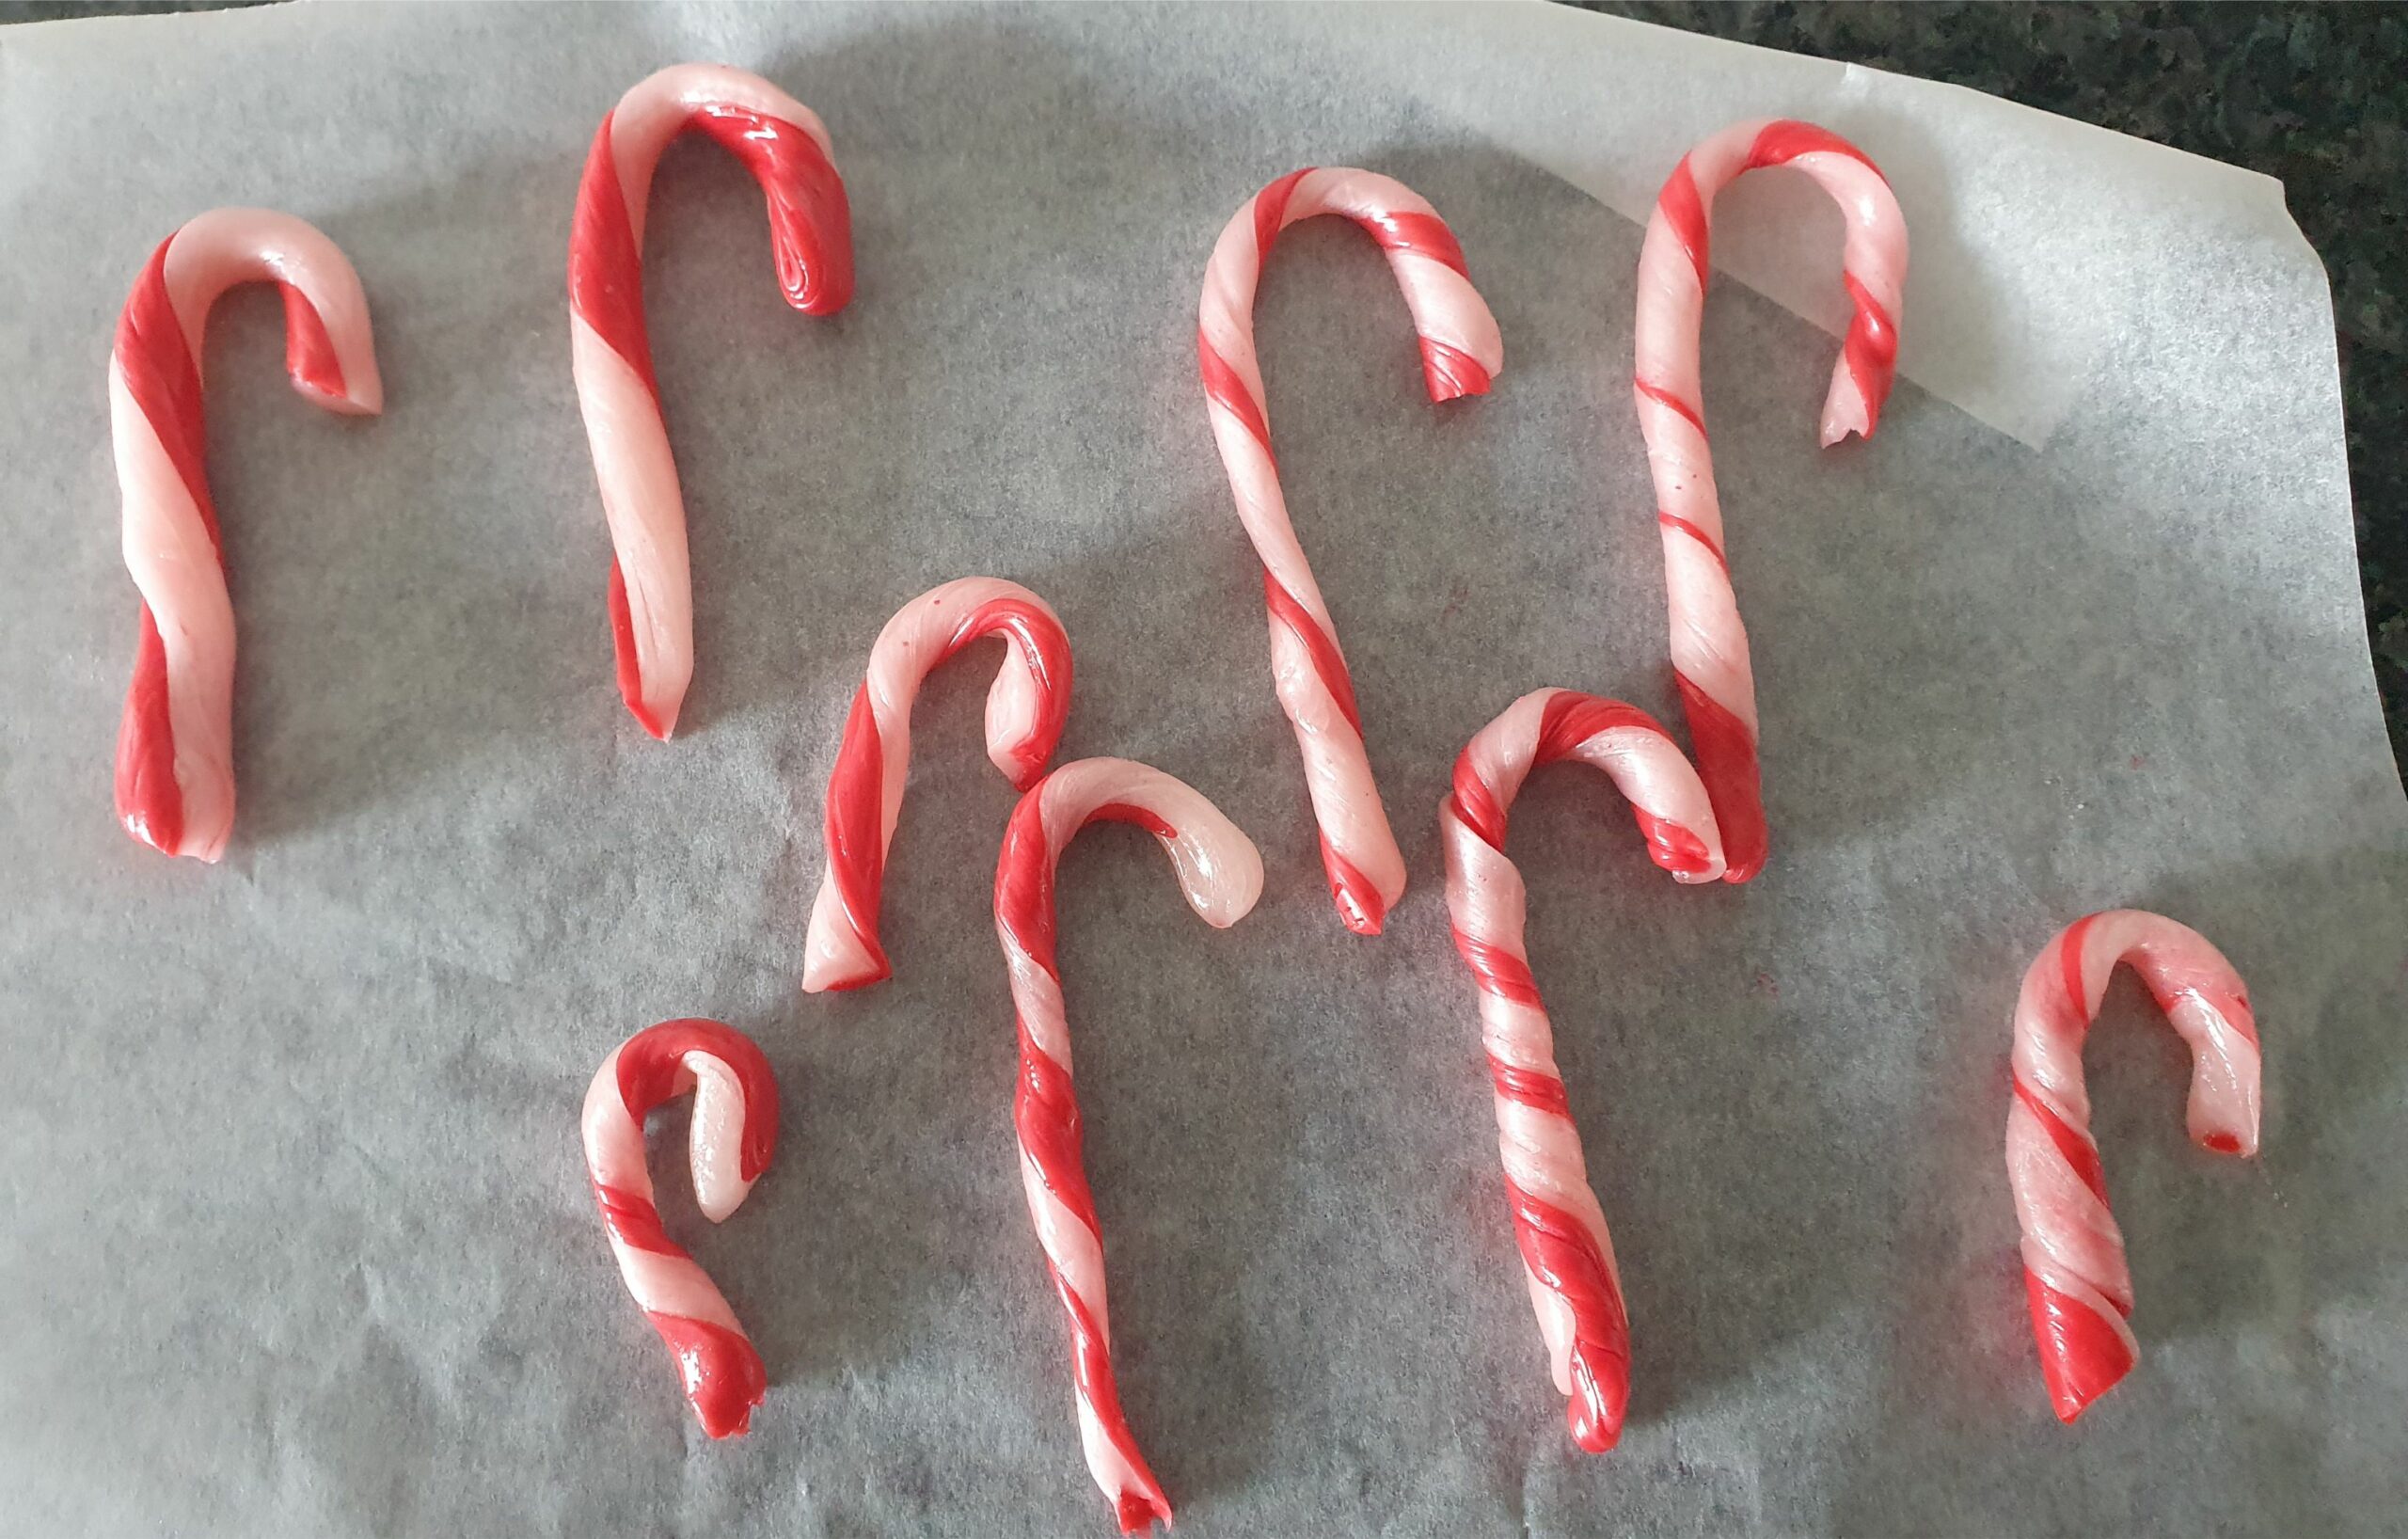

Repeat the process with another white and red piece of candy. Leave the finished candy canes to dry on a baking paper for 30min before packing them away.
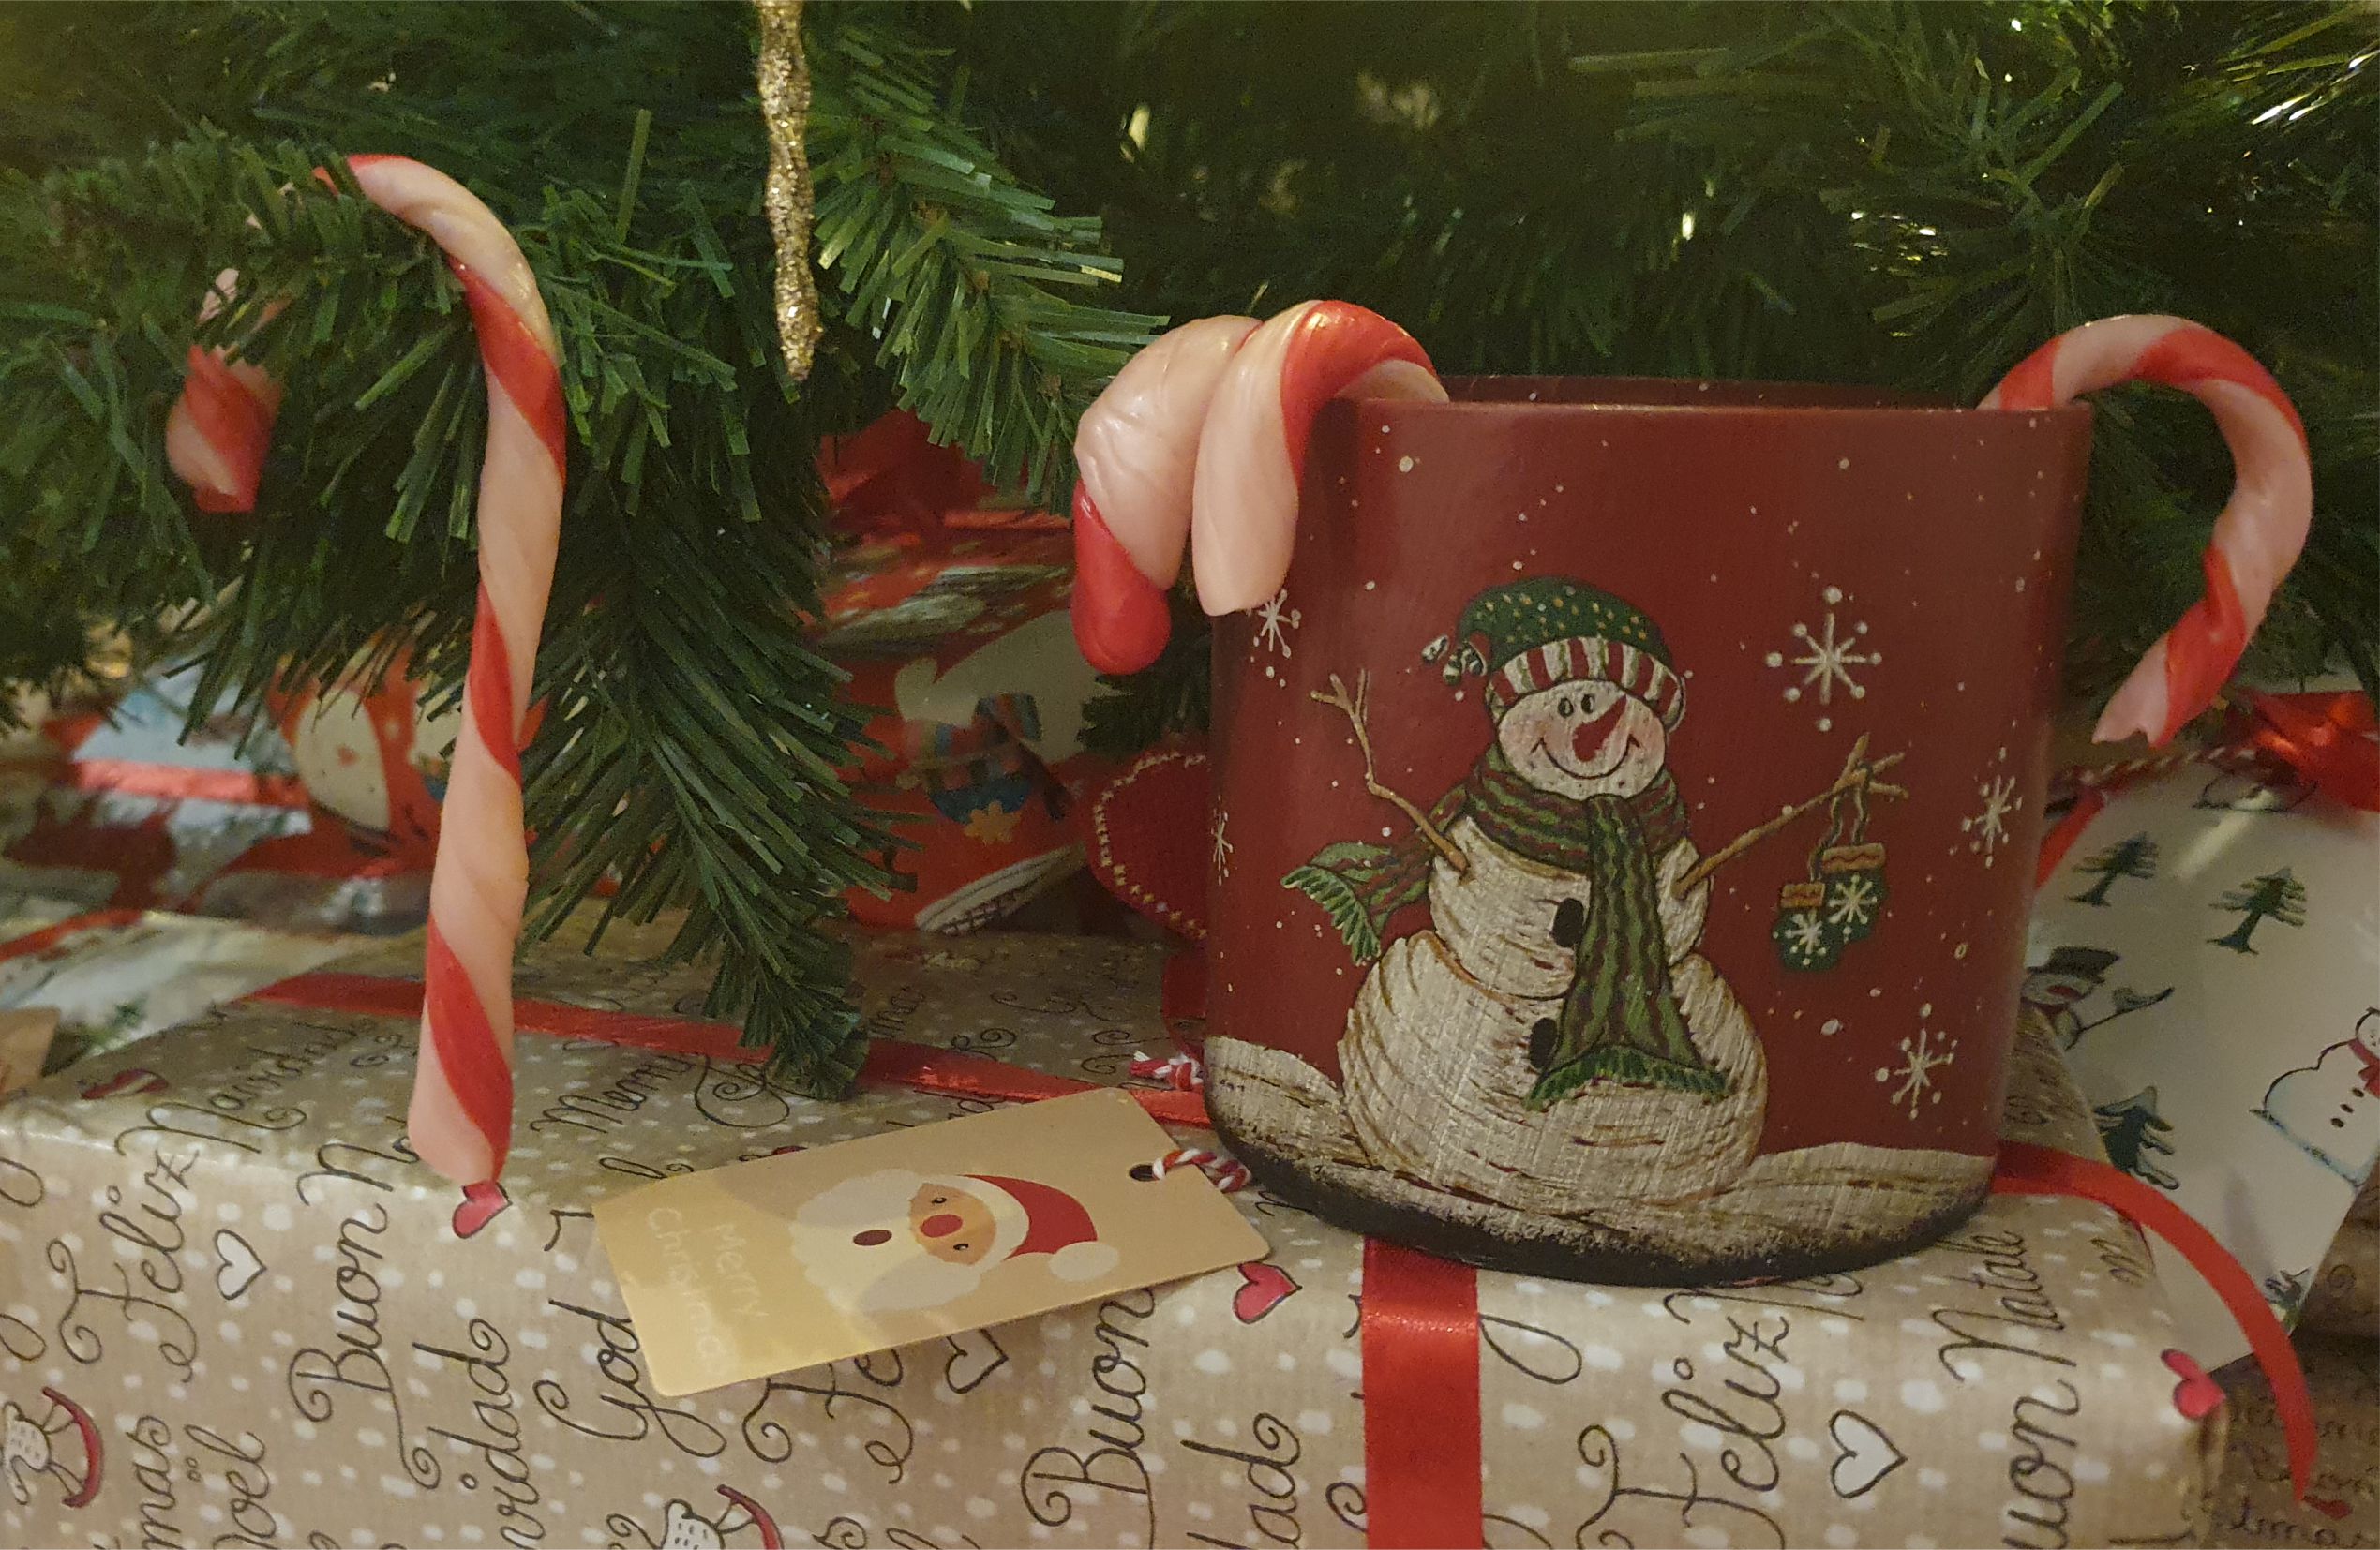

Store the candy canes in an airtight box. As long as they are not exposed to water or too much humidity in the air, they will last for a month or so. Hope you have fun with this. Merry Christmas.





Leave a Review
You must be logged in to post a comment.