

- Prep Time15 min
- Total Time1 hour 30 min
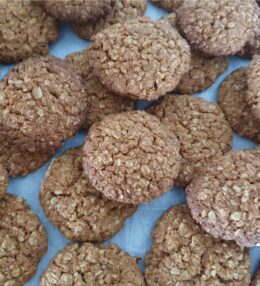
These butter cookies are perfect for Christmas, a birthday party or just as a special treat. The dough is easy to make -and even easier to roll out- so kids can do these without getting dough everywhere. This is a quite simply a great recipe for letting the kids join you in the kitchen or for letting them loose on their own…. if you dare! Just remember to help them with the hot oven. See the detailed step-by-step guide below the ingredients.
My best tips for making these butter cookies:
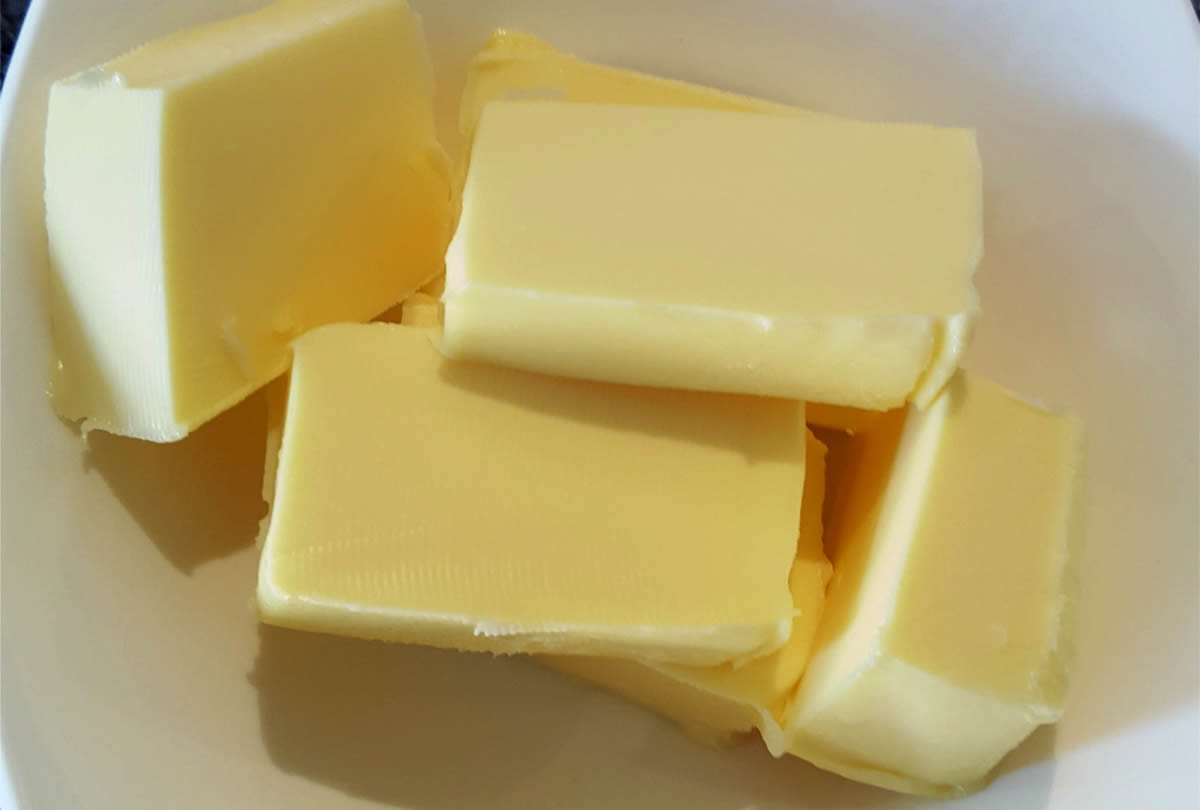
The butter should be soft. So make sure the butter has softened for about 30 min at room temperature before you start. If you have forgotten to take it out of the fridge, you can soften it slightly in the microwave for 10-15 seconds on defrost mode. The butter should just be soft -and never melted. If it melts, make sure to keep it back in the fridge until it has become solid again.
Cool the cookie dough before rolling it out. It needs to cool down in the fridge or freezer for 15-60min -depending on how (im)patient you or your kids are. The longer it stays in the fridge, the easier it is to roll out afterwards. I am not the most patient person, so I usually leave it while I do the washing up and then I continue with the recipe. It IS quite soft after 5-10 min in the fridge, but still not sticky or hard to work with. I recommend leaving it longer though.

More useful tips
Use cookie cutters. You can get a simple one on amazon.in with flowers, stars, hearts and circles. I use the largest size for these butter cookies because it makes it easier for the kids to decorate them afterwards. The Christmas tree cookie cutter is this one. Both cost less than Rs. 200 for a full set that can be used in many years to come.
The cookie dough is freezable so you can freeze half of the dough to make a batch of cookies easier the next time. Simply wrap it in cling film and put it in an airtight container or freezer bag. Store in the freezer for max 6 months before use. Keep it in the fridge for 24 hours to defrost before use.
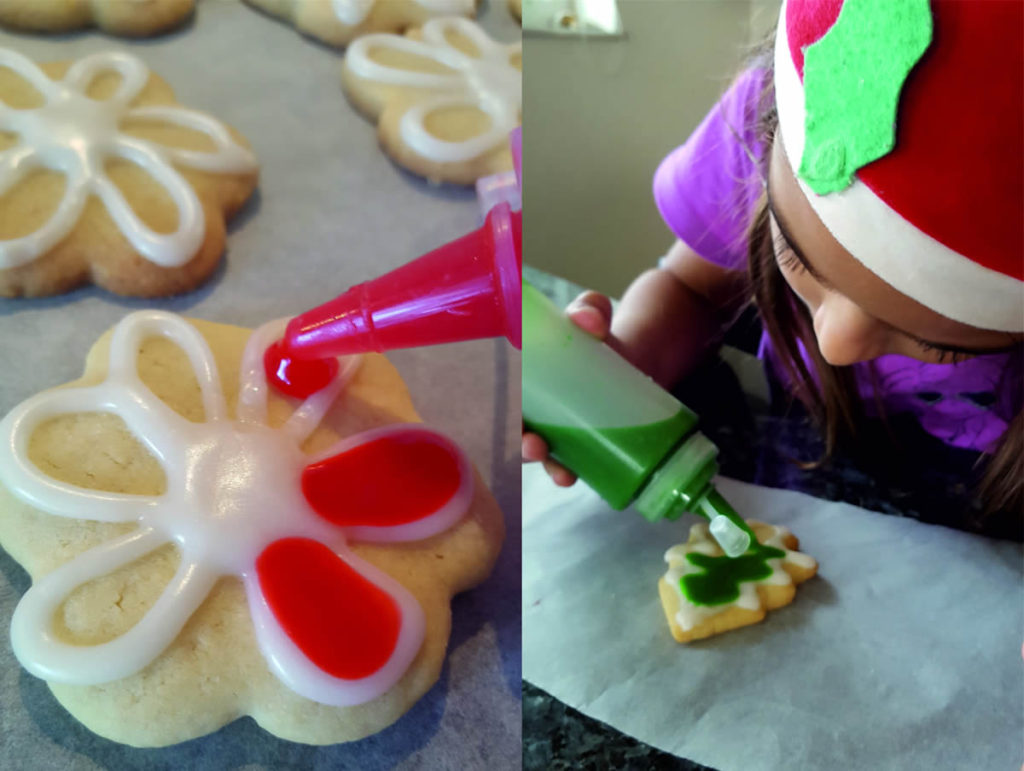
See how to use these butter cookies for edible art here.
Can you make the butter cookies without egg?
Yes, you can! Whether you are a vegetarian or you simply have run out of eggs, these butter cookies are great with or without the egg. You will not be able to taste the difference. Replace the egg with 50ml apple sauce (see how to make your own here) and 2.5ml of baking powder. Done.
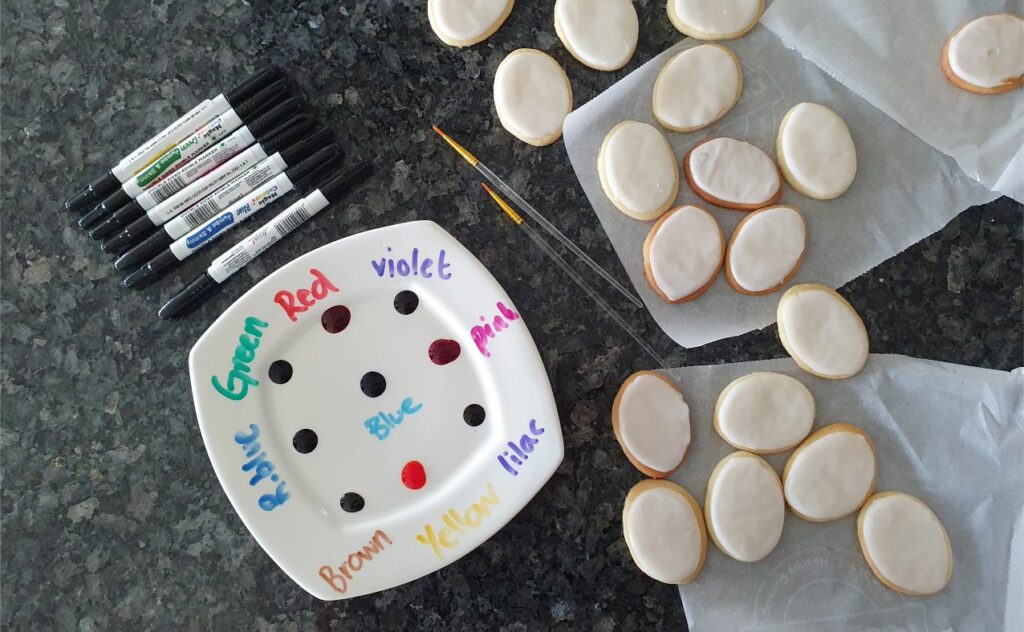
To decorate or not to decorate?
Well, that is completely up to you! These butter taste really great plain or when decorated with icing. See my eggless icing recipe and tips for decorating cookies with kids here.
Please note: I use the normal salted Amul butter for this recipe. If you prefer baking with unsalted butter, add 0.5tsp of salt instead of the pinch as mentioned in the recipe below.
Yield: About 45 large cookies.
Ingredients
Directions
Start by preheating your oven to 175 degrees Celsius.

Measure out the butter needed. If you keep your butter in the fridge -as you would-, leave it to soften outside for about half an hour. Or defrost it in the microwave for 1-2min. Remember the butter should be soft, not melted!

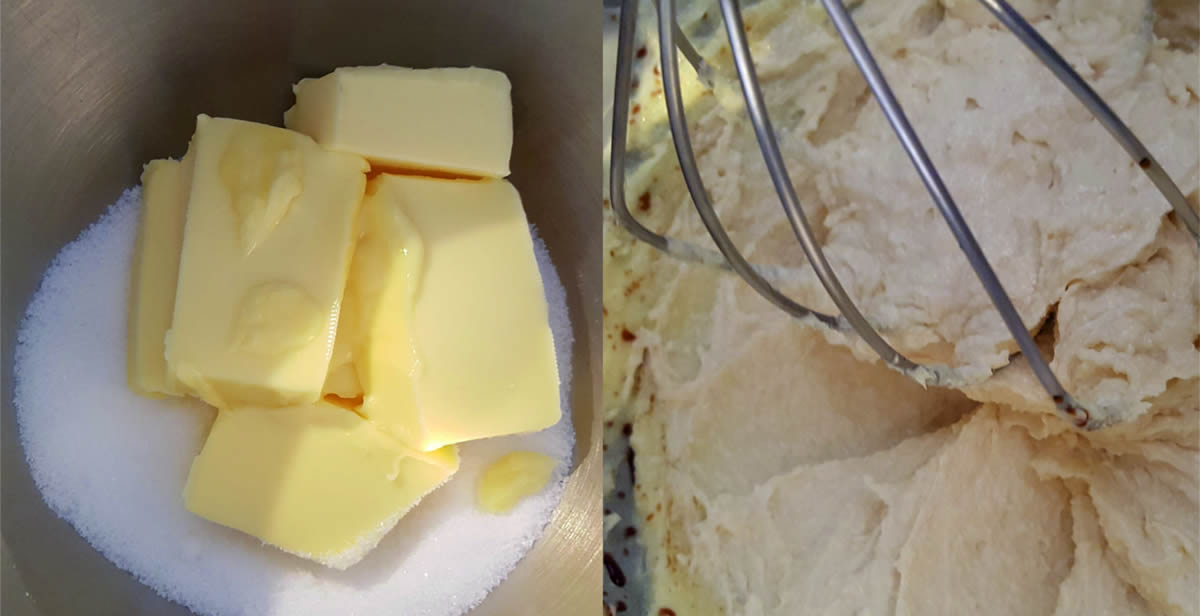
Add the soft butter to the sugar. Whisk the butter and sugar together until creamy and almost white. (this is what the professionals call creaming the butter and sugar)
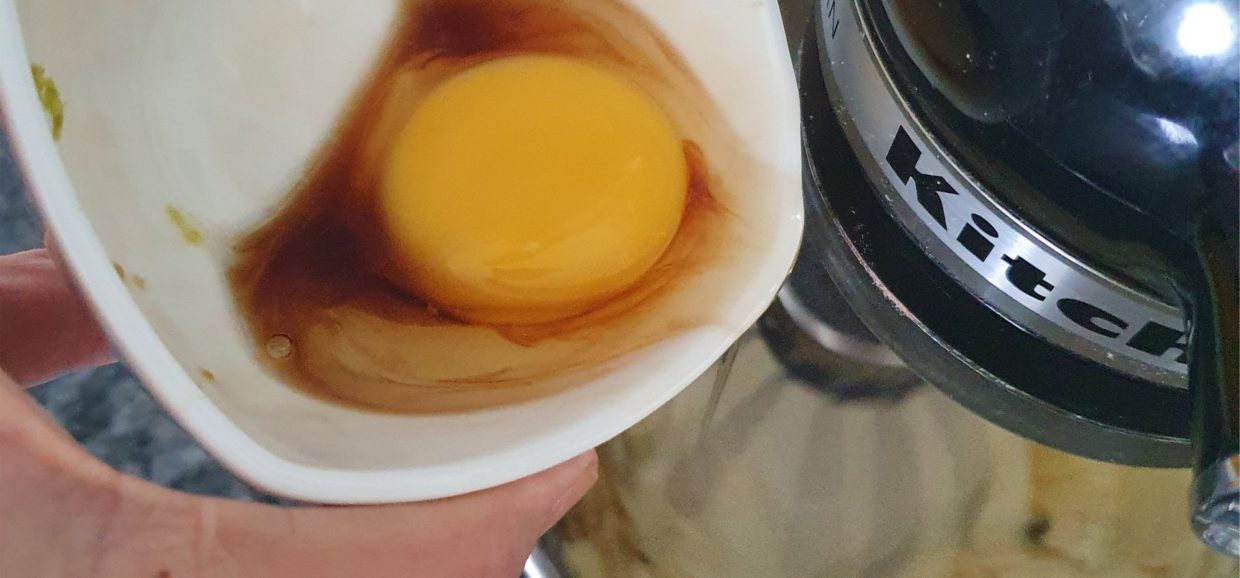
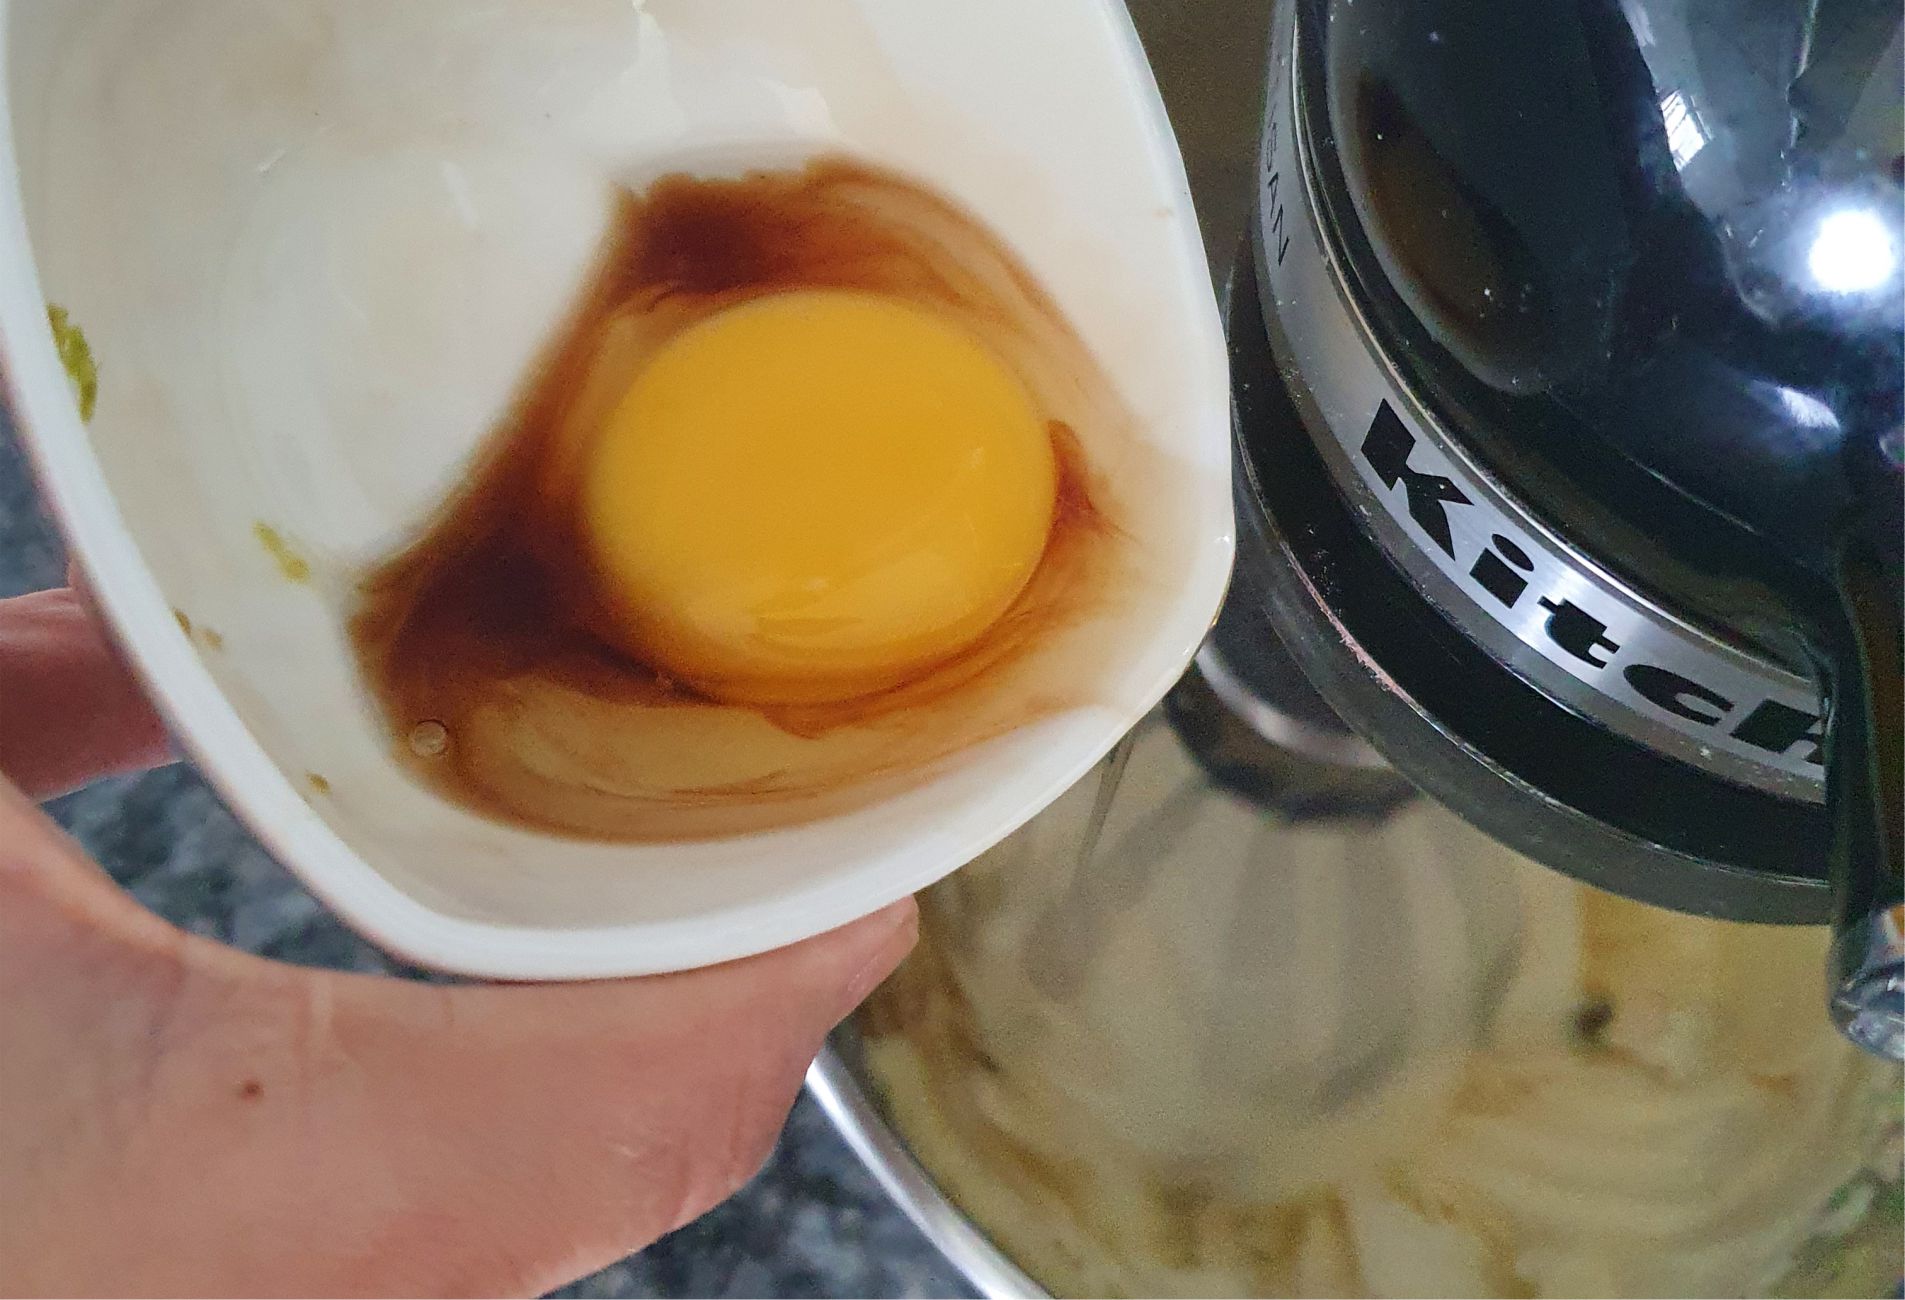
Add the vanilla extract, lime zest and egg to the butter/sugar mixture. Keep whisking.
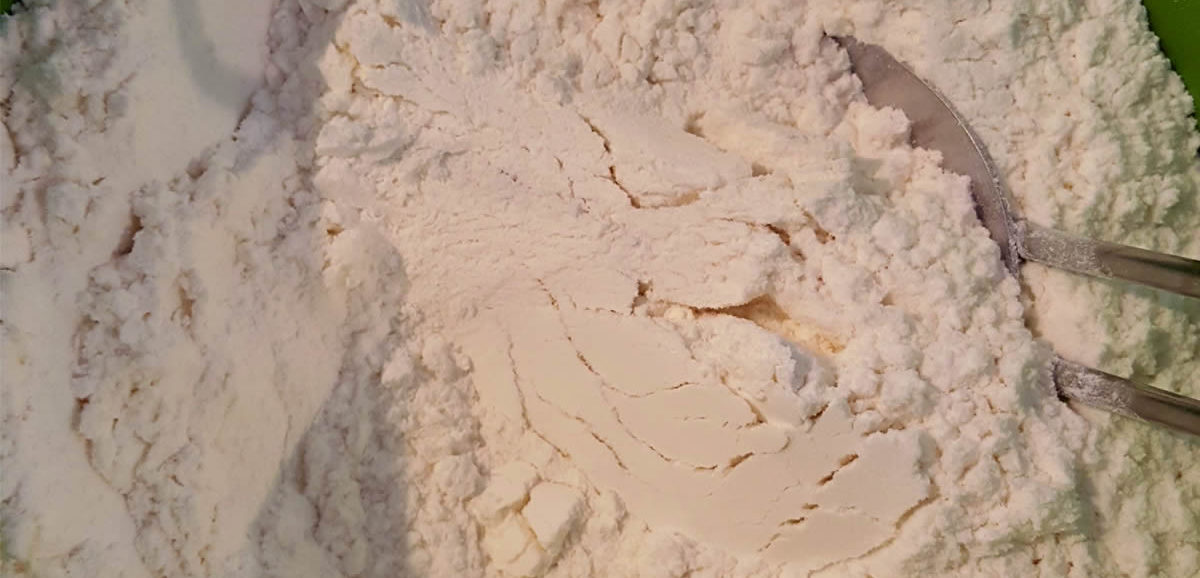
In another bowl mix the dry ingredients together; flour, baking powder and salt
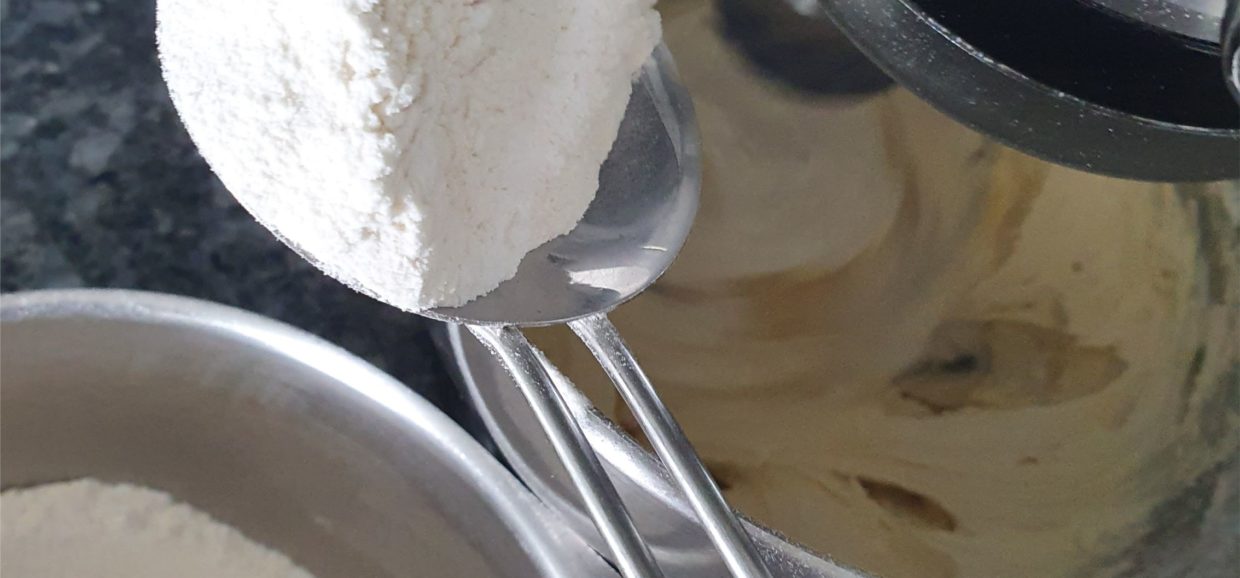
While whisking, add the flour mixture to the sugar/butter mixture one spoon at the time.

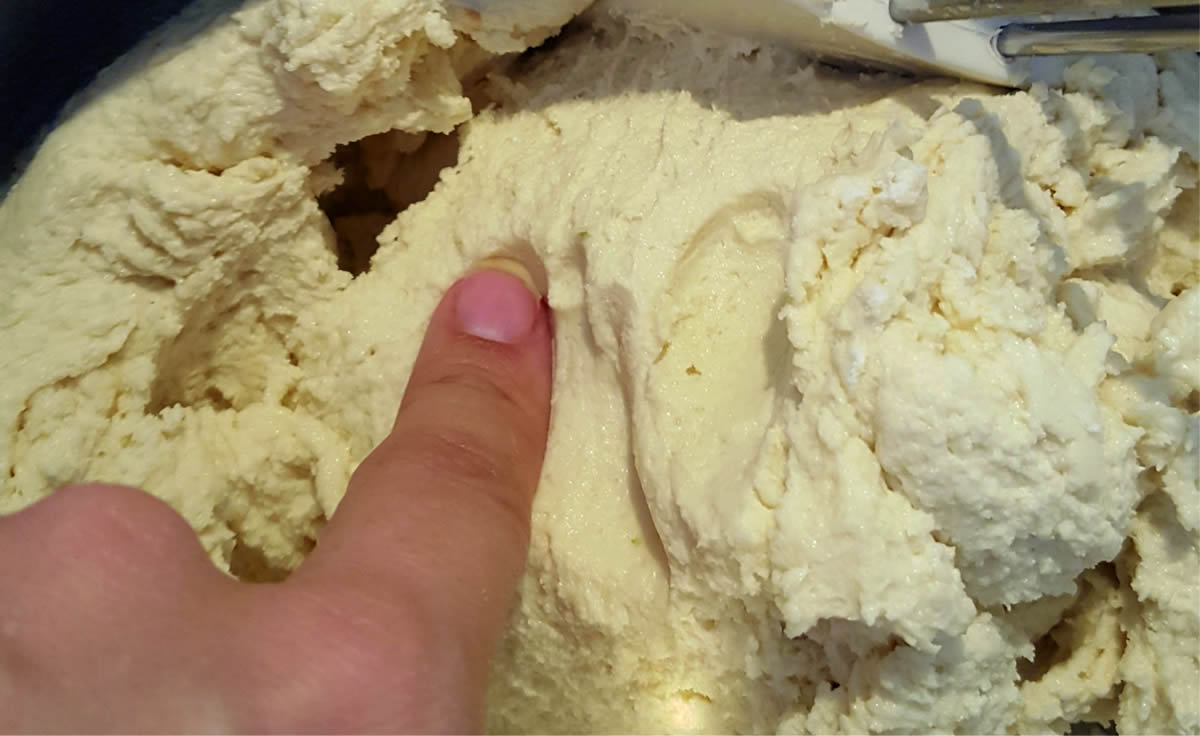
The dough is now ready. It will look quite creamy and wet, but it’s really soft. Your fingers can touch it without becoming sticky or full of dough.

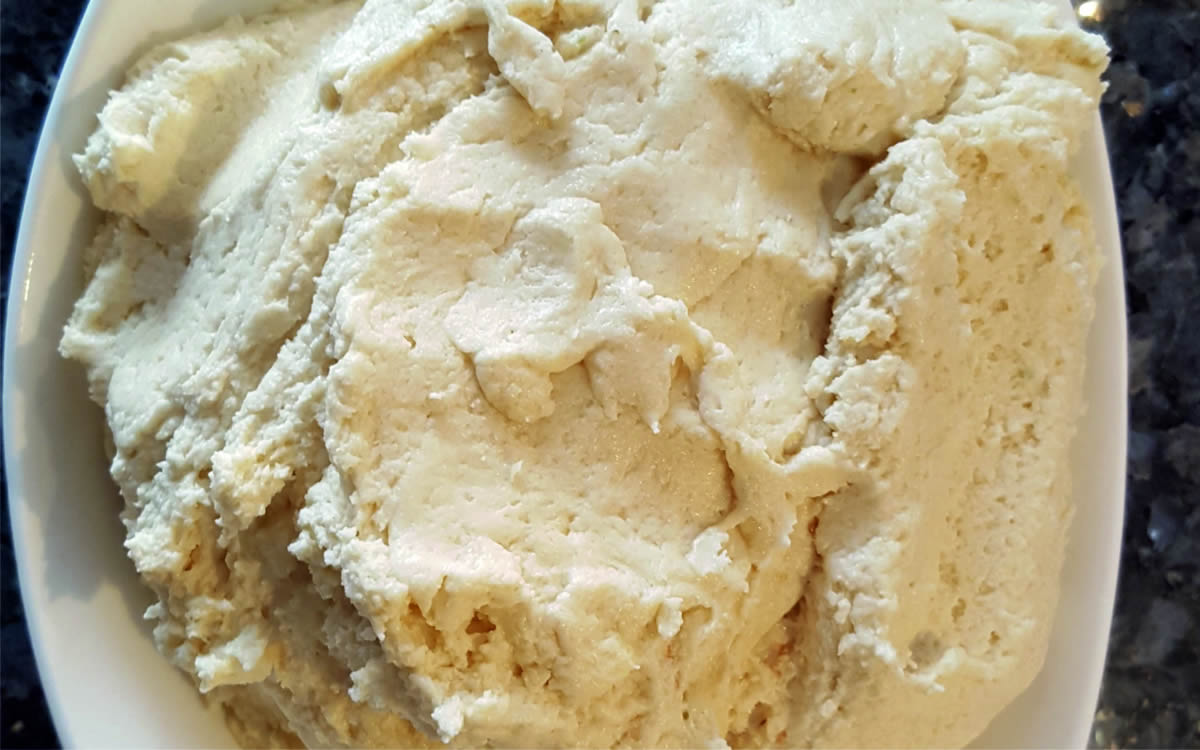
Transfer the dough to a small bowl or plate and cover with cling film or a dry cloth. It needs to cool down in the fridge or freezer for 15-60min -depending on how (im)patient you or your kids are… The longer it stays in the fridge, the easier it is to roll out afterwards. I am not the most patient person, so I usually leave it while I do the washing up and then I continue with the recipe. It IS quite soft after 5-10 min in the fridge, but still not sticky or hard to work with. I recommend leaving it longer though.
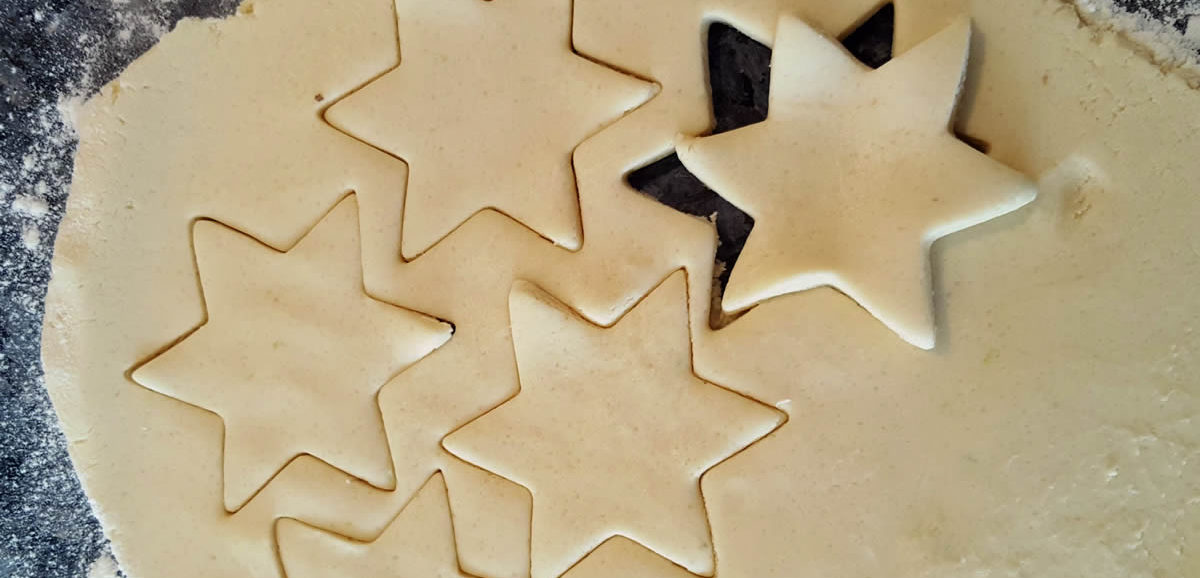
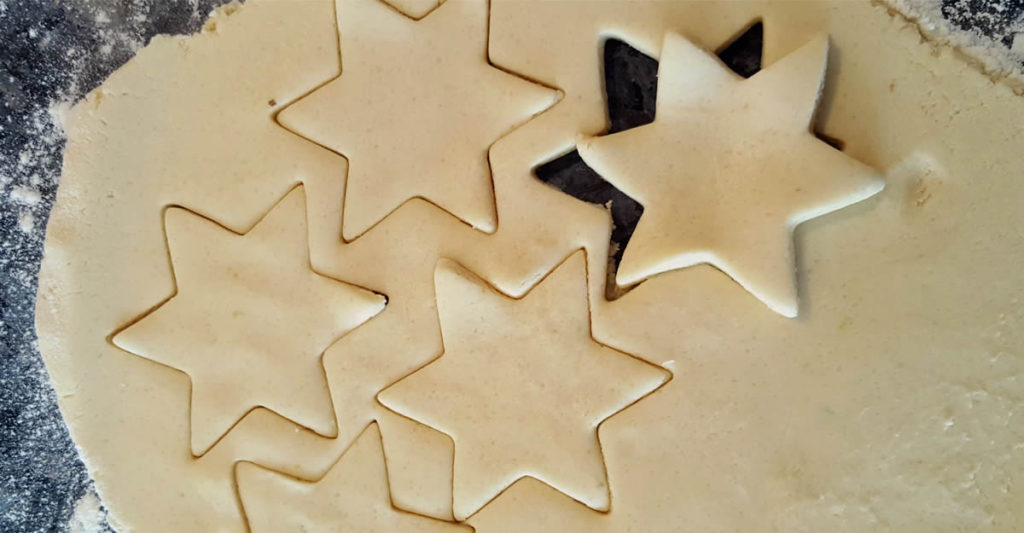
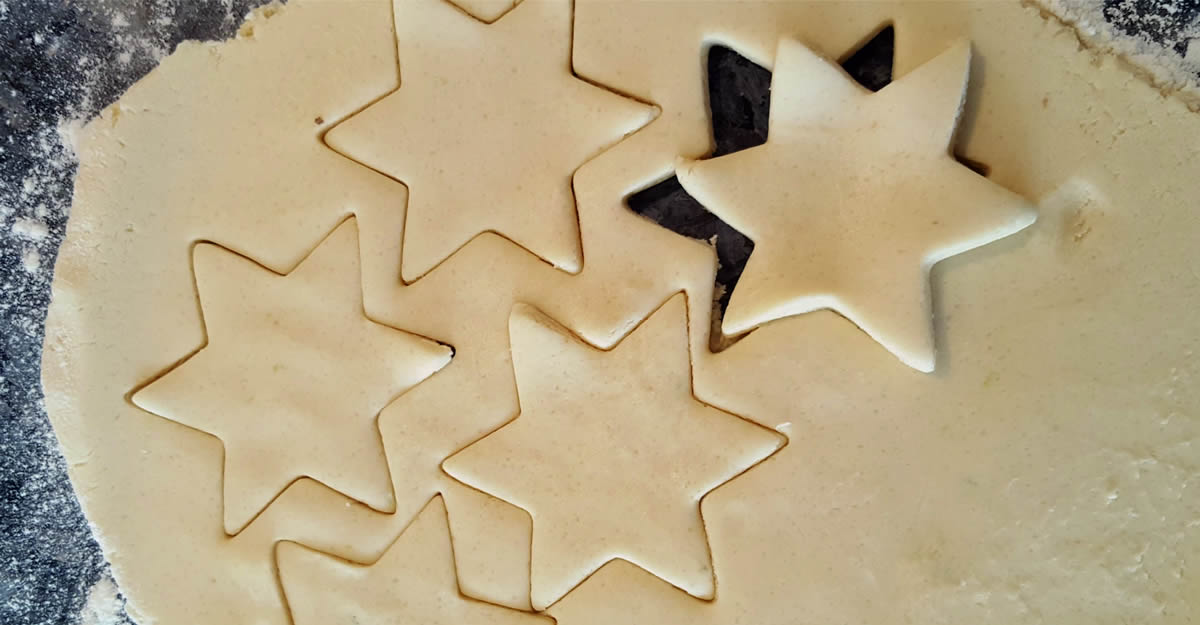
Sprinkle a little flour on your clean kitchen counter and roll out the cookie dough using a rolling pin. It should be about 4-5 mm thick.

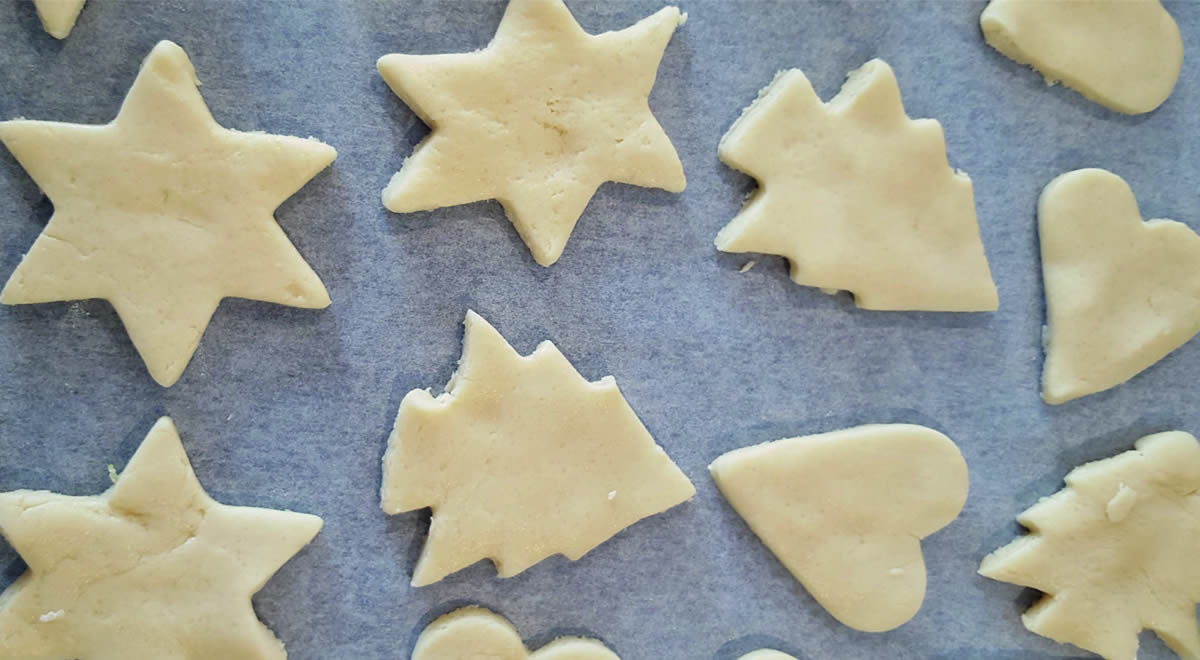
Using a cookie cutter of your own choice, cut out the cookies and transfer them to a baking sheet. Keep rolling out the dough and cutting the cookies until all the dough is used. You will need 3-4 baking papers for the full batch depending on your oven size. Remember not to put them too close together as they will rise in the oven. You can also freeze half of the dough to make a batch of cookies easier the next time. Simply wrap it in cling film and put it in an airtight container or freezer bag. Store in the freezer for max 6 months before use. Keep it in the fridge for 24 hours to defrost.

Bake in the oven for 10-13 min. depending on your oven. Keep an eye on them. When they start to turn light brown around the edges, they are done.

Let them cool down before storing in an airtight container. They will keep for up to 2 weeks. Happy baking! If you try this recipe, please leave a comment below letting me know how you like it. And if you make any modifications, I’d love to hear about those, too! We can all benefit from your experience.


Leave a Review
You must be logged in to post a comment.