
- Prep Time20min
- Total Time1 hour + 12 hours to dry
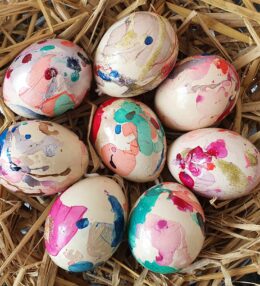
Eggshell Mosaic Art is a fun creative activity for everyone -no matter the age. Small kids, teenagers and adults alike can have fun with this project. It’s also a cheap best out of waste project as you are using cleaned eggshells that would otherwise go to waste.
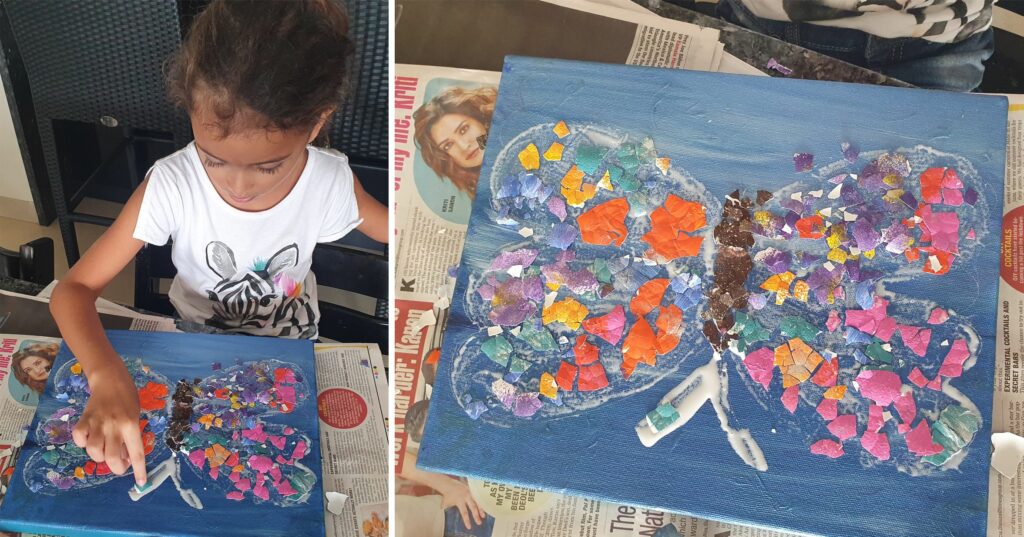
I like to take it a step further and use old canvas boards for this too. You know, the ones that have been painted on but never made the cut to get hung up or used in any way. This way we get to reuse them and the previous blobs of paint get hidden behind the eggshells. We have done this for the butterfly eggshell art later in this post.
This article will show you how to go ahead with this project, what materials you will need and my best tips on how to do this with kids… without wanting to tear your hair out in the process 😉 We made our first eggshell mosaic art 10 years ago so this post has been pending for quite some time now.
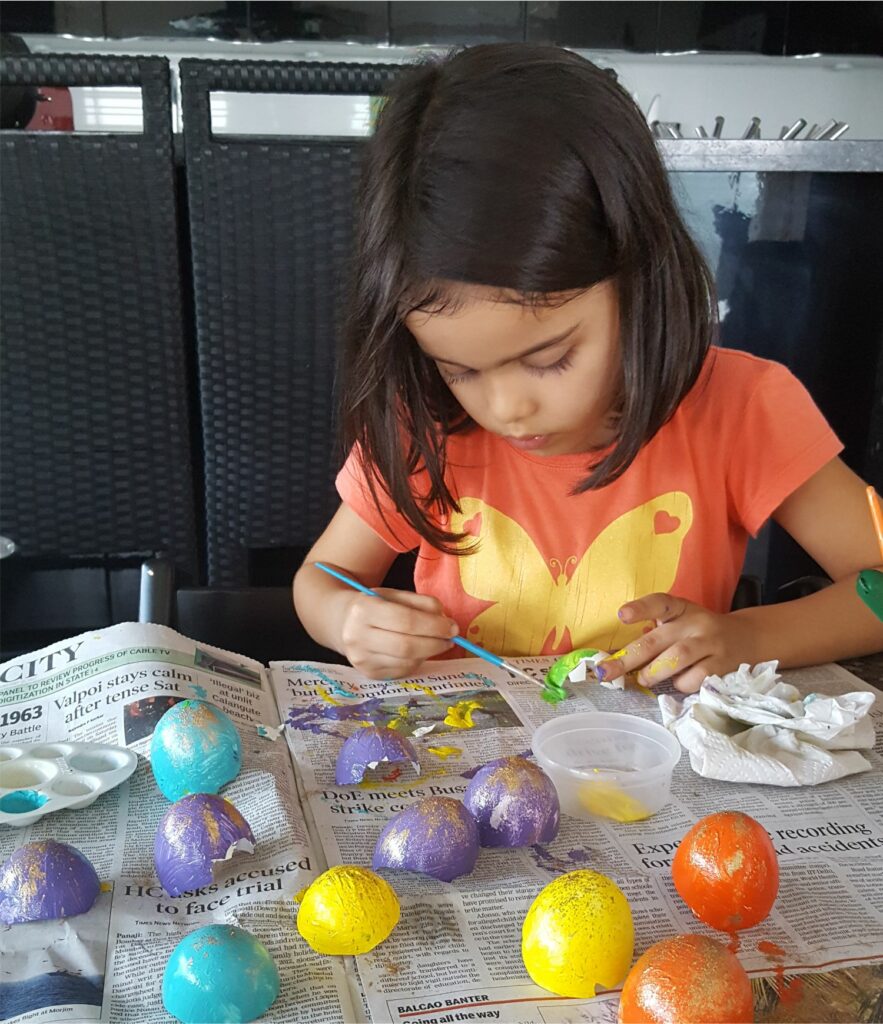
This is my daughter making her first eggshell mosaic painting for a school project at the age of 3.
What do you need to make Eggshell Mosaic Art?
Cleaned Eggshells
I save the eggshells while I am baking. I use a lot of eggs when I bake for our restaurant, so I can easily collect 40 half eggshells in a day. If you don’t use 20 eggs in a day, don’t worry. Less is more than enough. If you make an omelet or a cake, save the eggs and you can start with those. You will need 4-6 eggs to start with the smaller projects like the rainbow, the tree and the leaf below.
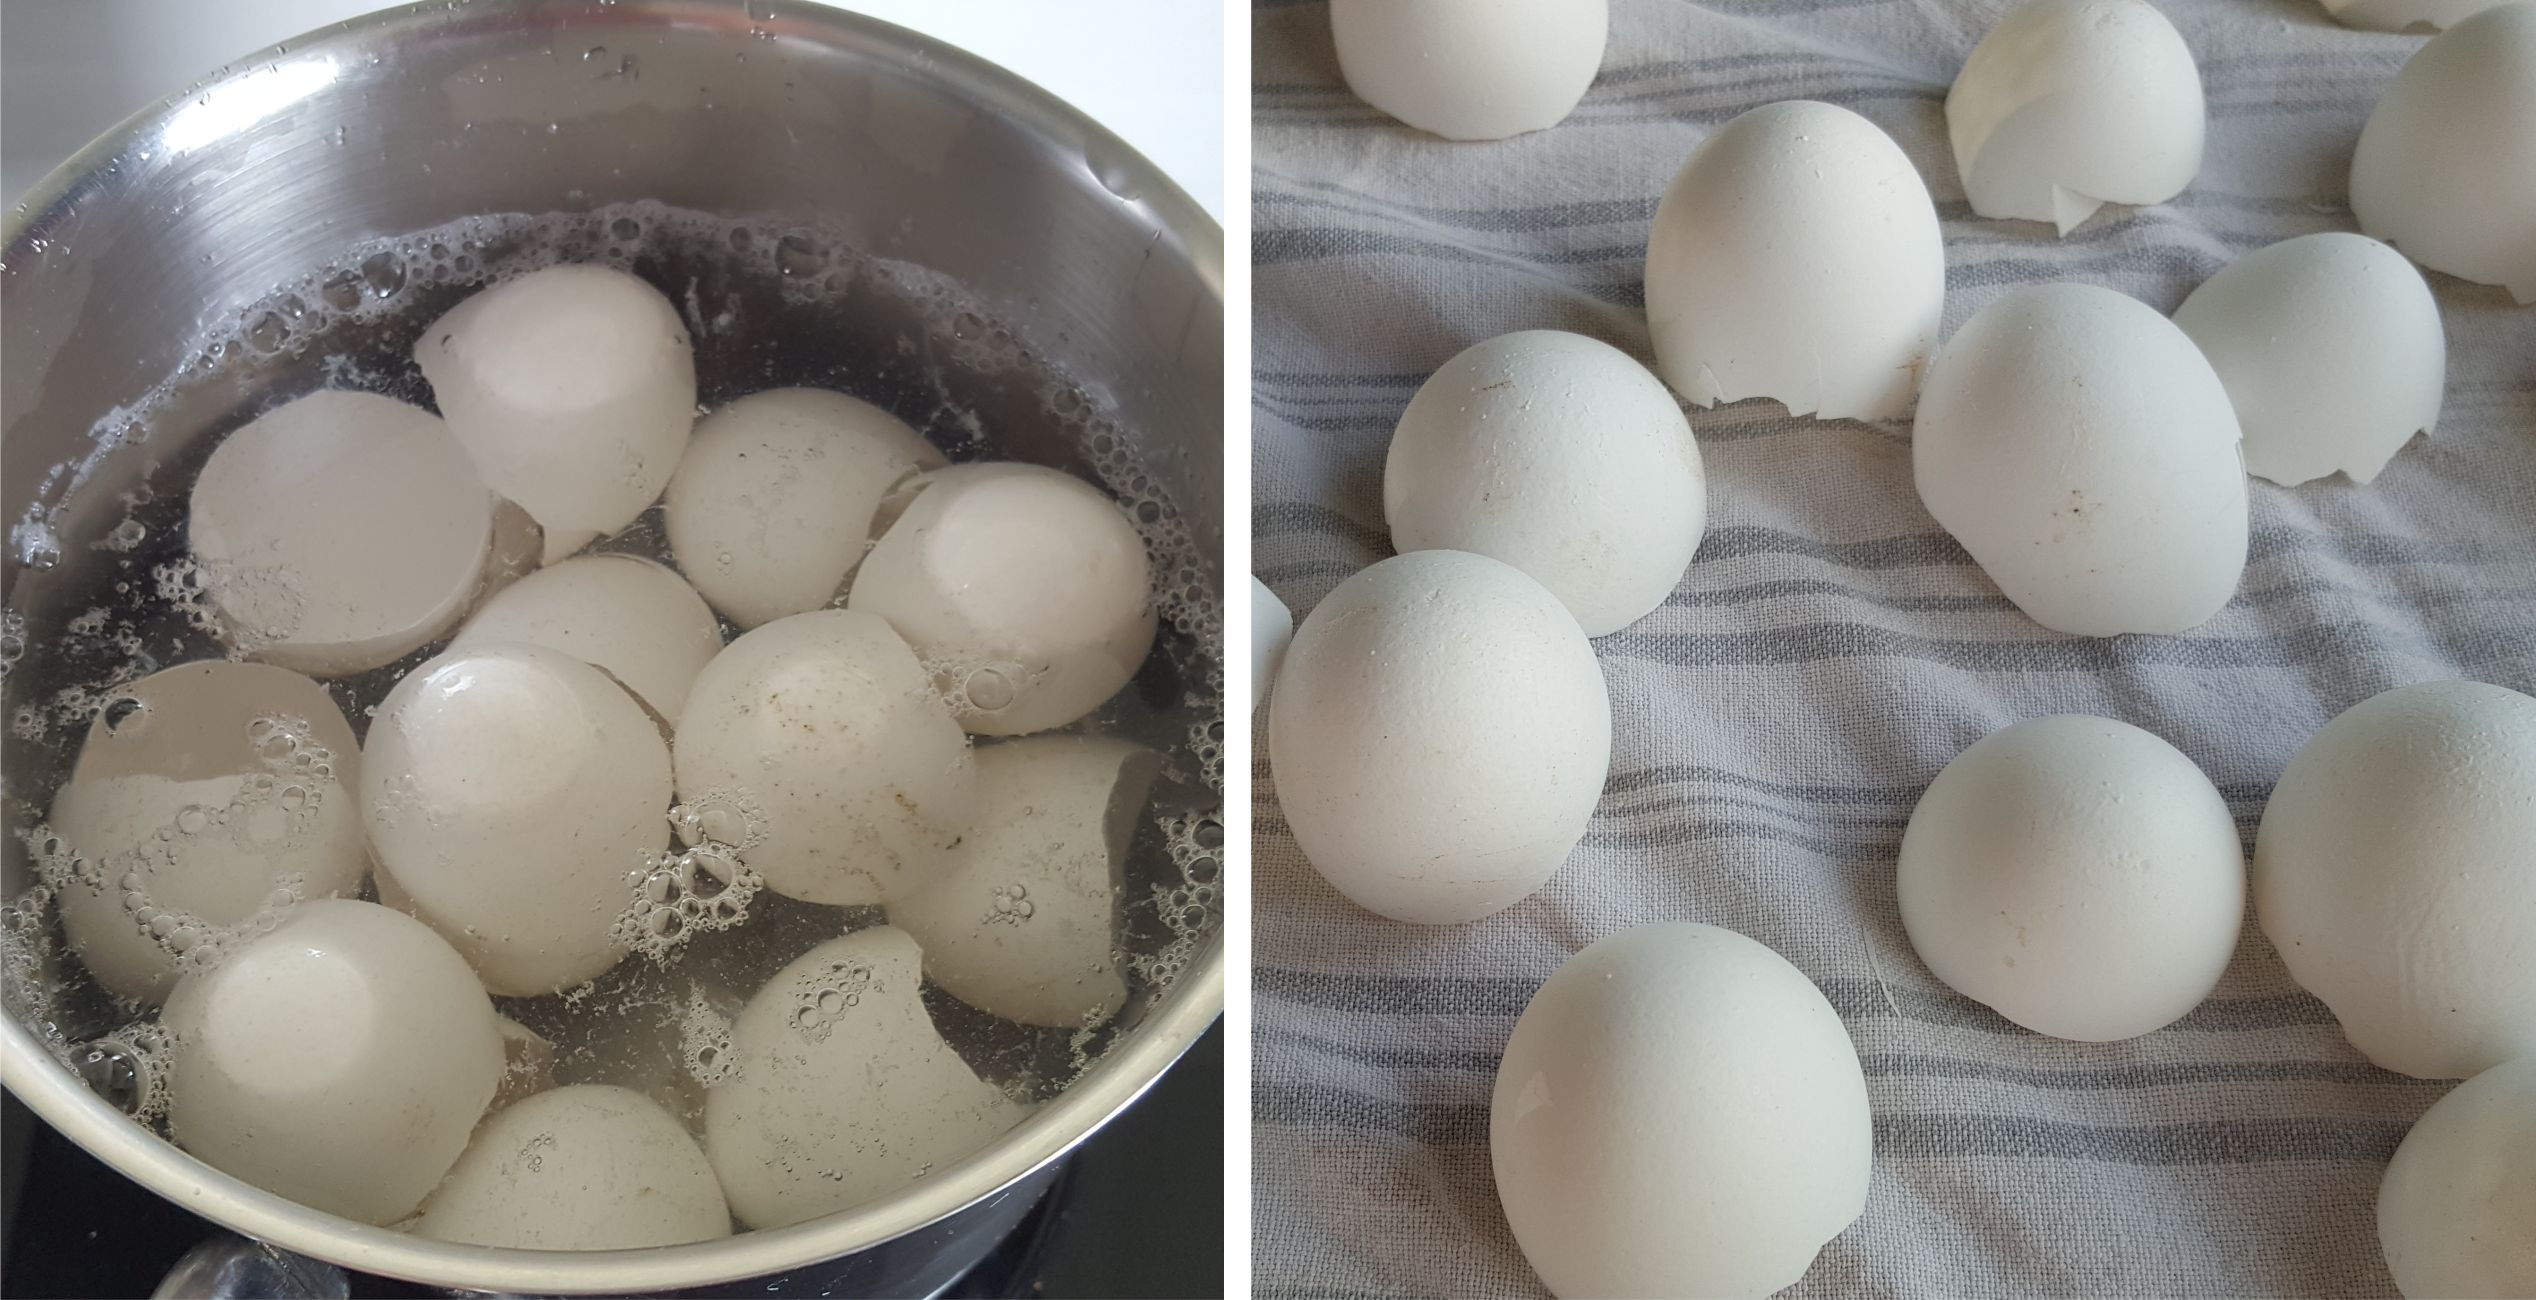
Boil the eggshells for 5-10 minutes and rinse them in cold water afterwards to remove the bits of boiled egg.
Acrylic Paint + sponge/ paint brush
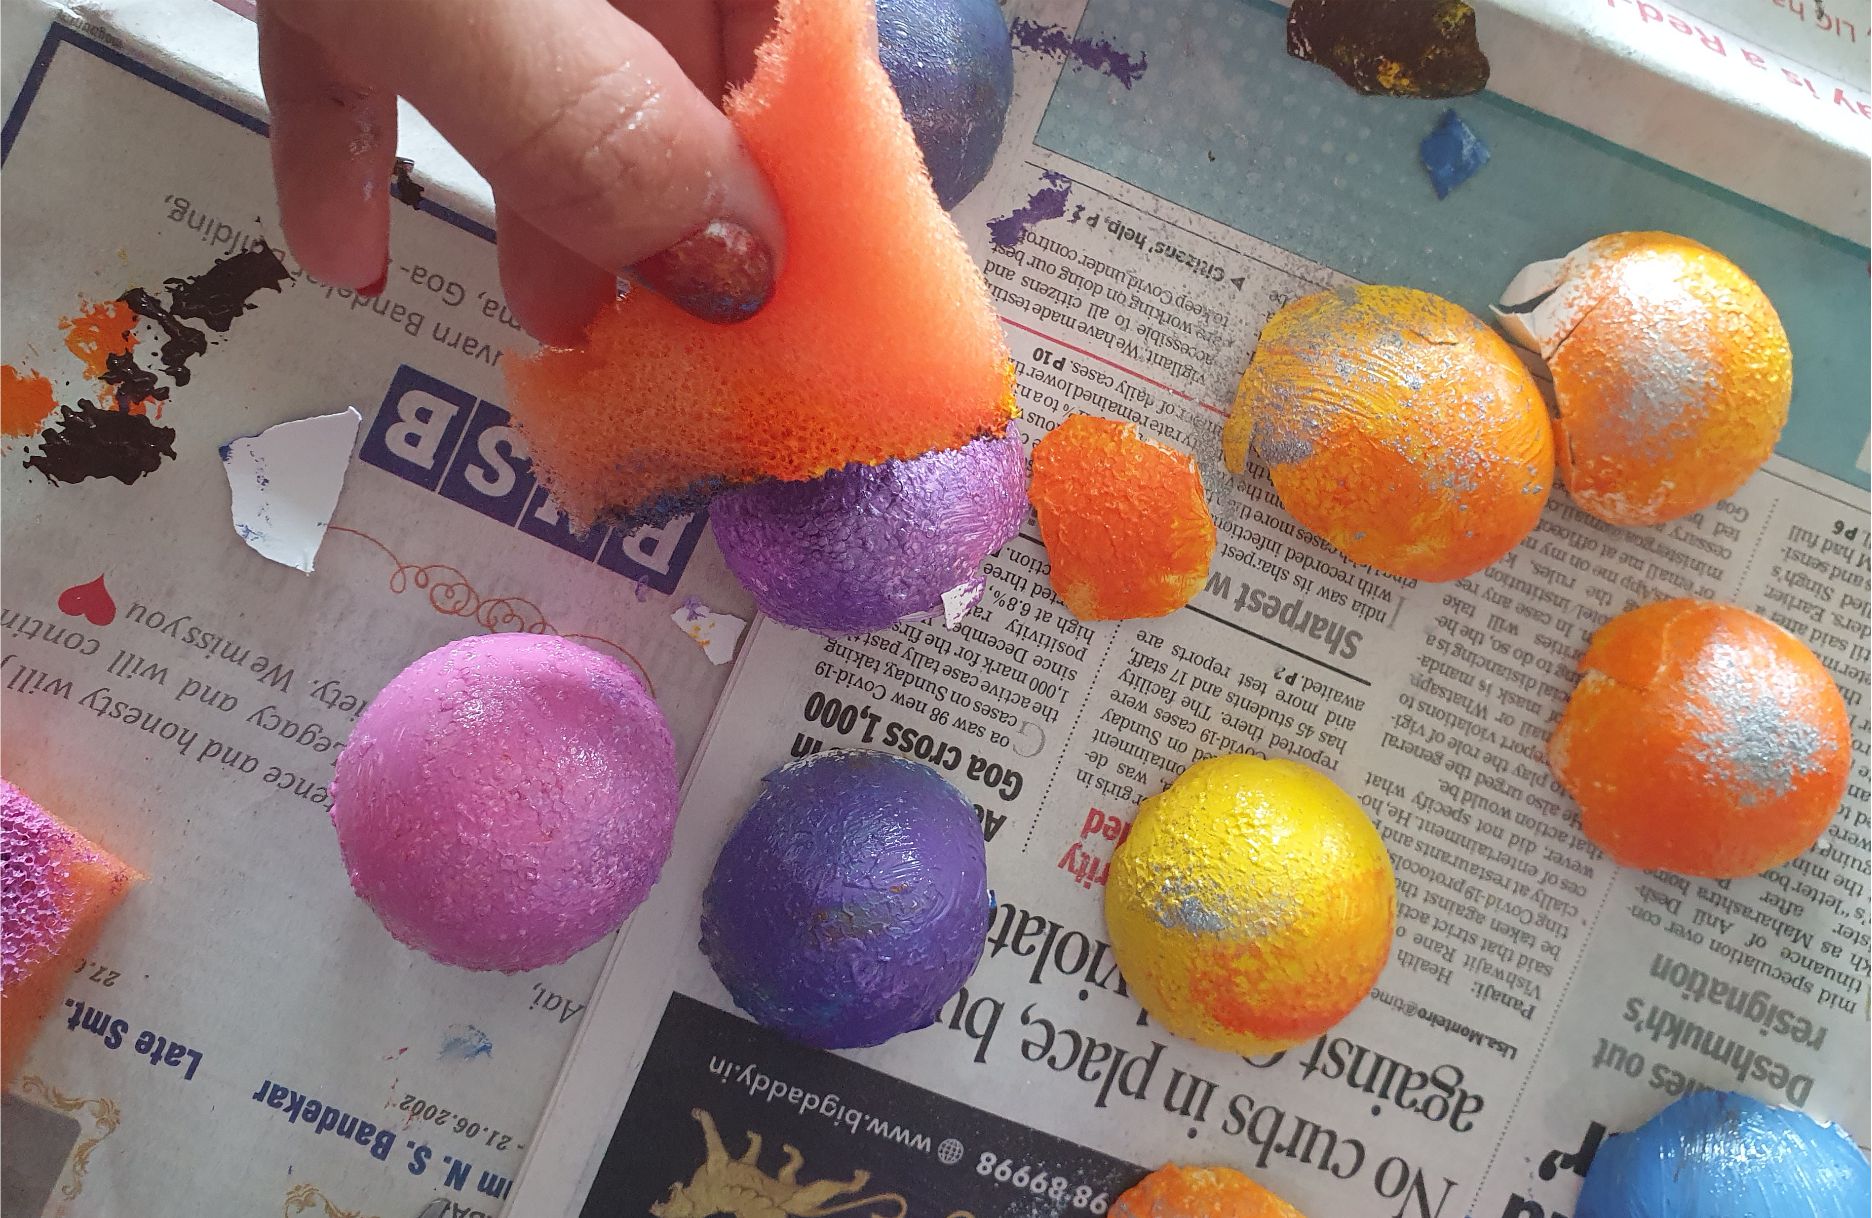
Use any acrylic paint to paint the eggs. It’s easier to apply the paint with a sponge onto the eggshells. This is especially for younger kids, but use whatever you have available, of course. I usually buy bath sponges (like this set from Amazon.in of 3 sponges for 80rs) and cut a piece with a scissor every time we need it instead of buying the expensive craft sponges.
White Glue + brush for the glue
Use regular Fevicol (white) glue with a little added water. The mixture should be about 1 part water to 4 parts glue. You are essentially making your own modge podge -just much cheaper. We use the same glue mixture while making the best out of waste Sand and Shell Frames. You can see the video and pictures there, which also show how we mix the glue.
Canvas or Card to glue the eggshells on
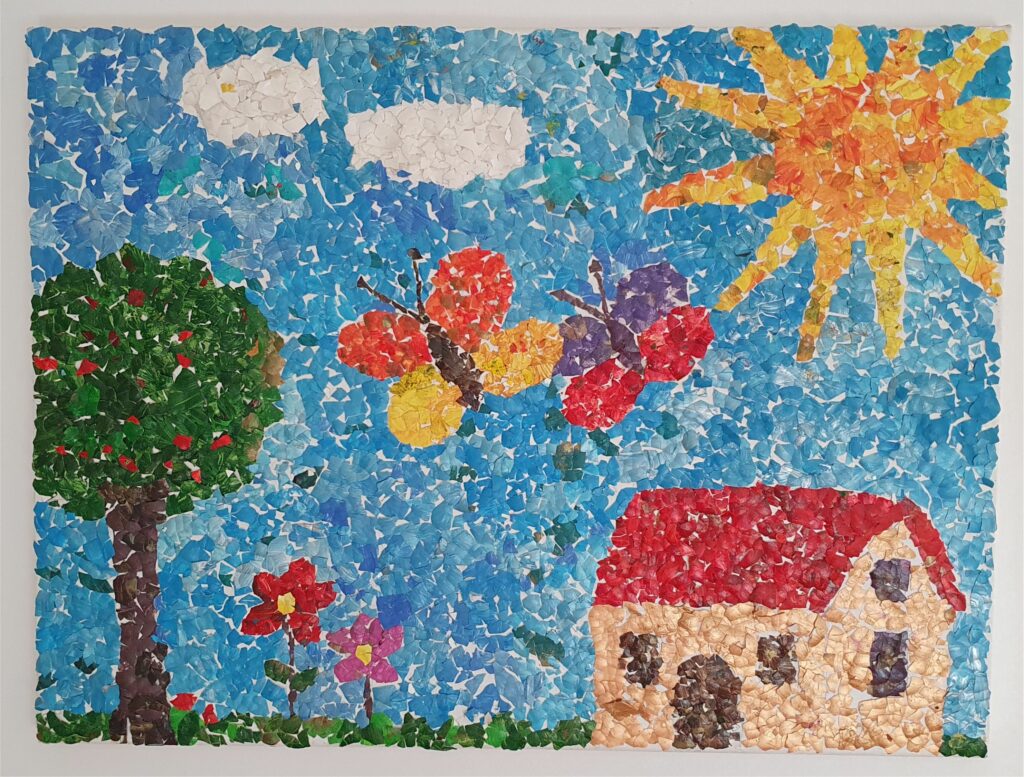
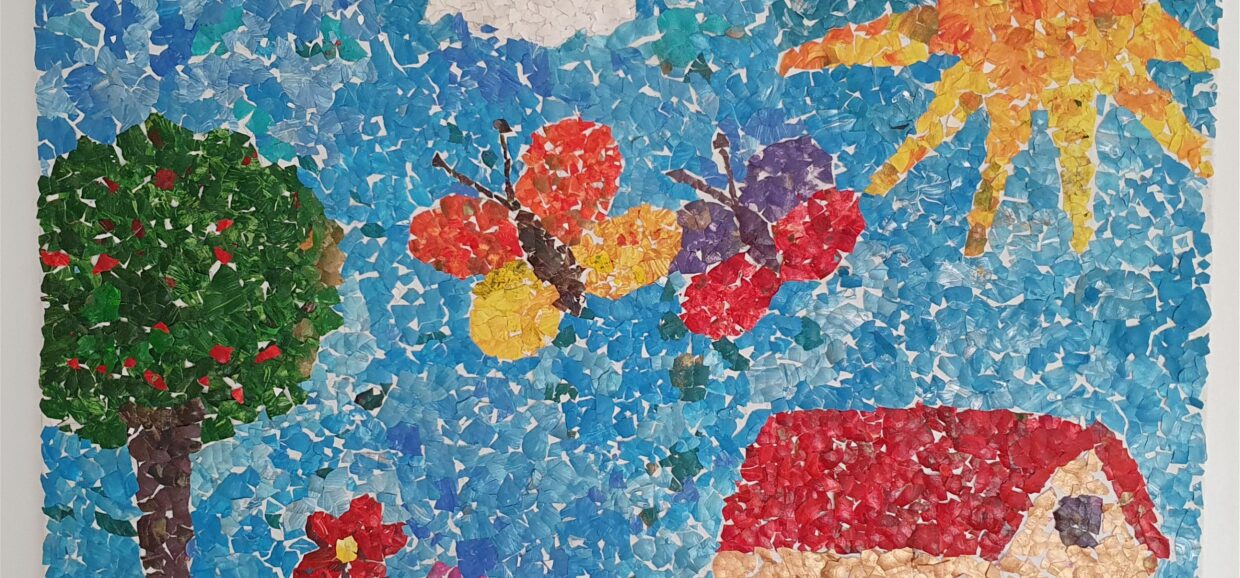
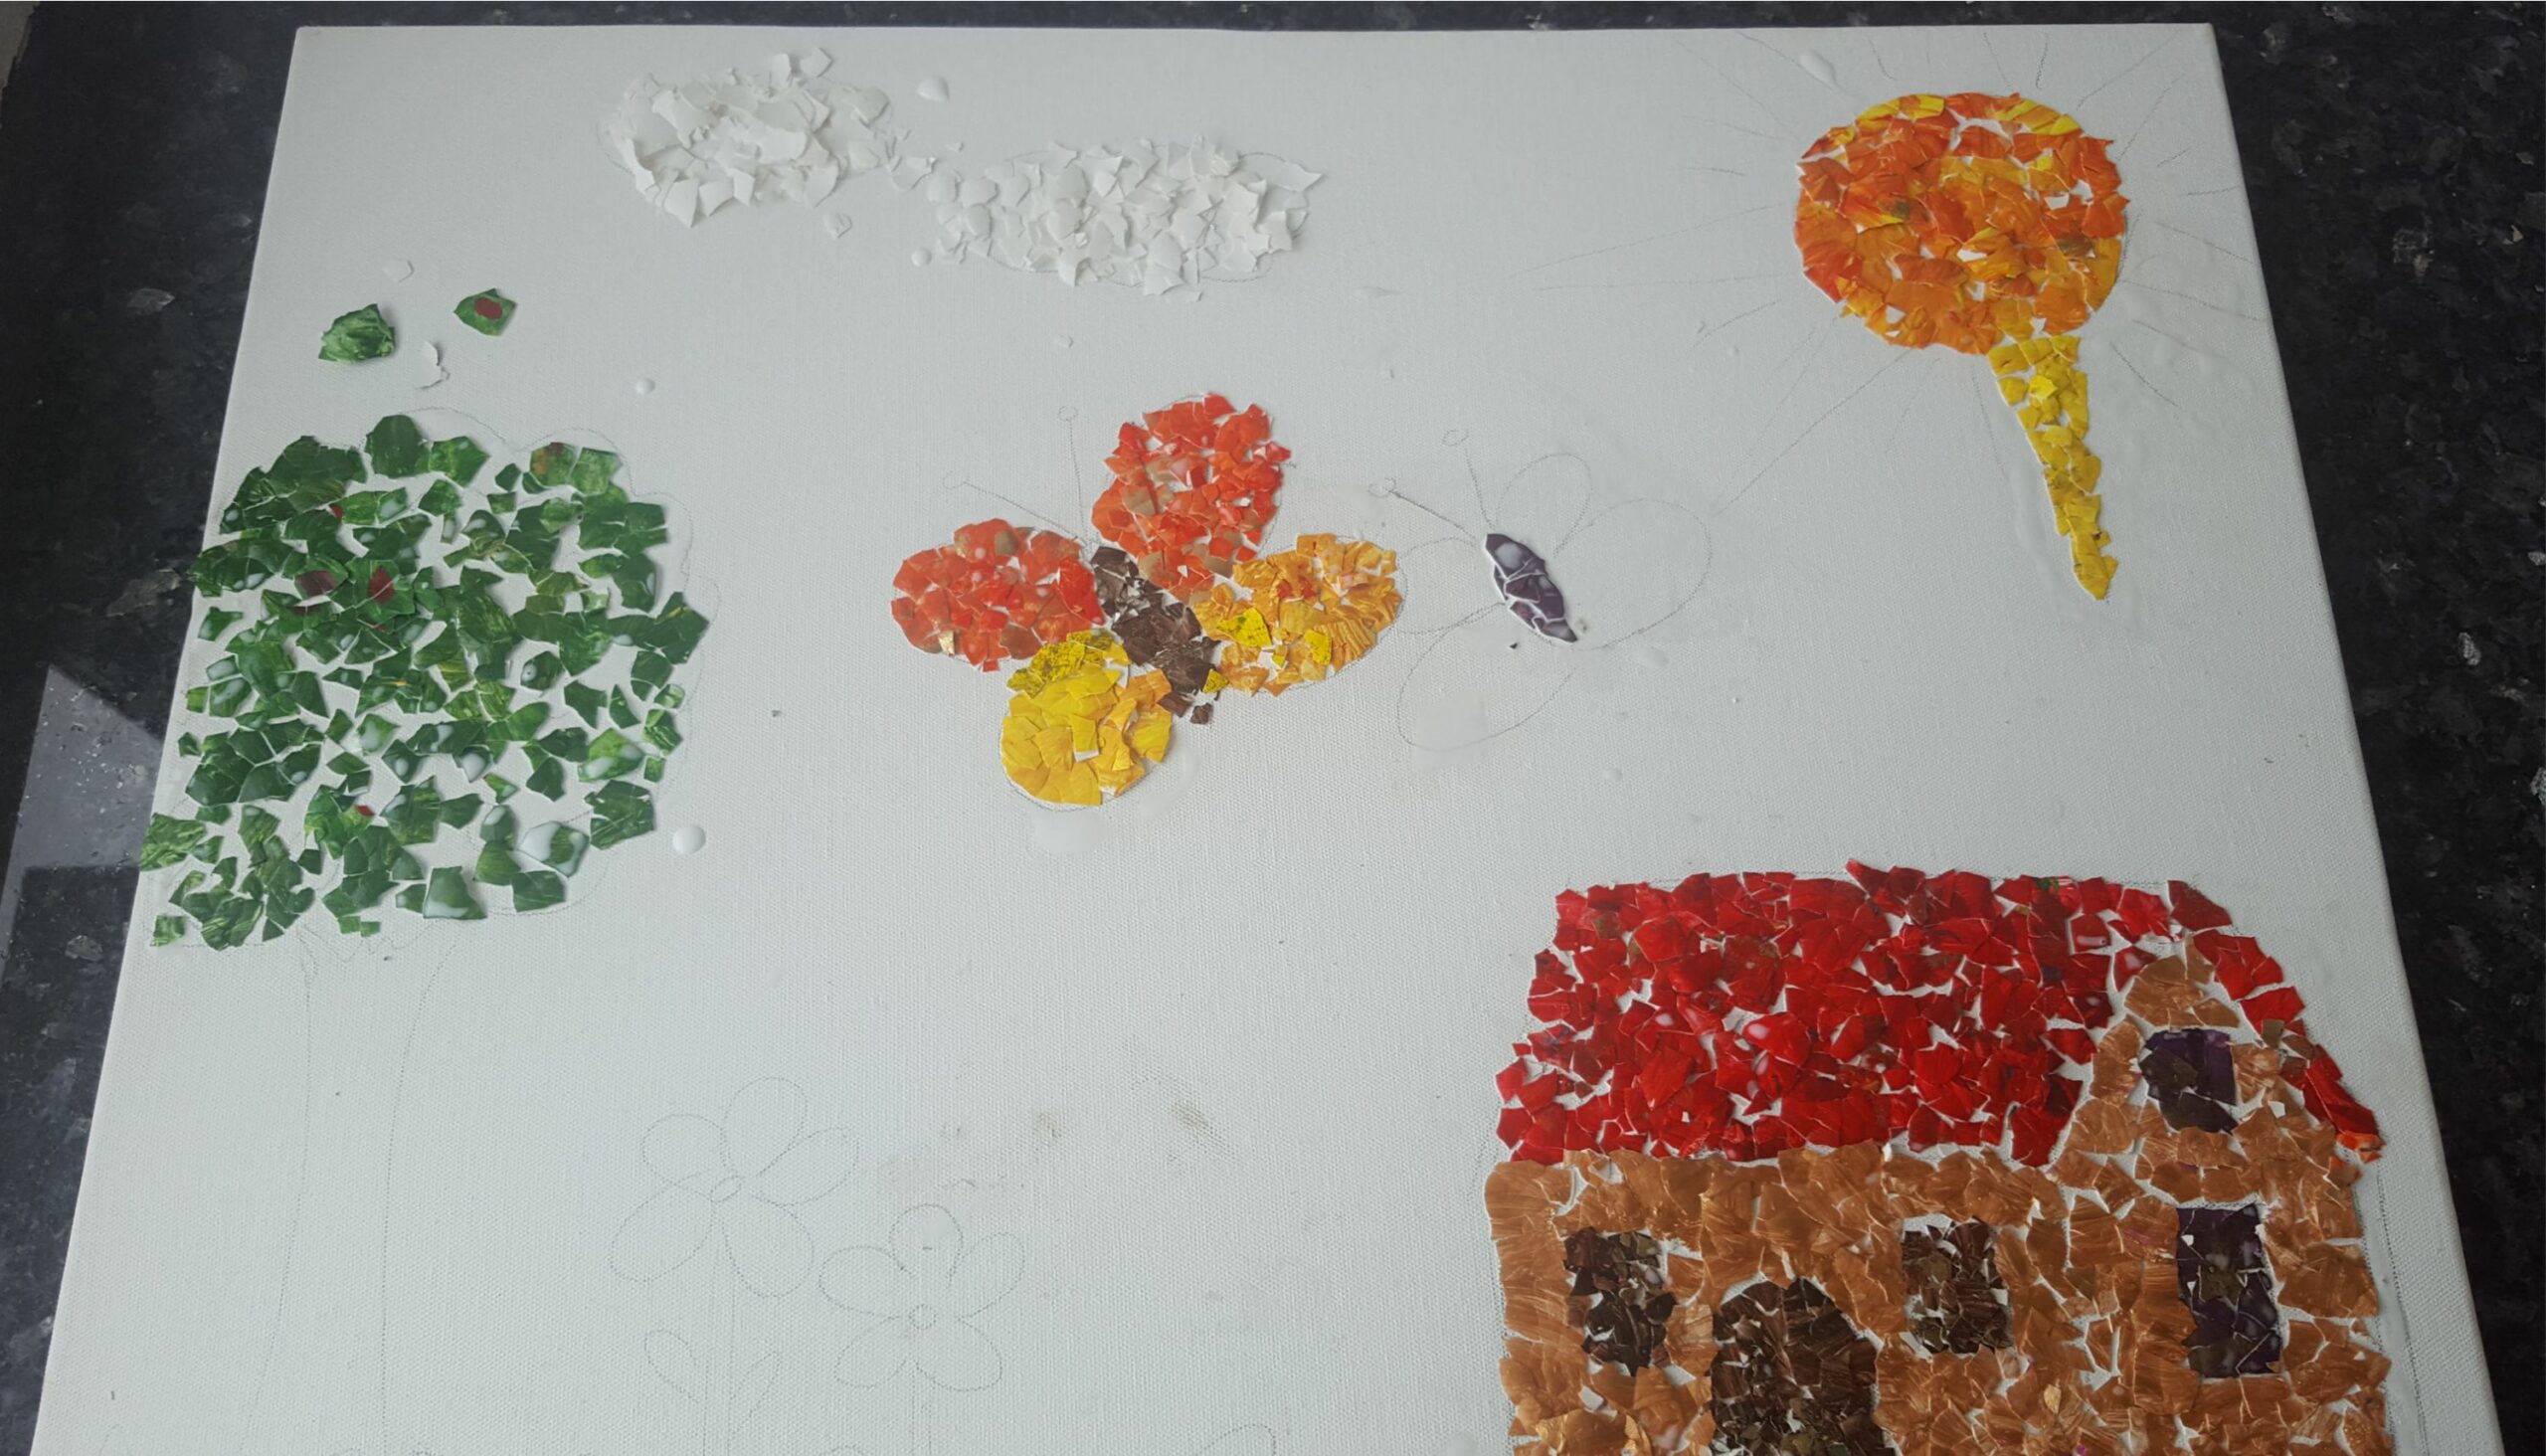
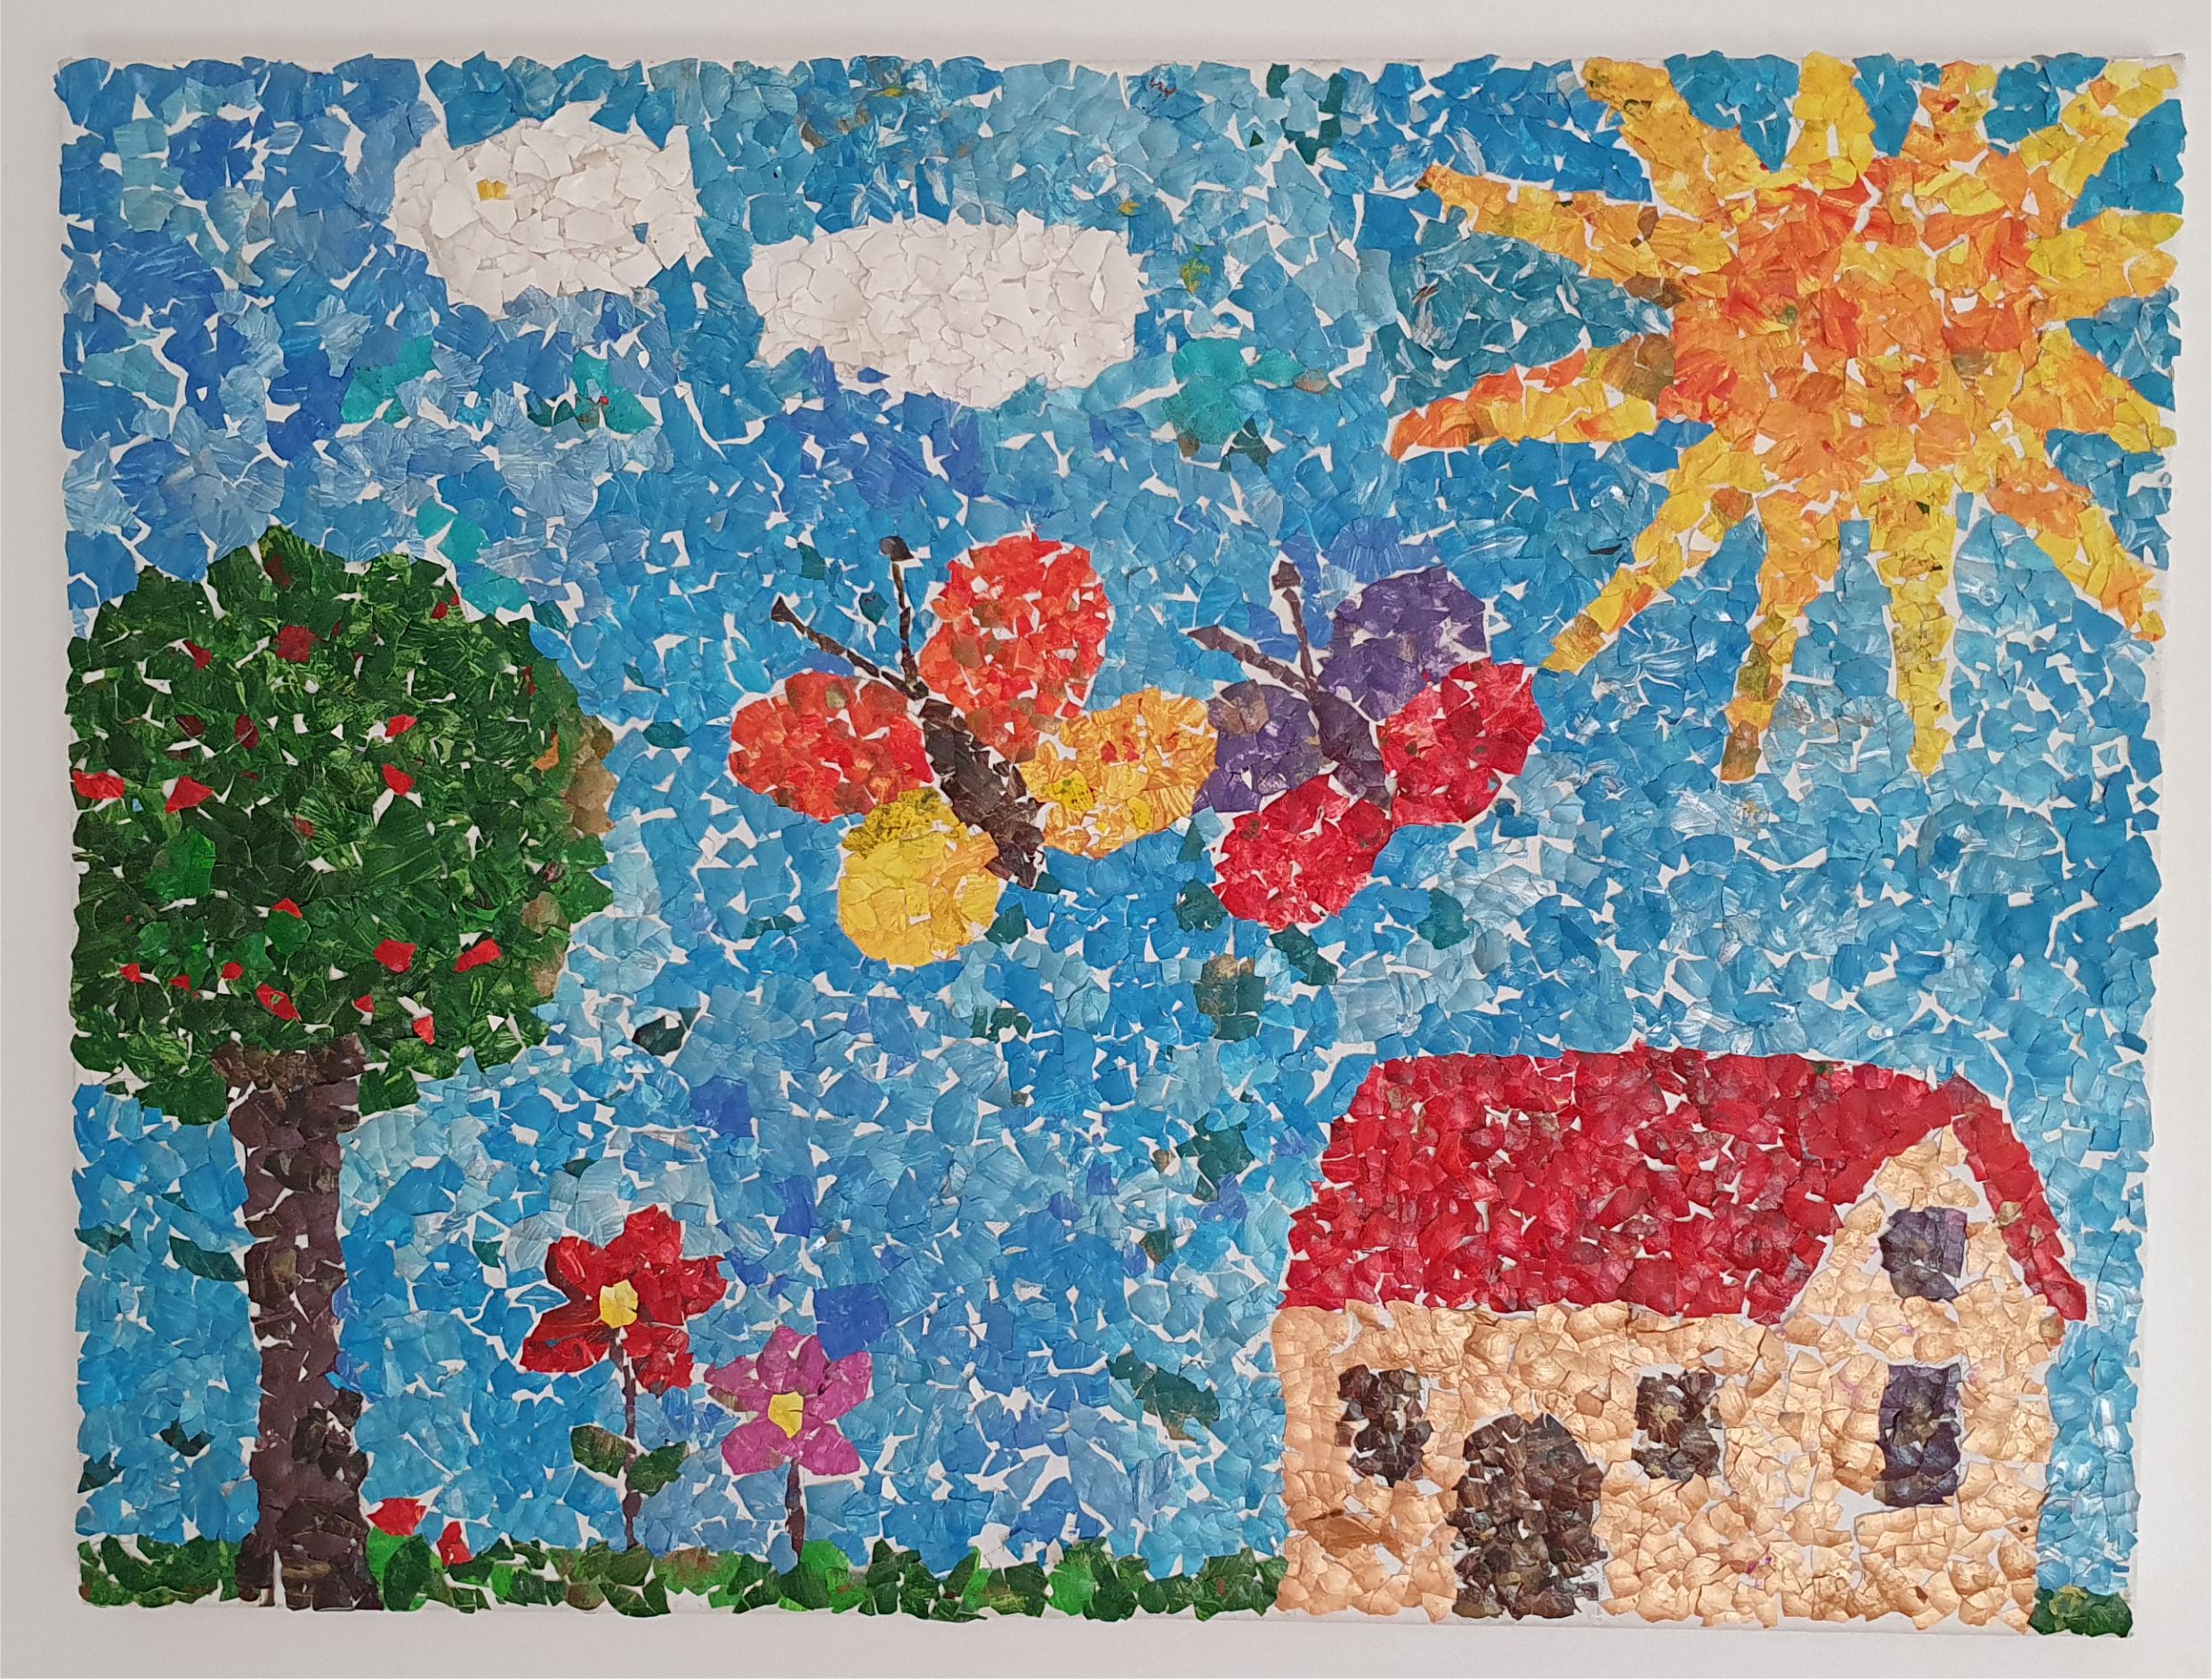
You can add the pieces of eggshell onto any surface. The eggshells are not very heavy, so even a regular birthday card work. Or you can go big and add them to a canvas like our big landscape complete with house, tree and butterflies. To make that one easier, I recommend to paint the background blue first. We needed a lot of blue eggshells for the sky which was a bit boring for the kids.
Having learned from that experience, we painted the background blue first on the Butterfly Eggshell Mosaic Art below.
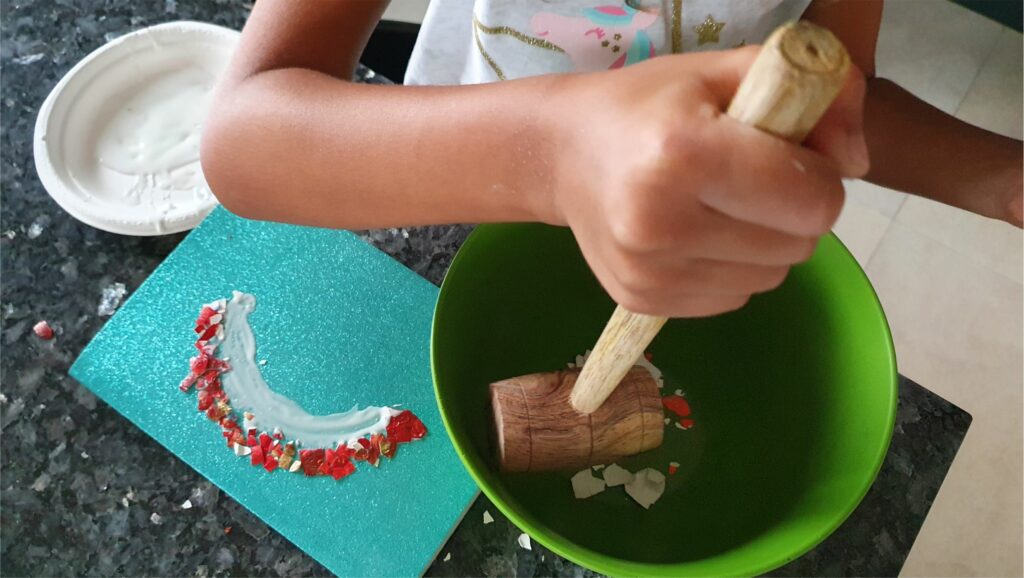
Bowl and Wooden Hammer (optional)
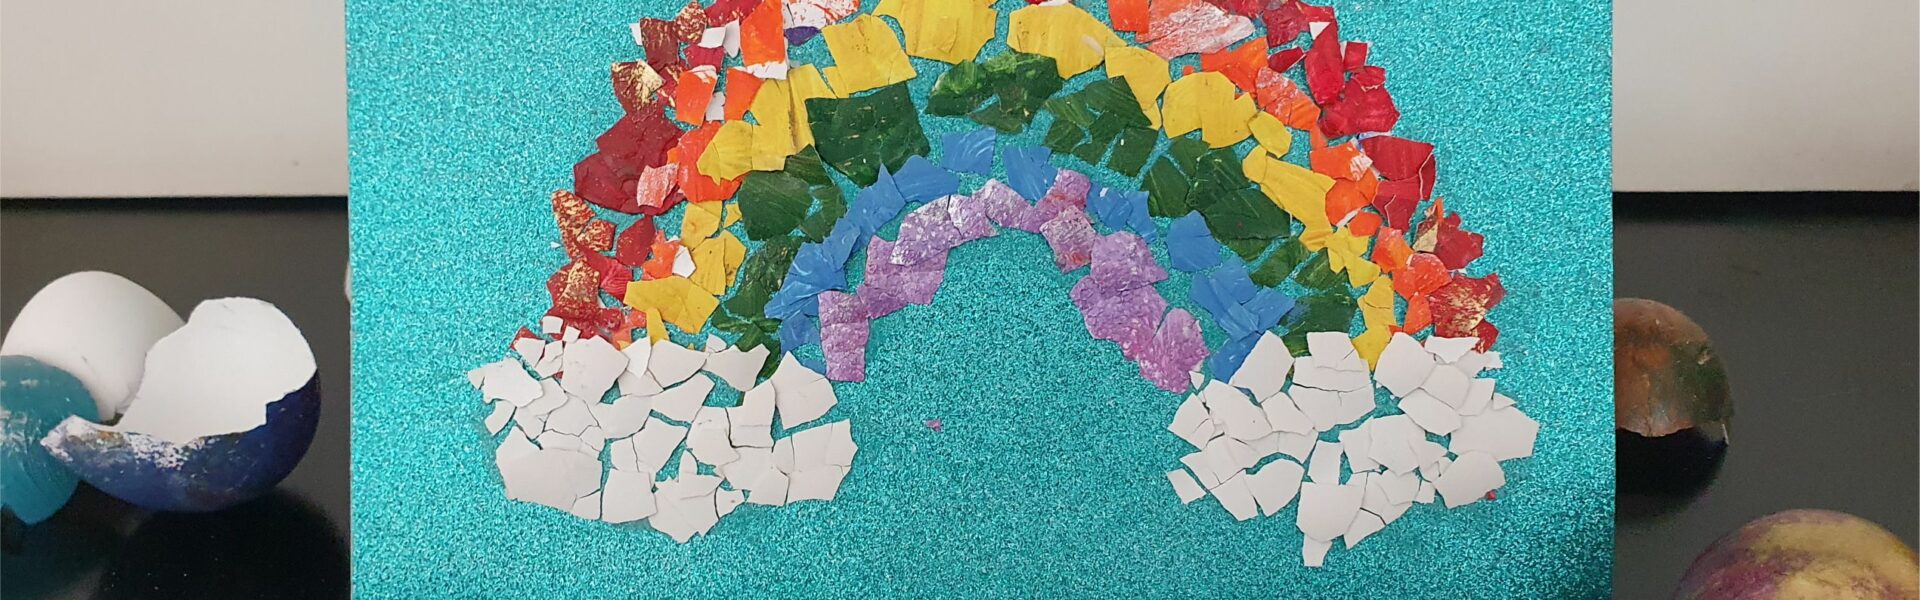
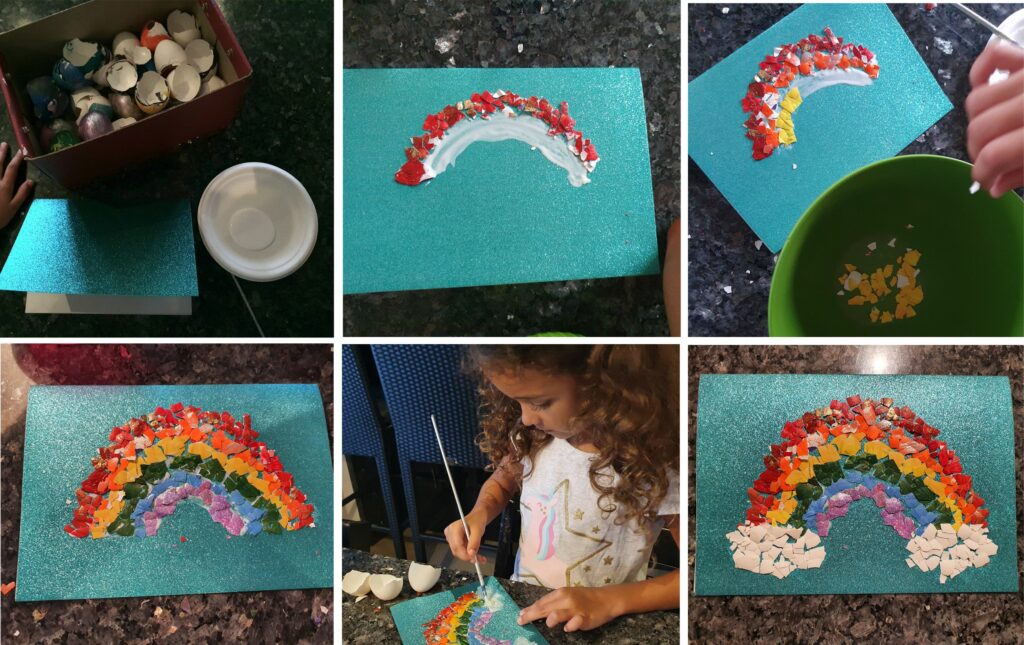
The bowl and hammer are not necessary at all but it IS a fun addition for kids. And this is all about having fun with the kids, so why not? 🙂 Take any plastic bowl and a wooden hammer (like this one) and let the kids smash the eggs in the bowl. They absolutely love it!! When we made the Rainbow Eggshell Card, my 5-year old crushed each colour of eggshells in the bowl before adding them to the card.
Top tips for making Eggshell Mosaic Art with kids:
- Make the size of the project according to their child’s age. The Rainbow Card project was a perfect size for a 5-year old’s limited attention span. It took her about 30min to make. The big landscape took us several days. And I ended up finishing it alone, as the kids got bored with all the blue shells.
- Split the tasks over two days (or morning and afternoon works too). Paint the eggshells on day 1 and do the mosaic art on day 2.
- Plan ahead. If you or your child have an idea which need special colours -like the rainbow- then make sure you paint the eggshells correctly.
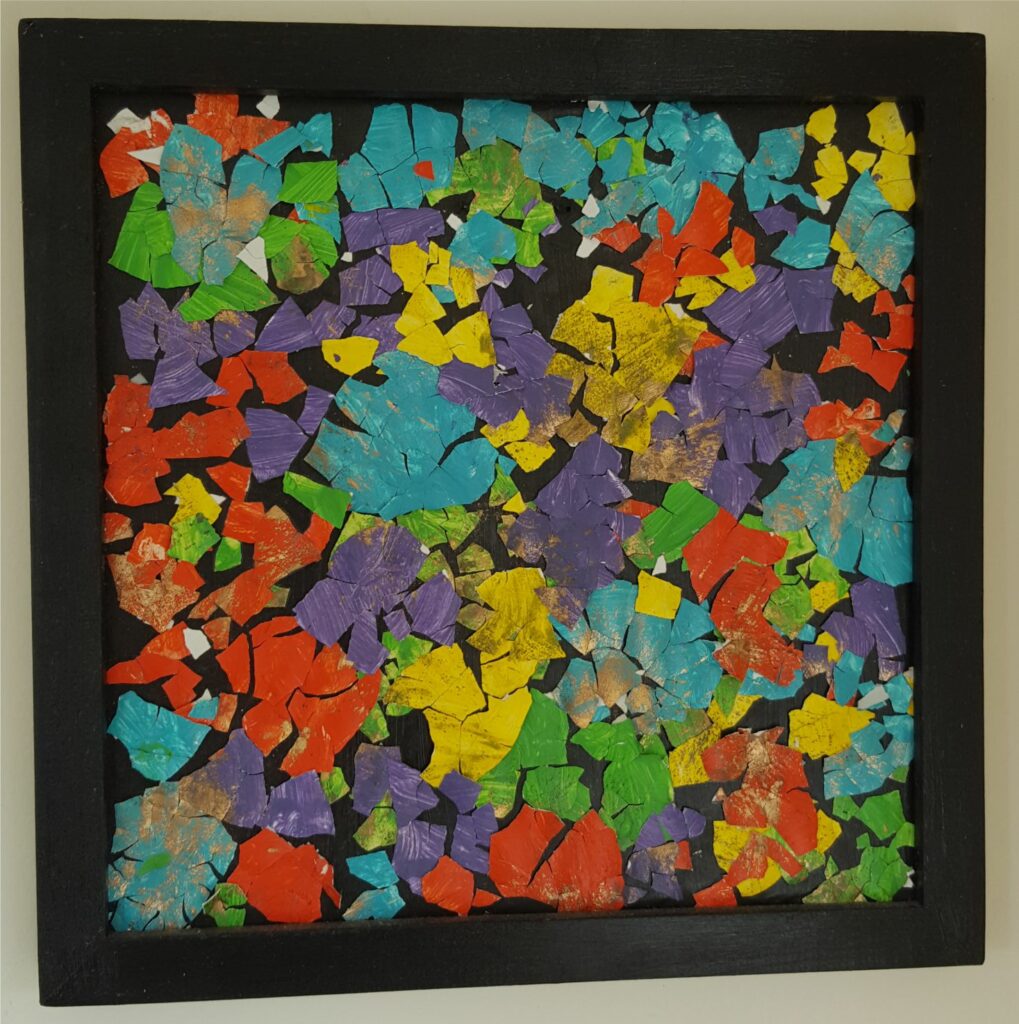
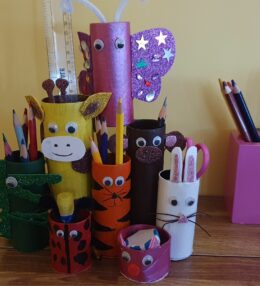
- Let the kids decide what they want to make… but try to subtly guide them towards projects, that will actually work. So rainbows, trees, butterflies, big animals, a sun or random art work really well. It’s harder to make small details but not impossible of course! I recommend to start small though, with random colours inside a shape. My 2-year old and I made the tree and leaf shown below together 10 years ago, simply by adding any autumn colours inside the glued area. (Told you this post has been pending for many years! 🙂 )

How much time does this project take?
Please note that the time mentioned for this project is an estimate. It all depends on what you intend to make and how big that project is.
To give you a rough estimate, we painted eggshells for both the butterfly and the rainbow in about 20 minutes. My 3 girls and I did that together. The application of the eggshells took about 20 minutes for the butterfly (again us 4 doing it together). The rainbow card took about 30 minutes to complete (one 5-year old doing it alone). Hope that helps a little.
This is a quick guide on how to do this eggshell mosaic art. I have also shown a step-by-step guide below the ingredients.
Hope you have lots of fun with this project. Please tag me on Facebook or Instagram when you share your creations. 🙂
Ingredients
Directions
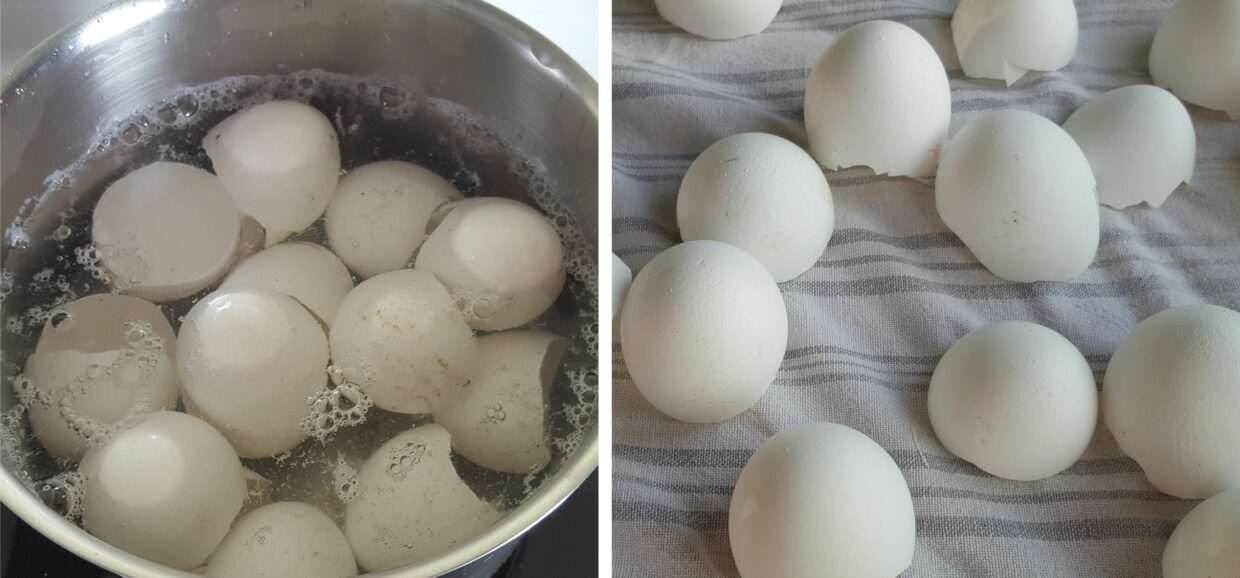
Start by boiling the empty eggshells for 5-10 minutes in a small pot. Clean off the small pieces of boiled egg and leave the eggshells to dry
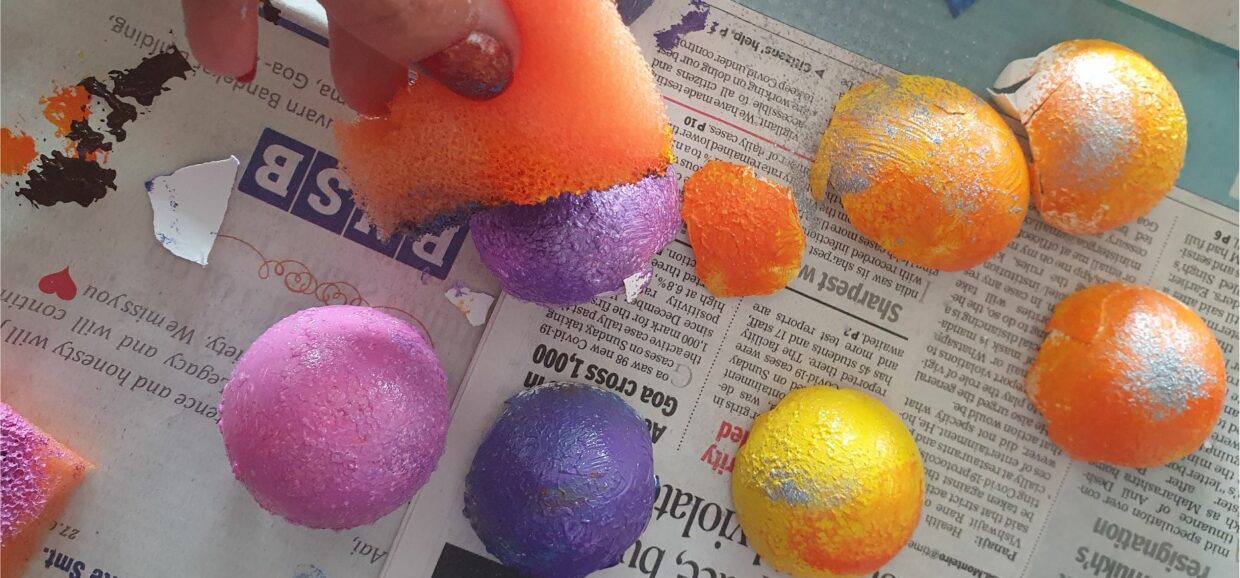
Paint the eggshells with acrylic paint in the colours of your choice. If you have a plan to use the eggshells for something particular later, make sure to use those colours.
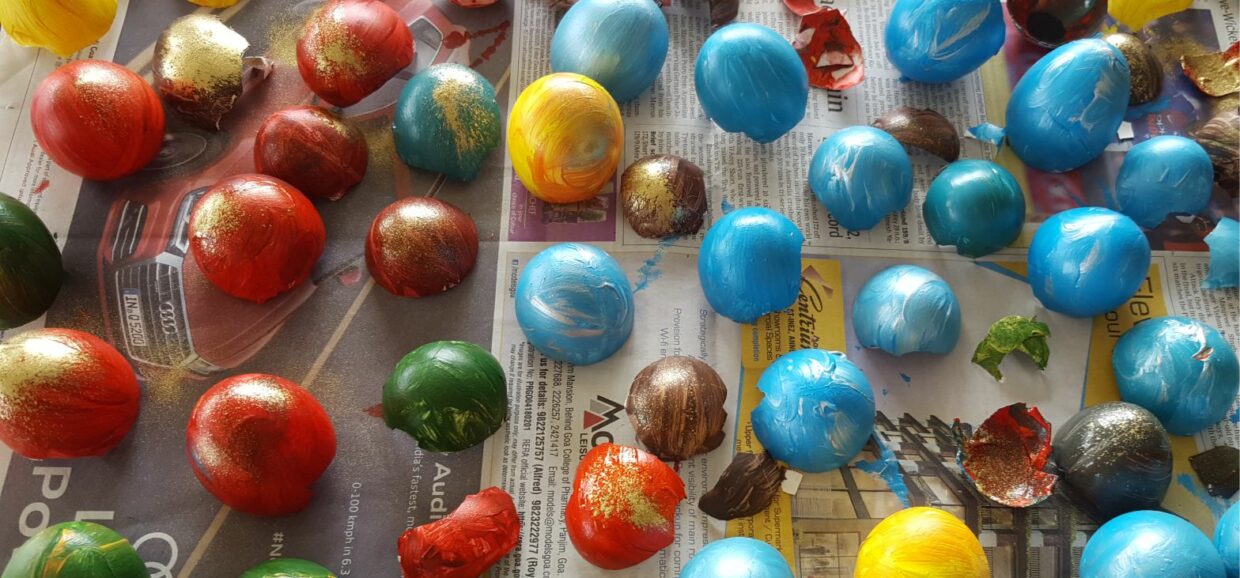
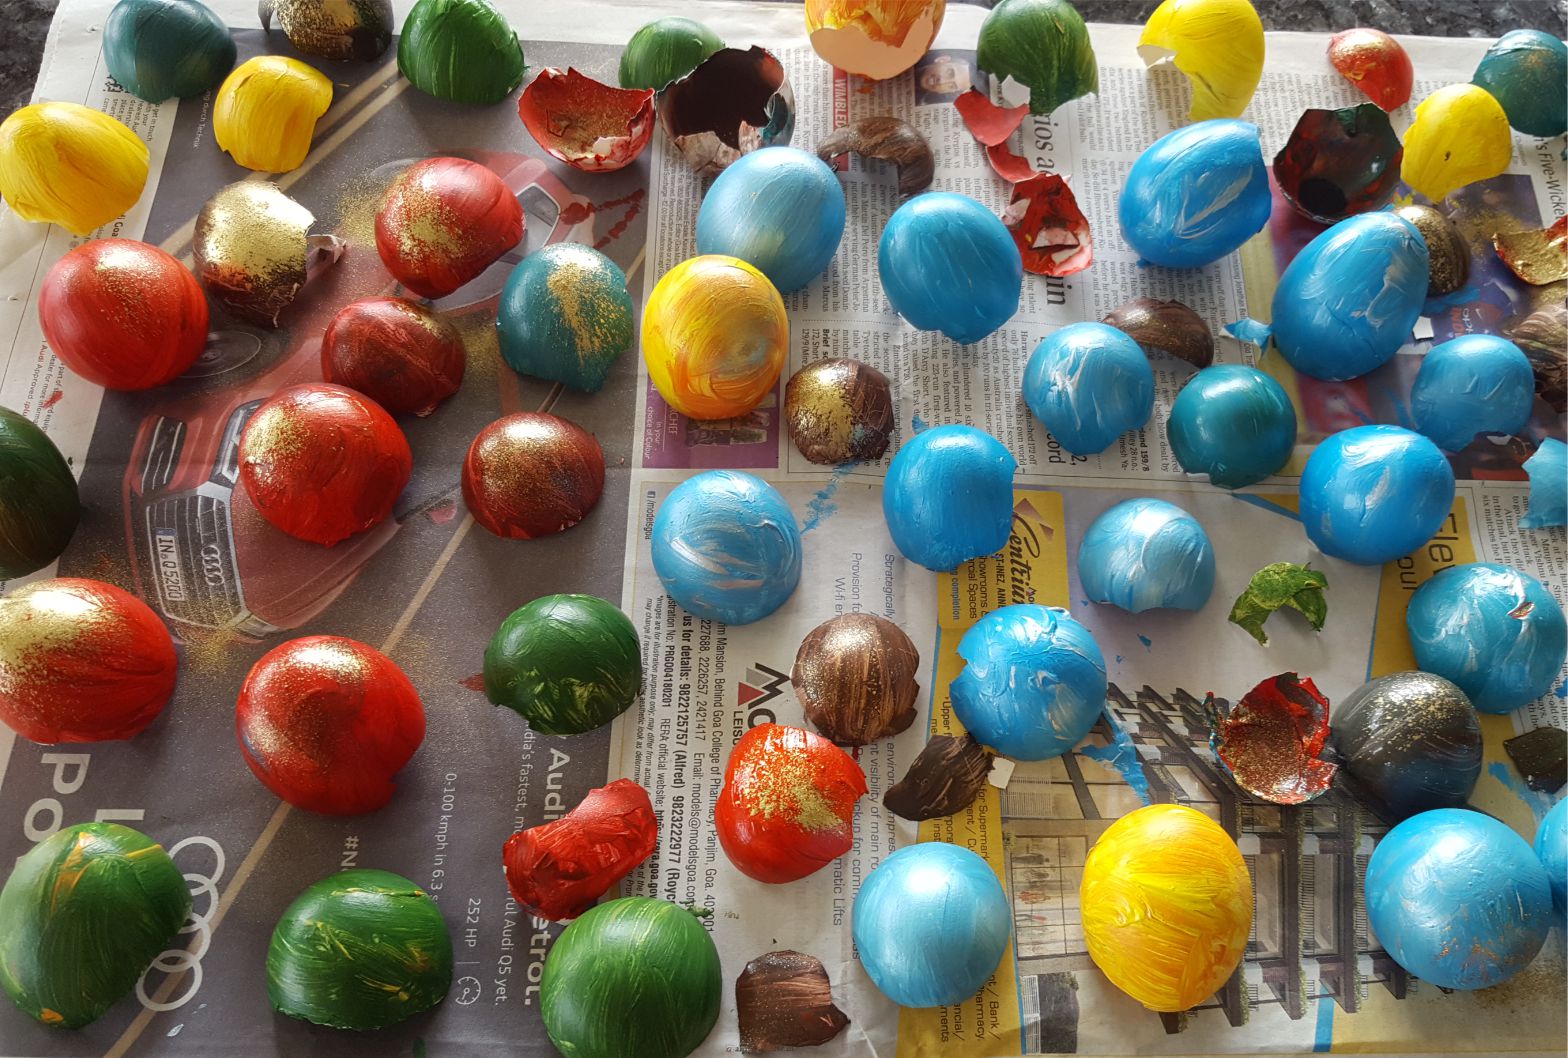
Keep all the painted eggshells to dry on a newspaper
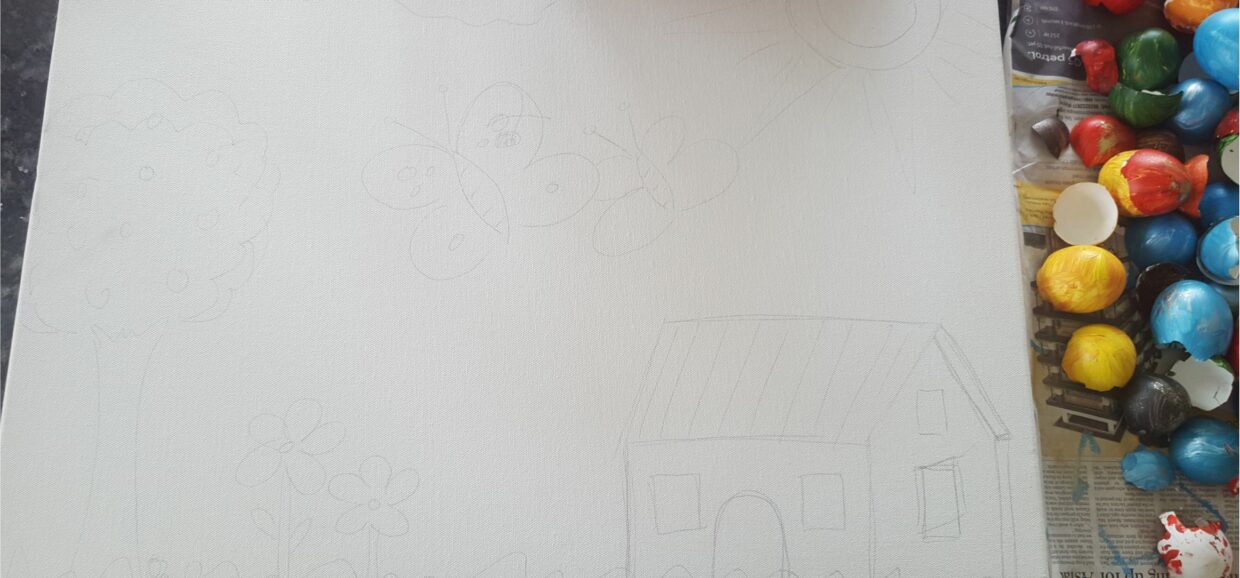
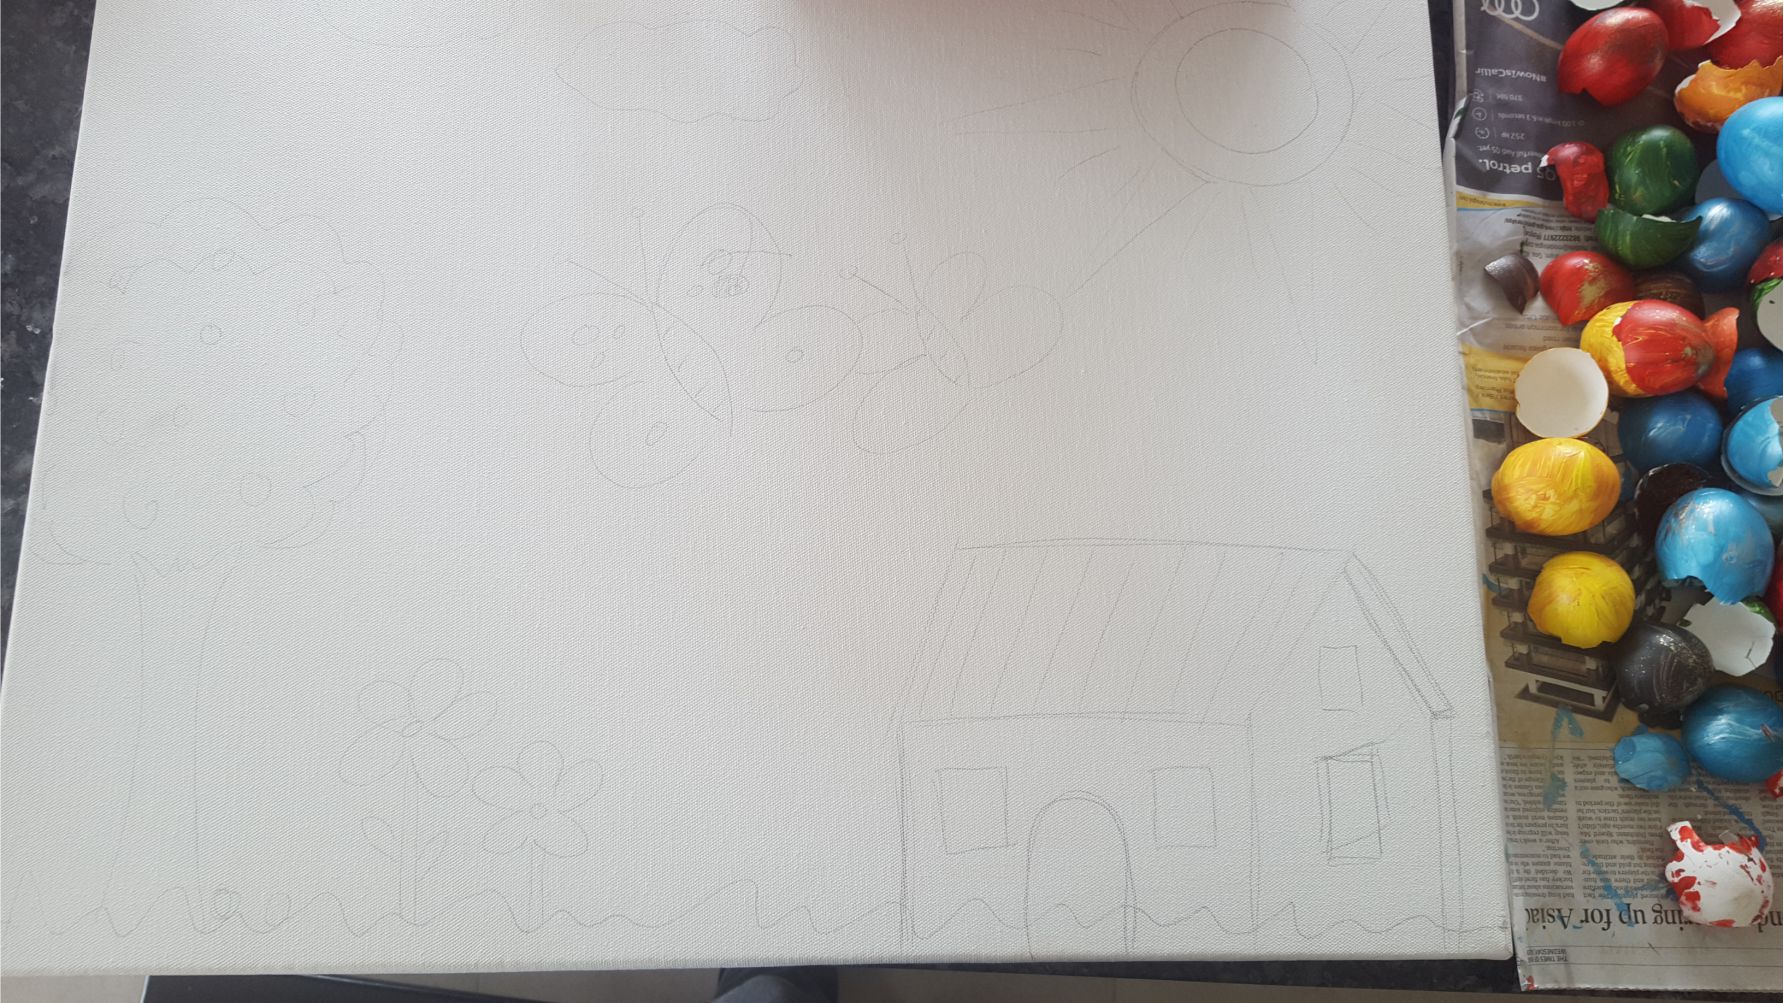
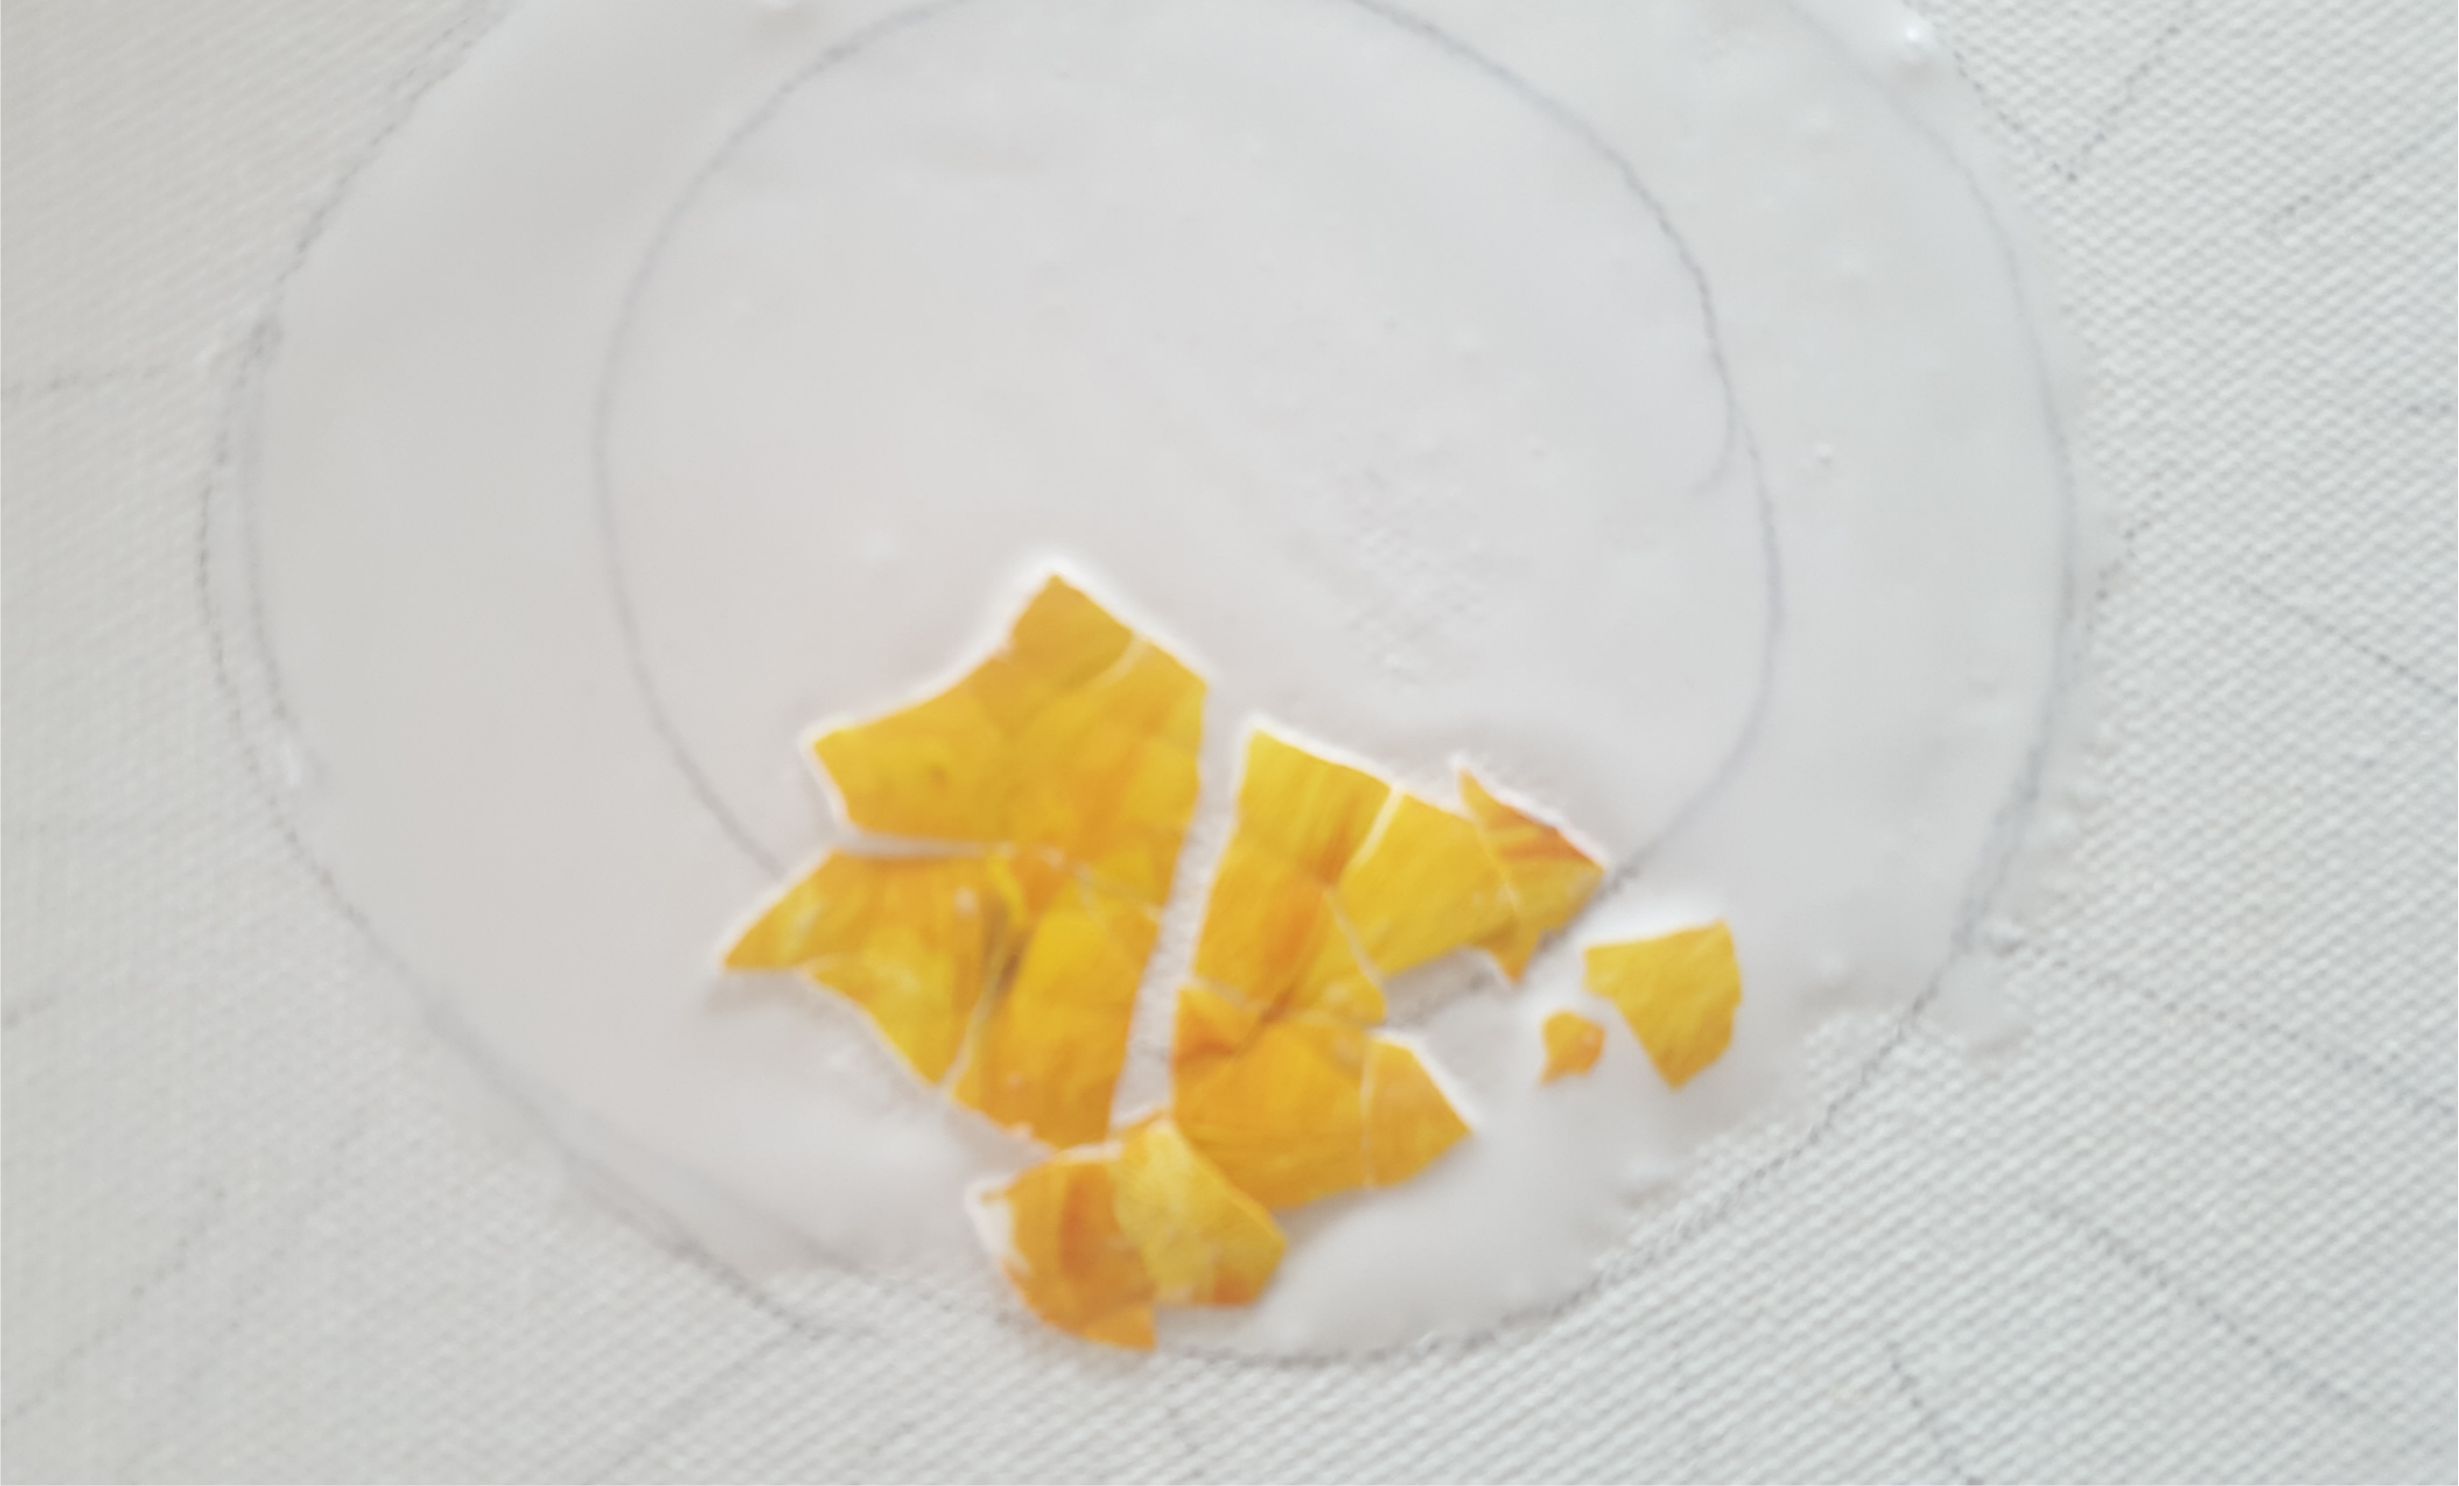
Keep the materials ready to do the Eggshell Mosaic Art: the canvas/cardboard/card, the painted eggshells and the glue. Use regular white glue with water added. Add about 1 part water to 4 parts glue. You can draw an outline like this or just go ahead and make it up as you go along.

Add glue to the canvas with a brush and add the eggshells
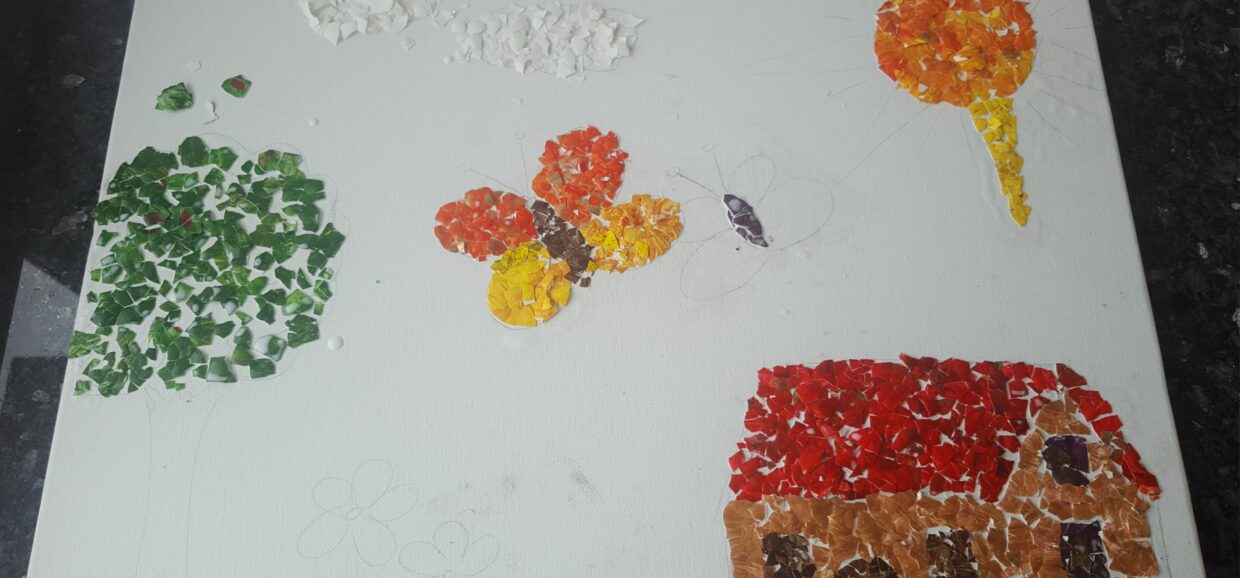
Continue adding the glue and eggshells onto the canvas/board.
Let the Eggshell Mosaic Art dry for min 12 hours. Hope you had lots of fun with this creativity project.

Leave a Review
You must be logged in to post a comment.