- August 3, 2021
- 1 Like
- 0 / 5
- 2,812 Total Views

- Total Time1-1.5 hour
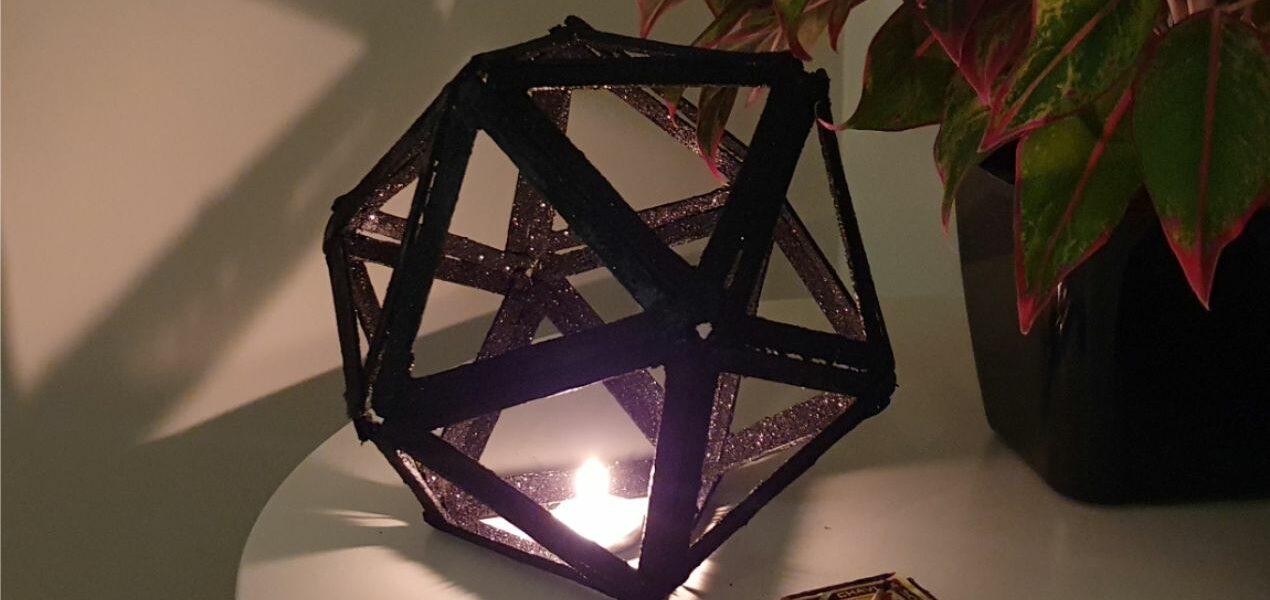
This beautiful ice cream stick tealight holder is the perfect project to do together with your child. My 5-year old glued all the triangles together and I then helped assemble it. We then painted it and added the glitter -no project with my daughter is complete without glitter at the moment 🙂
It is a great and rather simple craft project with only a few easily available ingredients. The tea light holder doesn’t take too long to make either. Give it as a homemade present, keep it as part of your house decor or have fun with the assembly as part of a math teaching moment.
See the detailed step-by-step guide below the ingredients

Ice Cream Stick Tealight Holder
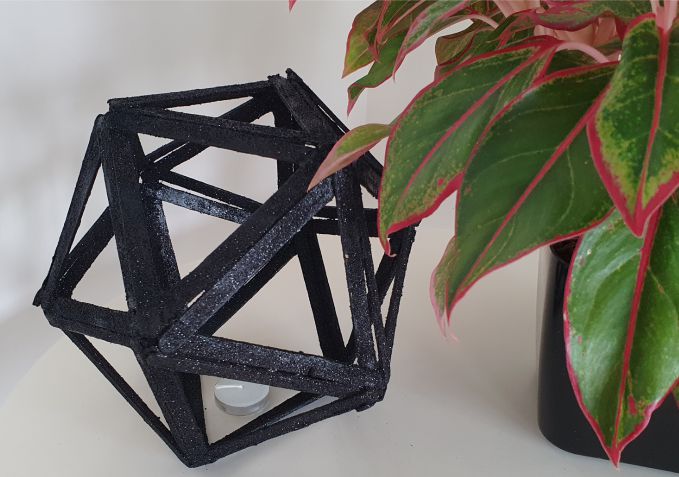
This 17-sided shape is called a heptadecagon (thank you Google!) and it really is quite fascinating to assemble and look at afterwards. It would be fun to try and make the same shape out of matchsticks (just remember to never use that for actual tealights!) or shorter ice cream sticks. An idea for another day. 🙂
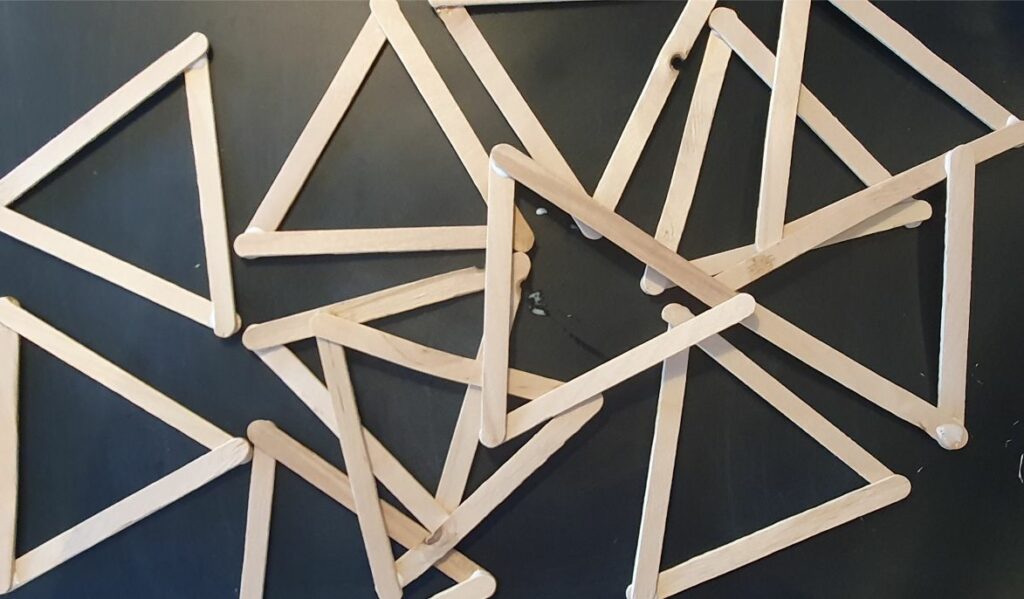
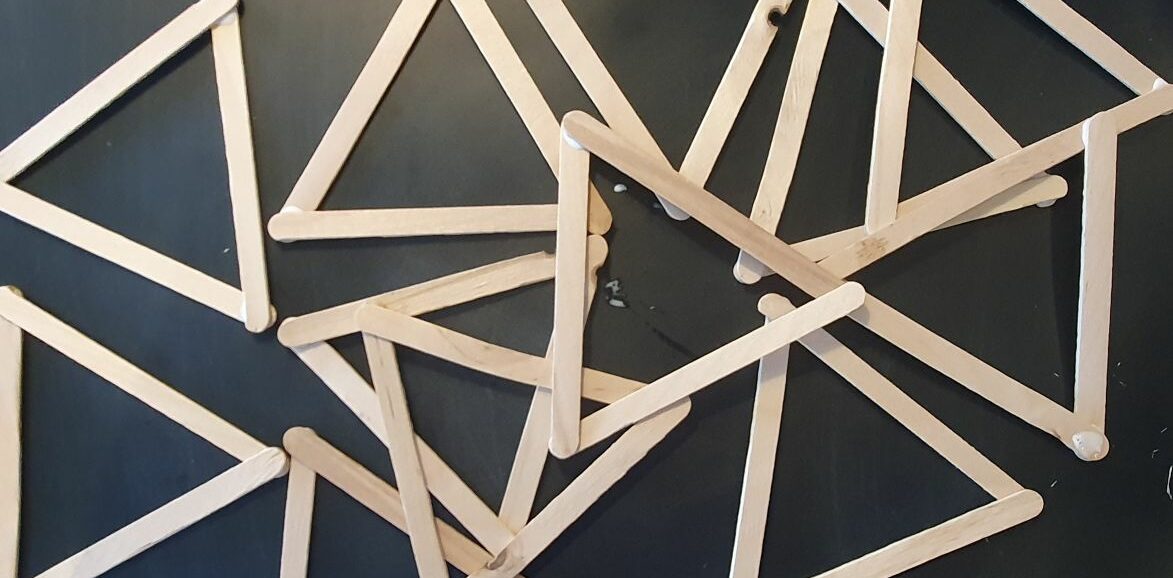
You will need 17 ice cream stick triangles to assemble this heptadecagon. Glue the ice cream stick triangles together with regular white glue. I have used fevicol glue as it’s easily available here. Leave them to dry for minimum an hour before you start to glue the triangles together.

What else do I need to make this craft project?
Ice cream sticks. You can get them at the local art and craft store or you can buy them online. They are about Rs200 for 200pc. Make sure to use the straight ones for this project.
Glue gun. Any glue gun will do. I use this one from Itsy Bitsy.
Acrylic Paint. This is optional. You can leave it plain too, if you prefer. If you choose to paint it, you will need about 30-40ml. So make sure to get a tube rather than the set of 10ml jars -unless you want to make it multi-coloured of course.
Glitter. This is totally optional of course. My kids LOVE the glitter, so glitter it is! On the upside, glitter is great for hiding small mistakes like too much glue or a wonky ice cream stick so don’t be shy to use plenty 🙂
Hair spray. This is only if you use glitter. Spray the finished shape with hairspray to seal the glitter so it doesn’t keep falling off on the table (and hands).
Tea light candle. Use real ones or LED ones. Either will work and neither will be dangerous for your house or the tealight holder. Just remember to keep an eye on the real ones and never leave them burning if you leave the room. Safety first and all that 😉
If you like this ice cream stick tea light holder…
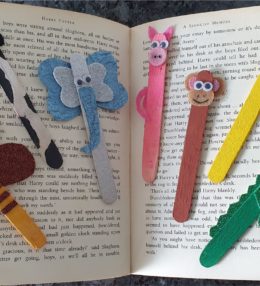
…you might also like this Diy Cement Tea Light Holder or this fun craft activity with ice cream sticks: DIY Animal Bookmarks
Yield: Makes one ice cream stick tealight holder
Ingredients
Directions
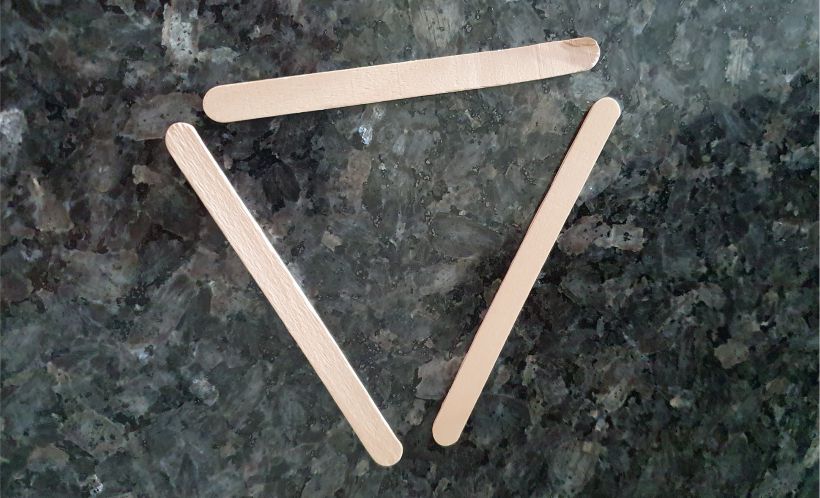


Make 17 trianges using 3 ice cream sticks like shown here

Let them all dry before moving on to the 3rd step
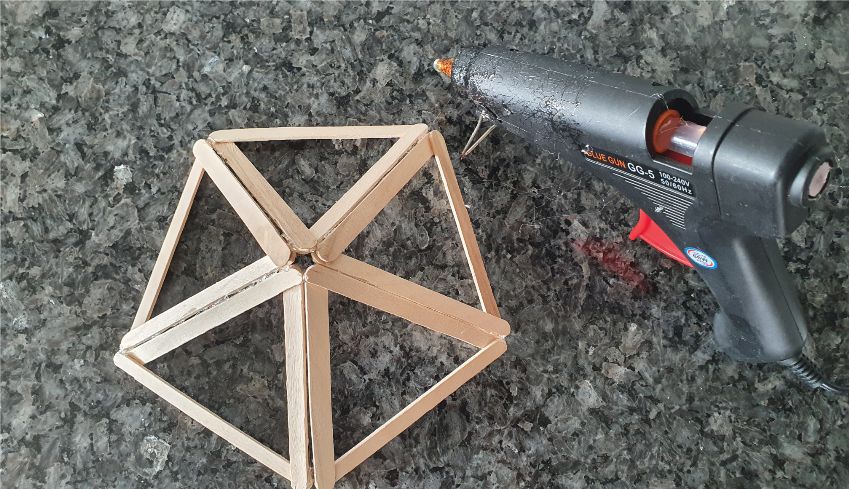


Build the first 5 triangles into a dome using a glue gun.
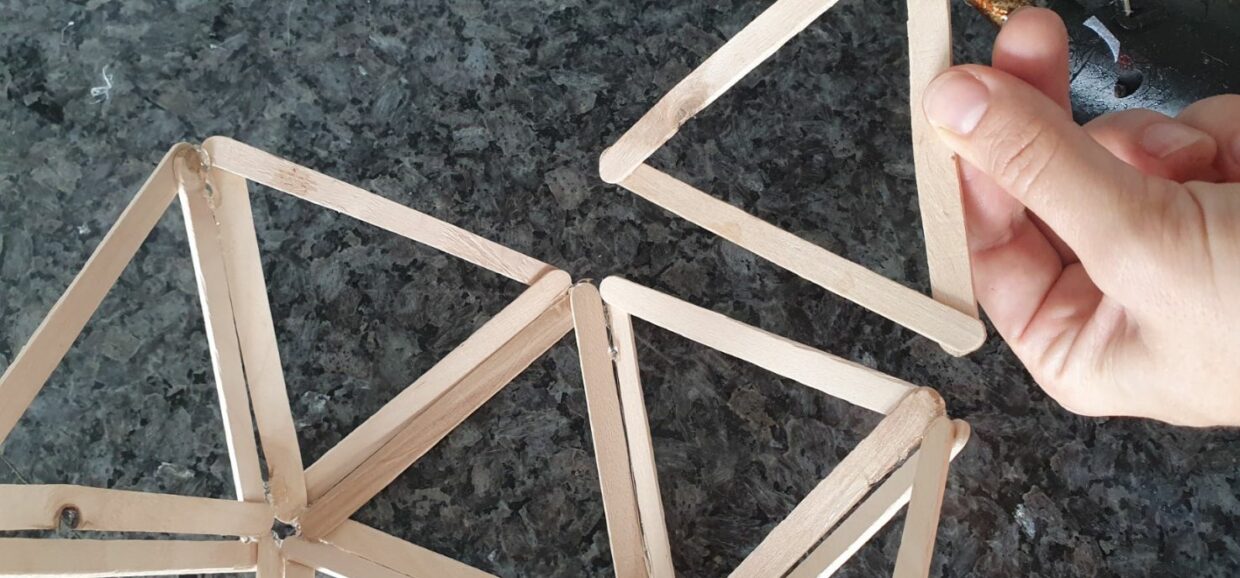

Keep adding the triangles around the dome
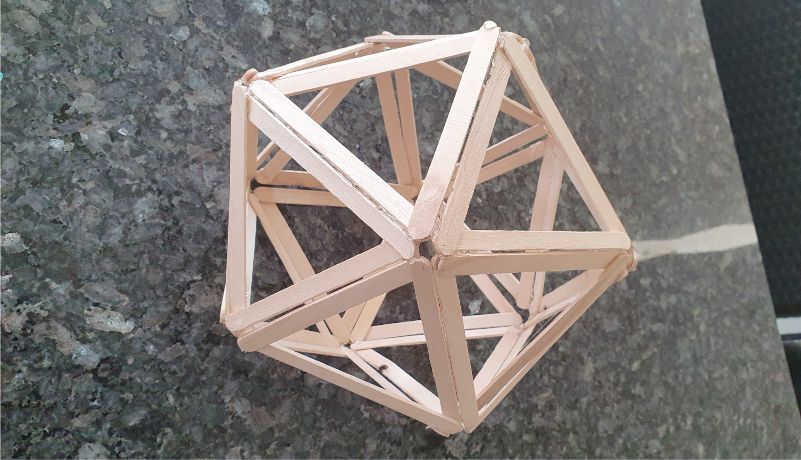


Keep adding the triangles until there are no more gaps
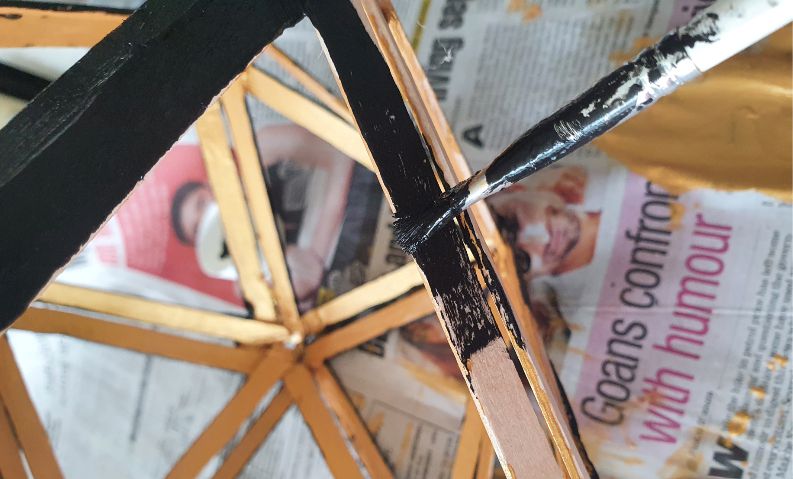


Paint the tea light holder in any colour of your choice. We used both paint brushes and sponges. The sponges were faster.
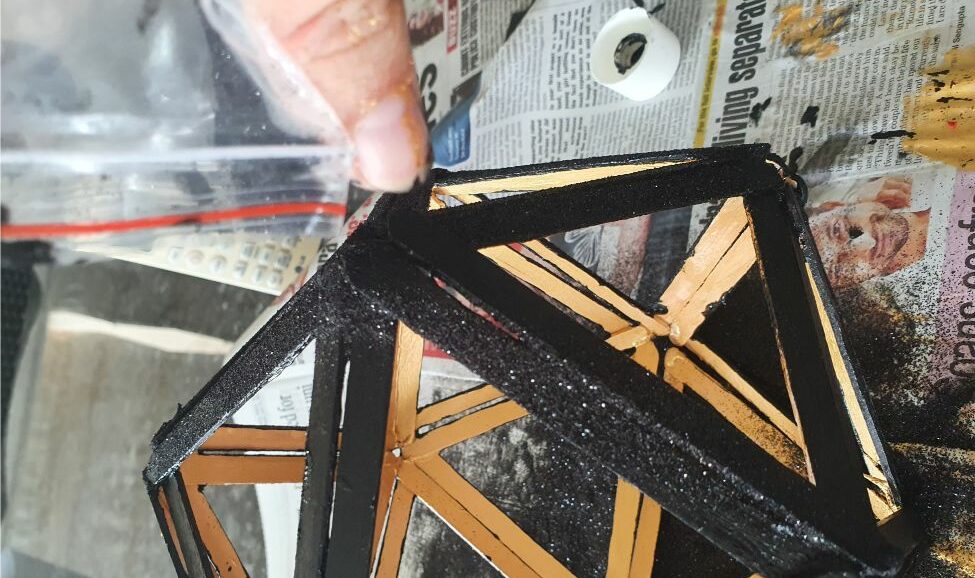

Before the paint dries, drizzle with glitter. This is -of course- also optional. We used black glitter.
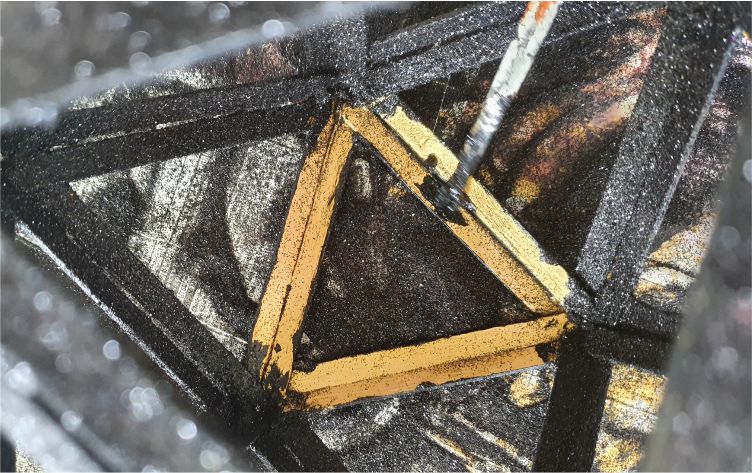


We painted it inside and out -it would have been pretty to keep a lighter colour on the inside but with the sponges (and two hands) it was easier to keep it simple. Let the paint dry fully before you proceed to the next step.
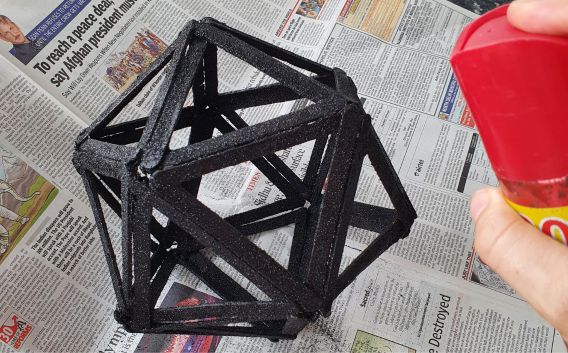


Shake the tea light holder gently to remove the excess glitter and then spray with hair spray to seal in the glitter. Let it dry. This way it doesn't leave glitter on the table.


And the tea light is done. Hope you enjoyed this little craft project.
You may also like
Ice Cream Stick Tealight Holder
Ingredients
Follow The Directions


Make 17 trianges using 3 ice cream sticks like shown here
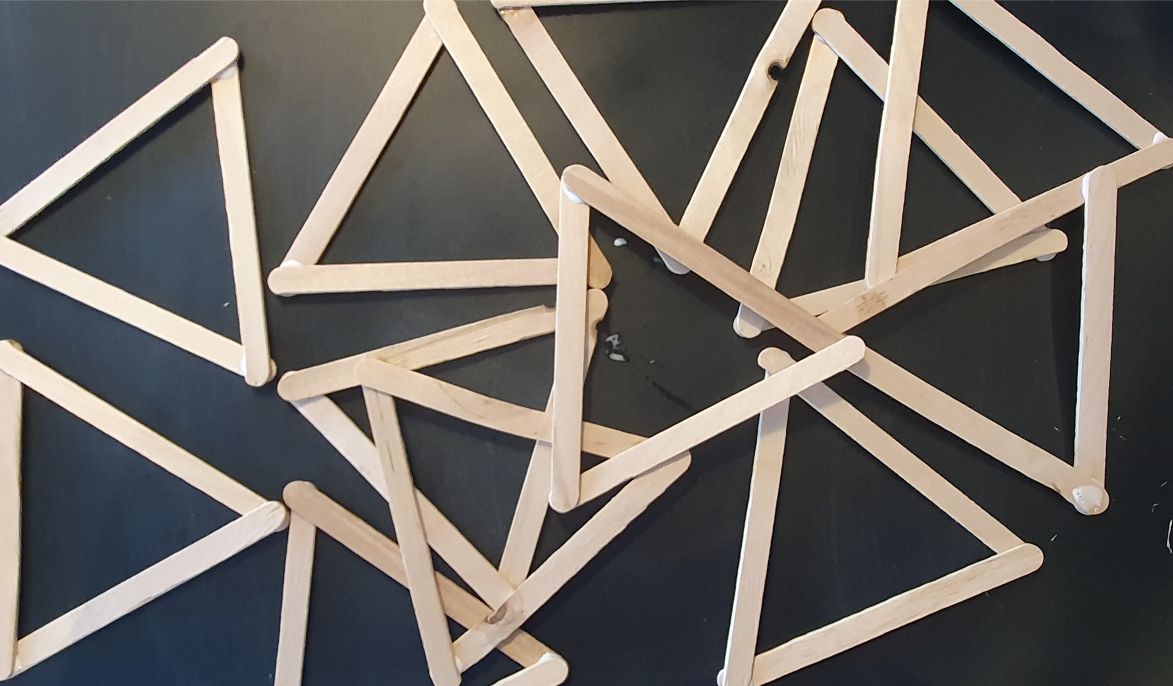

Let them all dry before moving on to the 3rd step


Build the first 5 triangles into a dome using a glue gun.
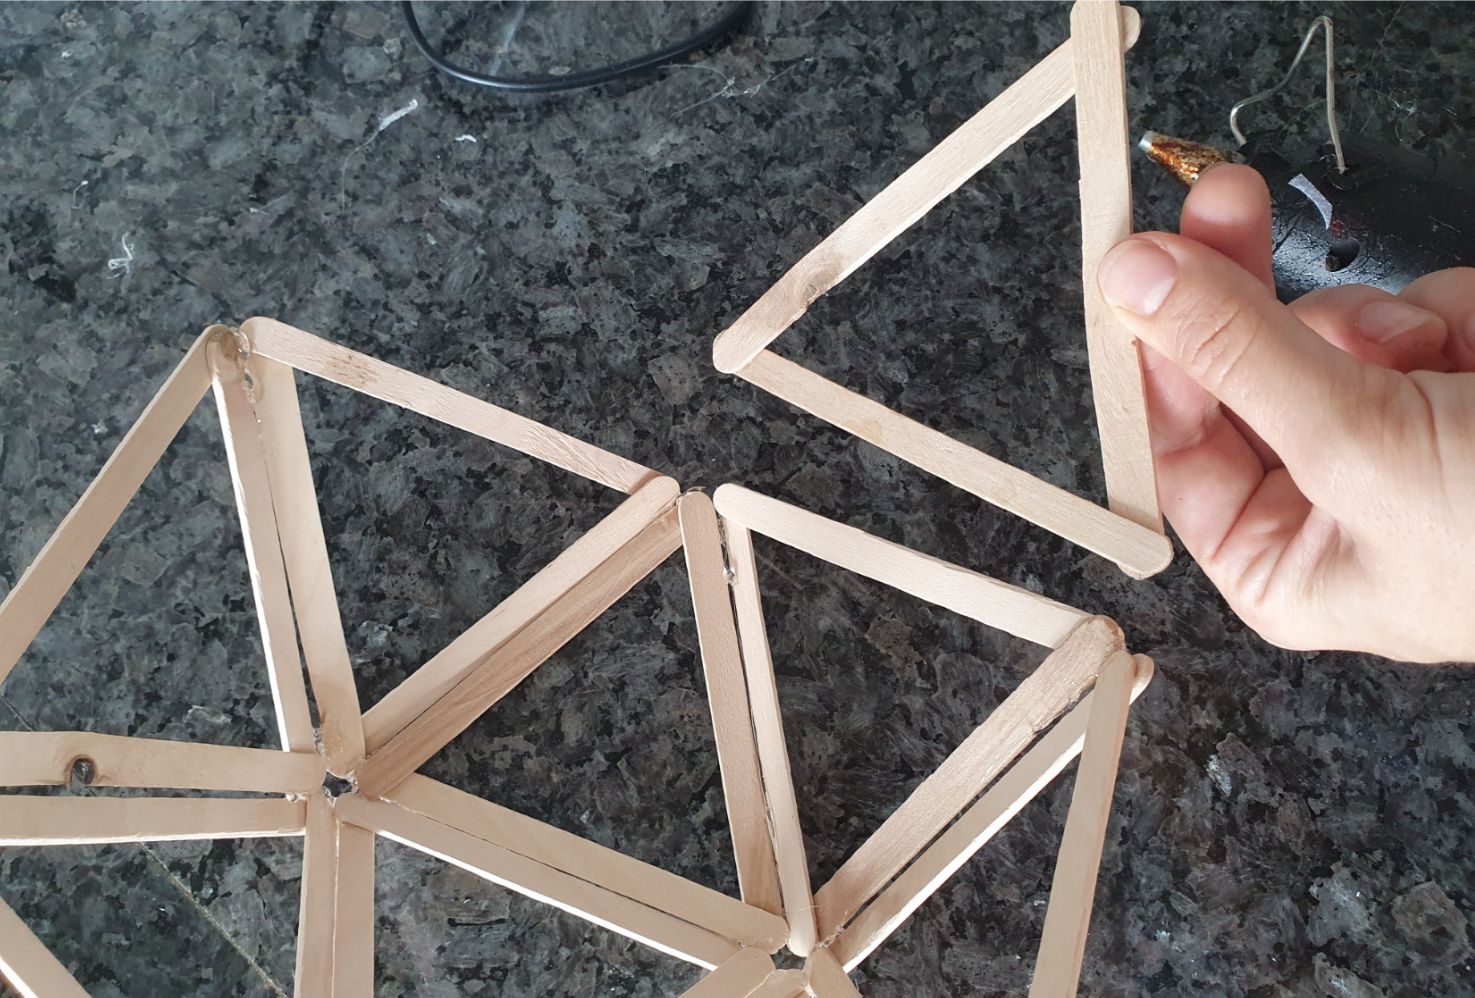

Keep adding the triangles around the dome


Keep adding the triangles until there are no more gaps


Paint the tea light holder in any colour of your choice. We used both paint brushes and sponges. The sponges were faster.
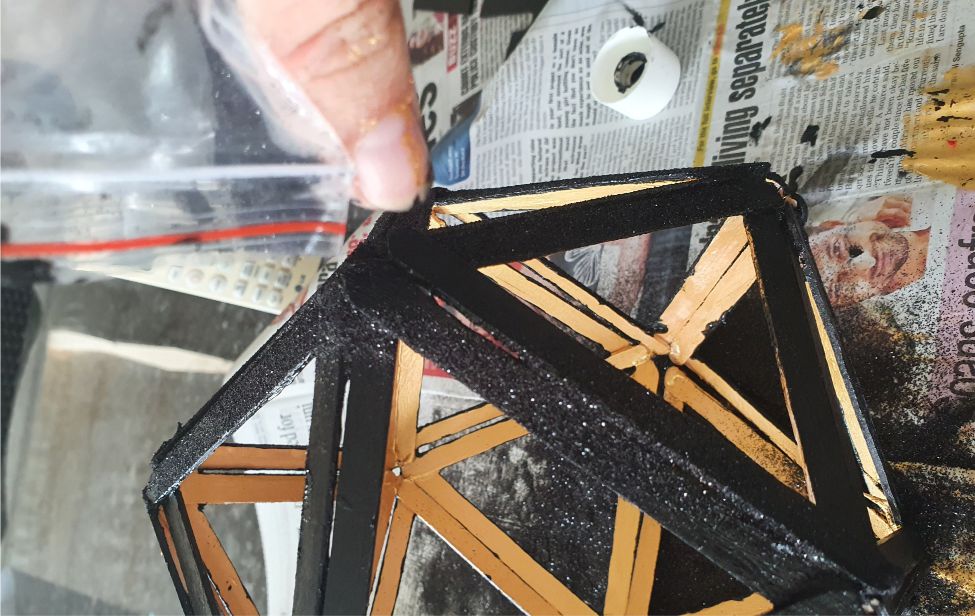

Before the paint dries, drizzle with glitter. This is -of course- also optional. We used black glitter.


We painted it inside and out -it would have been pretty to keep a lighter colour on the inside but with the sponges (and two hands) it was easier to keep it simple. Let the paint dry fully before you proceed to the next step.


Shake the tea light holder gently to remove the excess glitter and then spray with hair spray to seal in the glitter. Let it dry. This way it doesn't leave glitter on the table.


And the tea light is done. Hope you enjoyed this little craft project.



Leave a Review
You must be logged in to post a comment.