
- Prep Time1 hour + 30min to paint
- Total Time24-30 hours to dry
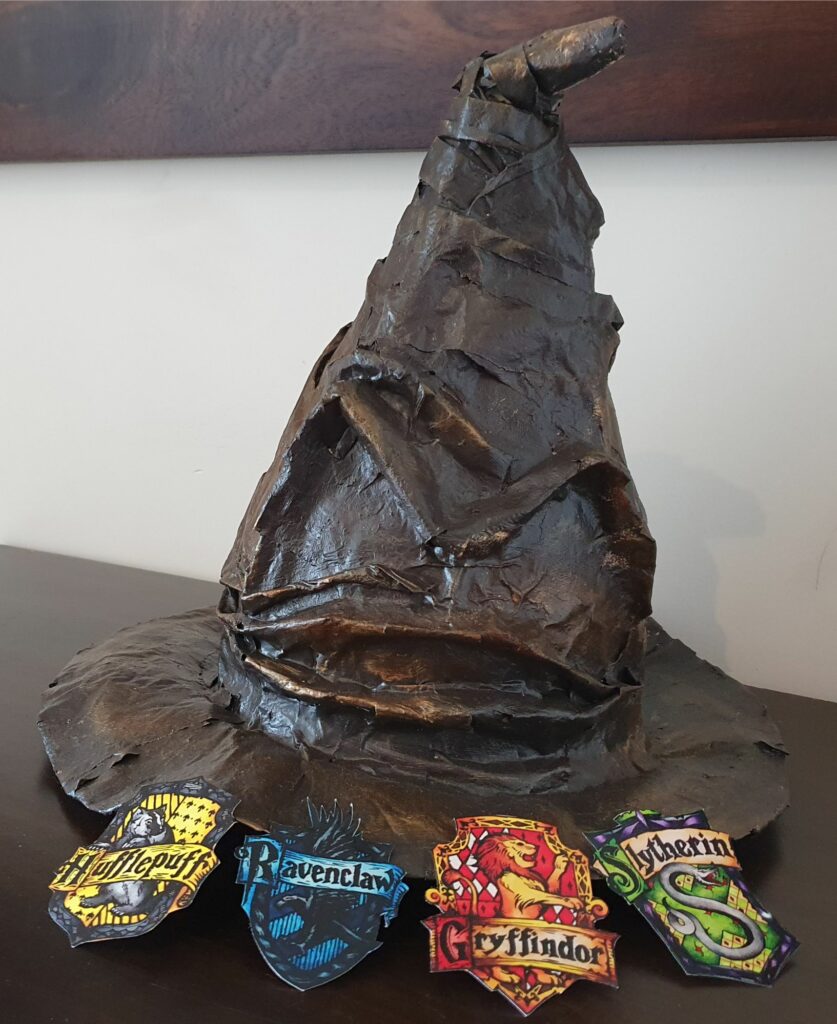
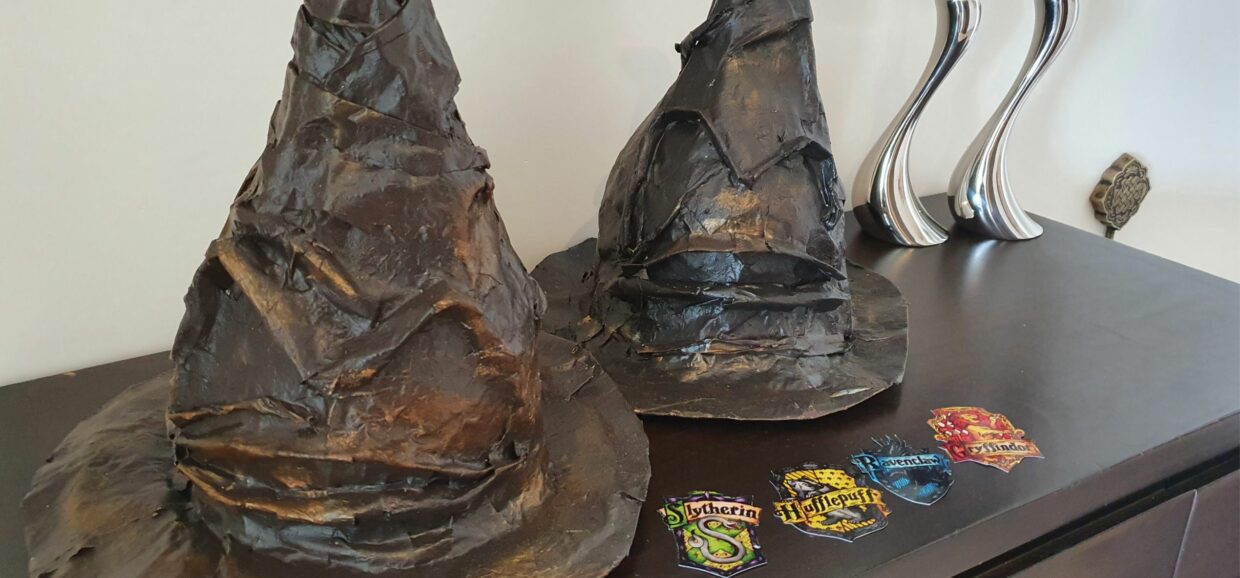
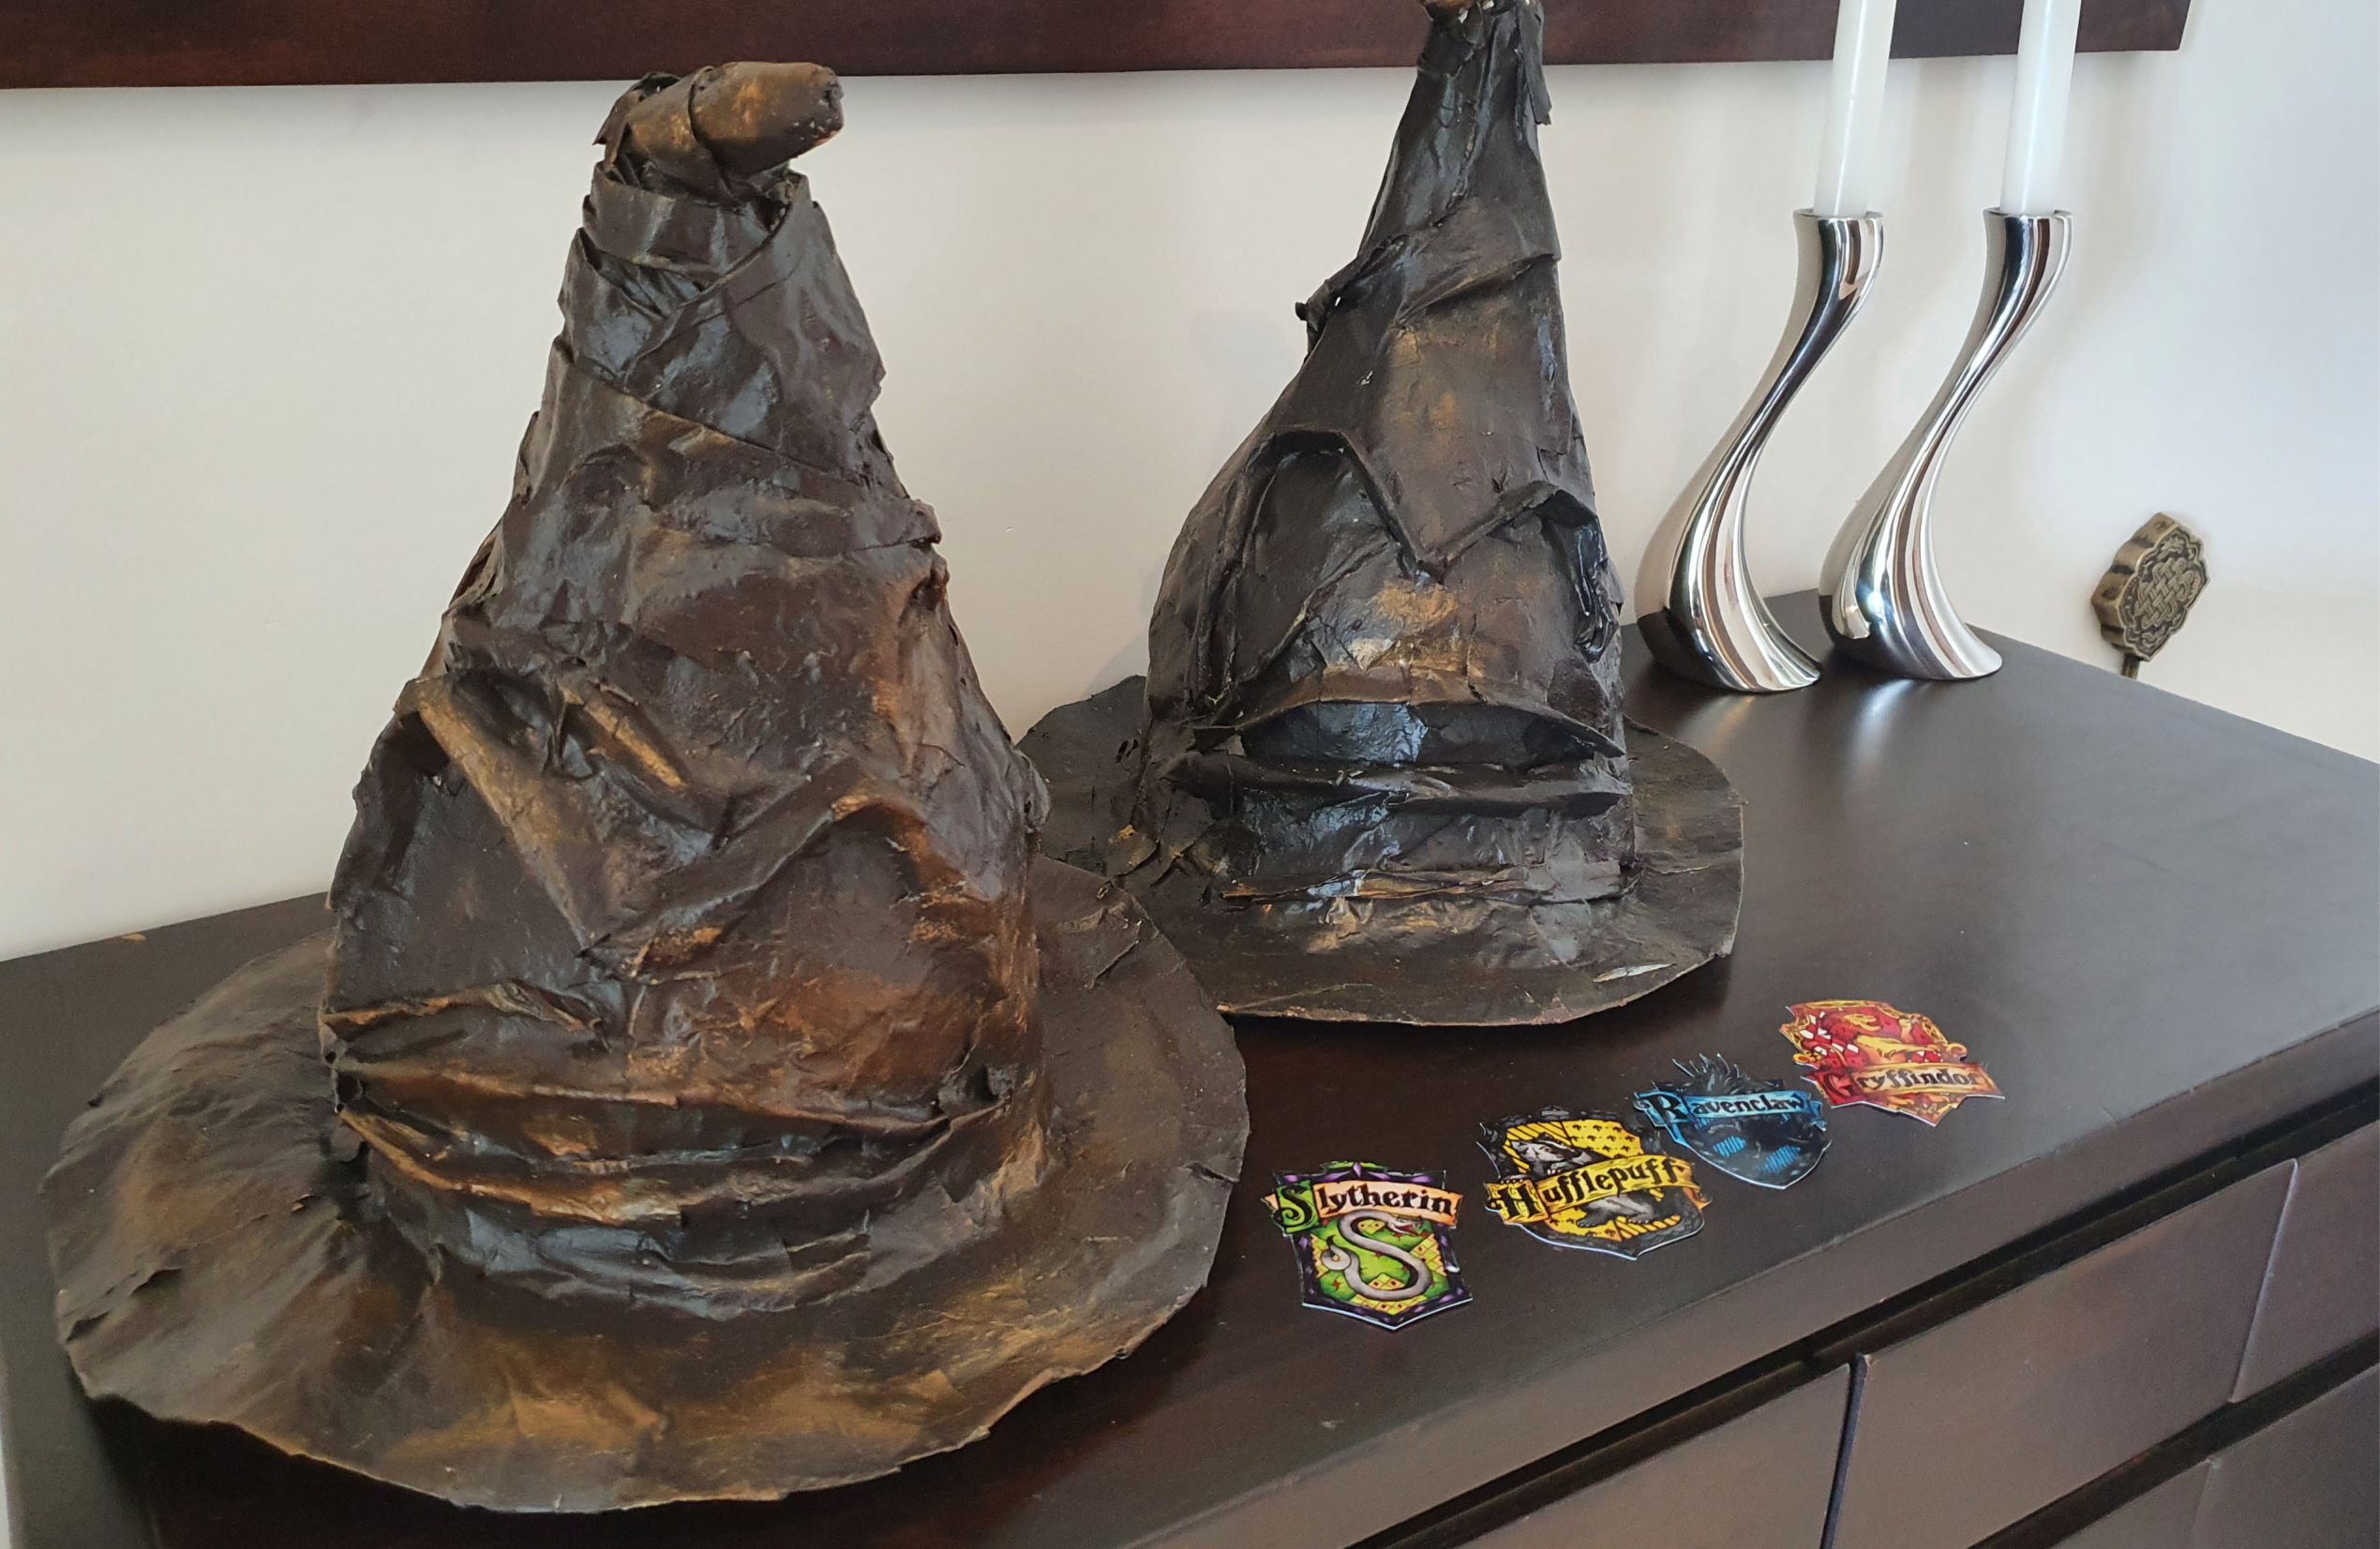
This article will show you how to make a DIY Sorting Hat -like the one used in the Harry Potter books and films- out of papier-mâché.
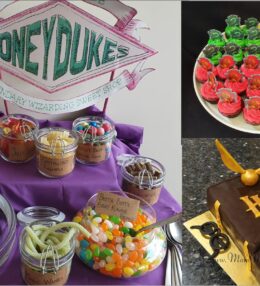
It cannot be worn as such -unless you make sure it’s big enough to fit onto the head. And still it would be slightly uncomfortable, I think. It can, however, be used as a prop for a Harry Potter birthday party or as the actual sorting hat, if you (like we did) want to divide the kids into their Hogwarts Houses upon arrival. As we mentioned in the Harry Potter Invitation, the sorting commenced shortly upon arrival and this sorting hat was the perfect prop for that 🙂
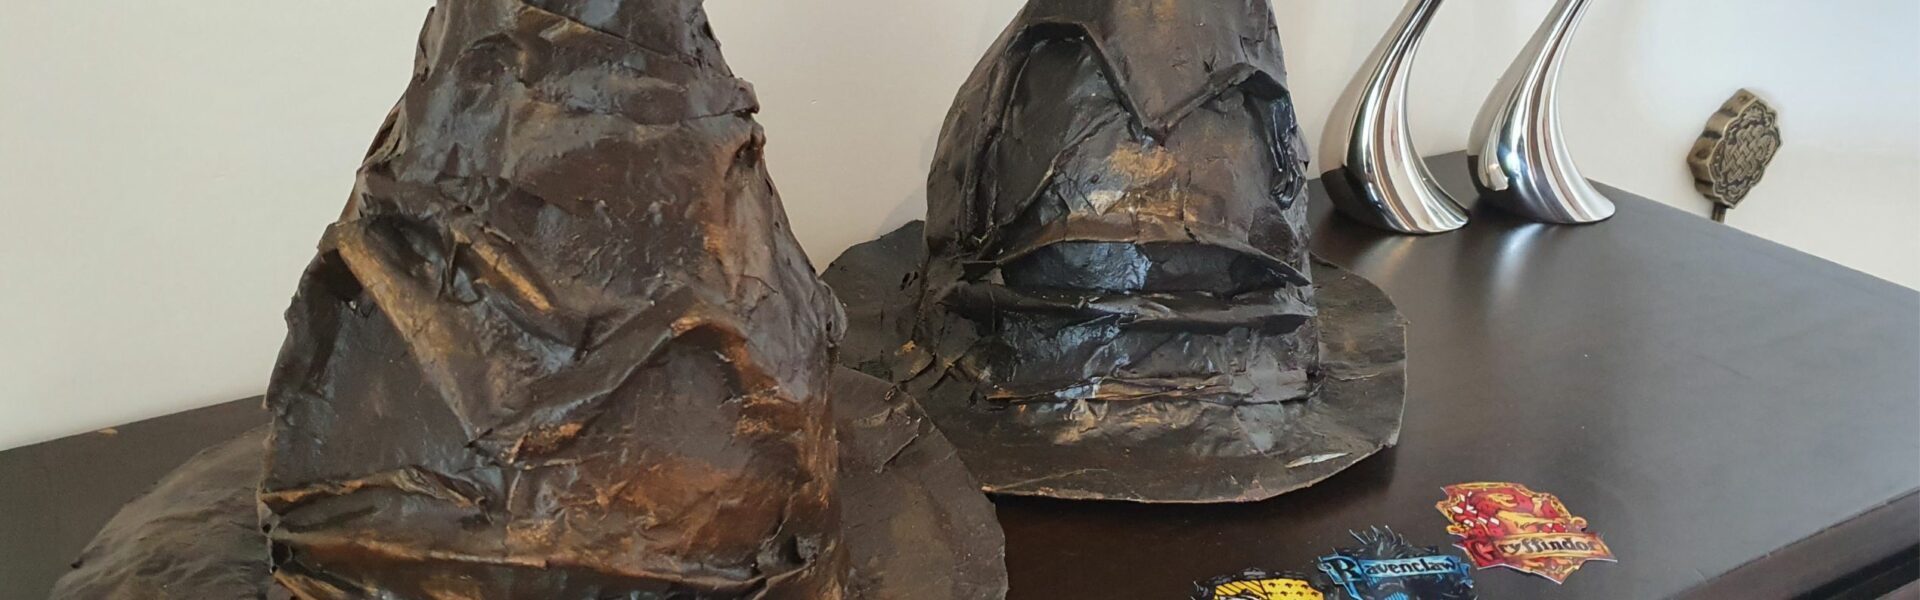
And yes, we made two. My oldest daughter wanted to make one alone, so my youngest daughter and me shared one hat as a joined project.
Getting the ingredients ready for your DIY Sorting Hat
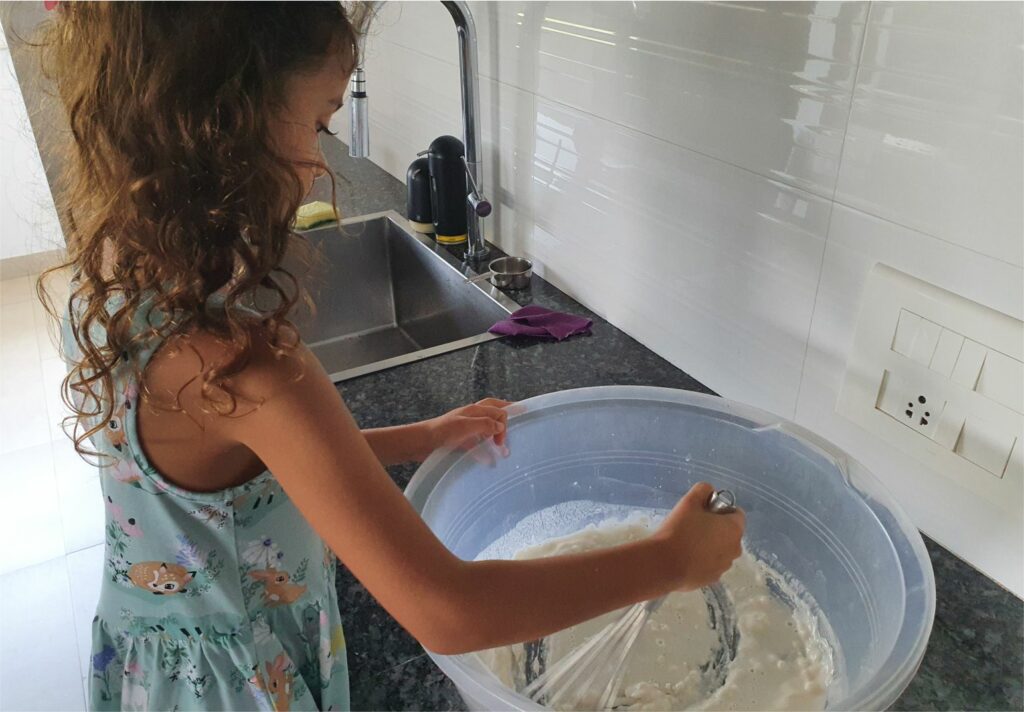
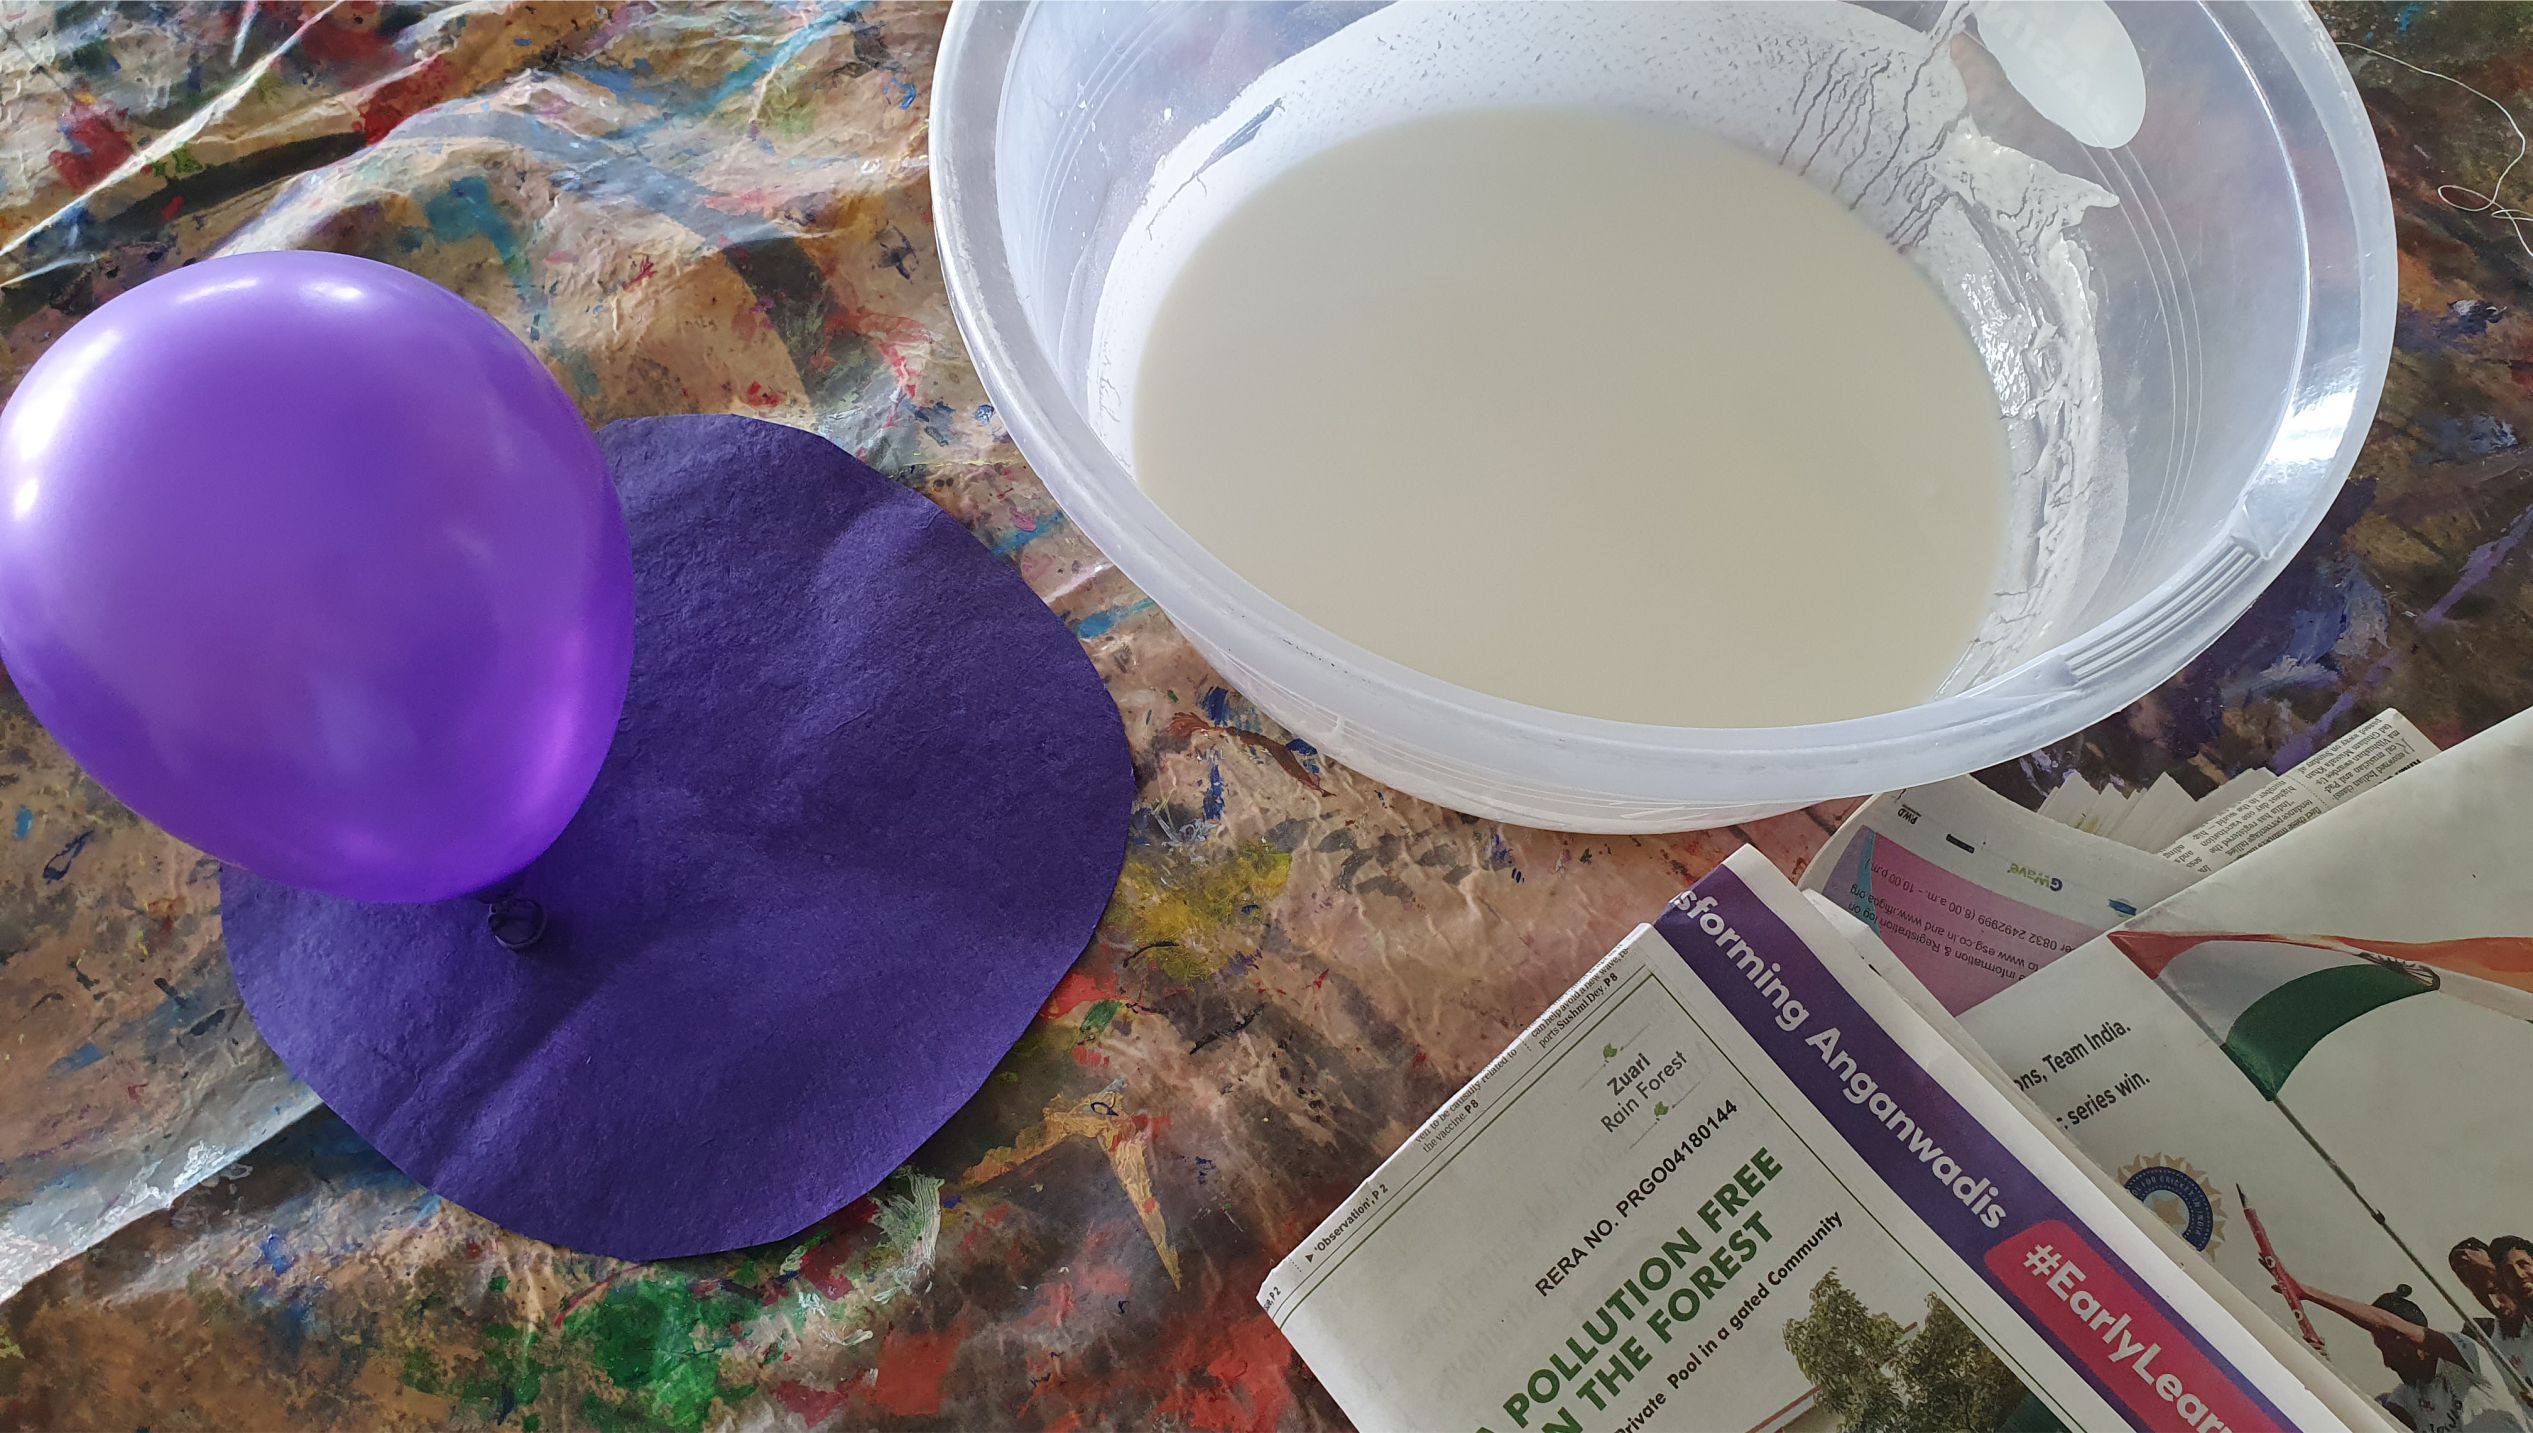
To make the sticky homemade glue, use white flour (maida) and water. You will need 2 parts flour to 3 parts water. So 200ml flour to 300ml water or 2 cups flour to 3 cups water. Use whatever measuring cup you have handy. Mix the flour and water in a big basin with a whisk until there are no more lumps.
We used 600ml flour for two hats but it all depends how much glue is on each newspaper strip. So it’s difficult to give exact measurements and maybe better to make it a few times during the project. This papier-mâché project needs only one layer of newspapers -unlike a piñata-, so you just need to shape the hat. And then add the mouth, eyes and wrinkles to make it look old. You can also use fevicol glue with a little water (about 5 glue to 1 water) to make this if you don’t have any flour available.
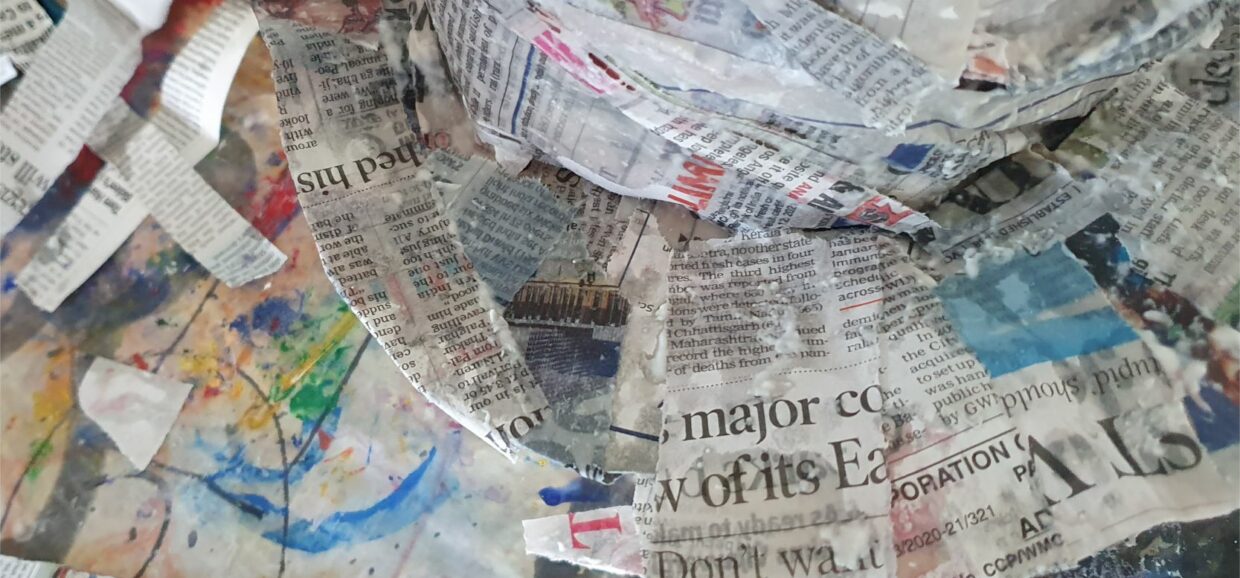
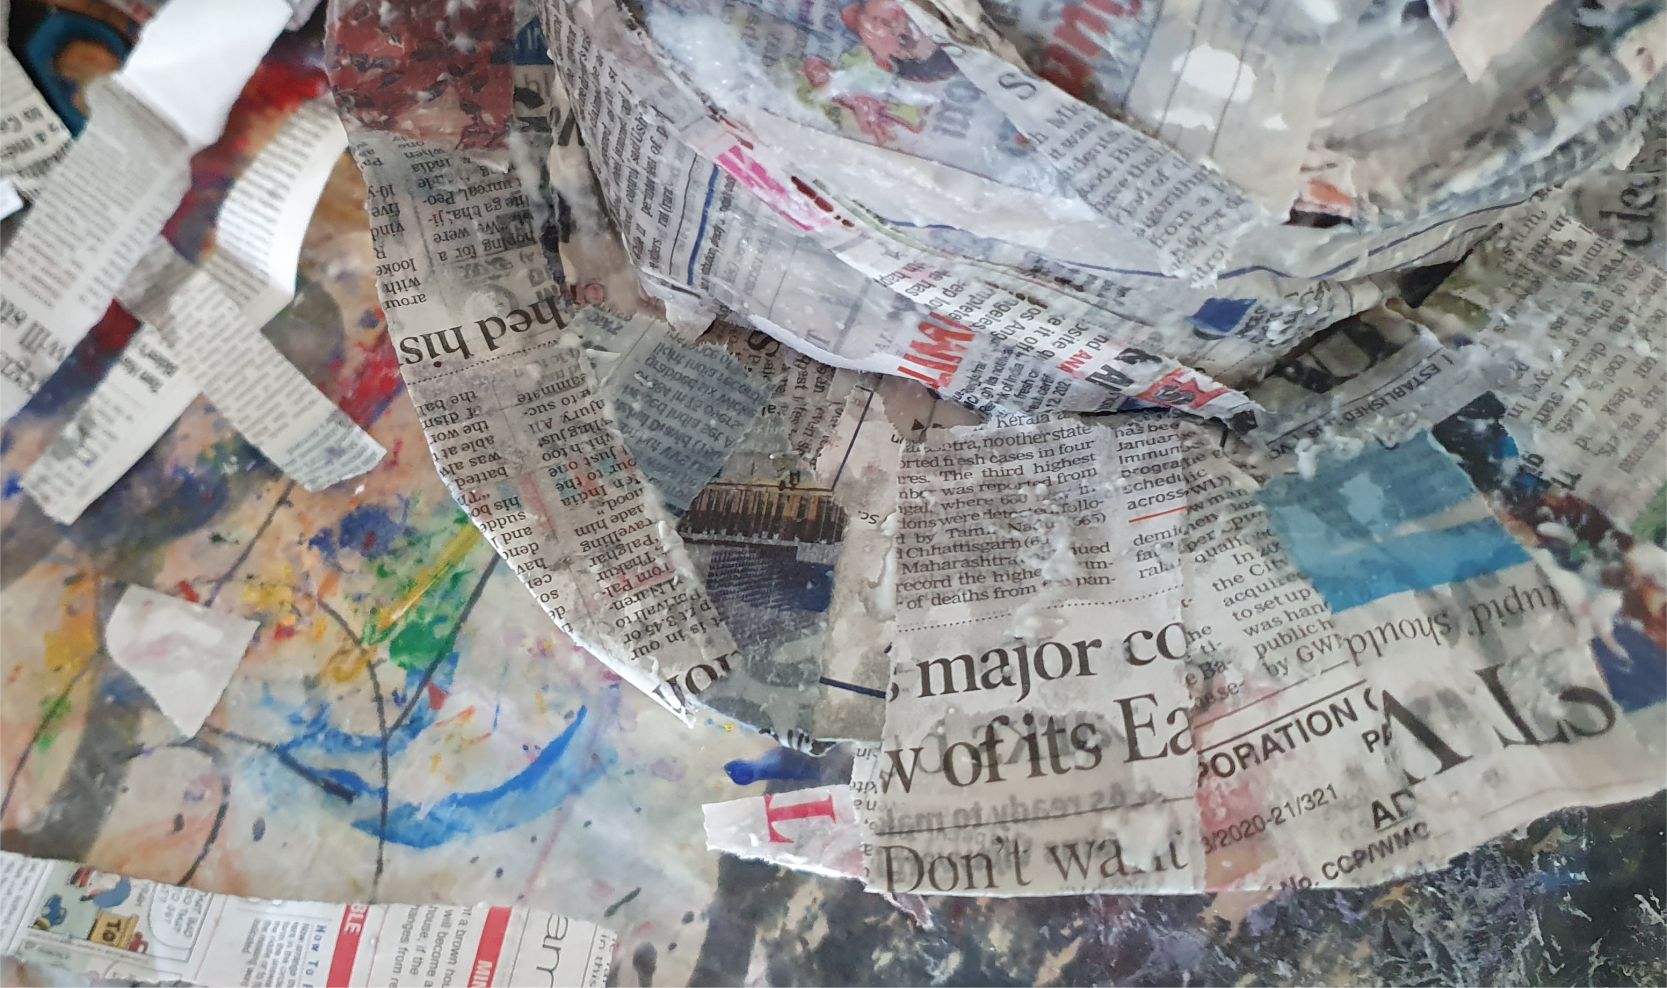
Newspapers work best for this project but magazines will work too if you don’t have any newspapers. Tear the newspaper into thin strips approximately 1inch/2.5cm wide.
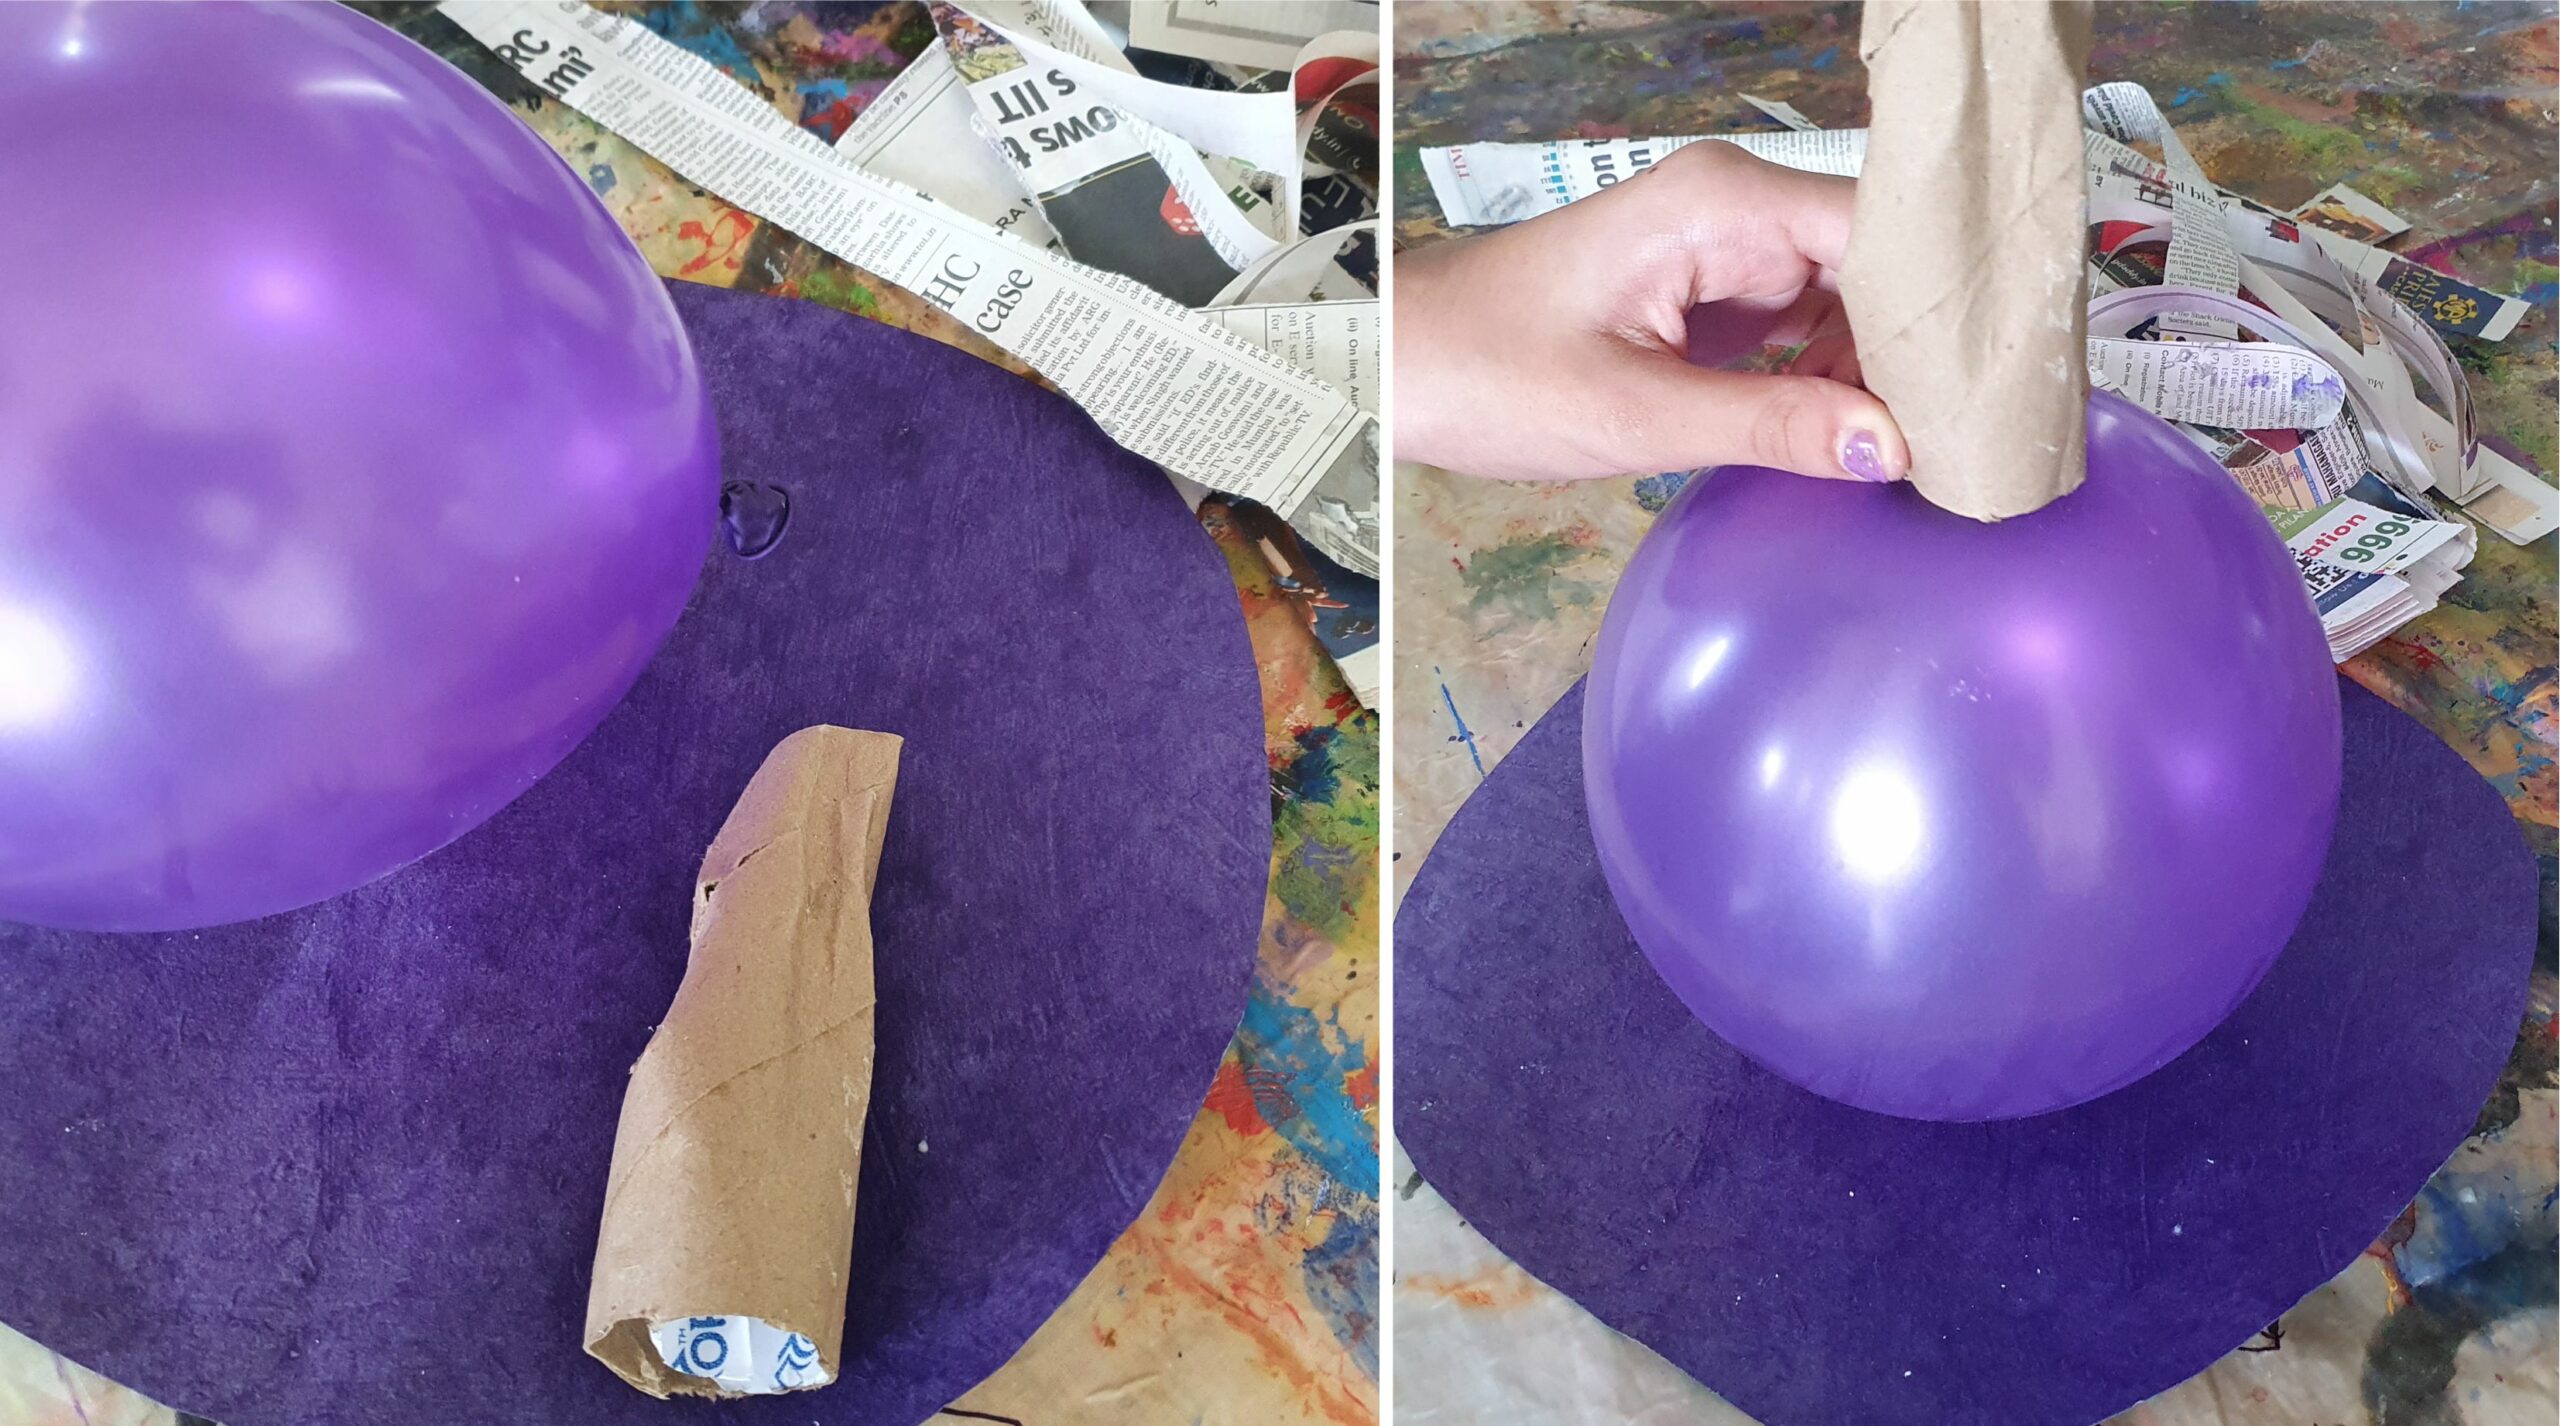
To shape the hat, blow up a balloon with a crunched up toilet paper roll on top (to give the hat some height). Cut an old craft paper into a circle for the base/brim of the hat (approximate diameter 35cm). The balloon and paper can be any colour. It’s a coincidence that they are both purple in our case.
See the full step-by-step guide with pictures at the end of the article.
Tips for making a DIY Sorting Hat with your kids:
- Prepare for some mess -all depending on your kids and how much they move around the table. The flour/water mixture is literally like glue and as you dip the newspaper strip into the flour/water mixture, it sometimes flops around a bit and leaves drops here and there. I even found the “glue” on the ceiling lamp afterwards.
- Don’t panic if the mess is bigger than anticipated. The flour/water mixture is not as permanent as actual glue, so it is possible to clean everything off afterwards. Use a wet cloth and/or a bench scraper/spatula depending on the surface.
- Cover the entire surface with newspapers or an old craft cloth. The table is generally really hard to clean afterwards, so newspapers or anything disposable is definitely preferred to make the clean-up easier for you.
- Everyone should wear old clothes -even the parent. You really never know where the glue might end up and it’s better safe than sorry.
- Kids usually know what they want to do, and -maybe more importantly- what not. Some might not like getting their hands all dirty in the sticky goo while others love the feeling of it between their fingers. My kids each have their own preferences and I try to respect that.
Finishing the sorting hat
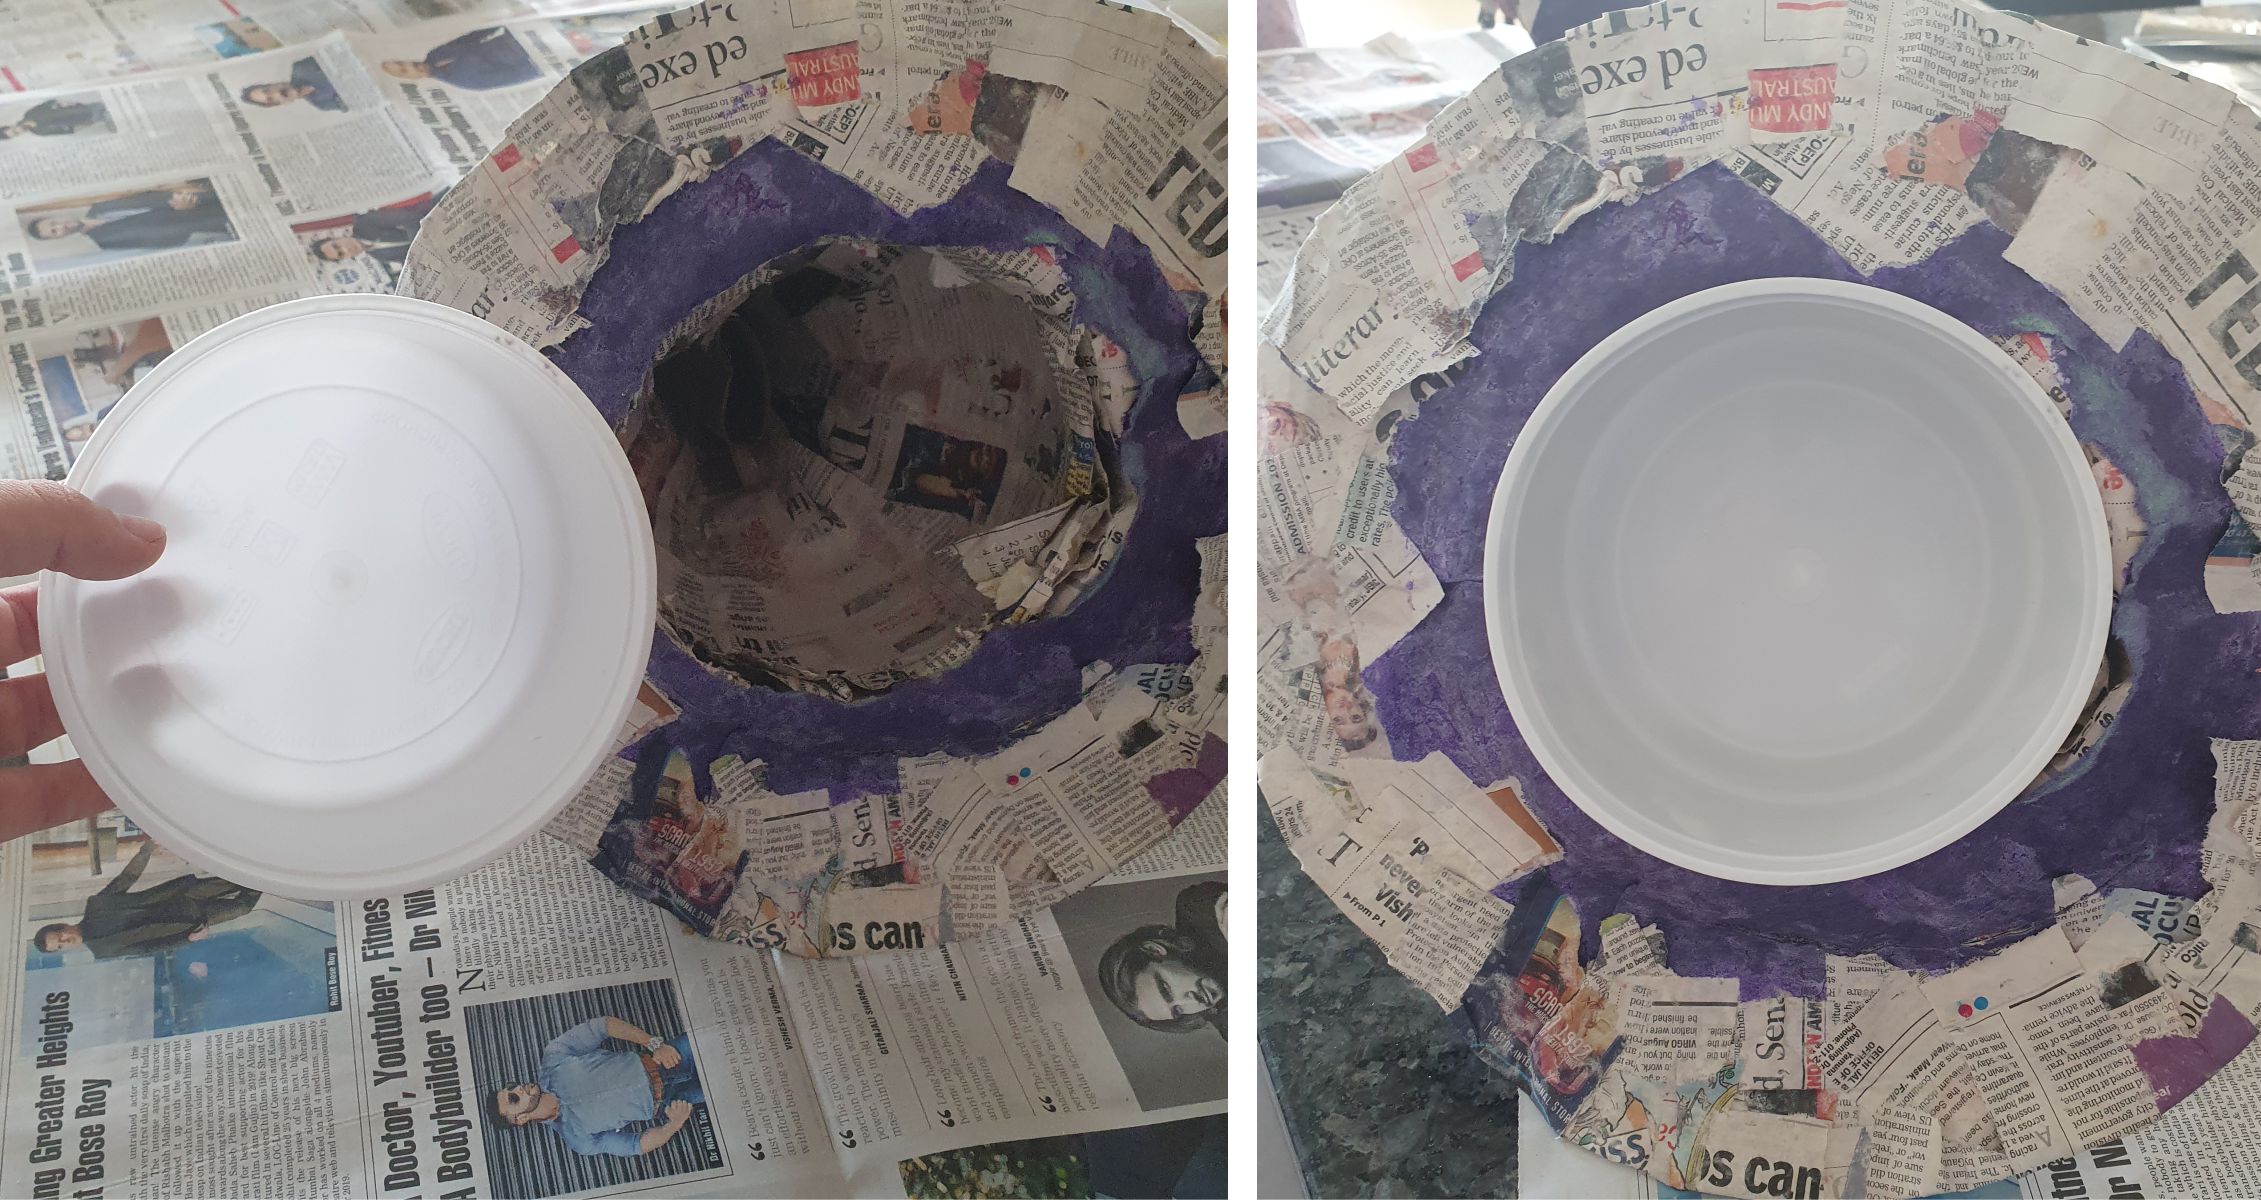
We needed to use the sorting hat as an actual sorting hat for our Harry Potter party. So we needed the inside of the hat to be neat too.
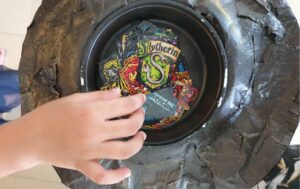
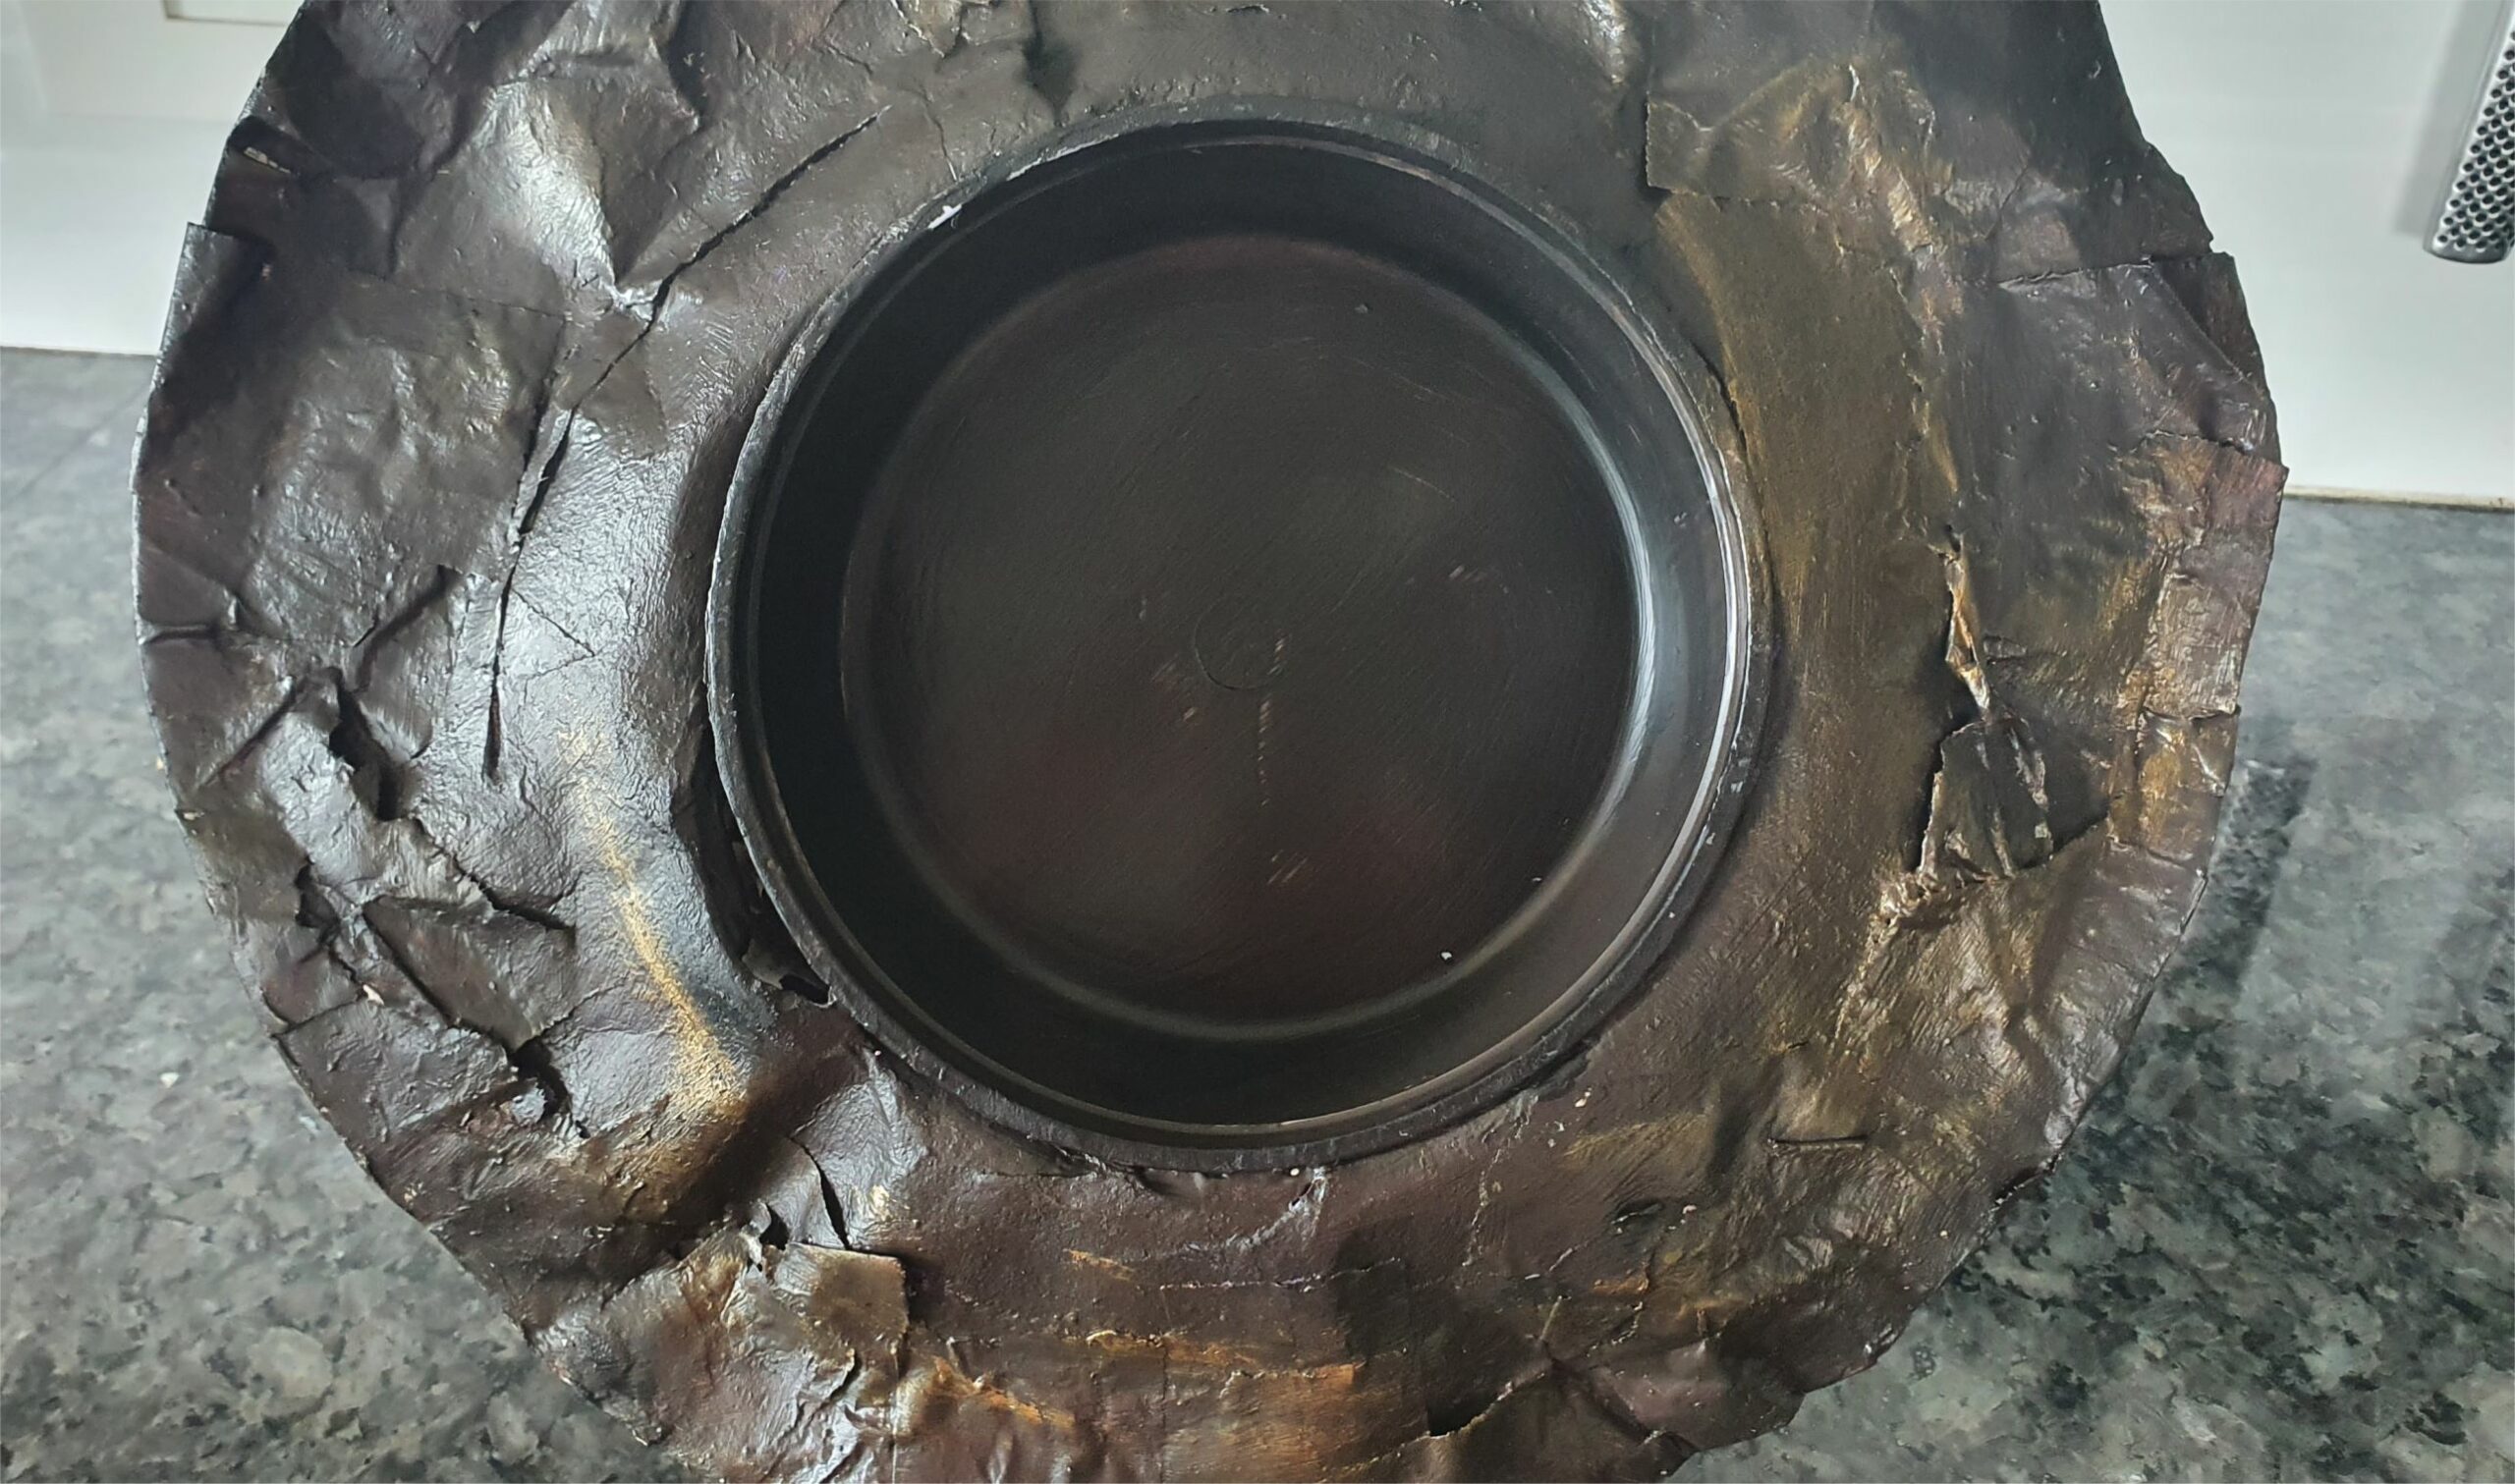
We cut a circle out of the bottom craft paper (see step 8 below) and pushed a take away container into the space. We filled it with Hogwarts House stickers so the kids got to “draw” their house. If you need it for something too, you can either place a take away container in the hole (as we did) or you can make it neat with papier-mâché. I chose the easiest solution. 🙂
Let the sorting hat dry for min. 24 hours before painting it.
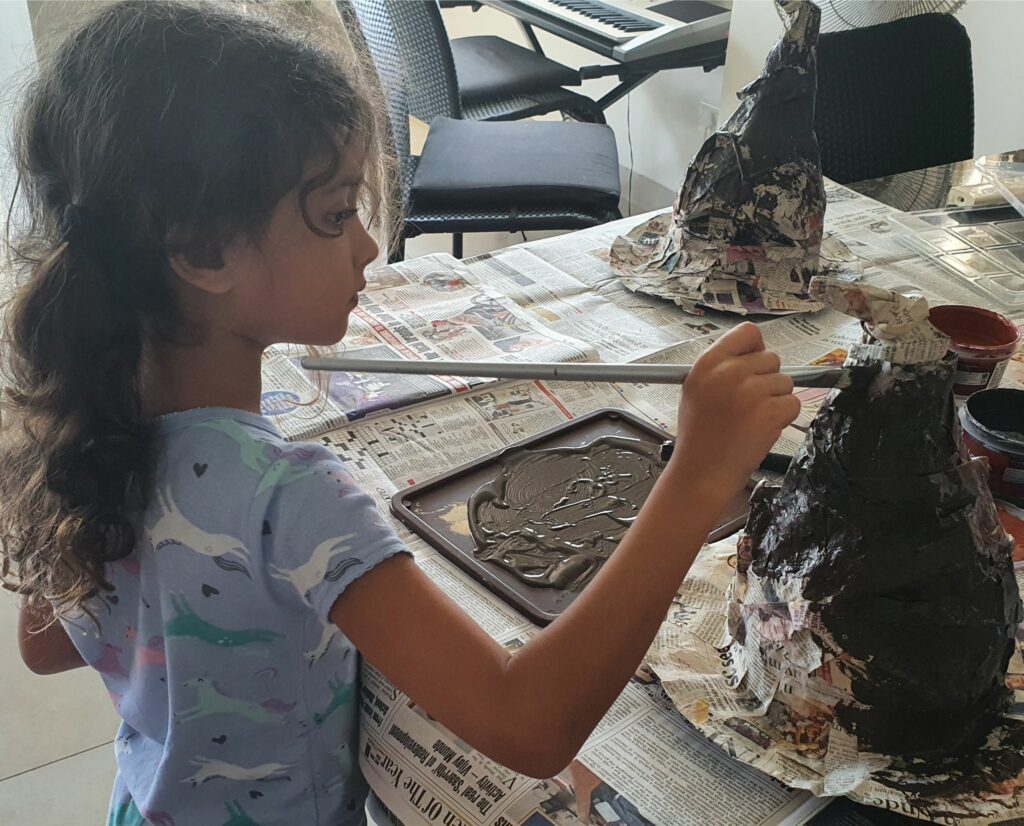
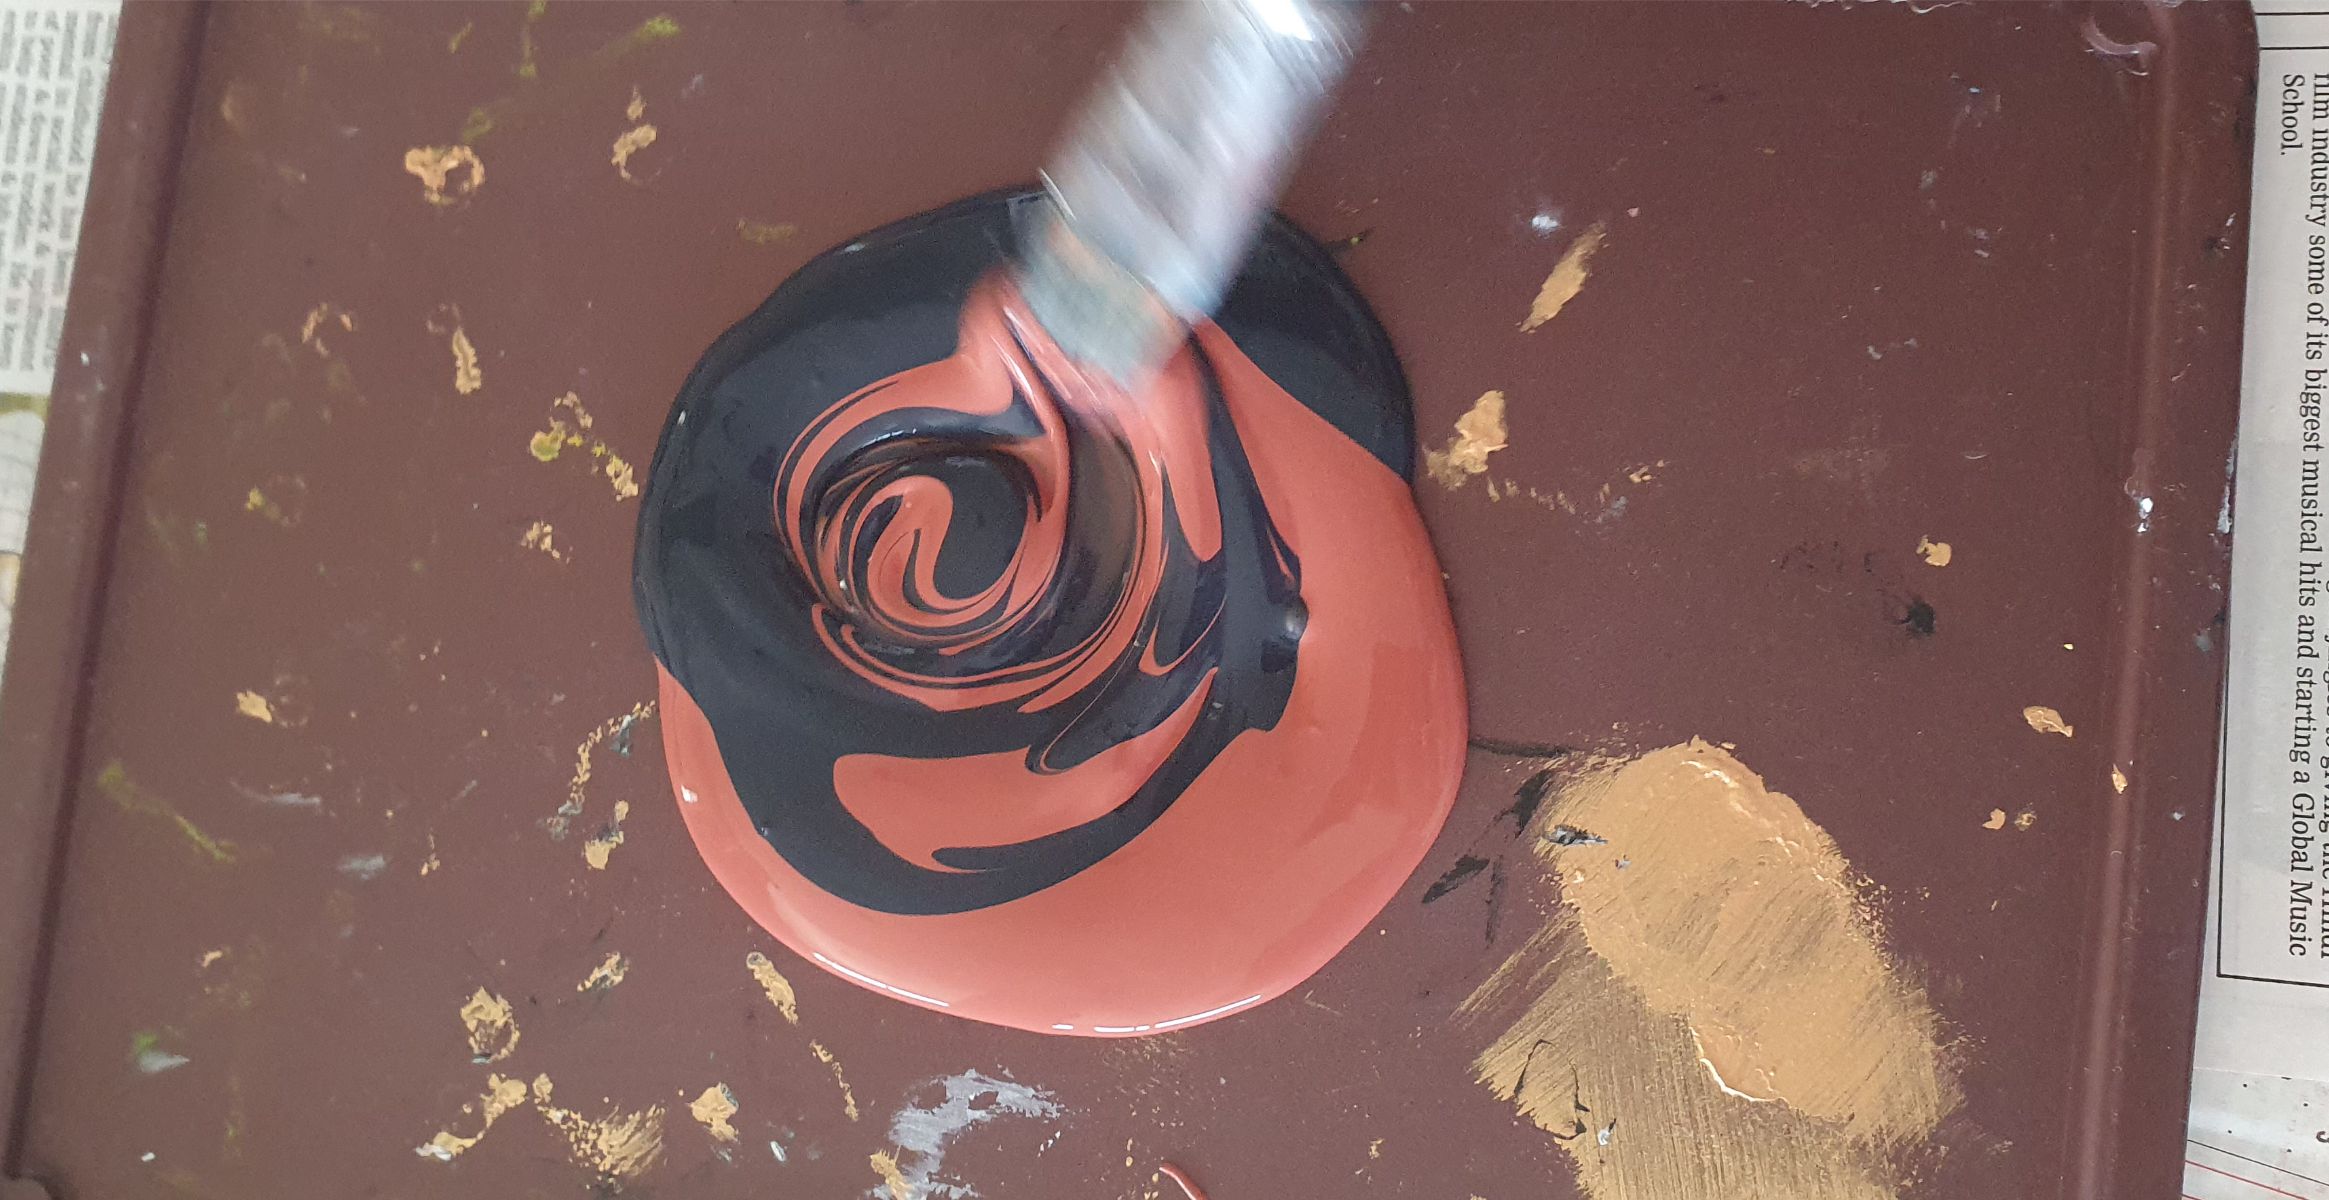
We used a mixture of brown and black paint to achieve a really dark brown shade, utilizing what we already had on hand—because I always believe in making the best out of waste for such creative projects. Any brown acrylic paint will work just as well for this purpose. To elevate the look, I painted the hat with a touch of gold paint, using a sponge to add some shine and give it a vintage, worn-out feel. If you’re planning your DIY sessions for budget-friendly craft ideas, why not tie them into affordable holiday projects? With HolidaysUnder100, you can transform simple materials into stunning pieces while keeping your expenses minimal.
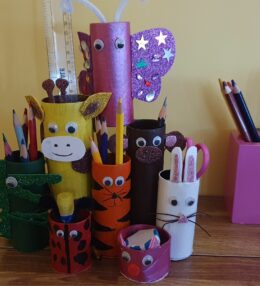
Check out my other paper-mache projects:
Hope you have fun with this project -like we did. See the easy to follow step-by-step guide below.
Ingredients
Directions

Cover the table and get the ingredients for the papier-mâché ready: balloon, flour/water glue, craft paper cut into a circle, newspapers and a toilet paper roll.
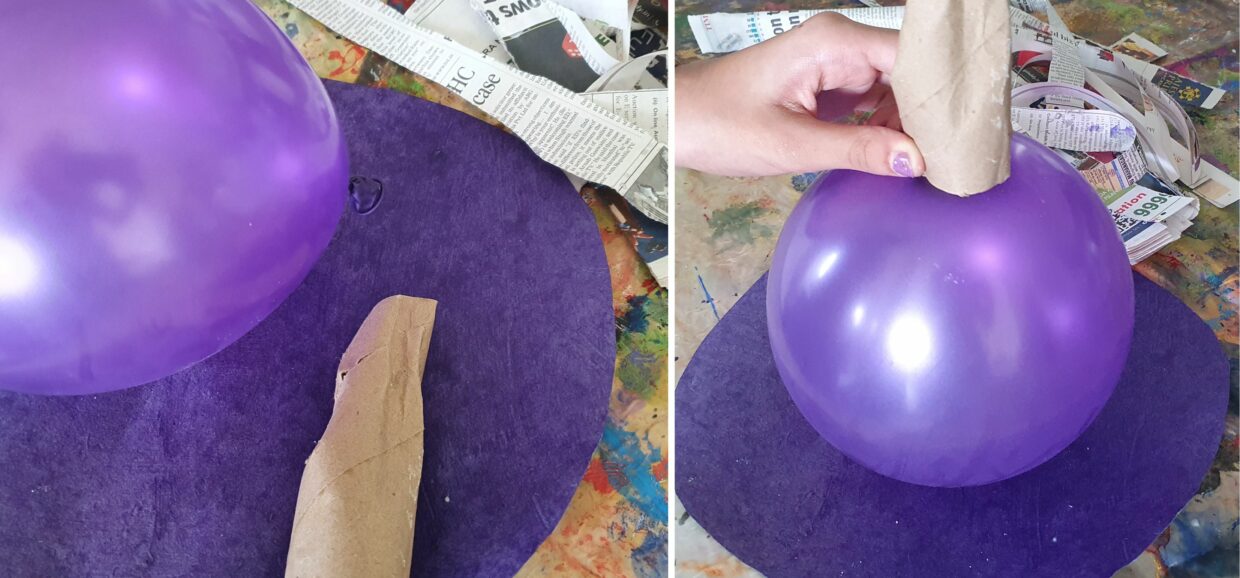
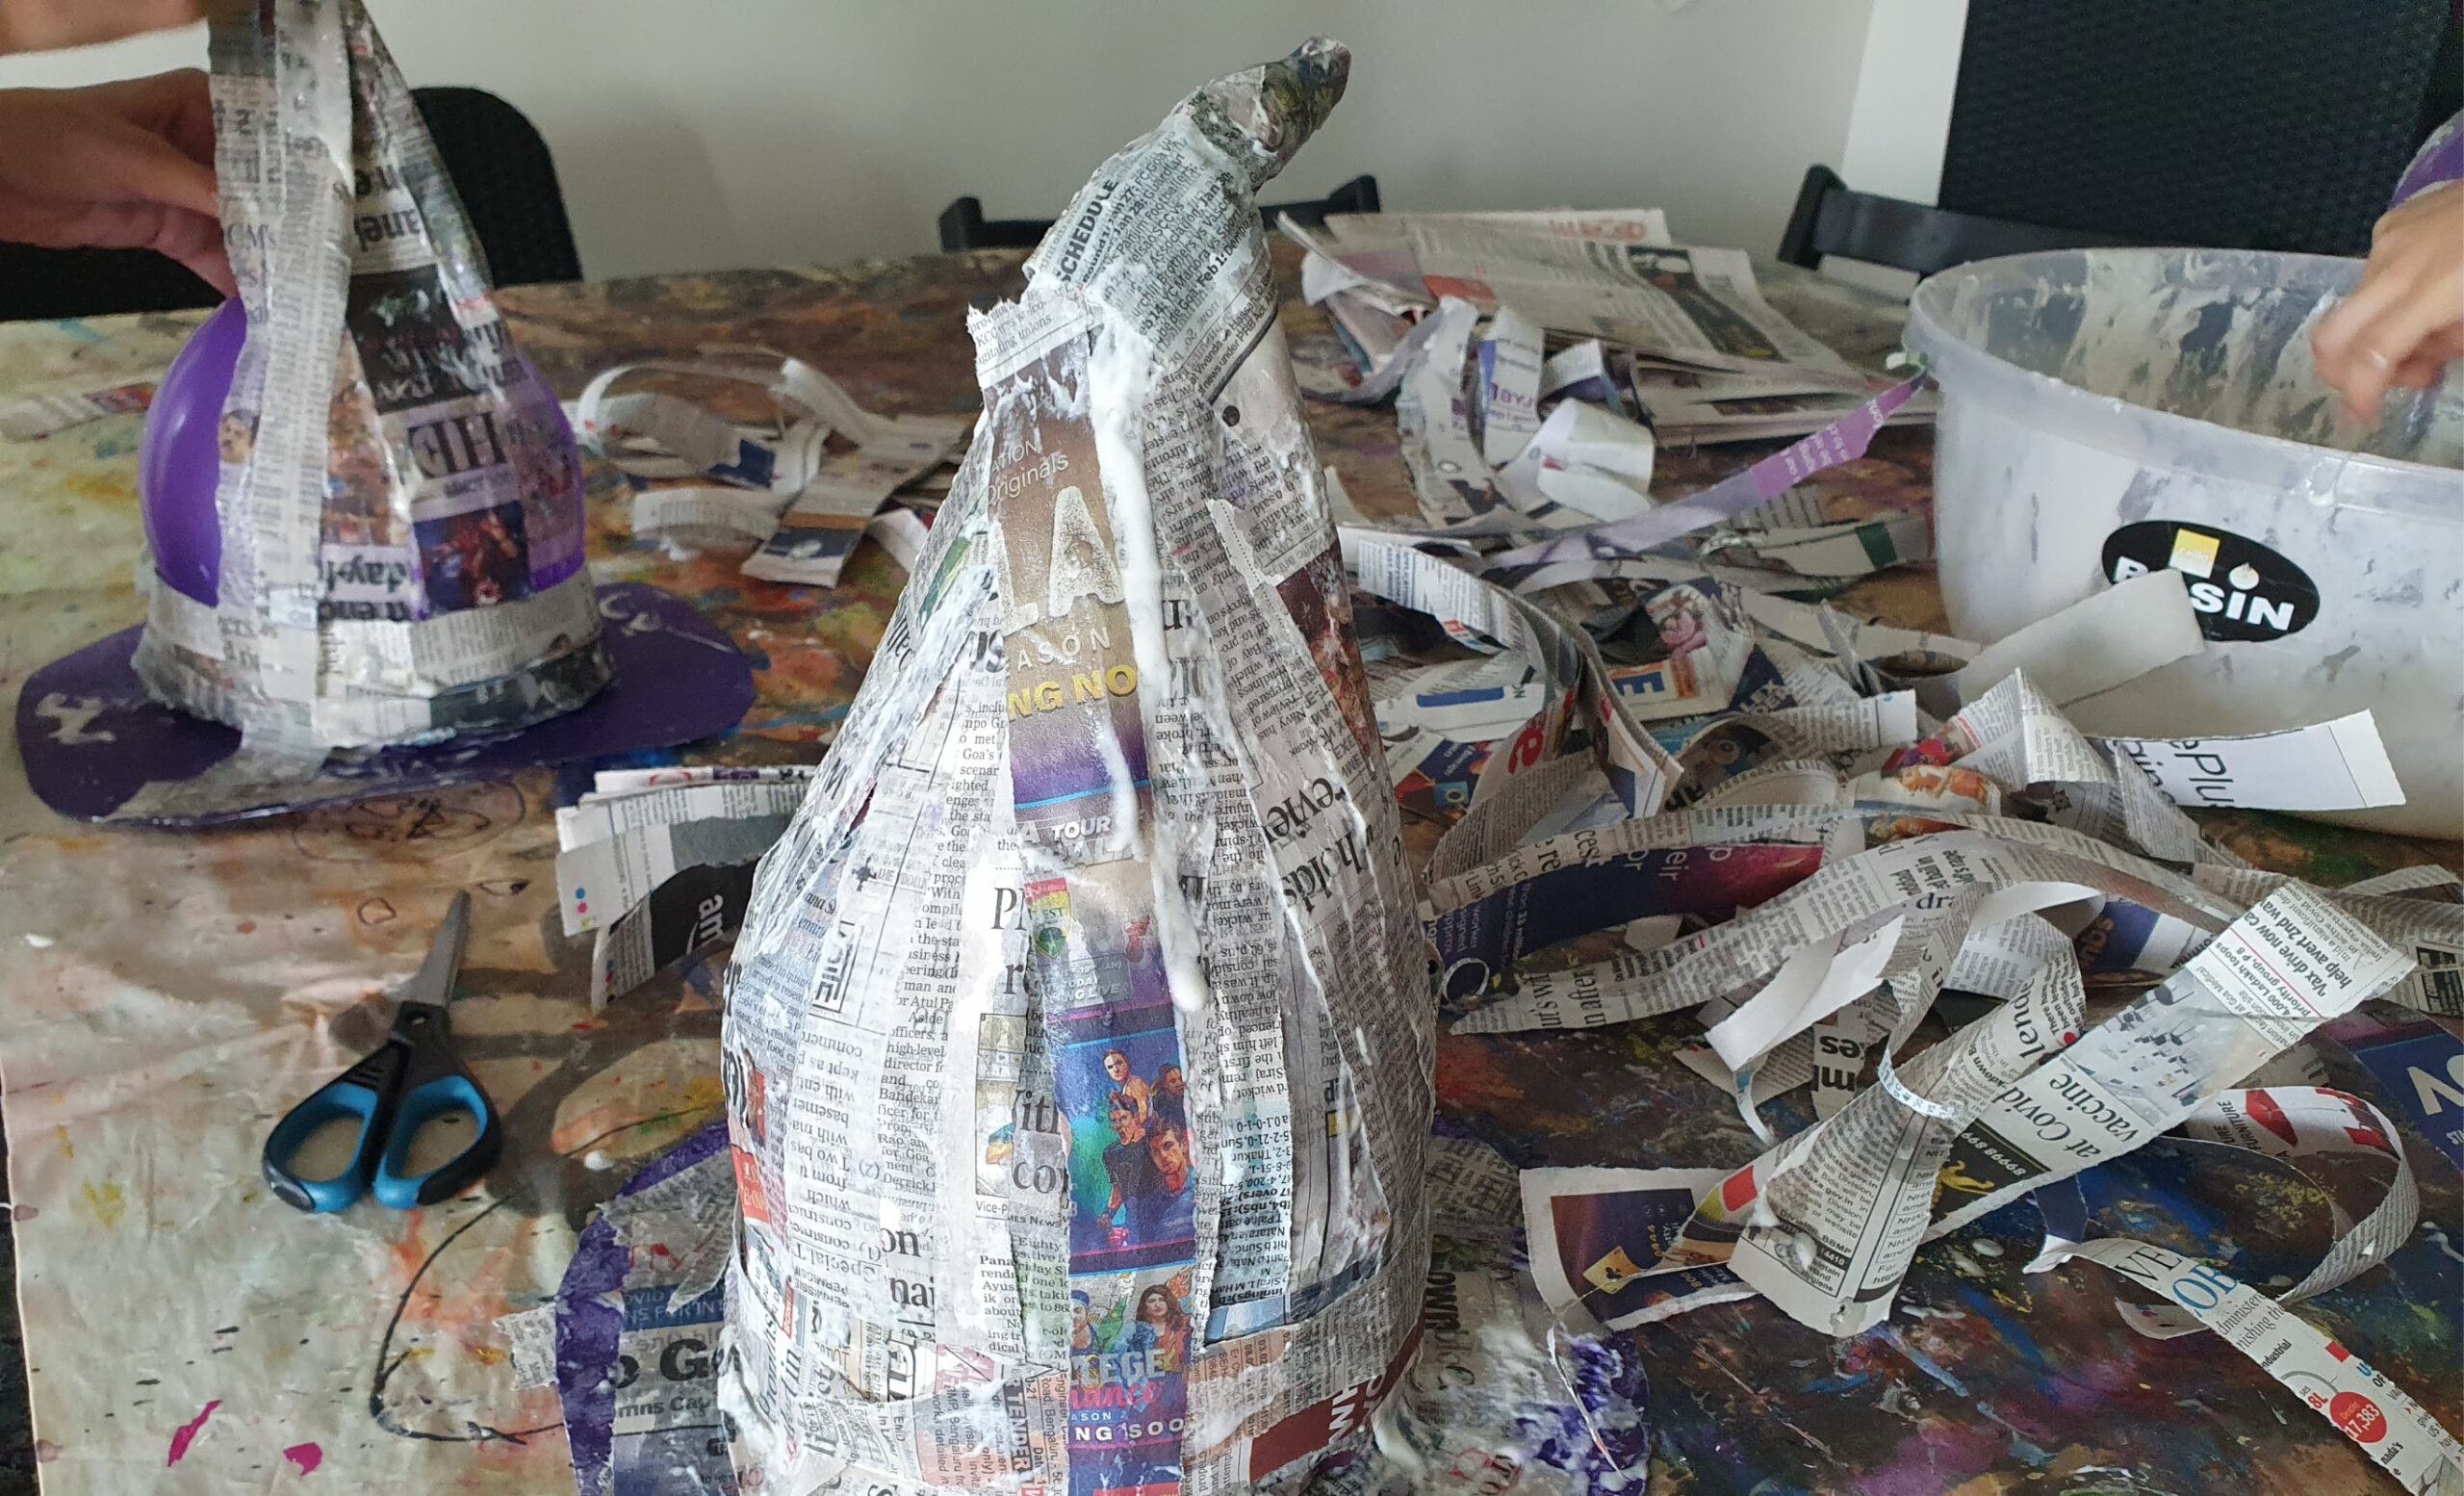
Place the balloon on the paper circle with the toilet paper roll on top. Dip a newspaper strip into the glue and put it on the balloon
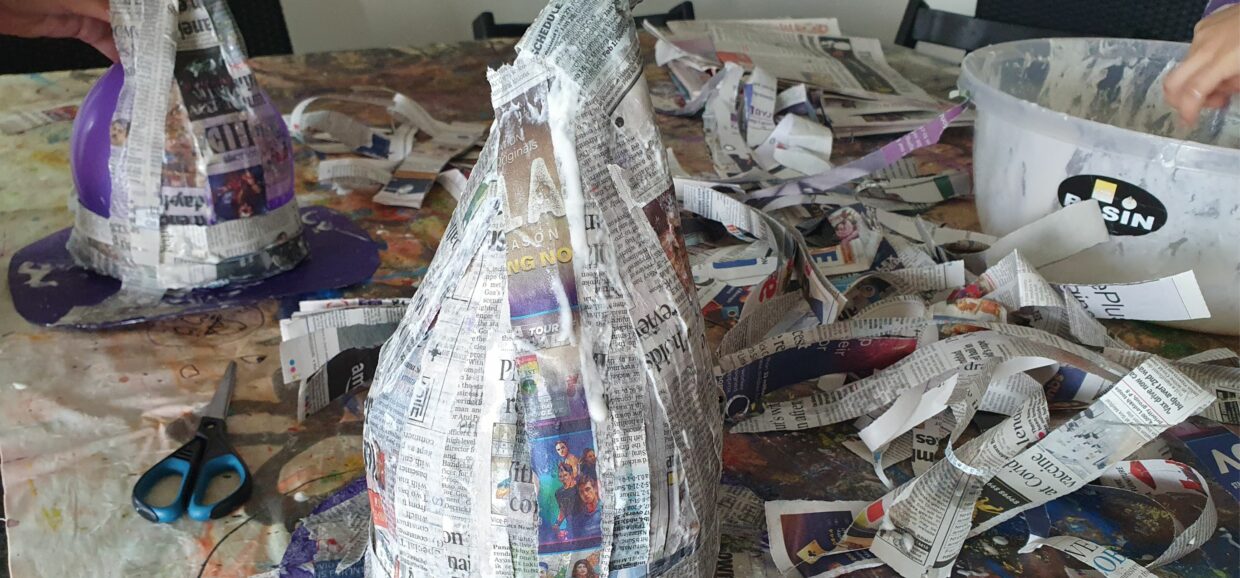
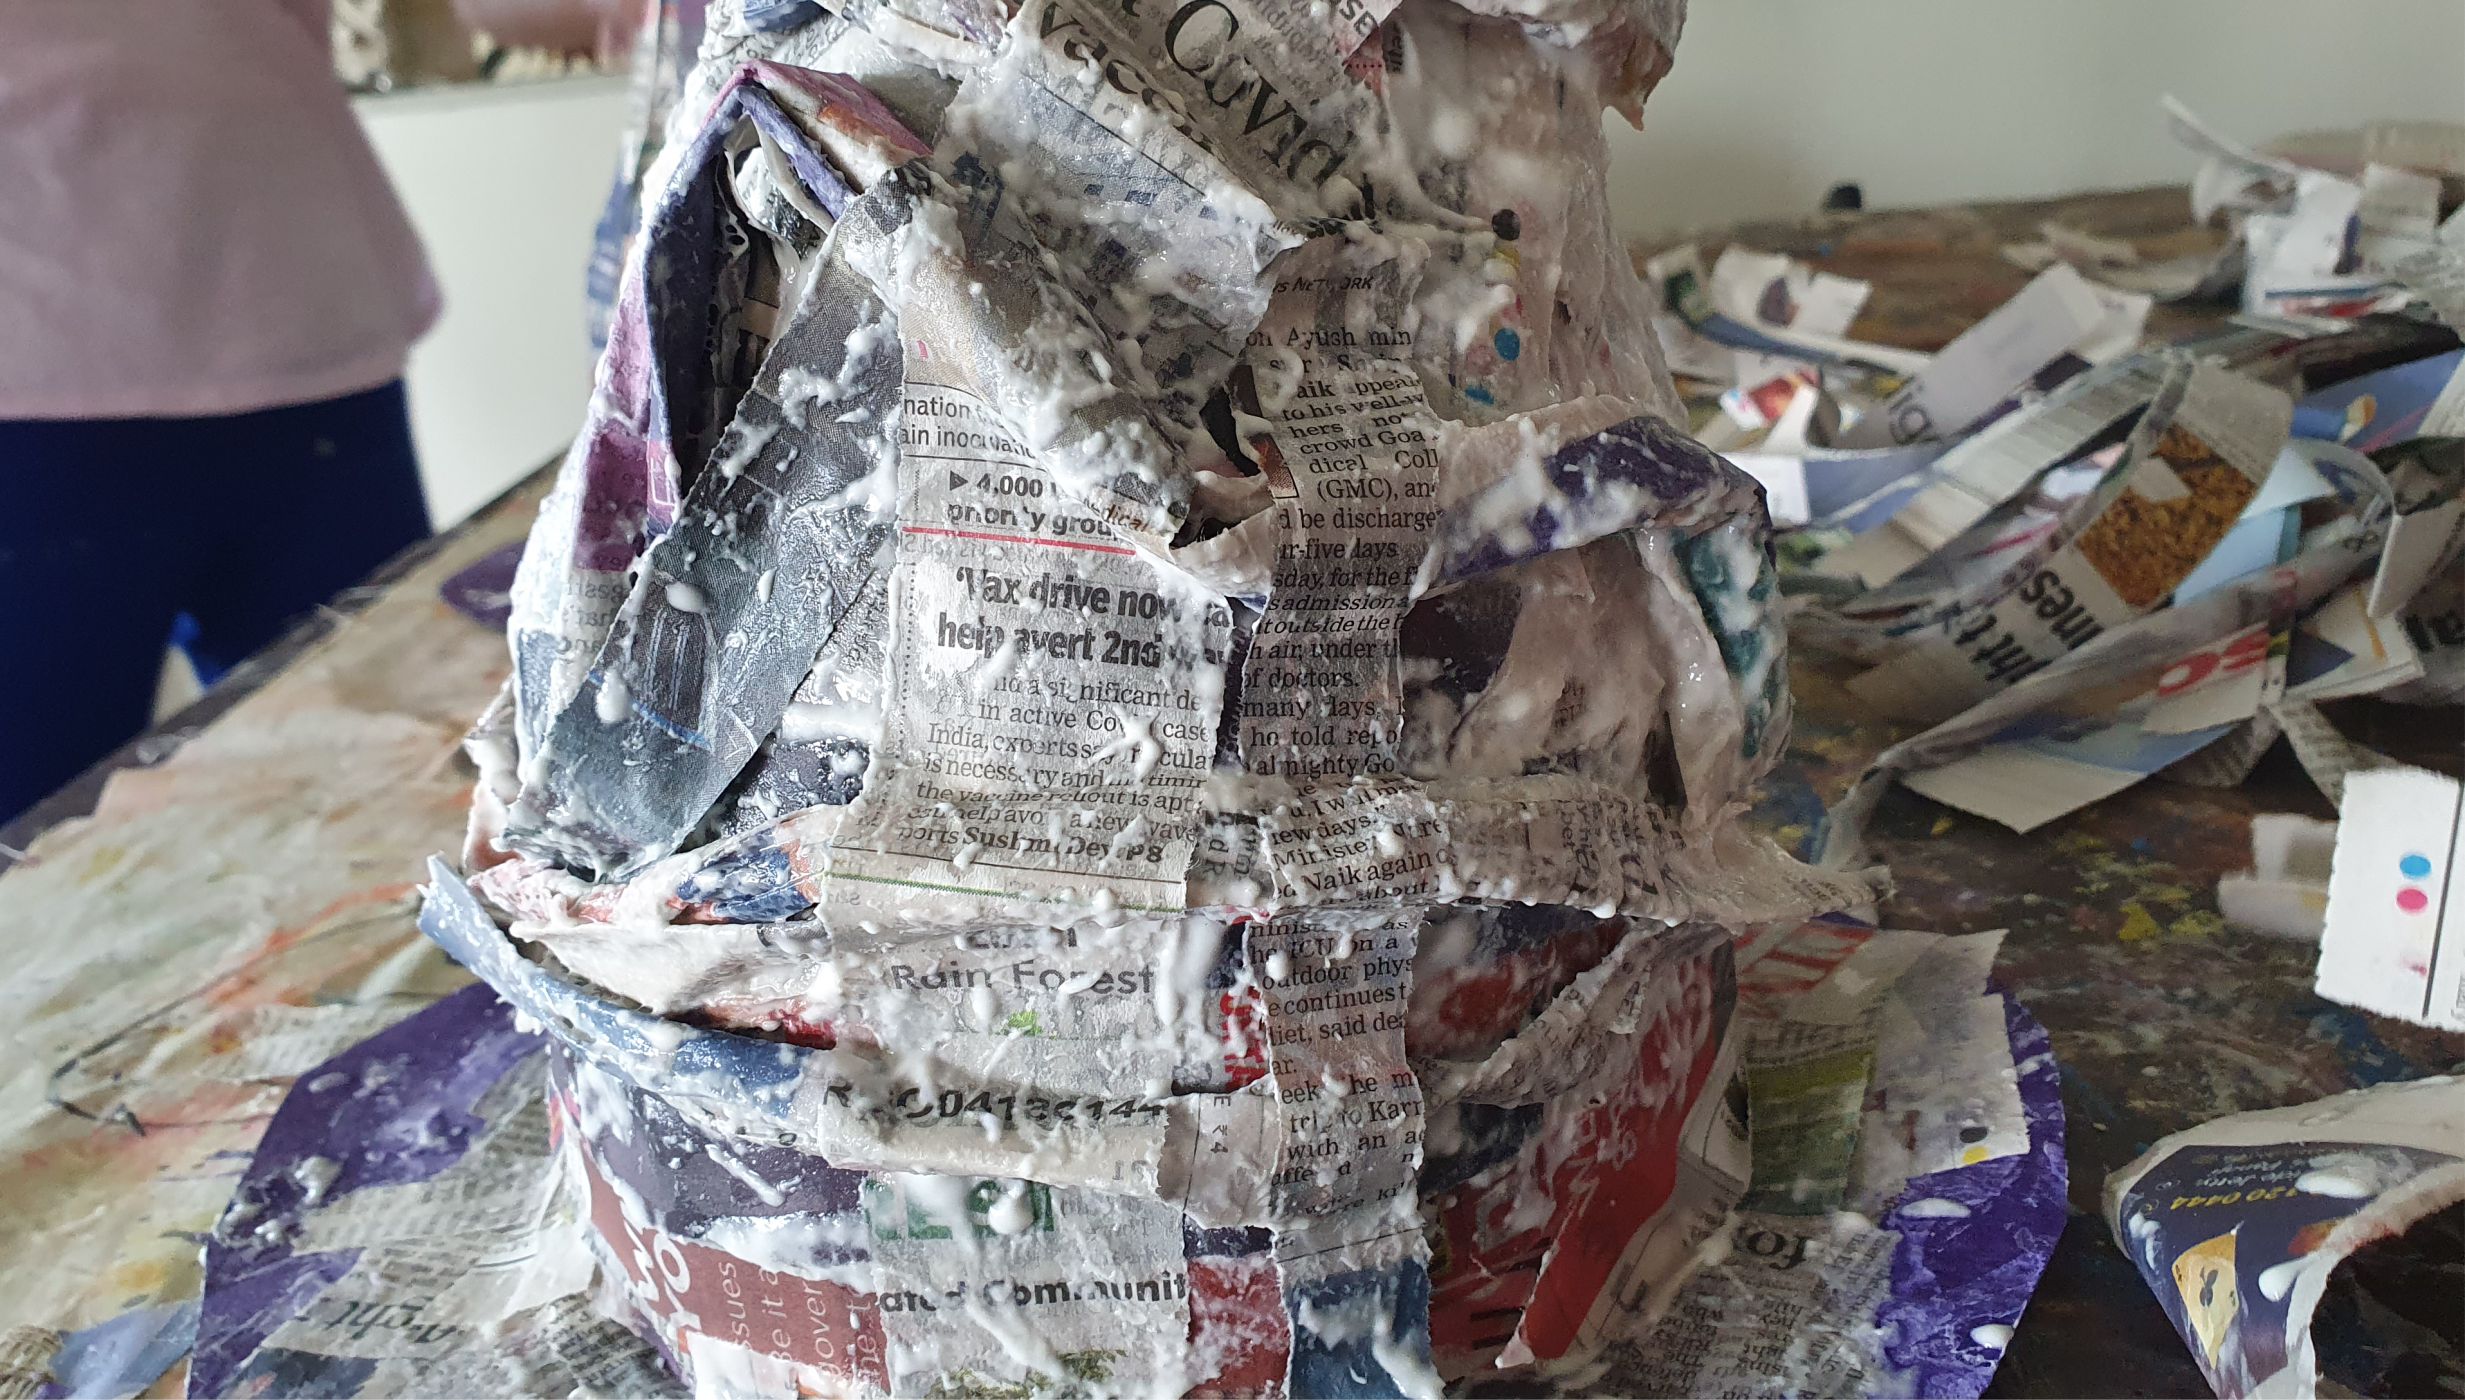
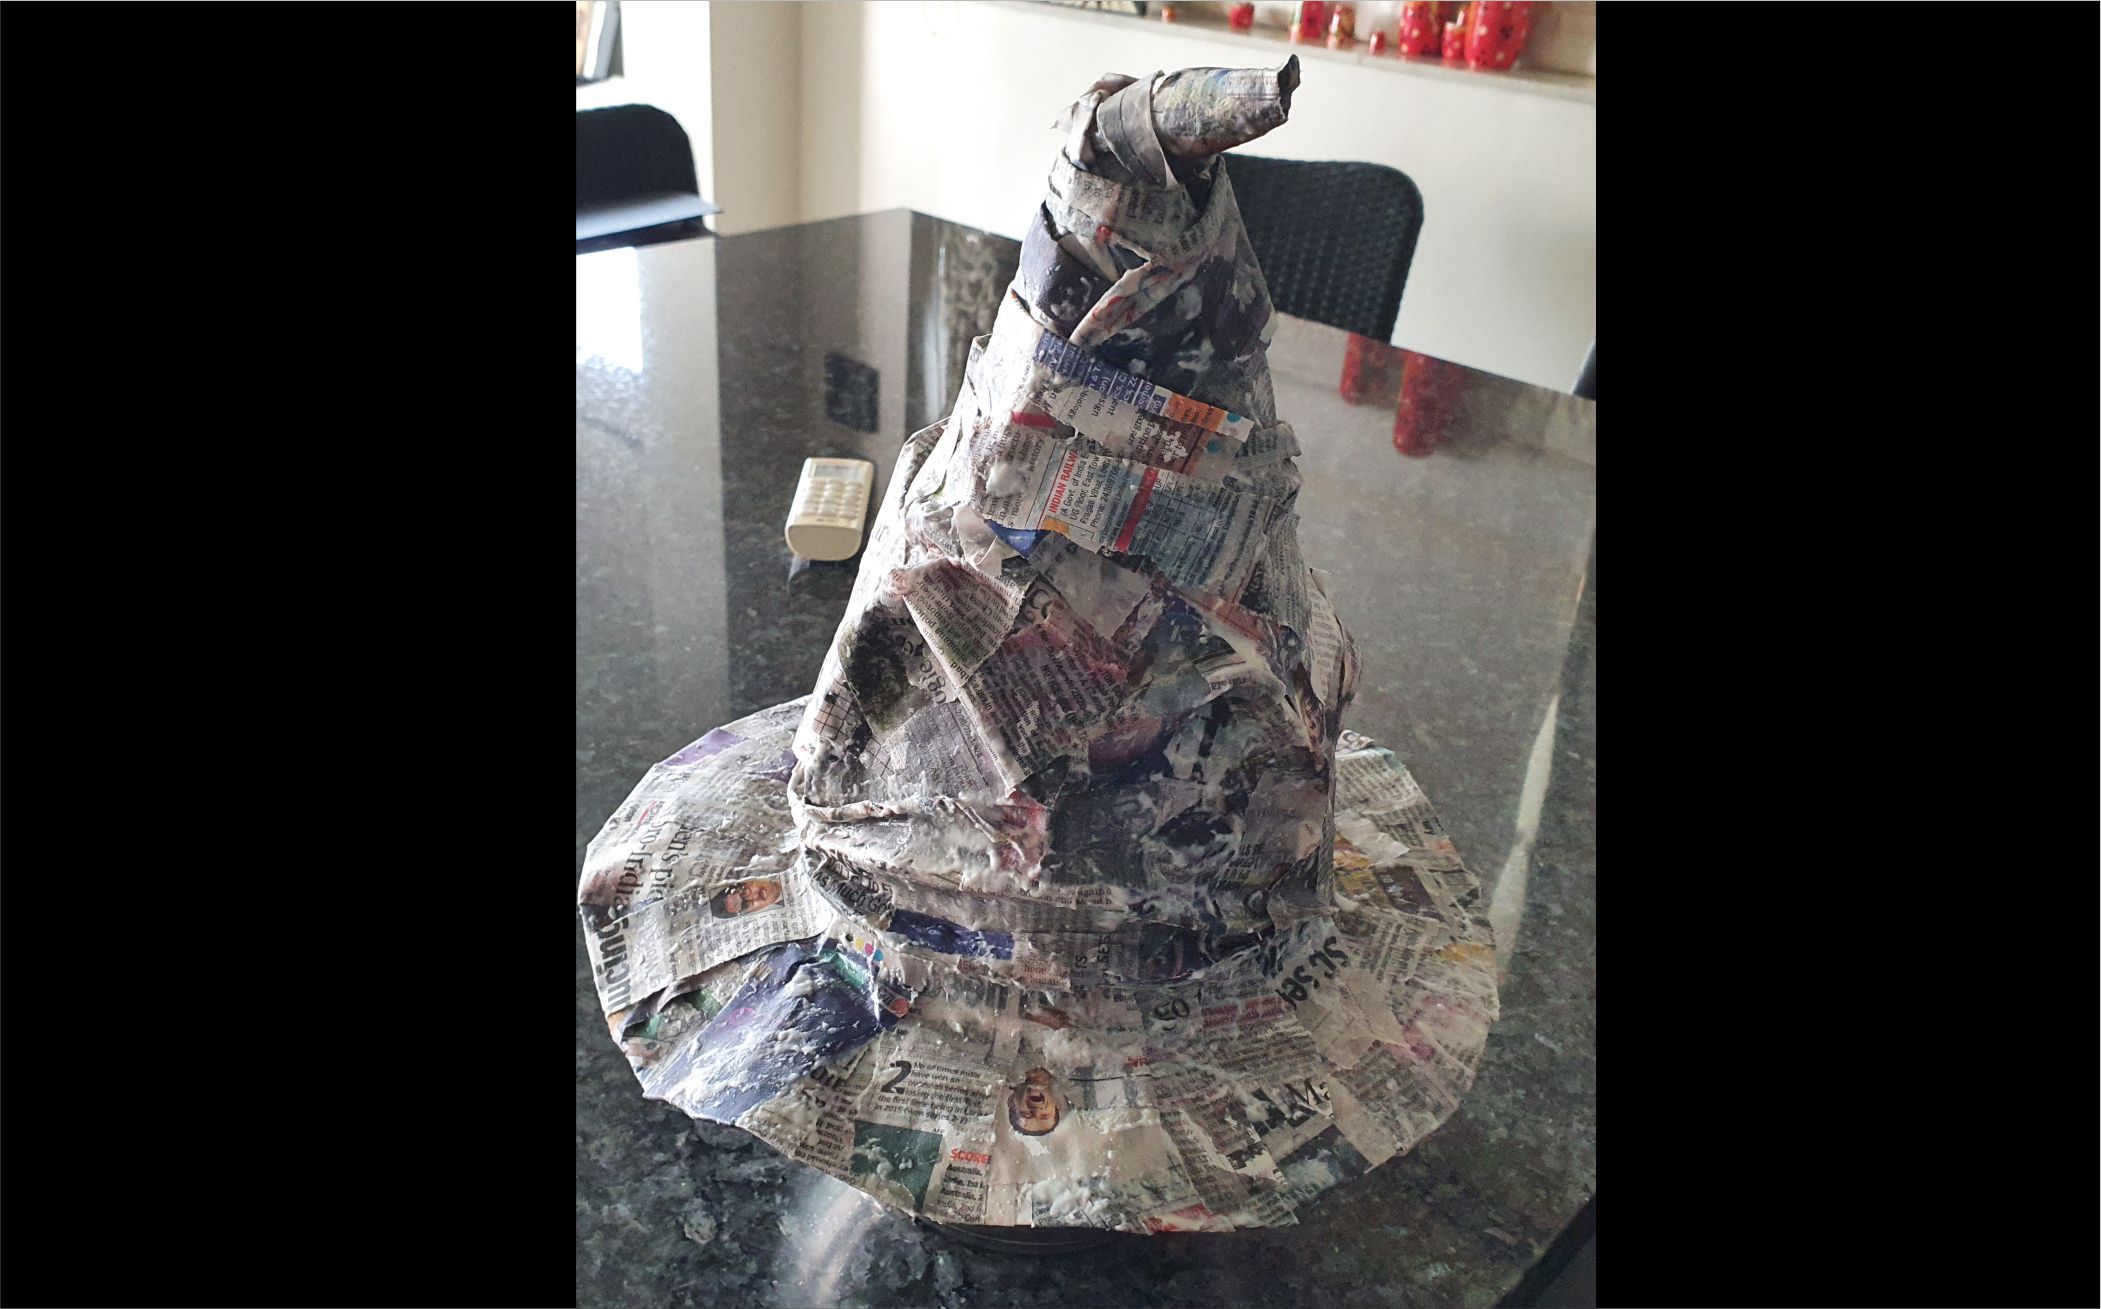
Keep adding newspaper strips onto the sorting hot to give it the required shape. Make a little fold on top with strips of newspaper
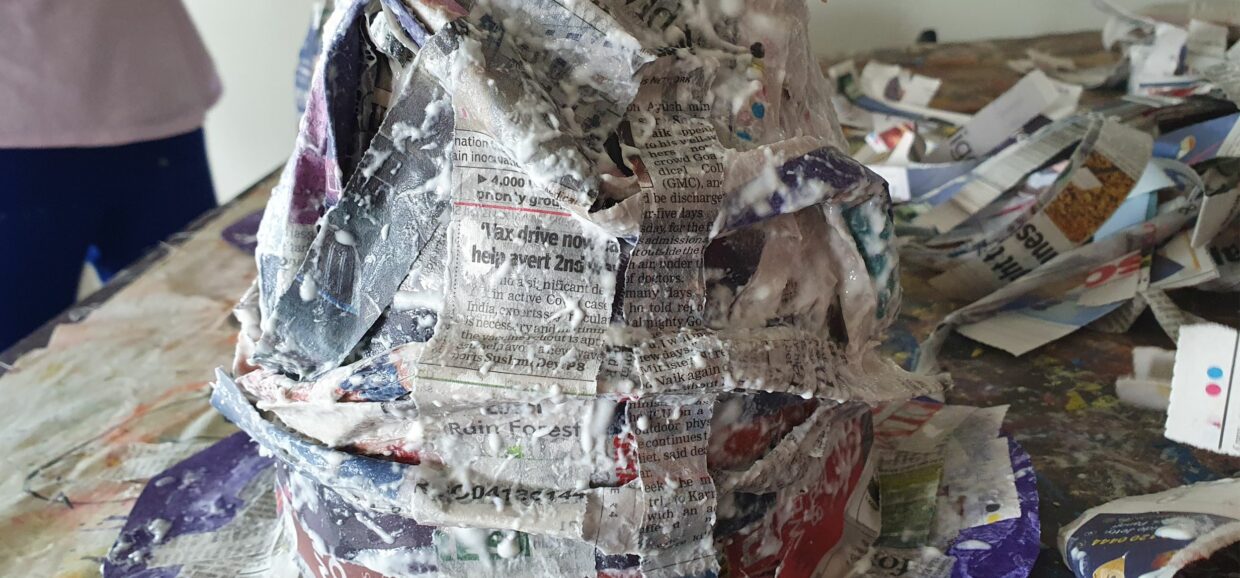
Add the eyes and the mouth. Make a few "wrinkles" or folds on the hat to make it look older and a bit saggy.
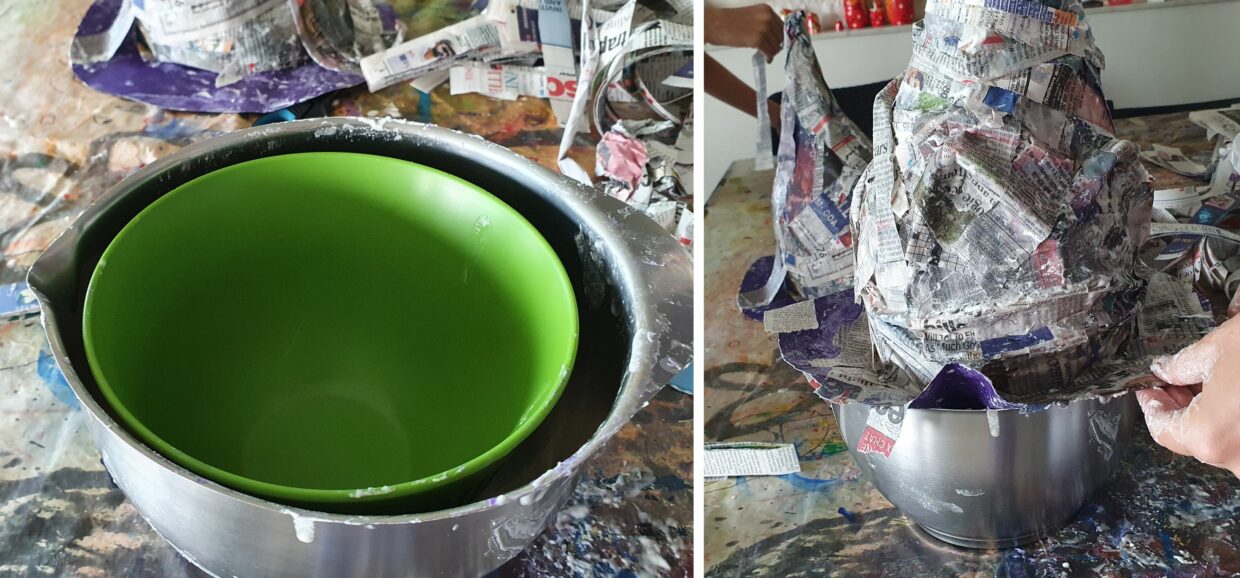
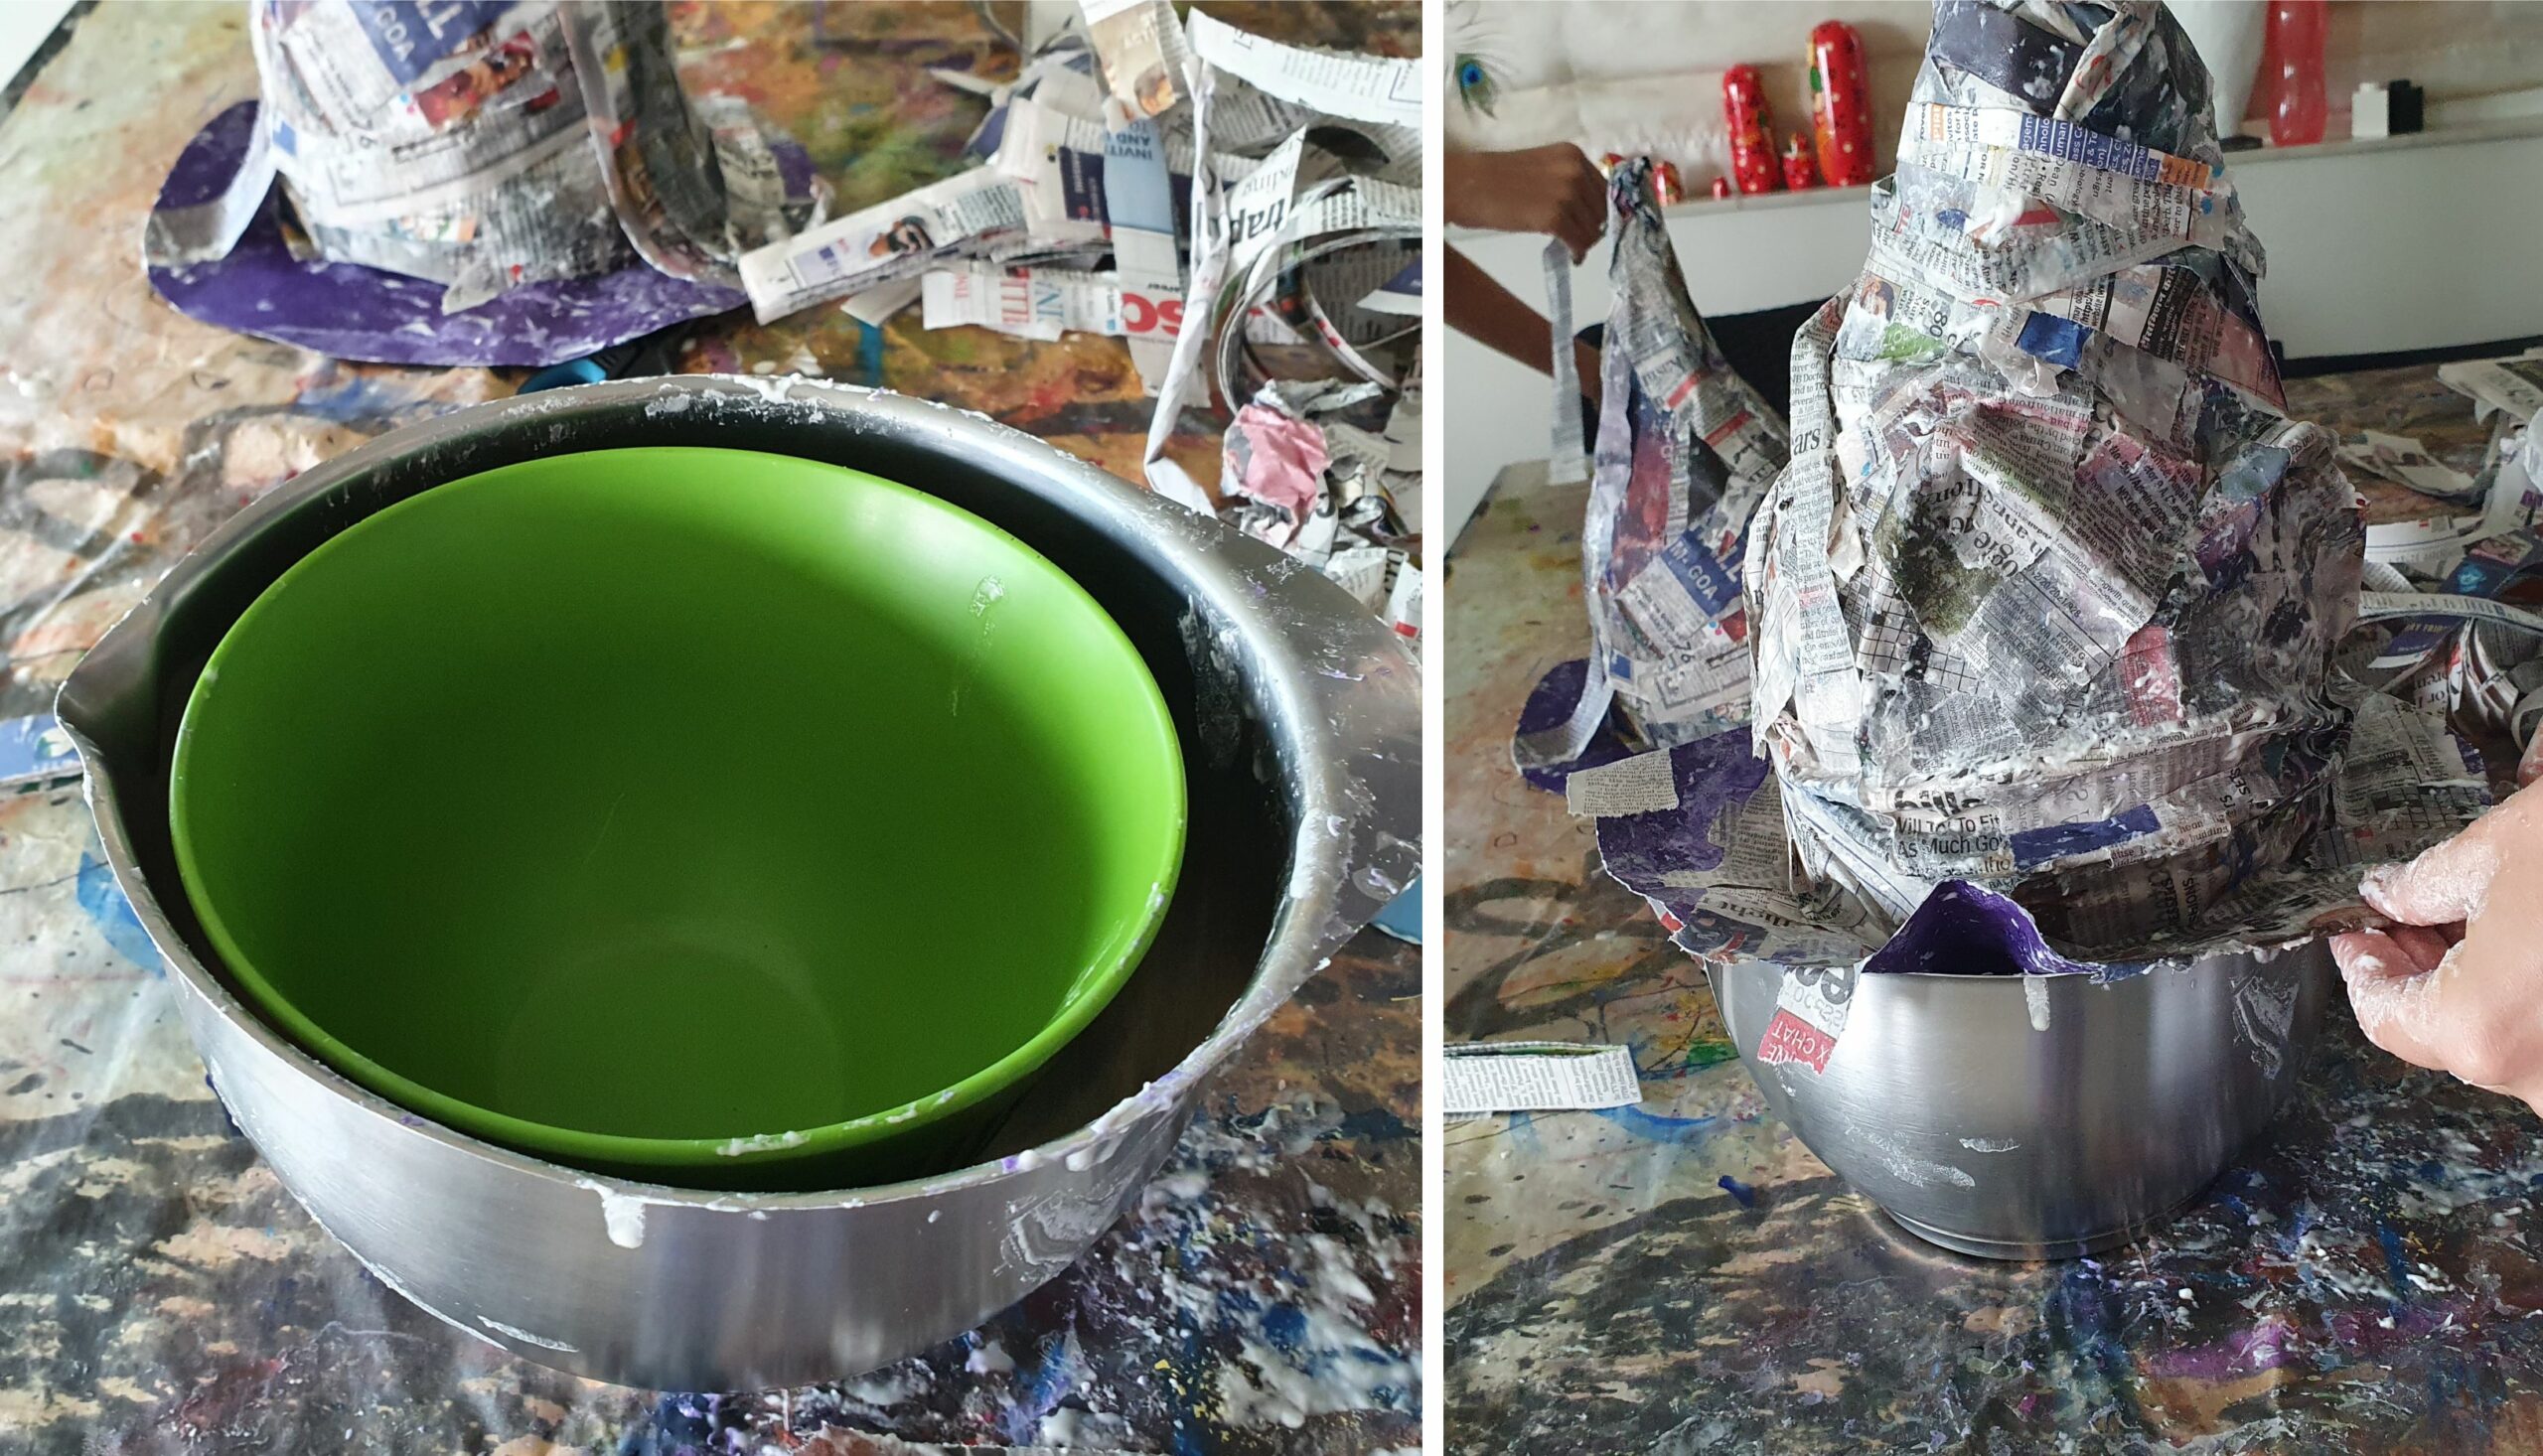
To do the brim of the hat, place it on top of a kitchen mixing bowl. Cover the brim with newspapers too
While working on the brim of that hat, I realized that it was too narrow. So I extended it a little like this. It's very difficult to give accurate dimensions for this project, as it all depends on the size of the balloon and the size of the circle. We had cut the original circle to about 35cm in diameter.
Let the hat dry for min 24 hours until there are no more wet patches
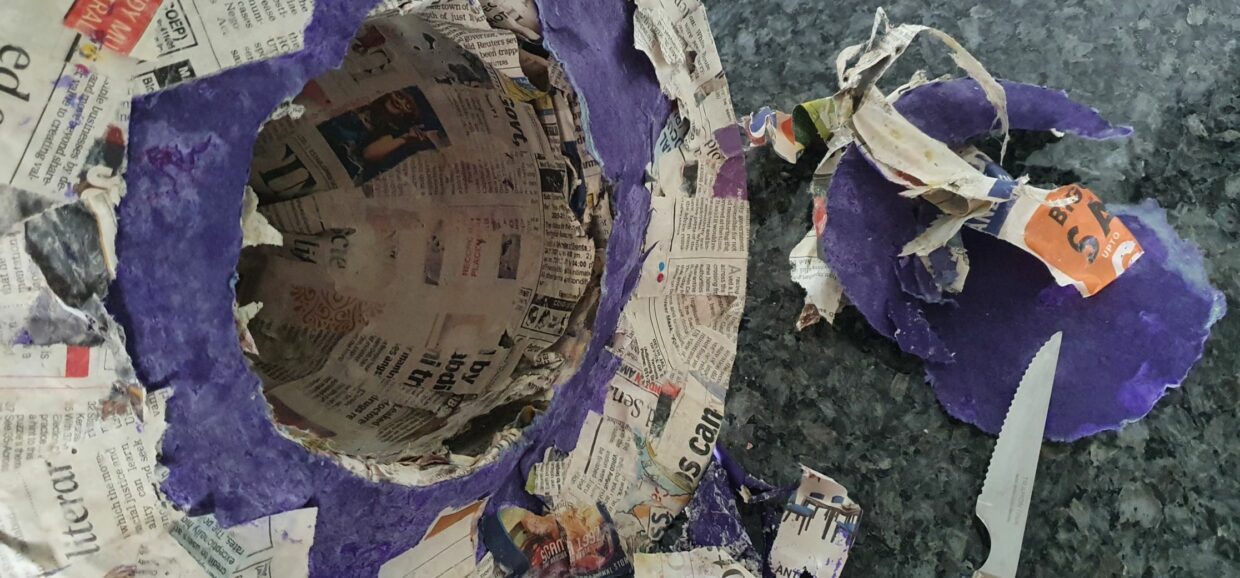
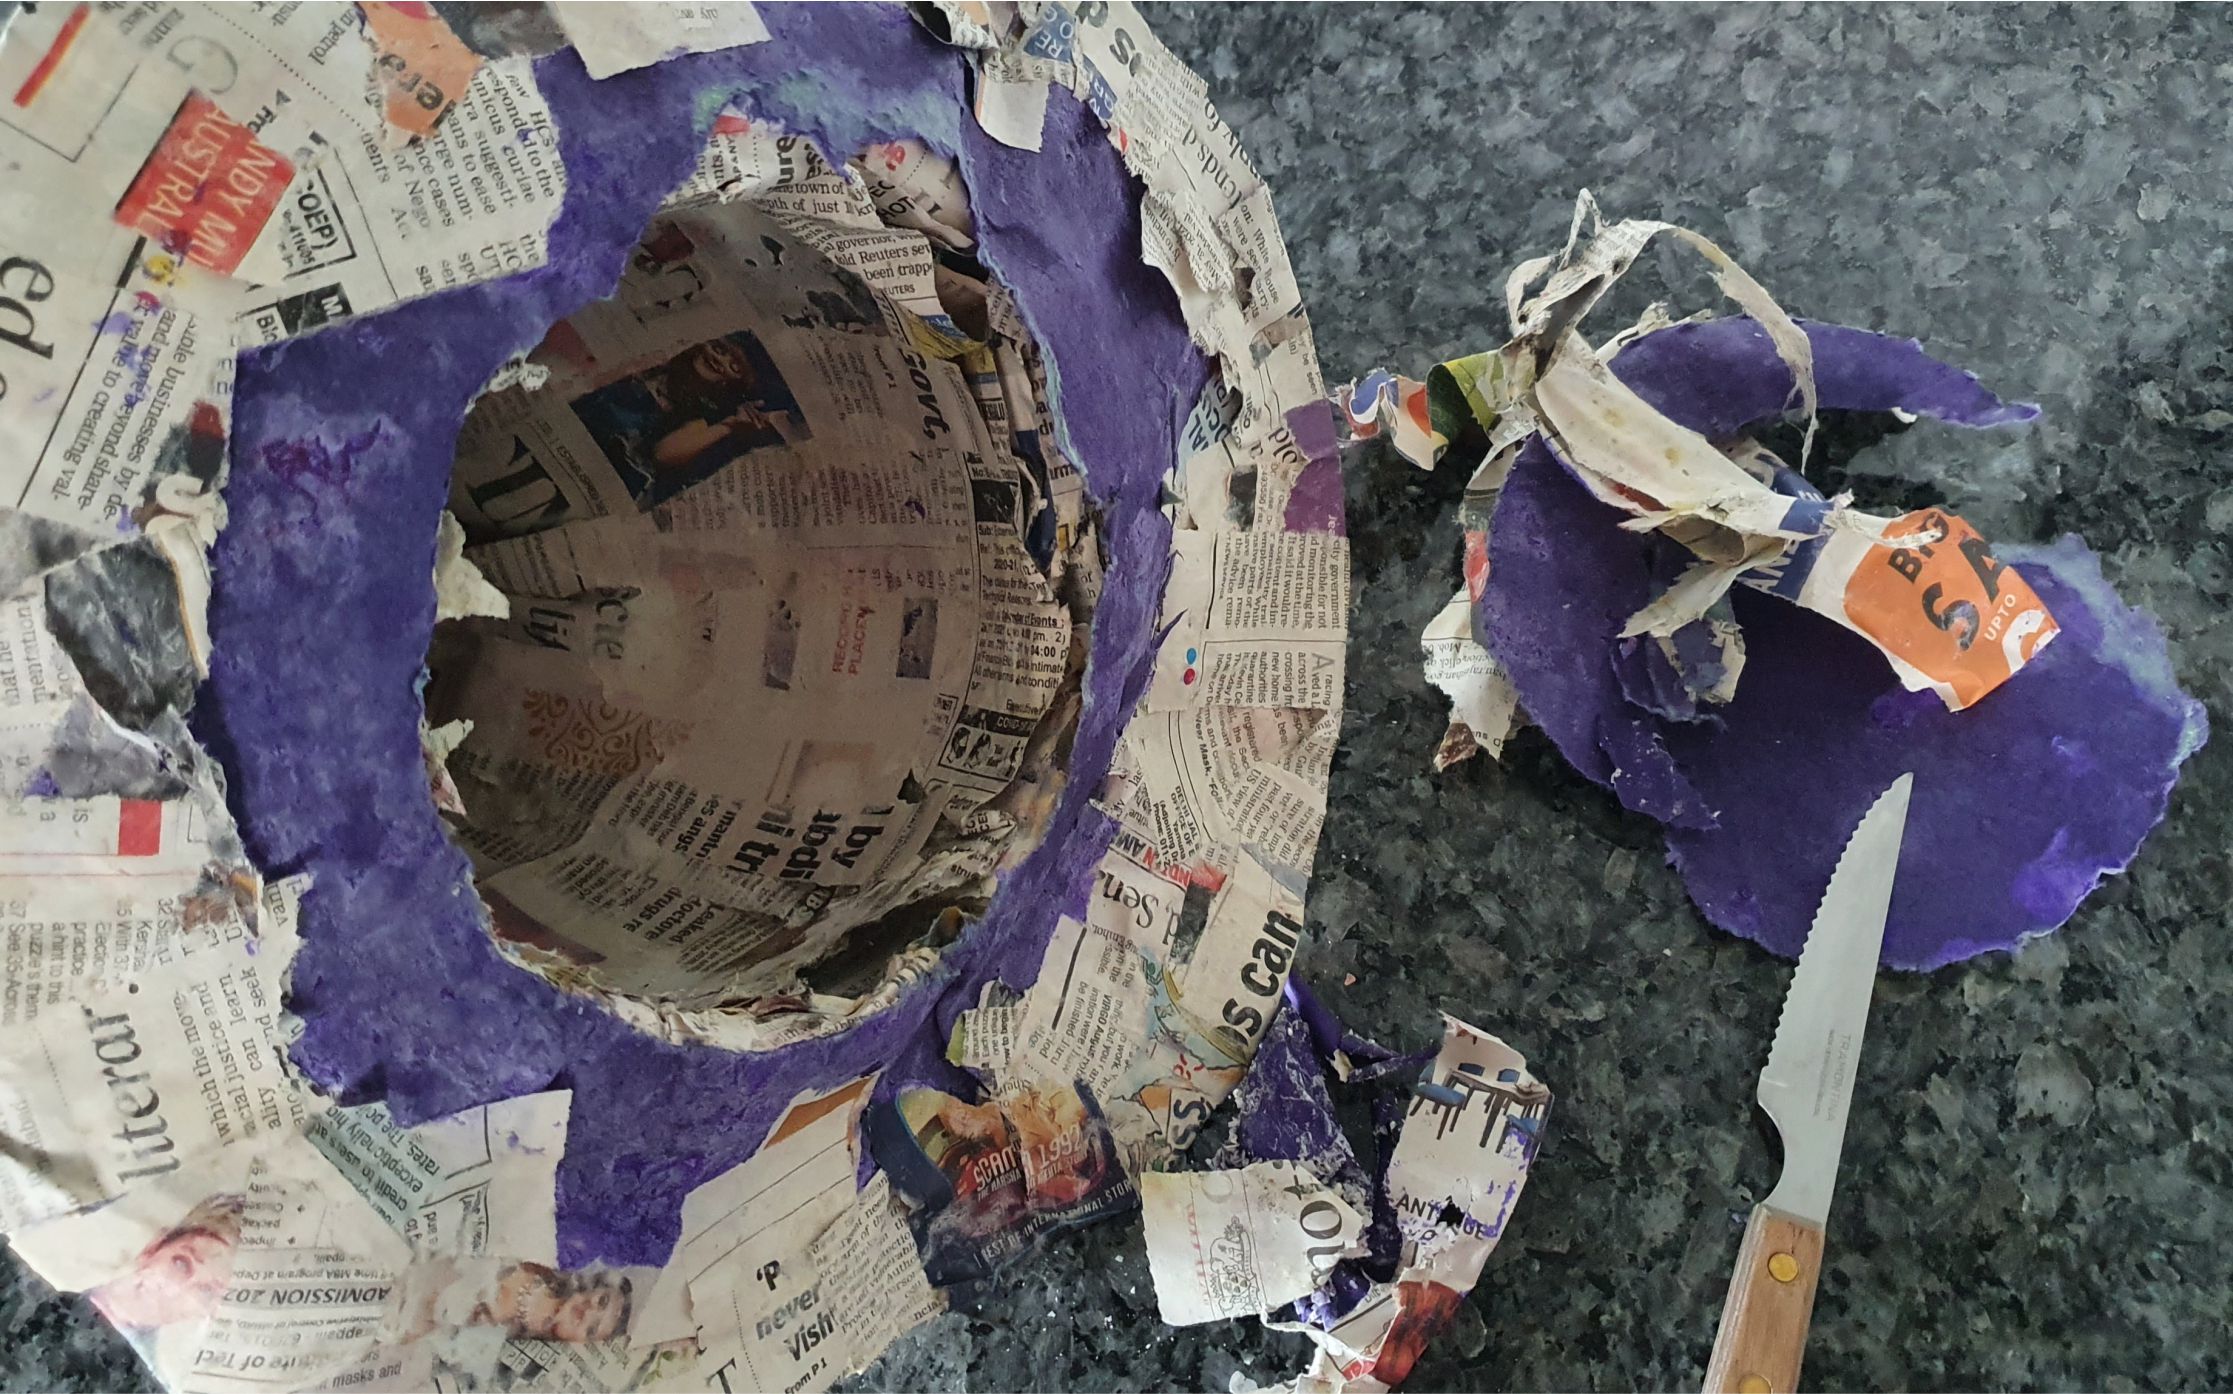
Cut out the middle of the circle and take out the balloon.
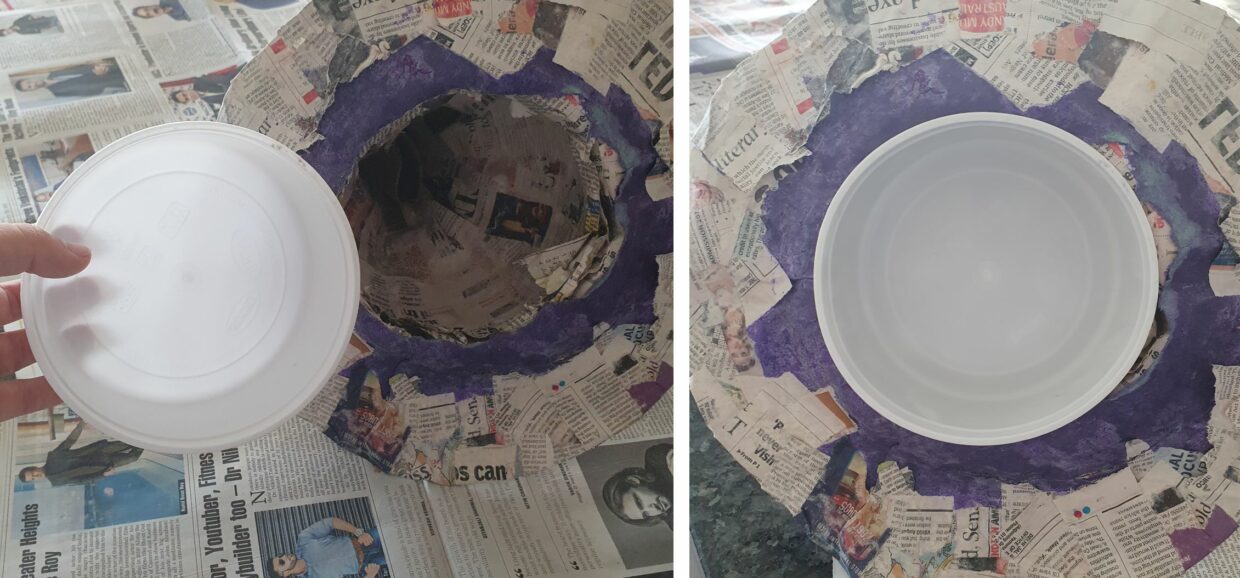
We needed to use the sorting hat to sort the kids into the Hogwarts Houses, so we added a take away container in the hole. You could also use papier-mâché to make it neat and tidy underneath.
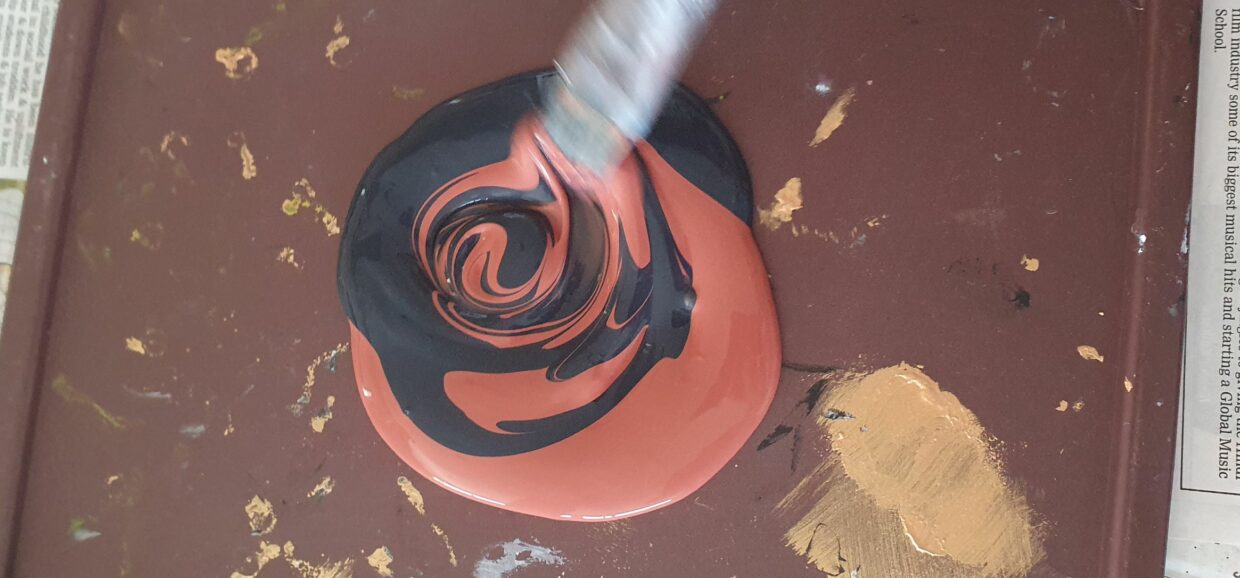
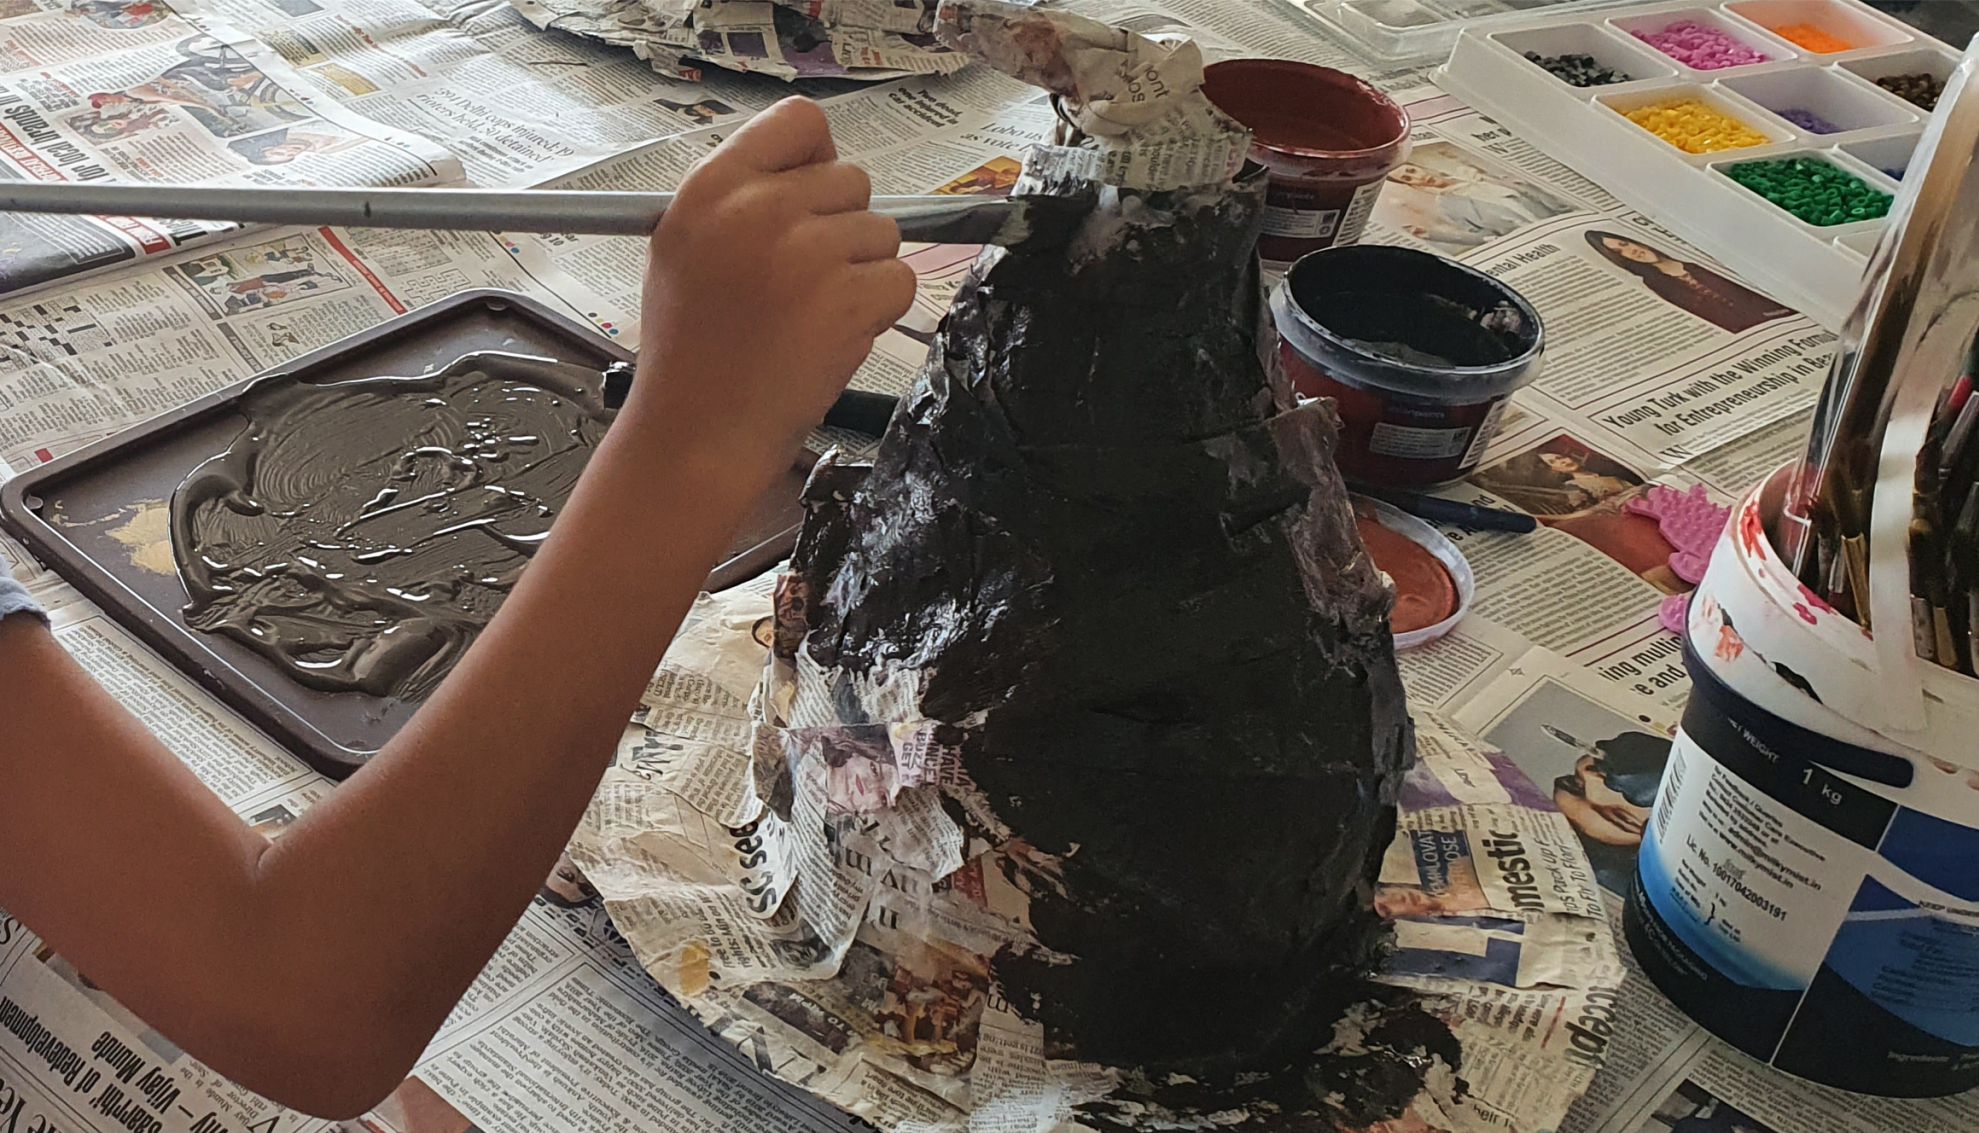
We mixed brown and black paint to give it a very dark brown colour
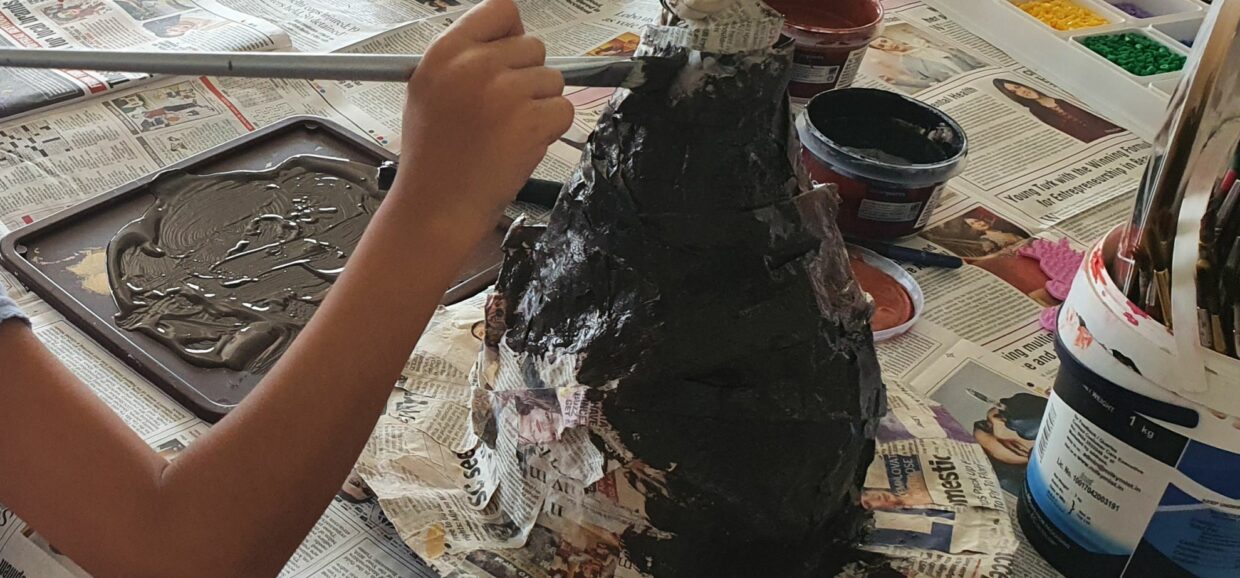
Paint the hat. I added a little gold colour with a sponge afterwards to give it some shine and that slightly worn out look
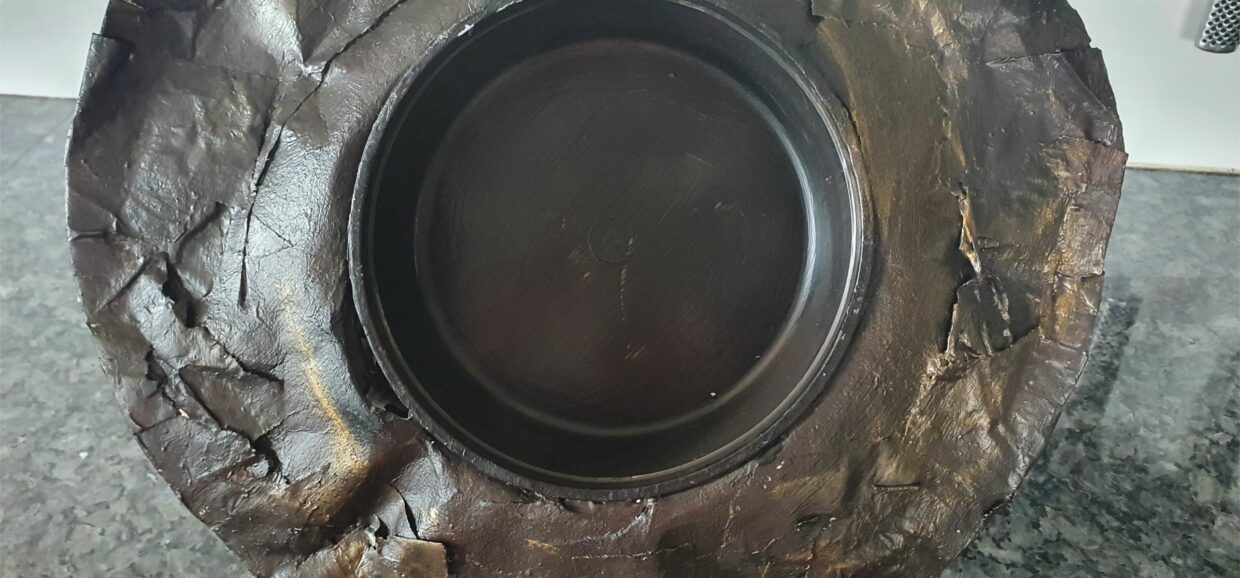
Make sure you colour the inside of the hat too
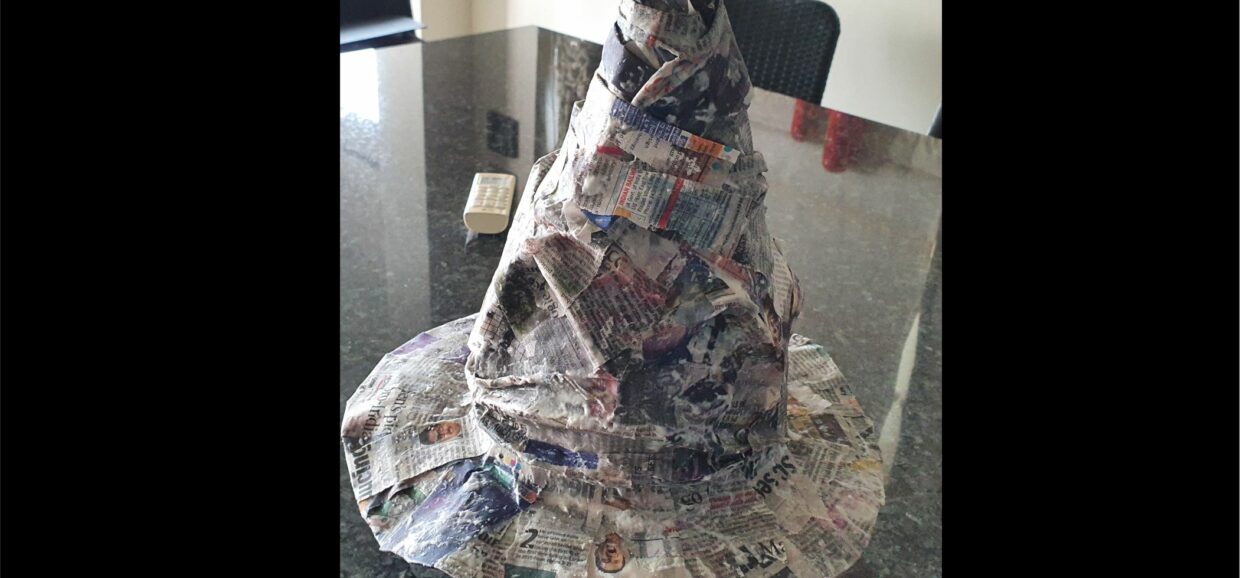
And the hat is done. Use it as a prop for a Harry Potter party or just as decoration for the kids' rooms.

Leave a Review
You must be logged in to post a comment.