- May 9, 2020
- 2 Like
- 0 / 5
- 11,124 Total Views


- Prep Time2-3 hours
- Total Time3-4 days for drying
Most kids love piñatas -so naturally mine do too. We were having a flower themed birthday party so we decided to make a flower shaped piñata. My 5 year old daughter helped me.
My top tips for making a flower shaped piñata:
- Use new balloons. We didn’t know this and had used a combination of new and old. When we were putting the strips of newspaper on top, two of our balloons burst in the process. Yes, the two old ones. If this happens to you too, don’t panic (even if it is easy to get a bit freaked out when you see all your hard work deflate and become a soggy newspaper mess!) Solve the problem by quickly putting a new balloon into the hole and blow it up inside the cavity.
- Use eyelets for the string holes. The piñata can easily be done without these, but the string is more likely to tear though the paper without it (which is exactly what happened to us once we tried to lift it filled with sweets!) The eyelets and punch tool are usually also available in the local market at the shop which sells sequins, buttons and string.
- Do it a little at a time if you are working with smaller kids and be prepared for a bit of mess. Put newspapers on the table or cover it with a craft mat. The flour/water mixture is exactly like glue once it dries and it’s not that easy to get off.
- Prepare it in advance so you have the time you need in case it tears or doesn’t dry as quickly as anticipated
- If you are filling the piñata with sweets (like we did) then you will need to add a second layer to the piñata to make it stronger. Leave it to dry for 48 hours until fully hard and dry. Check if there are any softer patches. Strengthen these patches with a few extra layers of paper. Let it dry until hard and fully dry.
How to make a flower shaped pinata
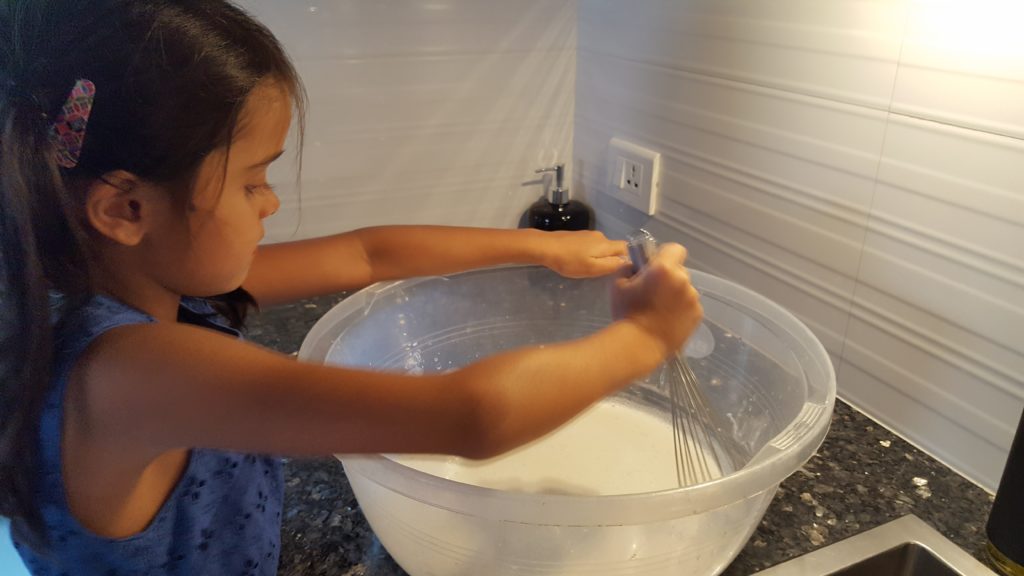
Start by making the homemade glue out of water and flour. Kids love this messy task so get them working while you do the balloons. You will need 2 parts flour and 3 parts water for the glue. For example 200ml flour and 300ml water. Or 2 cups of flour and 3 cups of water. Mix well with a whisk to get rid of all lumps. Use a large basin for this to make it easier to dip the newspaper strips afterwards.
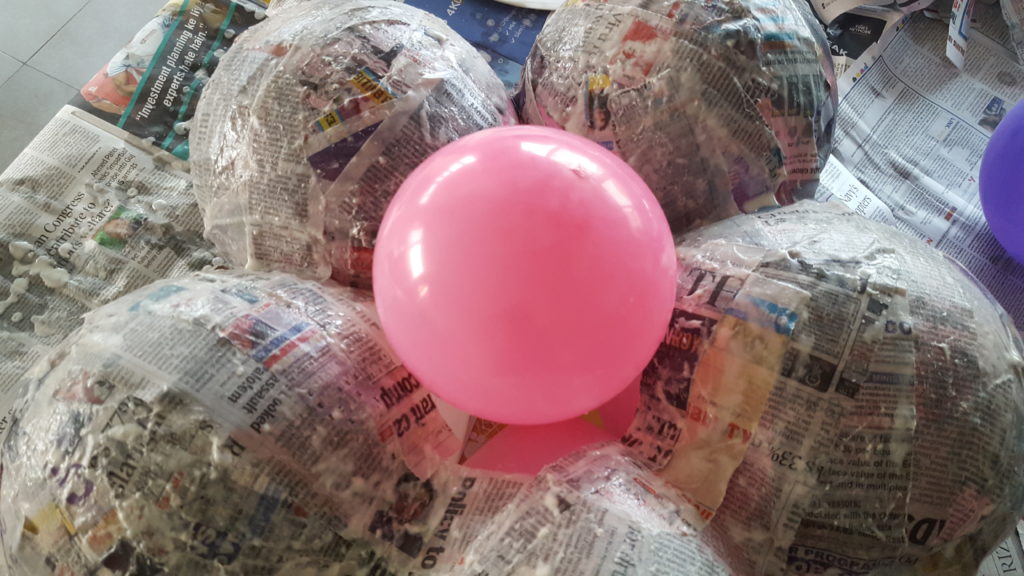
Blow up 5 of the balloons and tie them together. They will not sit neatly in an arranged flower, but will continue to “pop up”. Don’t try to use tape or other adhesives to stick them into place. The tape will tear the balloons. Keep a folded newspaper on top of the balloons to hold them down while you start adding the newspaper strips to the sides.
Dip a strip of newspaper into the homemade glue and put it on the balloons. Smooth it down as much as you can. Continue until all the balloons are covered on one side. Add a smaller balloon in the middle and cover that too. Let it all dry. See the next steps with pictures and explanations below the ingredients.

To decorate the flower shaped piñata with tissue paper
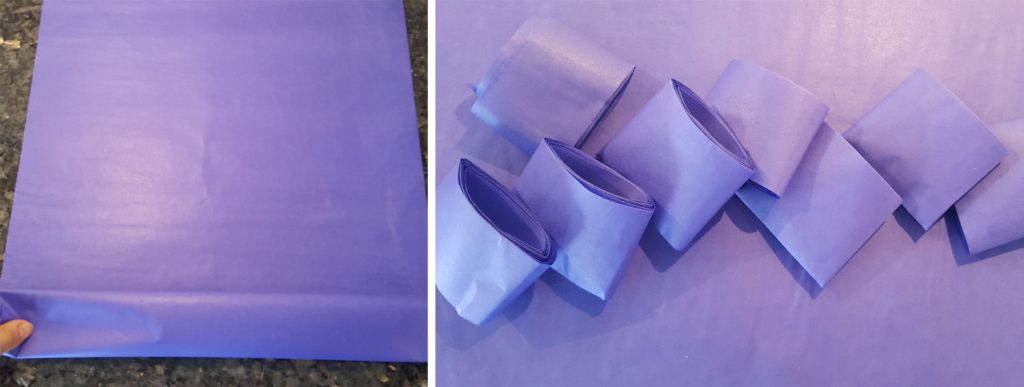
- Fold a sheet of tissue paper in the middle and roll it up. Cut it into smaller pieces -about 8 pieces for each sheet.
- Cut fringes into each piece.
- Unfold the pieces and attach them with fevicol glue starting from the bottom and going higher up for each added paper. Repeat for all the tissue paper until the piñata is fully covered. Let it all dry.

Finish off the flower shaped piñata
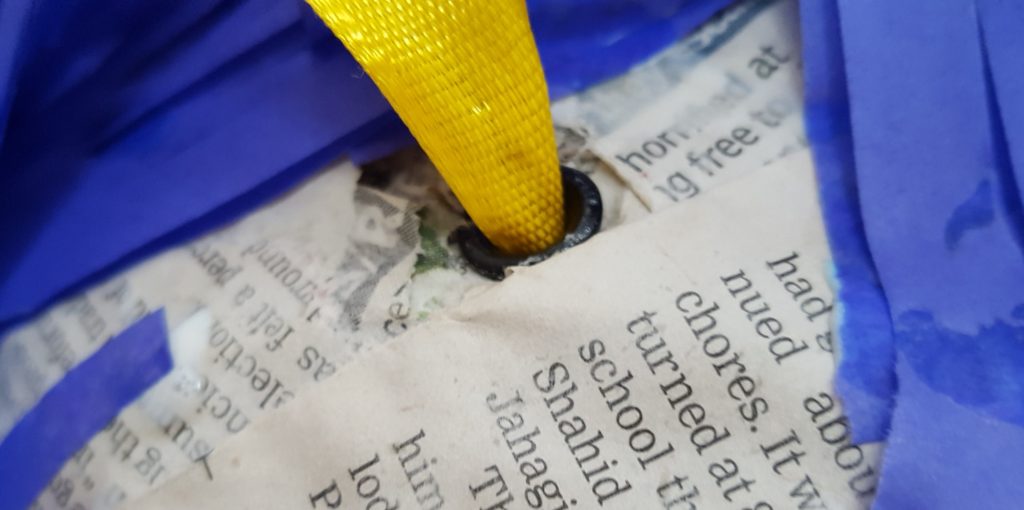
By cutting a round hole on top (to be able to fill it up with sweets). Keep the cap. Remove the balloons. Attach a string on all 4 sides of the opening. I used an eyelet paper punch to make the holes stronger (as the paper tore with the weight of the sweets the first time I lifted it!). Glue the cap on again. You can add another strip of fringed tissue paper to cover the hole.

See all the steps with pictures and explanations below. If you liked this post, check out our other flower crafts here.
Have fun making this piñata 🙂
Ingredients
Directions
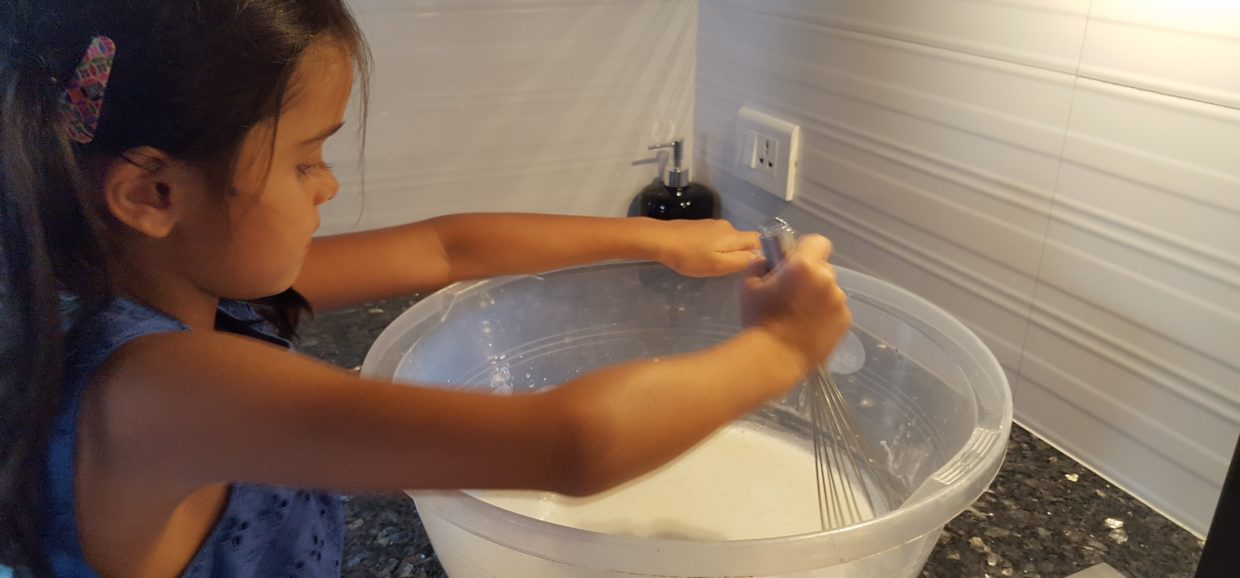

Start by making the homemade glue out of water and flour. Kids love this messy task so get them working while you do the balloons. You will need 2 parts flour and 3 parts water for the glue. For example 200ml flour and 300ml water. Or 2 cups of flour and 3 cups of water. Mix well with a whisk to get rid of all lumps. Use a large basin for this to make it easier to dip the newspaper strips afterwards.
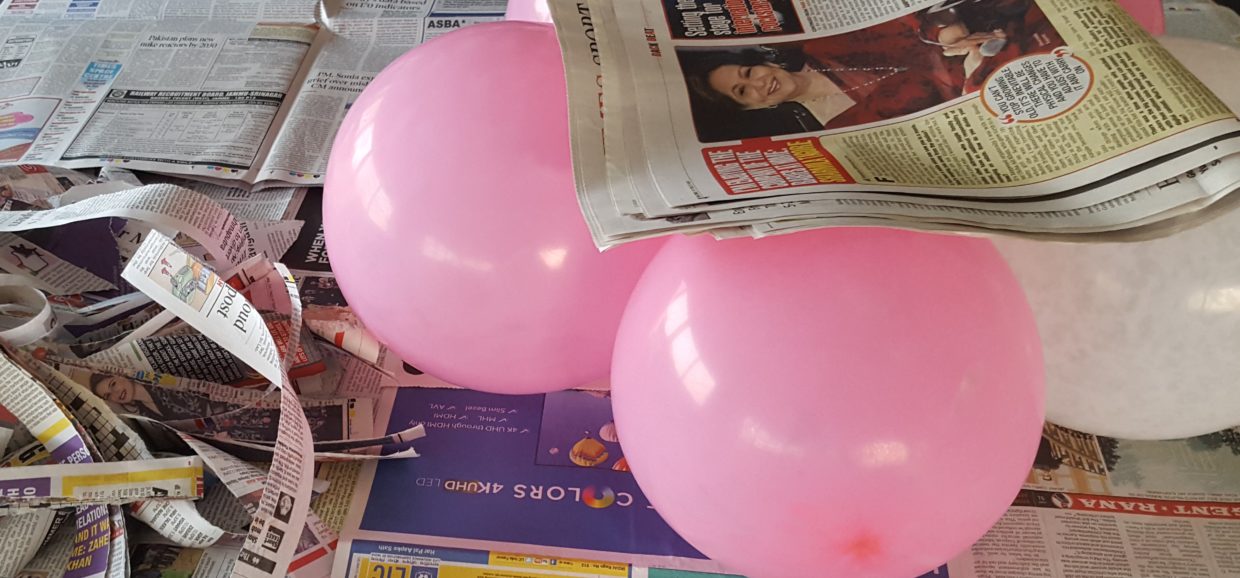

Blow up 5 of the ballons and tie them together. They will not sit neatly in an arranged flower, but will continue to “pop up”. Don’t try to use tape or other adhesives to stick them into place. The tape will tear the balloons. Keep a folded newspaper on top of the balloons to hold them down while you start adding the newspaper strips to the sides.
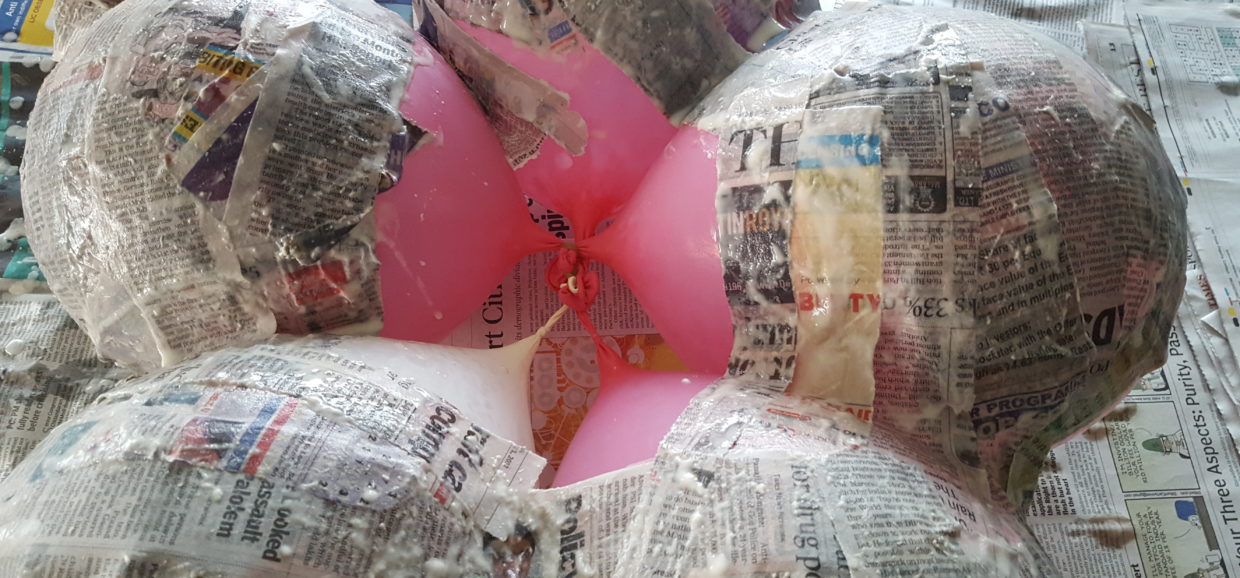

Dip a strip of newspaper into the homemade glue and put it on the balloons. Smooth it down as much as you can. As mentioned earlier, two of our balloons burst in the process -it happened only to the older balloons we had used. If it happens to you, don’t panic (even if it is easy to get a bit freaked out when you see all your hard work deflate and become a soggy newspaper mess!) Solve the problem by quickly putting a new balloon into the hole and blow it up inside the cavity.
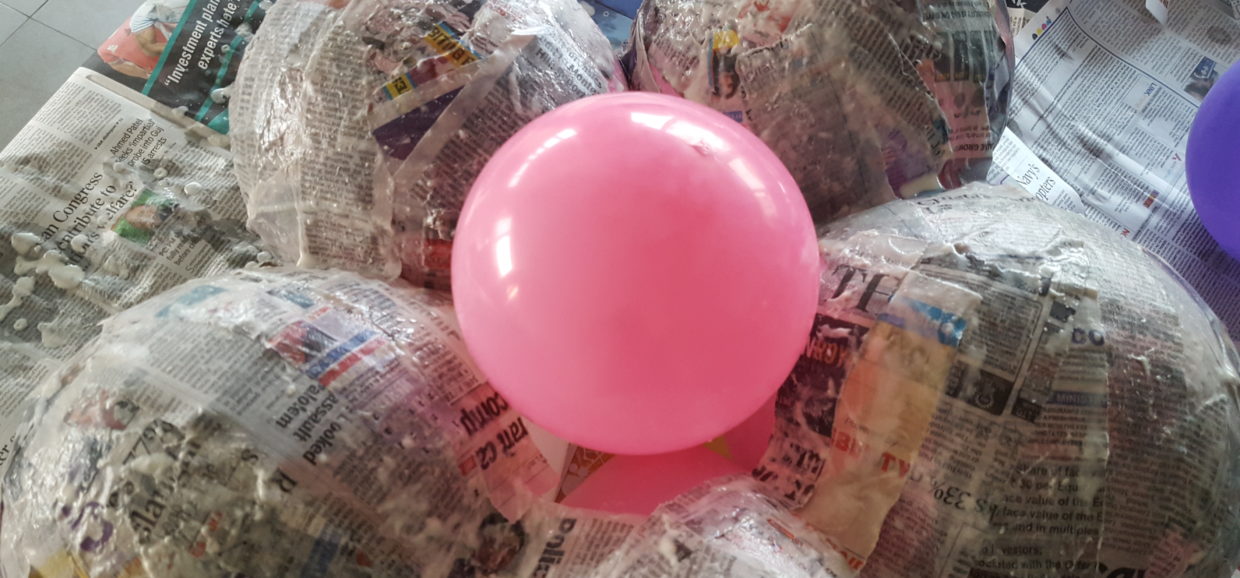

Cover this balloon with strips of paper too. Let it dry. This takes min 24 hours.
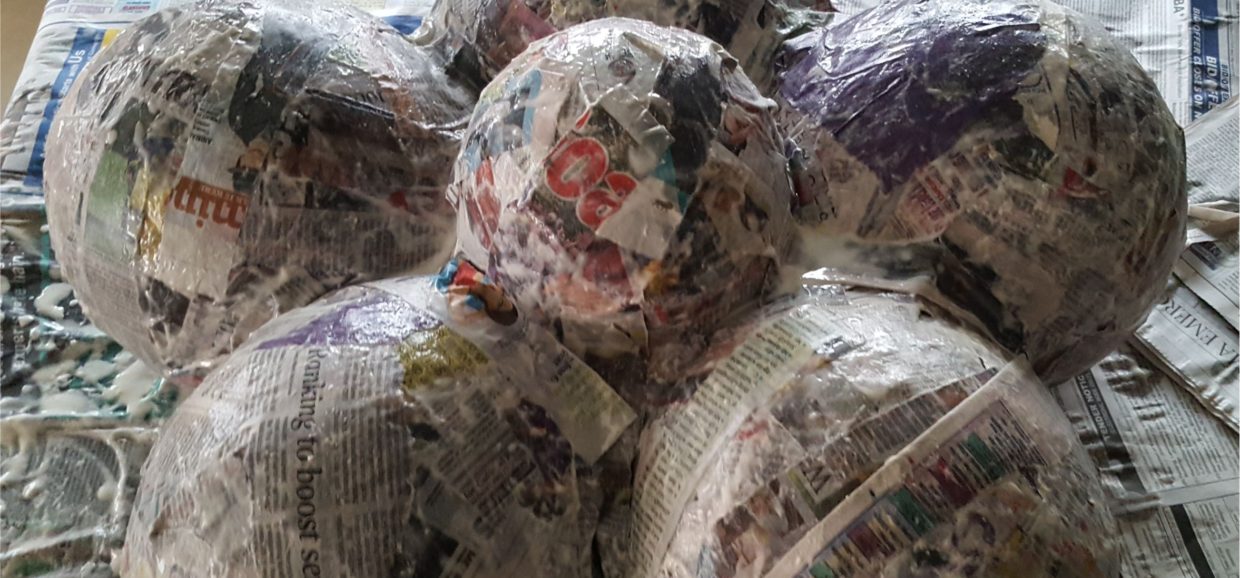

Turn over and do the same on the other side. Let it dry. If you are filling the piñata with sweets (like we did) then you will need to add a second layer to the piñata (step 1-5). Leave to dry for 48 hours until fully hard and dry. Check if there are any softer patches. Strengthen these patches with a few extra layers of paper.
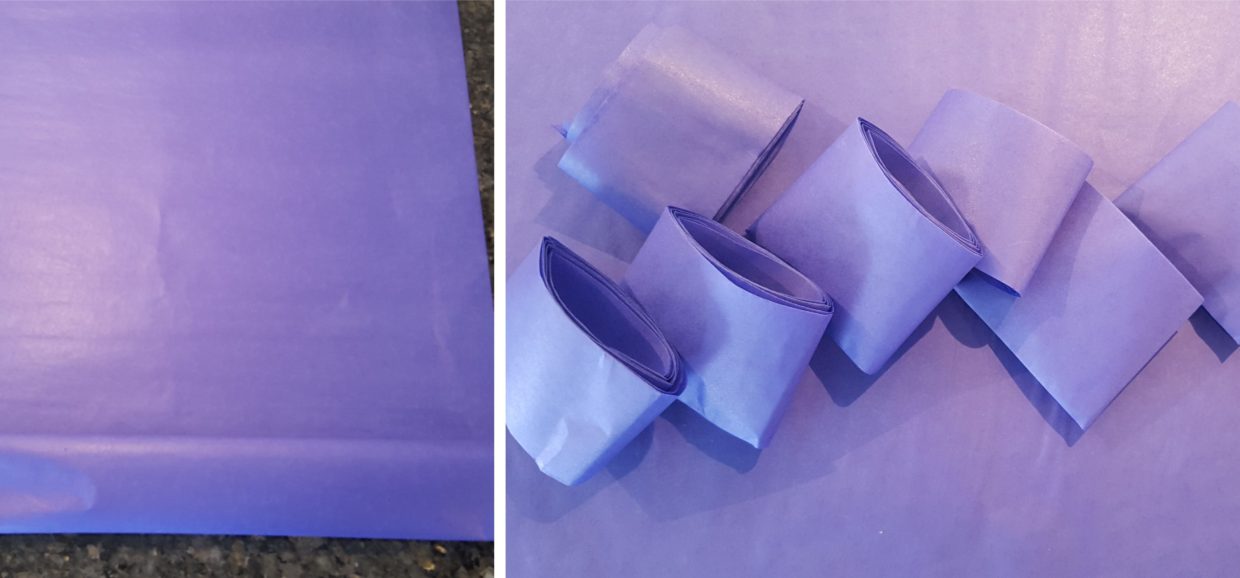

To decorate it with tissue paper: fold a sheet of tissue paper in the middle and roll it up. Cut it into smaller pieces -about 8 pieces for each sheet.
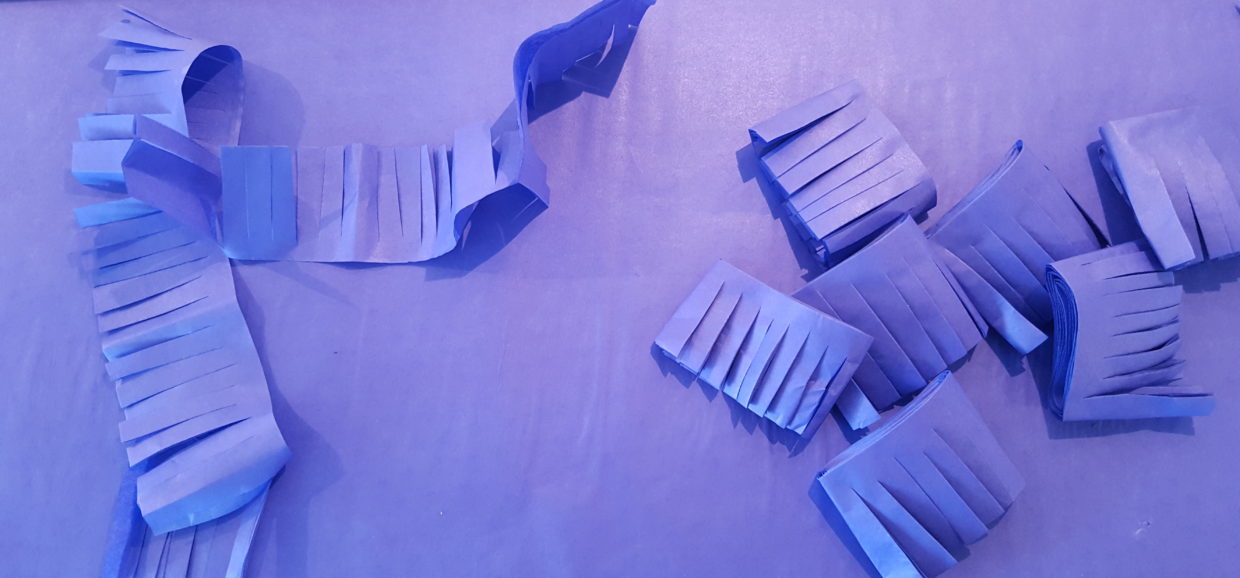

Cut fringes into the paper. Leave about 0.5 cm uncut on top.
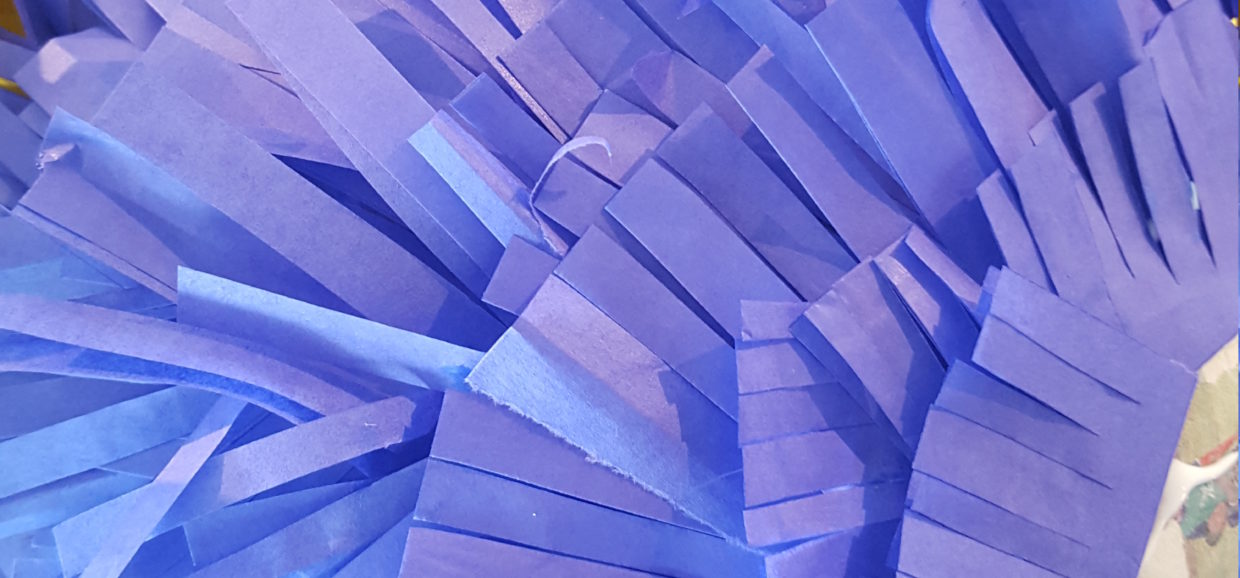

Unfold the pieces and attach them with fevicol glue starting from the bottom and going higher up for each added paper. Repeat for all the tissue paper until the piñata is fully covered. Let it all dry.
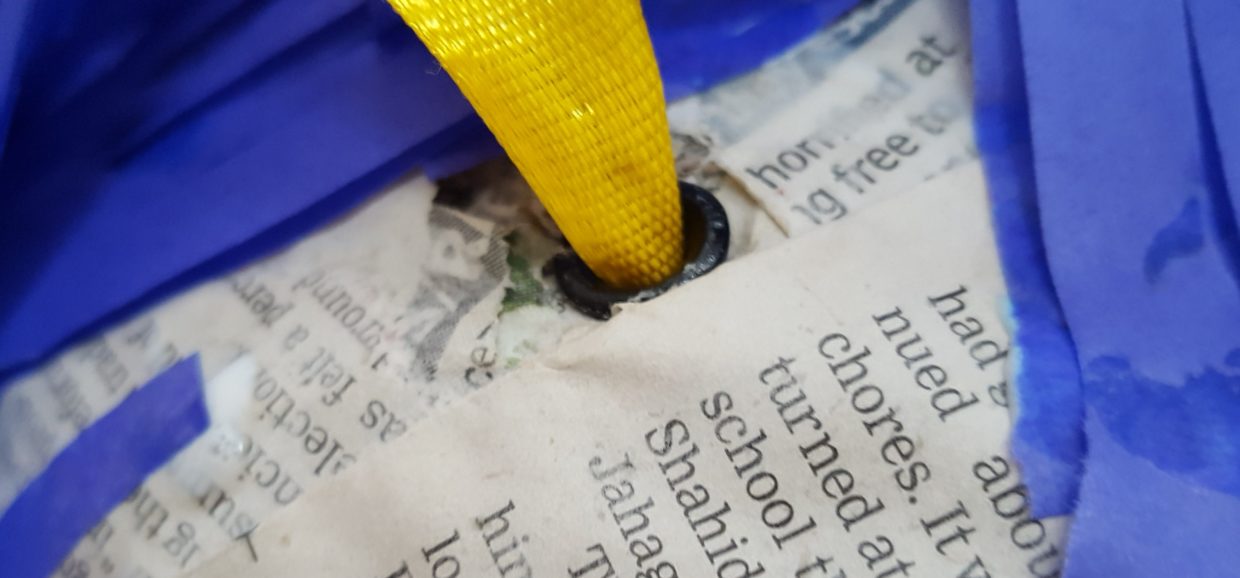

Cut a round hole on top (to be able to fill it up with sweets). Keep the cap. Remove the balloons. Attach a string on all 4 sides of the opening. I used an eyelet paper punch to make the holes stronger (as the paper tore with the weight of the sweets the first time I lifted it!). Glue the cap on again. You can add another strip of fringed tissue paper to cover the hole.
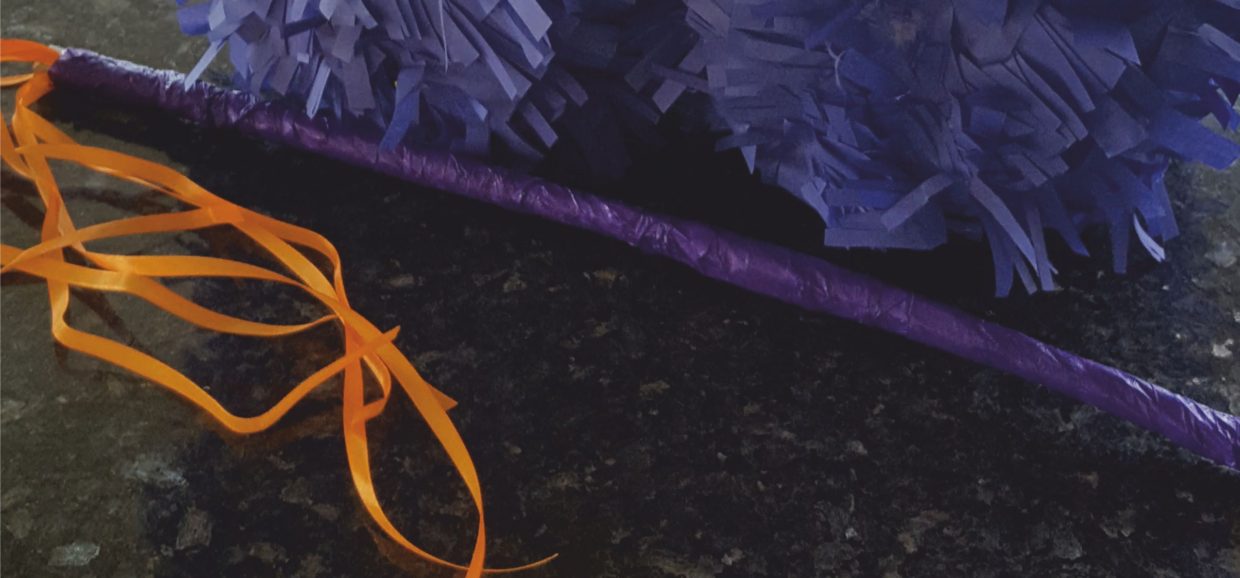

I made the piñata stick using orange ribbon, a bamboo stick and purple tissue paper decoupaged onto the stick.
You may also like
Make a flower shaped pinata
Ingredients
Follow The Directions
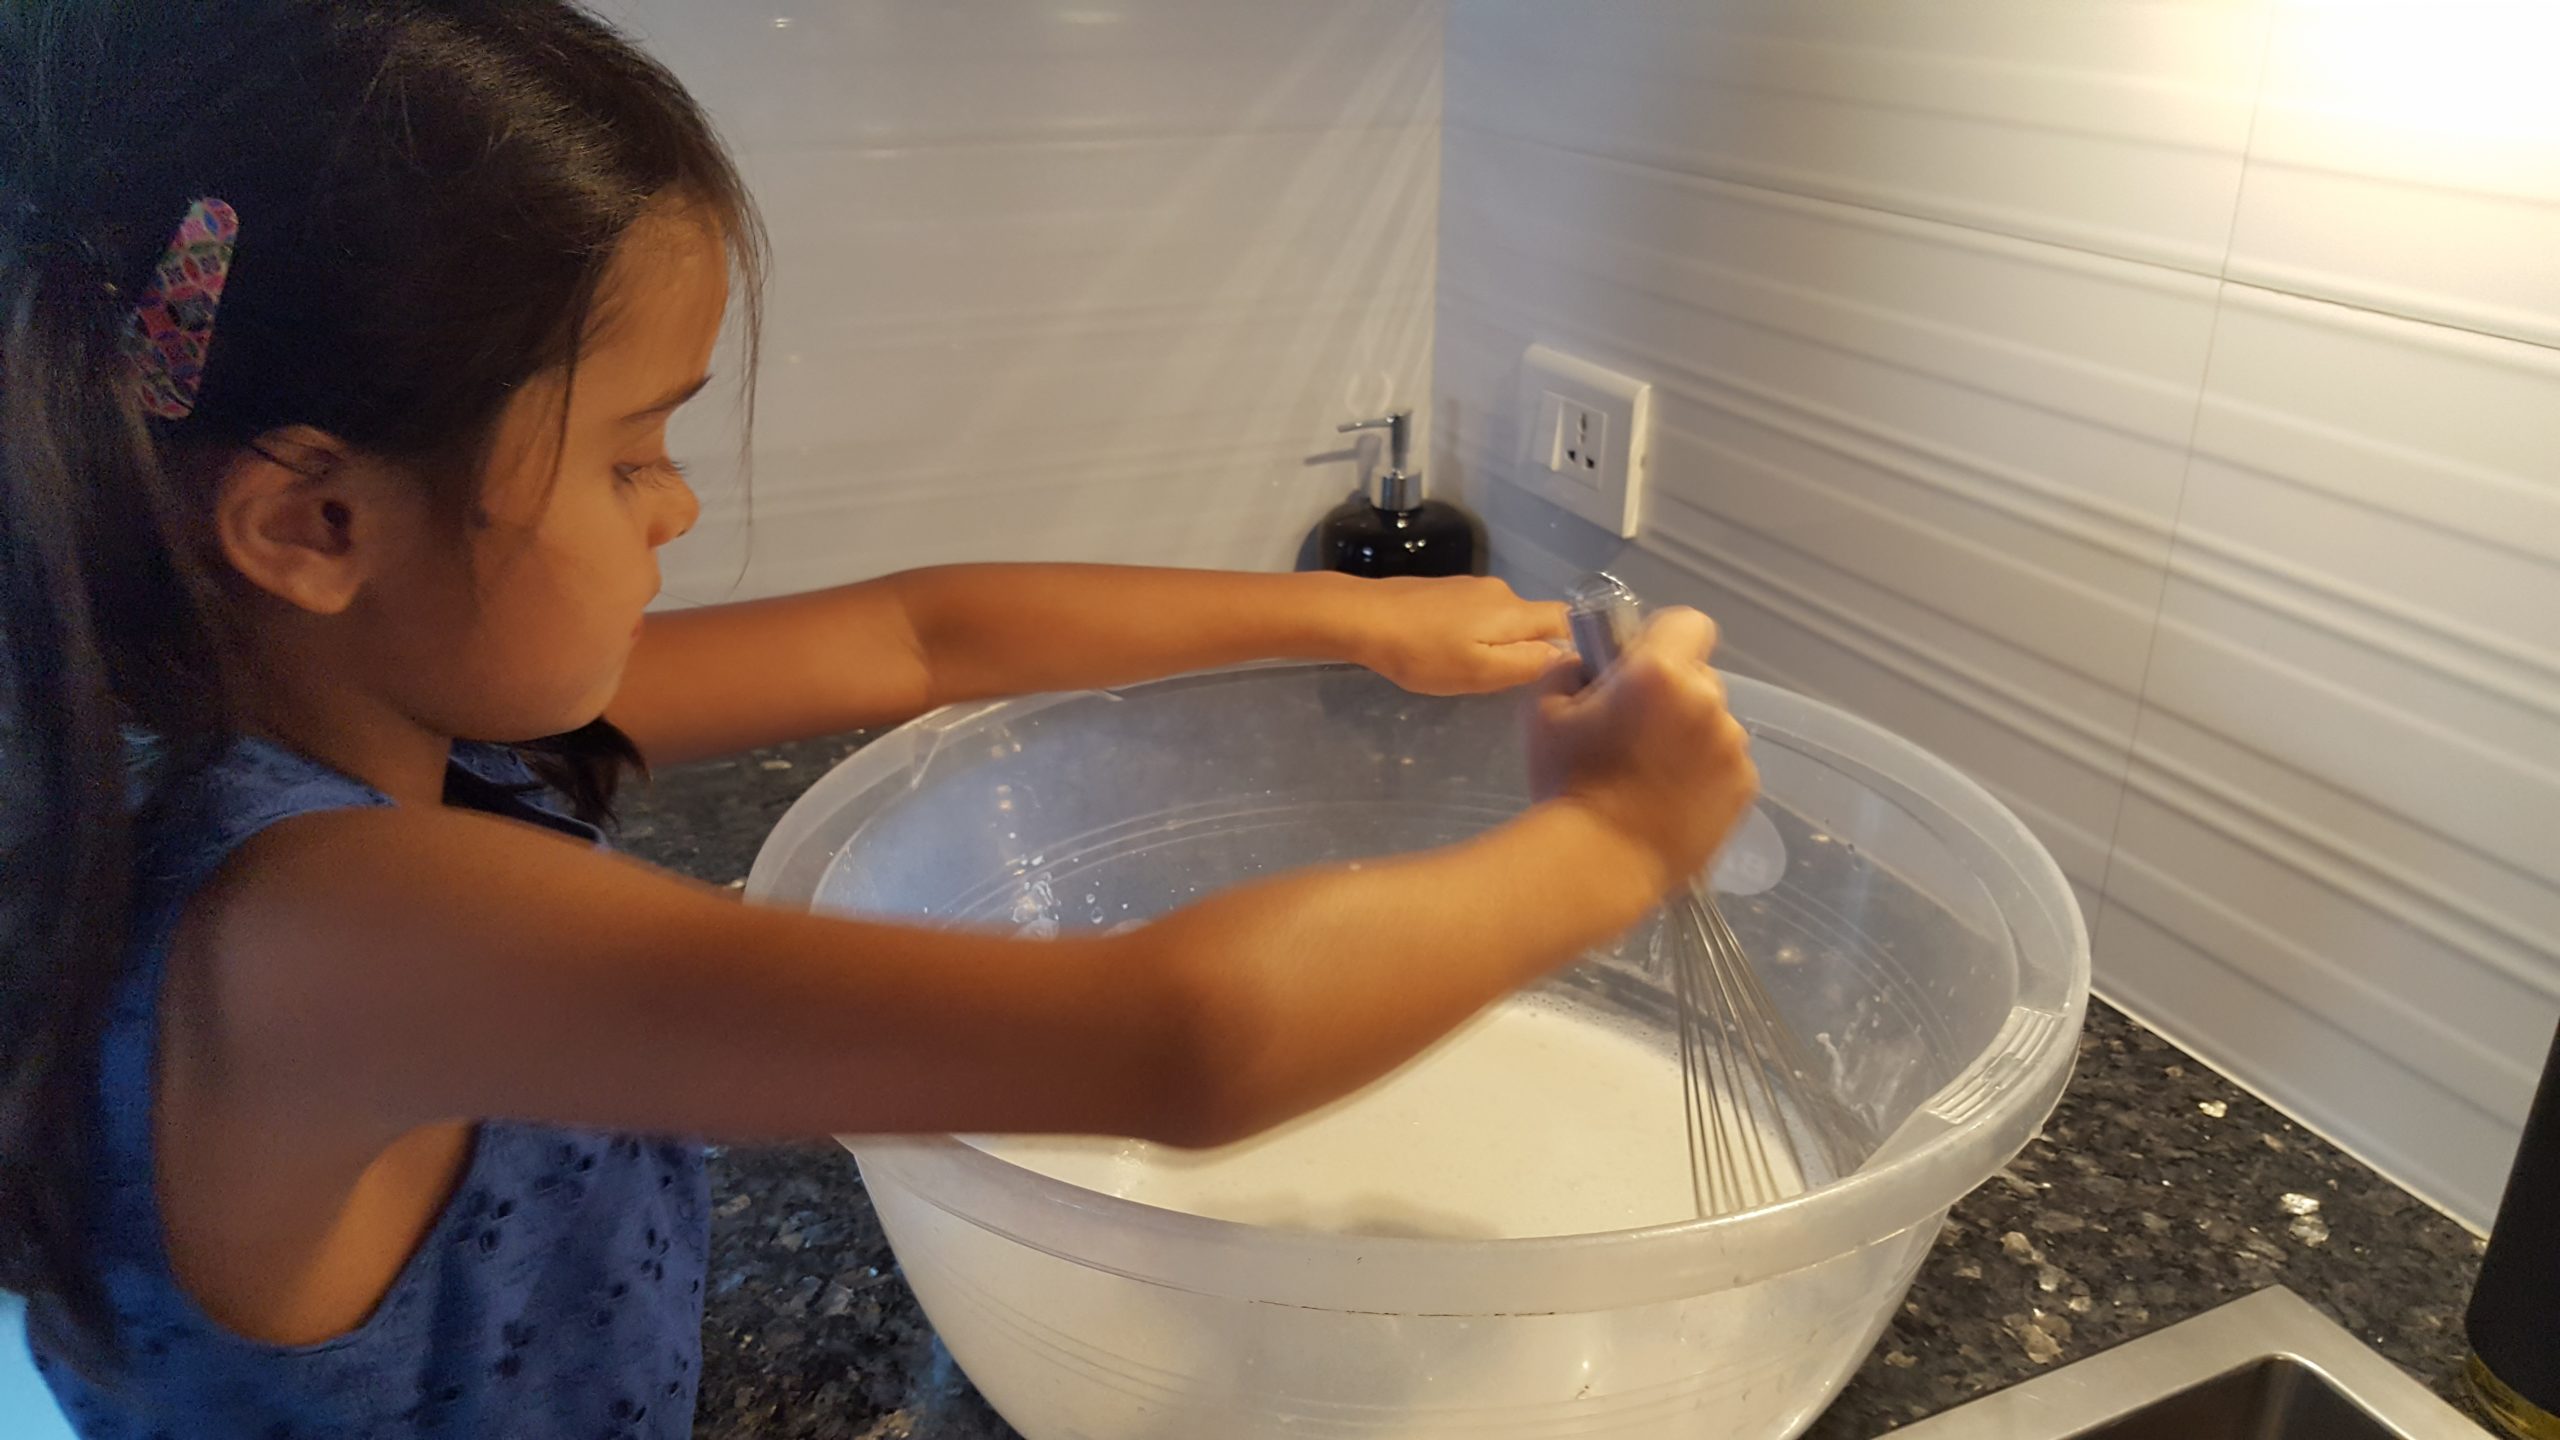

Start by making the homemade glue out of water and flour. Kids love this messy task so get them working while you do the balloons. You will need 2 parts flour and 3 parts water for the glue. For example 200ml flour and 300ml water. Or 2 cups of flour and 3 cups of water. Mix well with a whisk to get rid of all lumps. Use a large basin for this to make it easier to dip the newspaper strips afterwards.
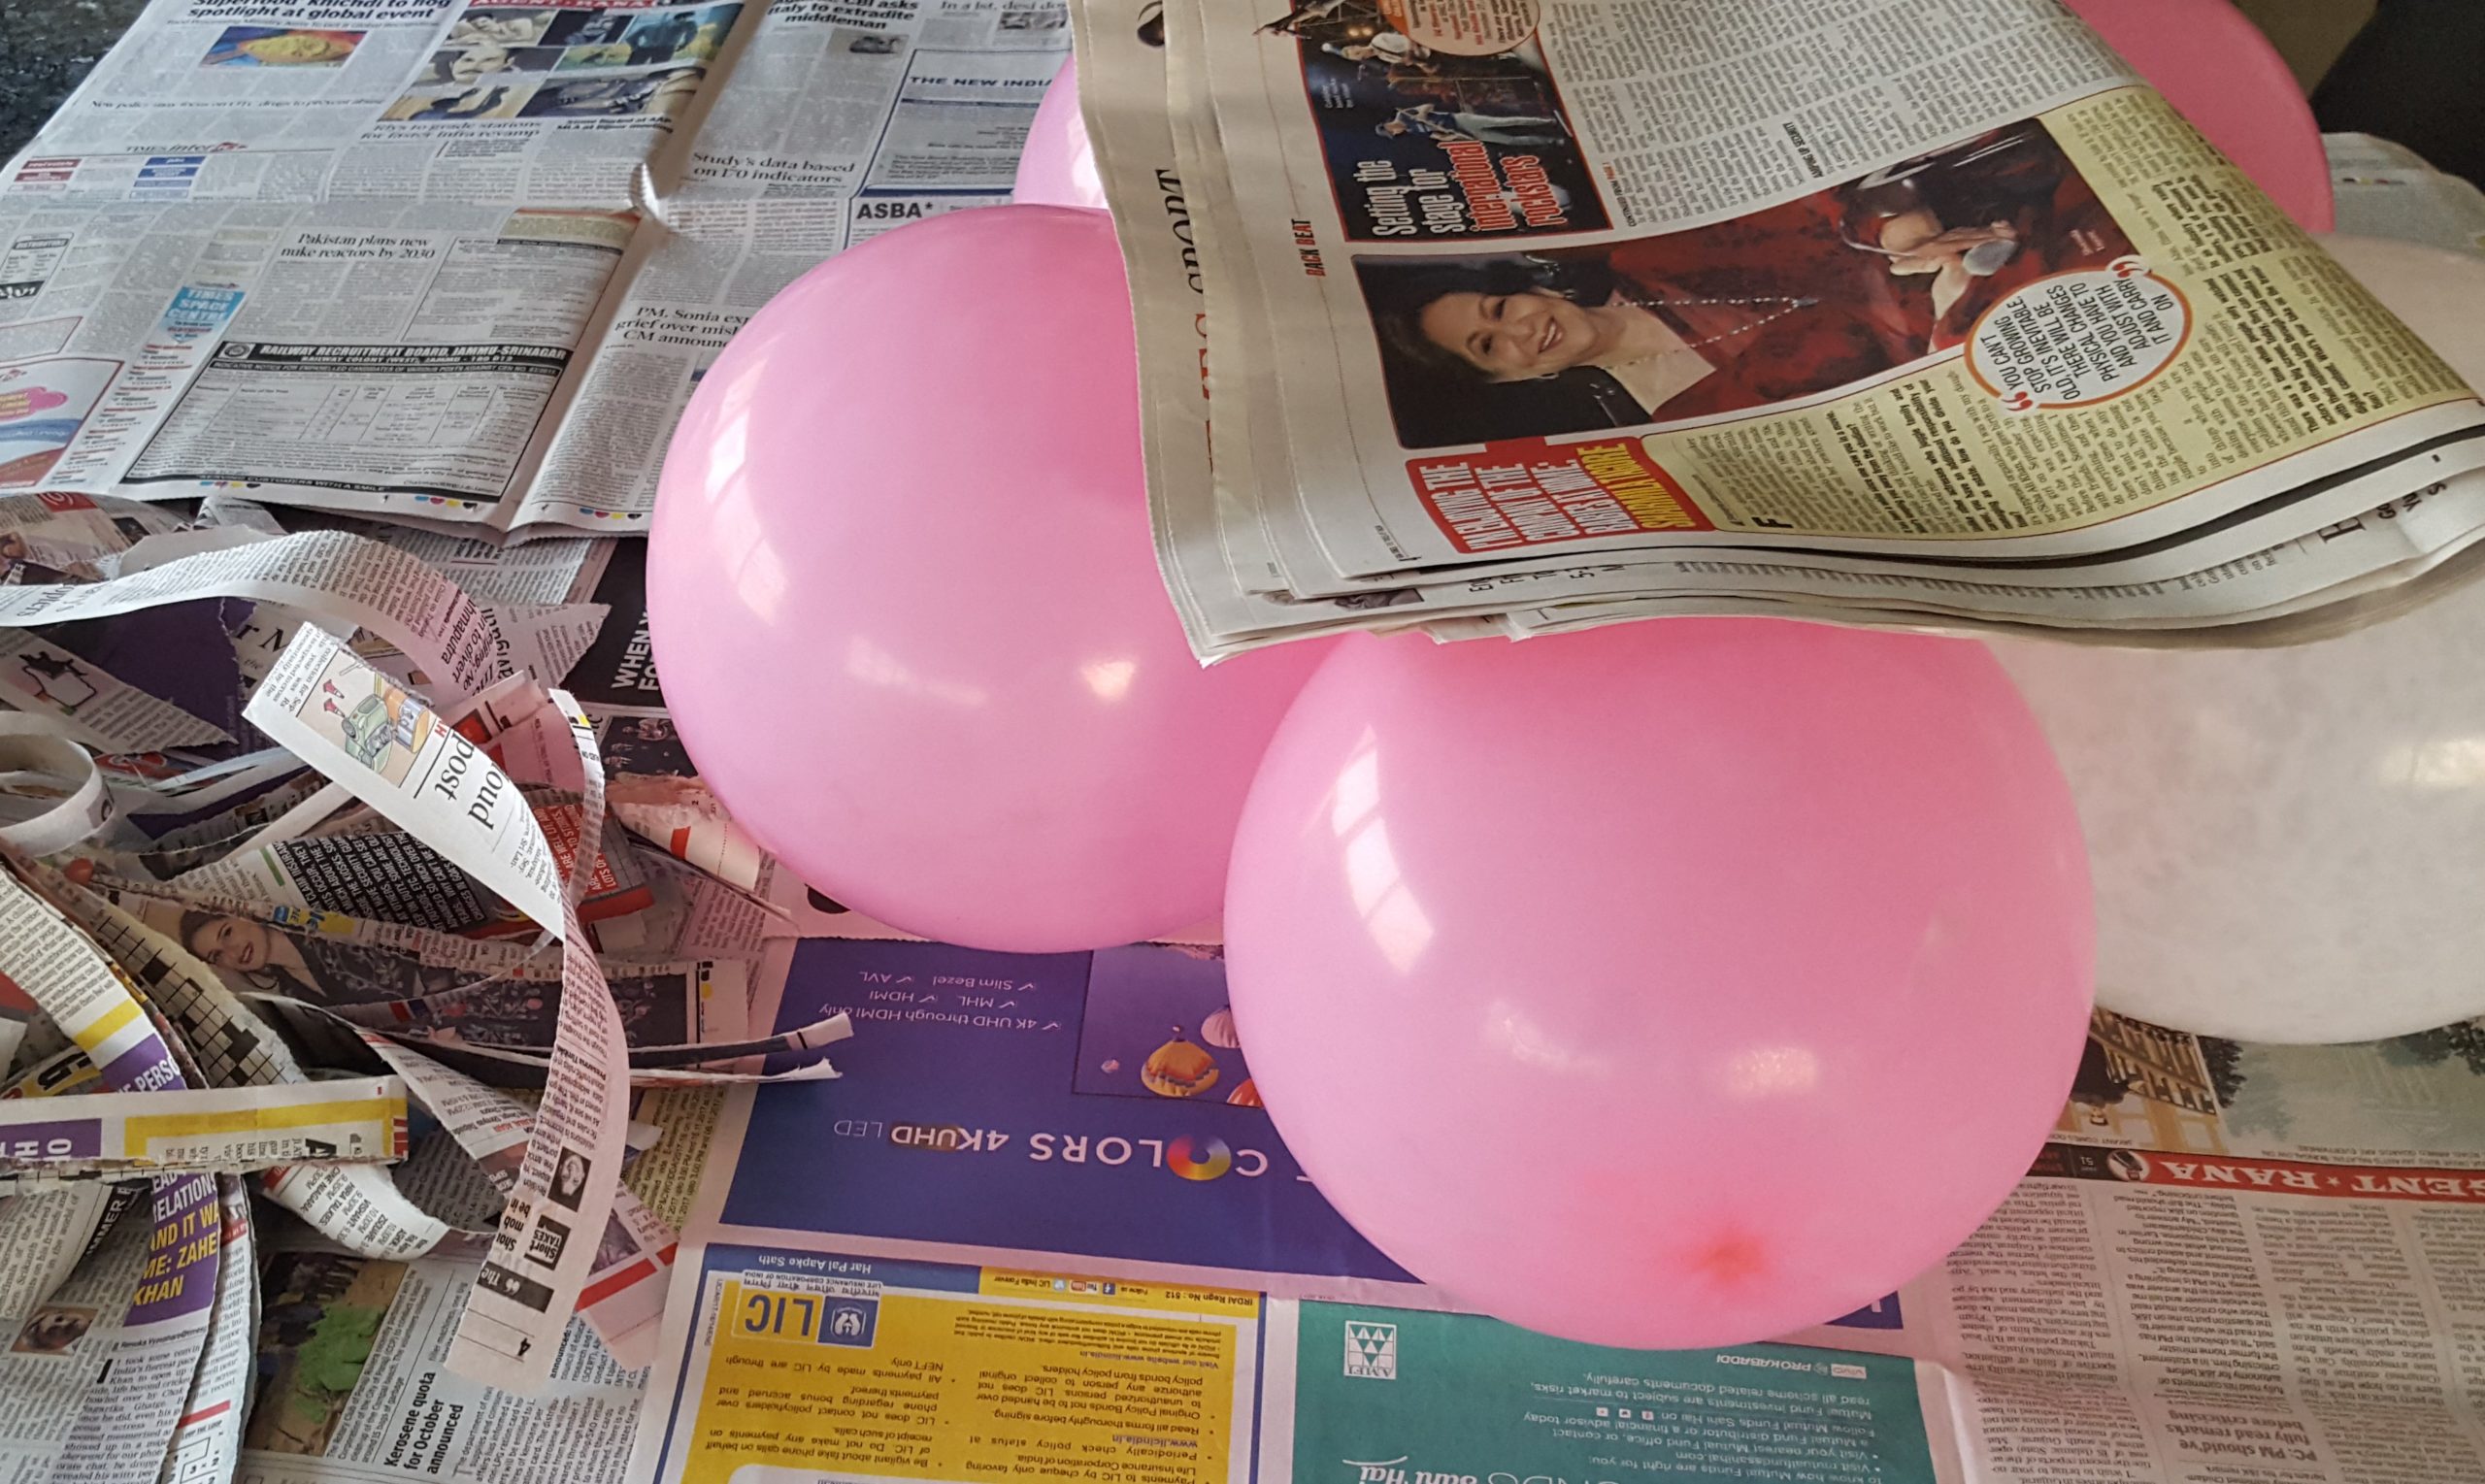

Blow up 5 of the ballons and tie them together. They will not sit neatly in an arranged flower, but will continue to “pop up”. Don’t try to use tape or other adhesives to stick them into place. The tape will tear the balloons. Keep a folded newspaper on top of the balloons to hold them down while you start adding the newspaper strips to the sides.
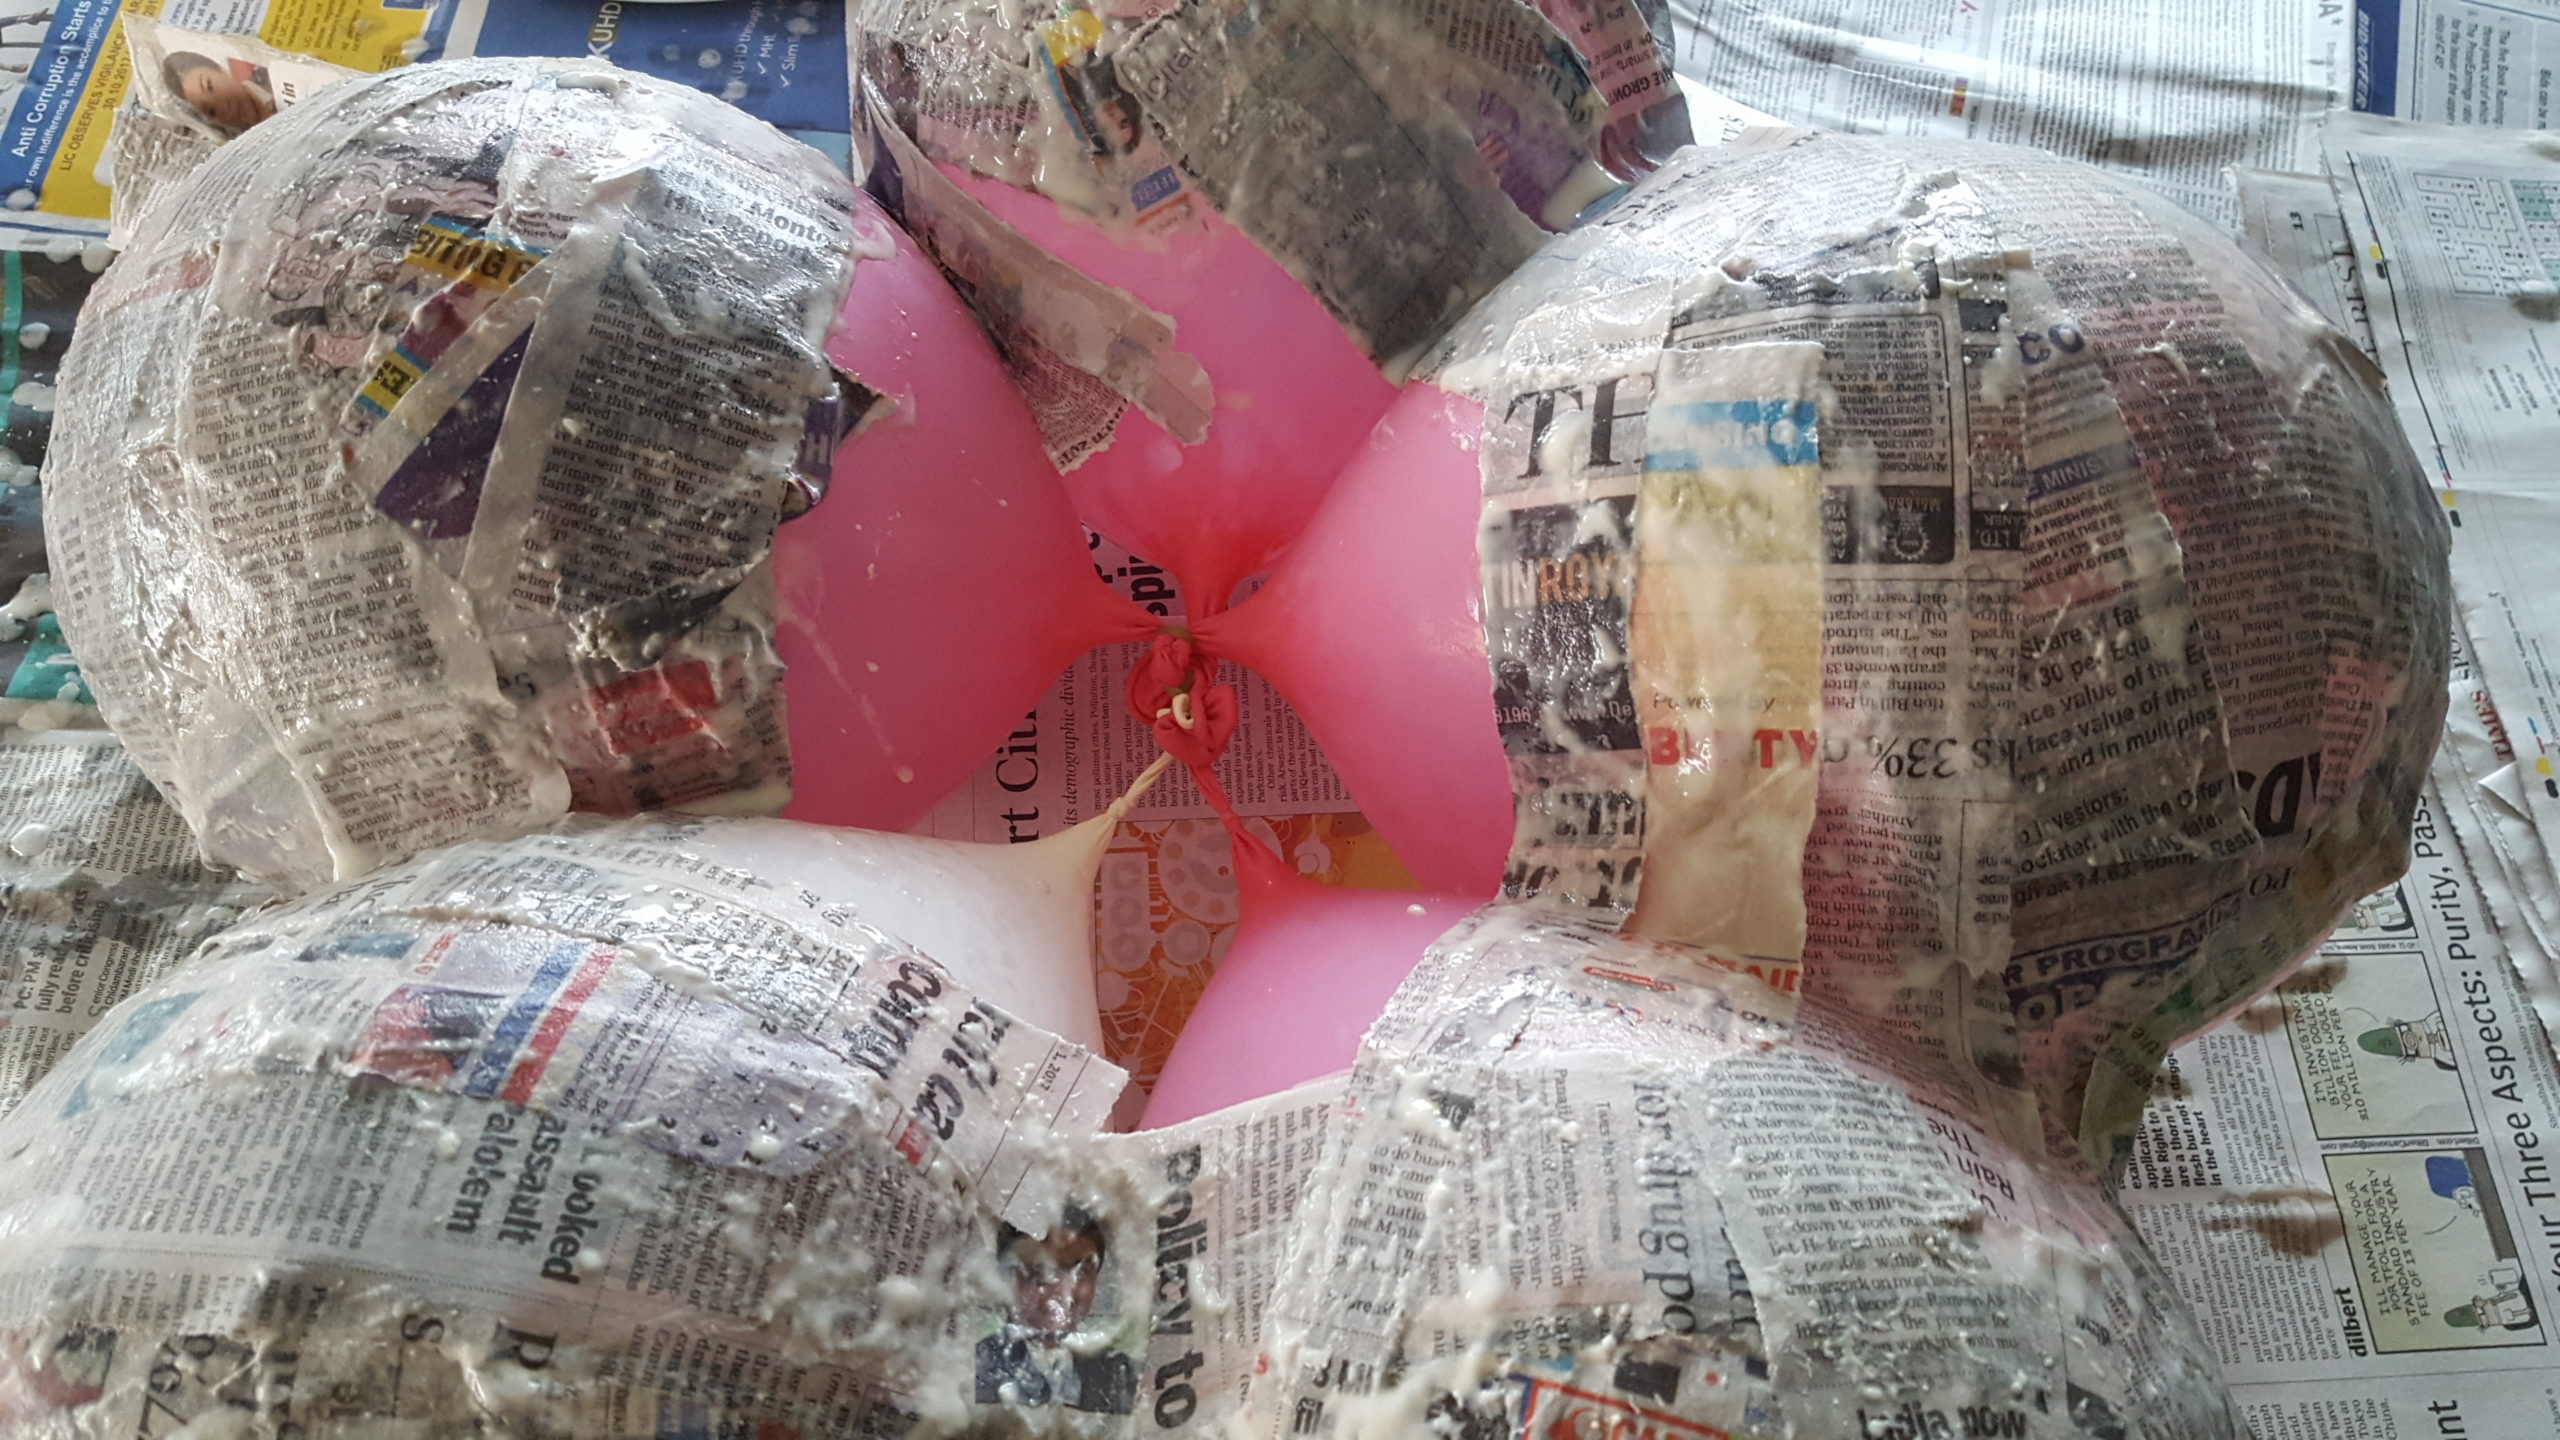

Dip a strip of newspaper into the homemade glue and put it on the balloons. Smooth it down as much as you can. As mentioned earlier, two of our balloons burst in the process -it happened only to the older balloons we had used. If it happens to you, don’t panic (even if it is easy to get a bit freaked out when you see all your hard work deflate and become a soggy newspaper mess!) Solve the problem by quickly putting a new balloon into the hole and blow it up inside the cavity.
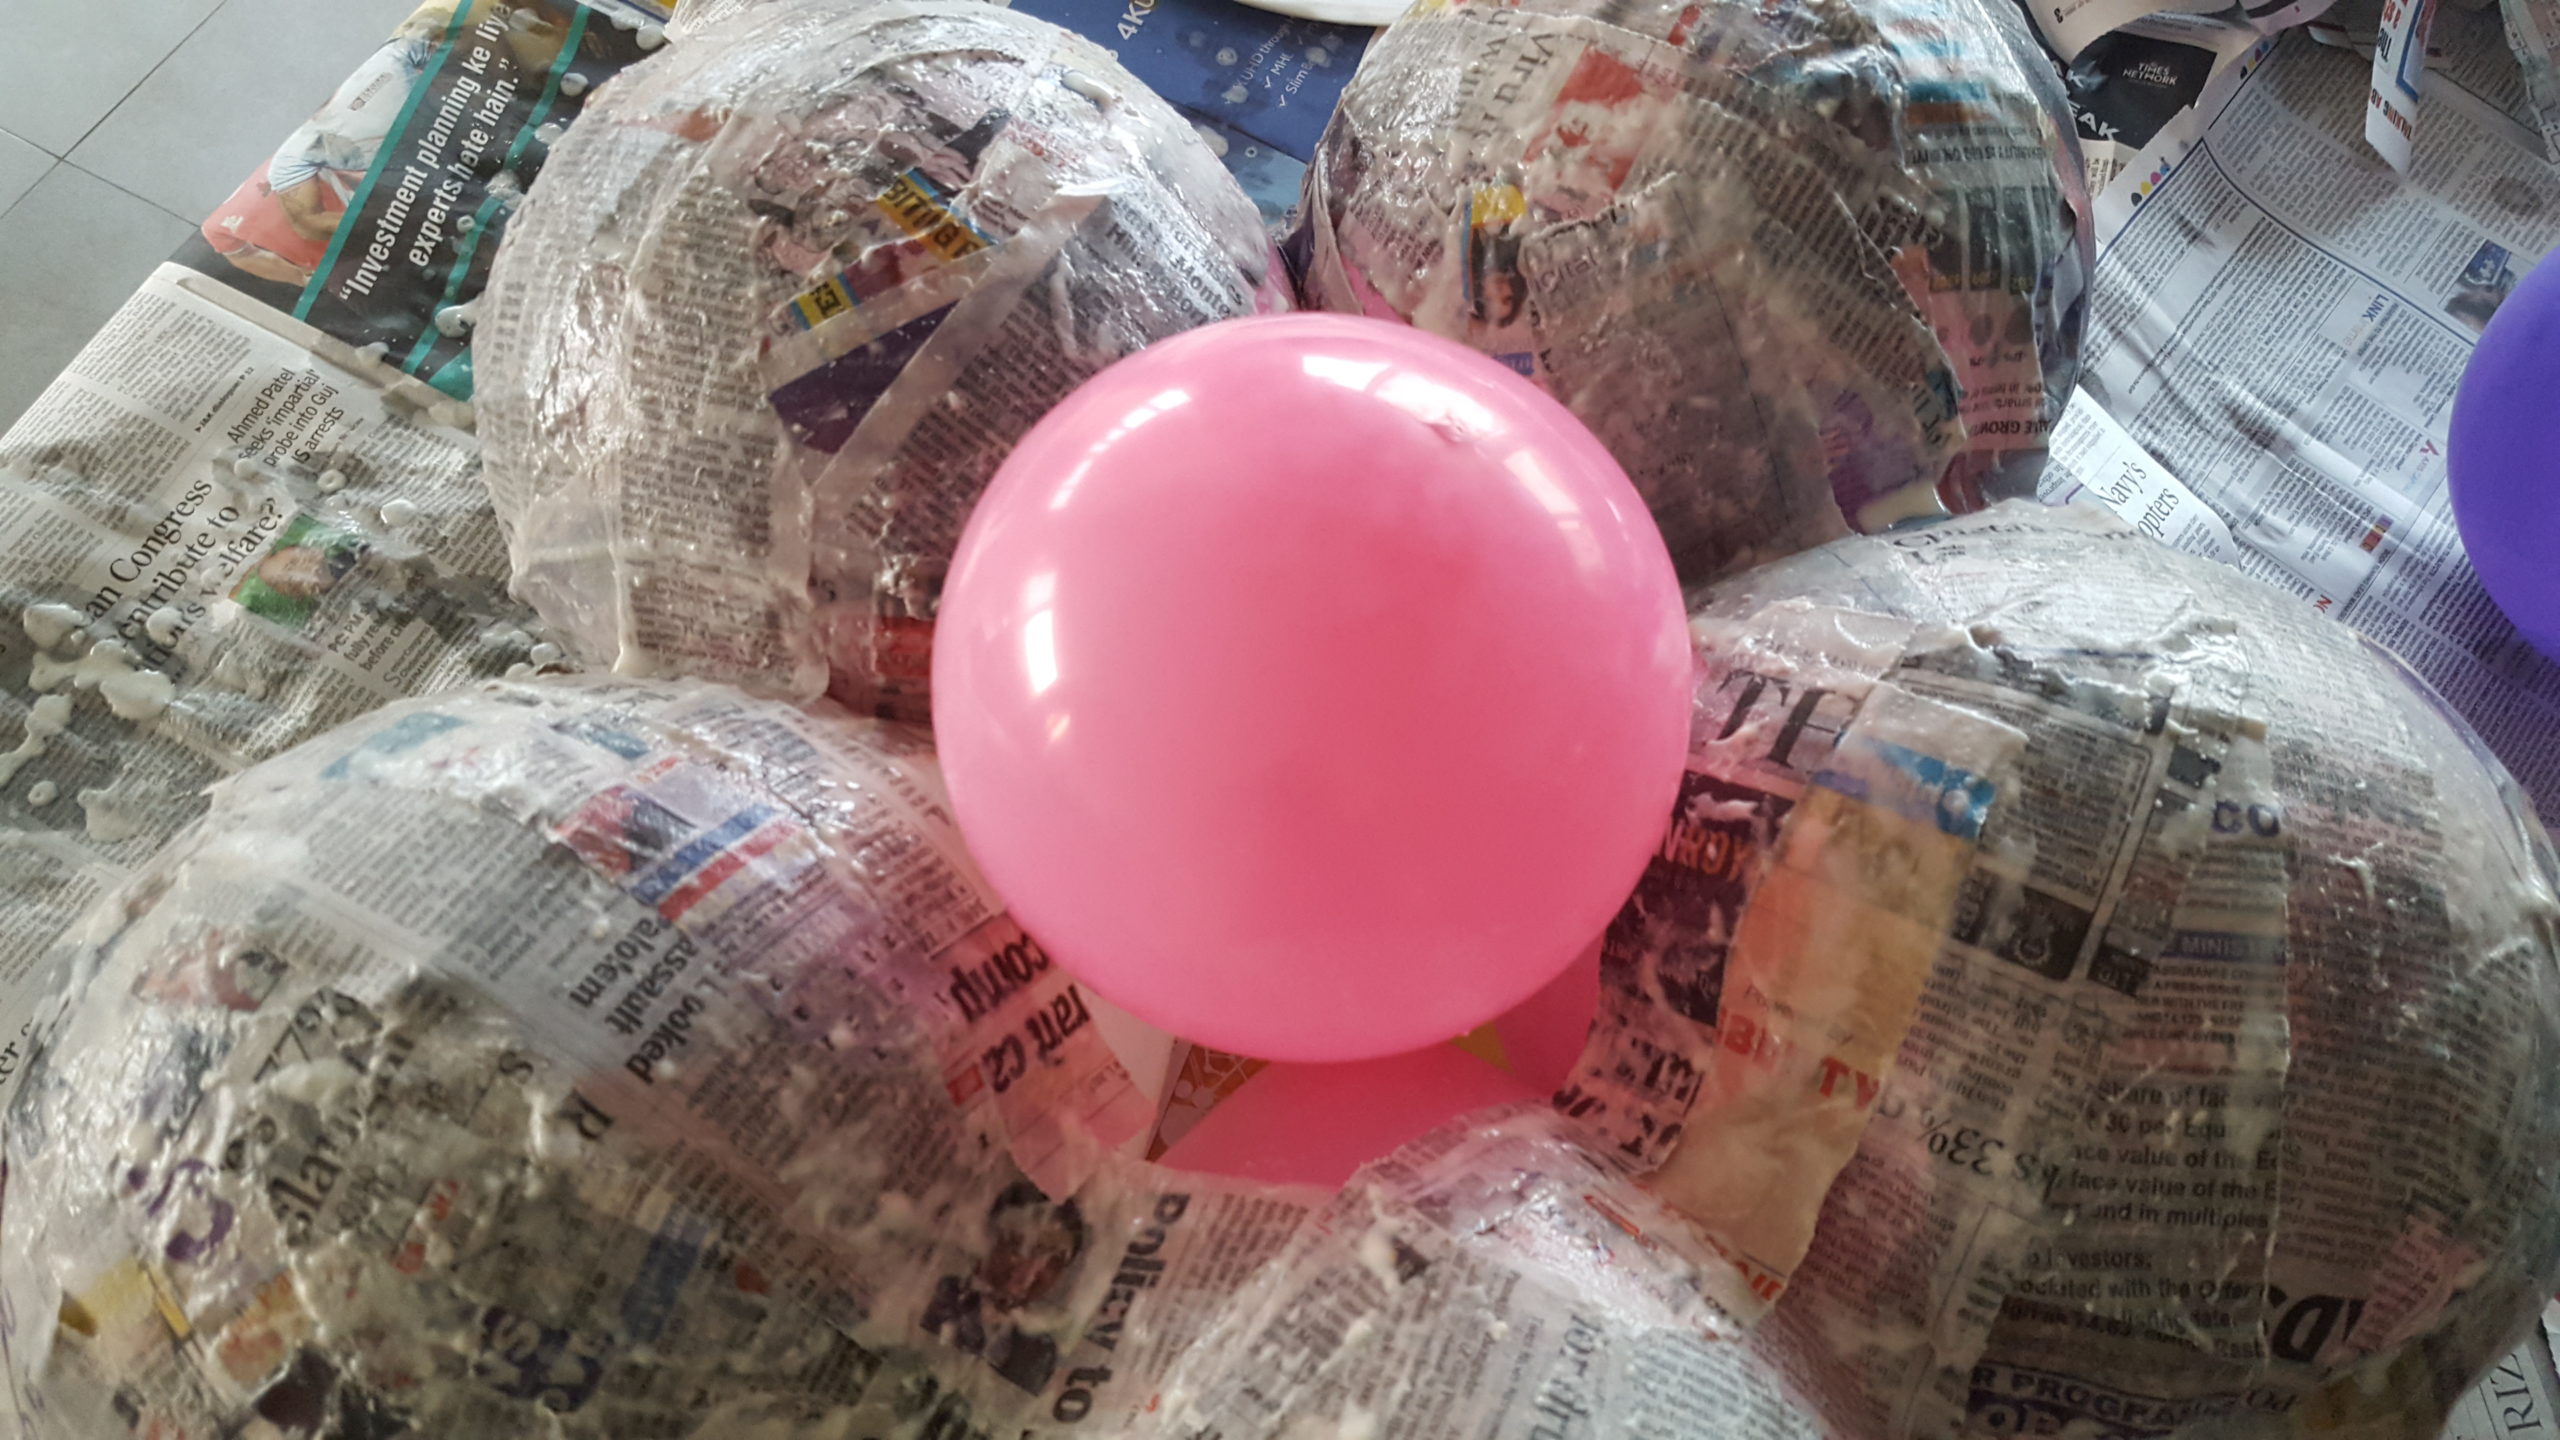

Cover this balloon with strips of paper too. Let it dry. This takes min 24 hours.
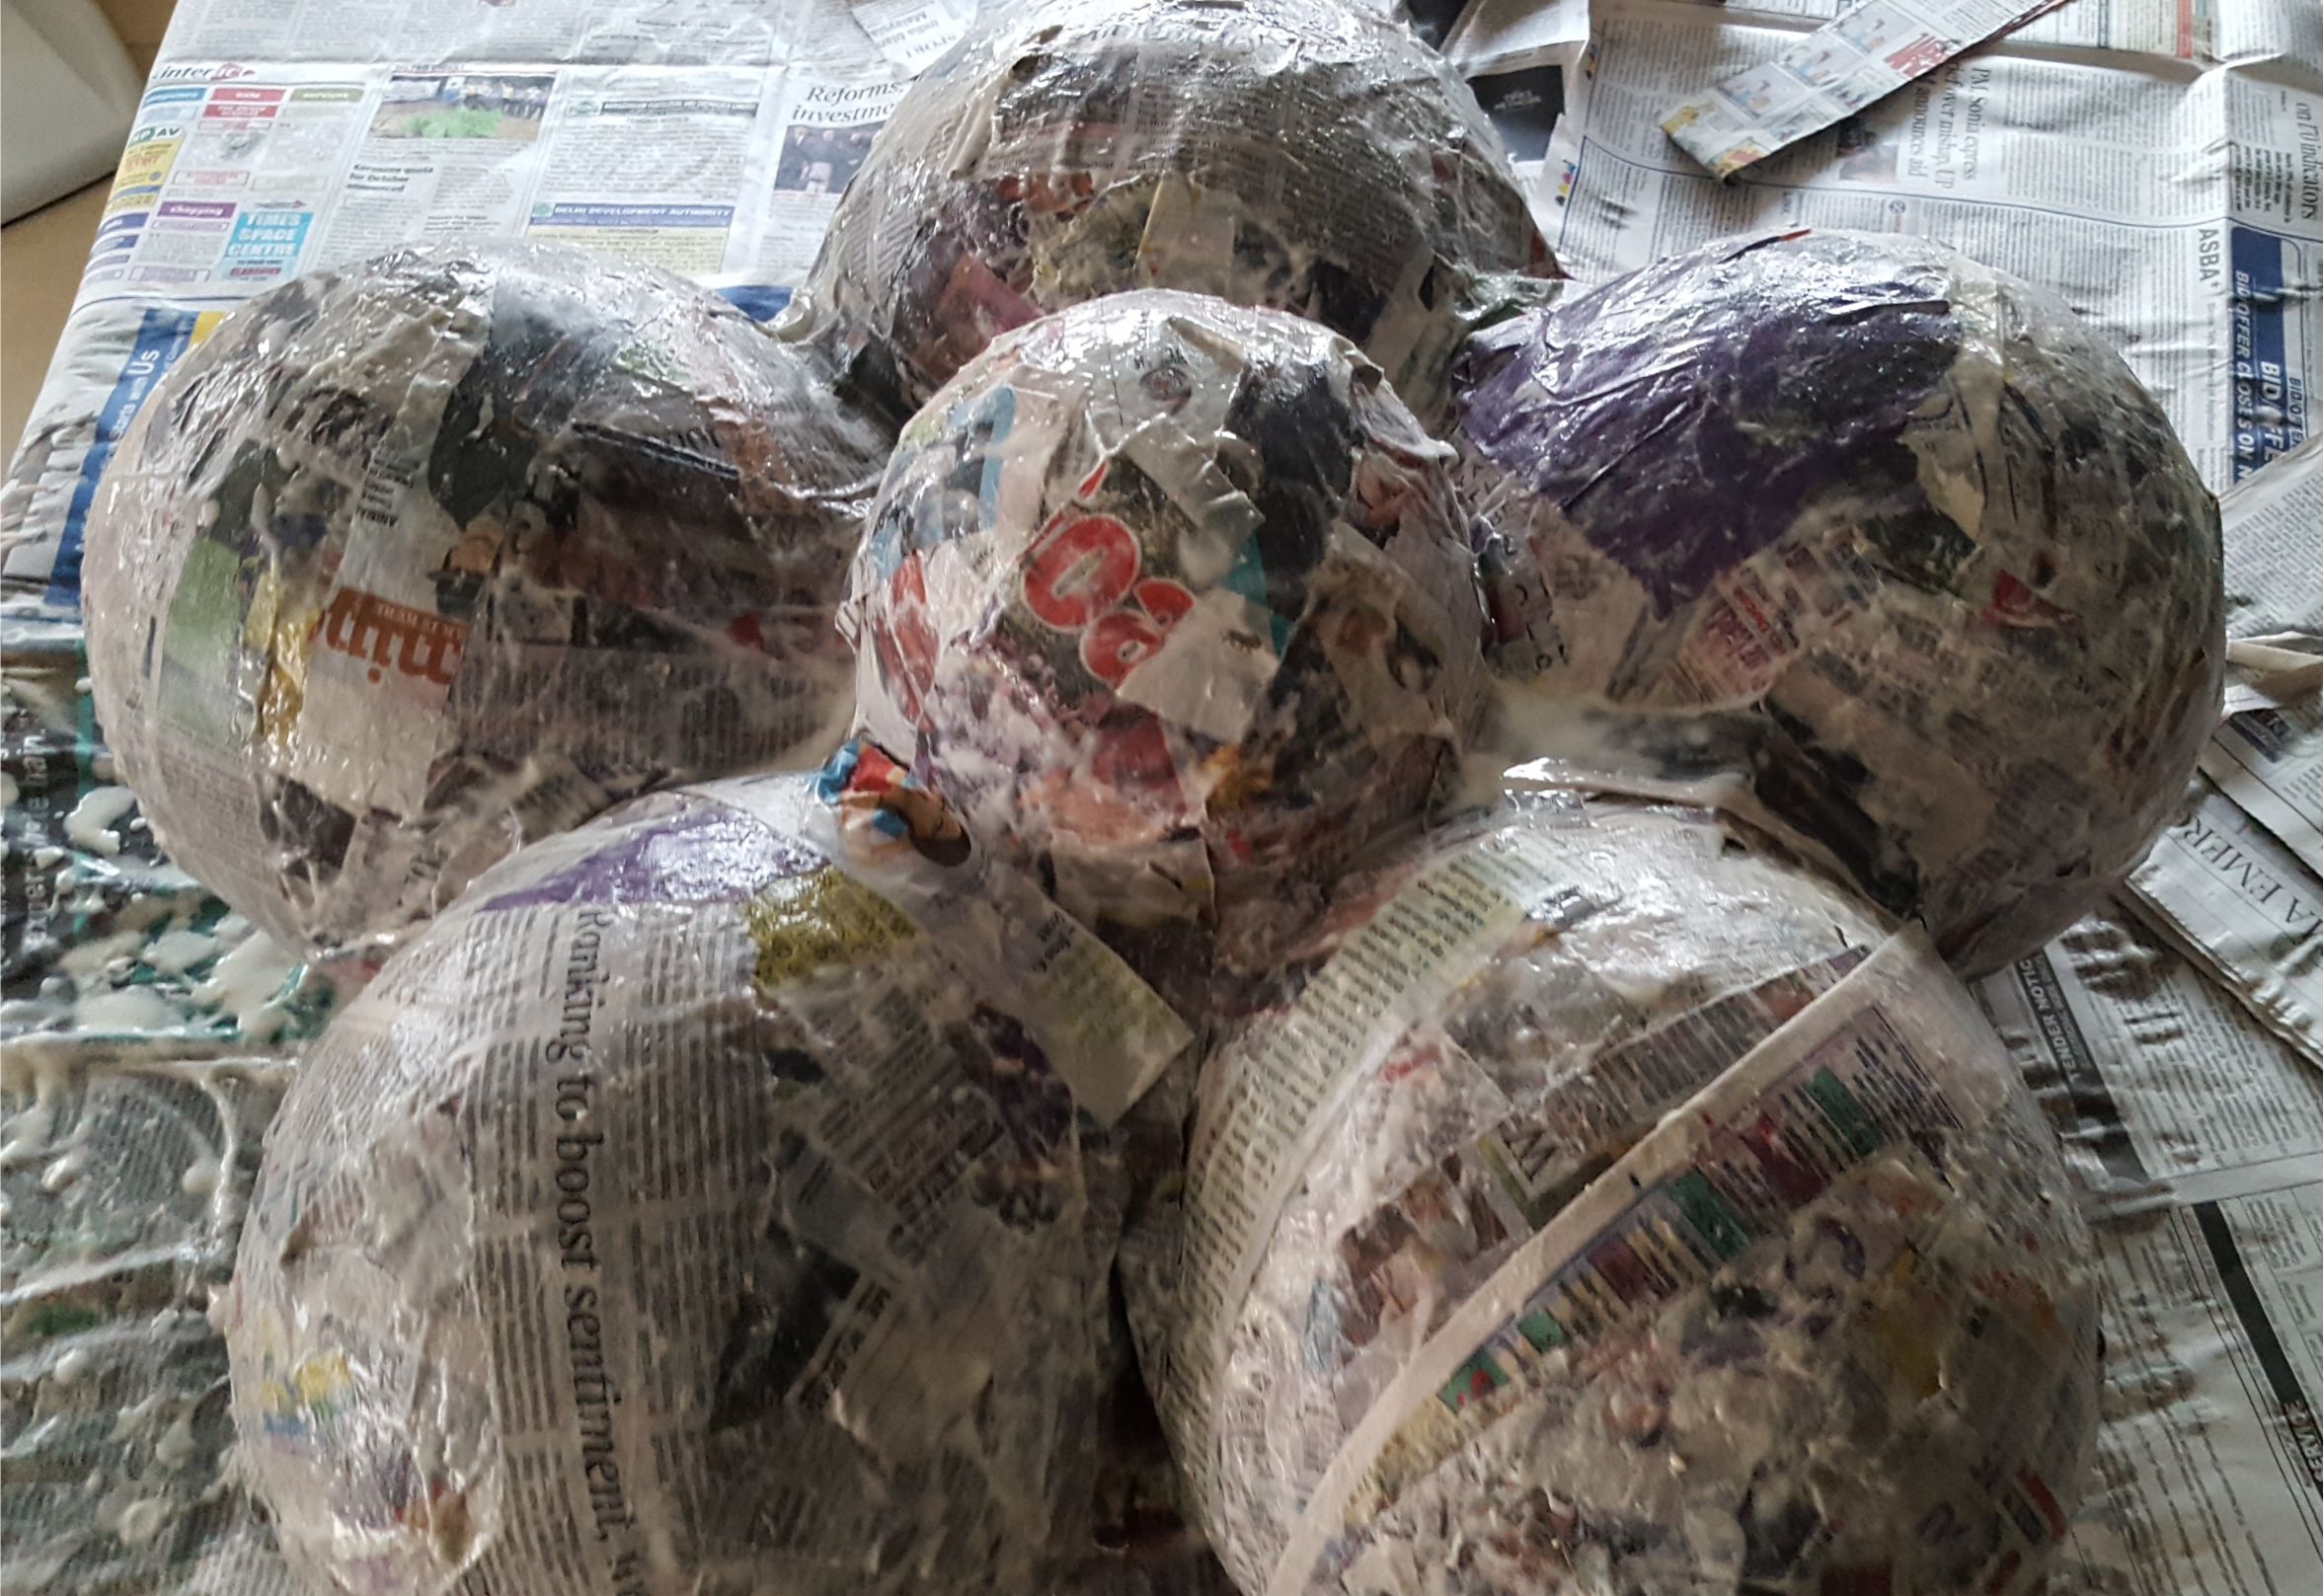

Turn over and do the same on the other side. Let it dry. If you are filling the piñata with sweets (like we did) then you will need to add a second layer to the piñata (step 1-5). Leave to dry for 48 hours until fully hard and dry. Check if there are any softer patches. Strengthen these patches with a few extra layers of paper.
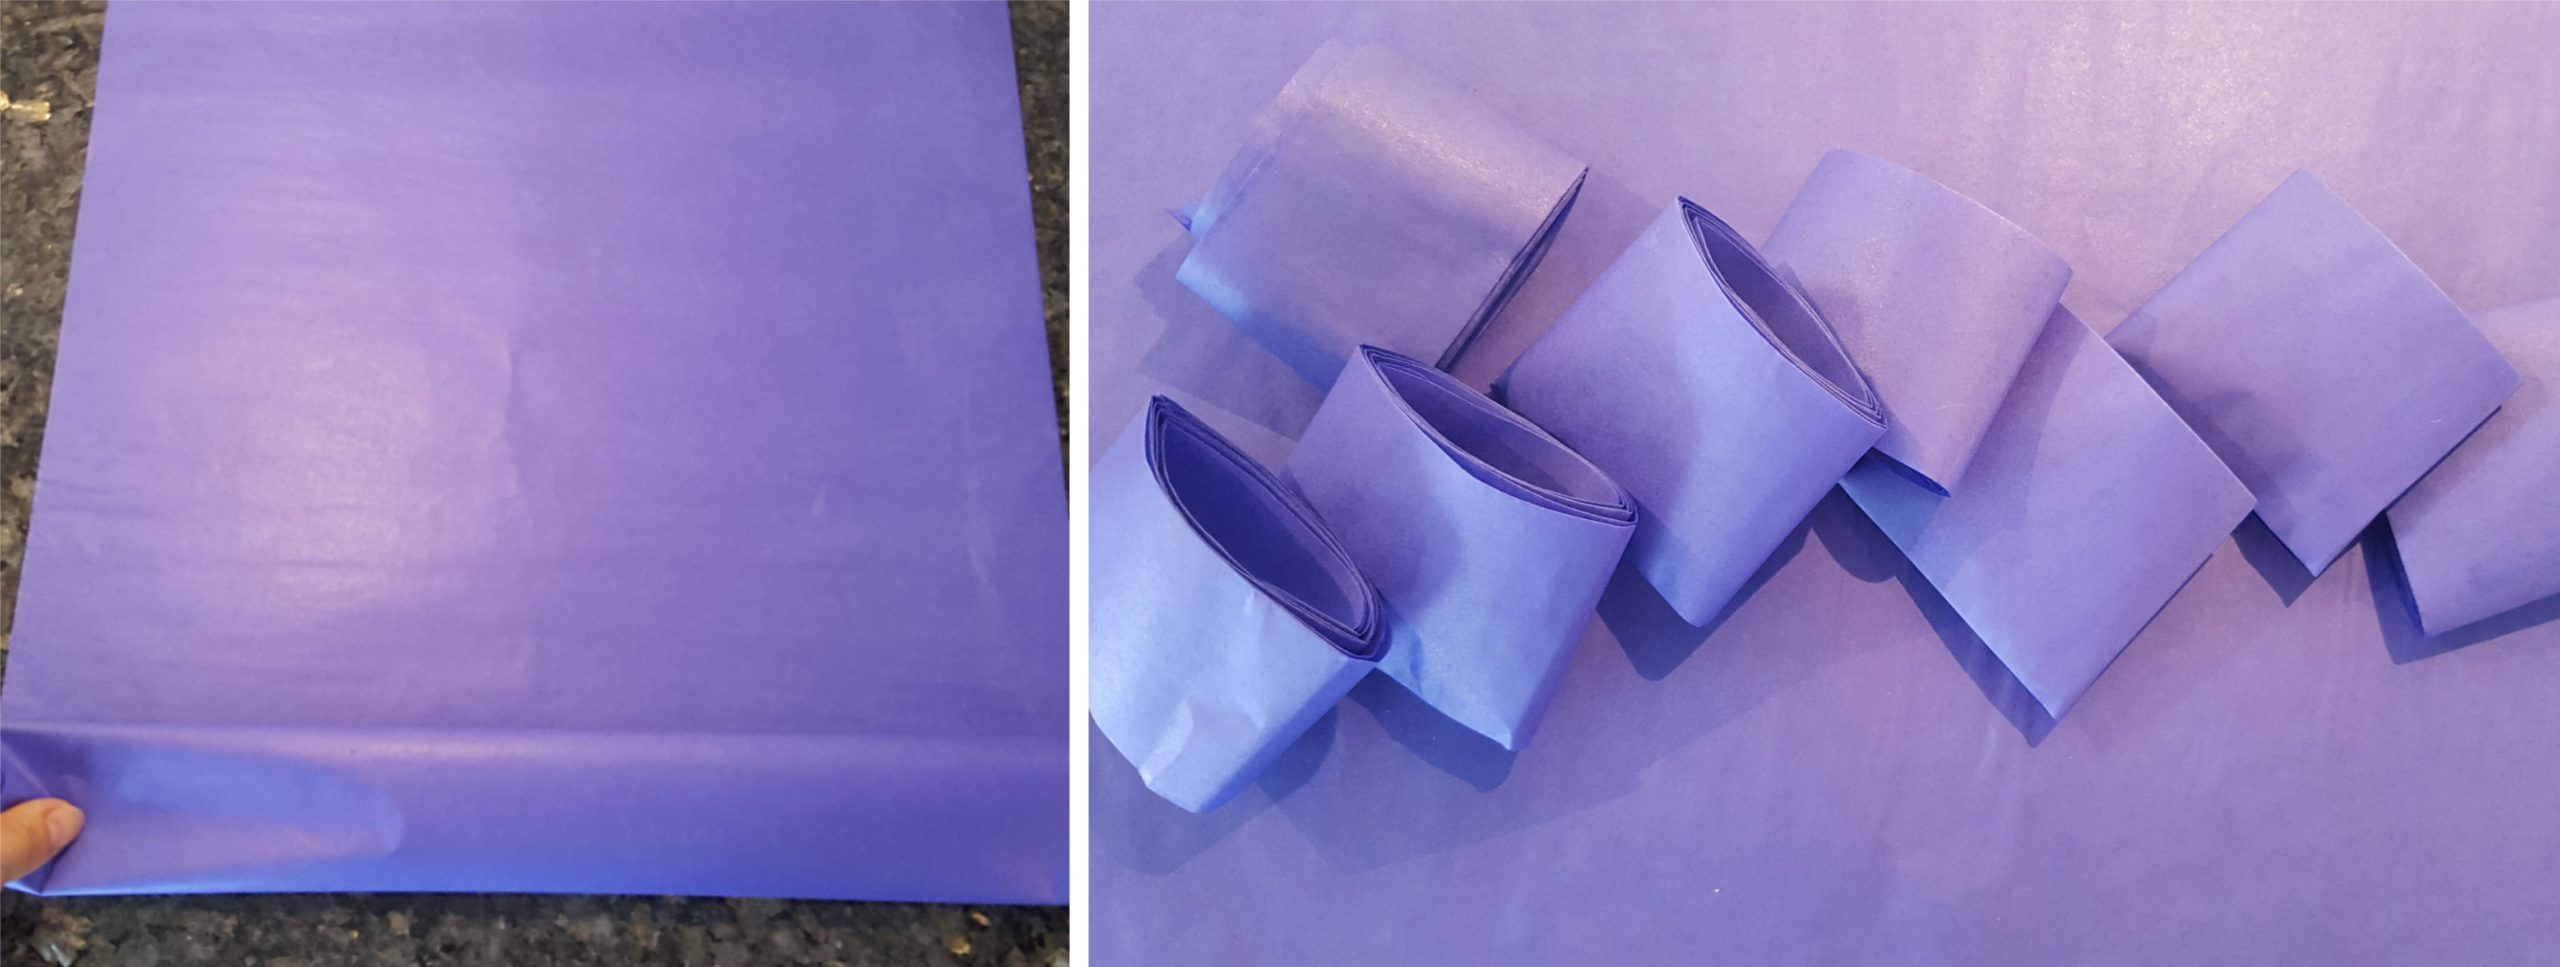

To decorate it with tissue paper: fold a sheet of tissue paper in the middle and roll it up. Cut it into smaller pieces -about 8 pieces for each sheet.
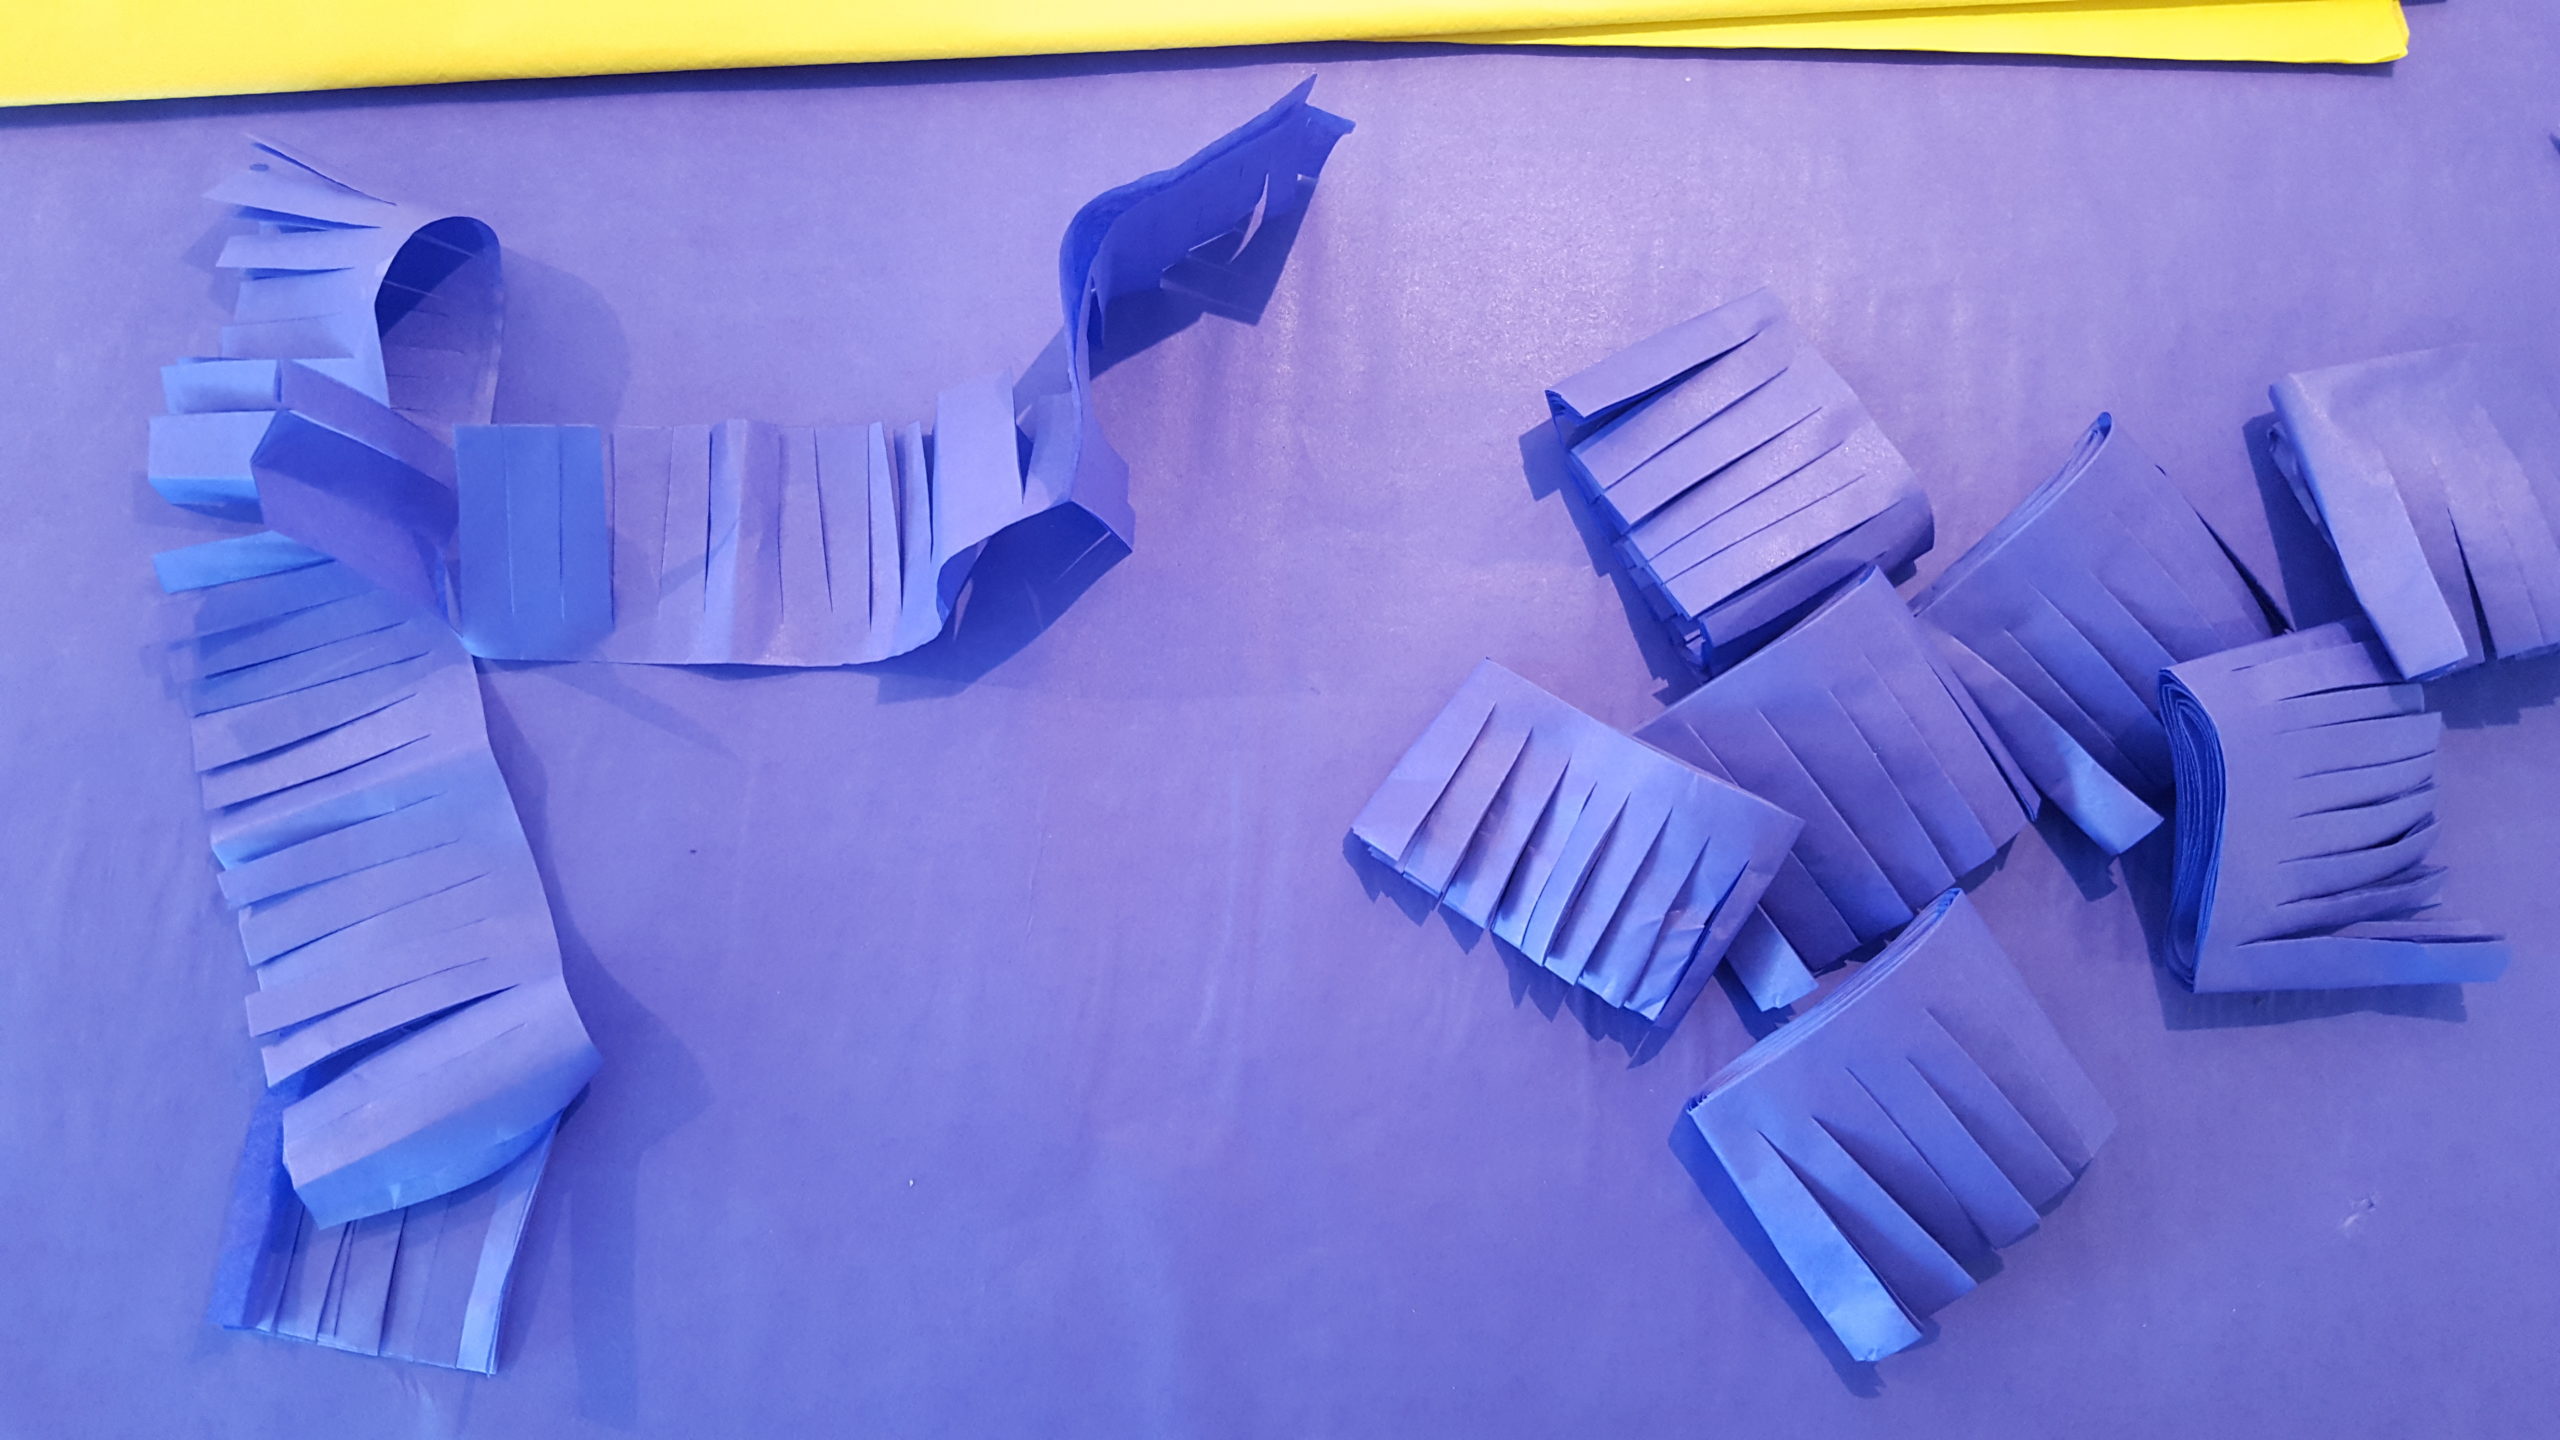

Cut fringes into the paper. Leave about 0.5 cm uncut on top.
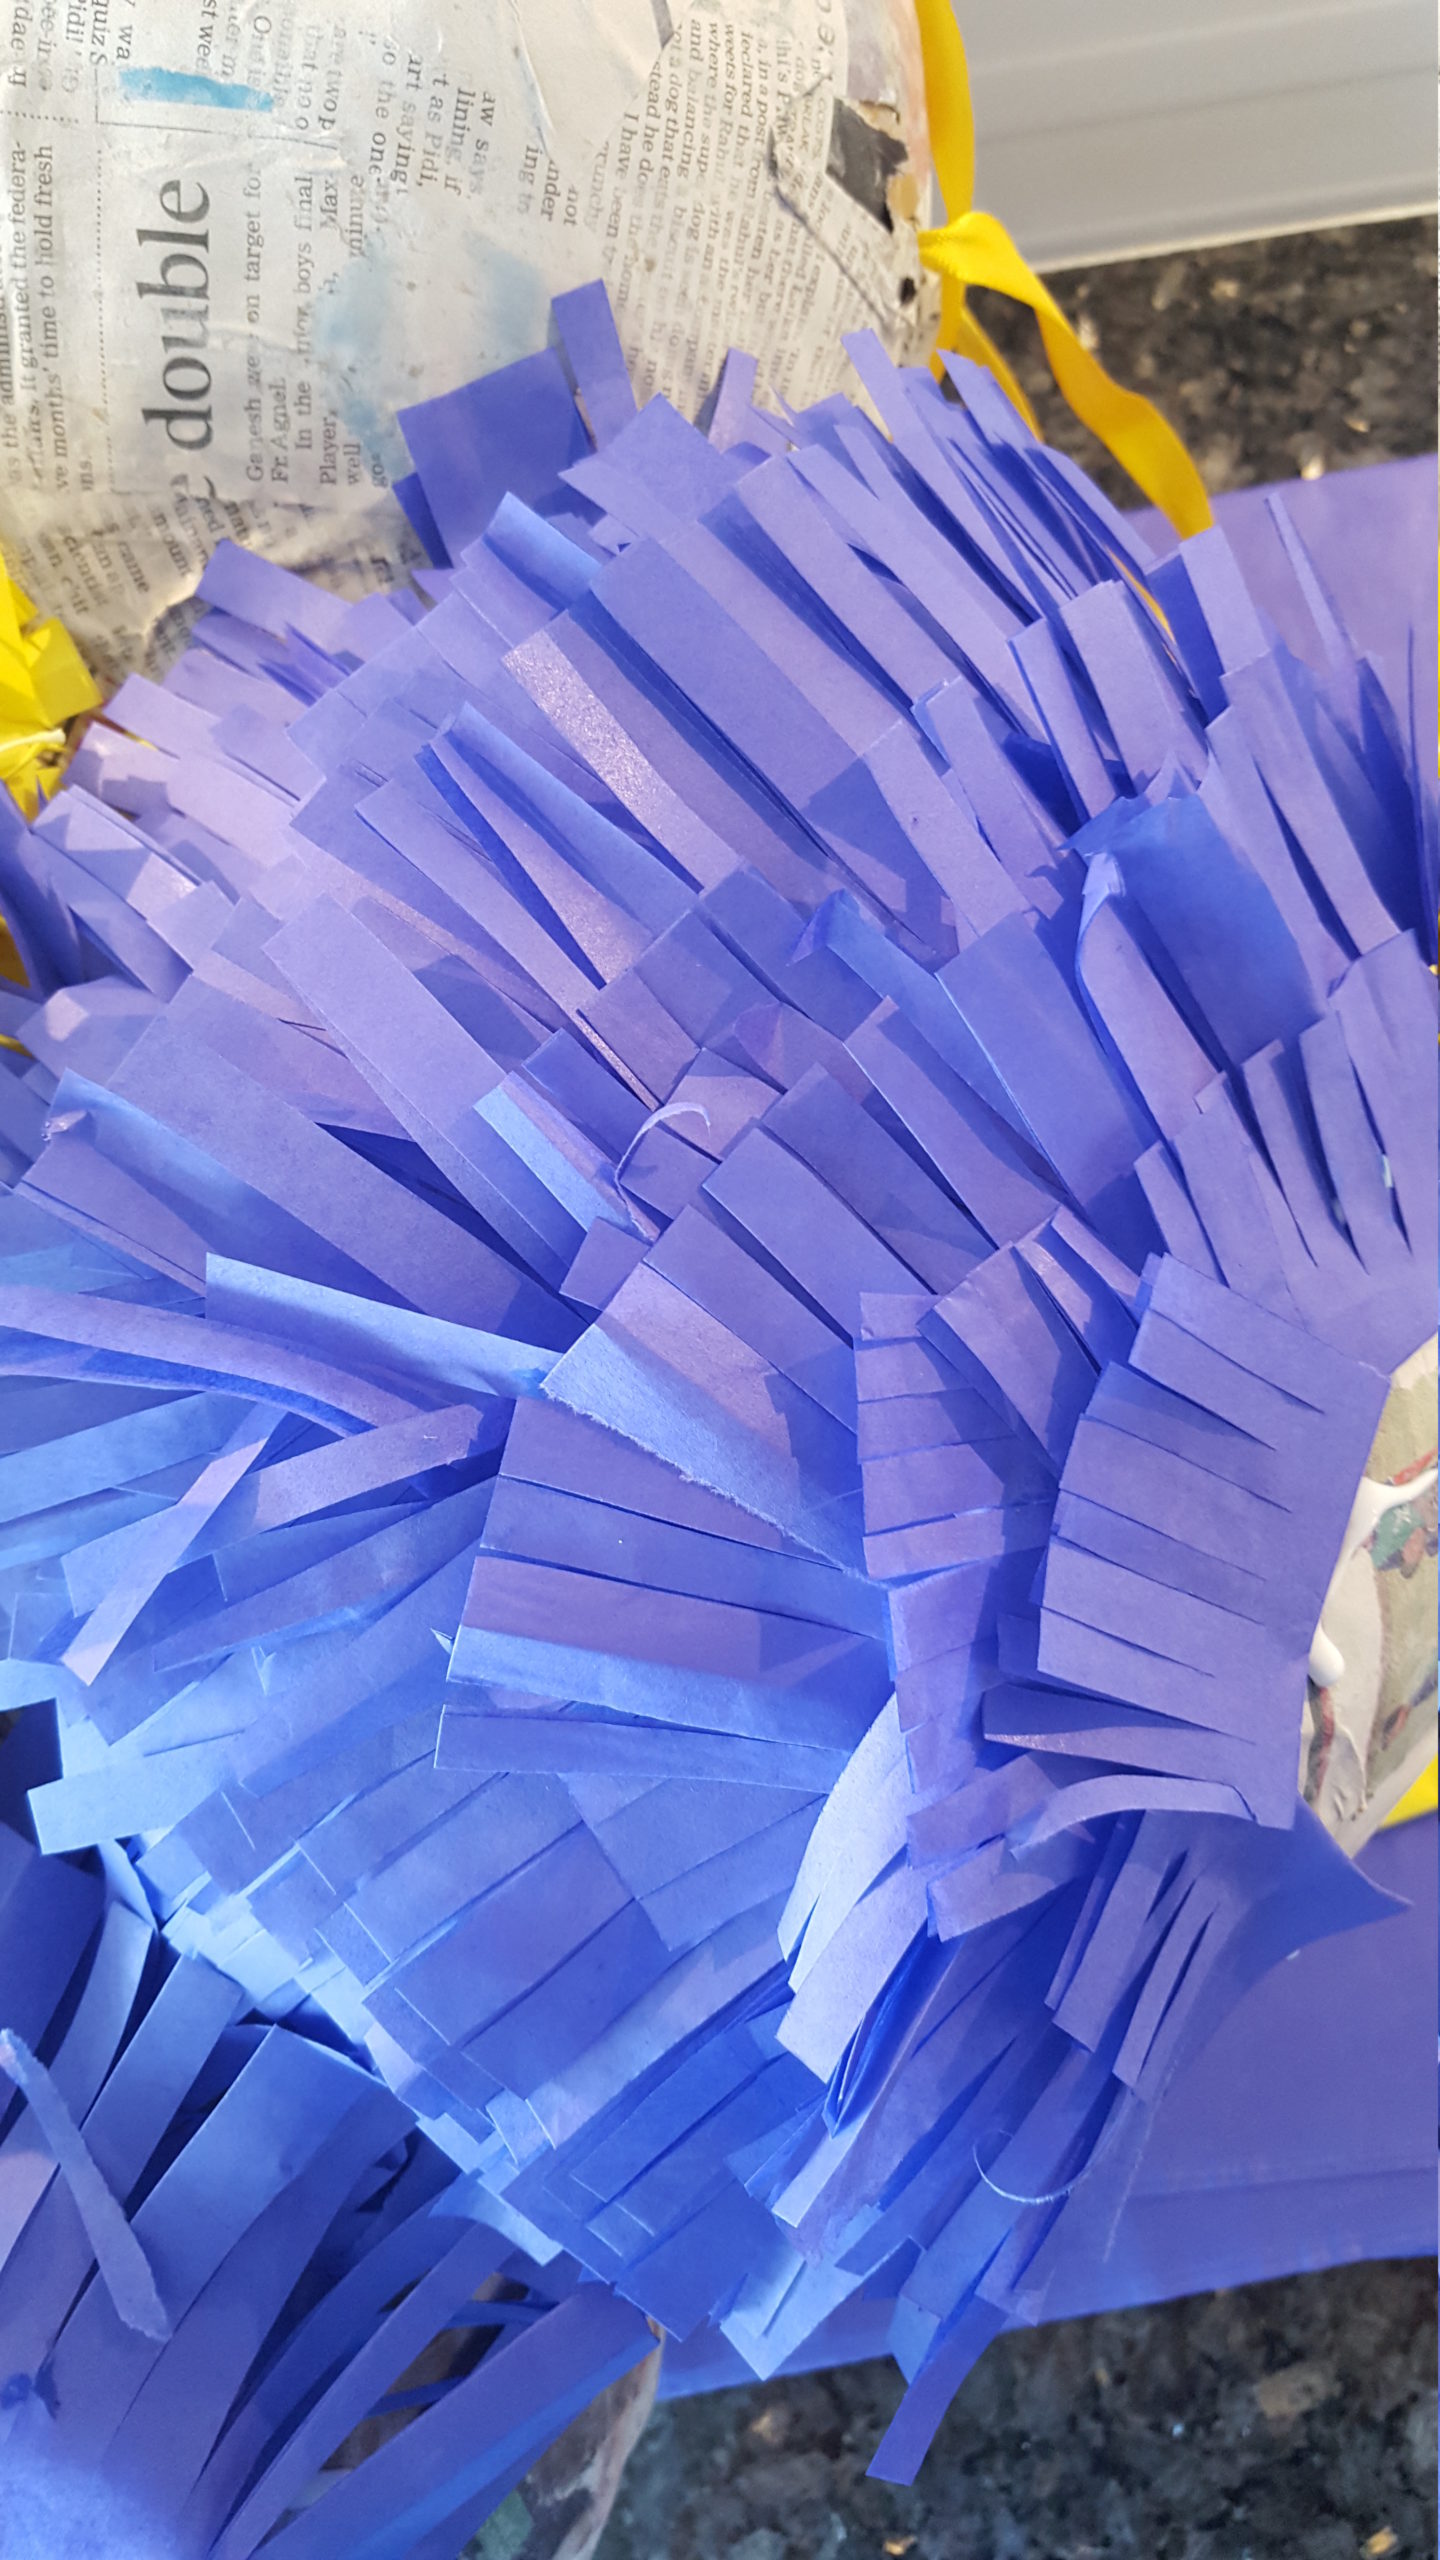

Unfold the pieces and attach them with fevicol glue starting from the bottom and going higher up for each added paper. Repeat for all the tissue paper until the piñata is fully covered. Let it all dry.


Cut a round hole on top (to be able to fill it up with sweets). Keep the cap. Remove the balloons. Attach a string on all 4 sides of the opening. I used an eyelet paper punch to make the holes stronger (as the paper tore with the weight of the sweets the first time I lifted it!). Glue the cap on again. You can add another strip of fringed tissue paper to cover the hole.
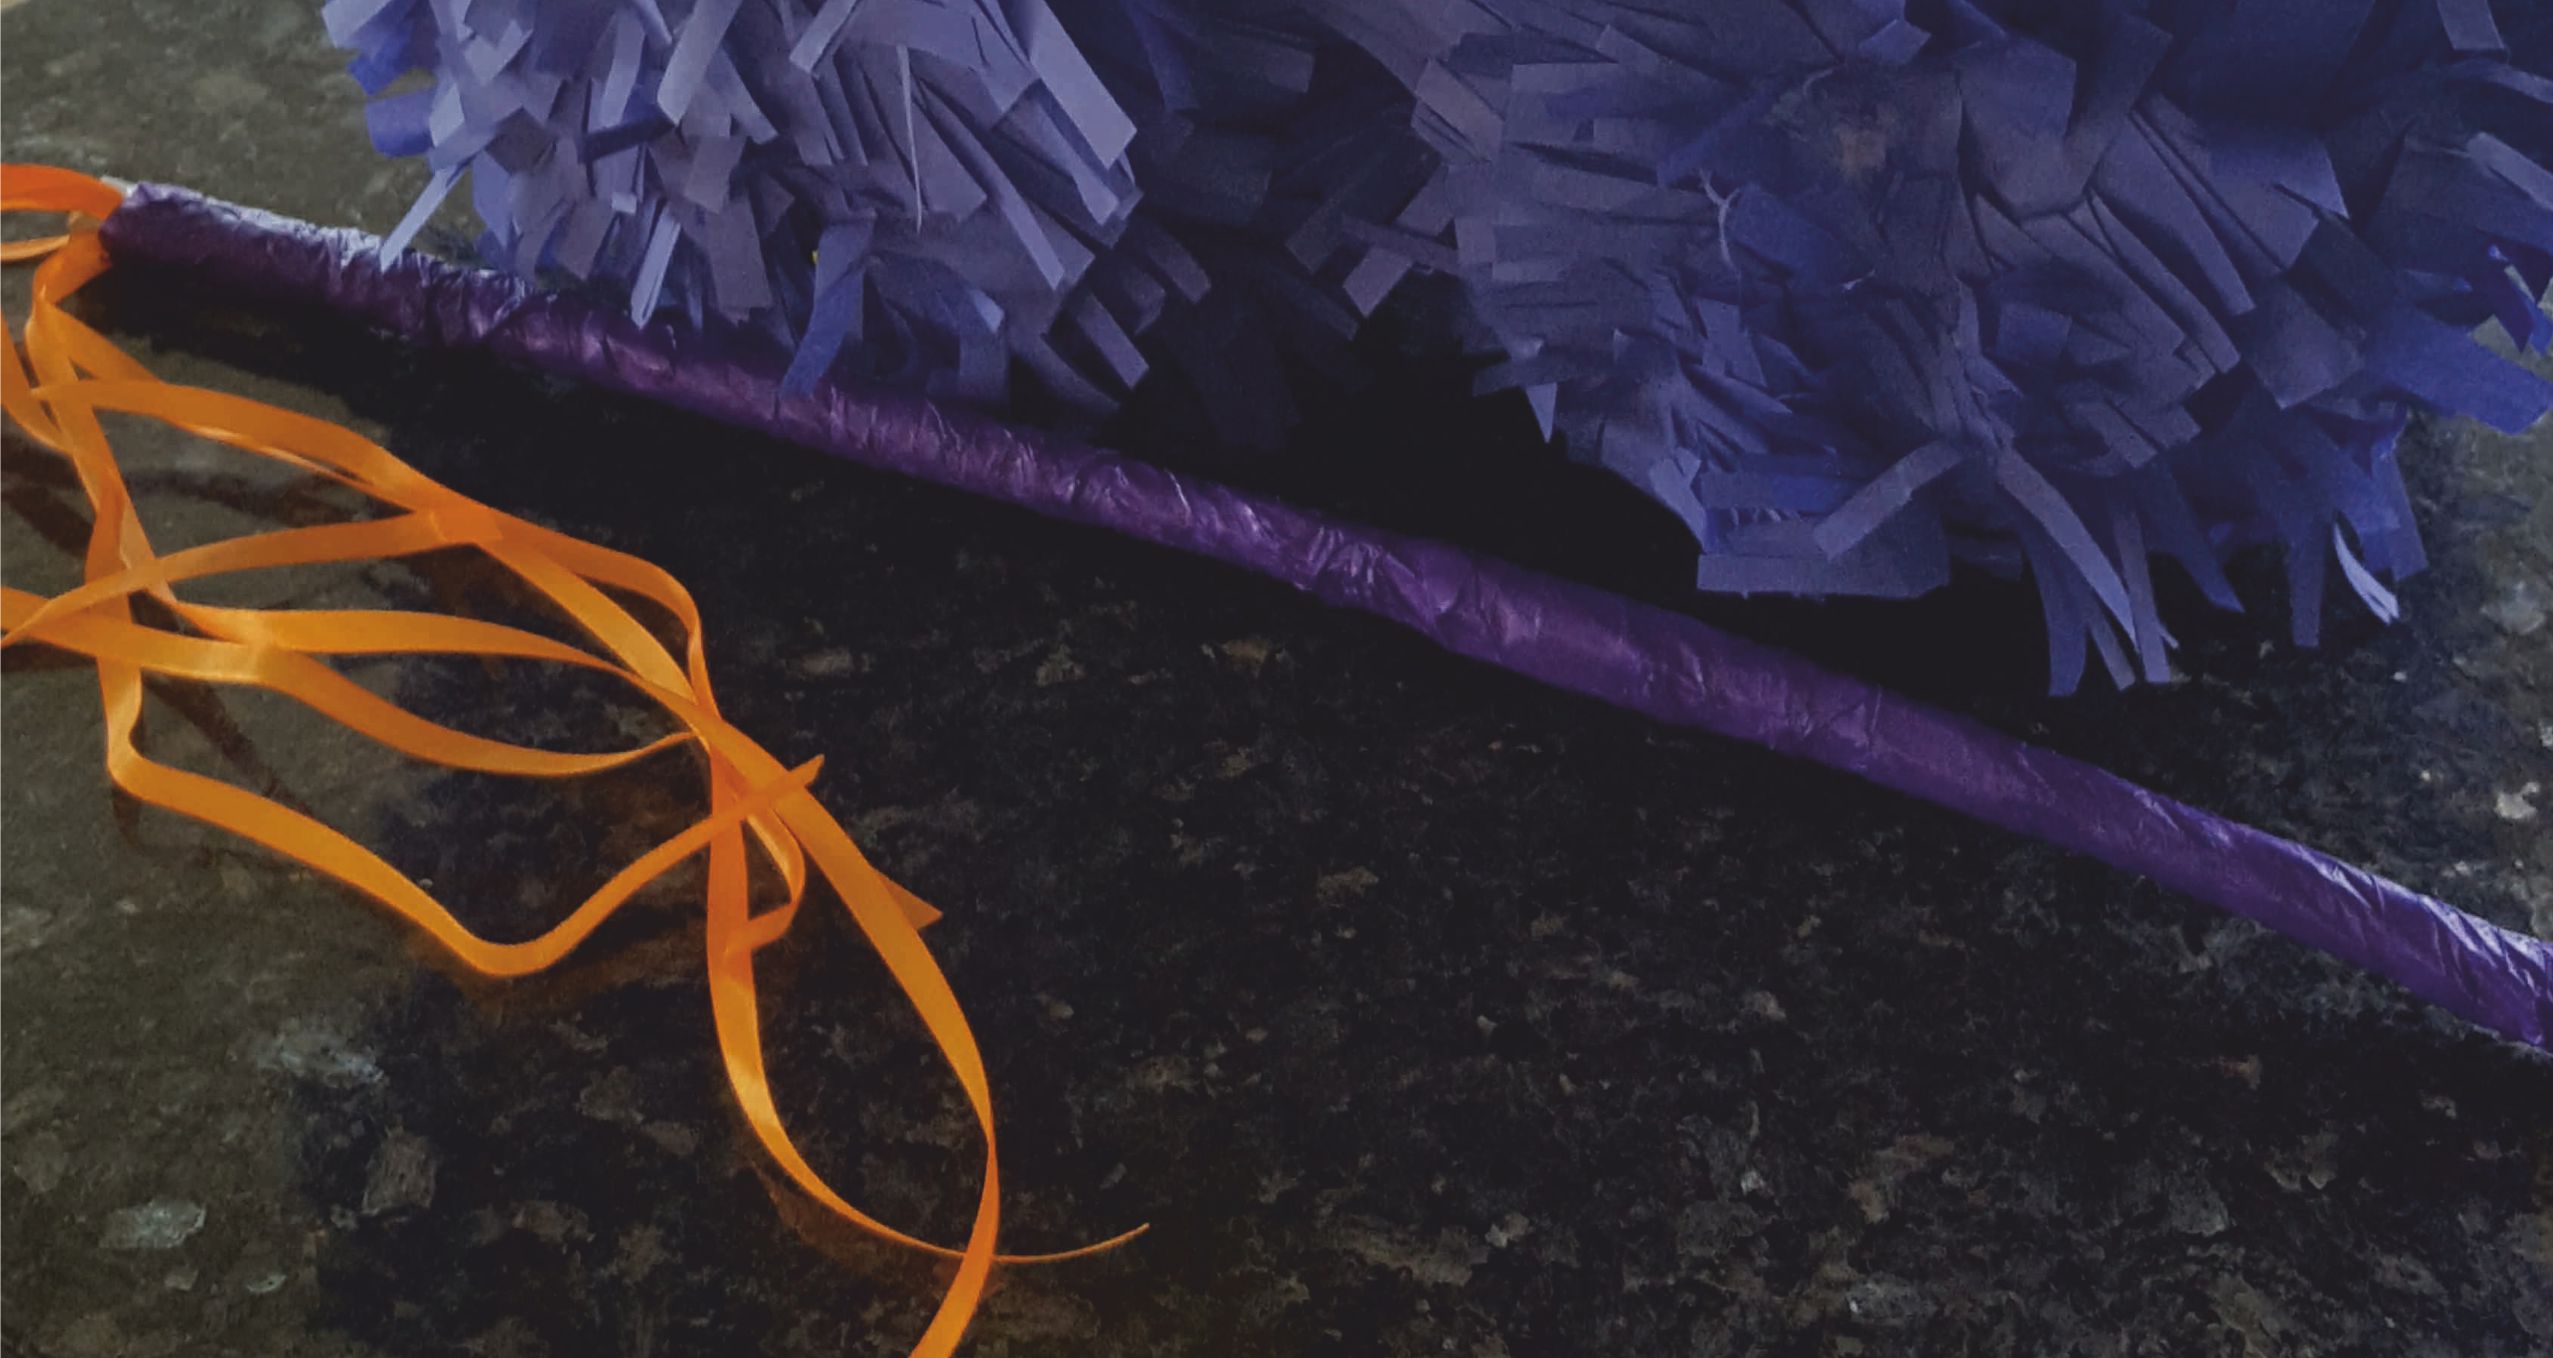

I made the piñata stick using orange ribbon, a bamboo stick and purple tissue paper decoupaged onto the stick.


Leave a Review
You must be logged in to post a comment.