- August 24, 2020
- 2 Like
- 0 / 5
- 4,927 Total Views


- Prep Time5 min
- Total Time20 min + 12 hour to dry
These best out of waste shell and sand frames are beautiful, decorative and original. And kids can do them all by themselves!
I have tried making them with a 2-year old with great success (though I helped with the glue for that one). The one in the video and in this post is made by my 4-year old by herself. I helped to wipe off the excess glue and general guidance (otherwise she would surely have tried to lift the frame to see her work at some point, only to have it all fall down in a horrible gluey-sandy mess)
I recommend letting the child do the frame in their own way and in their own design. It doesn’t matter that they want huge seashells only and that they don’t fill out all the space. My kids have made them in many different ways -with only HUGE seashells or only tiny ones- and they have all turned out beautiful.
Keep a newspaper or a plastic mat underneath to help clean up the sand easier afterwards. Or if possible, do this project in the garden. That certainly takes some of the tension away.
I usually try to use an old frame where the paint has peeled off or has gotten scratched in some way. The frame used here had a big scratch on one side and came free with our car (with a rather bad photograph inside) If you don’t have any old ones handy, www.amazon.in has a lot of frames available for less. Like this one where you get 6 frames for Rs600.
My kids always collect shells whenever we visit the beach, but if you are living further away from the beach and don’t have a small stash of seashells hidden away at home, then I recommend buying a craft packet in your local store or on amazon.
Ingredients
Directions
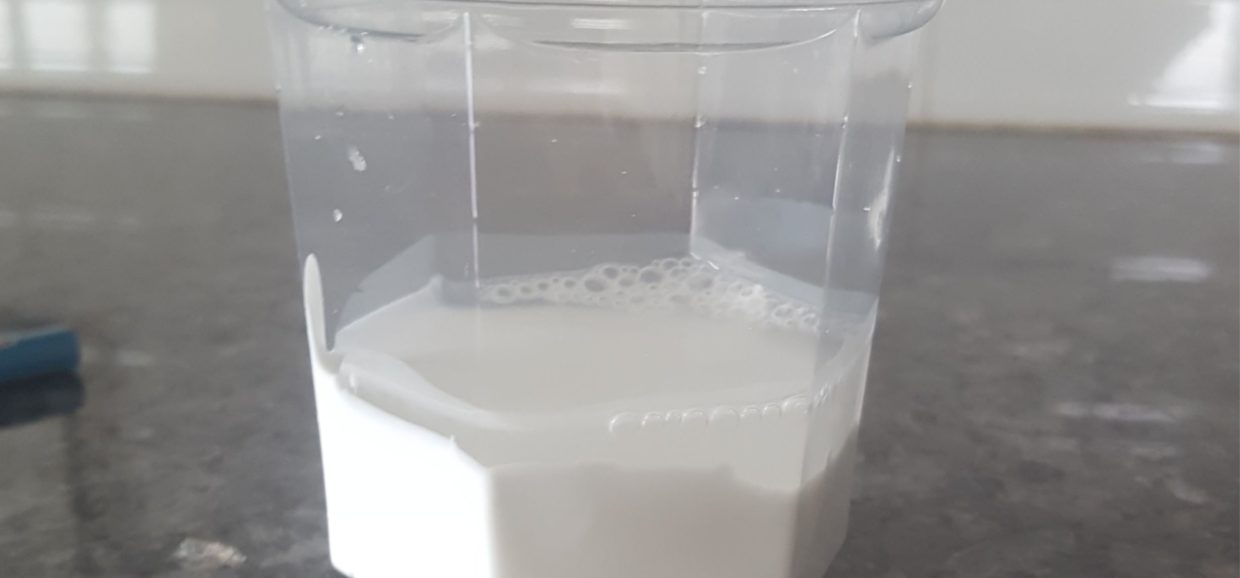

Mix the glue with a little water, approximately 4 glue to 1 water. Keep the seashells and sand ready.
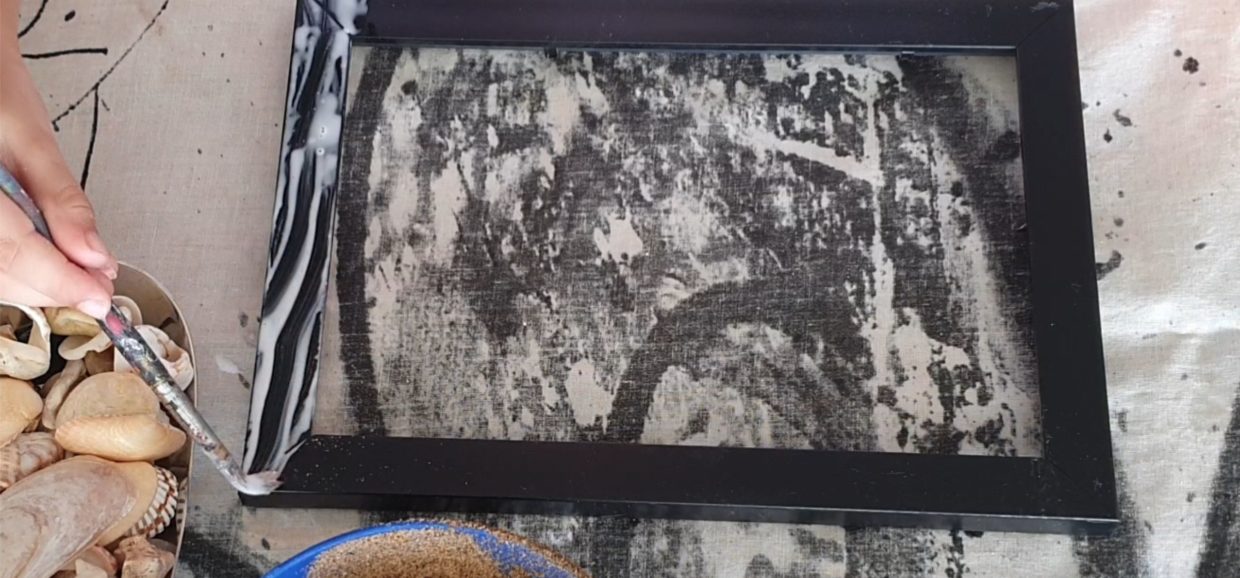

Remove the picture (if any) and the glass. Start by putting glue on to the frame with the brush.
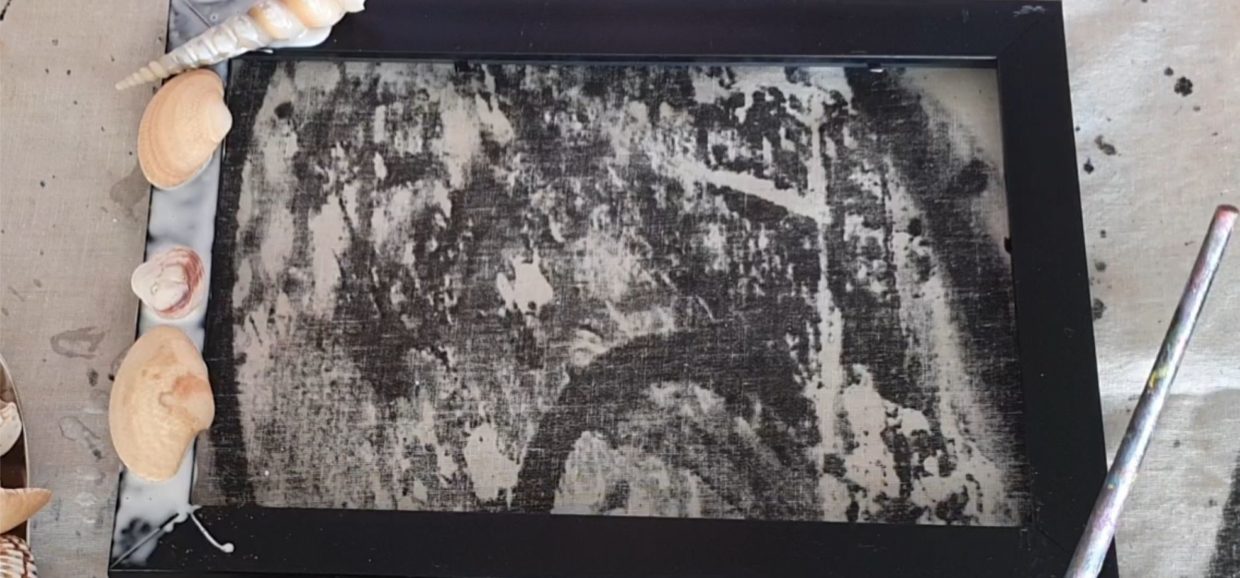

Add the seashells in any order and any way you want. Smaller children tend to fit as many big ones as possible. That is not problem. They WILL stick too and the big ones end up looking great when done.
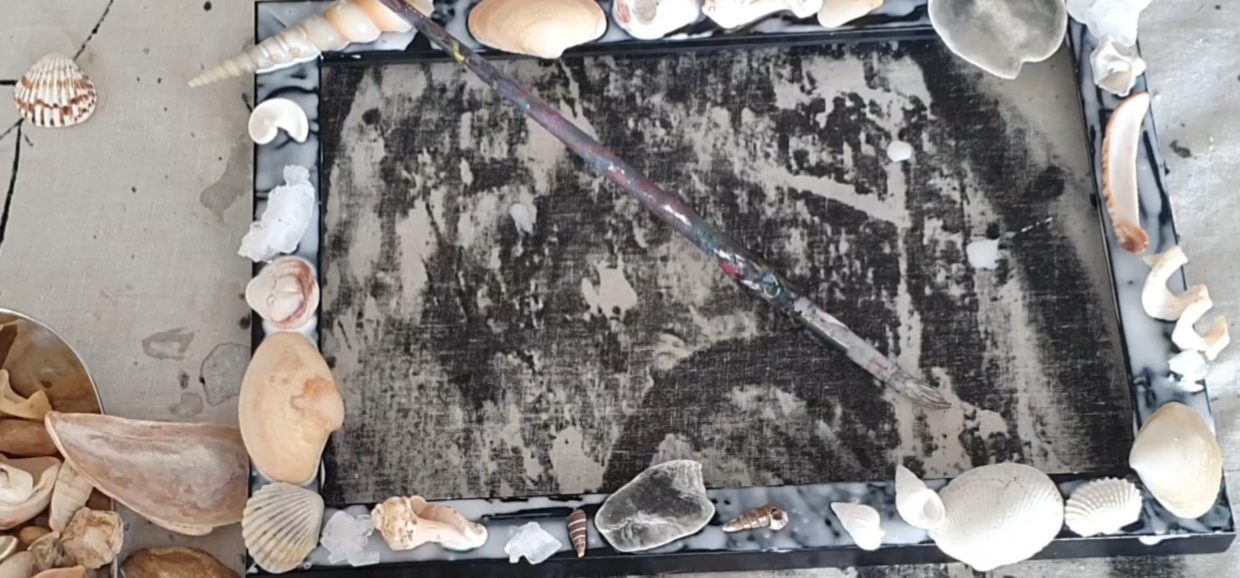

Continue with adding glue and seashells to the entire frame. Once satisfied with the seashells, cover all the gaps with glue. Depending on the age of the child, you might need to help here to make sure all the spaces are covered.
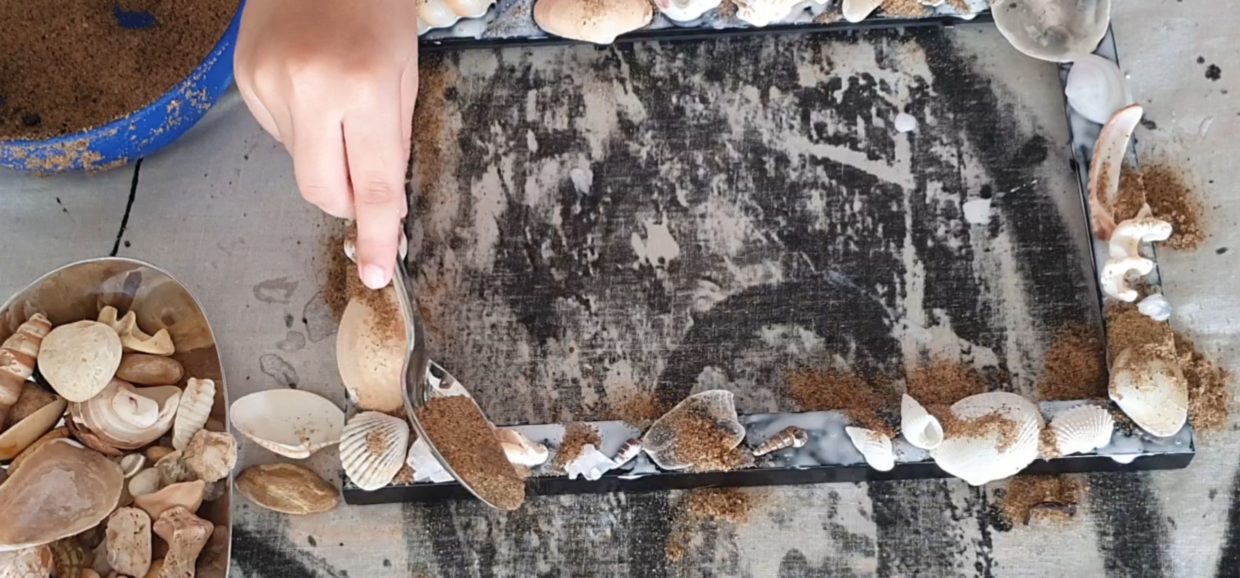

Spread the sand over the seashells and glue. It’s easier for a child to do with a spoon. And less messy too.
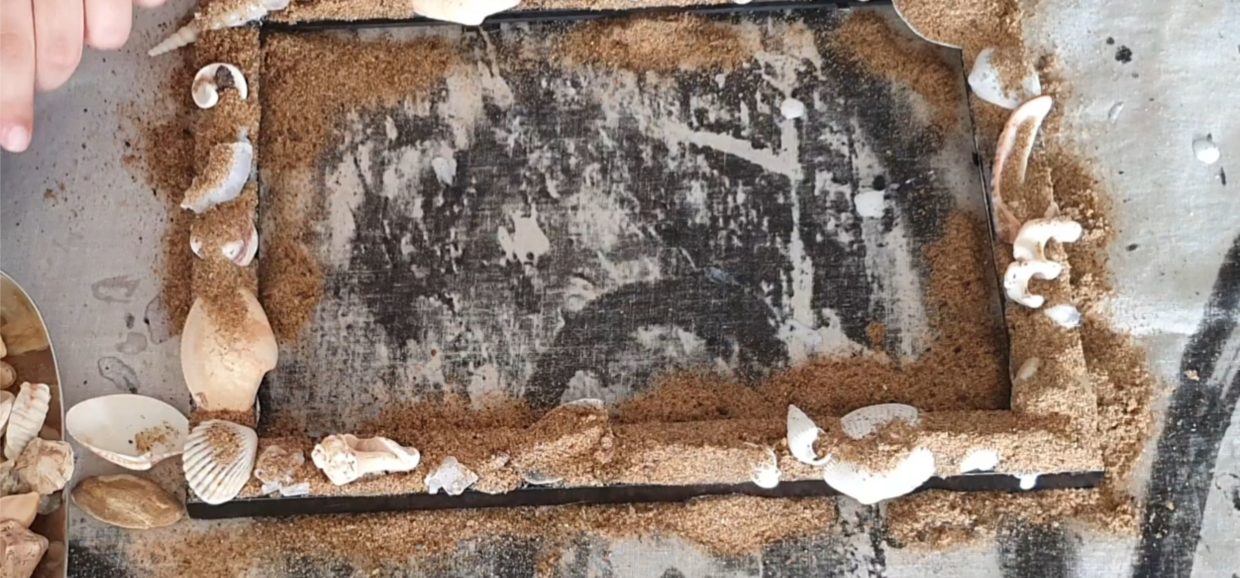

Continue until all the glue is covered with sand. Don’t try to brush off the sand now or tilt the frame as all the seashells will fall and it will become a gooey sand mess.
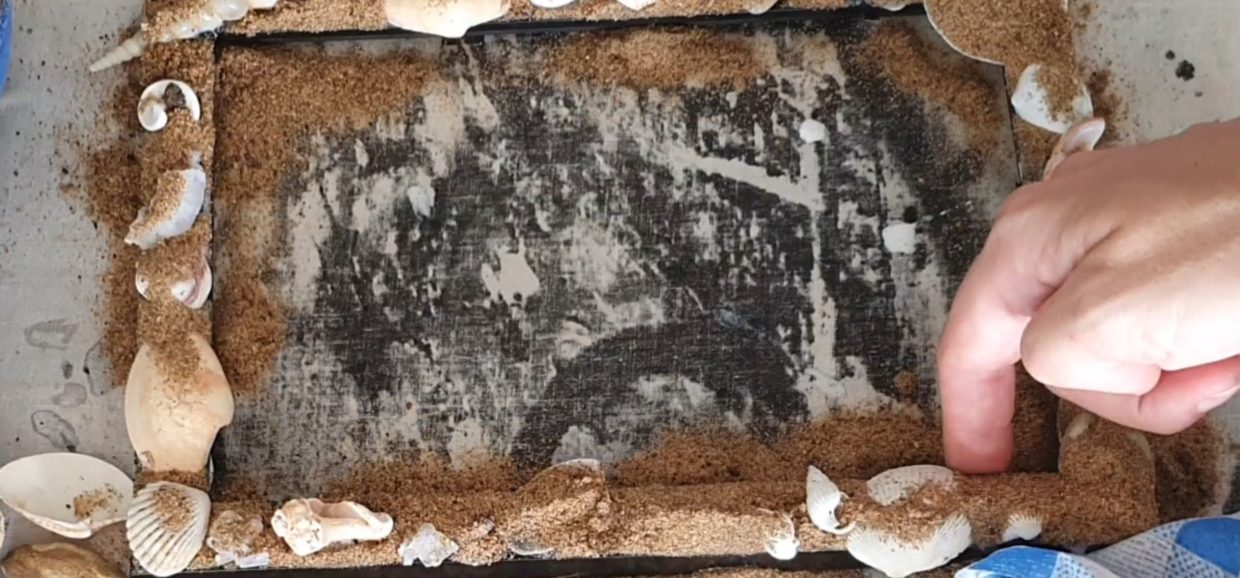

Wipe off any glue that has trickled down the sides with a disposable cloth or paper towel. You can see the blob I am wiping in the previous picture. Leave to dry for min 12 hours.
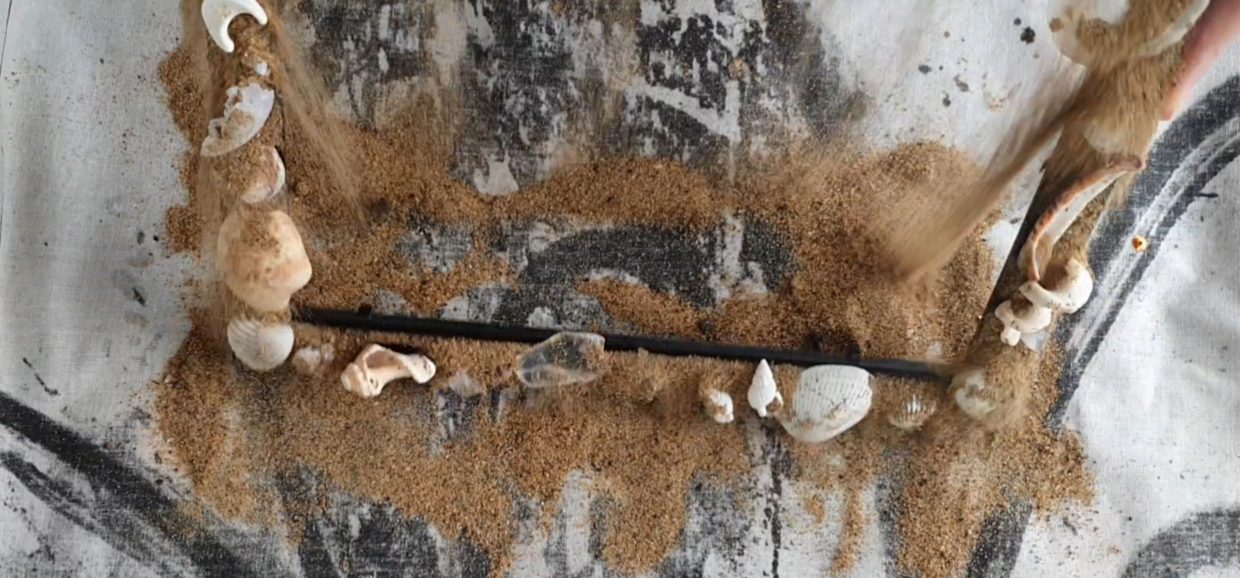

After drying, lift the frame and all the excess sand will fall down.
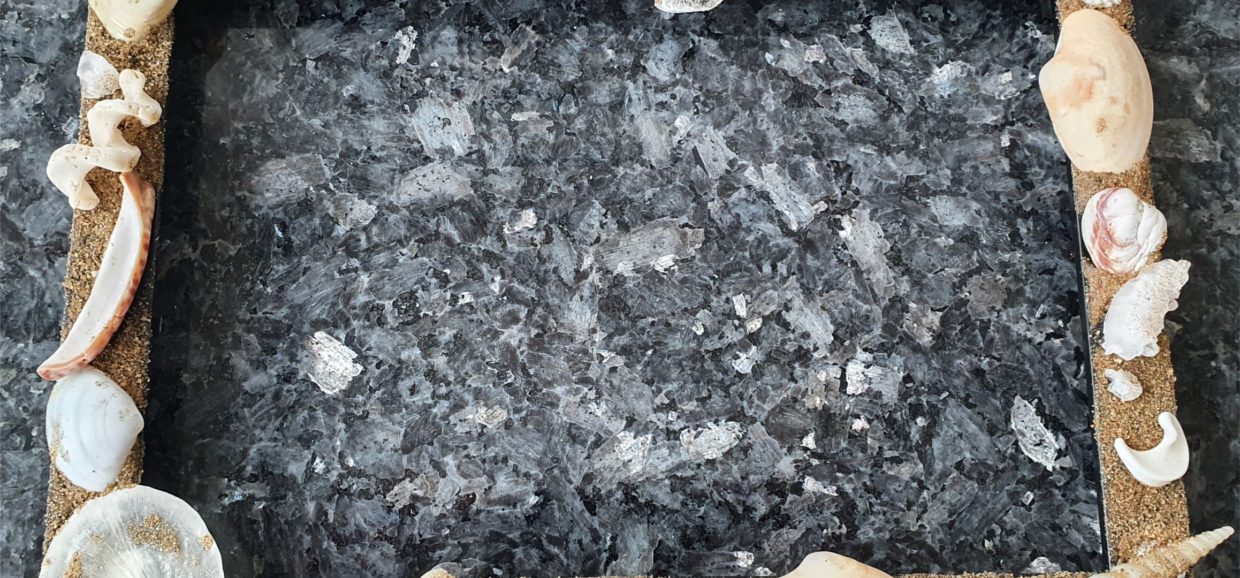

And your original seashell frame is ready!
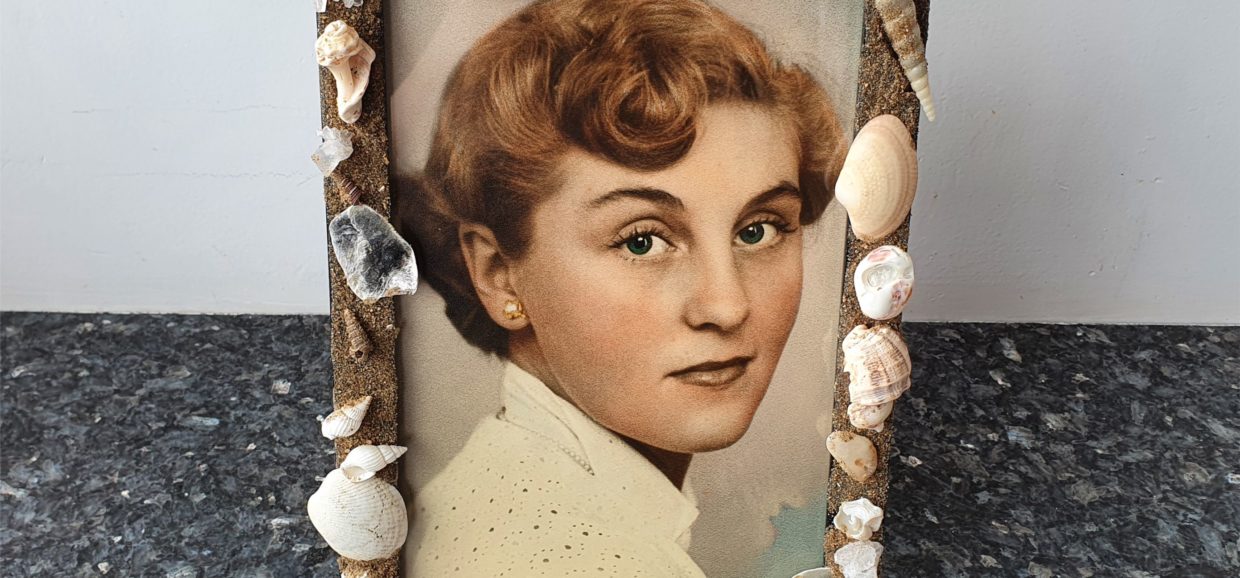

Add the glass and picture. This one is of my beautiful grandmother. What better way to display her picture in our house then in a frame decorated by her great-granddaughter? :-) Hope you enjoyed this little best out of waste project. Happy crafting.
You may also like
Shell & Sand Frame (best out of waste)
Ingredients
Follow The Directions
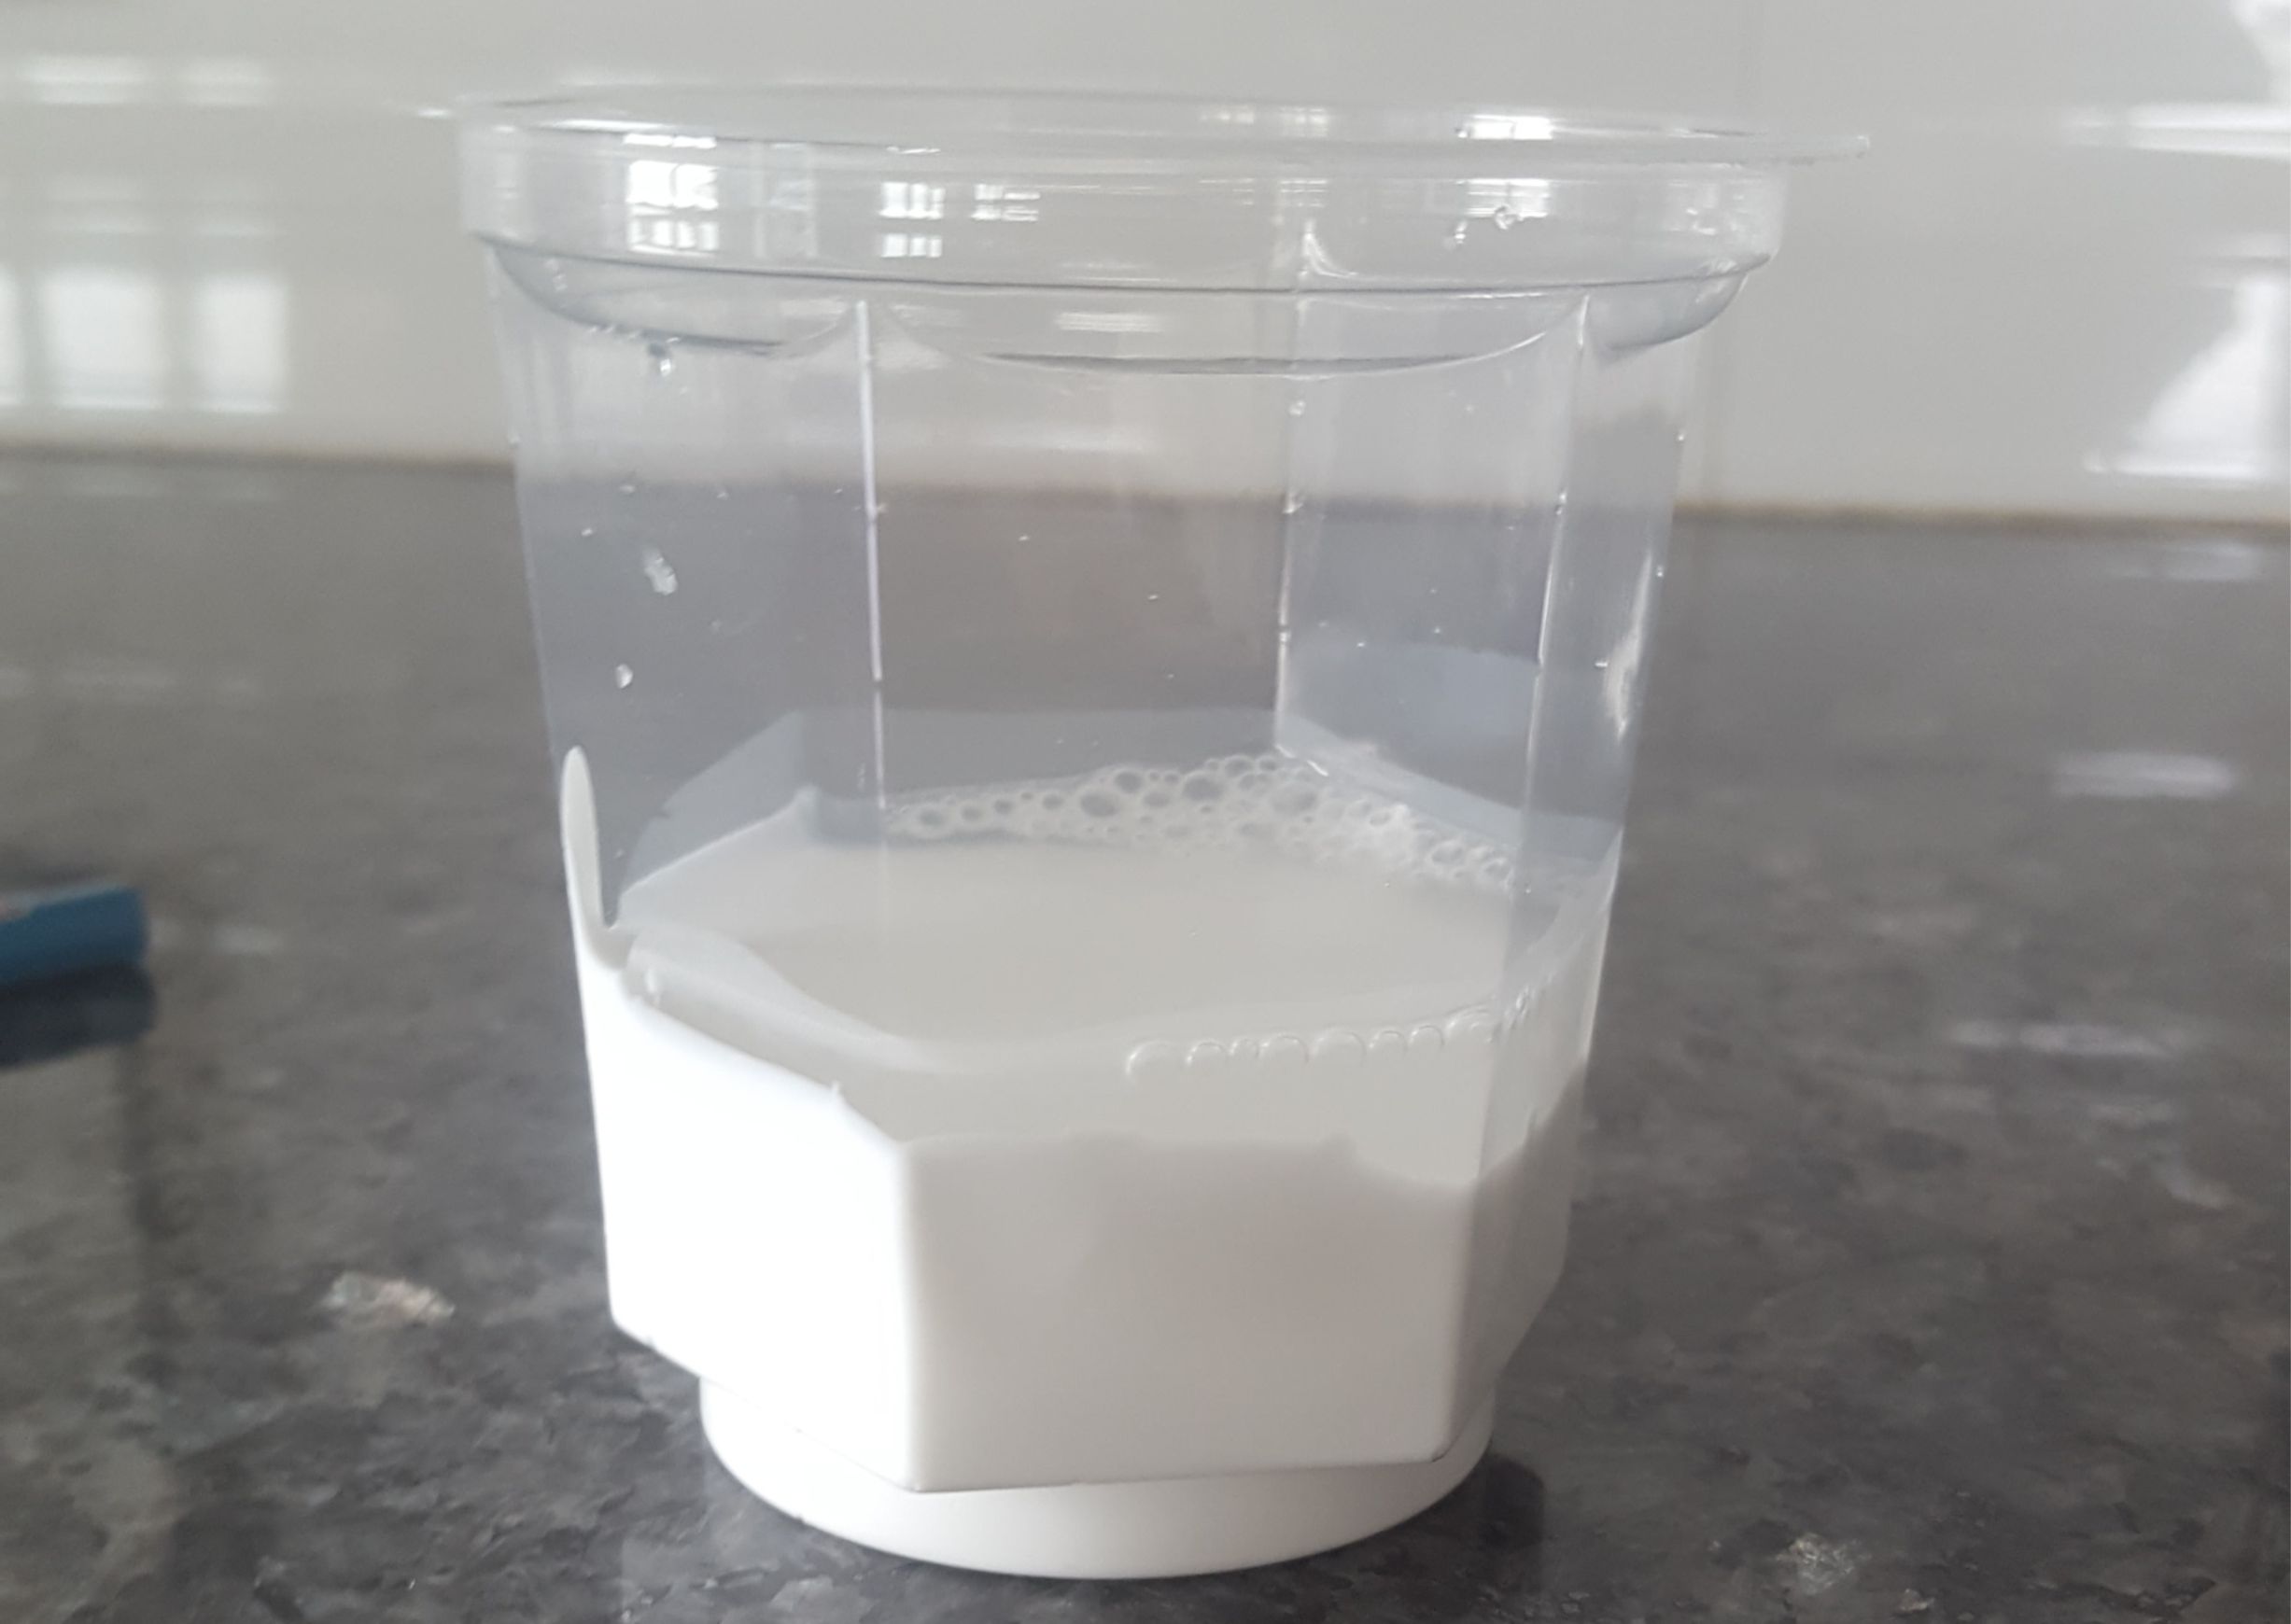

Mix the glue with a little water, approximately 4 glue to 1 water. Keep the seashells and sand ready.
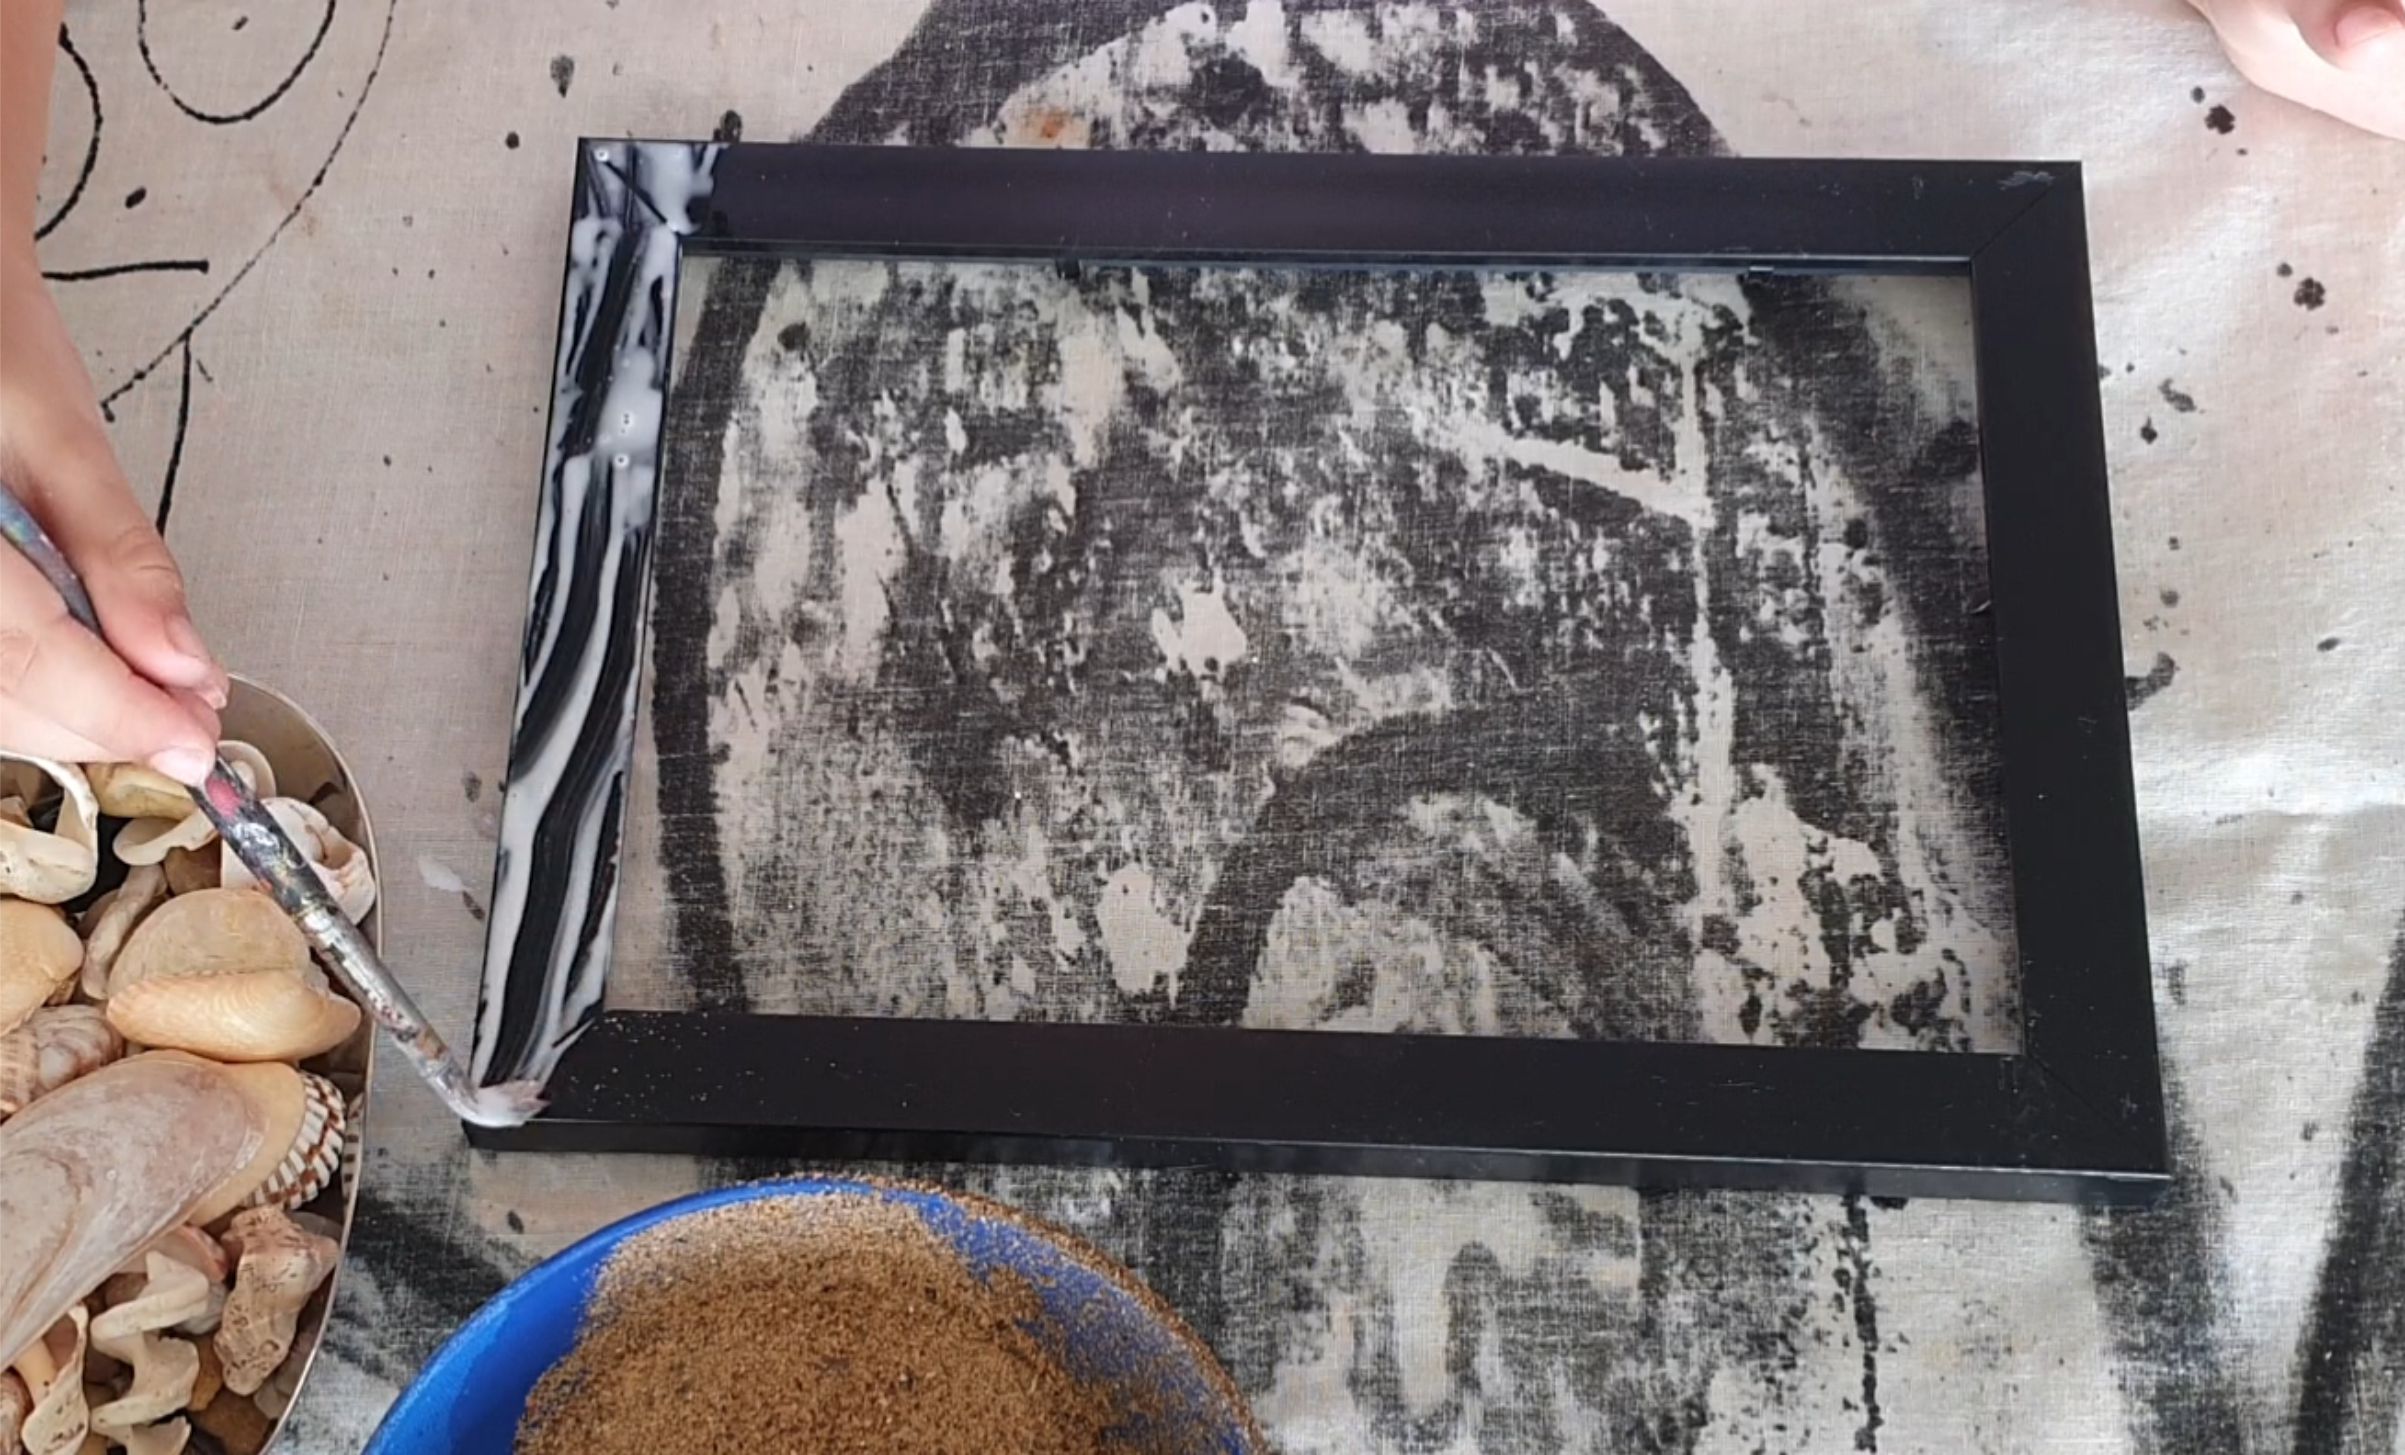

Remove the picture (if any) and the glass. Start by putting glue on to the frame with the brush.
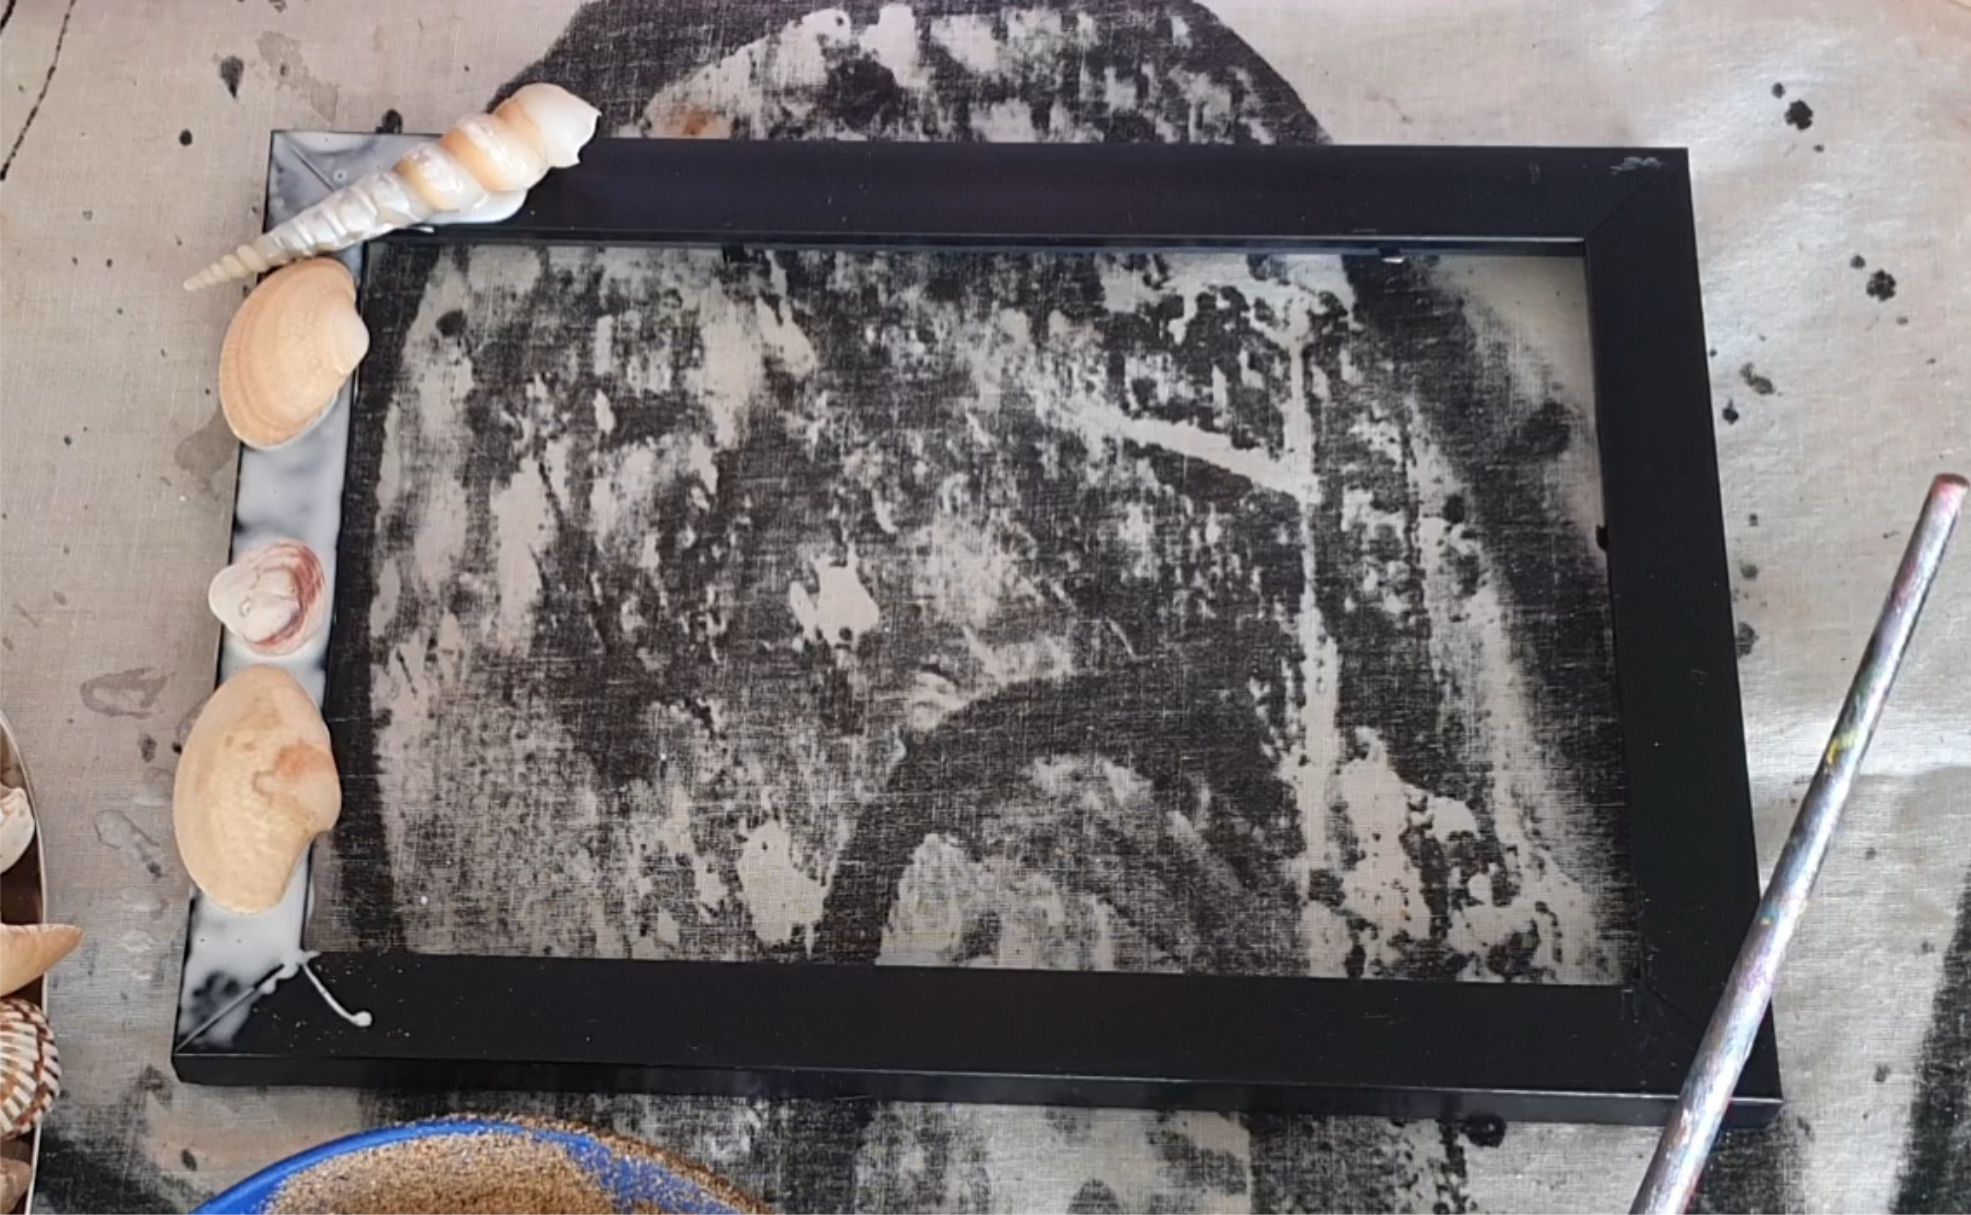

Add the seashells in any order and any way you want. Smaller children tend to fit as many big ones as possible. That is not problem. They WILL stick too and the big ones end up looking great when done.
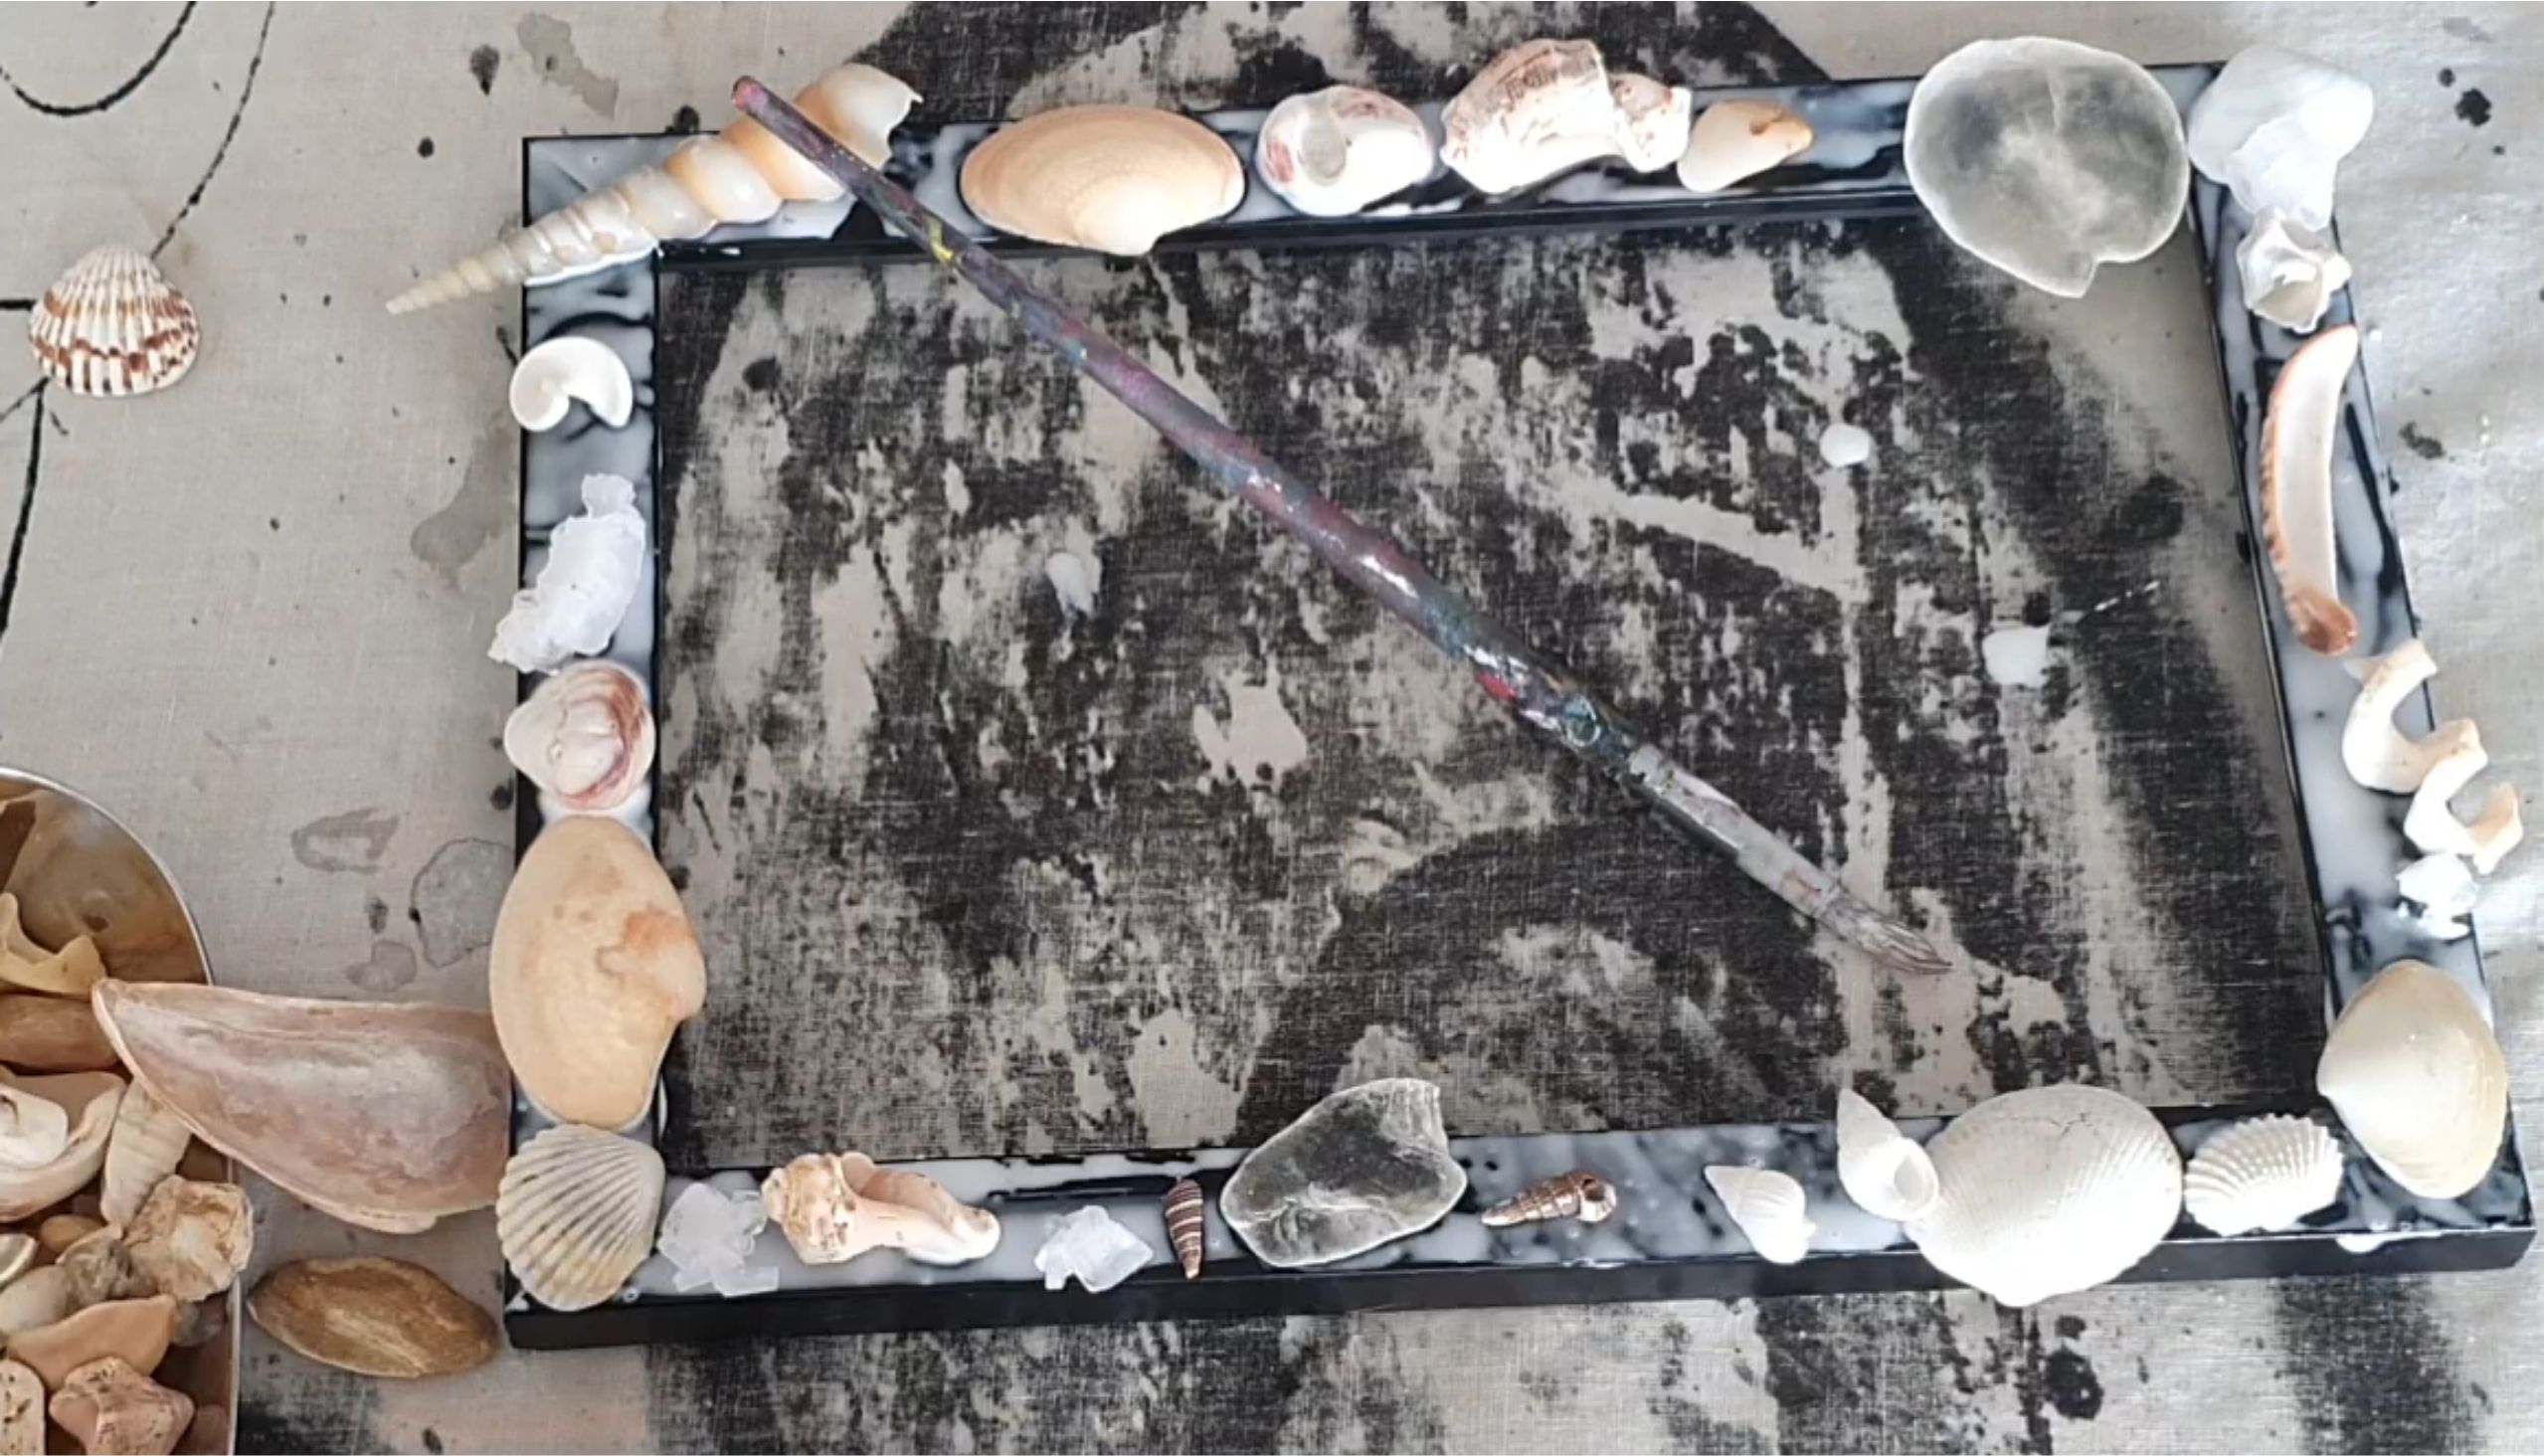

Continue with adding glue and seashells to the entire frame. Once satisfied with the seashells, cover all the gaps with glue. Depending on the age of the child, you might need to help here to make sure all the spaces are covered.
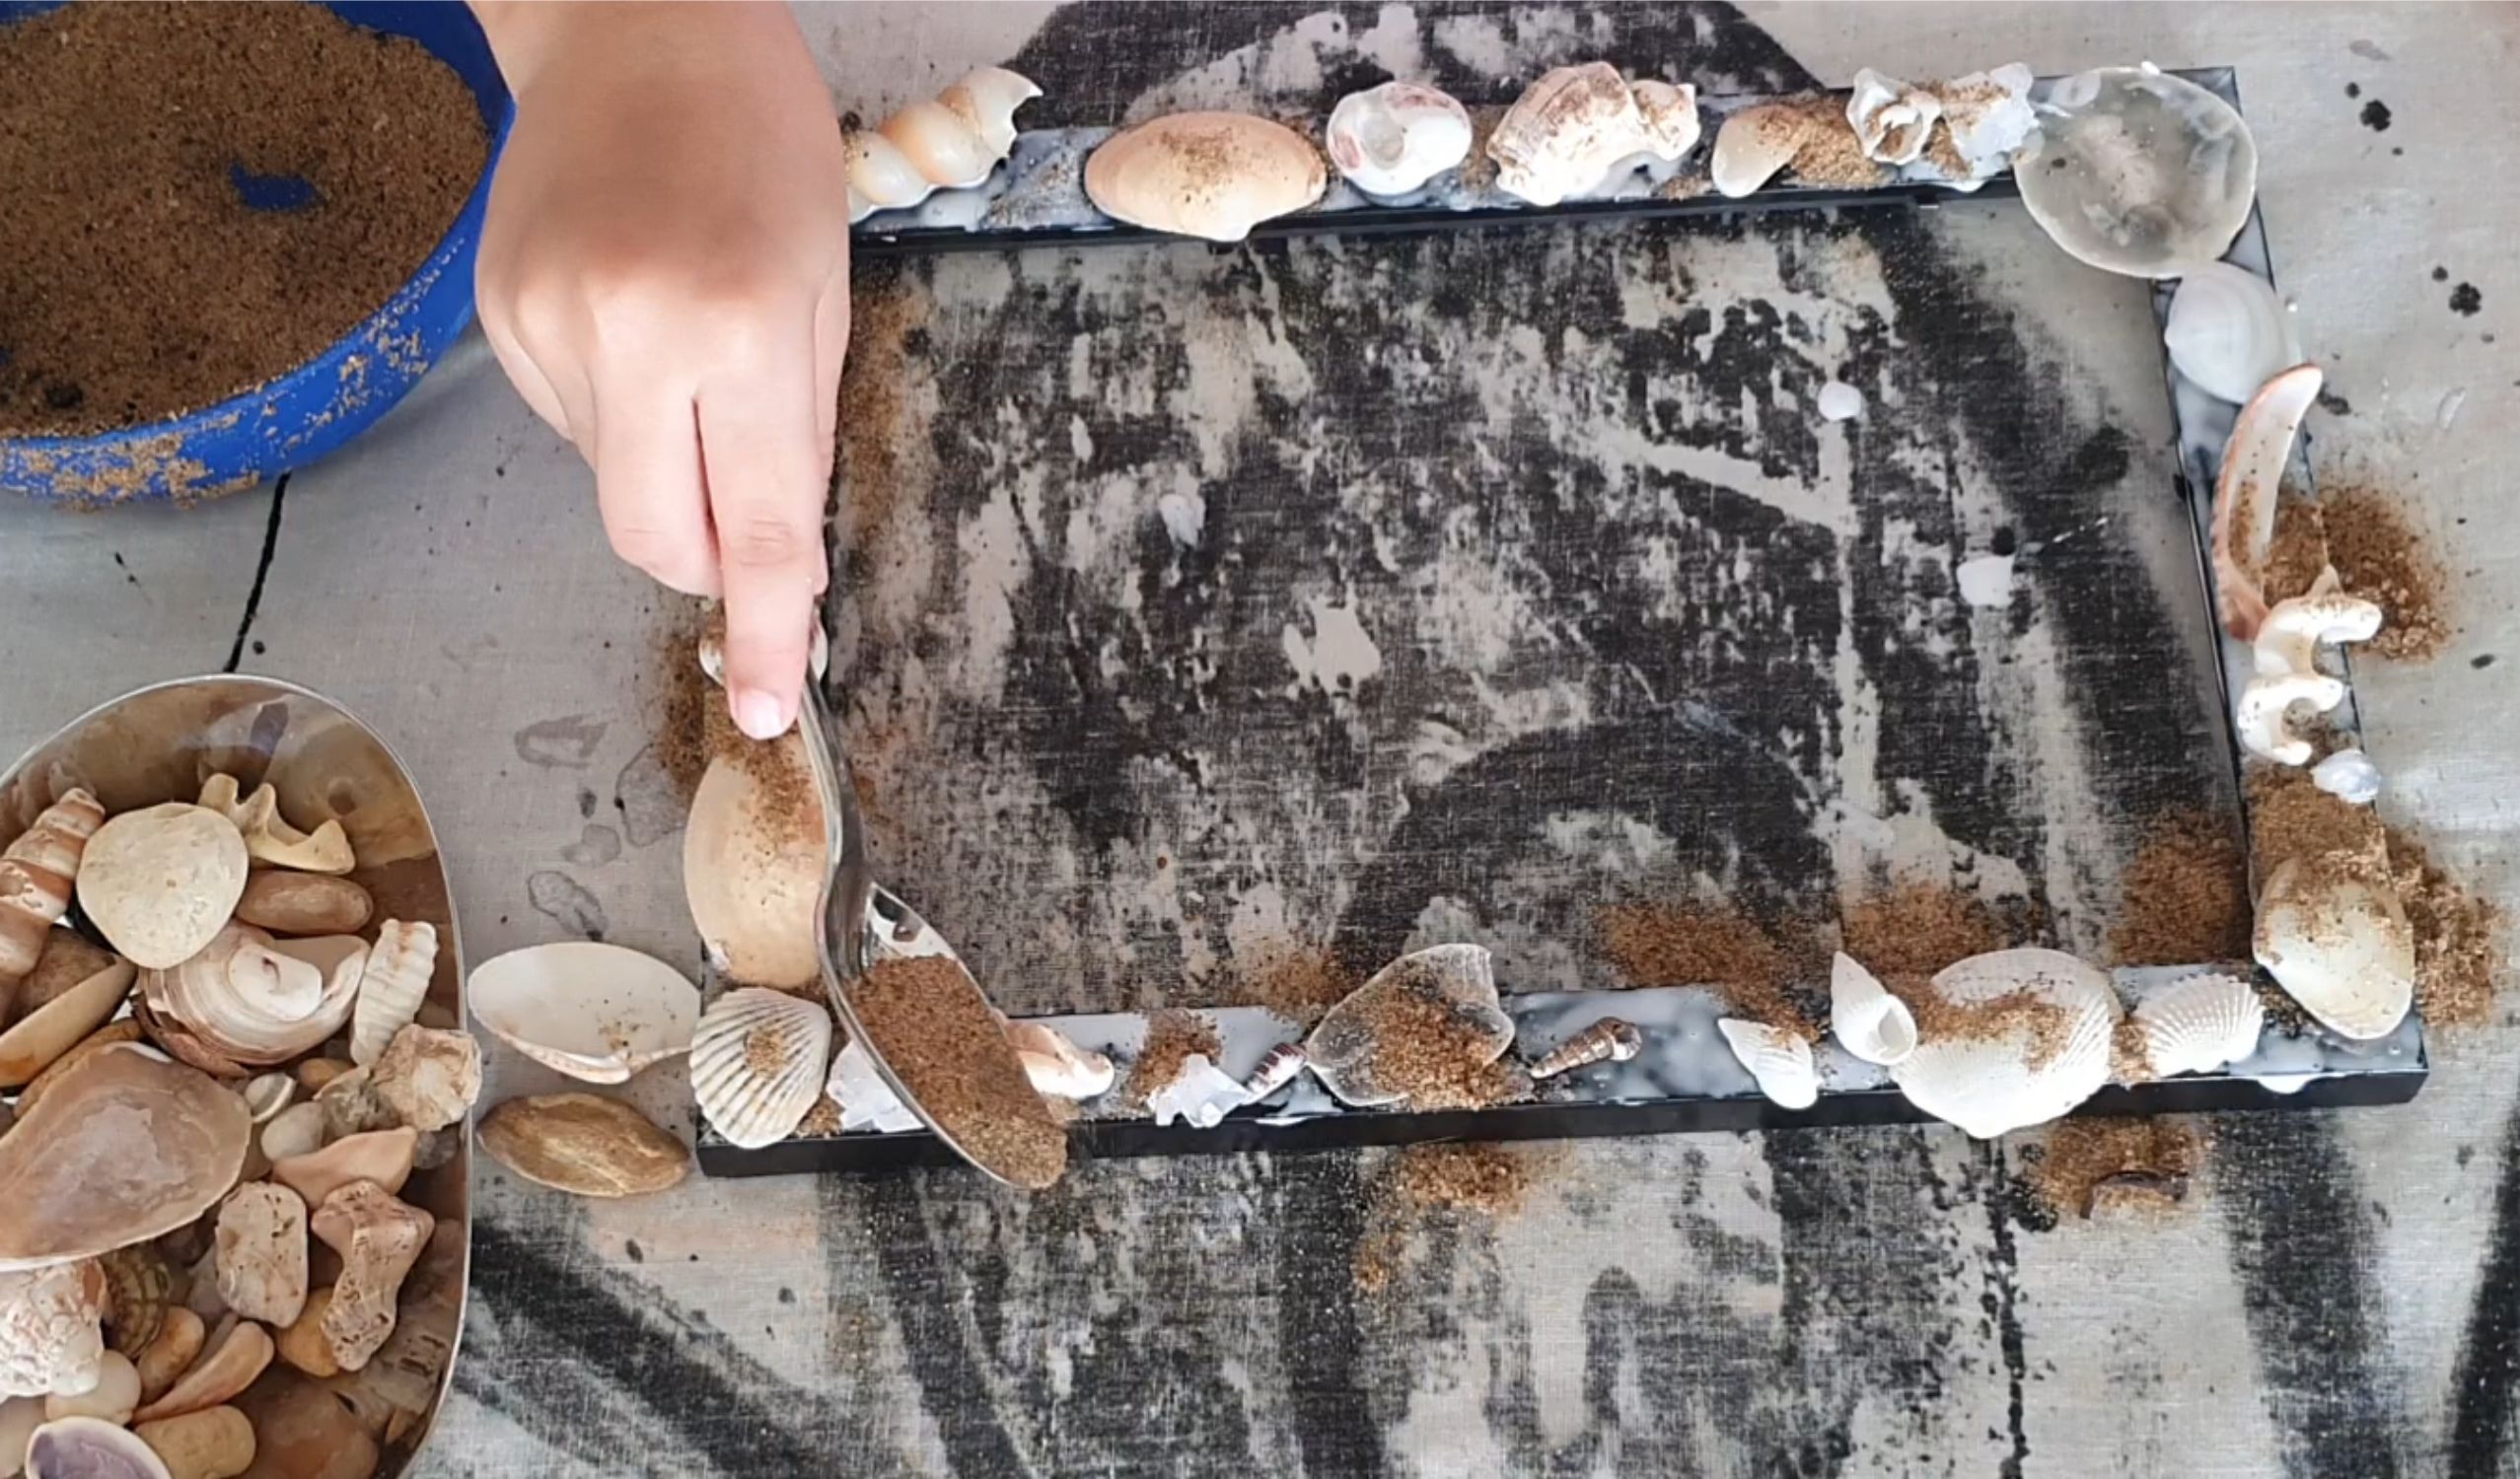

Spread the sand over the seashells and glue. It’s easier for a child to do with a spoon. And less messy too.
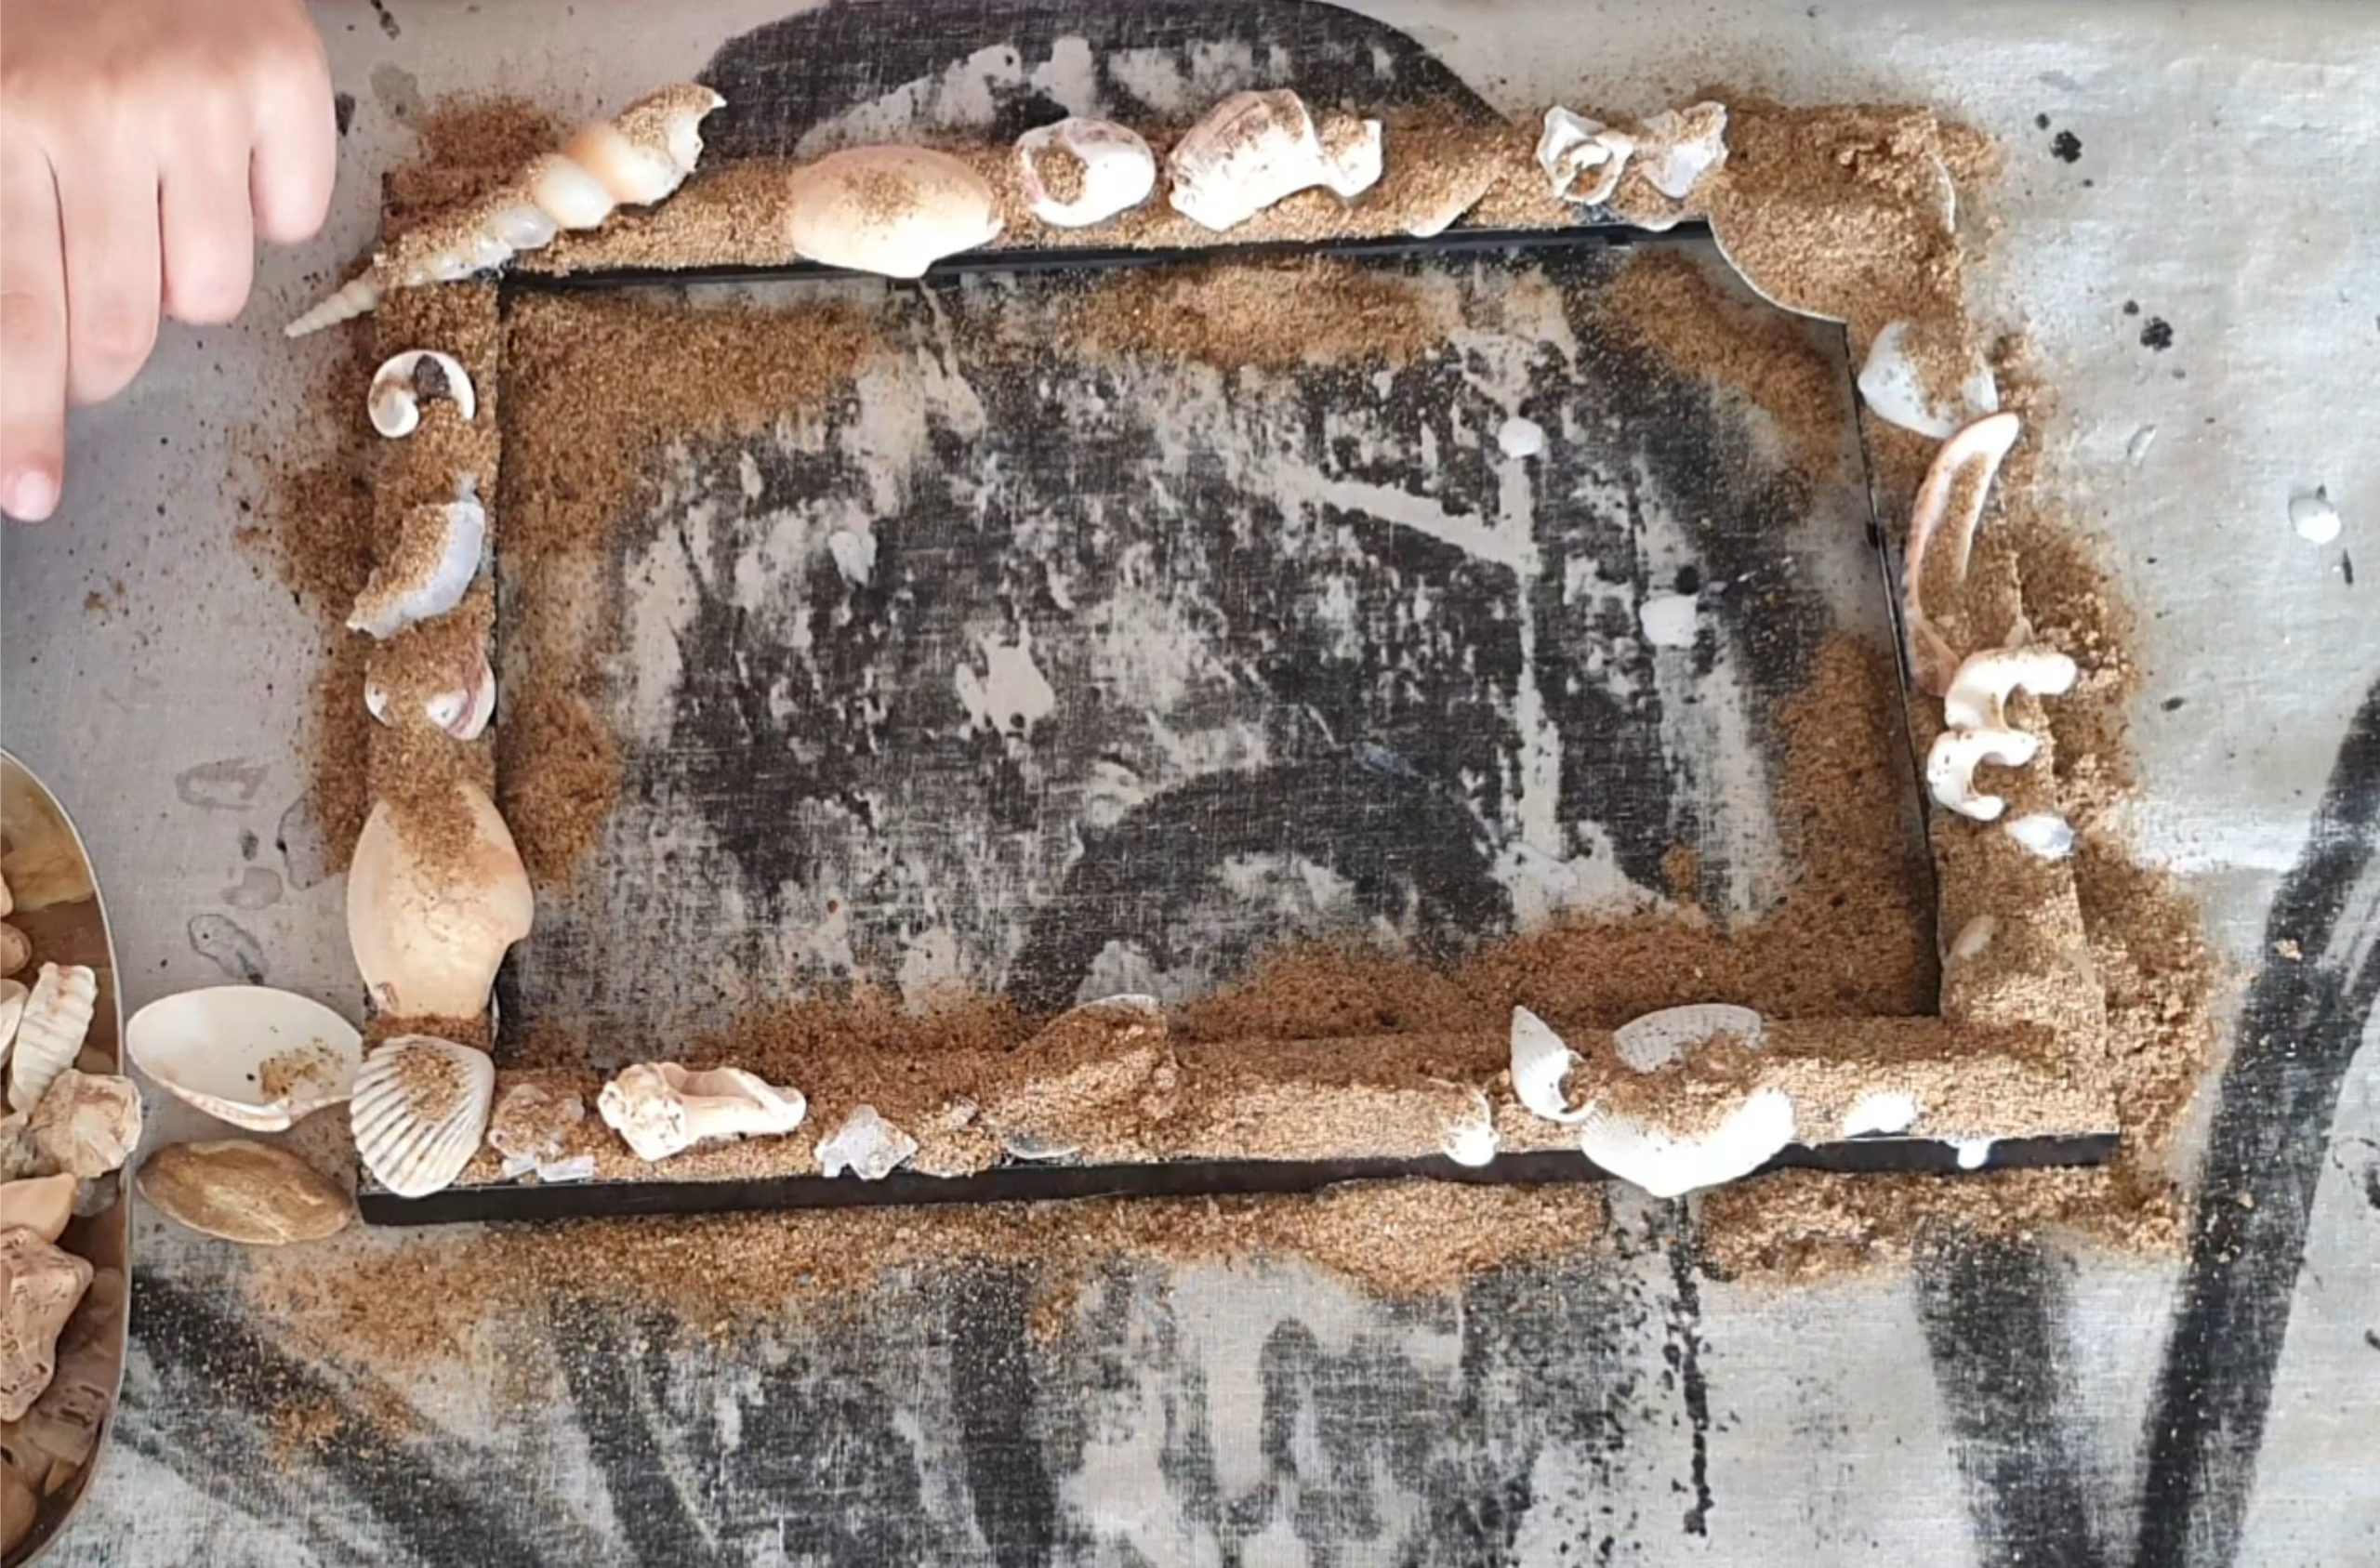

Continue until all the glue is covered with sand. Don’t try to brush off the sand now or tilt the frame as all the seashells will fall and it will become a gooey sand mess.
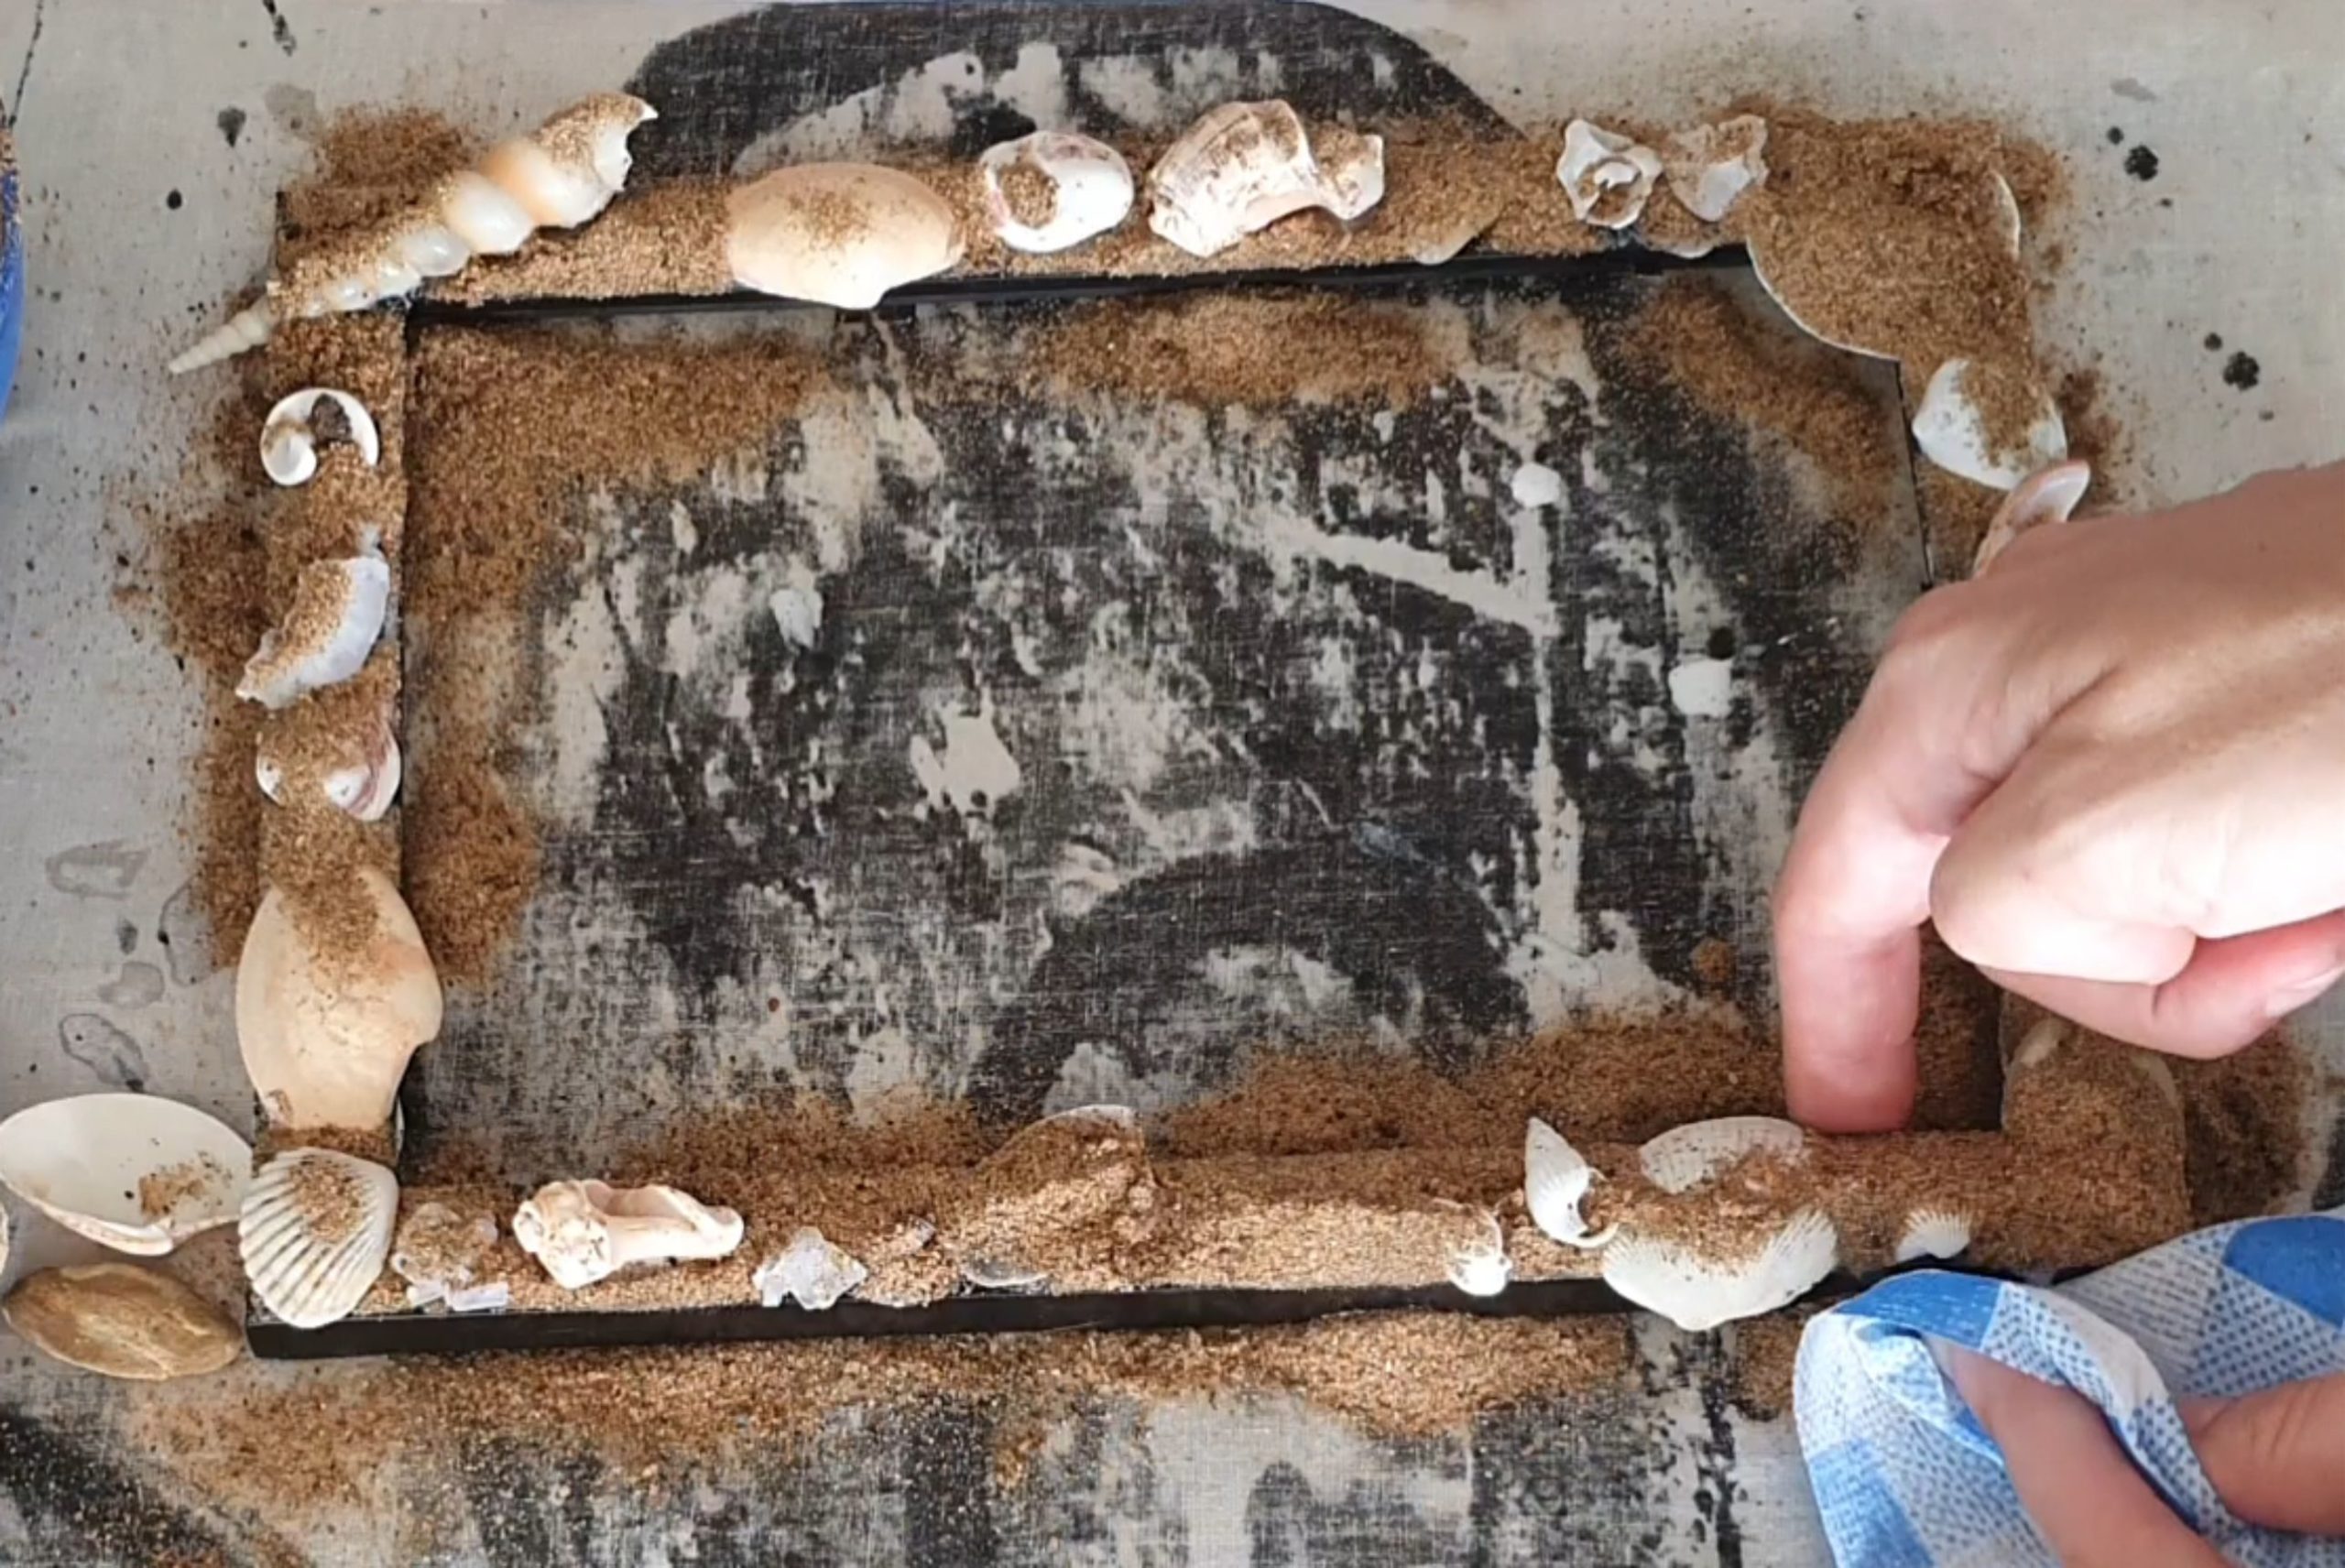

Wipe off any glue that has trickled down the sides with a disposable cloth or paper towel. You can see the blob I am wiping in the previous picture. Leave to dry for min 12 hours.
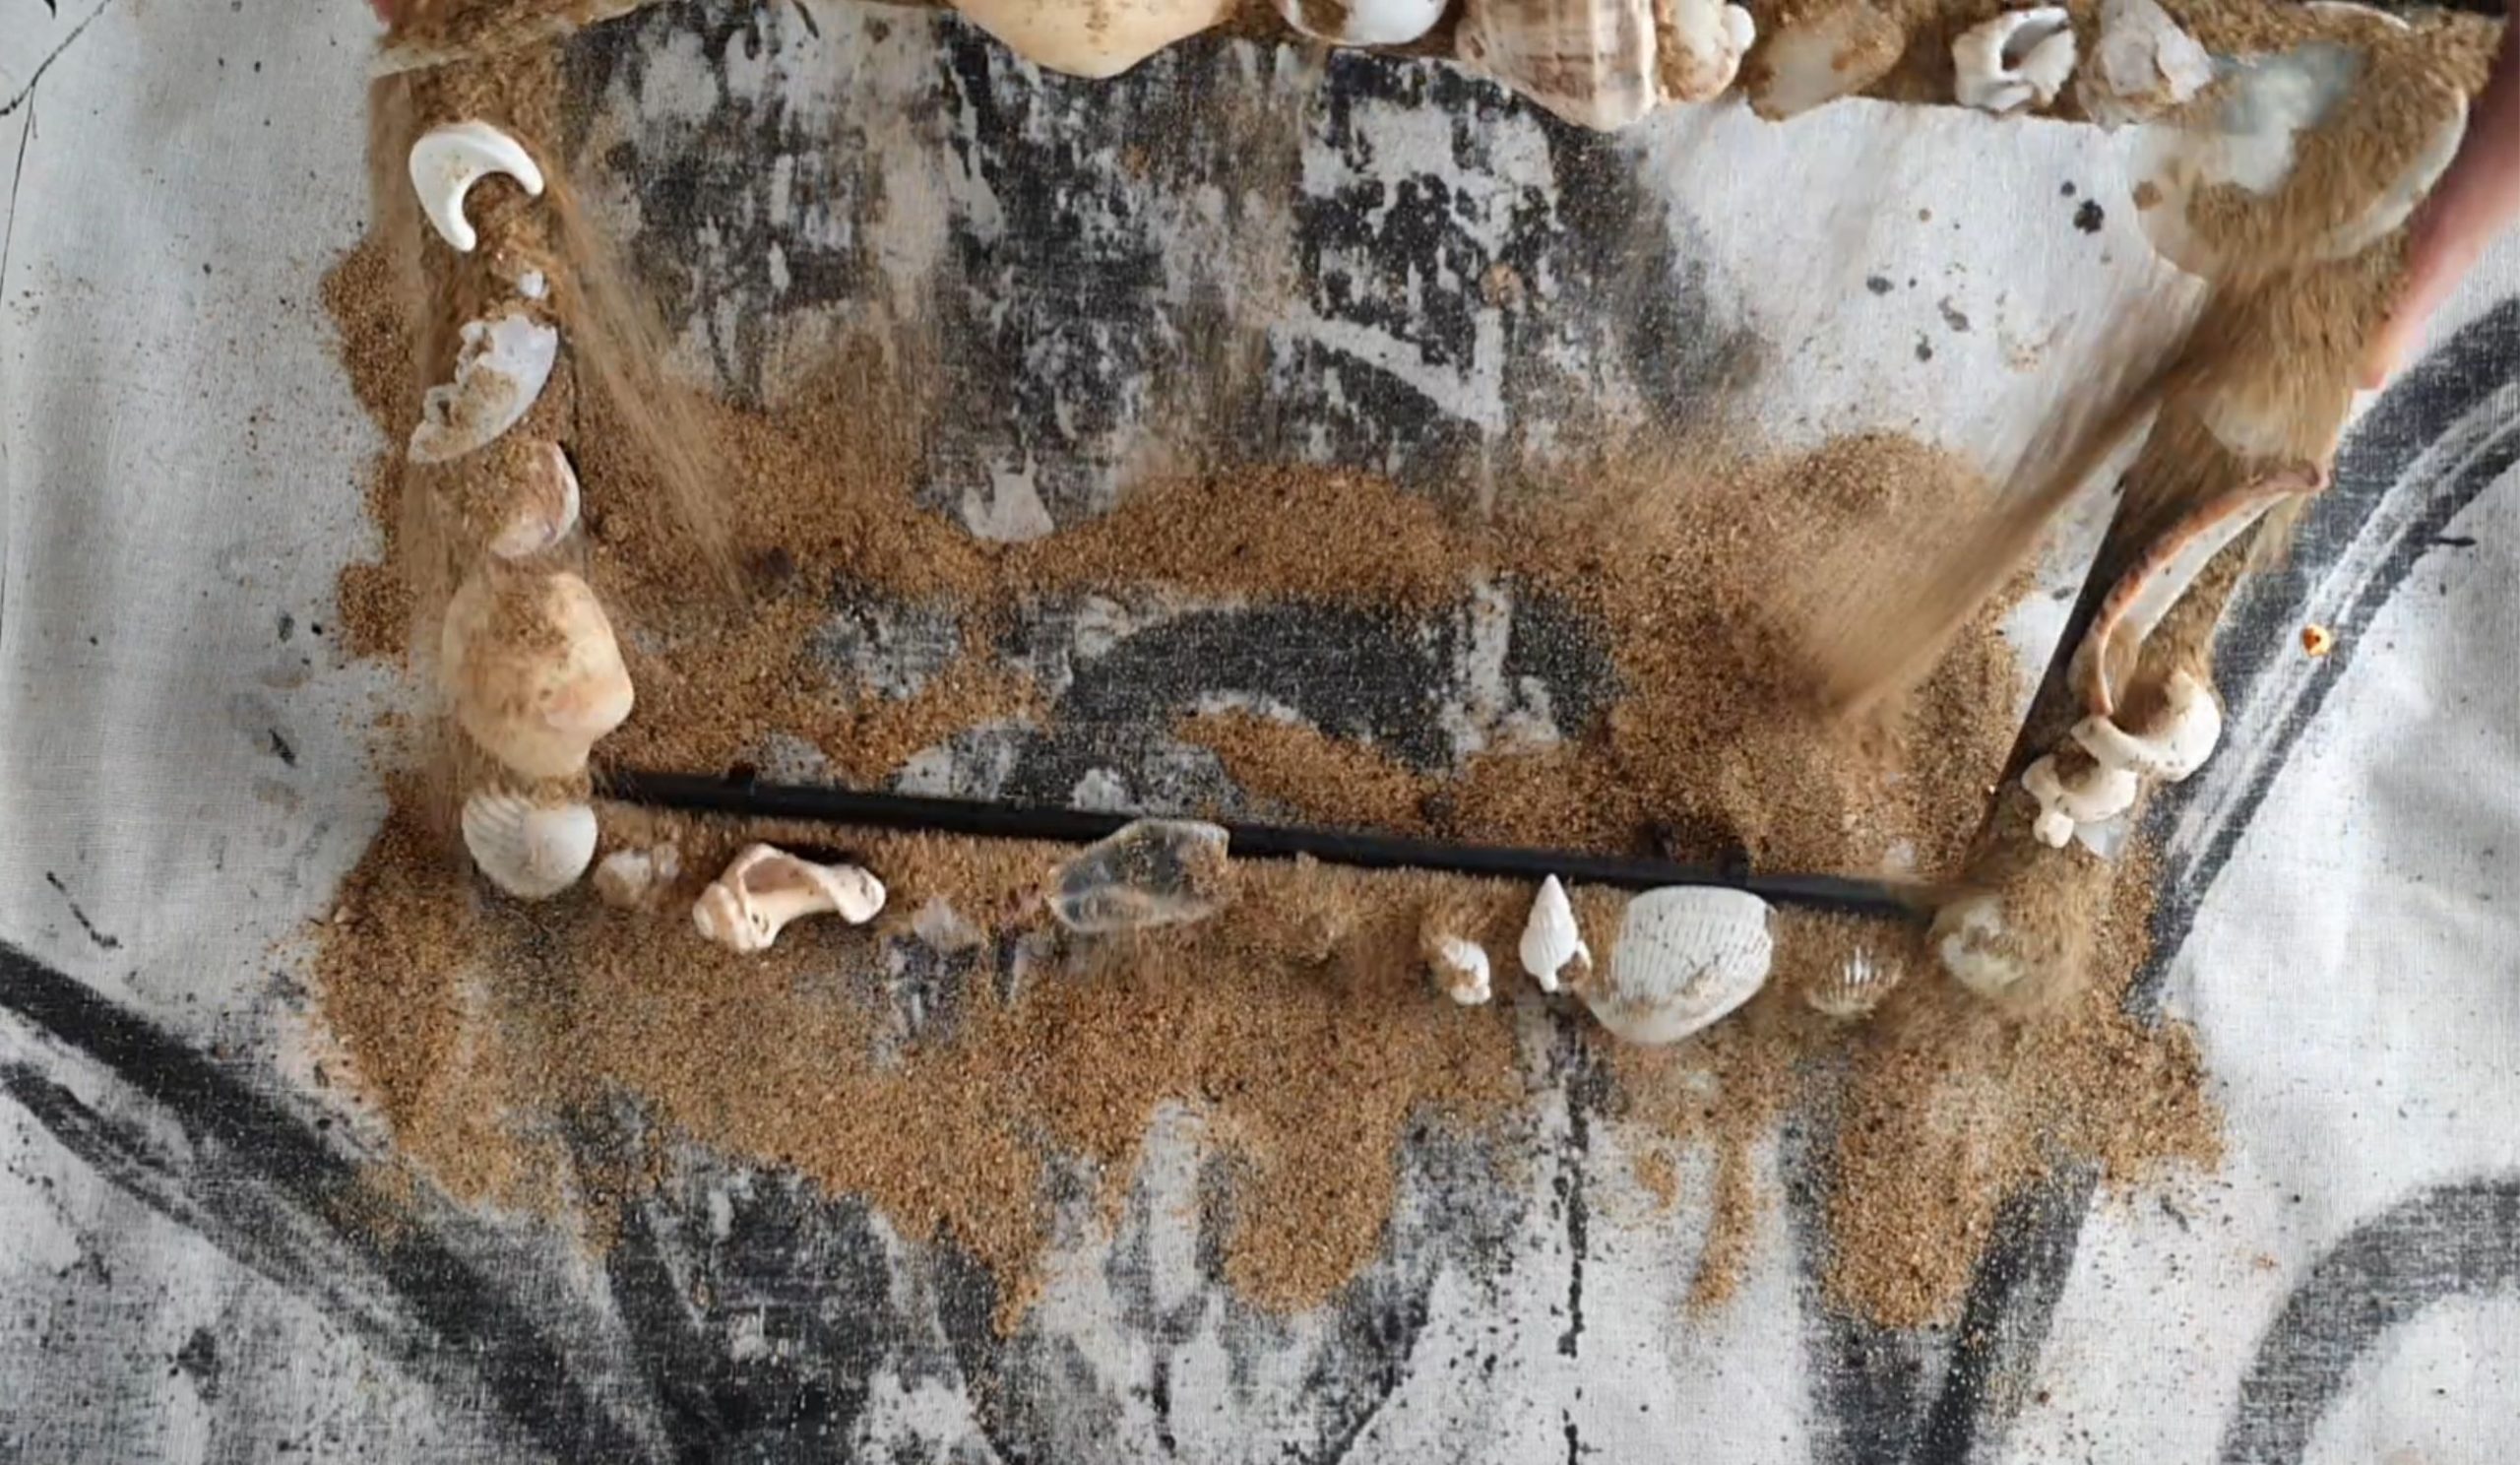

After drying, lift the frame and all the excess sand will fall down.
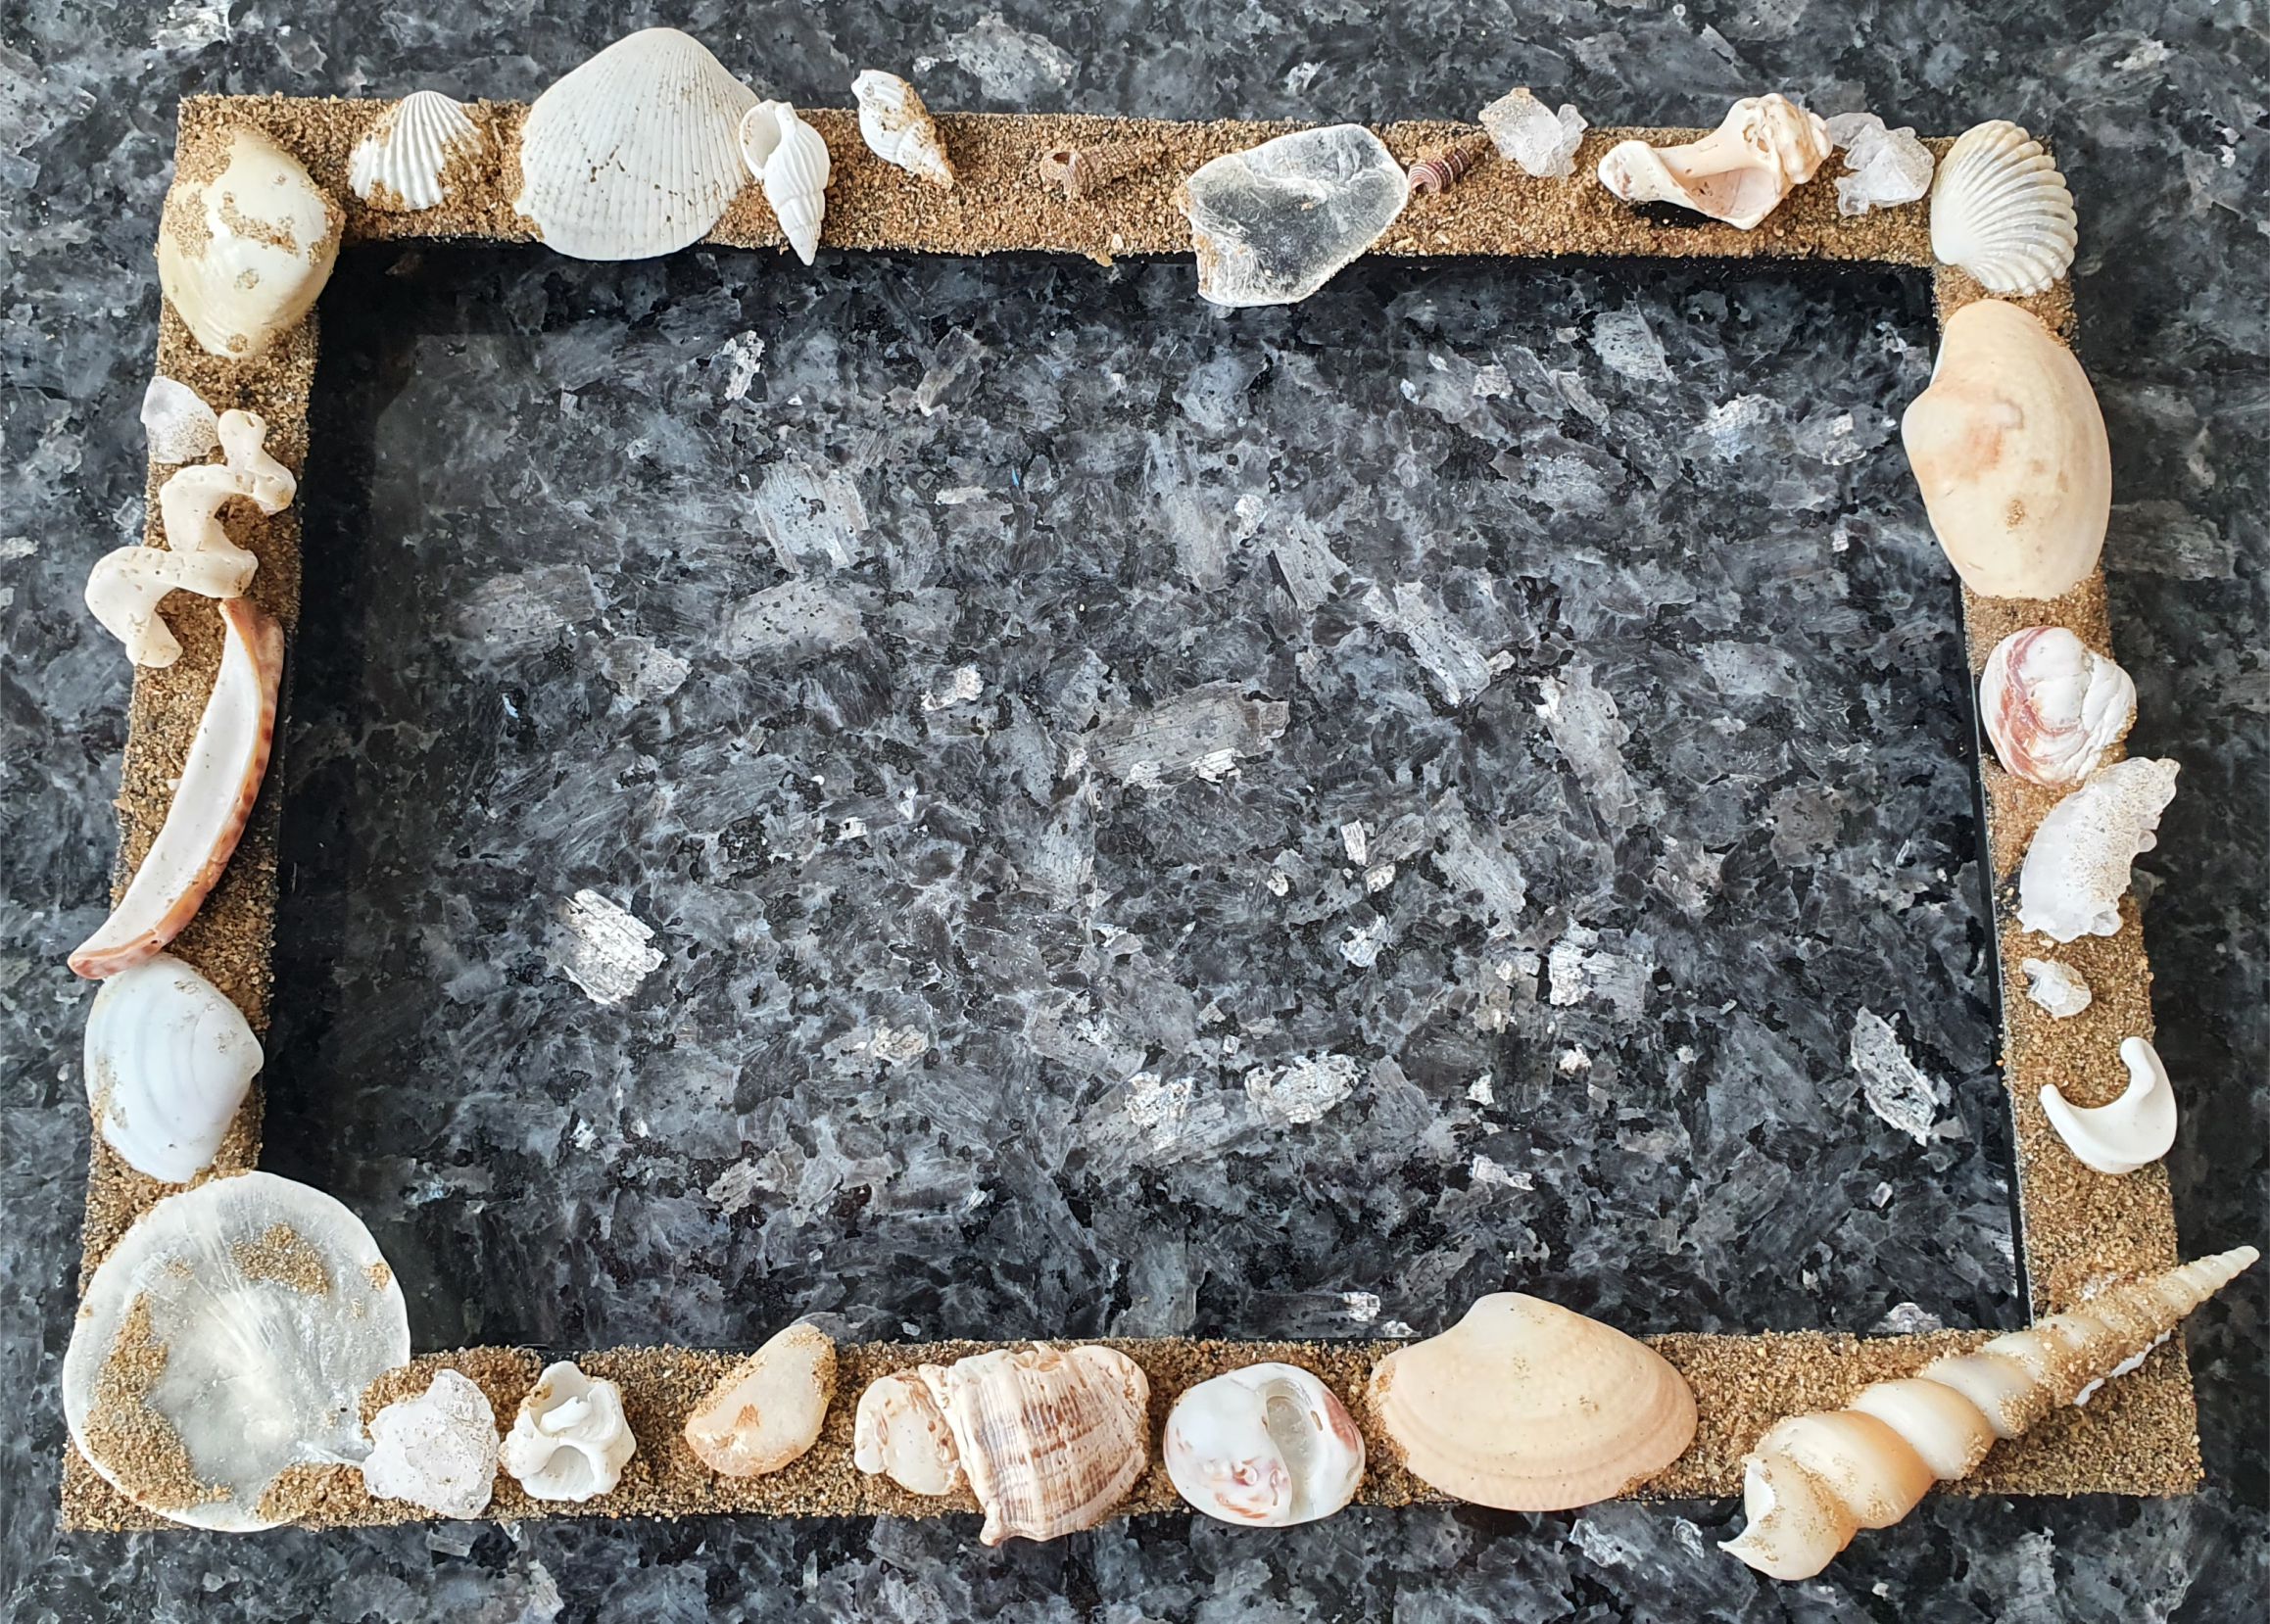

And your original seashell frame is ready!
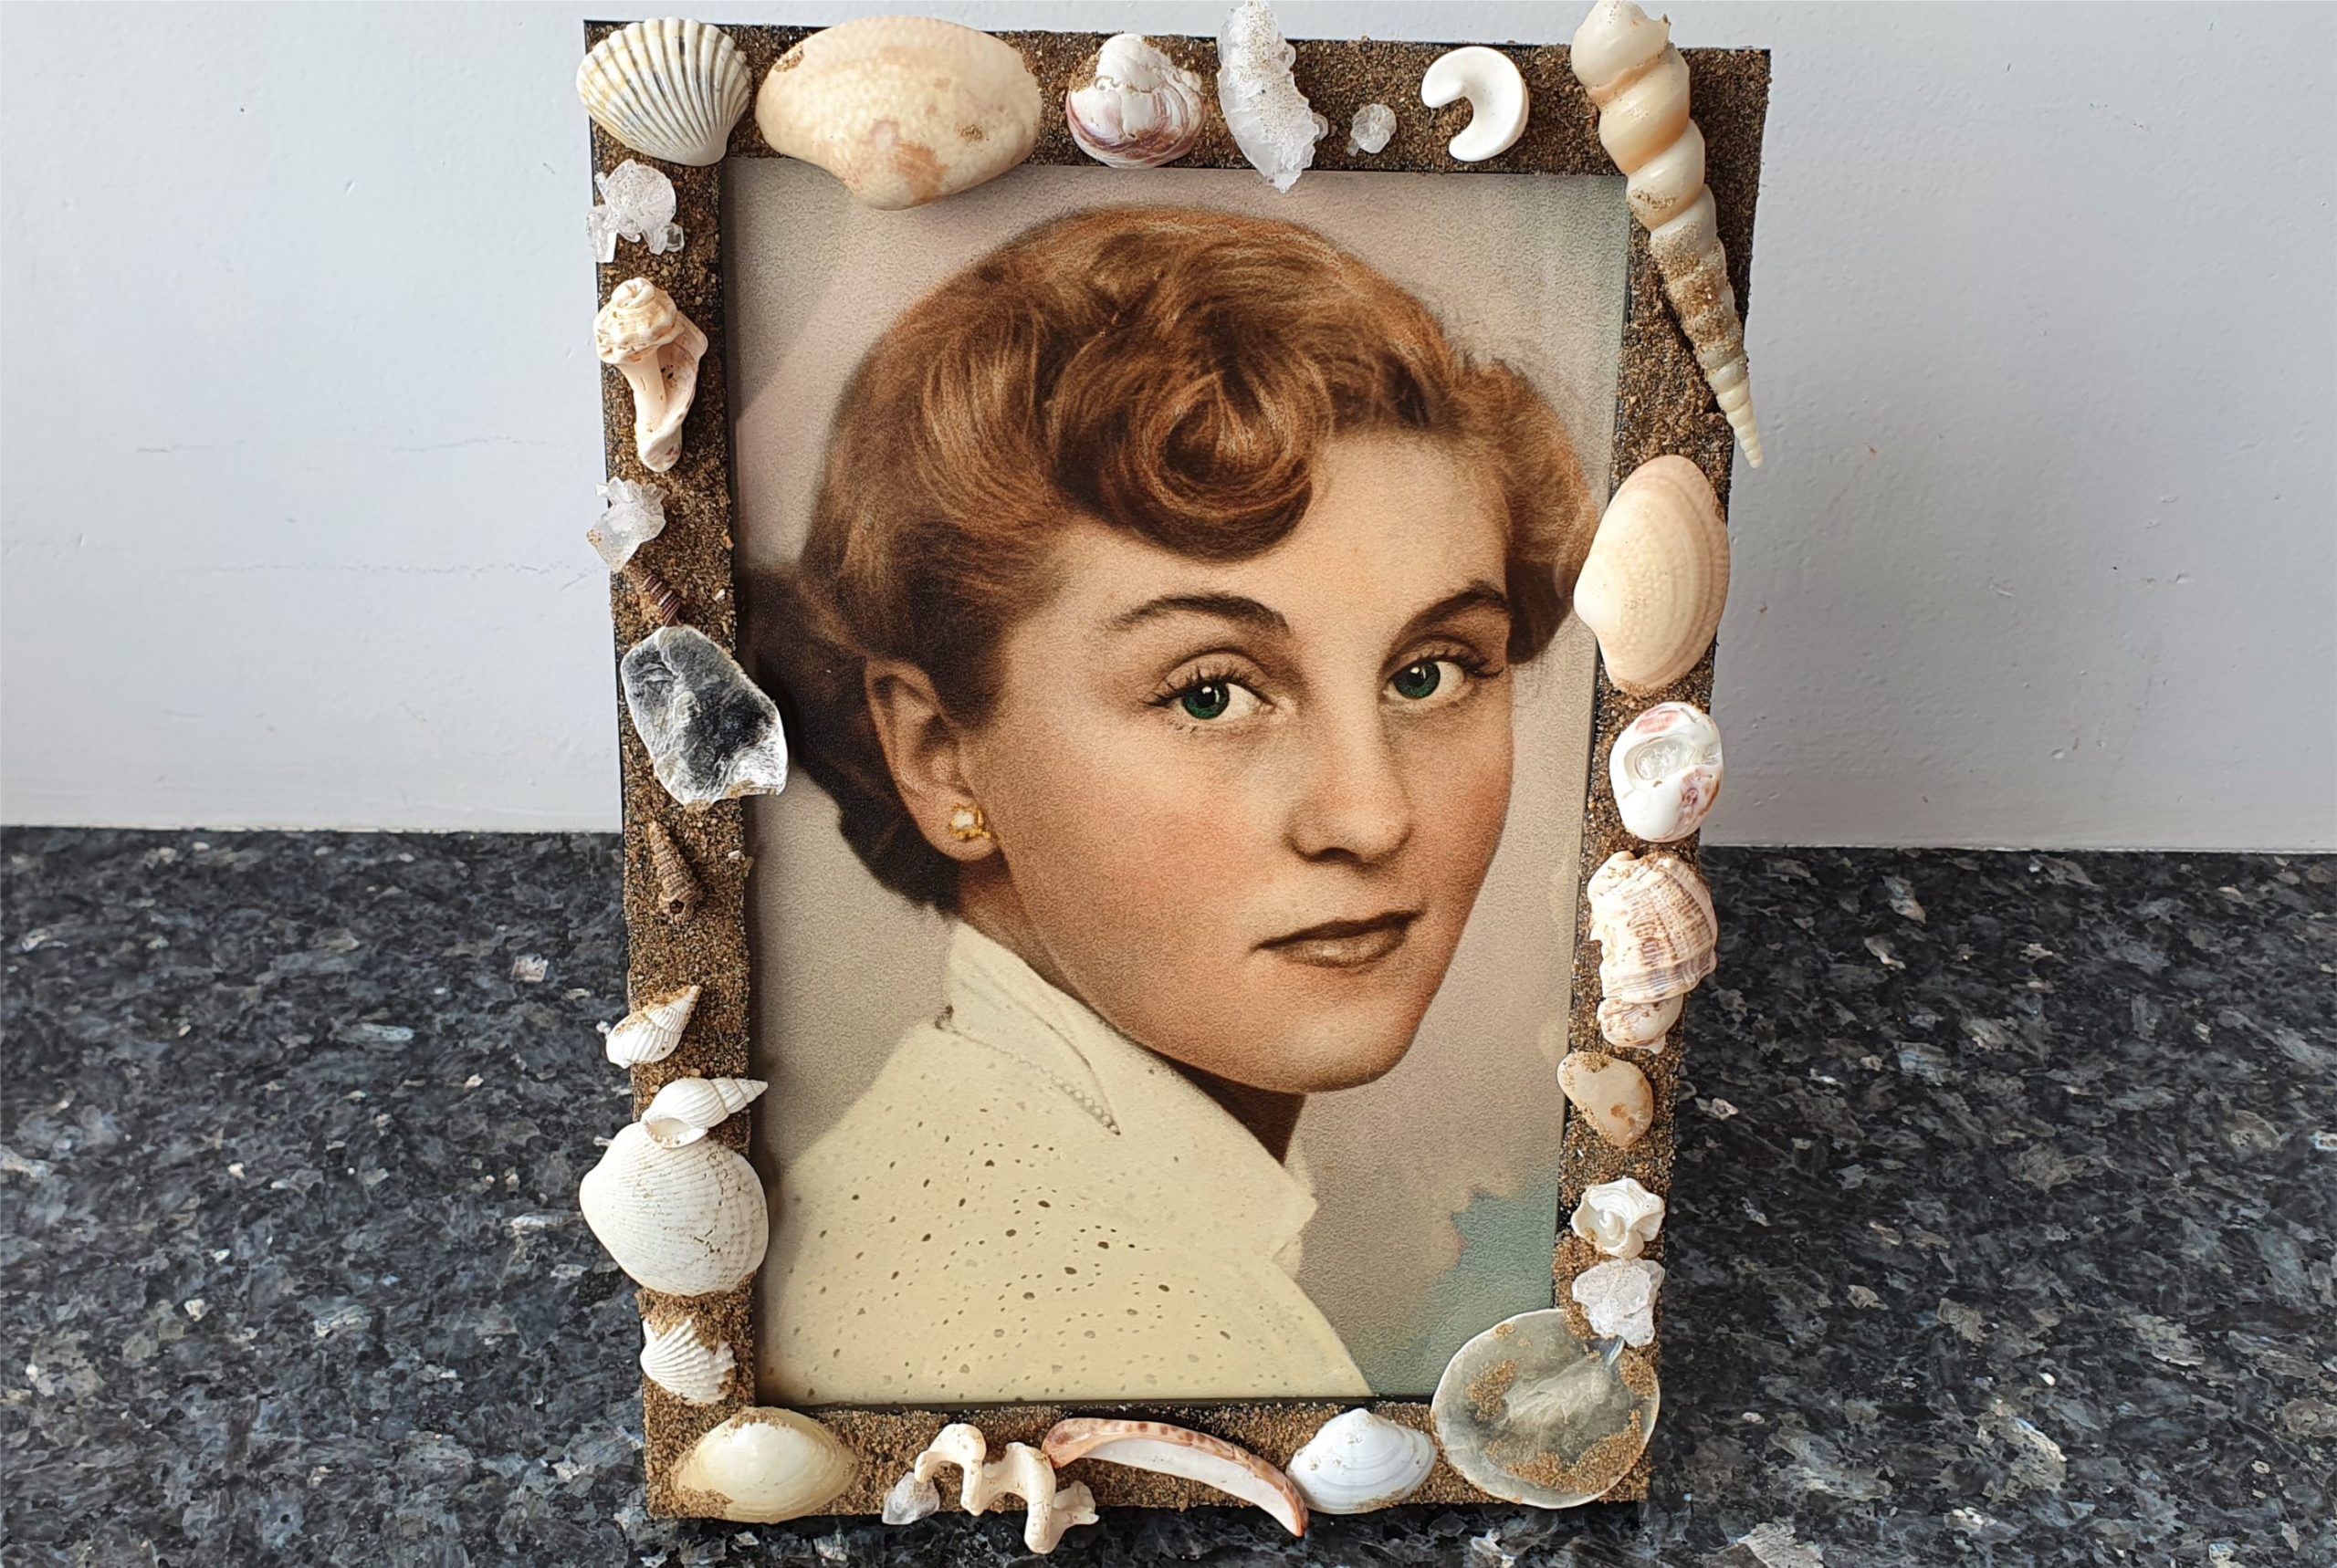

Add the glass and picture. This one is of my beautiful grandmother. What better way to display her picture in our house then in a frame decorated by her great-granddaughter? :-) Hope you enjoyed this little best out of waste project. Happy crafting.


Leave a Review
You must be logged in to post a comment.