
- Prep Time20min
- Total Time2 hours to dry
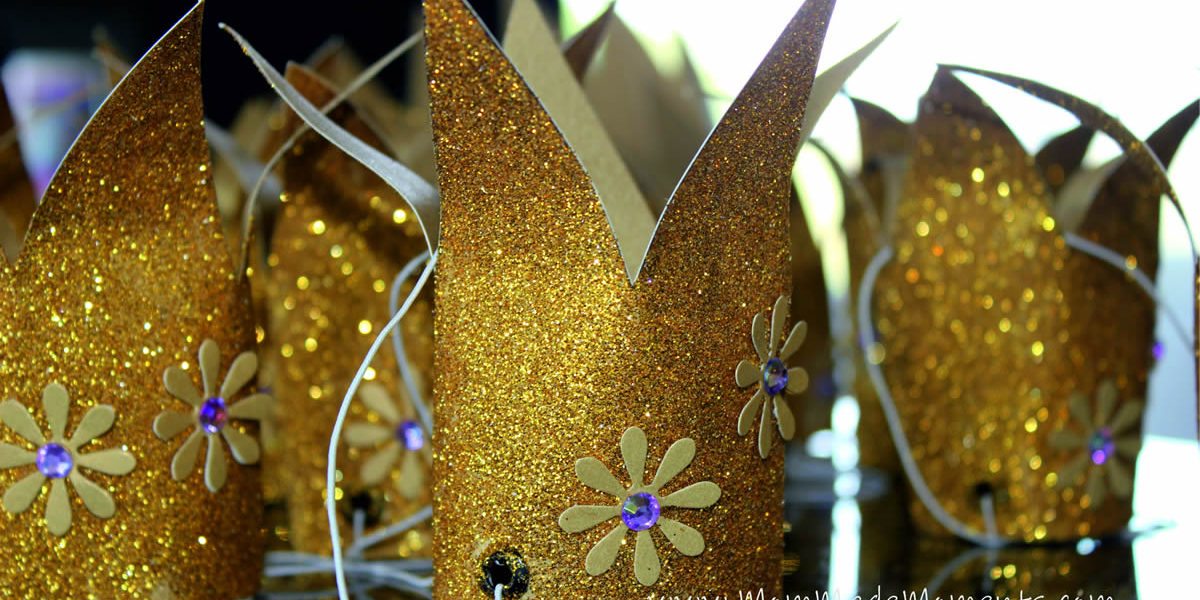
Learn how to make a princess crown, that’s great for dress up, for a princess party or as return gifts. They don’t take long to make and they last for a long time -much longer than the ones you can get at the store. I have attached the free template for the princess crown here too along with a detailed step-by-step guide.
How to make a princess crown at home
I made these princess crowns for all the party guests at my daughter’s Princess Sofia Party. And prince crowns for all the boys (a bigger version of these). The kids loved them -and most of them still have them- so they can certainly survive a bit of wear and tear (I am writing this 2 years after the party). When you add the glitter, they become stronger and more durable -and any crease or fold is not so easily seen.

How to make a princess crown? What you need:
- Chart paper. I used gold coloured chart paper because I didn’t have to worry about the inside of the crown later then. If you use a different colour you may have to add glitter or paint the inside of the crown as well.
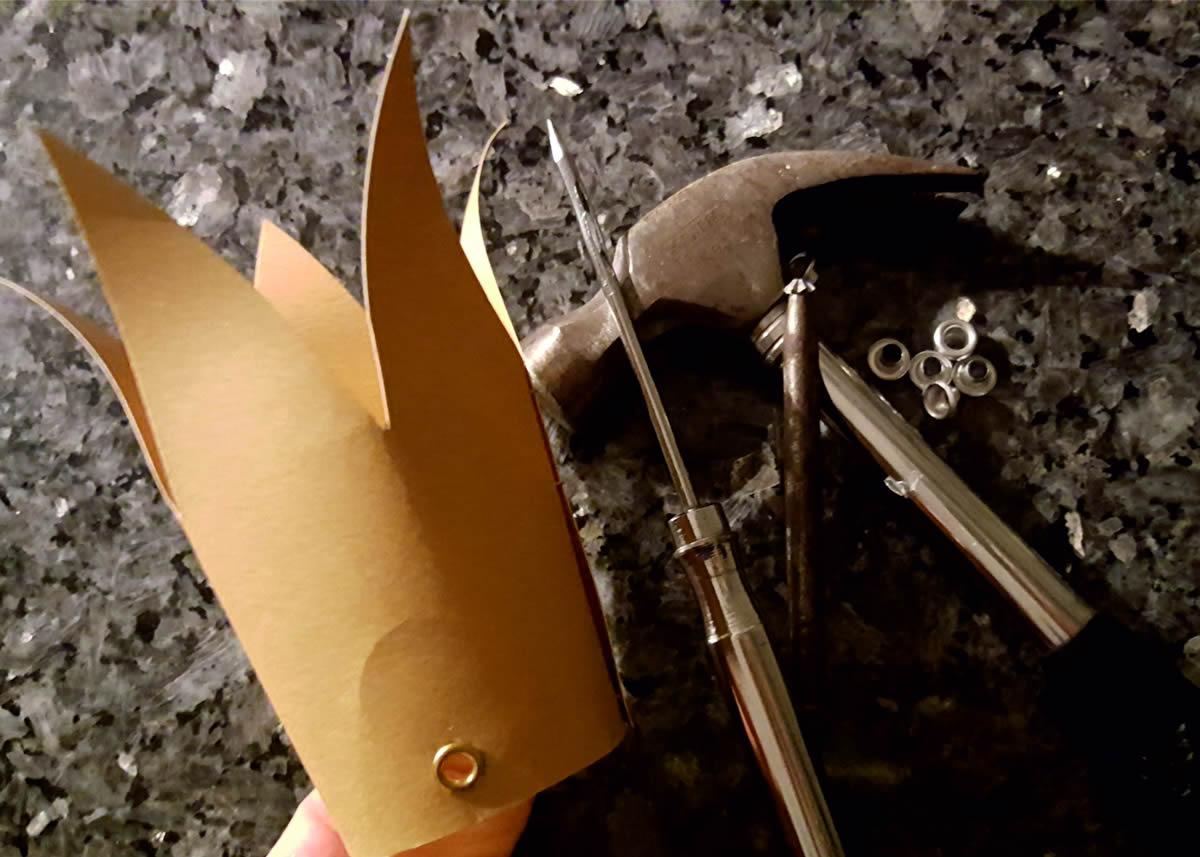
- Eyelets, punch and hammer. The crown can also easily be done without the eyelet tools, but the elastic string is more likely to tear though the paper without it. The eyelets and punch tool are usually also available in the local market at the shop which sells sequins, buttons and string. You can also buy an eyelet paper punch. It is a little easier to get it right with that.
- Gold glitter. I usually buy the gold glitter in packets at the local stationary store. Remember to keep a thin piece of paper underneath when you pour it onto the glued crown. Then you can easily collect it all again by folding the paper into a cone and pour it back into the bag.
- Elastic string. I recommend using 2mm thickness. It’s not too visible and it won’t hurt the kids as thin string can do sometimes.
- White glue and brush. I use the brand fevicol as it’s easily available in Goa. But any brand of regular white craft glue will work, of course. Add 4 parts of glue and 1 part of water to make it easier to apply on the crown in a thin layer.
- Stapler or glue. I prefer to use the stapler as the staples will be hidden afterwards.
Download your free template here: Princess Crown Template
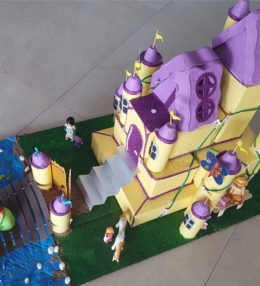
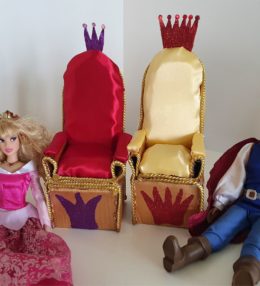
Like this idea? See more princess craft here: Barbie Doll Throne (best-out-of-waste) or Best Out Of Waste Castle
Ingredients
Directions
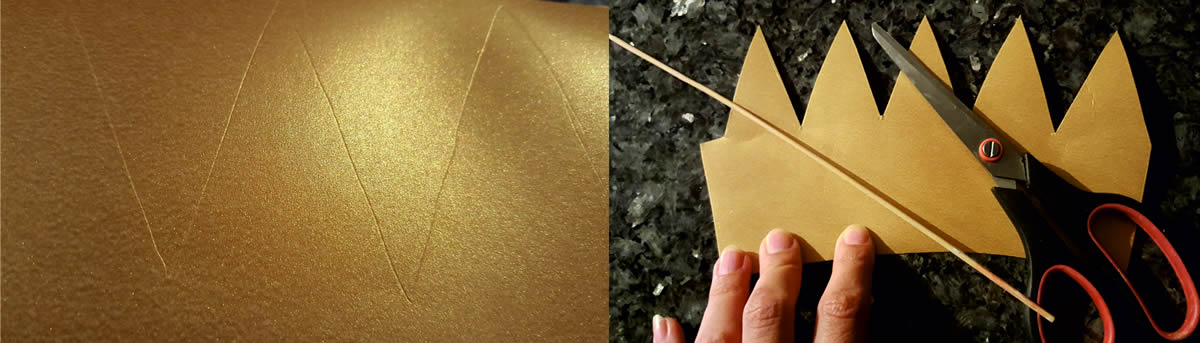
Start by tracing the outline of the crown onto the paper. You can download the template above. I prefer tracing with the a bamboo stick to avoid pen marks later.
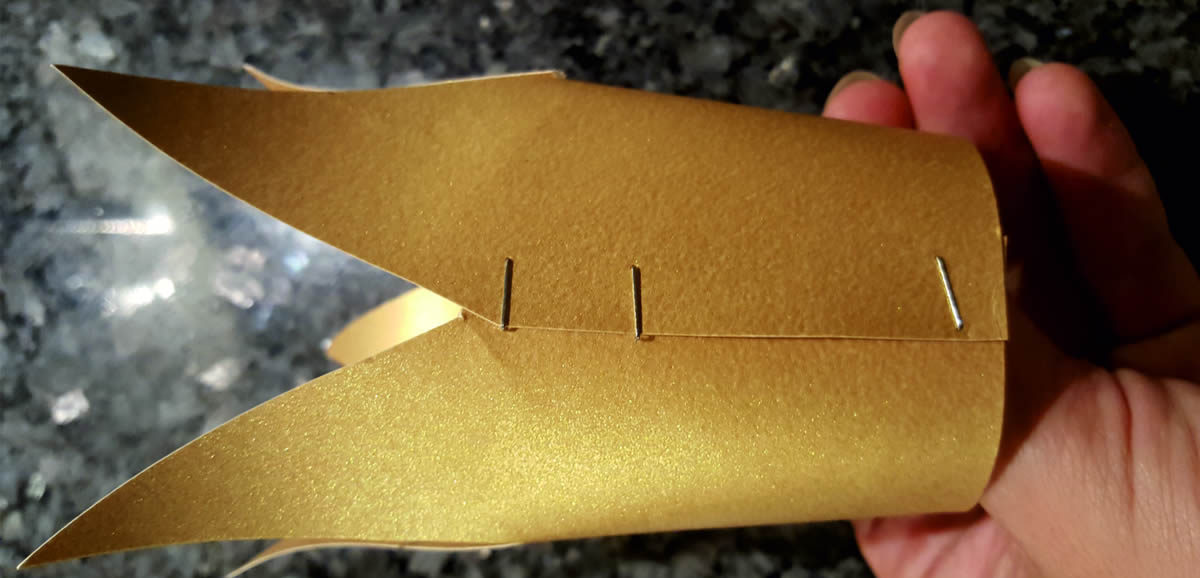
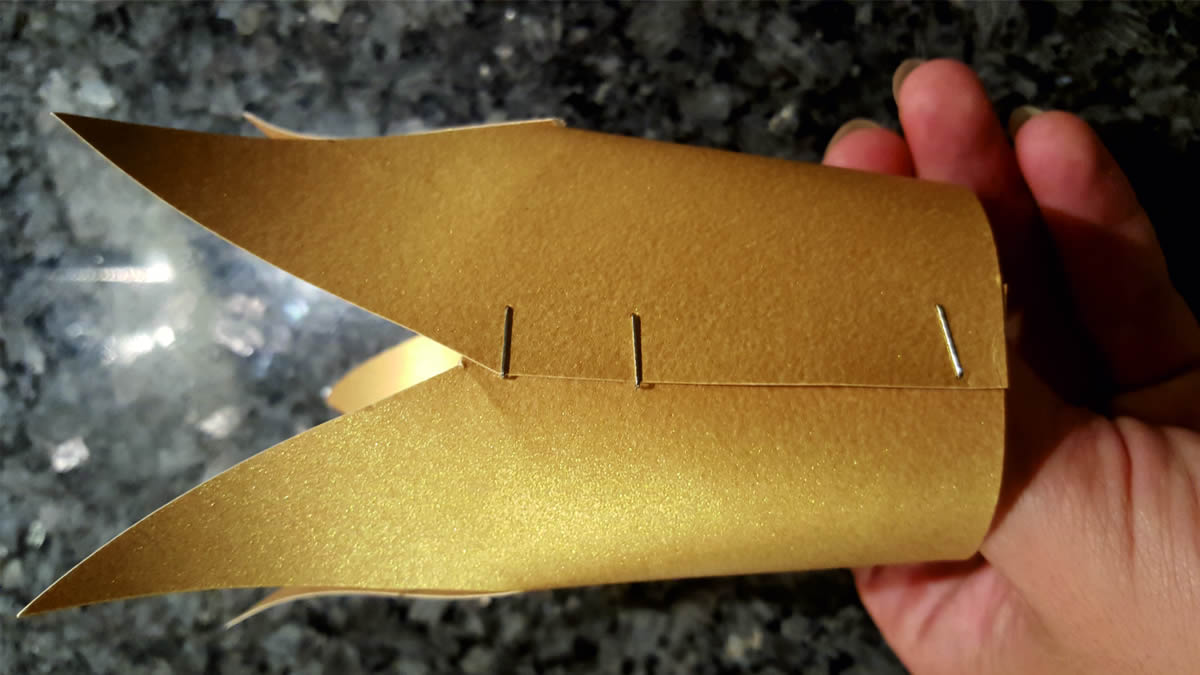
Roll the crown up and staple it (or glue it). I prefer stapling as it’s easier and the staples will be hidden later.
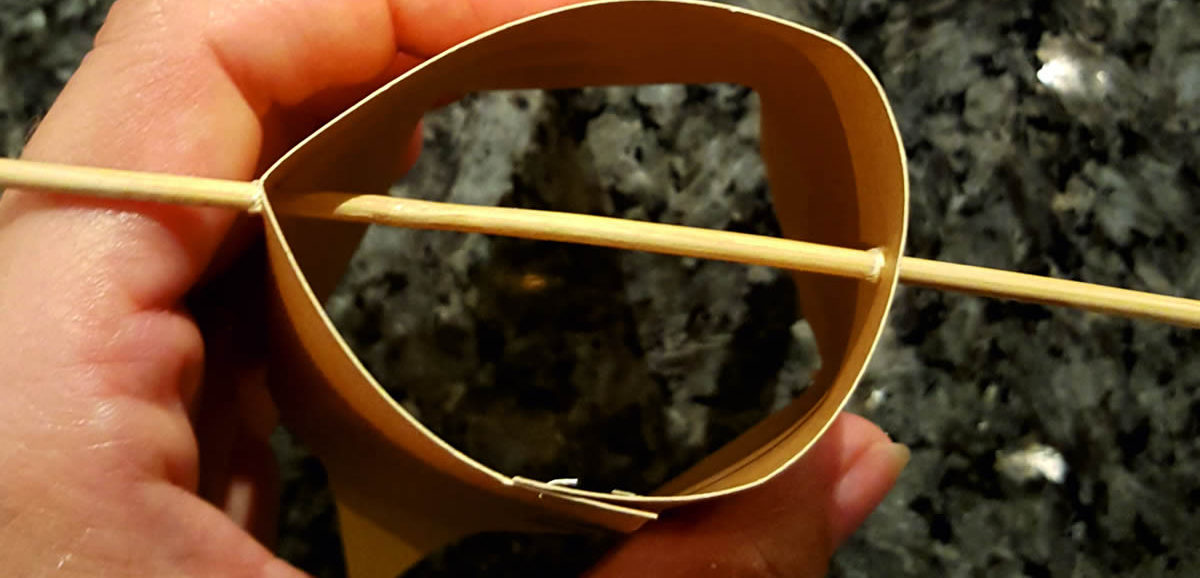
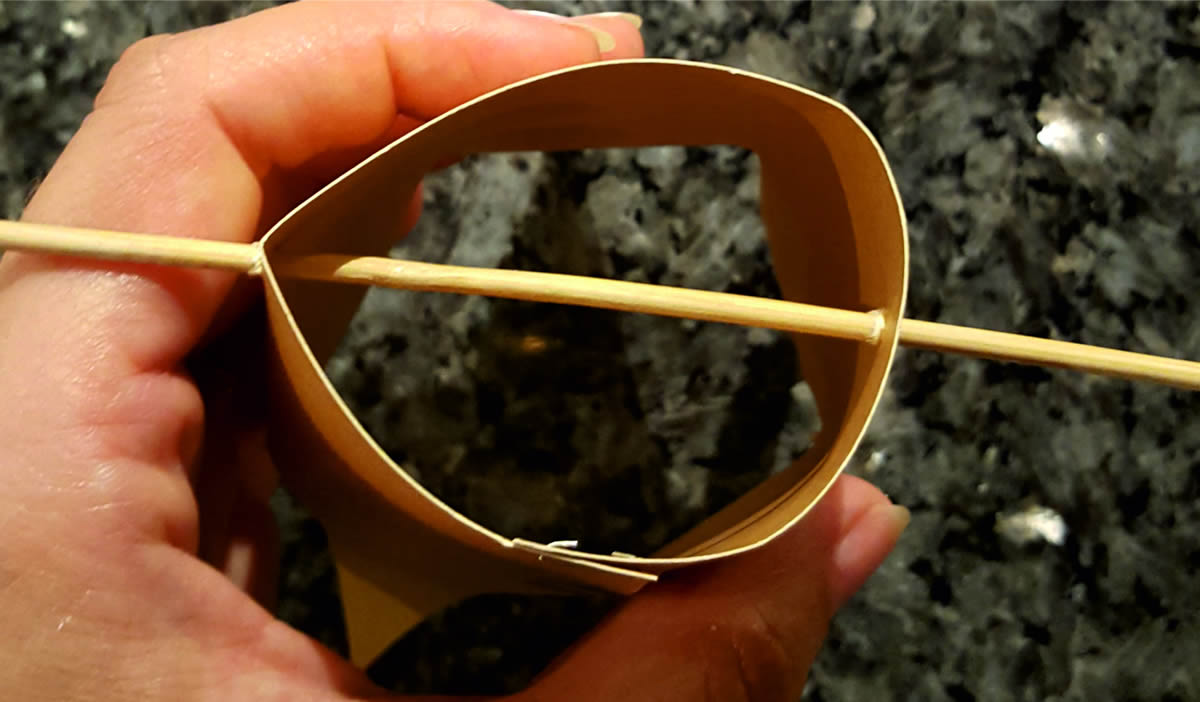
Insert a bamboo stick about 1cm from the bottom of the crown through and through. This is the easiest way to make the holes in the right place.
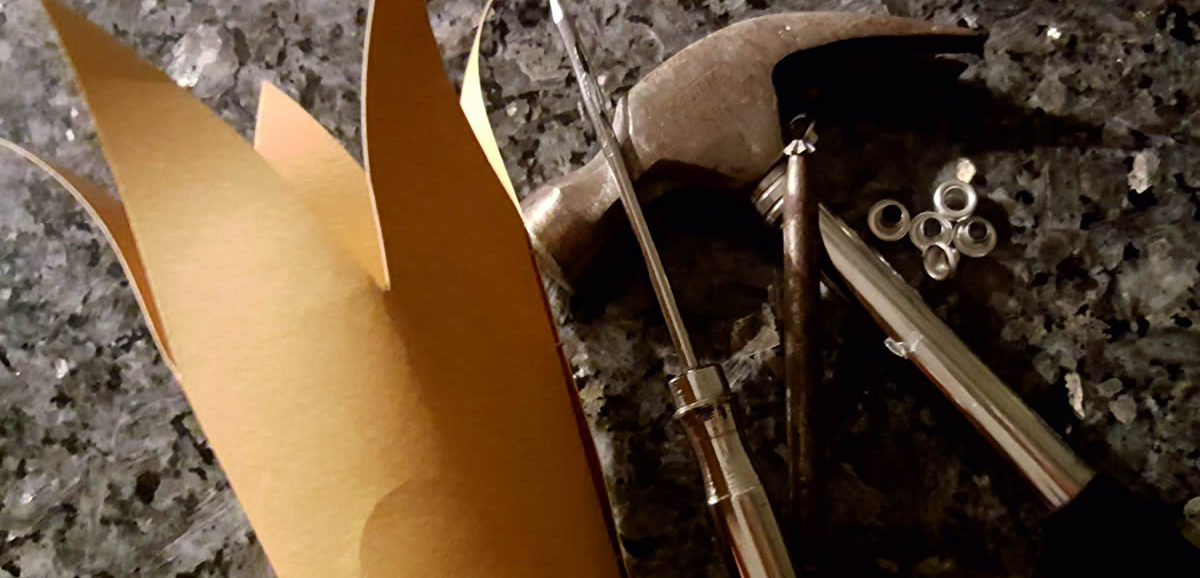
Attach the eyelets with your punch or the punch tool and hammer. This way the paper won’t tear when the child pulls the elastic string later.
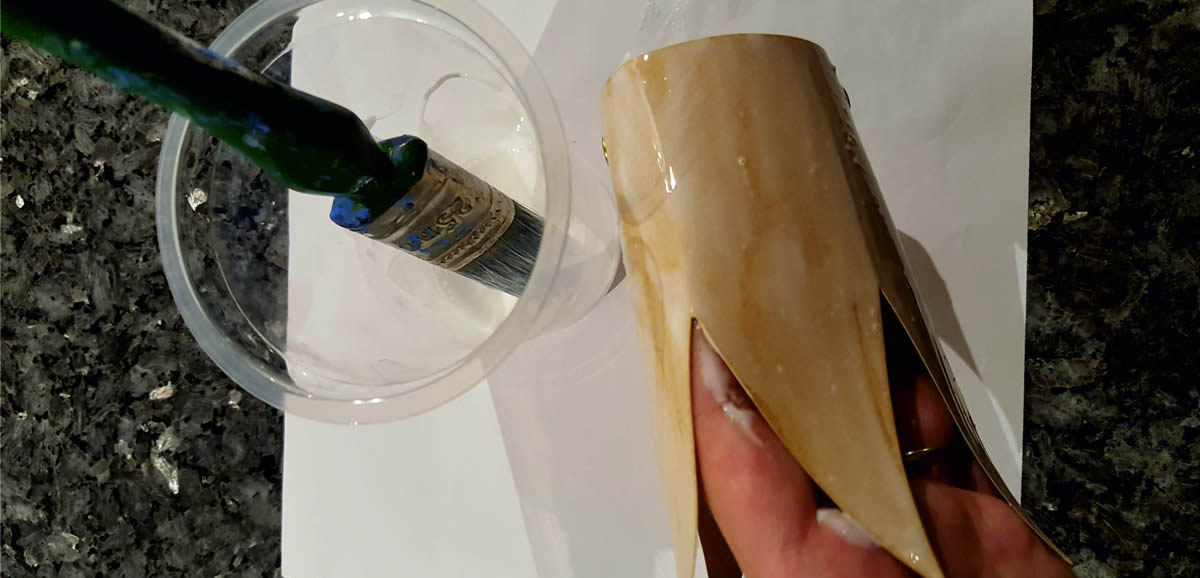
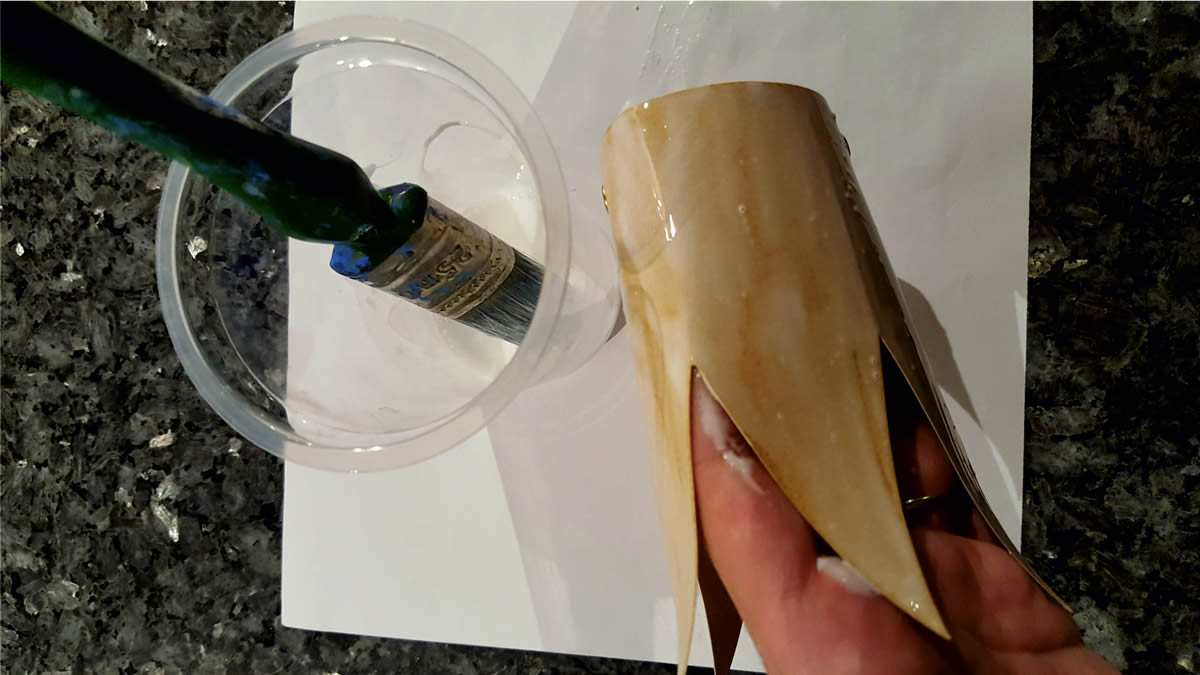
In a disposable cup add 4 parts of fevicol and 1 part water. Cover the entire crown with the glue mixture.
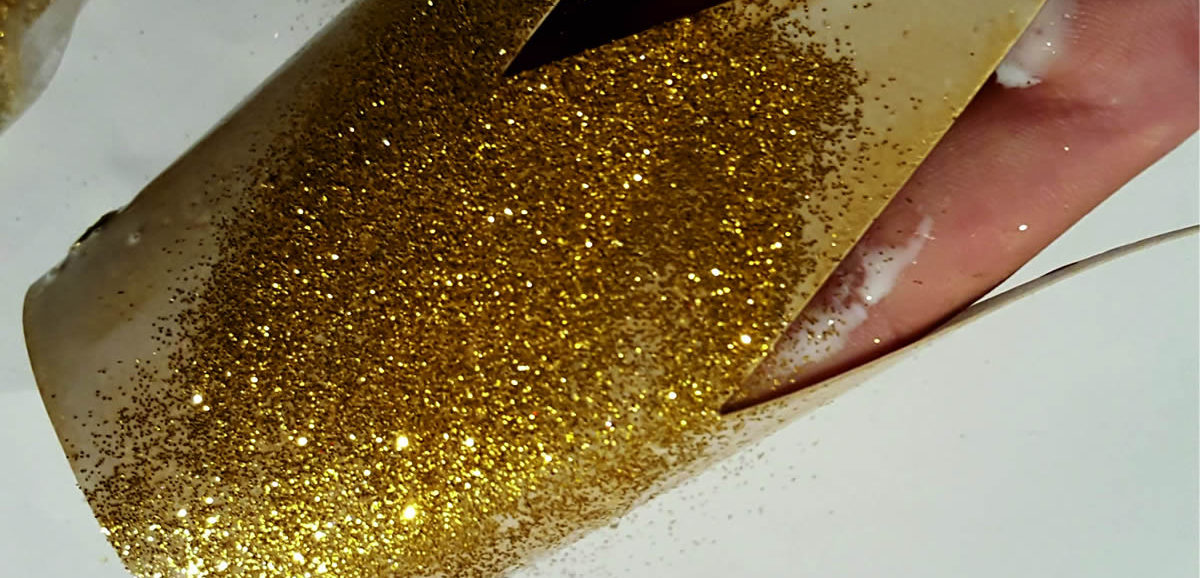
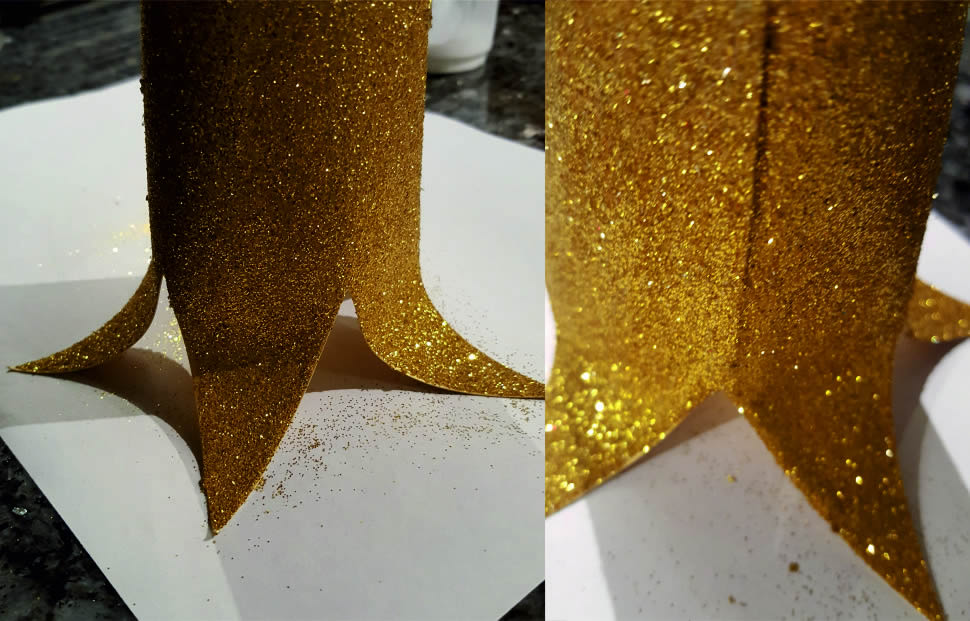
Sprinkle the glitter on top. This can get quite messy so I prefer to have a paper sheet underneath. That makes it easier to clean up the leftover glitter and put it back in the bag.
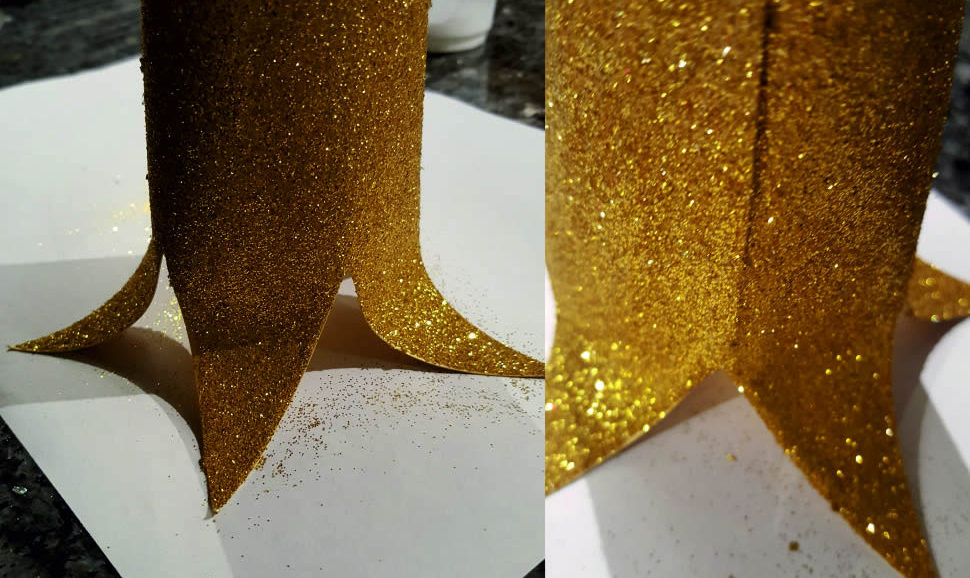
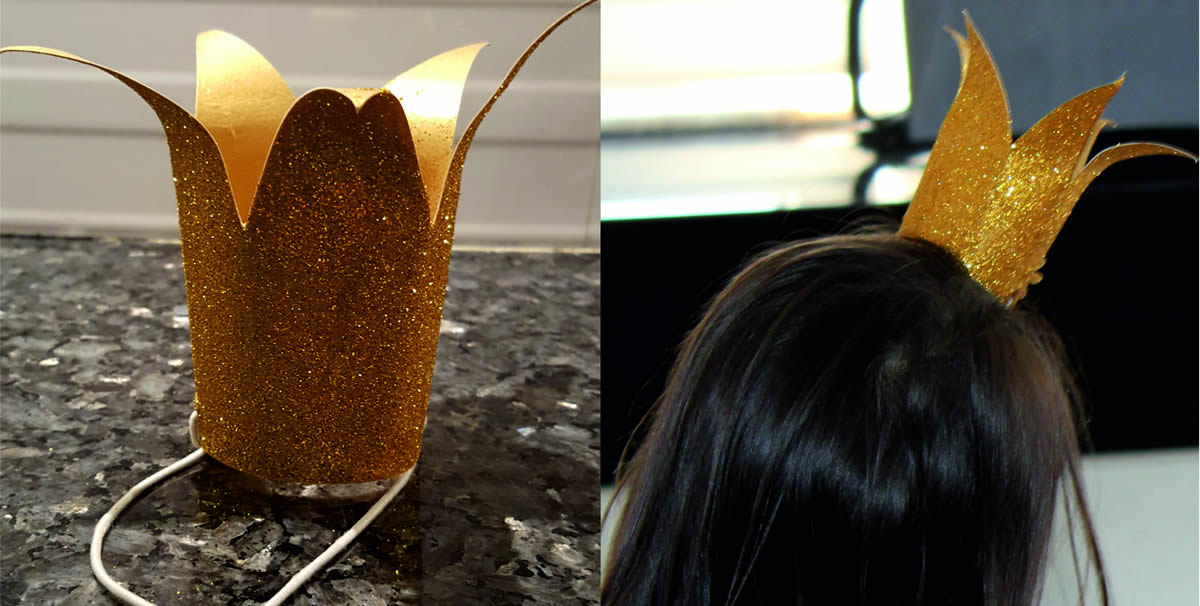
Leave it to dry upside down. This way the spikes will end up coming slightly out -like the real princess way.
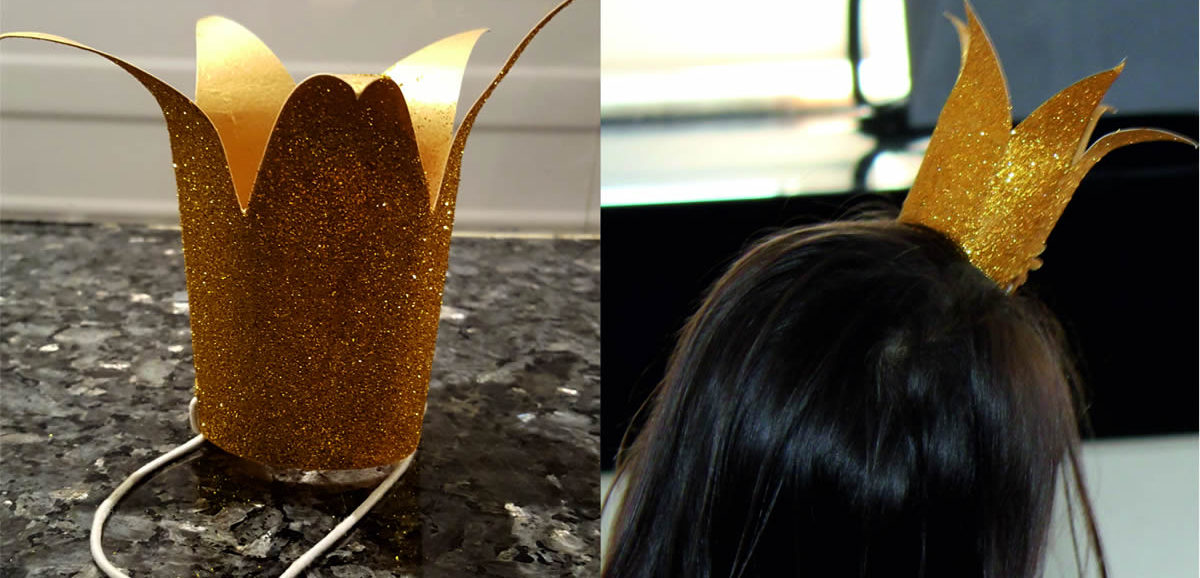
Attach the elastic string and it’s ready! Decorate the crown with flowers, beads or stickers if you prefer. I hope you enjoyed this princess craft. Please let me know how you got on and if you made anything differently. We can all benefit from your experience. Happy Crafting!

Leave a Review
You must be logged in to post a comment.