
- Total Time2 hours
This Hand Embroidered Pencil Case is the perfect diy project for kids who want to learn how to use a needle and a thread. It is quite fast to make and not too difficult, so it’s a great way to learn the basics of stitching.
Make a Hand Embroidered Pencil Case, the perfect project for beginners.
Learning to do any kind of stitching -whether cross stitching, embroidery or using a sewing machine- takes patience and time. It is therefore a good idea to start with something small where the progress is fast. Starting with a big project, like an embroidered pillow where the progress is slow, could easily be too much. My children are more likely to give up, before they have even started, if they feel it’s getting nowhere. Maybe your child feels the same way?
Make this hand embroidered pencil case in a day or space it out over a week
This hand embroidered pencil case takes about 2 hours to make. The child will make quick progress which will give them the encouragement to continue and finish the project. My daughter made it over the process of a week, and I then helped her with the finishing touches: ironing on the backing, stitching the sides and the zip.
We bought this Asian Hobby Crafts Plastic Cross Stitch Kit for Beginners on www.amazon.in. The plastic cross stitch sheets are perfect for a beginner as they are harder than the usual cloth. And they are very durable later as a pencil case too. The pencil case has been in use for 8 months now and it’s still looking great. The thread has been rubbed a bit in places and it has become a bit softer, but all that only adds to it’s charm.
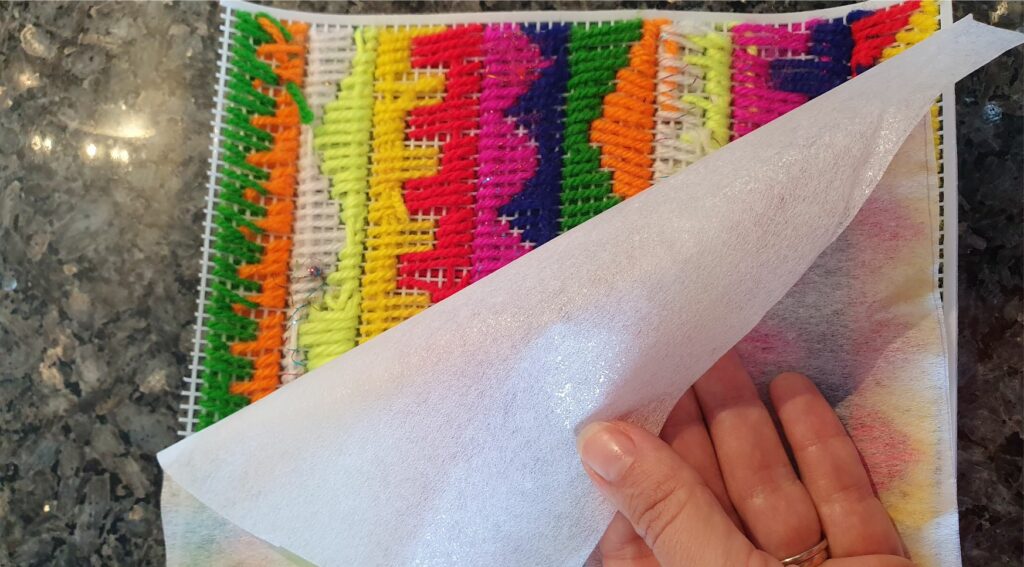
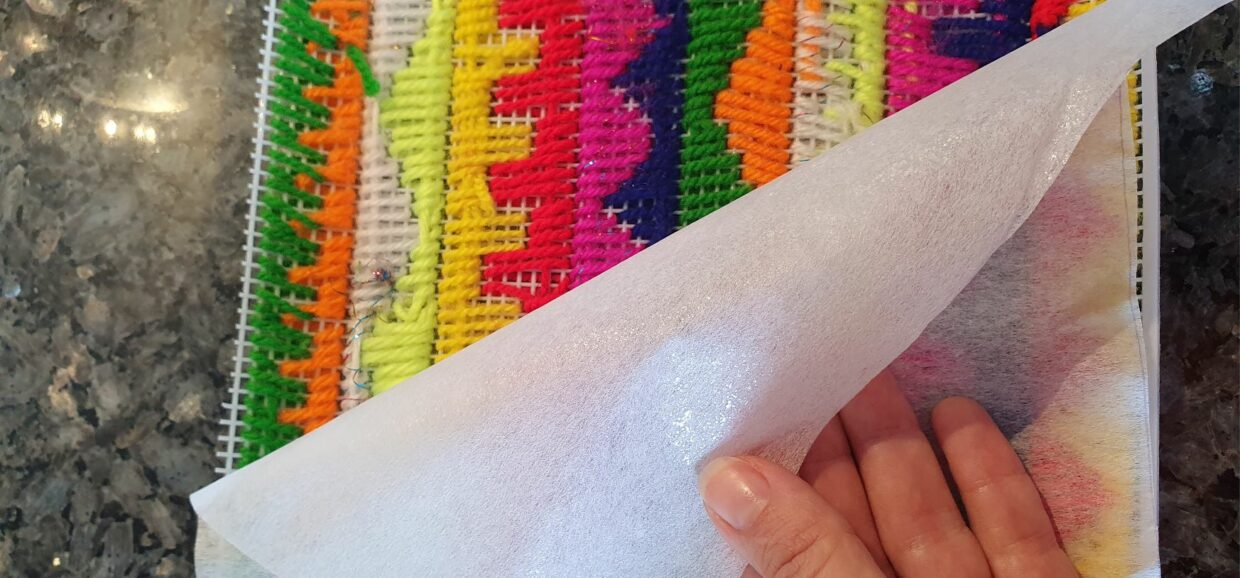
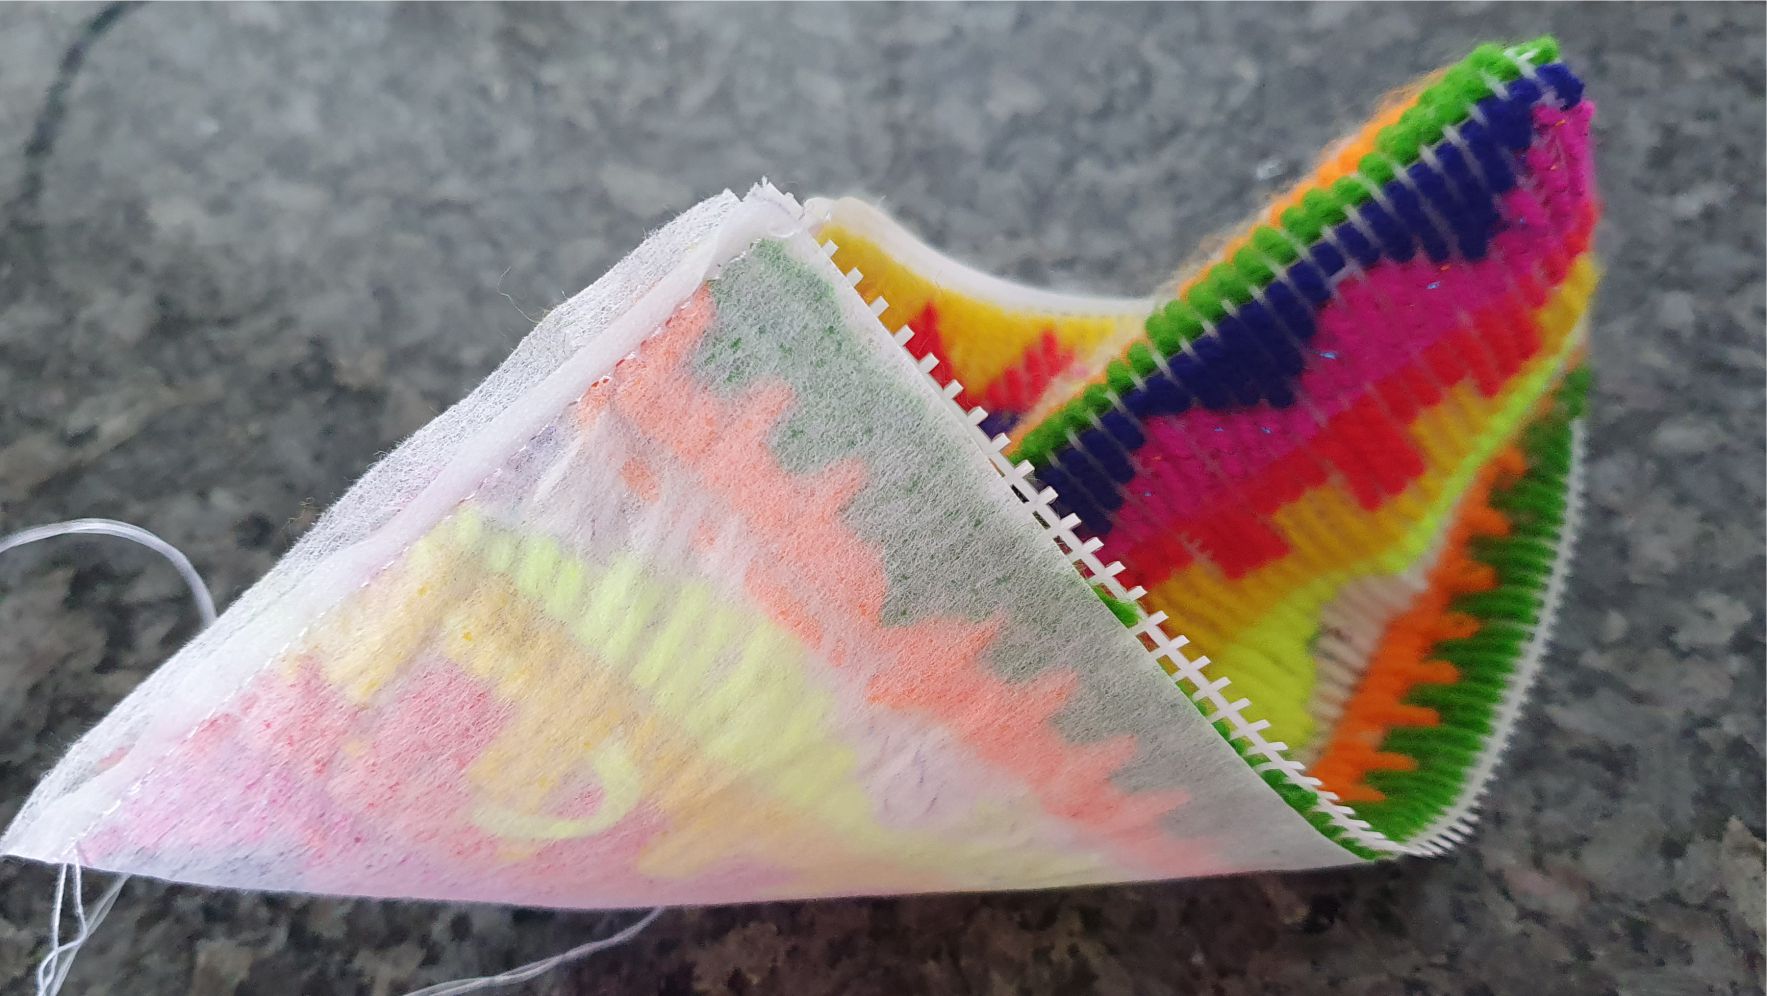
Ironing on the embroidery backing
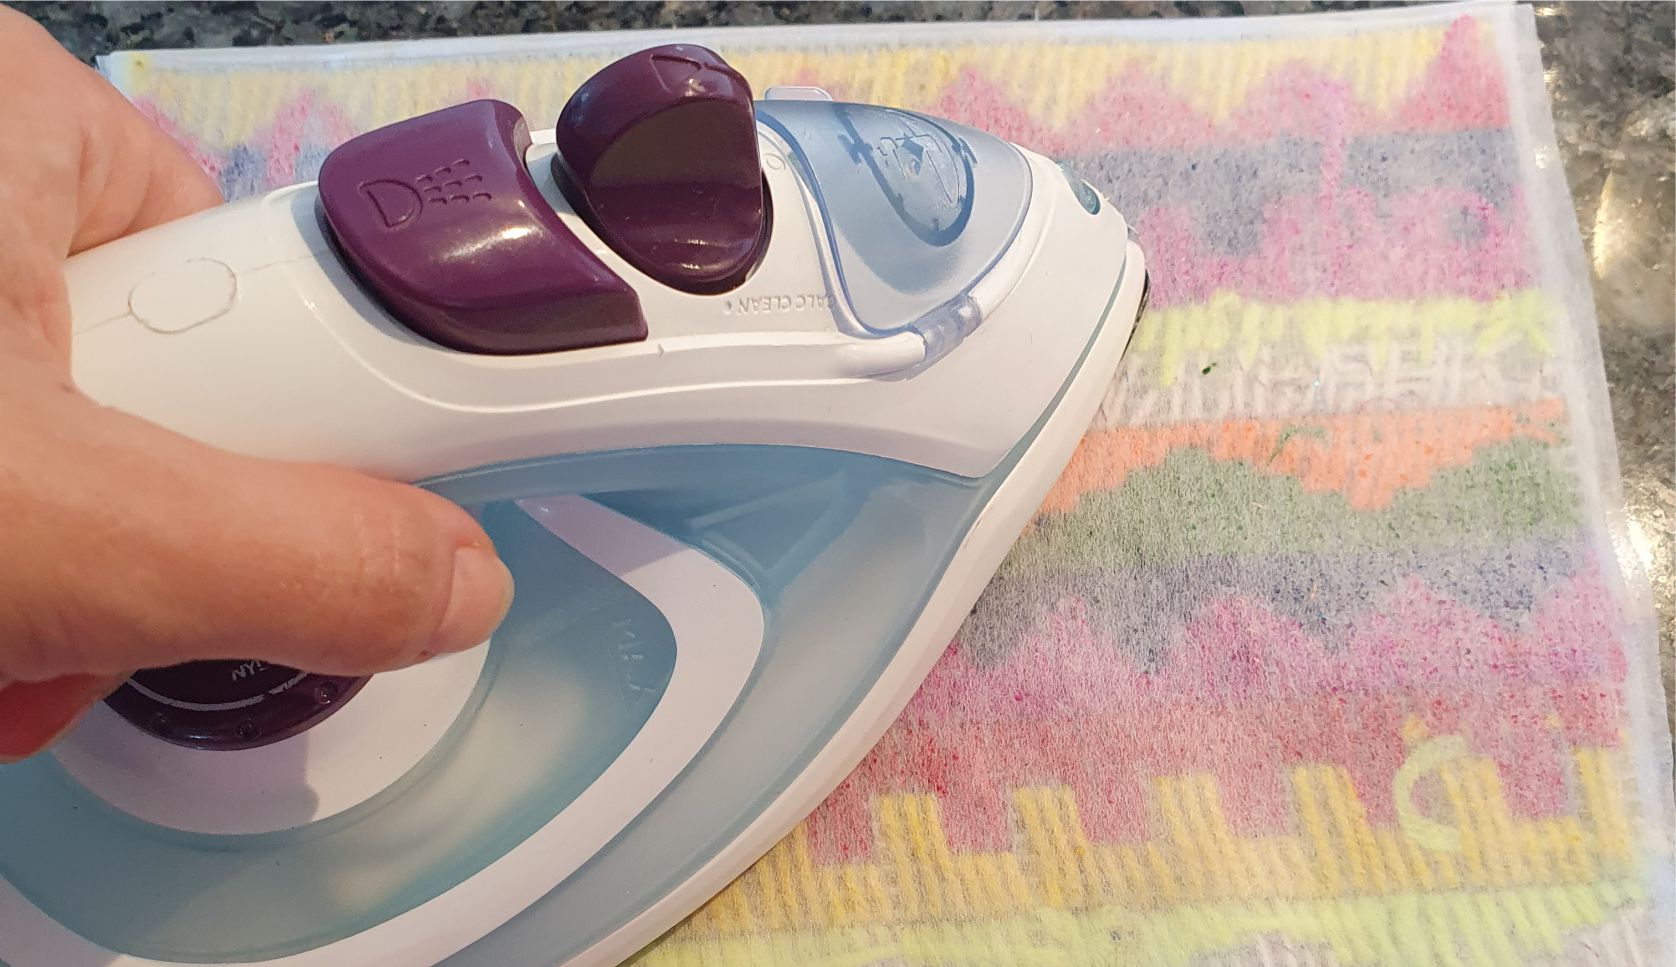
When you have finished stitching both sides, iron the backside of the embroidery using embroidery backing like this one. Make sure you put the adhesive side down (it’s got slightly more shiny look) and seal it with a hot iron. The backing will stick to your embroidery so no loose threads unravel. It will also help give the pencil case a bit more support. Read more about this in the steps below.
I have also used this backing when making cloth fans for my mother-in-law. It helps to stiffen the fabric, so it’s foldable.
We love being creative and crafty. If you do too, check out some of our other DIY projects
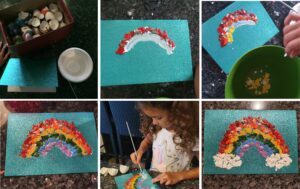
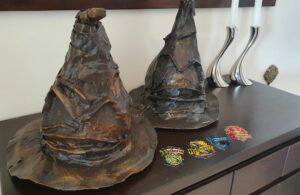
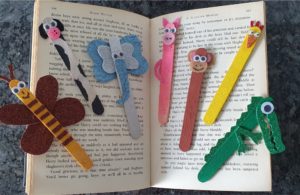
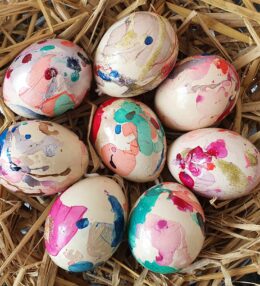
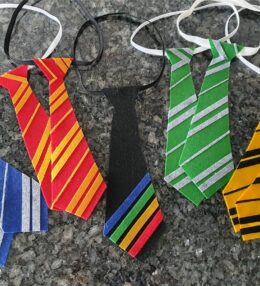
Like this Eggshell Mosaic Art for Kids, DIY Sorting Hat or DIY Animal Bookmarks
Hope you like this project as much as my daughter did. 🙂 See the full step-by-step guide below with all the information and pictures.
Follow me on Instagram @MomMadeMoments_ for regular updates on new posts.
Ingredients
Directions
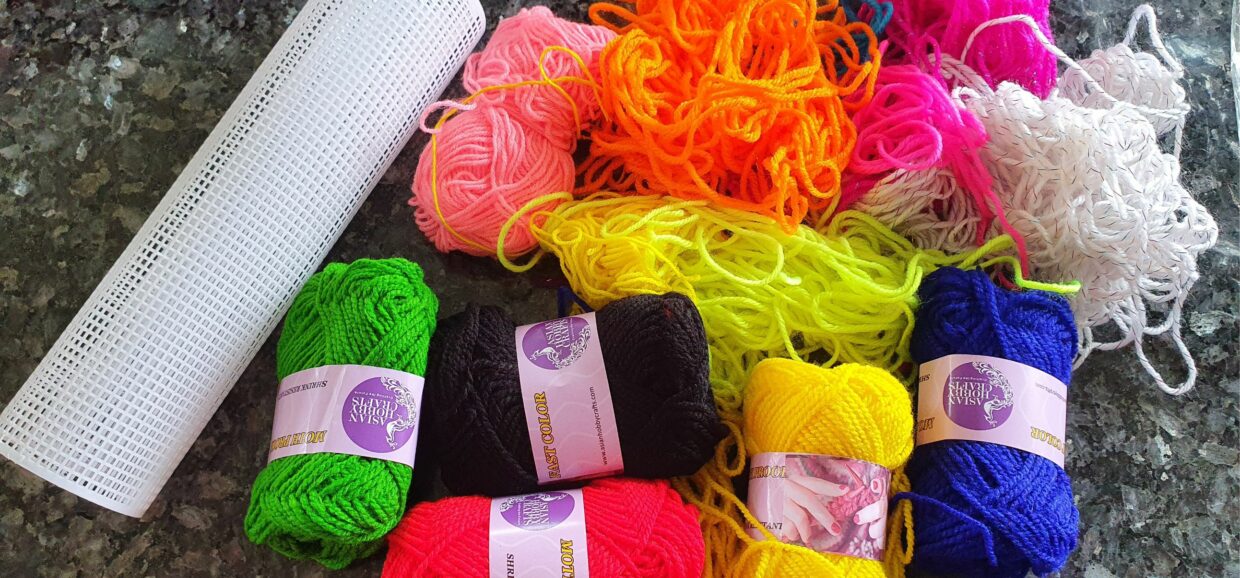
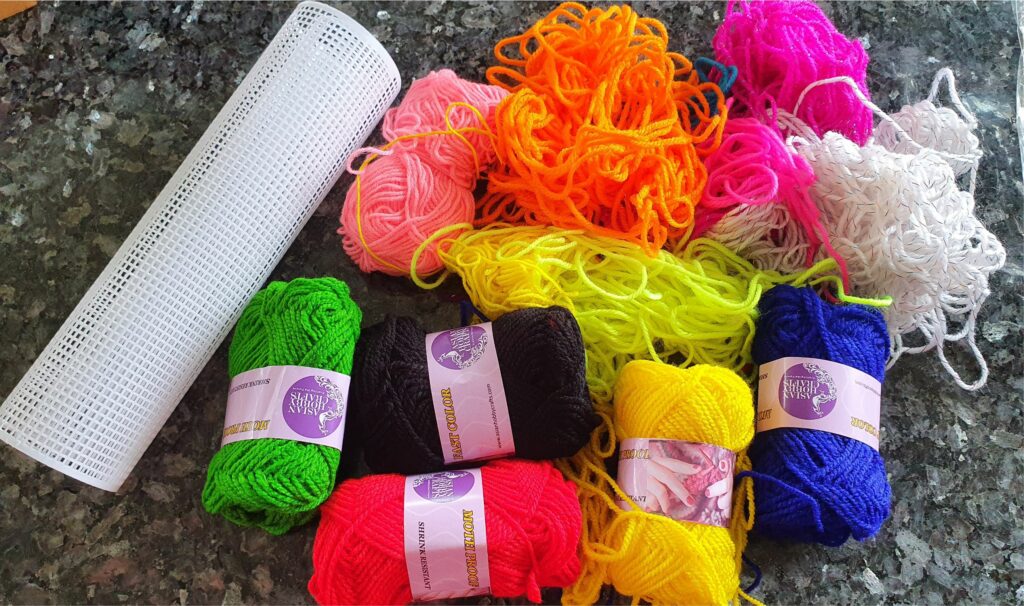
Start by getting all your ingredients ready: the yarn and the cross stitch sheet. We bought a set from Asian Crafts. See the link in the text above.
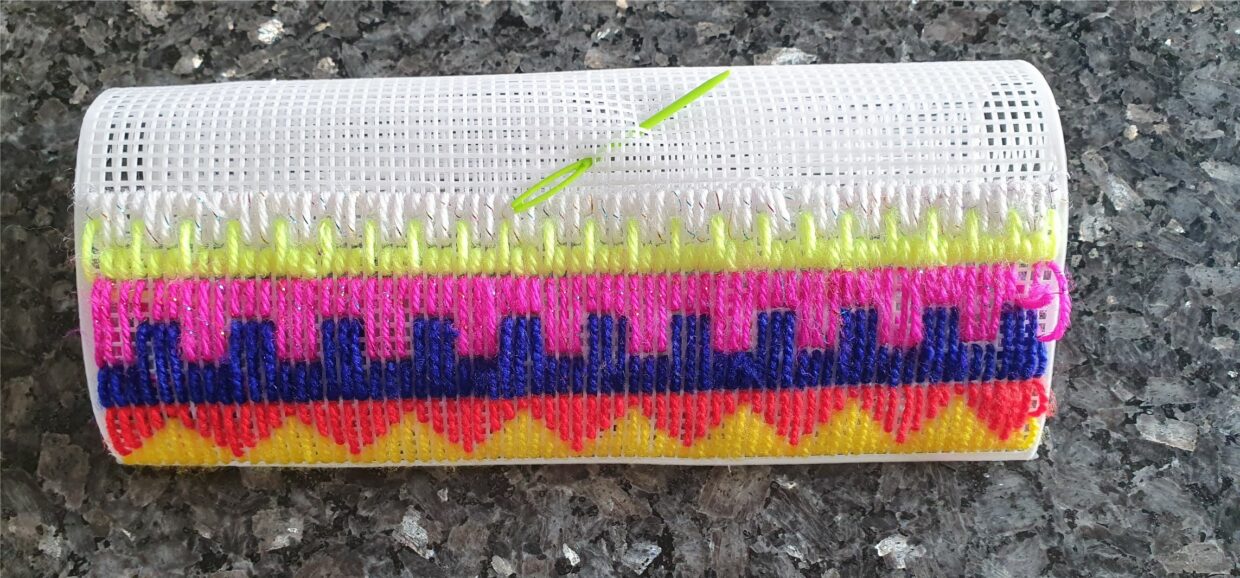
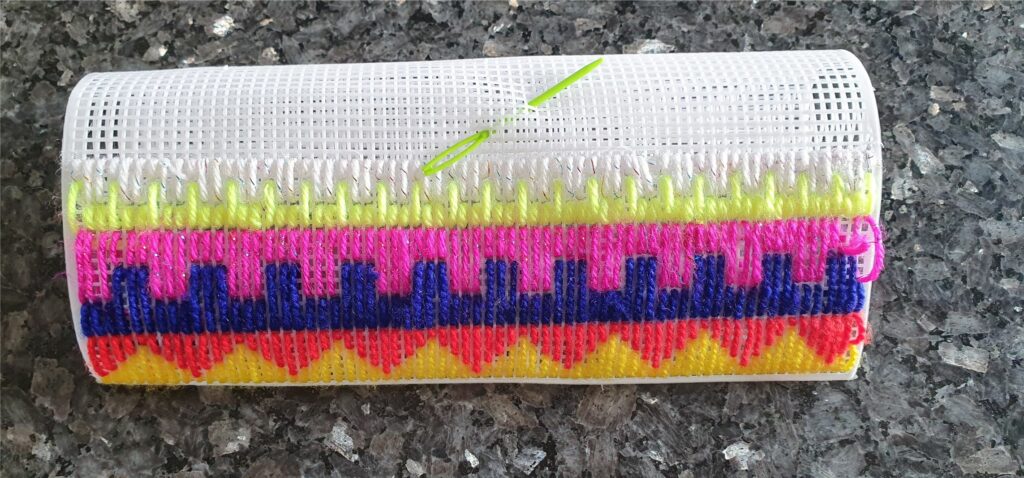
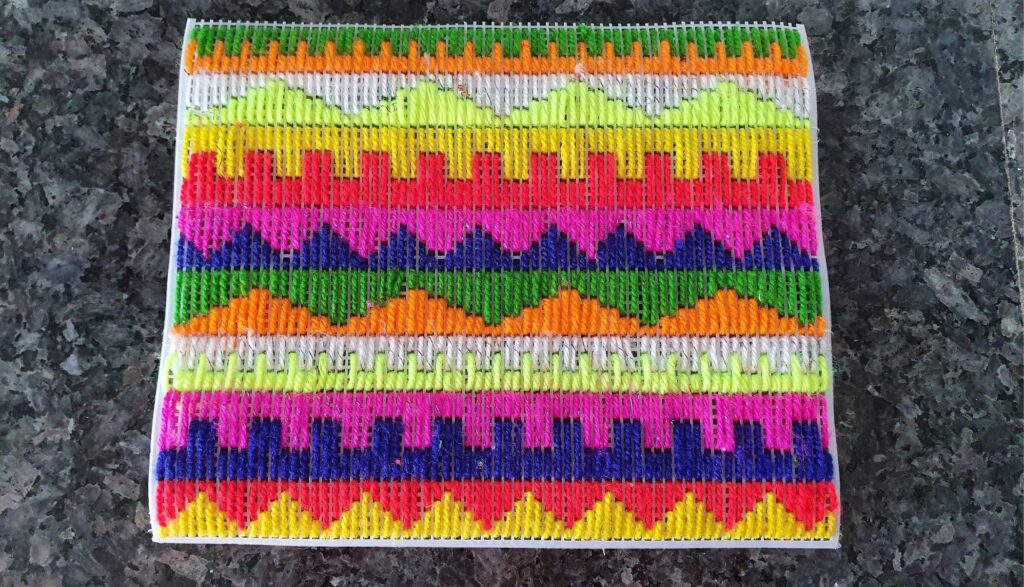
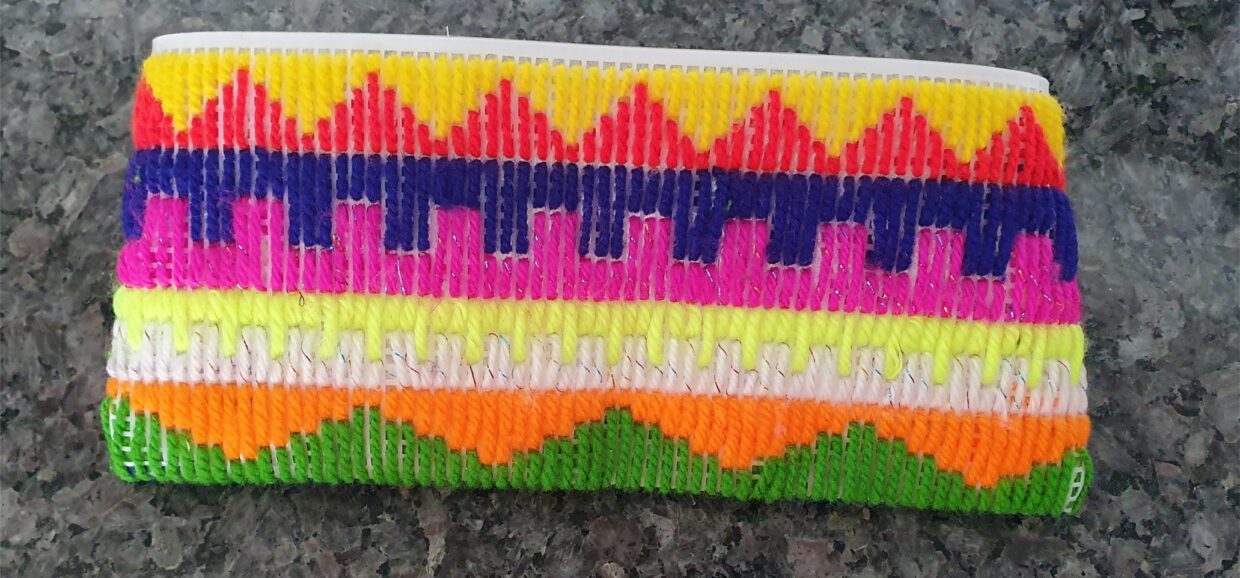
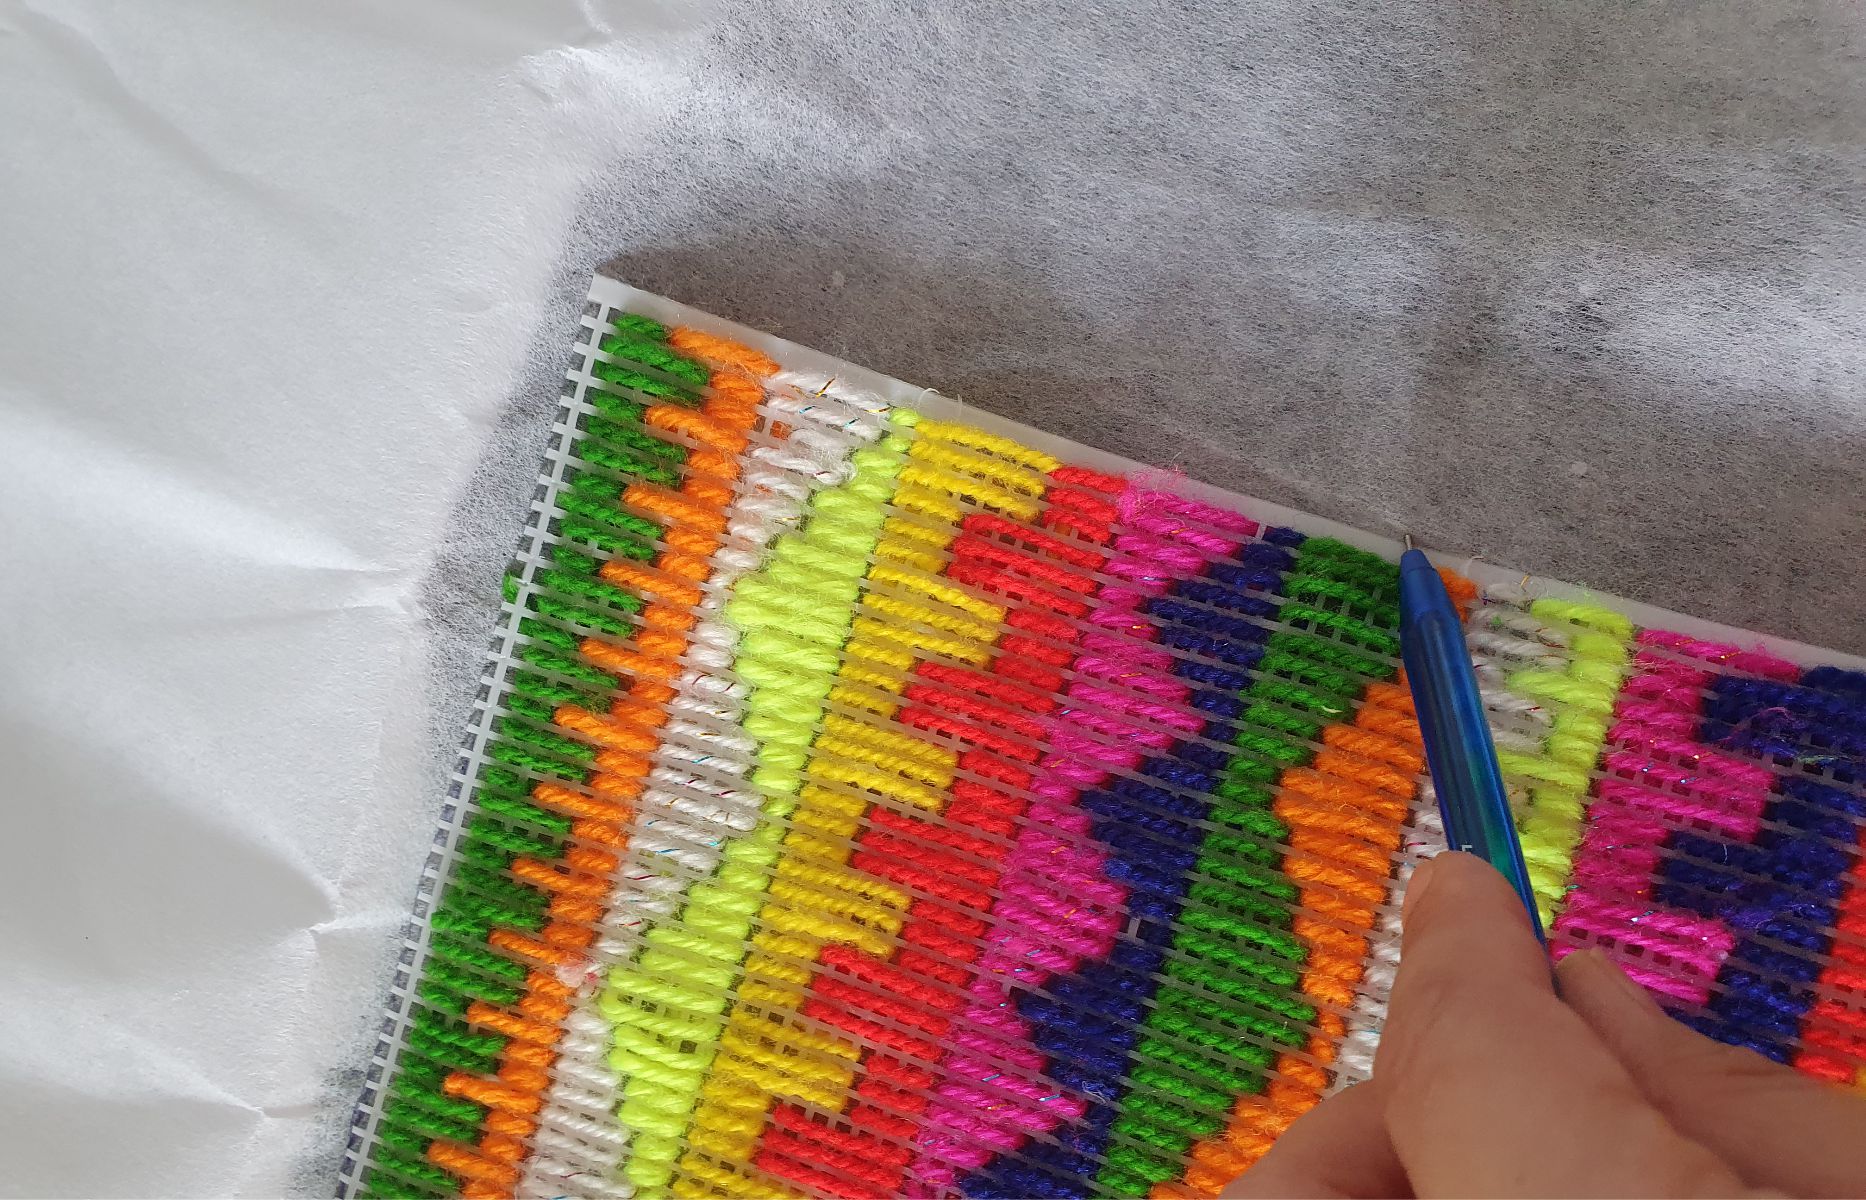
Stitch any design you would like. To make it easier (and faster) we decided to make patterns like this. You can make it any size and shape. Make sure to fold the fabric in half and make a small mark with a pen, so your child knows when the first side ends and the next starts. That is important when it's folded later.
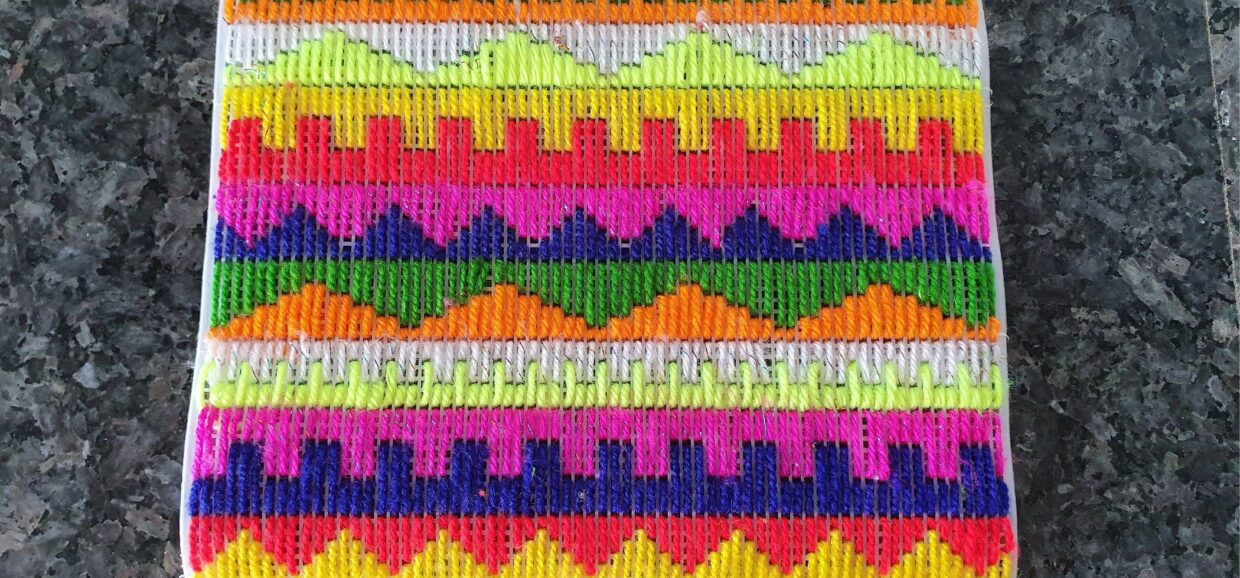
Stitch both sides of the pencil case. Ours is 20cm length (10 on each side of the finished pencil case) and 23cm wide. If you make your own size, make sure you can fit a pencil easily inside.
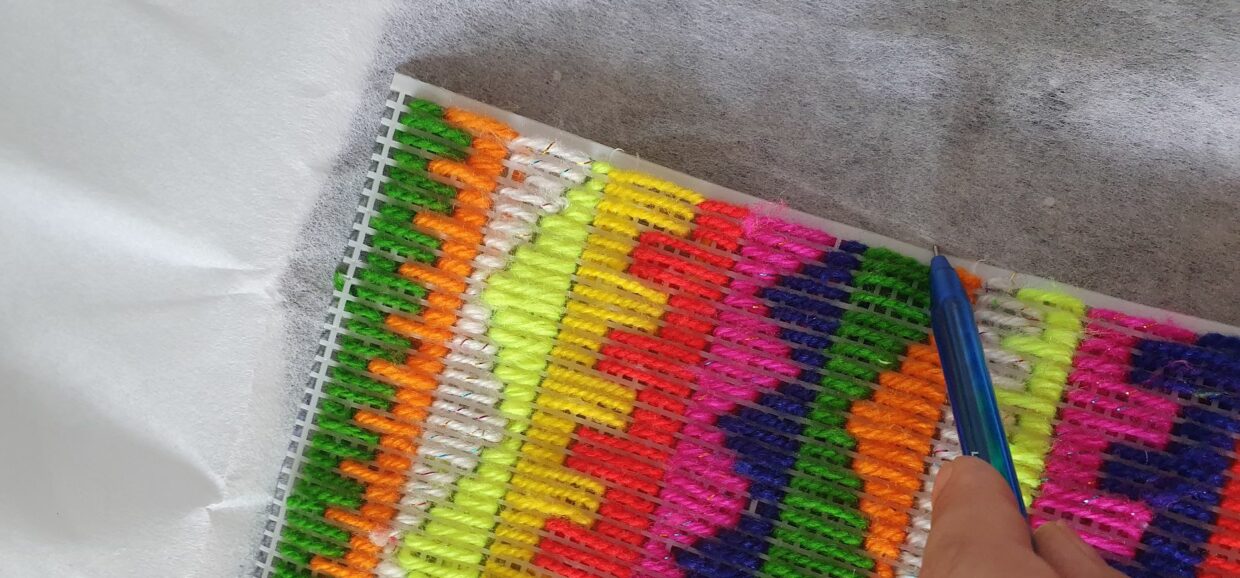
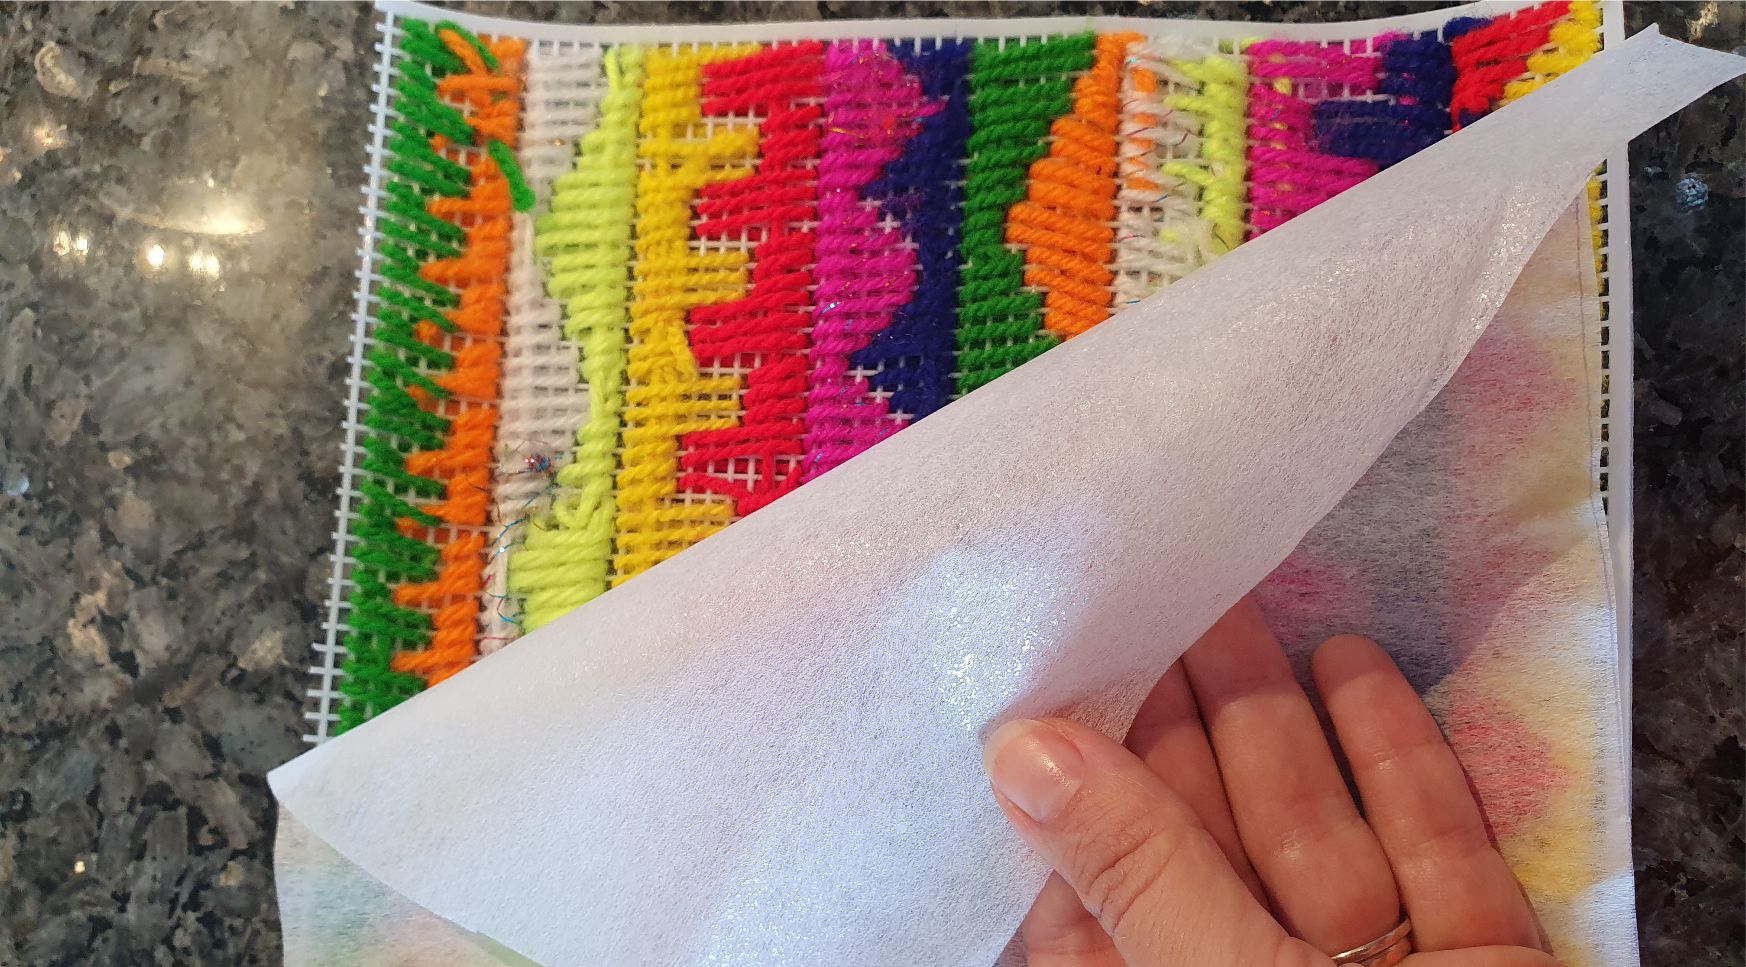
Lay out the embroidery backing with the pencil case embroidery on top and draw the outline with a pencil. Cut it out.
Make sure the shiny adhesive side is facing the backside of the embroidery
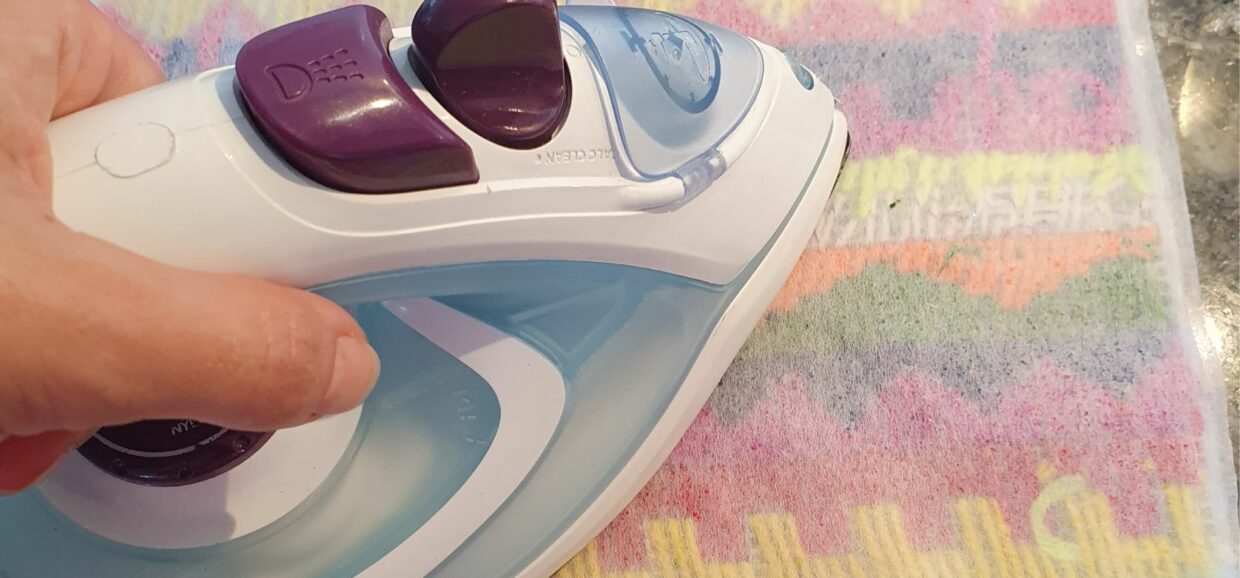
Iron the backing on. It will take about 10 seconds for the backing to adhere to the embroidery.
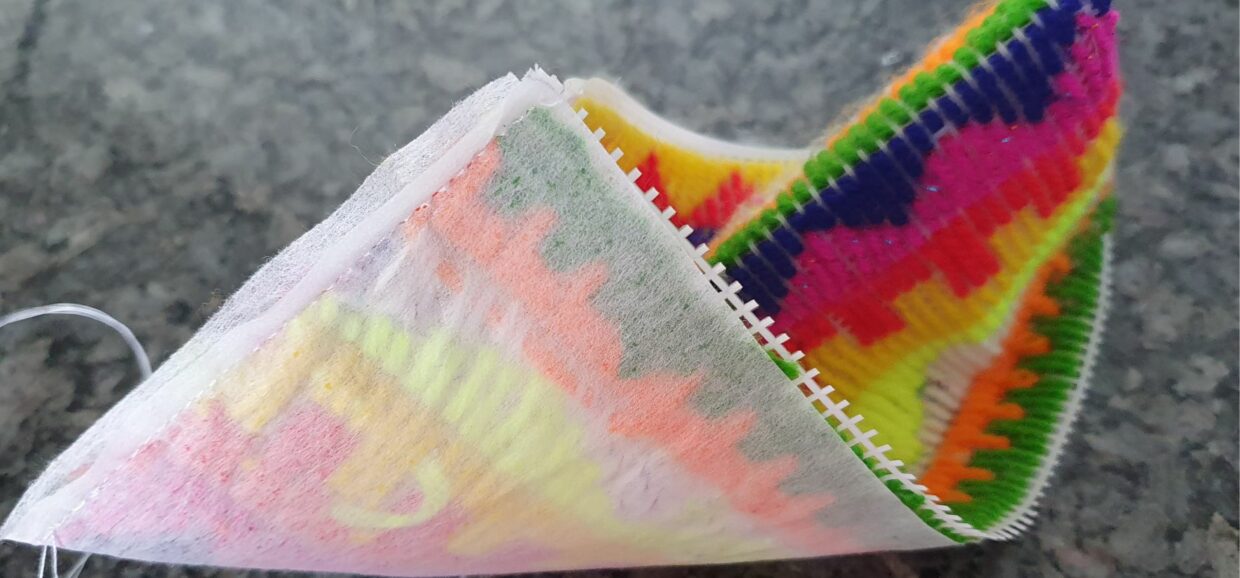
Turn it inside out and stitch the two sides.
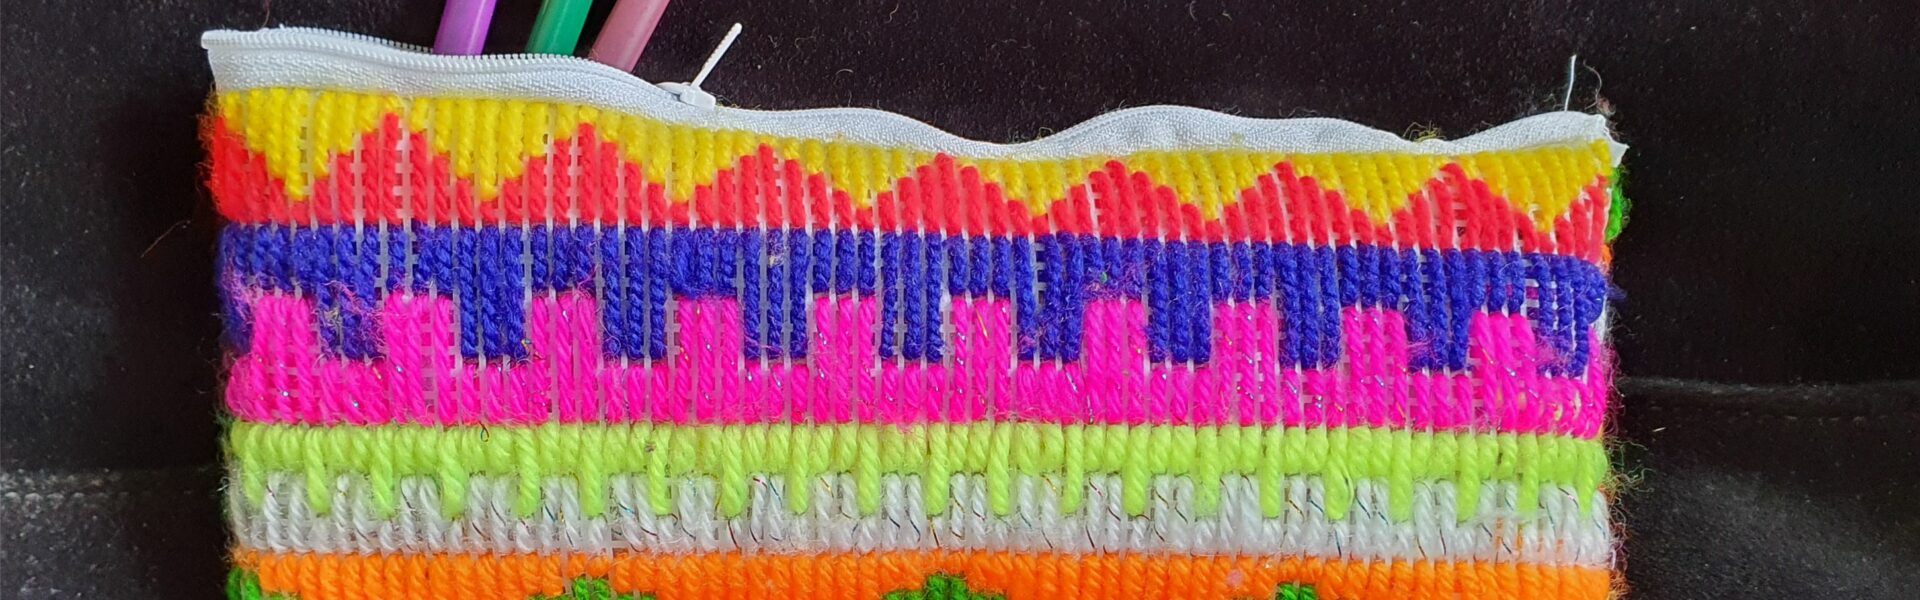
Finish off the pencil case by stitching on a zip. I did not take any pictures of this as I may have done it the wrong way. I just opened the zip and stitched it on both the sides. It works and my daughter was happy :-)


Leave a Review
You must be logged in to post a comment.