- August 15, 2022
- 0 Like
- 0 / 5
- 2,999 Total Views


- Prep Time5 min
- Ready In15 min
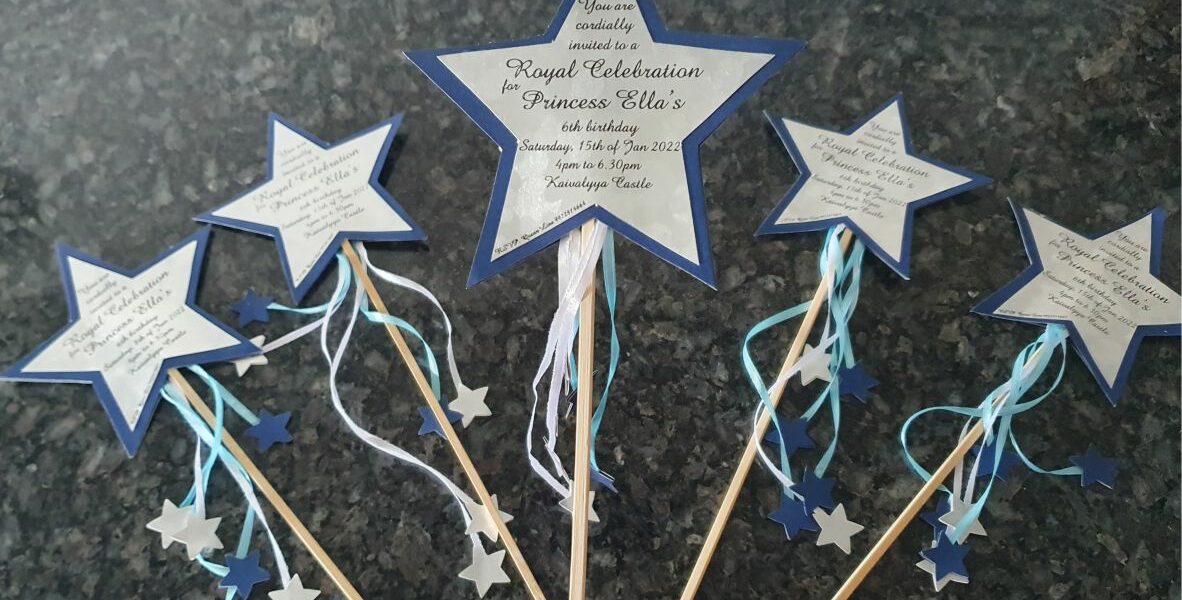
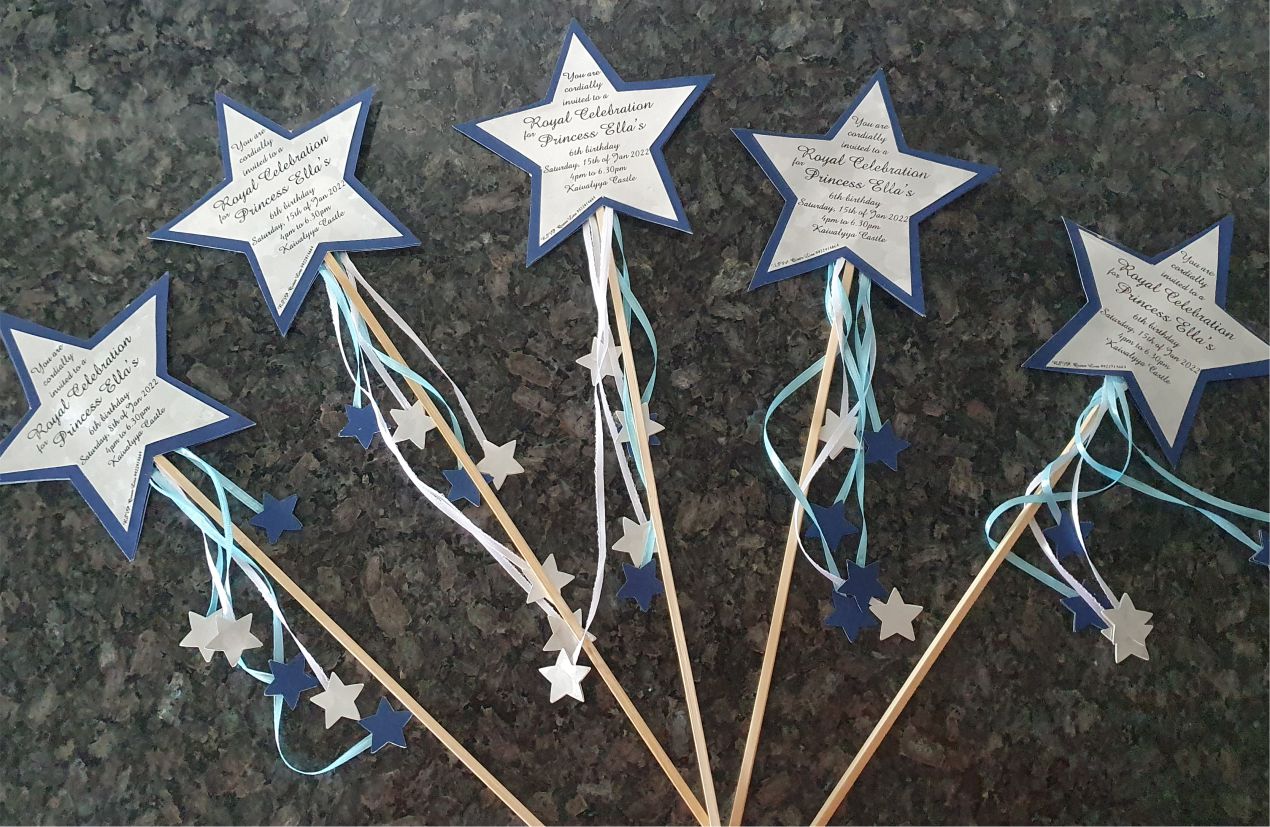
If you love themed birthdays as much as I do, then you are going to love this homemade fairy wand invitation. We used it for a themed Cinderella party -hence the blue colours-, but a fairy party, rainbow party or anything in that style would work with this invitation too.
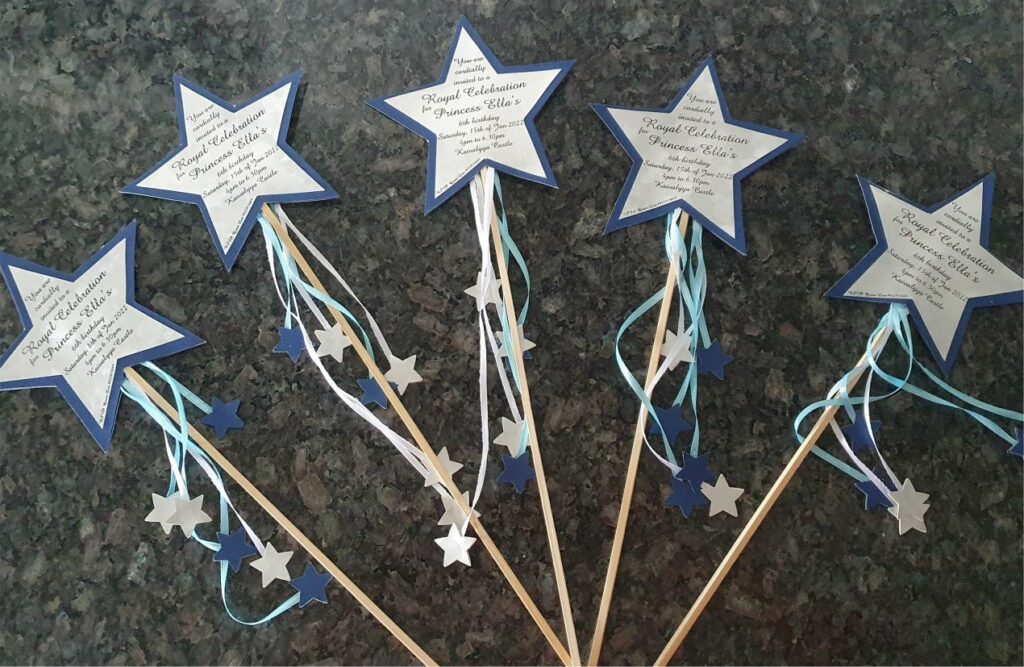

Make your own Fairy Wand Party Invitation…
…with only a few ingredients and in less than 15 minutes. It really is that easy to make this beautiful invitation that is bound to set the tone for the party and leave the guests more excited than a standard paper invite or (gasp!) an e-invite (no judgment, we have all been there!)
To be honest, the hardest part about this invitation was to print the words onto the shiny silver paper. Our printer just didn’t seem to like the idea, so it decided to smear the ink all over the page instead on my first two tries. I would therefore recommend using coloured printer paper instead of any shiny paper -or just be prepared that you will need to print more.
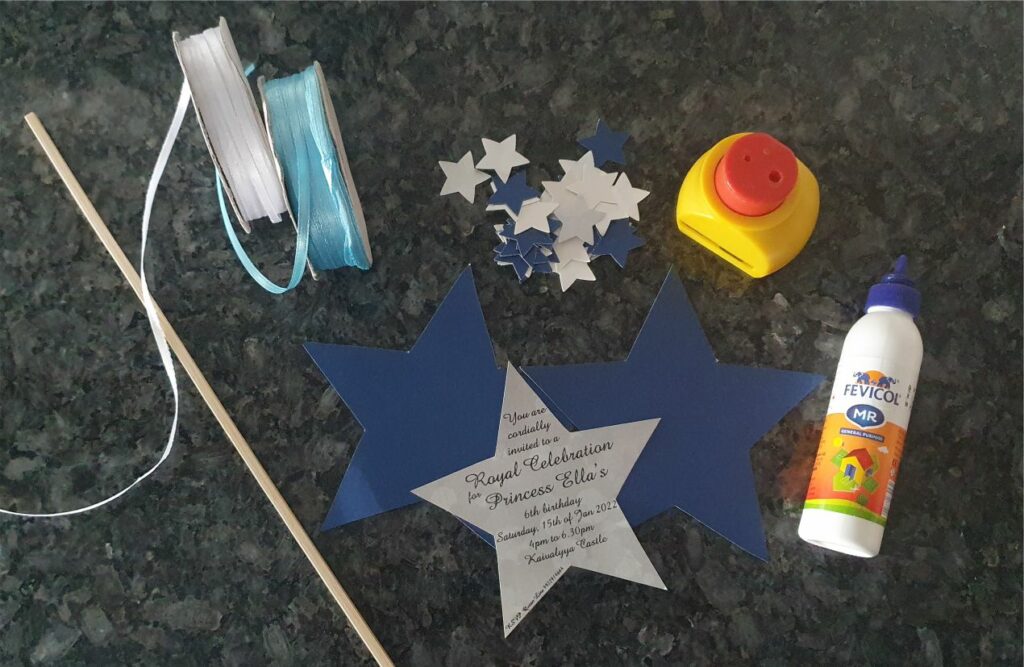

To make a fairy wand invitation for your next themed party, you will need:
- Thick (250gsm or more) paper or cardstock in two colours.
You will need two blue stars and one silver star with the actual invitation written on there. Print the invitation onto the paper before you cut out the stars. You can use these templates or find some online. The smaller star needs to be just 8-10mm smaller in diameter than the larger one. Keep the remaining paper and cut offs for the small stars that will go on the strings.


- Printer (or the possibility of using your neighbours)
- Satin ribbons in two colours or more. I have used size 1/8 inch which is the thinnest size ribbon I could get.
- White craft glue I always use the local brand Fevicol which is a good craft glue that works for nearly all of our projects.
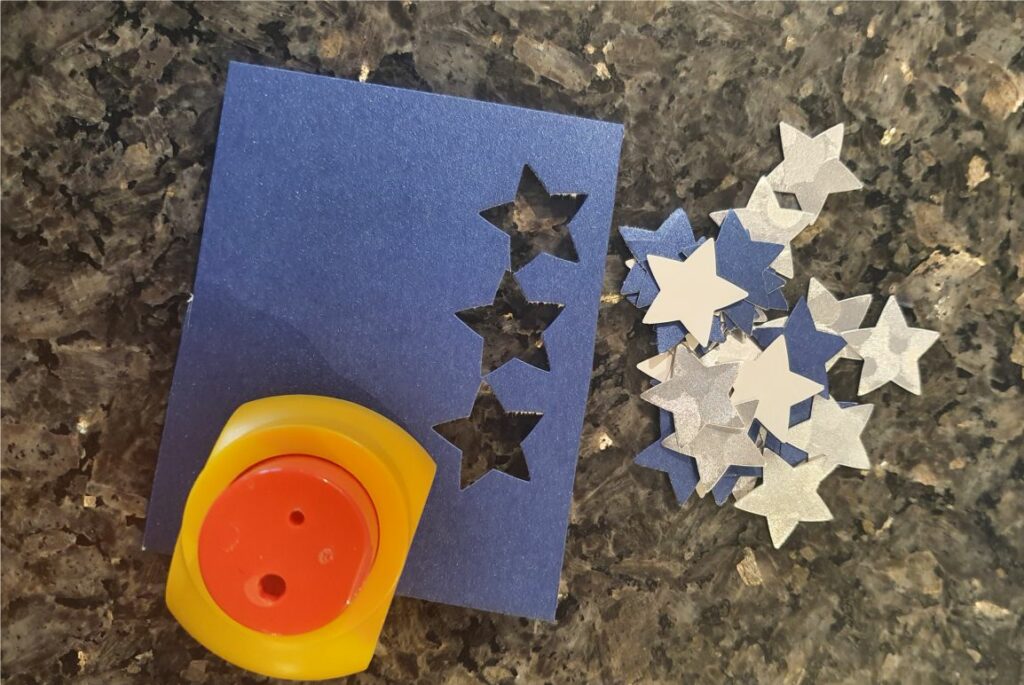
- Star paper punch
- Wooden craft stick
The stick should be smooth, strong and about 12-14″ long. It should not be too thick (max 5-7mm diameter) so the two paper stars can close around it without bulging too much. I found ours in the local Itsy Bitsy shop.

See the full instructions with pictures below in the steps.
Need inspiration and free templates for other themed parties?
Check out my themed parties category on top. You will find free invitation and games templates as well as inspiration for parties ranging from Halloween or Moana to Rainbow Themed and much more.
I have lots of Cinderella party food ideas too. Coming up soon, so don’t forget to check back soon.
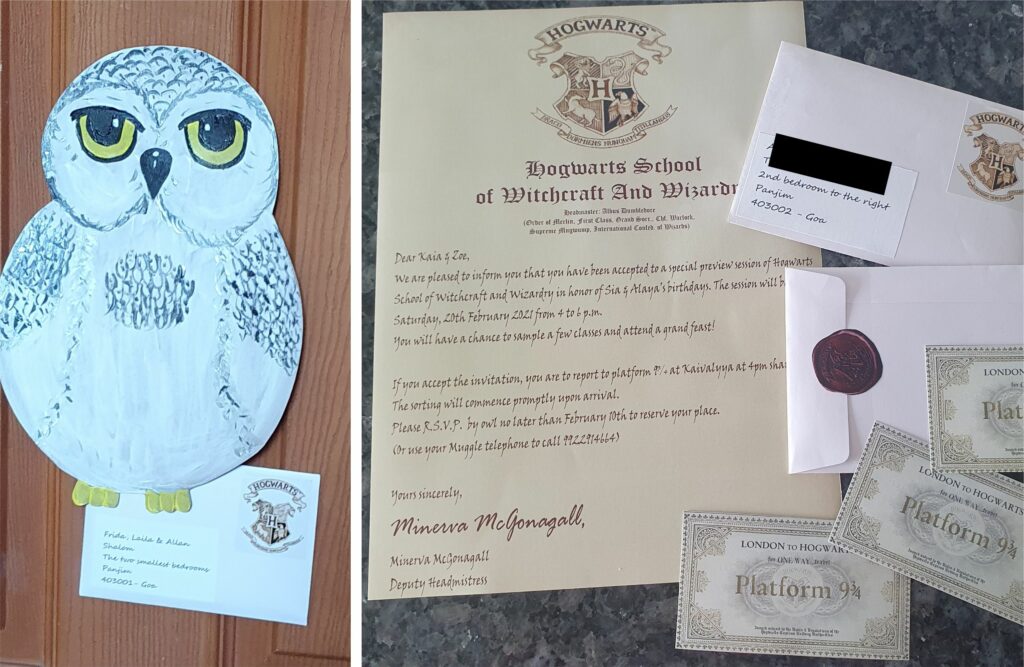
For other special invitations, check out our Harry Potter Party Invitation: The Ultimate Harry Potter Invitation -delivered by owl of course!

Ingredients
Directions
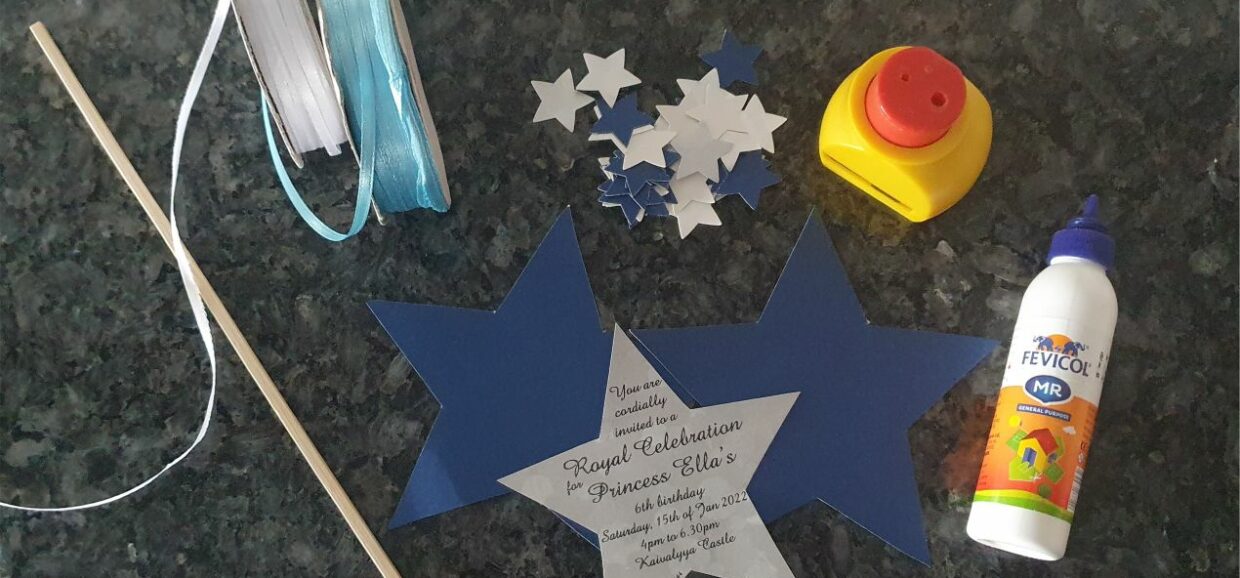

Keep all the ingredients to make the fairy wand ready. See the full list above.
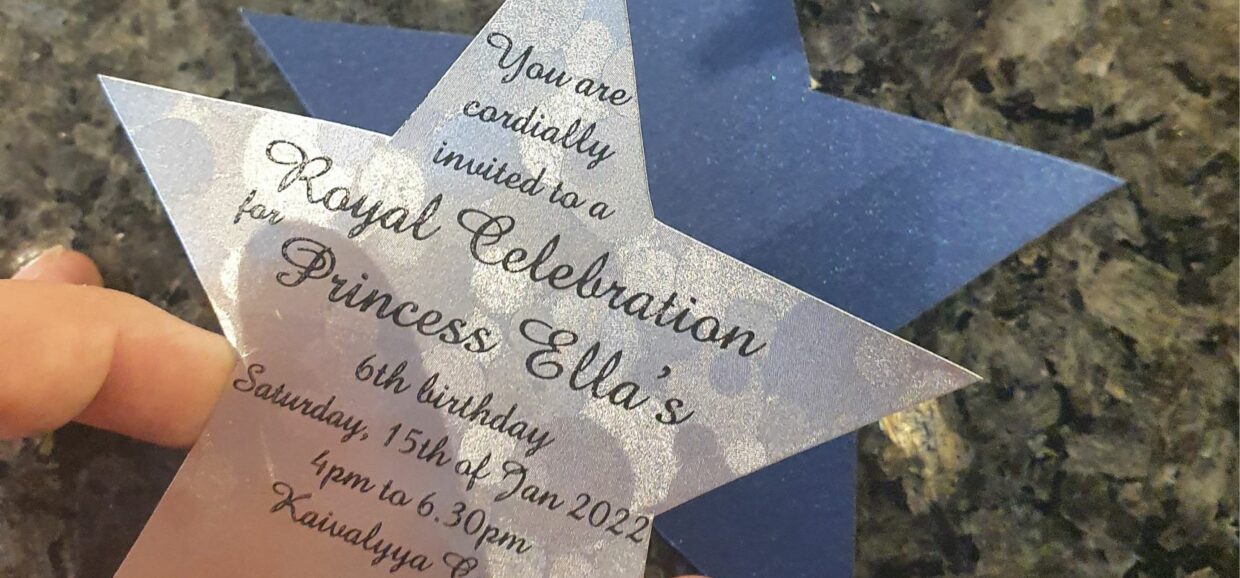

Glue the written invitation star onto one of the bigger stars
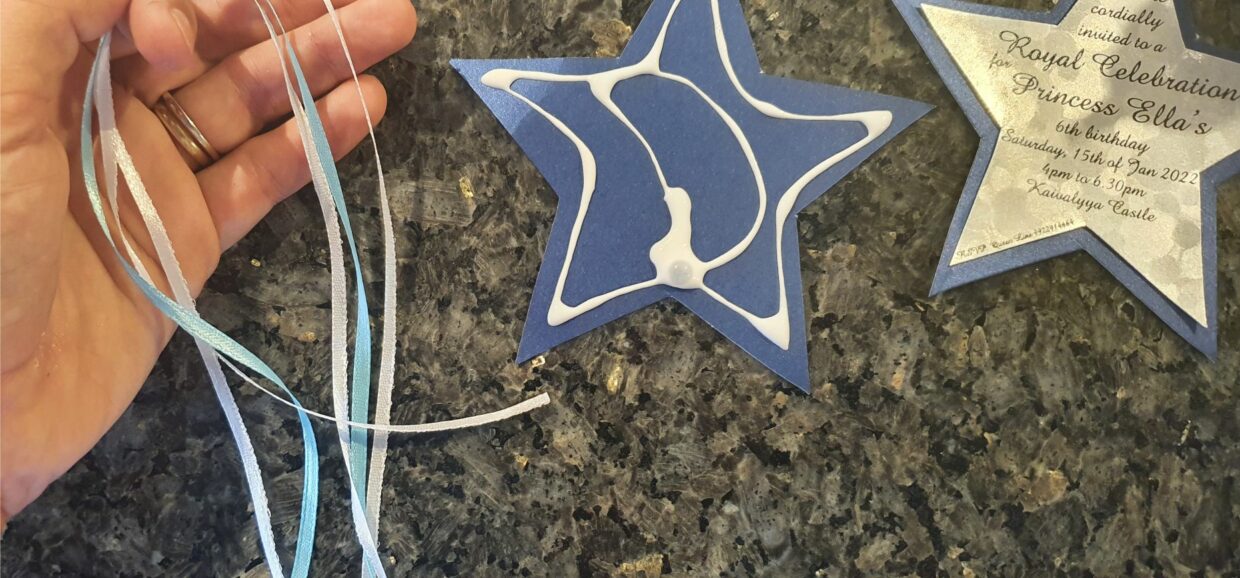

Cut the satin ribbon into 25-30cm length and fold in half. I used two white and two blue ribbons.
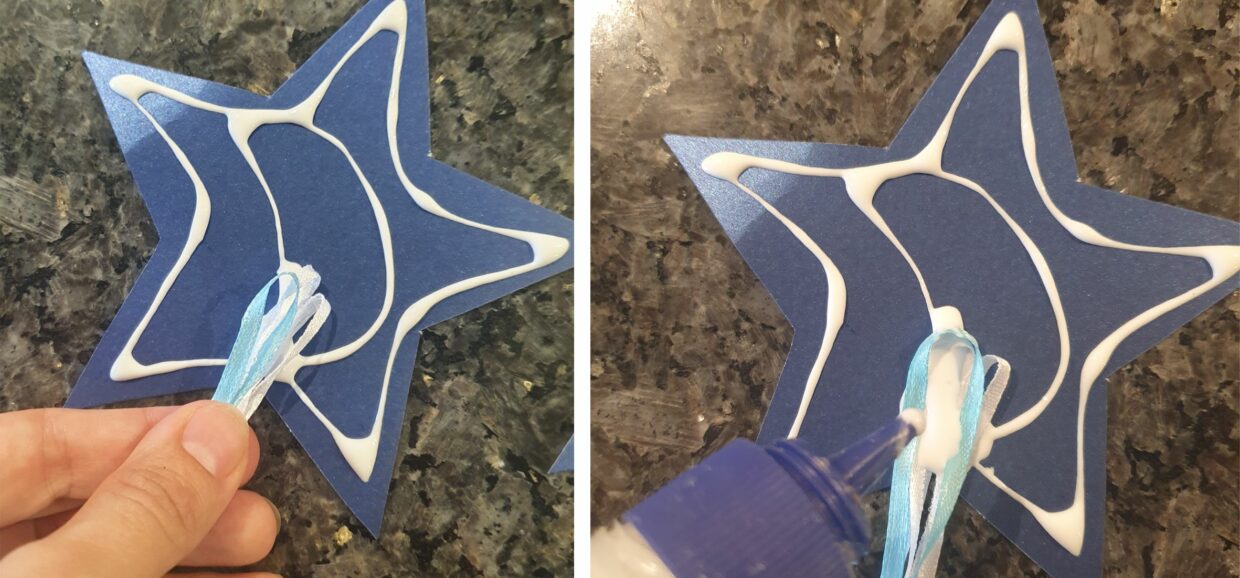

Add glue to the second blue star and put the folded ribbons. Add a little more glue on top.
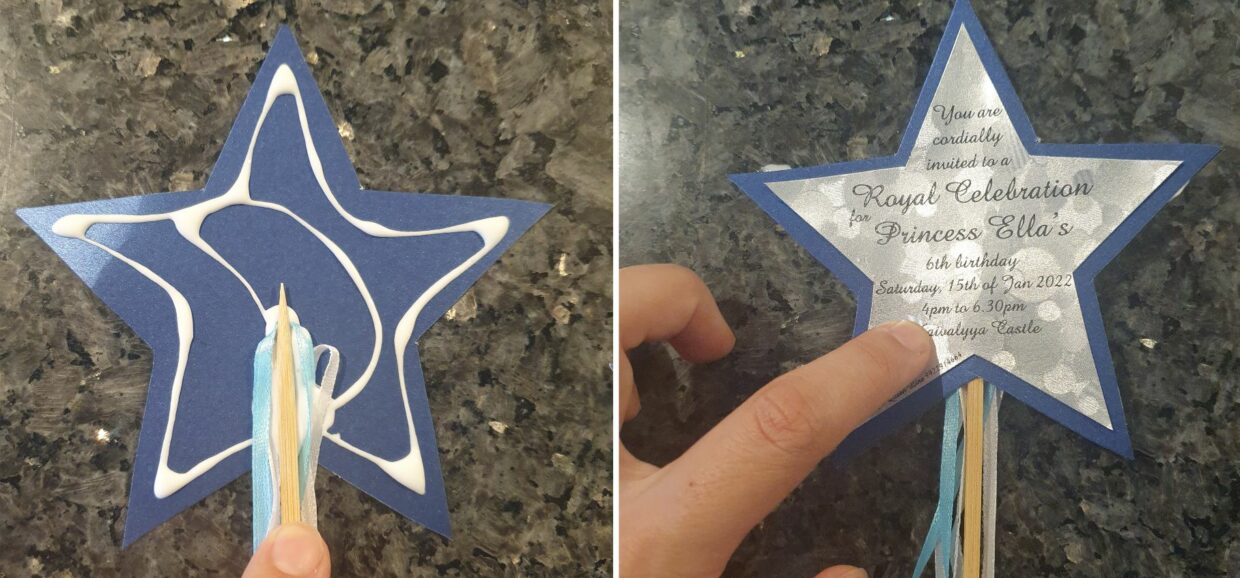

Put the stick in the middle of the ribbons. Stick the top star (with the actual invitation glued to it) on top of it.
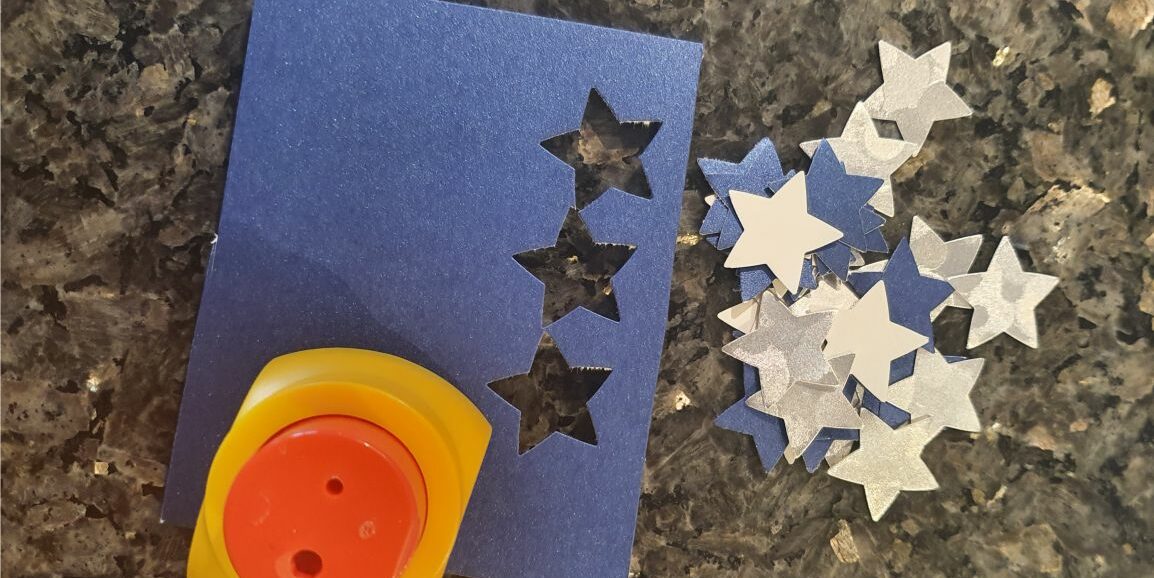

Use a star paper punch to make small stars in both silver and blue
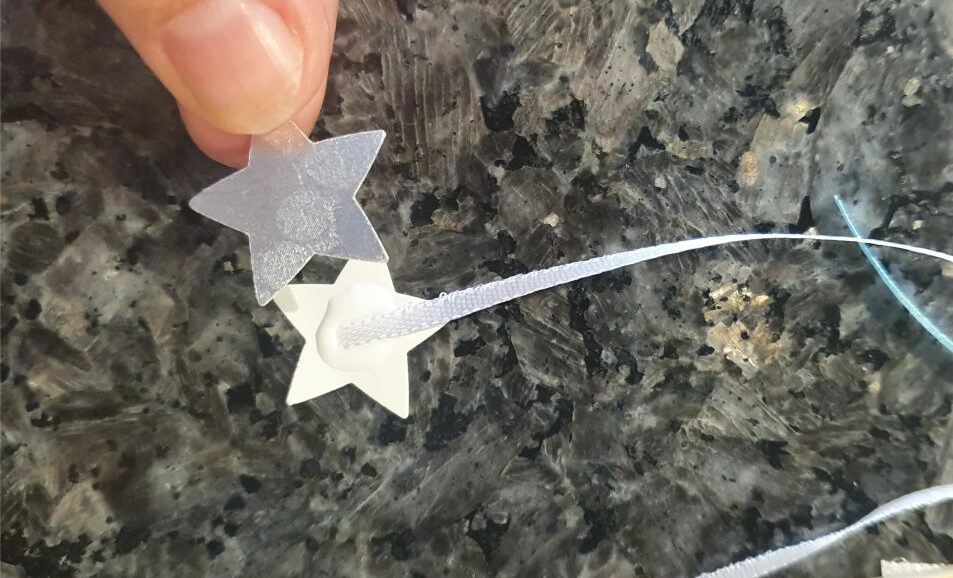

Glue one star onto each ribbon
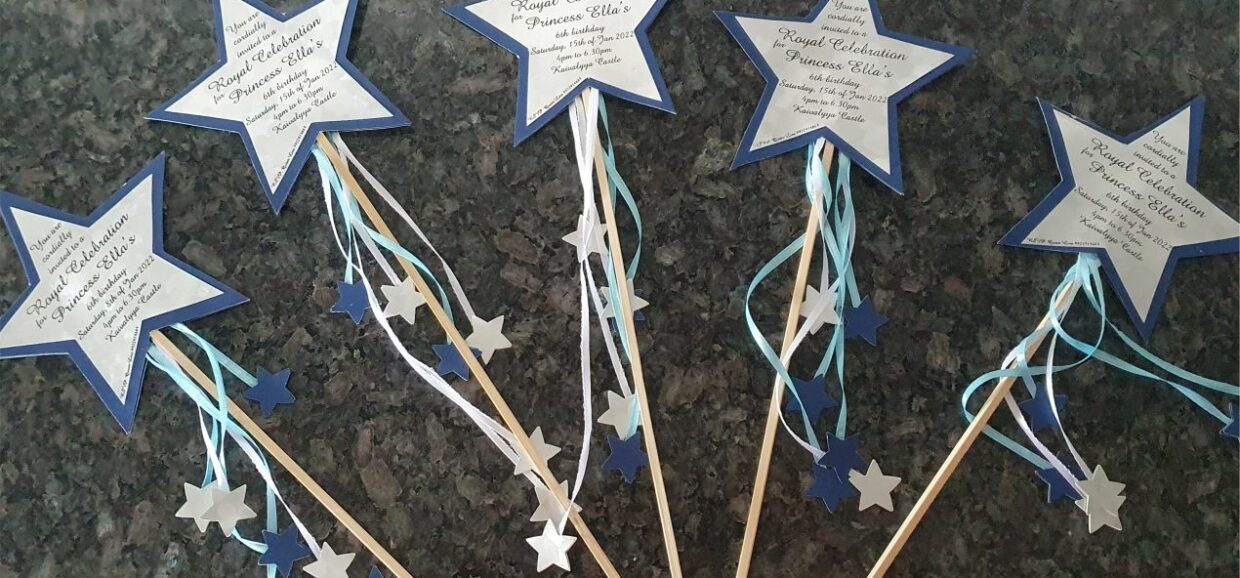

Let the wand dry and you are done. Hope you liked this invitation idea. Our friends have saved them and use them as toys now, so truly a useful invitation :-)
Homemade Fairy Wand Invitation
Ingredients
Follow The Directions
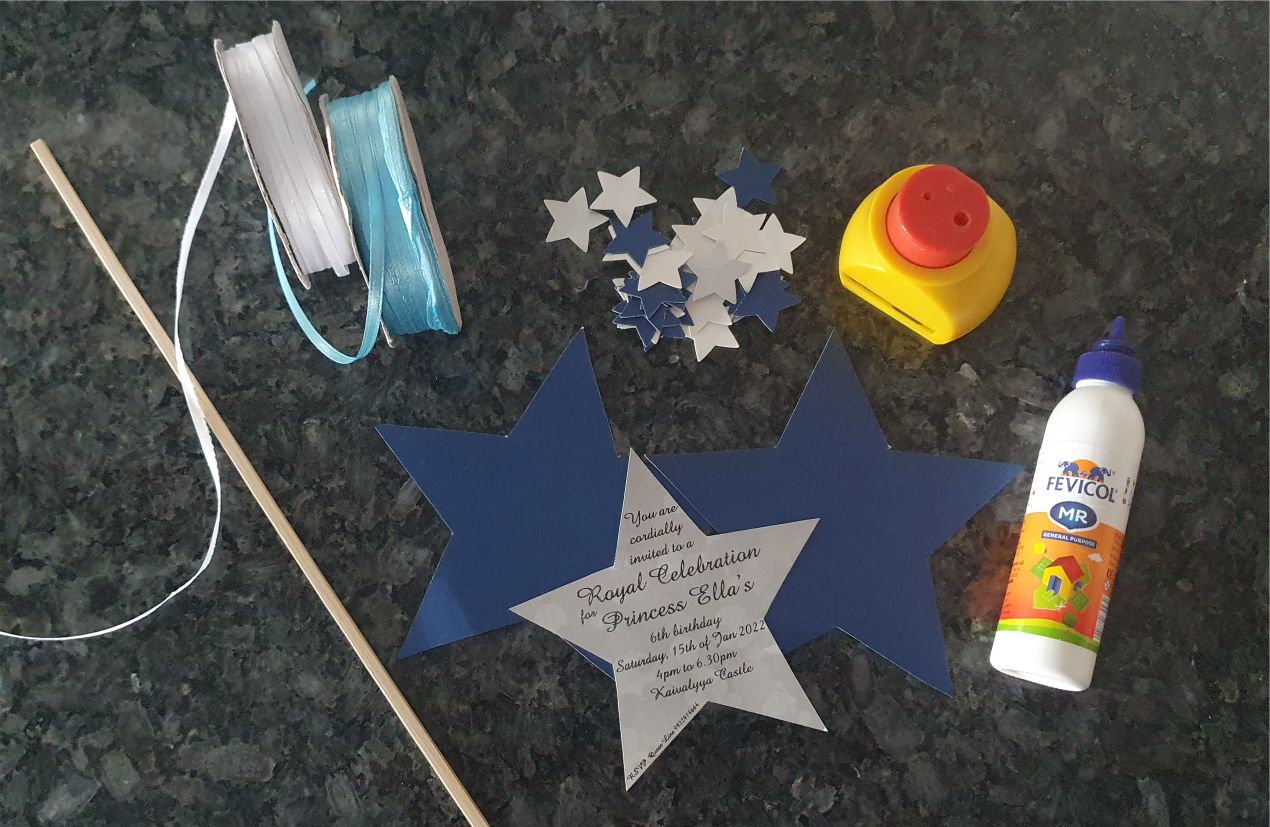

Keep all the ingredients to make the fairy wand ready. See the full list above.
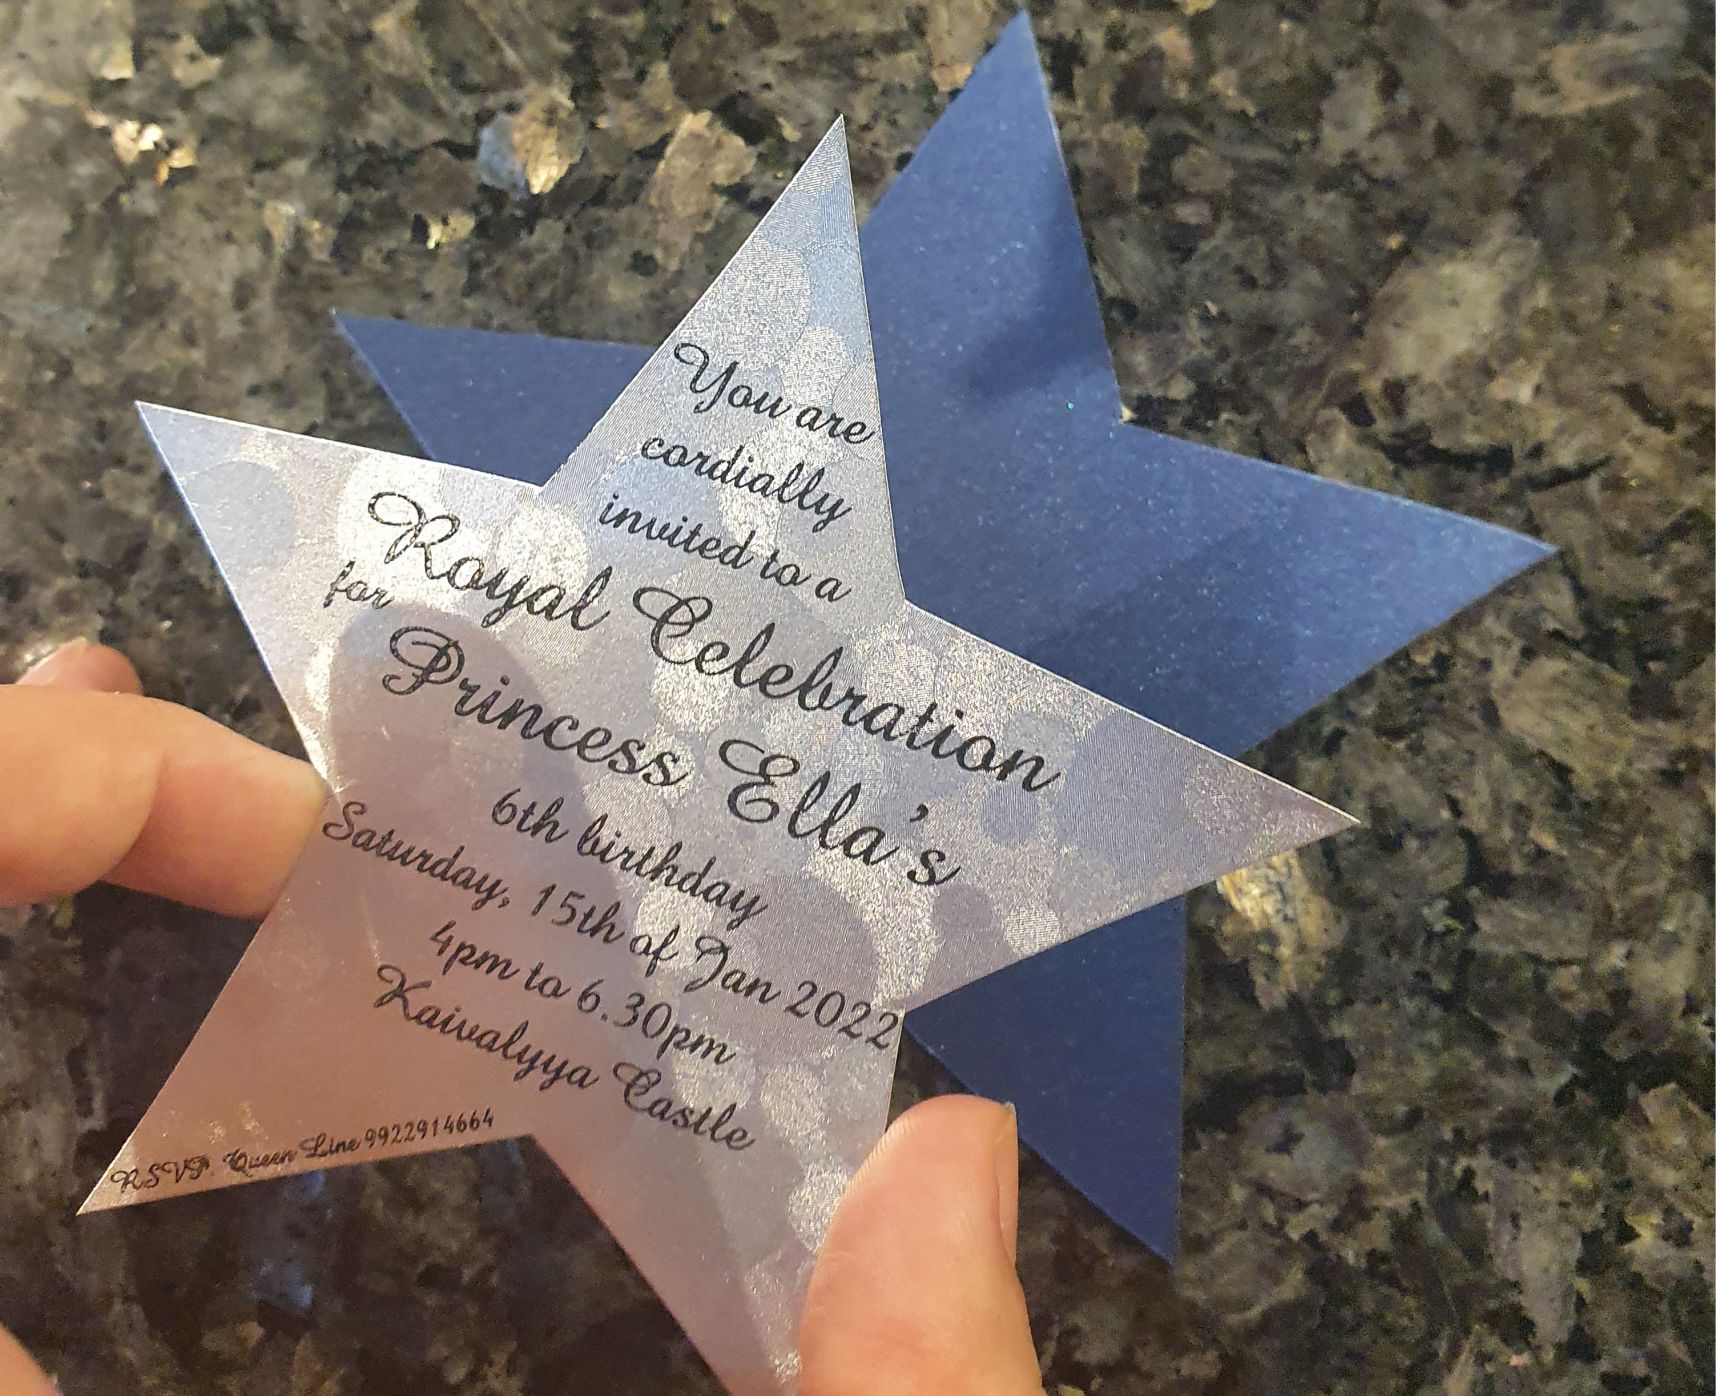

Glue the written invitation star onto one of the bigger stars
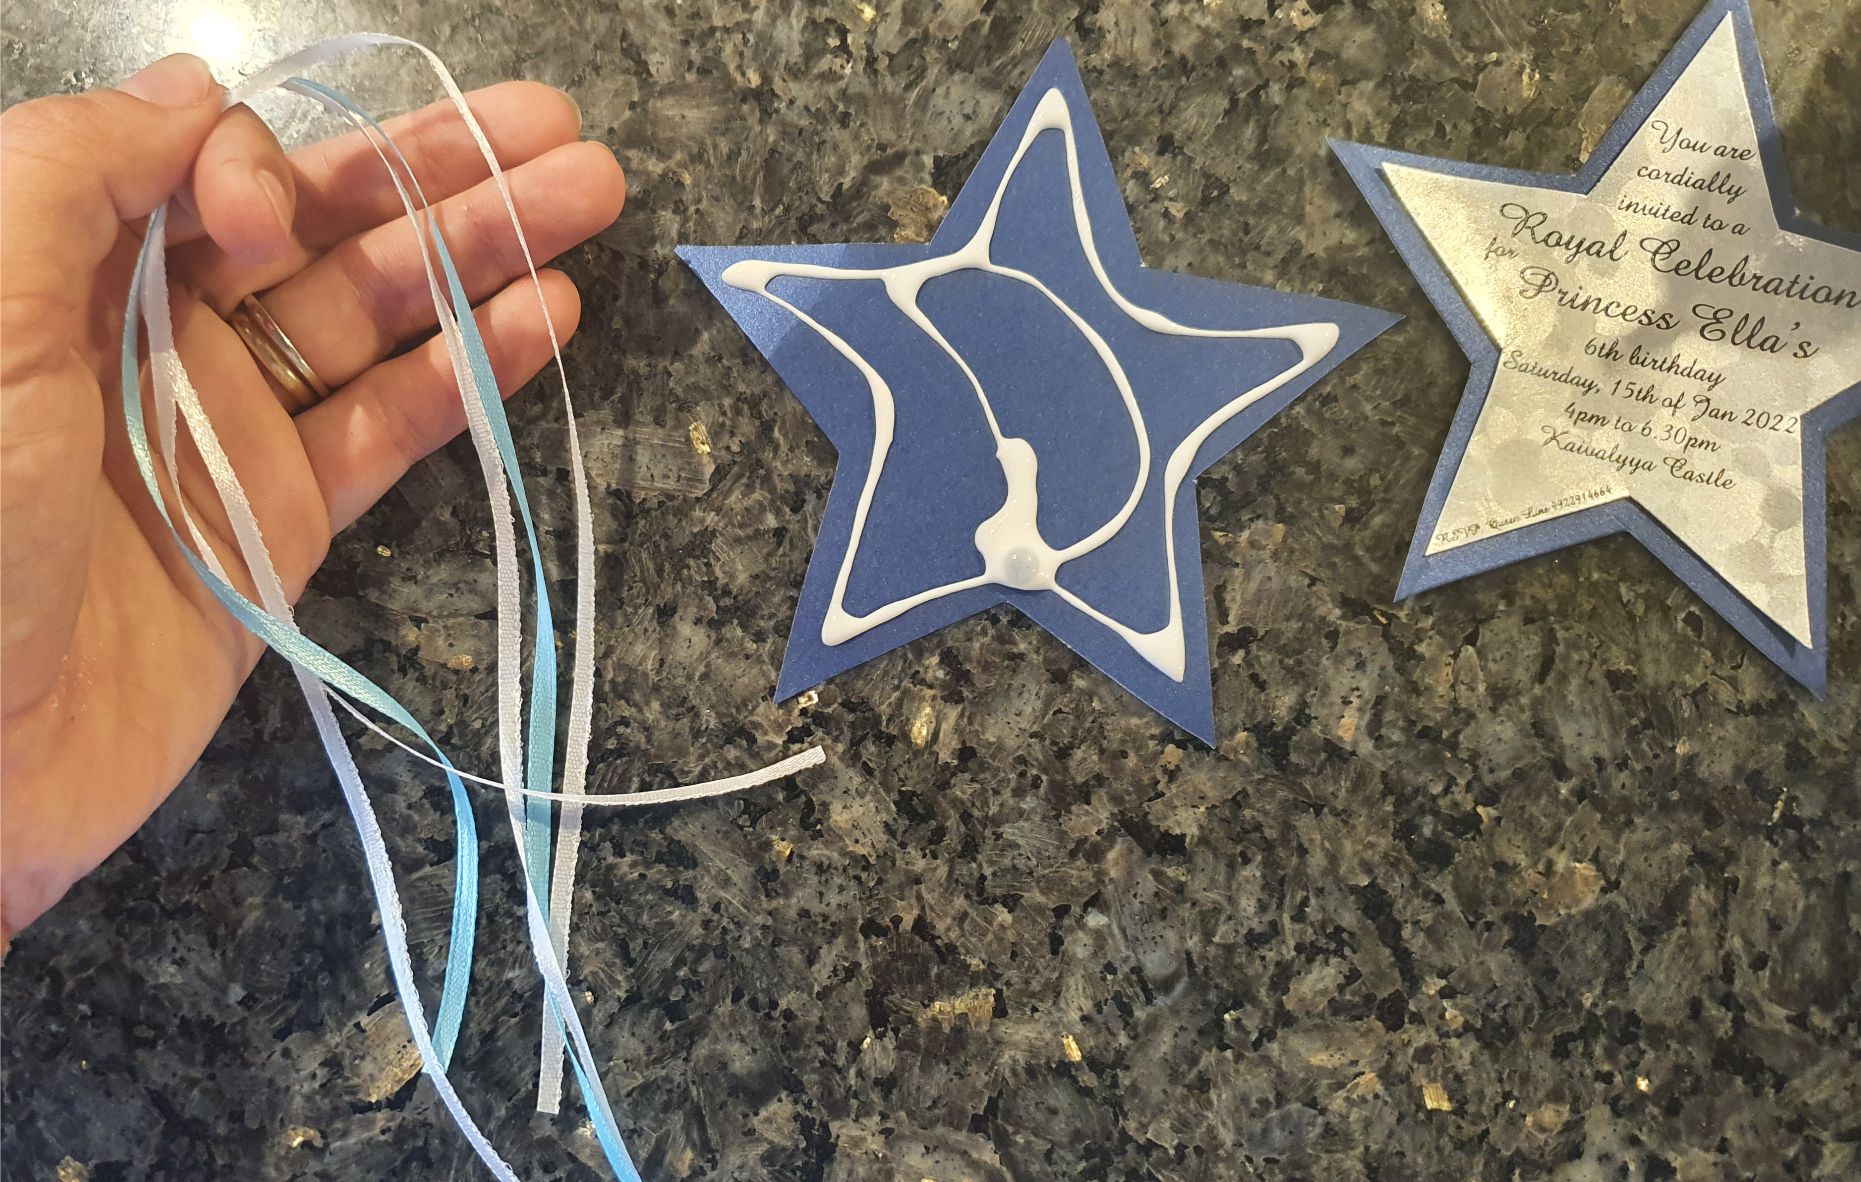

Cut the satin ribbon into 25-30cm length and fold in half. I used two white and two blue ribbons.
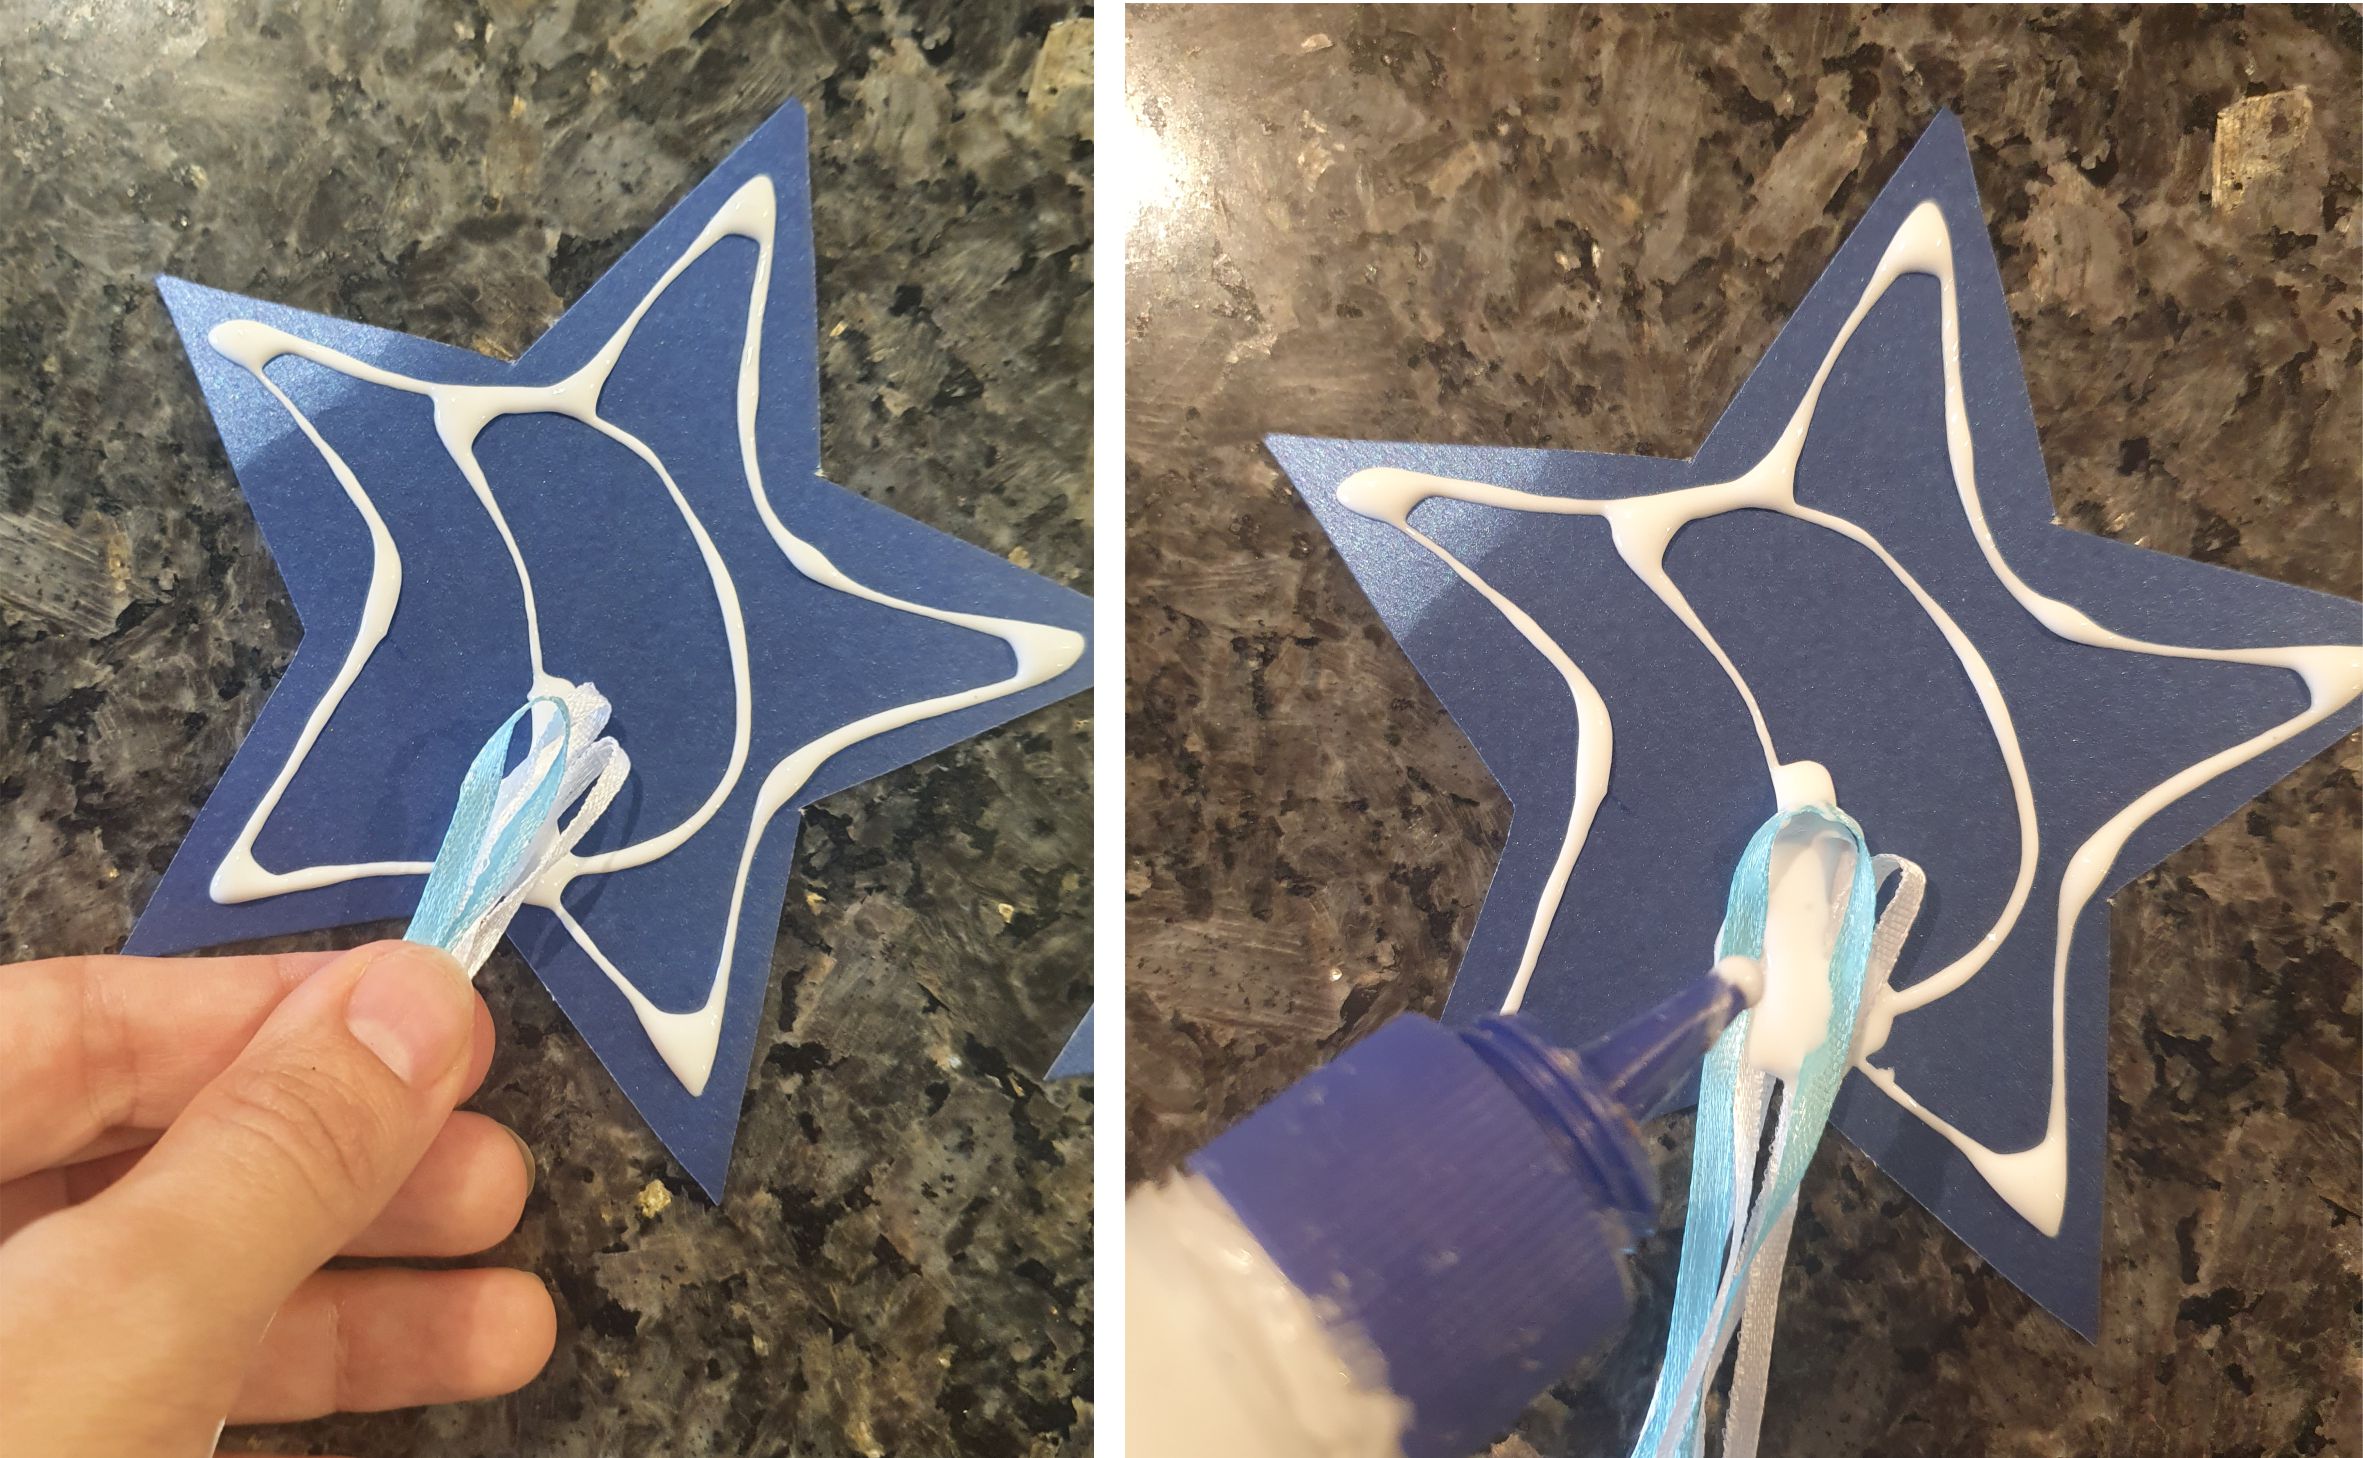

Add glue to the second blue star and put the folded ribbons. Add a little more glue on top.
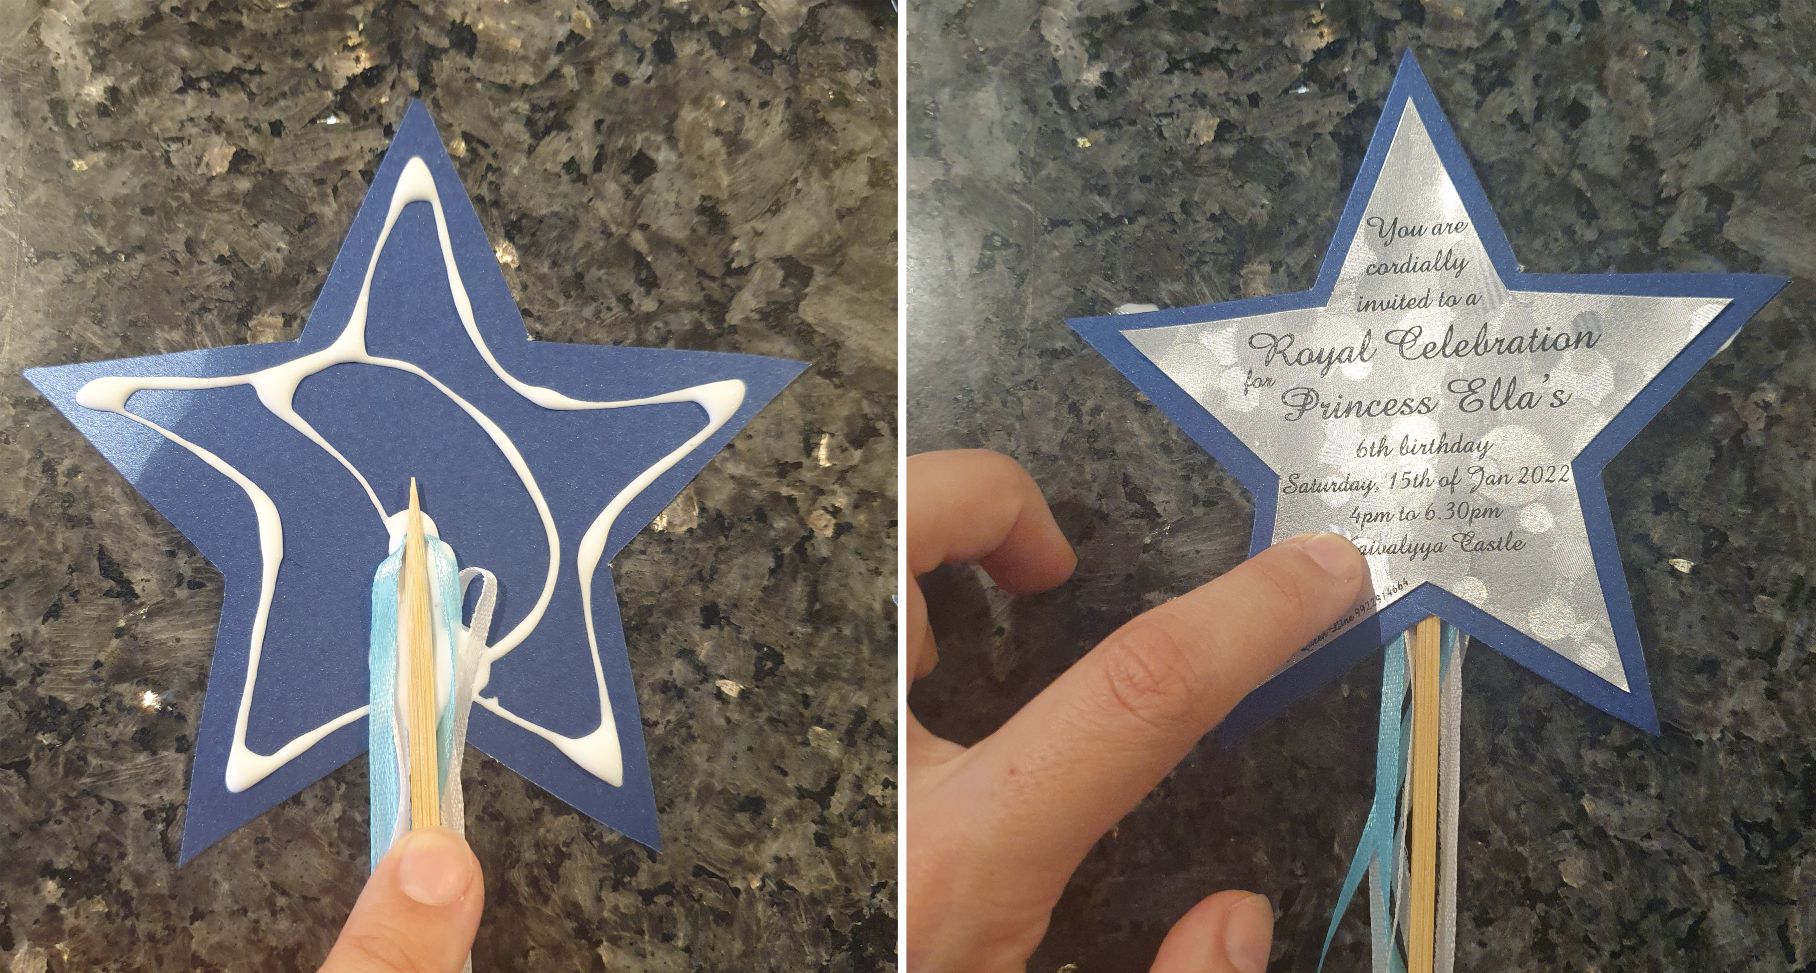

Put the stick in the middle of the ribbons. Stick the top star (with the actual invitation glued to it) on top of it.
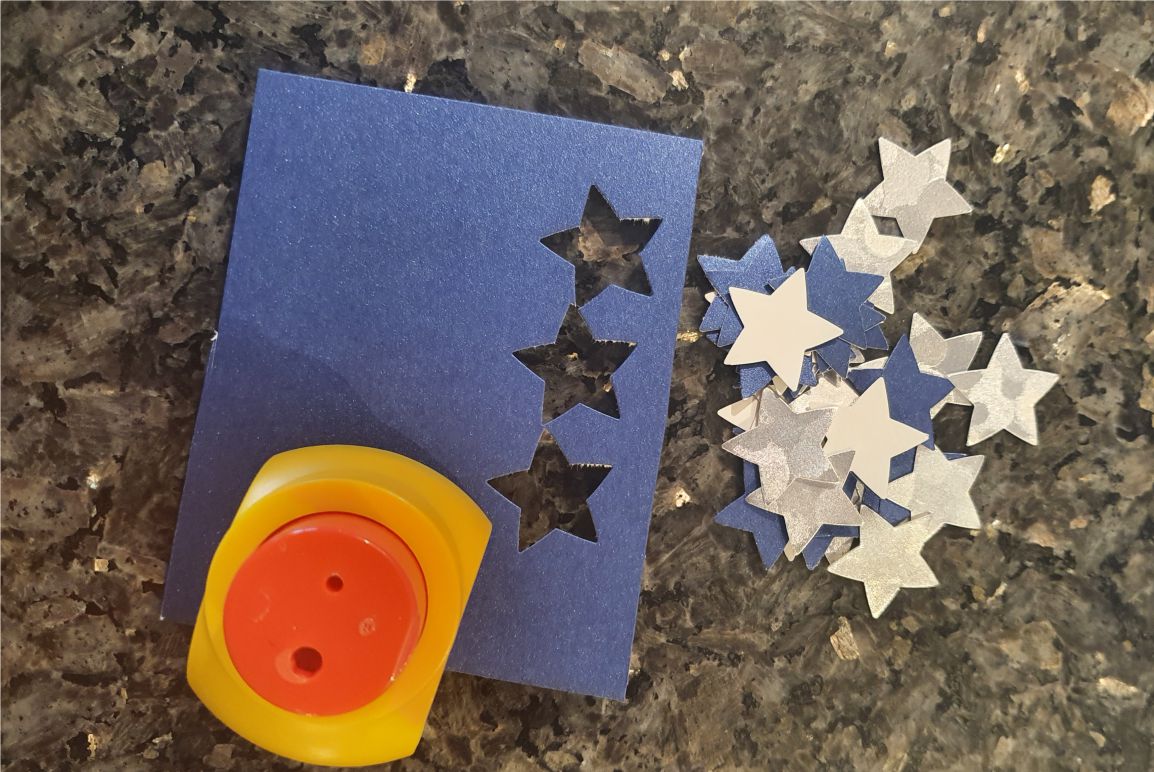

Use a star paper punch to make small stars in both silver and blue
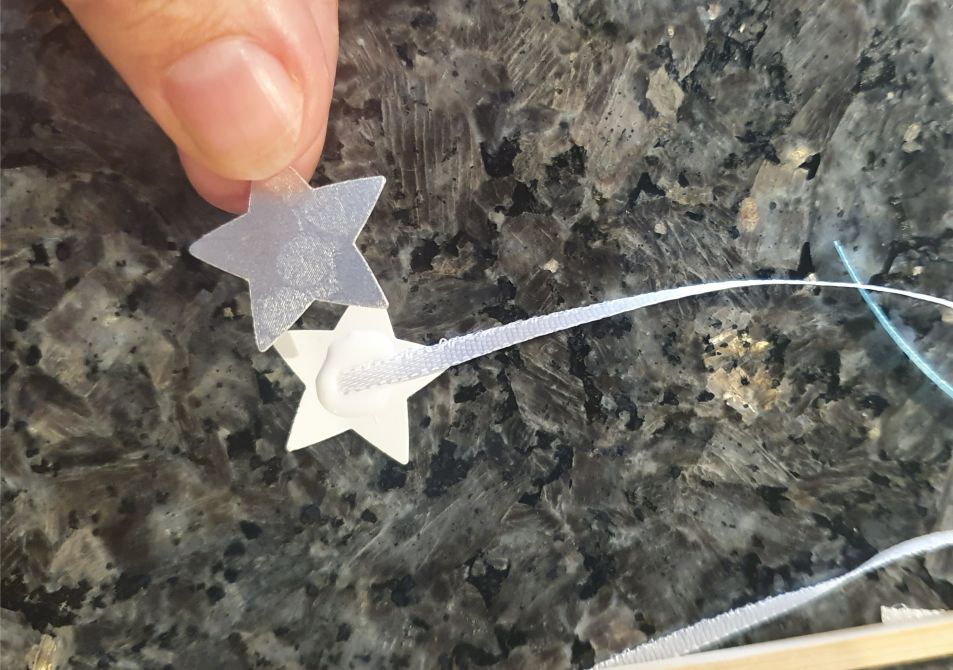

Glue one star onto each ribbon

Let the wand dry and you are done. Hope you liked this invitation idea. Our friends have saved them and use them as toys now, so truly a useful invitation :-)


Leave a Review
You must be logged in to post a comment.