- February 4, 2021
- 1 Like
- 0 / 5
- 29,990 Total Views


Here is the easiest way for you to make The Ultimate Harry Potter Invitation! Read on to get the free templates ready to download, learn how to make a quick hand drawn Snow-owl like Hedwig and what to write in the invitation to make it as authentic as possible. All without it costing a fortune.
A Harry Potter party starts with the Ultimate Harry Potter Invitation
We are real Potterheads in our family. When the lock-down first started a year ago (!!) I started reading the books aloud for the kids every day at bedtime. It was the perfect end to a day and something that I have been looking forward to sharing with the kids for many years. The outcome was that I now have two kids who love the Harry Potter books as much as I do. And when it came to choosing this year’s birthday party theme it was a no-brainer. It simply has to be Harry Potter themed 🙂
We decided to go all out with the invitation so we did what many have done before us and printed it like a letter from Hogwarts. We also included tickets for the Hogwarts Express for every child (find the link to download the ticket template later in this post) and had them delivered by hand-painted owls! My kids (and all the invitees) thought it was amazing. And it wasn’t even too hard to do. 🙂 Follow the steps below (or the video) to paint your own Hedwig owl in less than 15 minutes.
The Ultimate Harry Potter Invitation includes:
- Invitation letter
- Envelope with Hogwarts seal and stamp
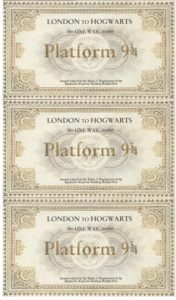
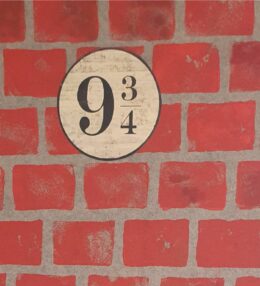
- Tickets for the Hogwarts Express from Platform 9 3/4
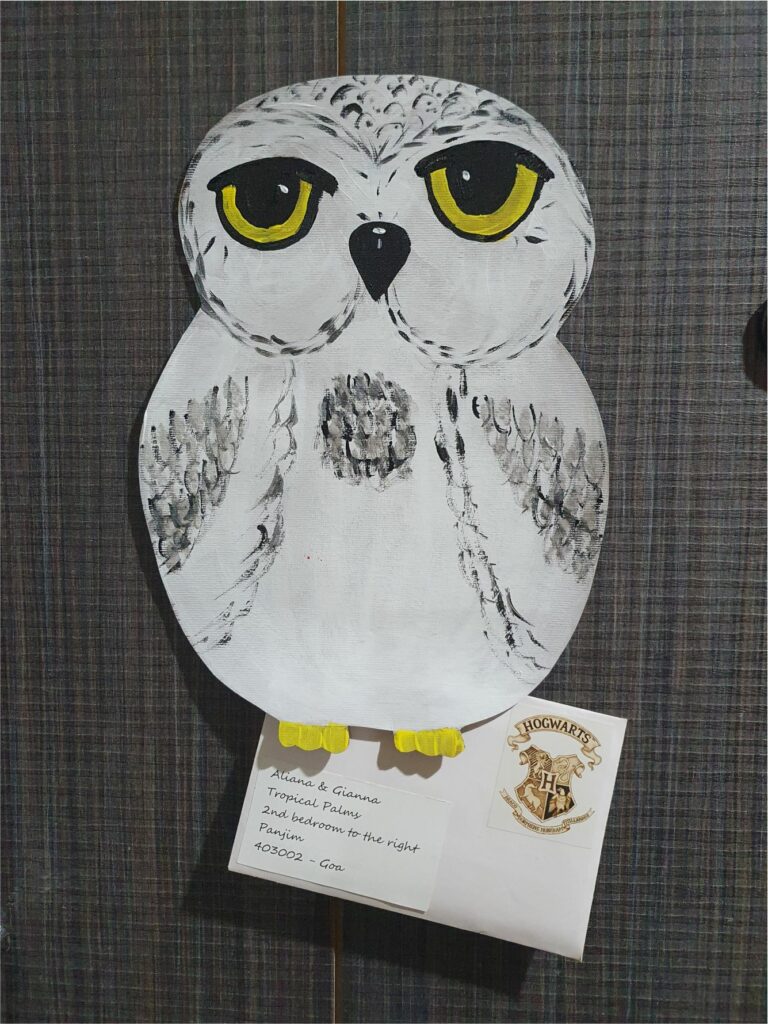
- Delivery by a snow owl (like Hedwig)
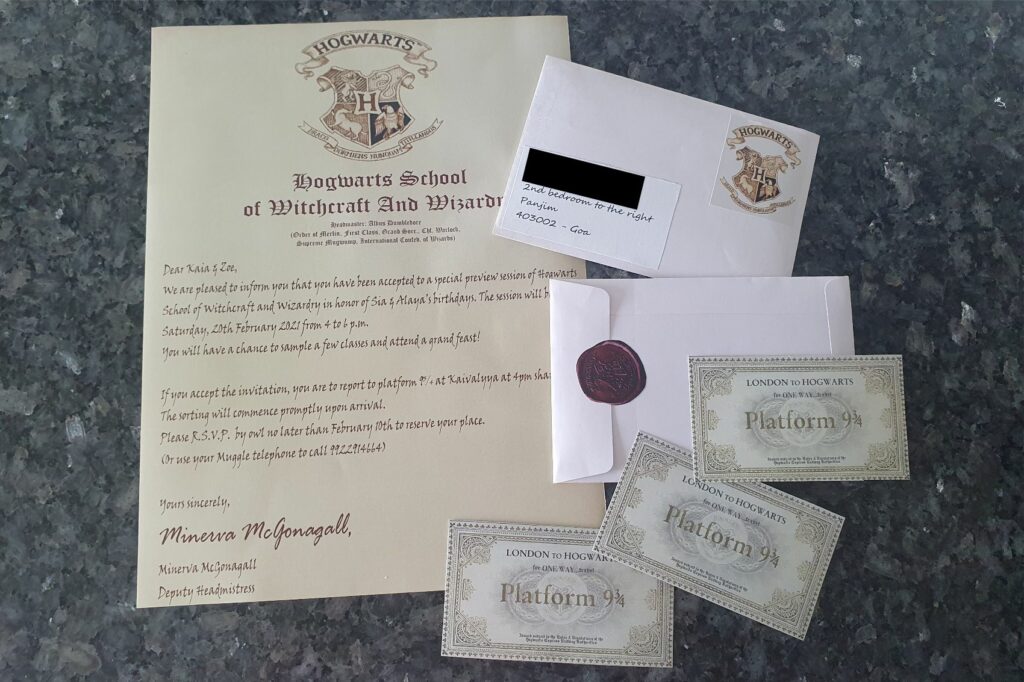

The Invitation letter:
There are many options of these invitation letters on Pinterest or Google. I found a few lines from each one and wrote a few myself to make it fit into our party. The Hogwarts Seal is from google and though the resolution isn’t the best, it worked brilliantly as the letterhead. Here is the link to download this letter without the writing so you can customize it yourself: Hogwarts Seal Harry Potter invitation
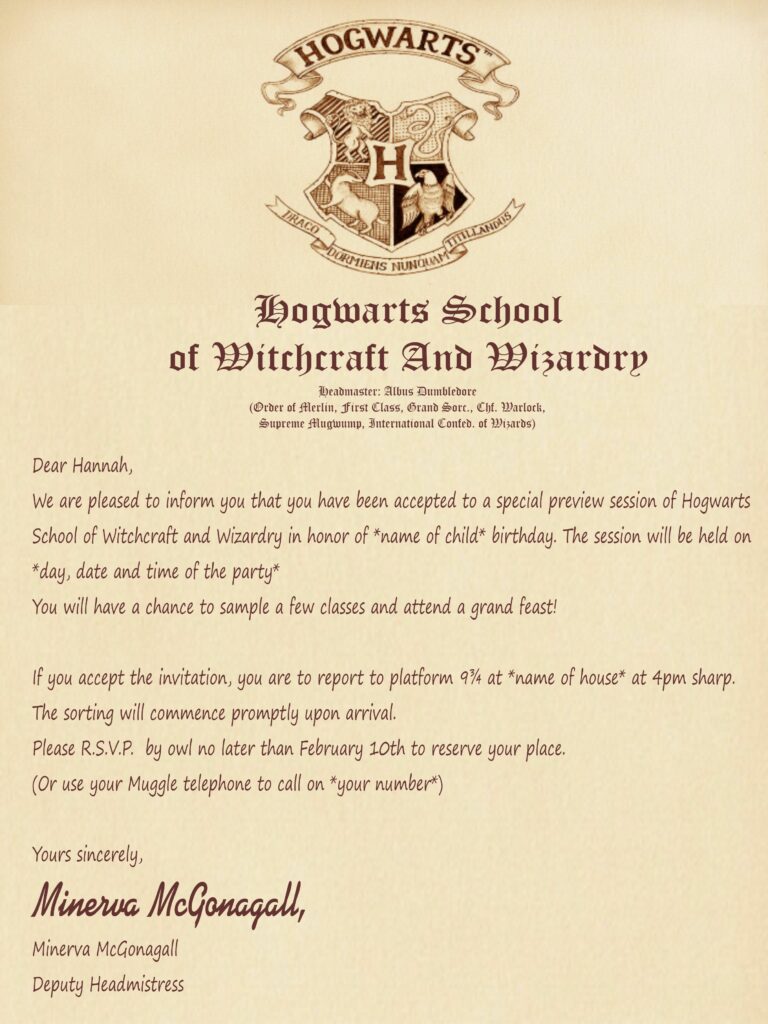

And here are the are the words in the letter, so you can copy/paste with all your personal details:
Dear
We are pleased to inform you that you have been accepted to a special preview session of Hogwarts
School of Witchcraft and Wizardry in honor of *name of the birthday child* birthday. The session will be held on
*day, date and time of the party*
You will have a chance to sample a few classes and attend a grand feast!
If you accept the invitation, you are to report to platform 9¾ at *name of house* at *time* sharp.
The sorting will commence promptly upon arrival.
Please R.S.V.P. by owl no later than *date* to reserve your place.
(Or use your Muggle telephone to call on *your number*)
Yours sincerely,
Minerva McGonagall (as a signature)
Minerva McGonagall
Deputy Headmistress
Envelope with Hogwarts Seal and Stamp:
This is the easiest part of the invitation. Take any envelope and write the address including some specific detail similar to Harry Potter’s Hogwarts letter which said “cupboard under the stairs” and then changed to “the smallest bedroom” after he was moved upstairs. It’s fun to add a detail like this, even if it’s “the bedroom to the right” or “the pink bedroom”. Just something that wouldn’t usually be added to any address makes it more authentic and fun for real Potter heads.

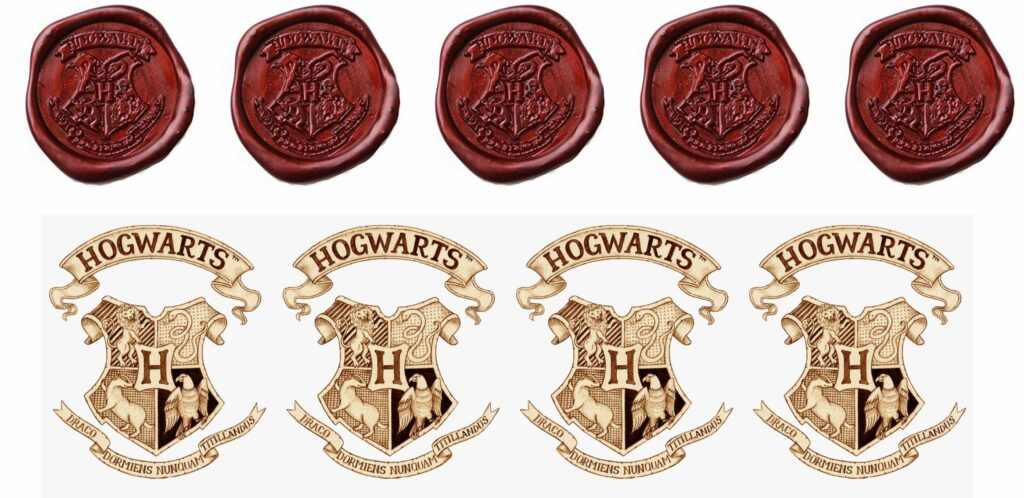
Download this Hogwarts Seal and Stamp and print on sticker paper to add a little extra to your envelope design. Download them here for free: Harry Potter Invitation Letter Hogwarts Seal and Stamp Free Download

Tickets to the Hogwarts Express from Platform 9 3/4:
To add that little extra to the invitation we printed tickets for the Hogwarts Express Train leaving from platform 9 3/4 at the mentioned date and included them in the envelope.
Download the tickets for free here: Harry Potter Invitation Hogwarts Express Platform 9 3-4 ticket

Deliver the Ultimate Harry Potter Invitation by owl:
Now for the cherry on top of the cake; an owl to deliver the invitation! I really loved this idea and have not seen it anywhere else even though it is quite simple. You can either print an image of a real owl or you can draw one yourself -like I have done. I am no artist, and I found it quite easy to draw and paint these owls and my 9- year old daughter also made one of them without any problems. It took about 15 minutes to make an owl and because we had so few invitations to make (due to the current covid-19 restrictions) I went ahead and drew and painted one for every invitation. IF we had had 15 invitations to make, I would probably have made one and then made copies.
They do not all look 100% the same but I guess that’s what happens when you draw and paint by hand but for me, that’s part of the charm.
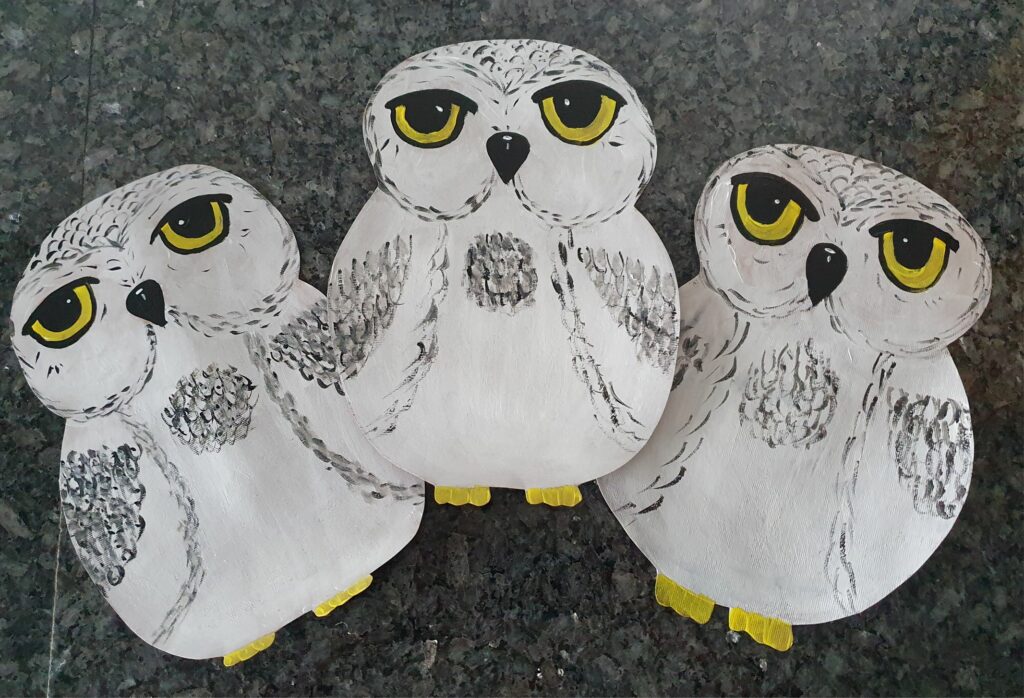

Attach the owl to the door with a little blue tag or tack-it and attach the letter to the owl’s feet using the same method. We “delivered” the owls without knocking so the recipients would later discover them and get a happy surprise.
See the steps below for how I drew this easy Hedwig owl or check out this video.
The ingredients mentioned are for the owls only. The rest is mentioned in the post under every section.
Hope you have lots of fun making these invitations and even more fun at the party 🙂
Ingredients
Directions
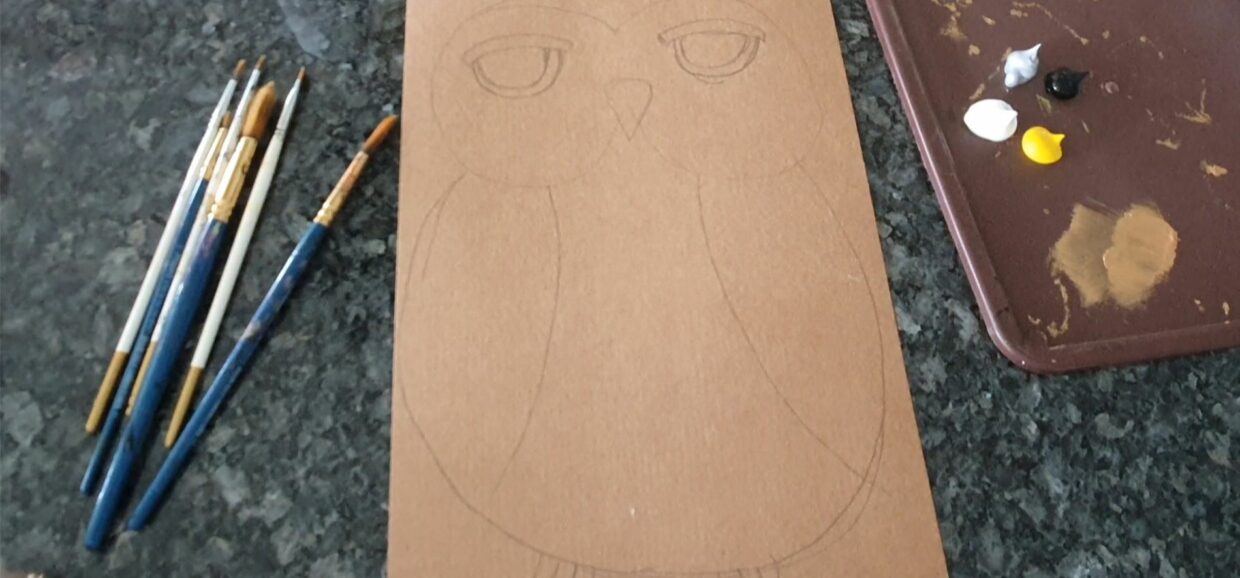

Draw a basic owl like this.
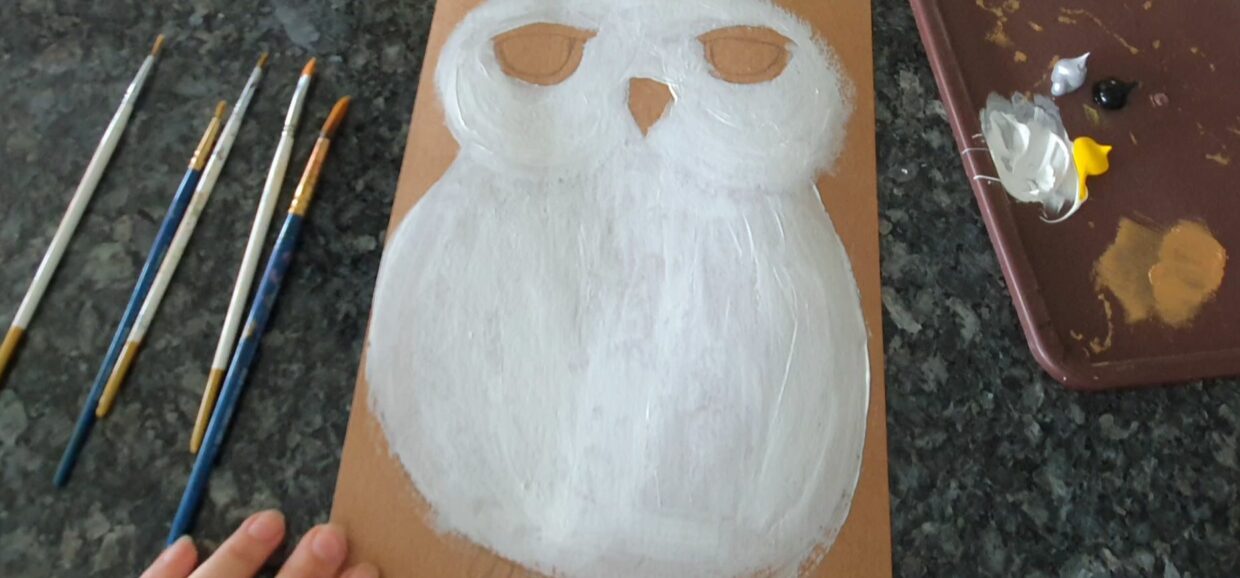

Colour it white. Don't worry if it's a bit outside the lines. You are cutting it out at the end so that doesn't matter
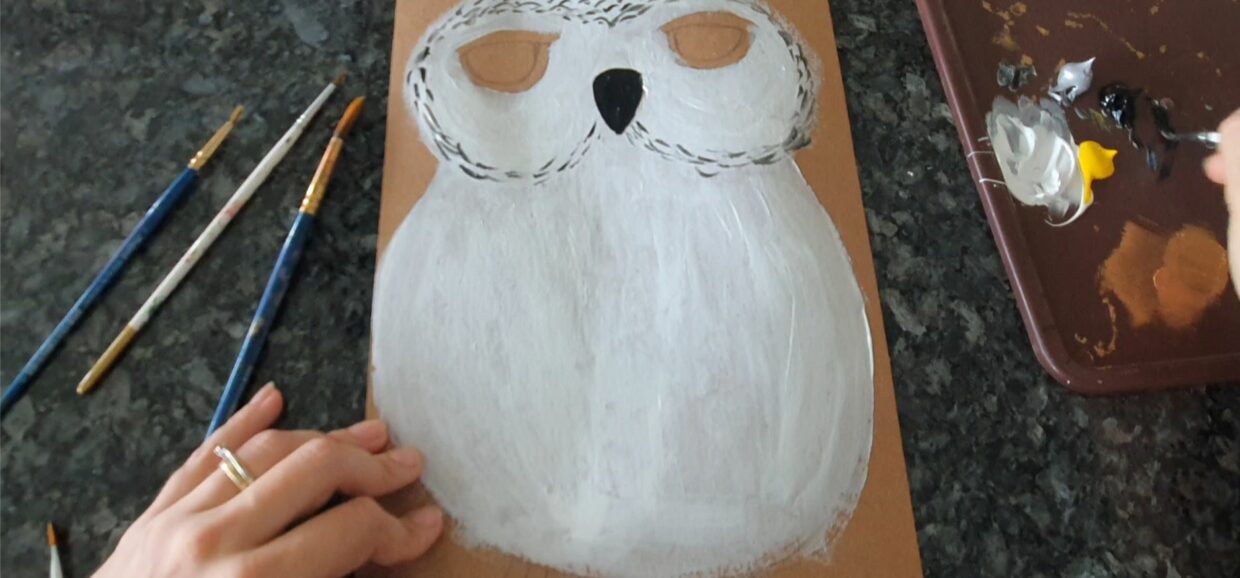

Add feathers around the face with black and silver/grey paint and paint the nose black


Colour the eyes
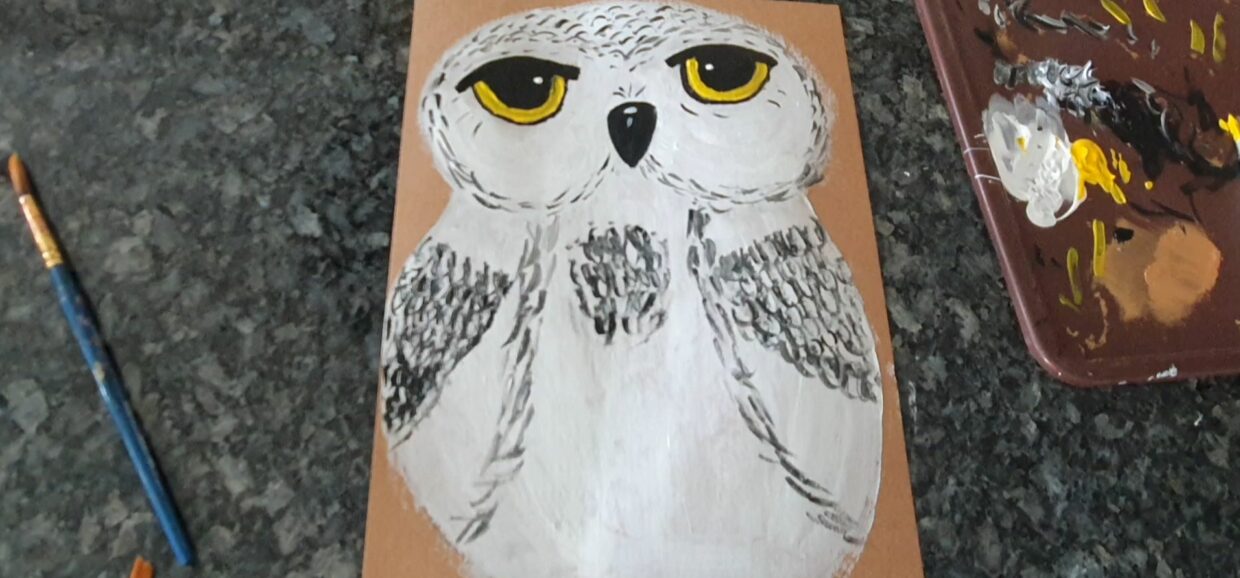

Make the feathers on the wings and chest. Add the white dots in the eyes and on the nose. Make a few extra lines around the eyes.
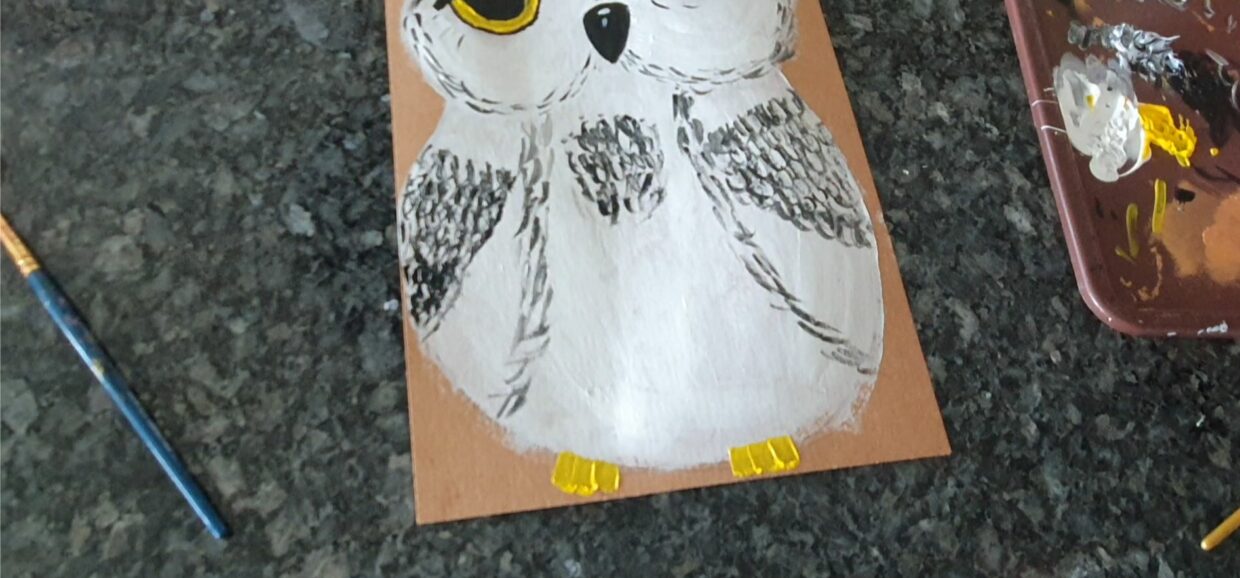

Add the feet (to hold the letters)
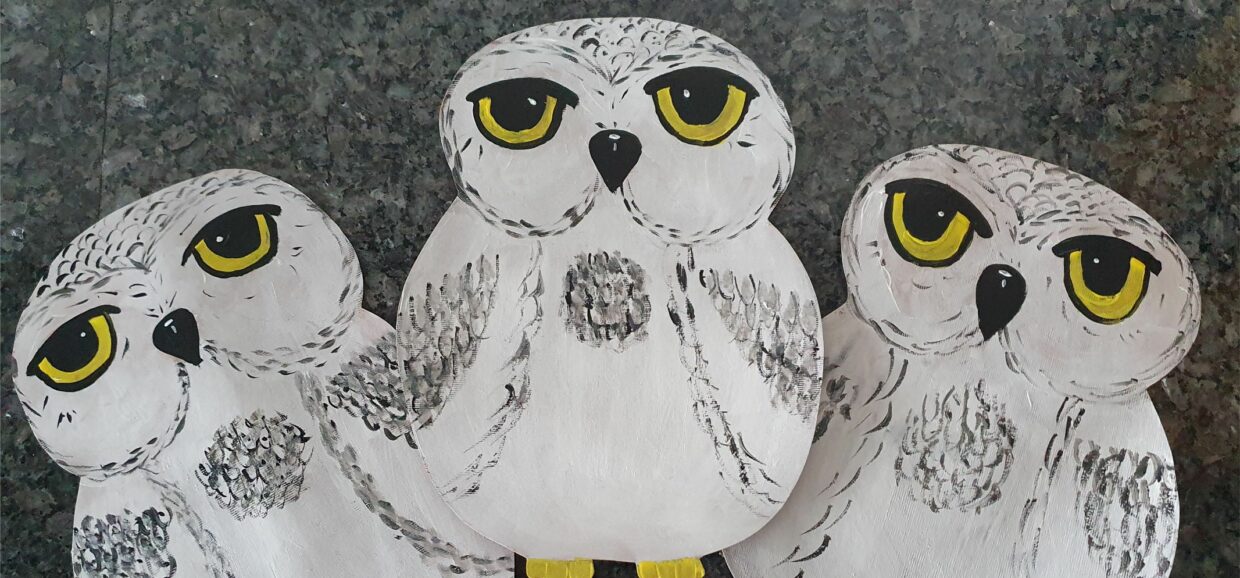

Let it dry and cut them out. They are not all alike but maybe that's part of what makes them special and unique.
You may also like
The Ultimate Harry Potter Invitation -delivered by owl of course!
Ingredients
Follow The Directions
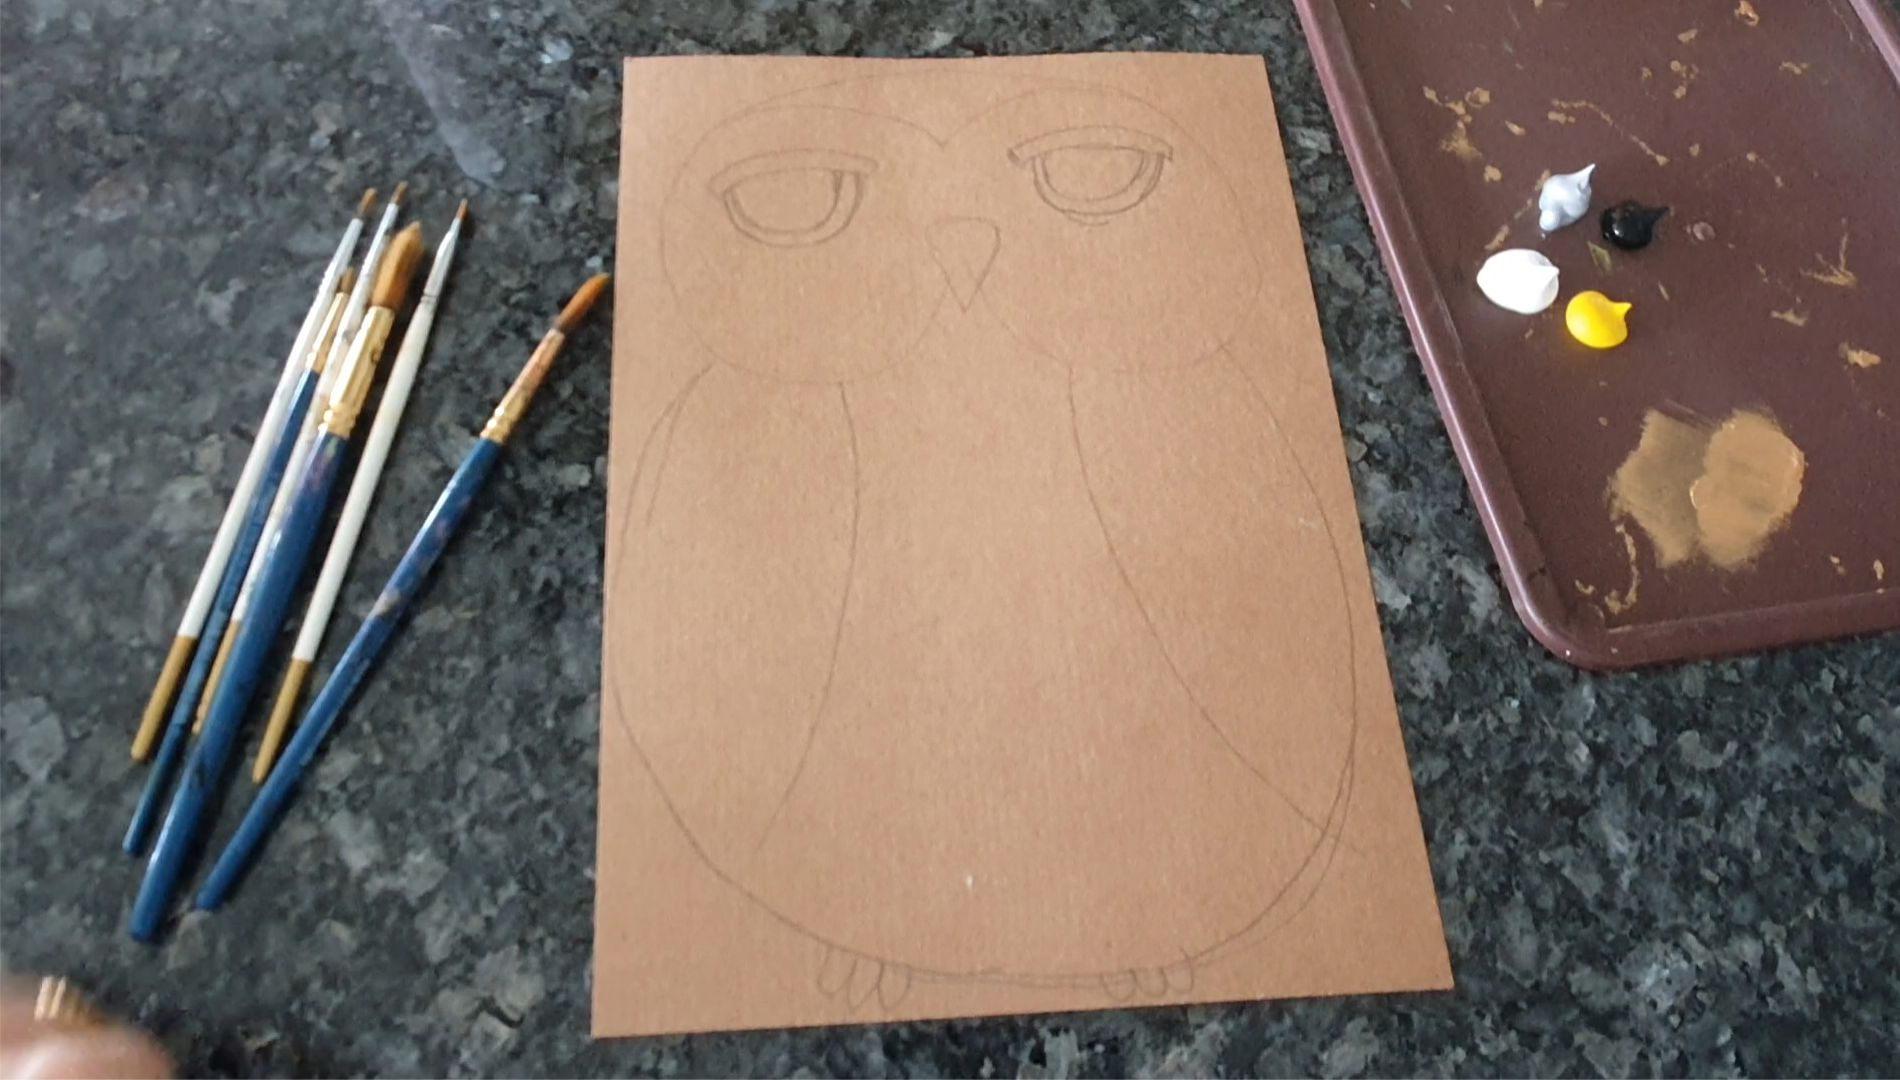

Draw a basic owl like this.


Colour it white. Don't worry if it's a bit outside the lines. You are cutting it out at the end so that doesn't matter
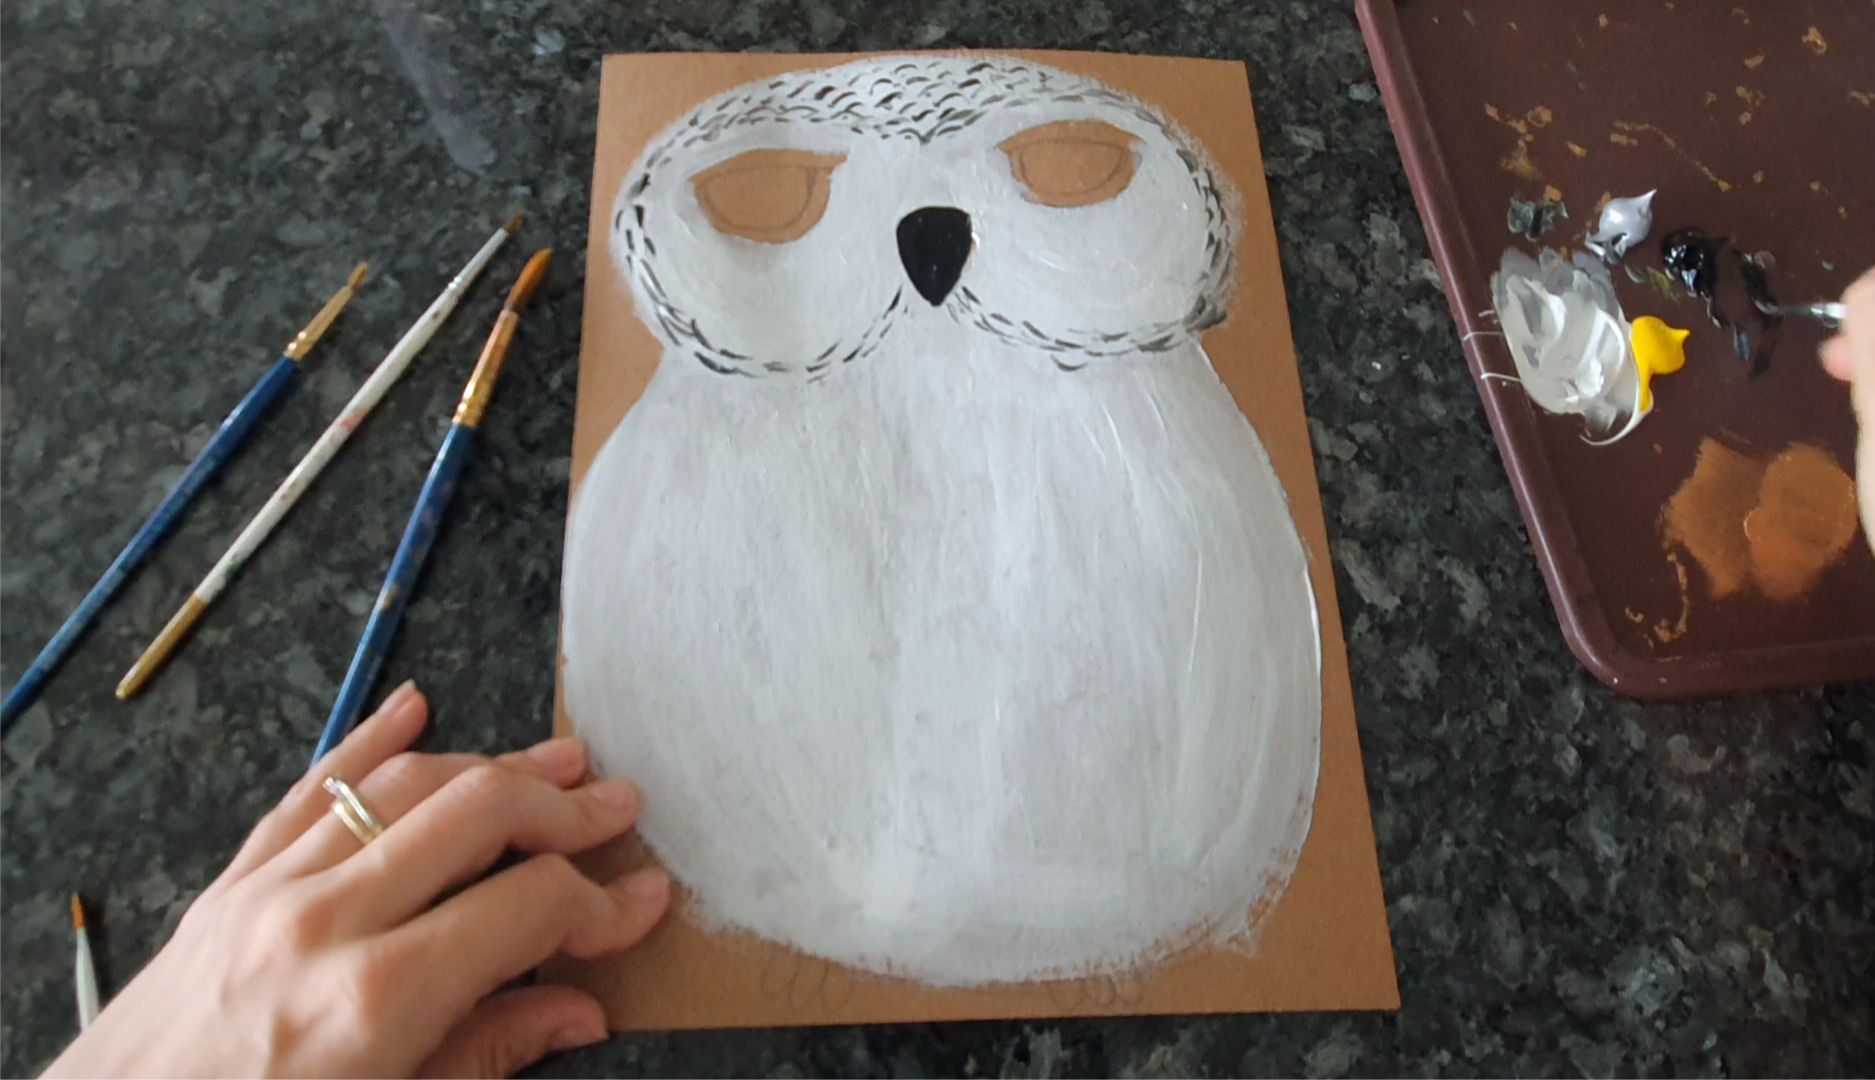

Add feathers around the face with black and silver/grey paint and paint the nose black
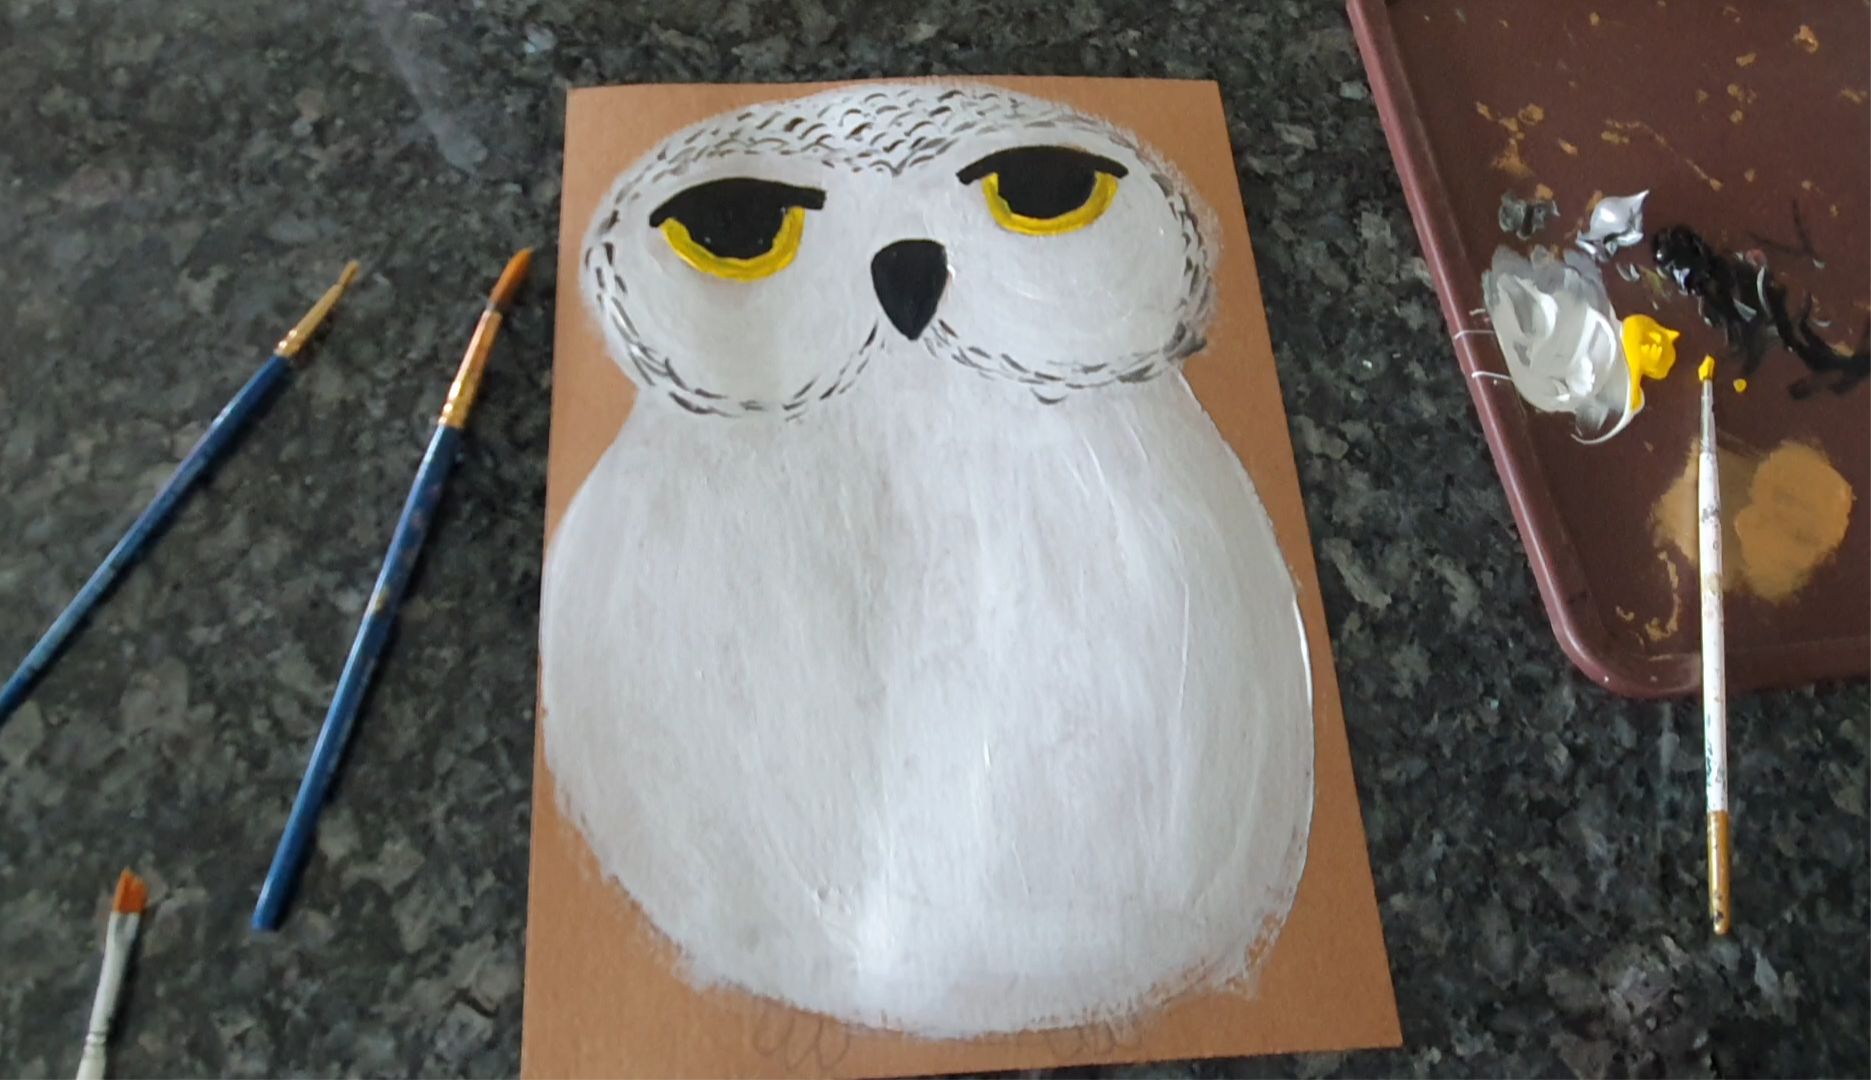

Colour the eyes


Make the feathers on the wings and chest. Add the white dots in the eyes and on the nose. Make a few extra lines around the eyes.
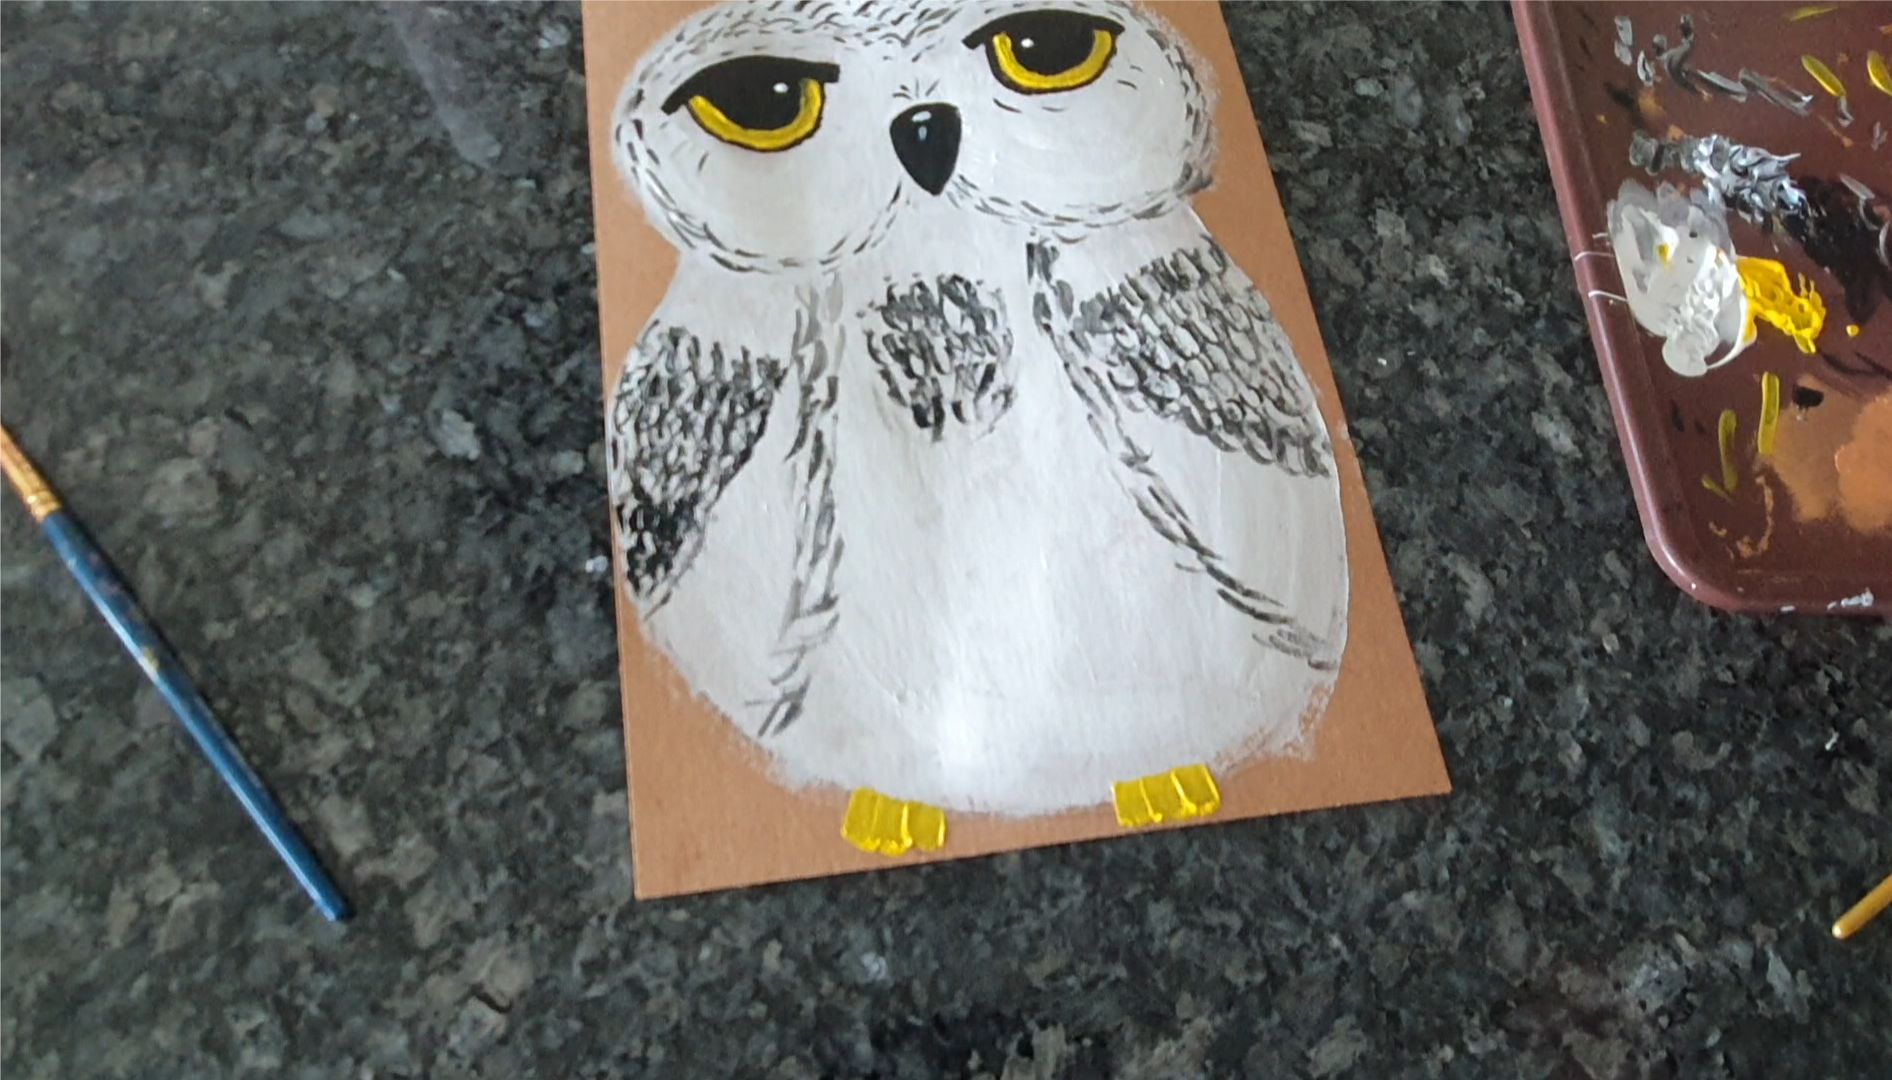

Add the feet (to hold the letters)
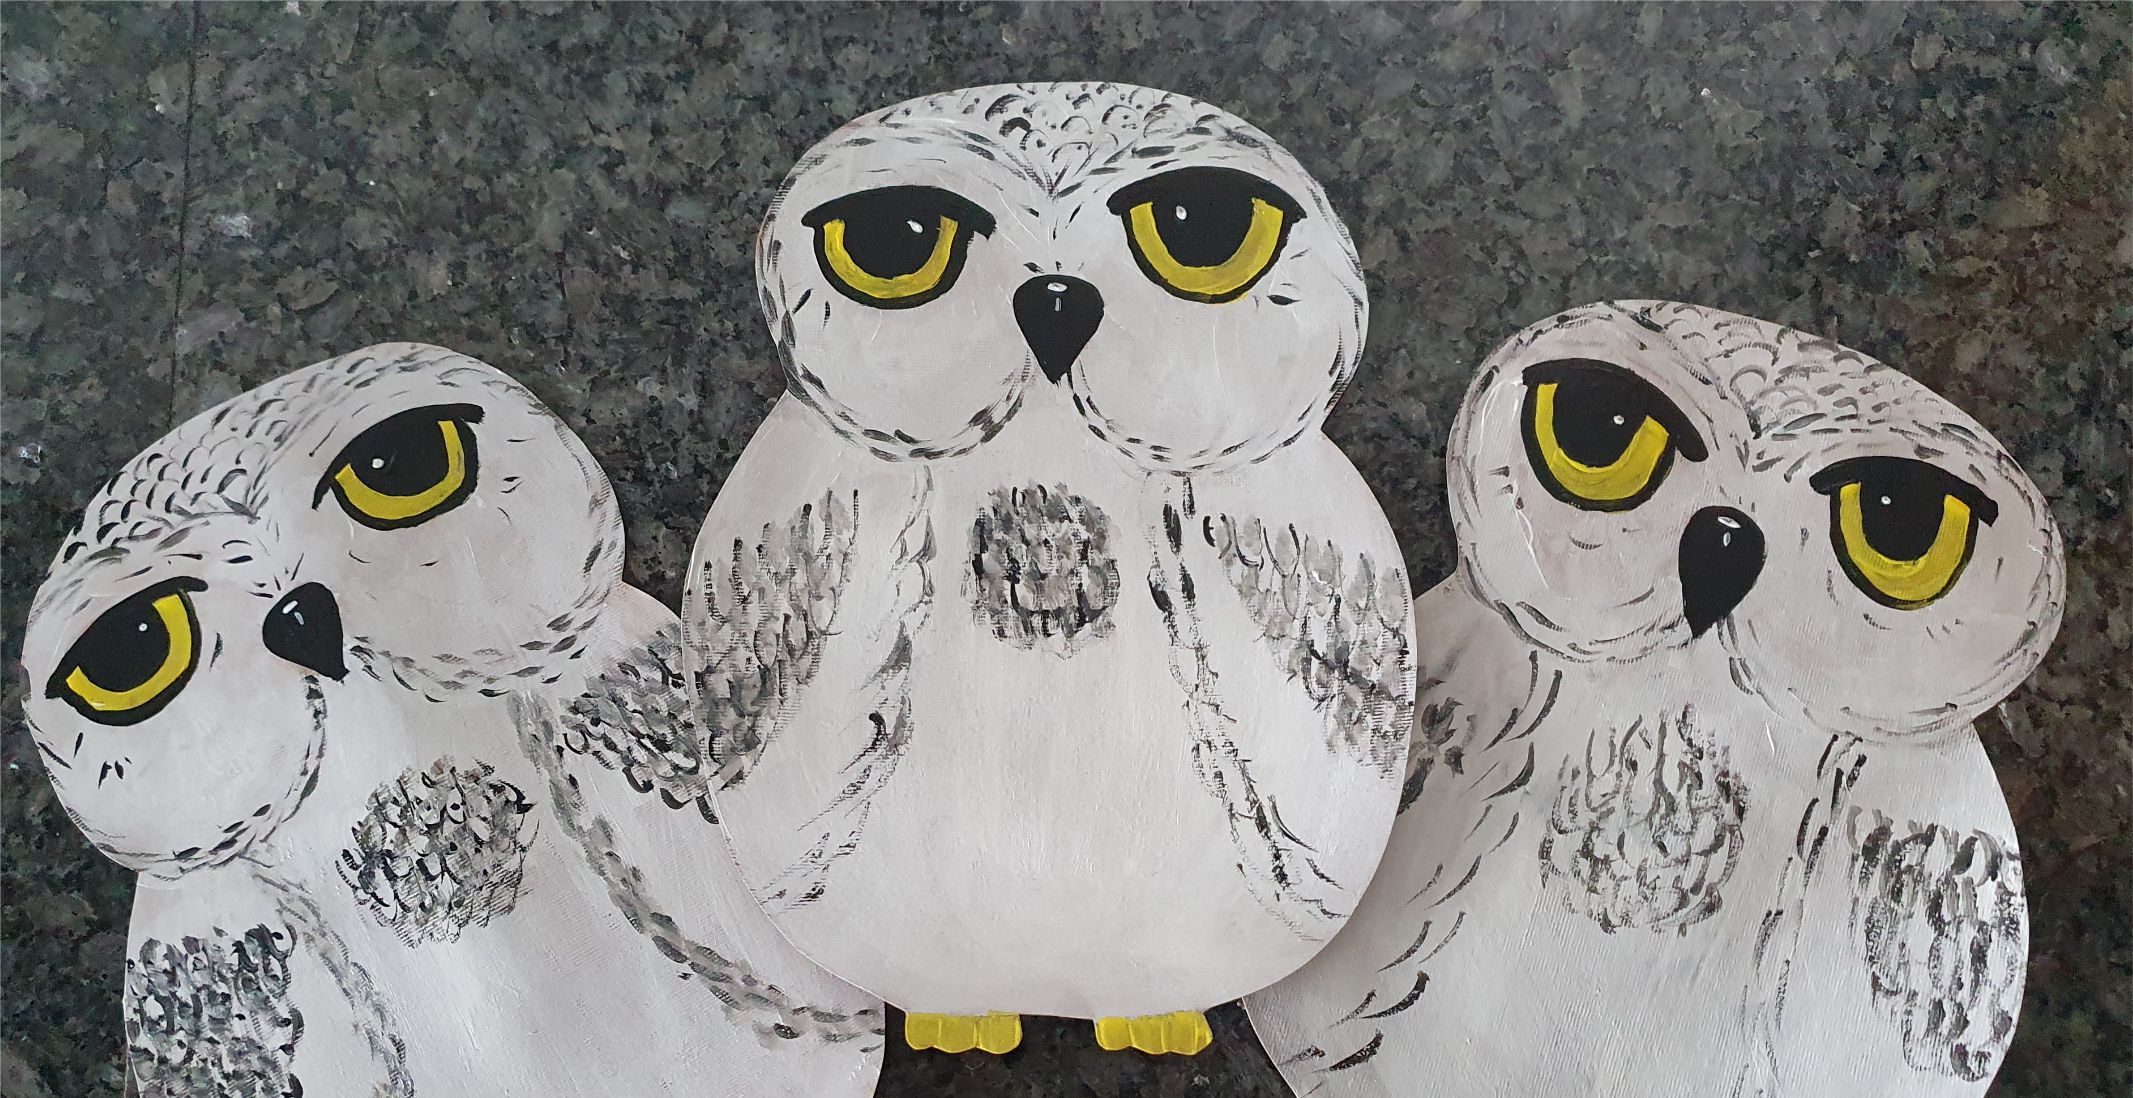

Let it dry and cut them out. They are not all alike but maybe that's part of what makes them special and unique.


Leave a Review
You must be logged in to post a comment.