
- Prep Time15 min
- Total Time1 hour 25 min
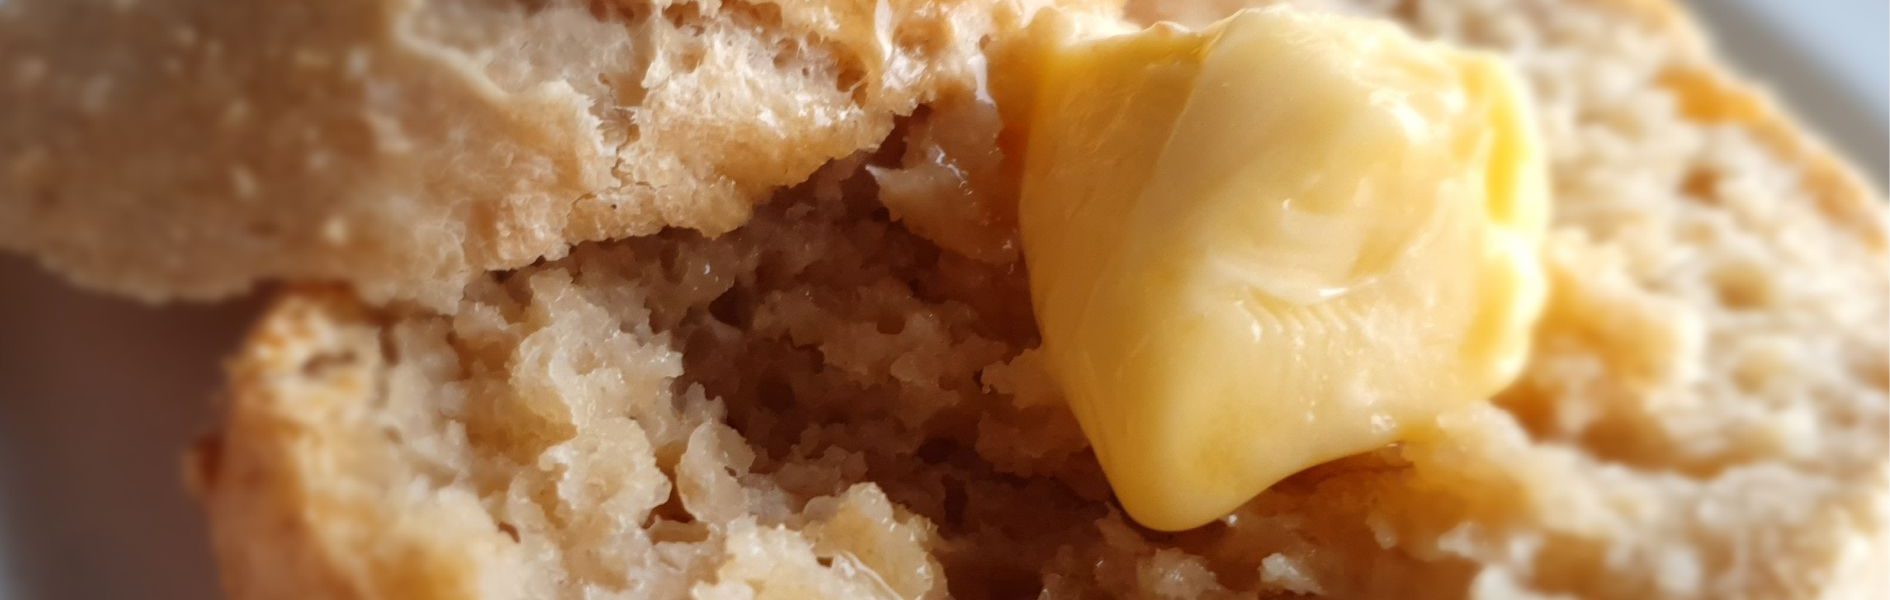
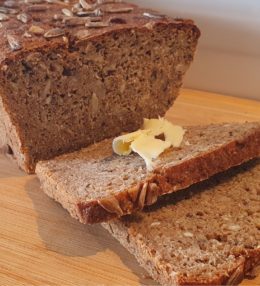
This healthy oatmeal bread is one of my favourite recipes and I am so excited to share it with you all! It’s flexible, versatile and healthy, and honestly, what’s not to love about that?
6 reasons to love my healthy oatmeal bread recipe
There are so many reasons I end up making this bread once a week -no Sunday morning is complete without freshly baked bread in our house. It may sound tough on top of a hectic schedule, but not with this recipe!
- This recipe is perfect for you, whether you have all the baking accessories or not. There is no mixer needed to make this dough. Just a bowl and a spoon (and a little elbow grease).
- Make it how you want it. Choose if you want to make loaves, beautiful round rolls or easy no-touch-rolls with the same recipe (I have shown all option with pictures in the steps below).
- Depending on your time (or lack thereof) choose if you want to leave the dough rising overnight in the fridge or 45min on the kitchen countertop. It’s the same result. Sometimes you plan ahead and want an easy breakfast solution and other times you need a quick and healthy bread to go with your soup. This recipe is the answer.
- The bread is delicious, healthy and filled with fiber
- It is great for breakfast, in the tiffin or with your lunchtime soup or curry.
- The breads are freezable and just as great when defrosted. Defrost in the microwave or for an hour at room temperature.
How to make deliciously healthy oatmeal bread
The ingredients are really easy to come by in most supermarkets and stores. I use the regular Quaker Oats and Atta available almost everywhere. The fresh yeast may be a little trickier to get depending on your location. I always use fresh yeast for all my breads and have never had much success with the dried Indian yeasts. If you are used to dry yeast, then please go ahead and replace it in this recipe. Please note that the amount of dry yeast will be less than the fresh yeast stated in this recipe.
For all the Goans reading along, I buy it at Farmers Choice in Porvorim or Geetas Bakery in Panjim City. I buy half a kilo at a time and cut it into smaller pieces and then freeze it in a ziploc bag.
See my other homemade oatmeal dough that can stay fresh in the fridge for up to 5 days. Fresh bread in 25min whenever you need it, how fantastic is that?!

Yield: 20 rolls or 2 loaves
Note: The timeframe mentioned is for making the dough, resting time and baking time if you do it all at once. If you want to rest overnight in the fridge, it will -for obvious reasons- take 6-8 hours longer
Ingredients
Directions
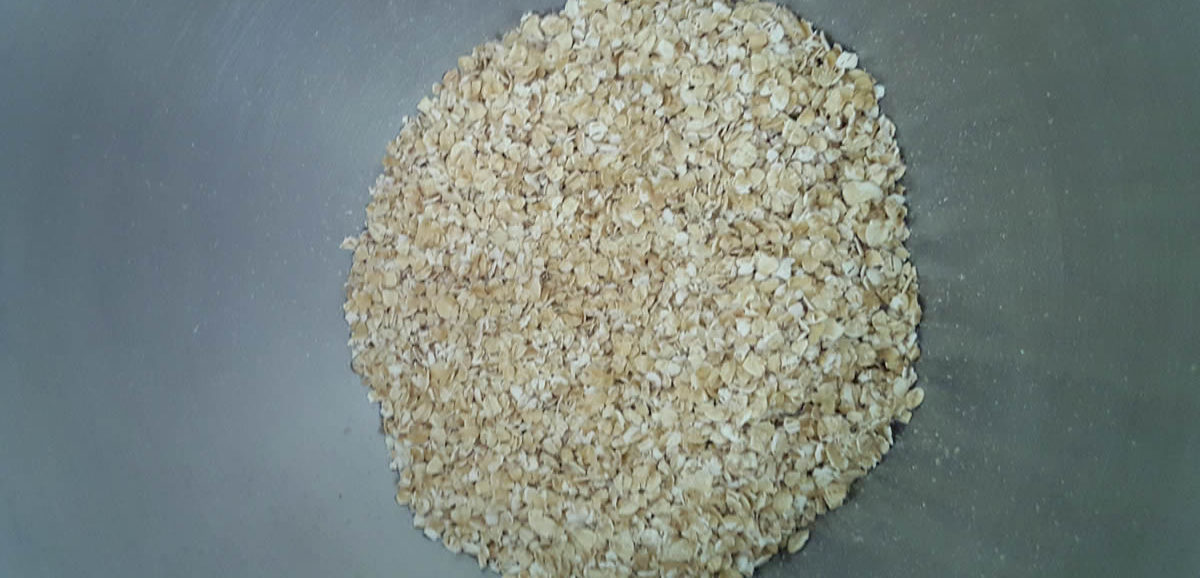
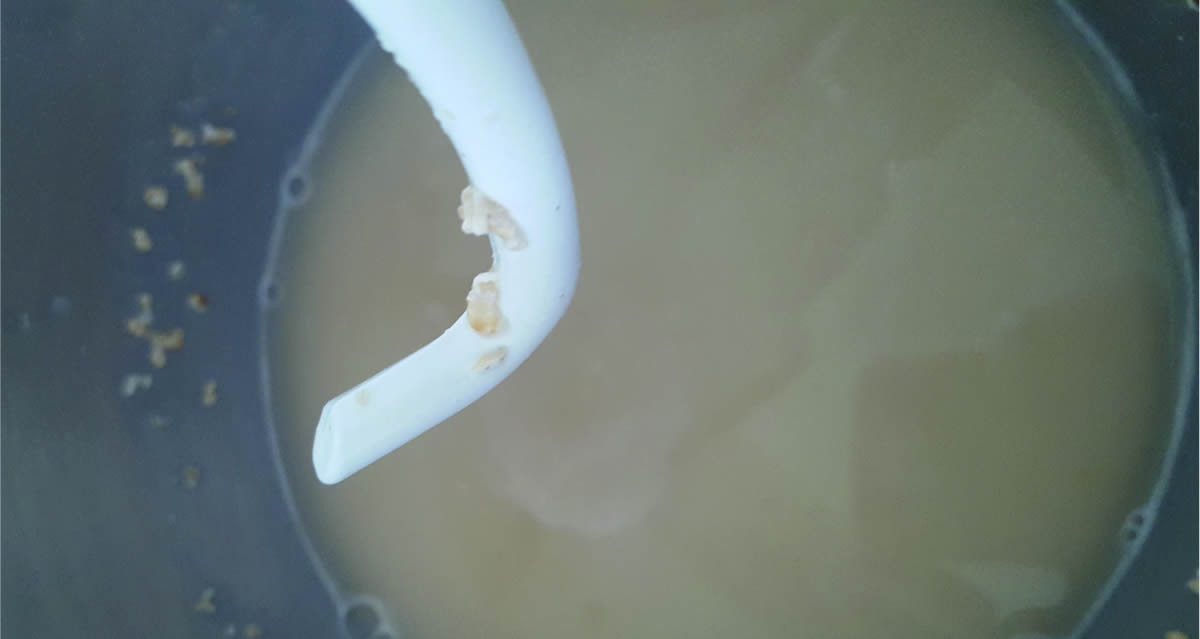
Start by measuring out the oats. Add the water and yeast. Stir until the yeast is completely dissolved.

Add the oil and sugar. Keep stirring. Add the salt. Stir.

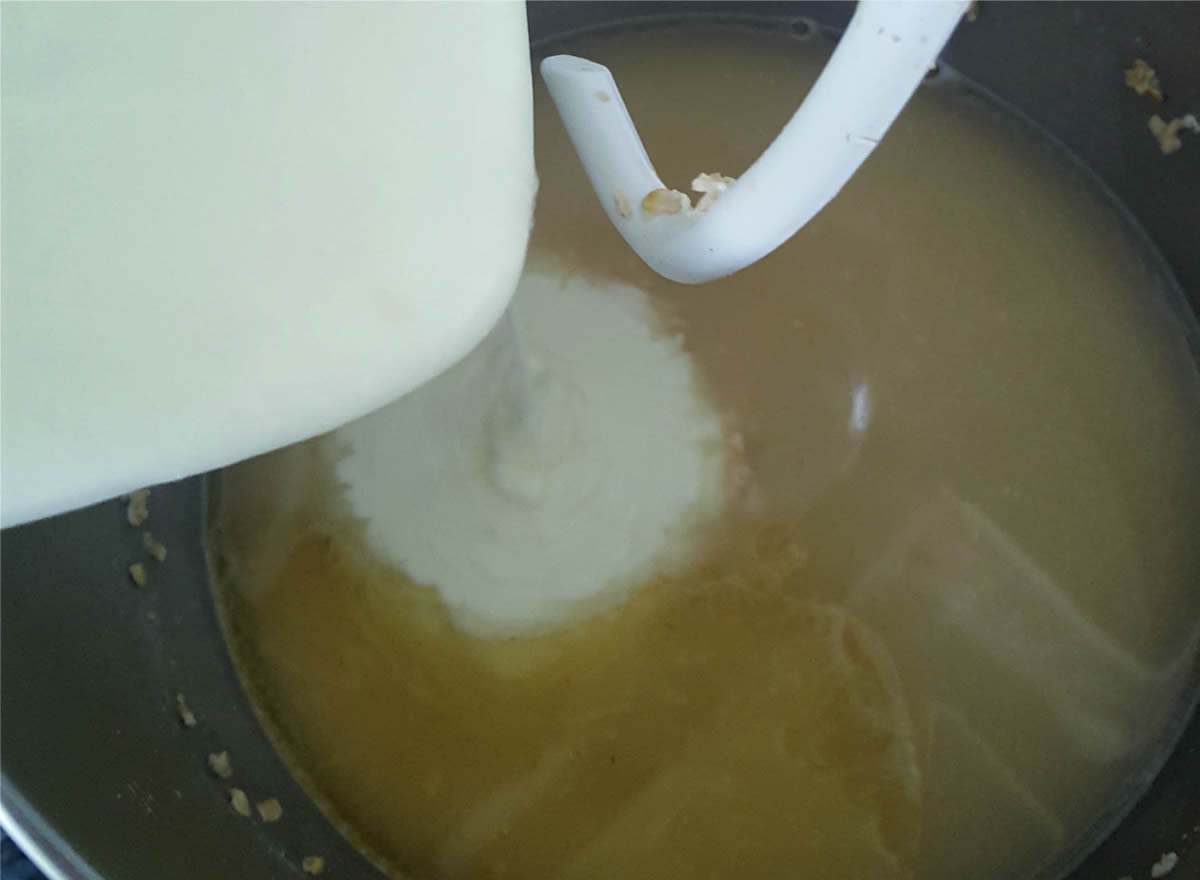
Add the plain yoghurt. Keep stirring.
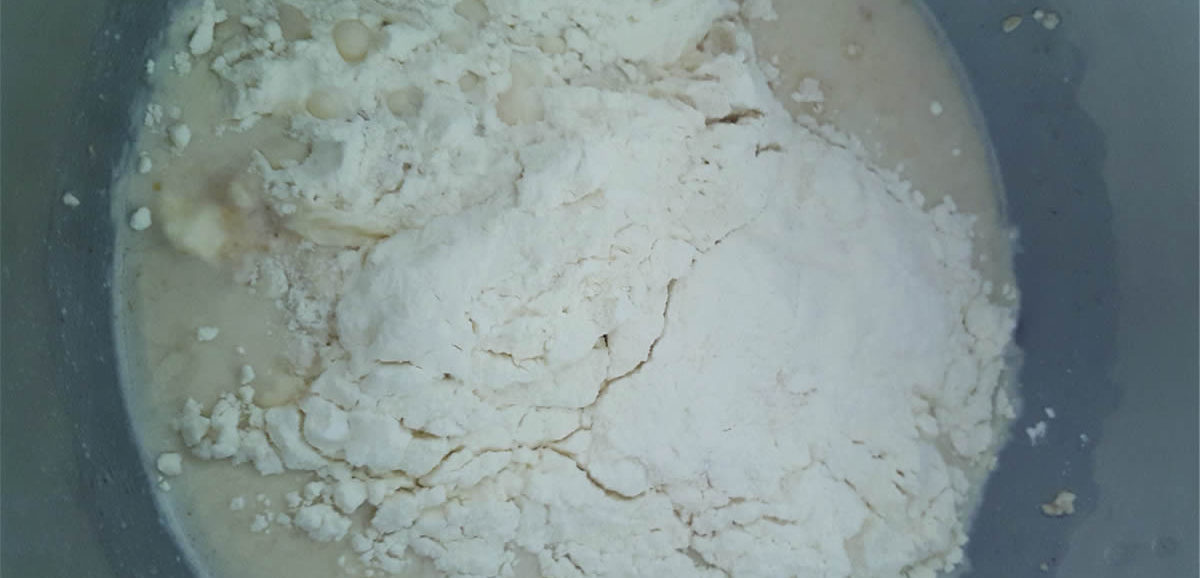
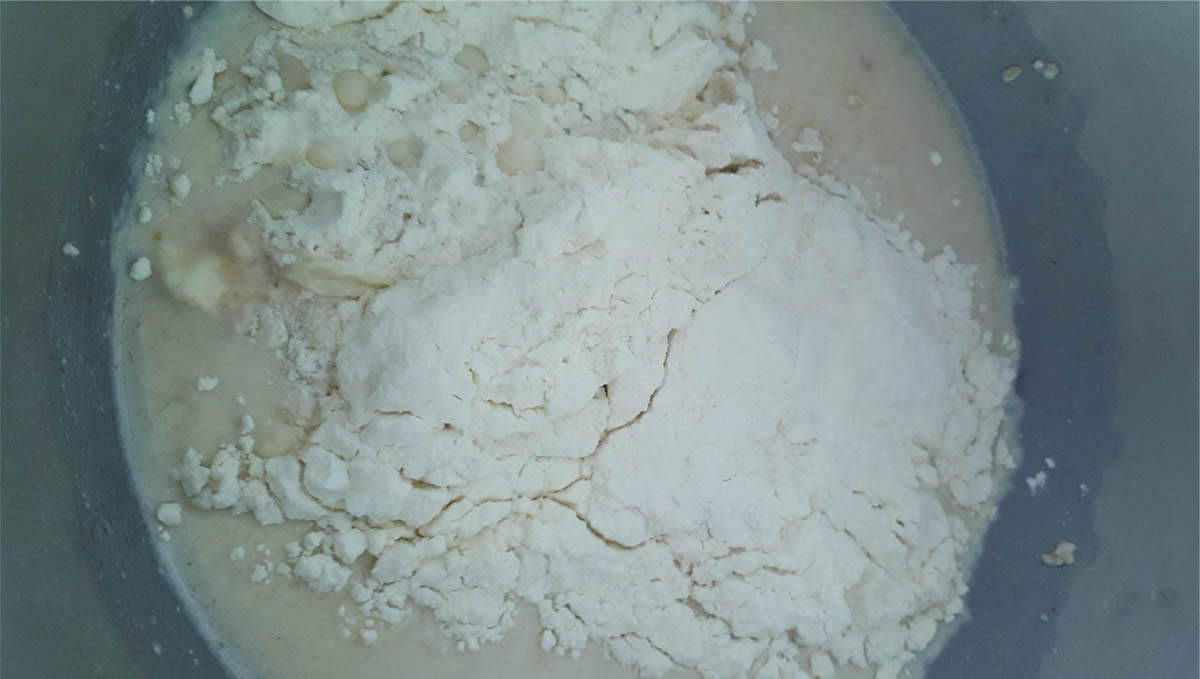
Add the maida and atta one large spoon at a time while stirring.
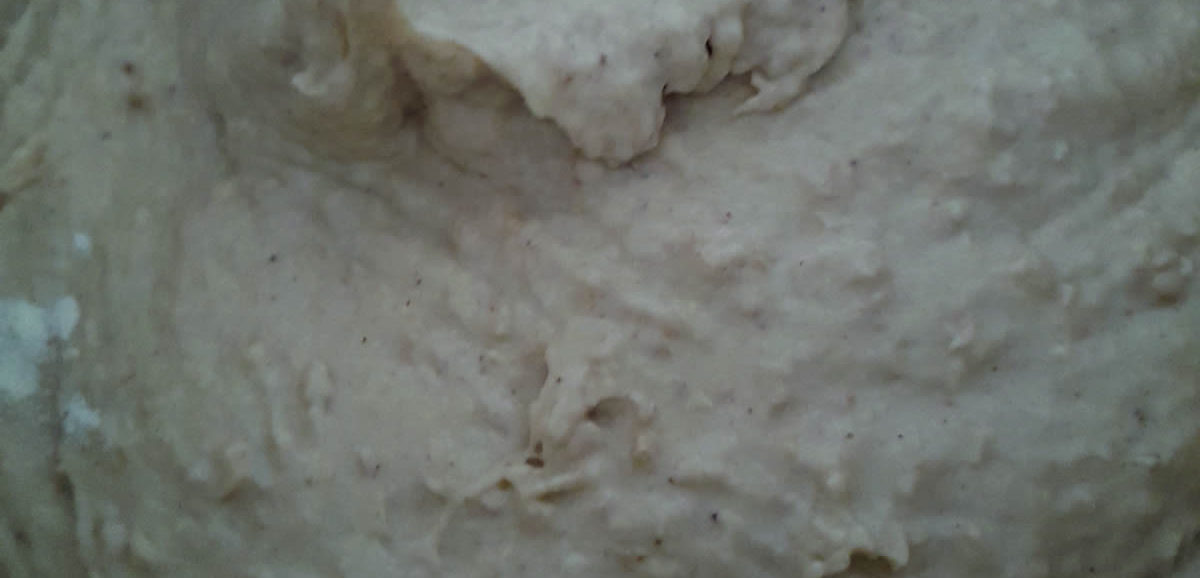
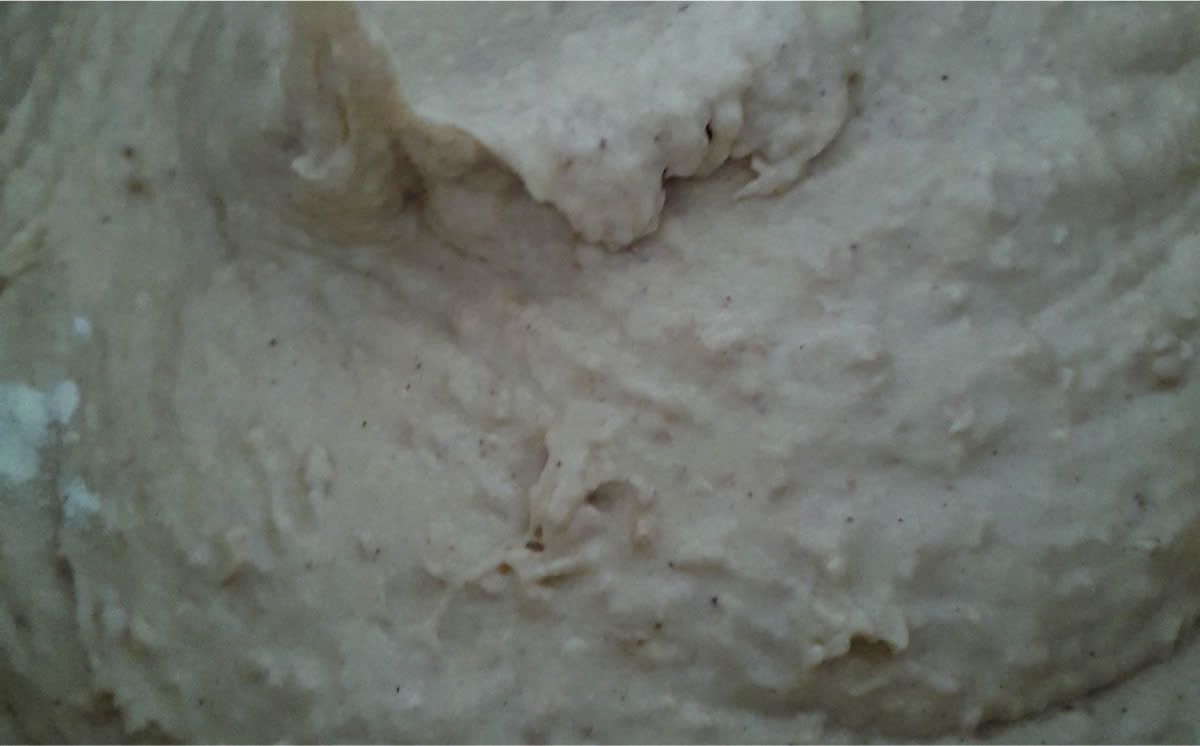
Continue adding and stirring until all the maida and atta have been added. After all the flour has been added, continue to stir for about 5 min and thereby kneading the dough. This dough is too sticky to knead by hand. Don’t worry about the stickiness right now. The oats will continue to absorb the water and the dough will become less sticky during the rising time.
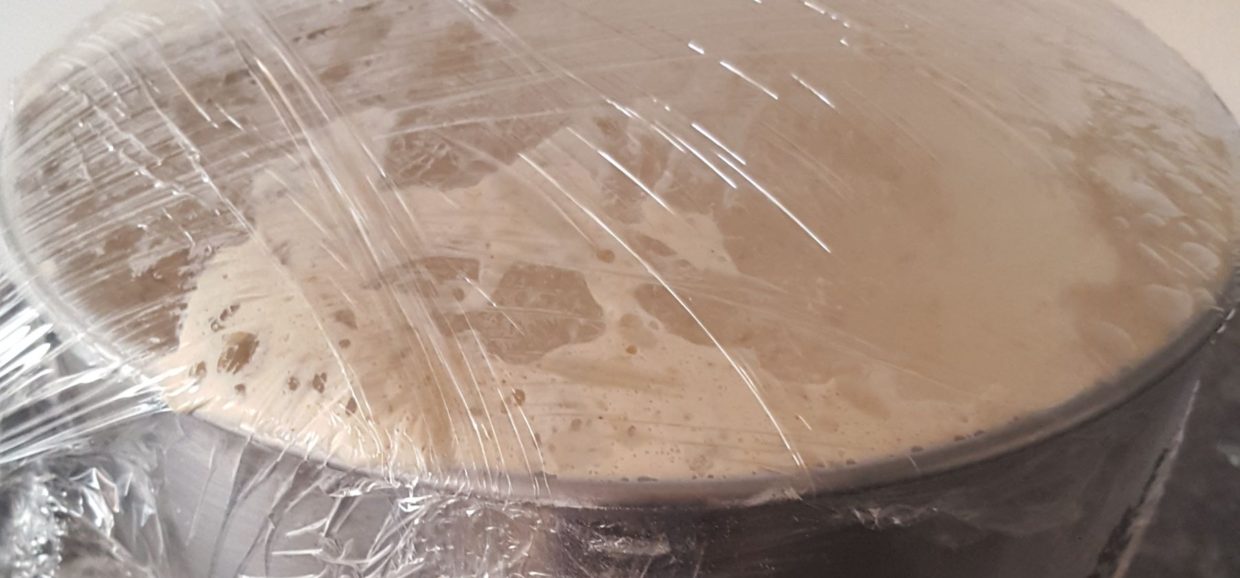
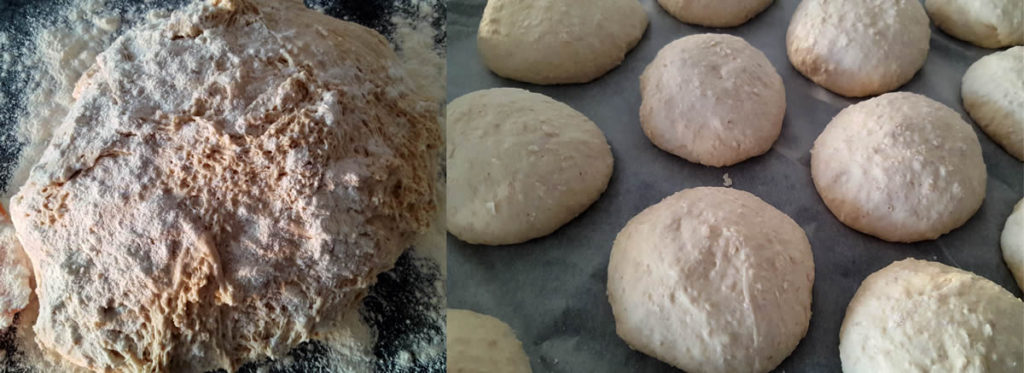
Cover with cling film or a wet cloth and leave to rest at room temperature for about 45min to 1 hour depending on your room temperature (the hotter your room = less rising time) or overnight in the fridge. When risen you have three options shown in the next 3 steps.
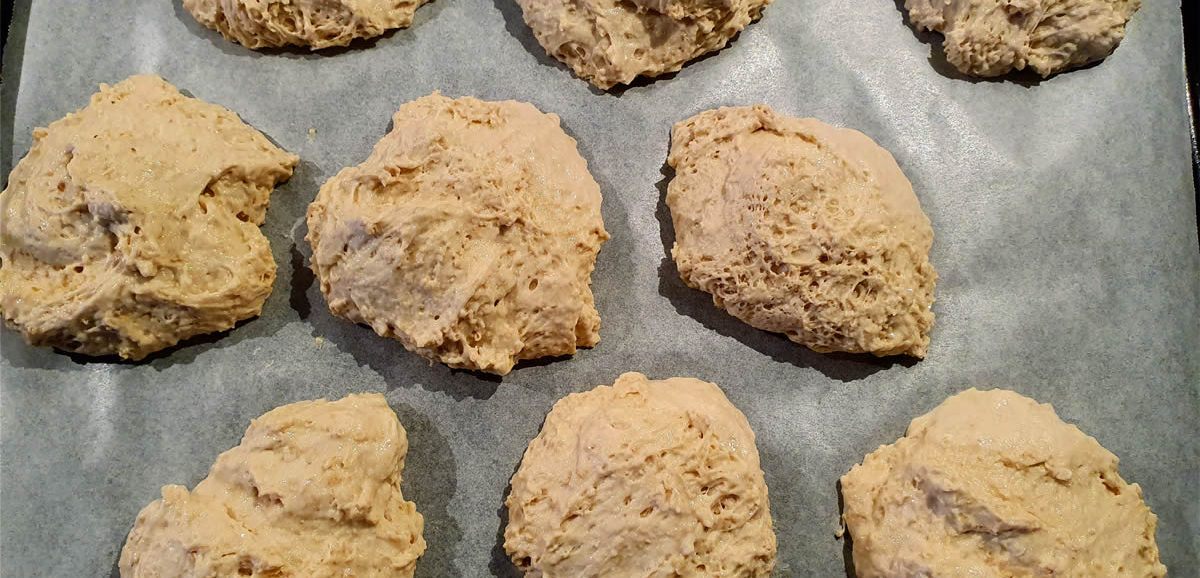
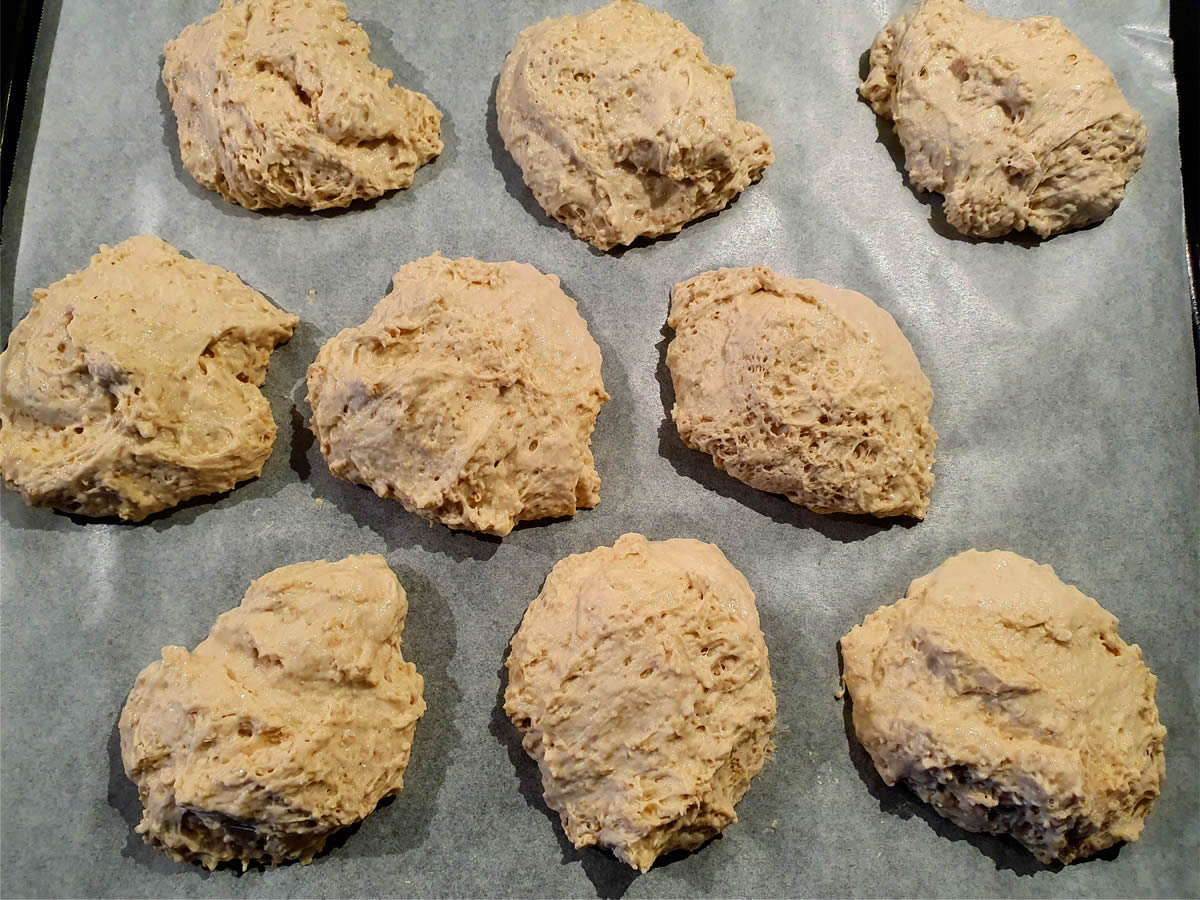
Option no 1: Use a tablespoon to make rolls on a baking paper or on a buttered baking tray. This is what I do when I am alone with the kids. The rolls don’t become perfectly smooth on top but will taste just the same.

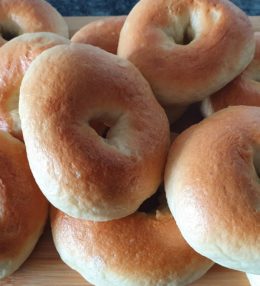
Option no 2: If you want to make the rolls perfectly round, you can use a dusting of flour as shown here and shape them by hand. The dough is still sticky, but if it’s cold from the fridge, it is much easier to work with. Try to be fast and fold the bread like a parachute where all the ends and strings are tugged underneath the roll.
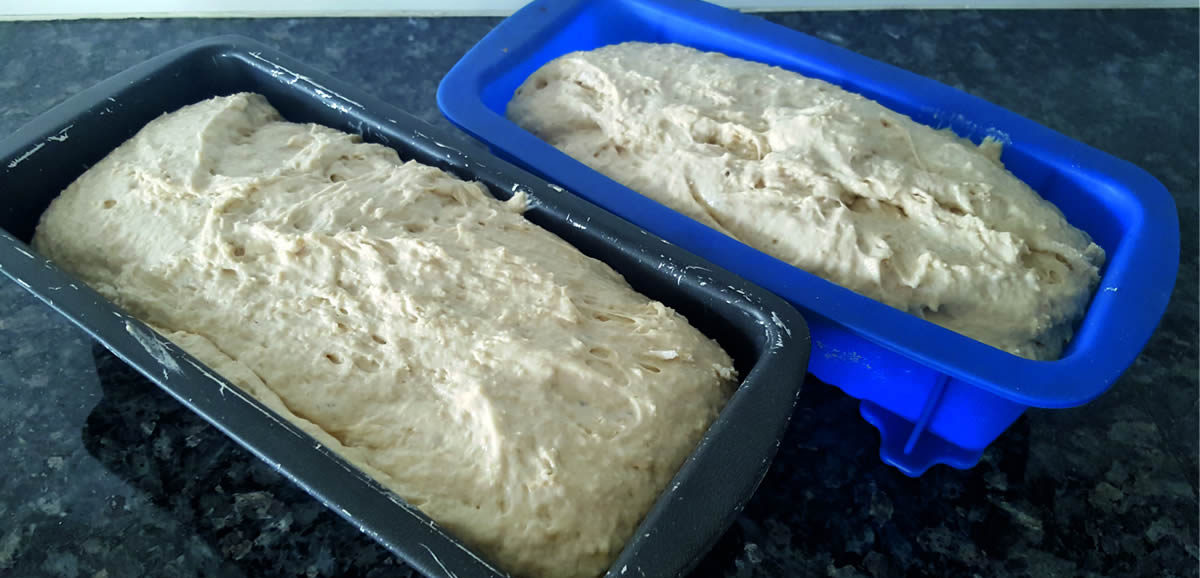
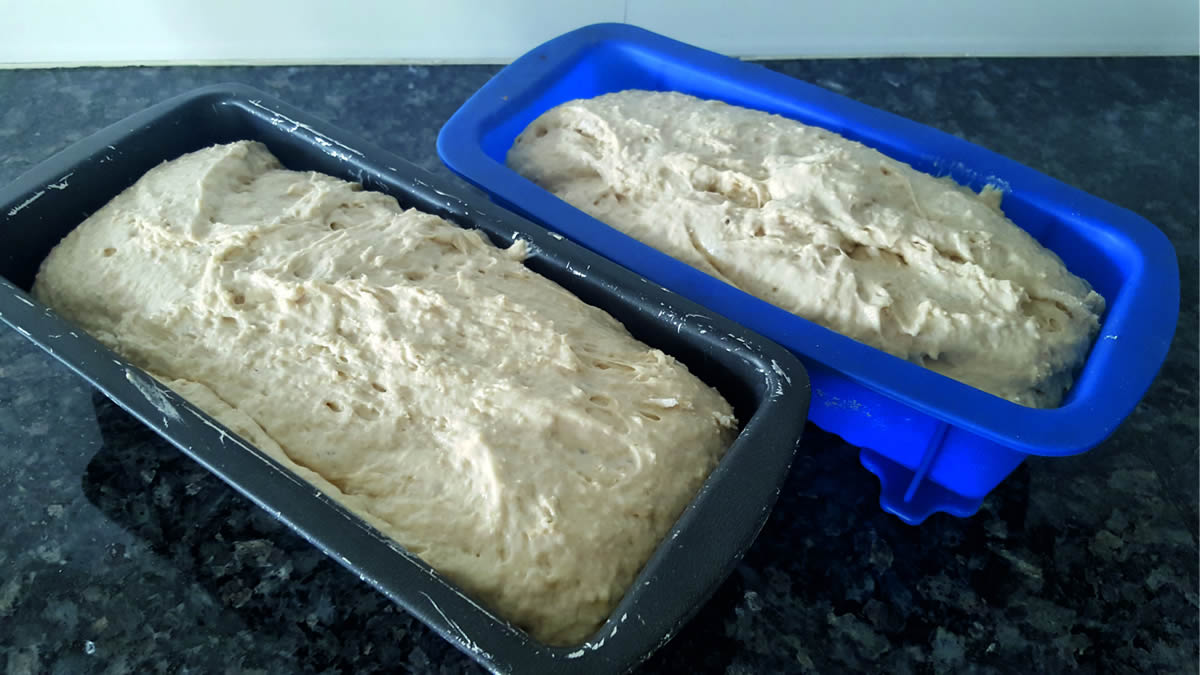
Option no 3: The easiest way to homemade bread is to divide it into two portions and literally dump them into two bread moulds and let it rise there. Job done. In my experience there is no difference between the steel or the silicone moulds. This option takes a little longer in the oven and the loaves cannot be cut straight away so if it’s bread for breakfast or for the soup, I recommend the rolls.
Turn on the oven on 200 degrees celsius. Leave to rise for 15 minutes or until the oven is hot. In colder climates I would leave it out for 30min but in hot Goa with the high humidity, the bread can get a yeasty smell and taste quite quickly if left out for too long.

When the oven is hot, slide the tray of rolls into the oven in the middle. Bake for 23min (the loaves need to go in the middle of the oven for 30 minutes. Remove them from their moulds and bake at the bottom of the oven for another 10 minutes. Let them cool completely before you cut into them) The loaves need to go on the lowest rack in the oven for 30min. Then remove them from the mould, put them back into the oven and continue baking for another 10 min. Please be careful when you take them out of the mould. I have burned myself really badly trying to flip it out of the mould IN the oven. Take it from me, NOT a good idea! Better to spend 1 minute longer on it and do it outside the oven.
And you are done! Enjoy with butter or your favourite spread. Freshly baked bread is just the best! If you try this recipe, please leave a comment below letting me know how you like it. And if you make any modifications, I’d love to hear about those, too! We can all benefit from your experience.


Leave a Review
You must be logged in to post a comment.