- June 26, 2020
- 2 Like
- 0 / 5
- 2,997 Total Views


- Prep Time1 hour
- Total Time3 hours
I am forever on the lookout for new ways to use my children’s beautiful drawings for more than just hanging them on the fridge for a few weeks before they end up in a box. I mean, who takes them out the box and looks through their masterpieces on a regular basis? Anyone?
I decided to make decoupage (the craft of decorating objects with paper cut-outs) canvas art with my daughters’ drawings. Remember to ask permission first though! You may not be allowed to cut their masterpieces -even if it is to showcase them.
You could also use this method to decorate toys or household items -like a pencil holder for your desk or a vase filled with homemade paper flowers. Or even a door or a wall. The possibilities are endless! And nothing makes the kids prouder than to see their artwork appreciated and used.
NOTE: This method can only be used for items that won’t need washing or soaking. You can wipe the decoupage with a wet cloth without problems.
Ingredients
Directions


Start by gluing strips of paper (or pieces) onto the canvas by mixing the fevicol with a little water. About 4 glue to 1 water. Keep the canvas elevated on a few plastic bowls so you can fold in the paper properly without it getting stuck to the newspaper.


Fold in the corners like this


When it is fully covered, paint the entire surface with the glue/water mixture.


Choose your child’s drawings and cut them out. This is a great way of using even the smallest drawings (where the rest of the paper is full of fingermarks or scribbles). If the paper is dry, add the glue/water mixture to the back of the drawings before placing them on the canvas. Then add a layer of glue/water on top. Don’t worry if it’s all white and messy. It will dry beautifully and have a shine to it afterwards. Note: Drawings with sketch pen are not suitable for this! Because of the water and the glue, the sketch pen drawings tend to “run”. Drawings made from acrylic paint, colour pencils or crayon work best.


Let it dry and your decoupage is ready.


You can also decoupage old toys -like this BRIO trolley, which was still functional but water damaged before I decided to fix it up.
You may also like
Decoupage (with your children’s drawings!)
Ingredients
Follow The Directions
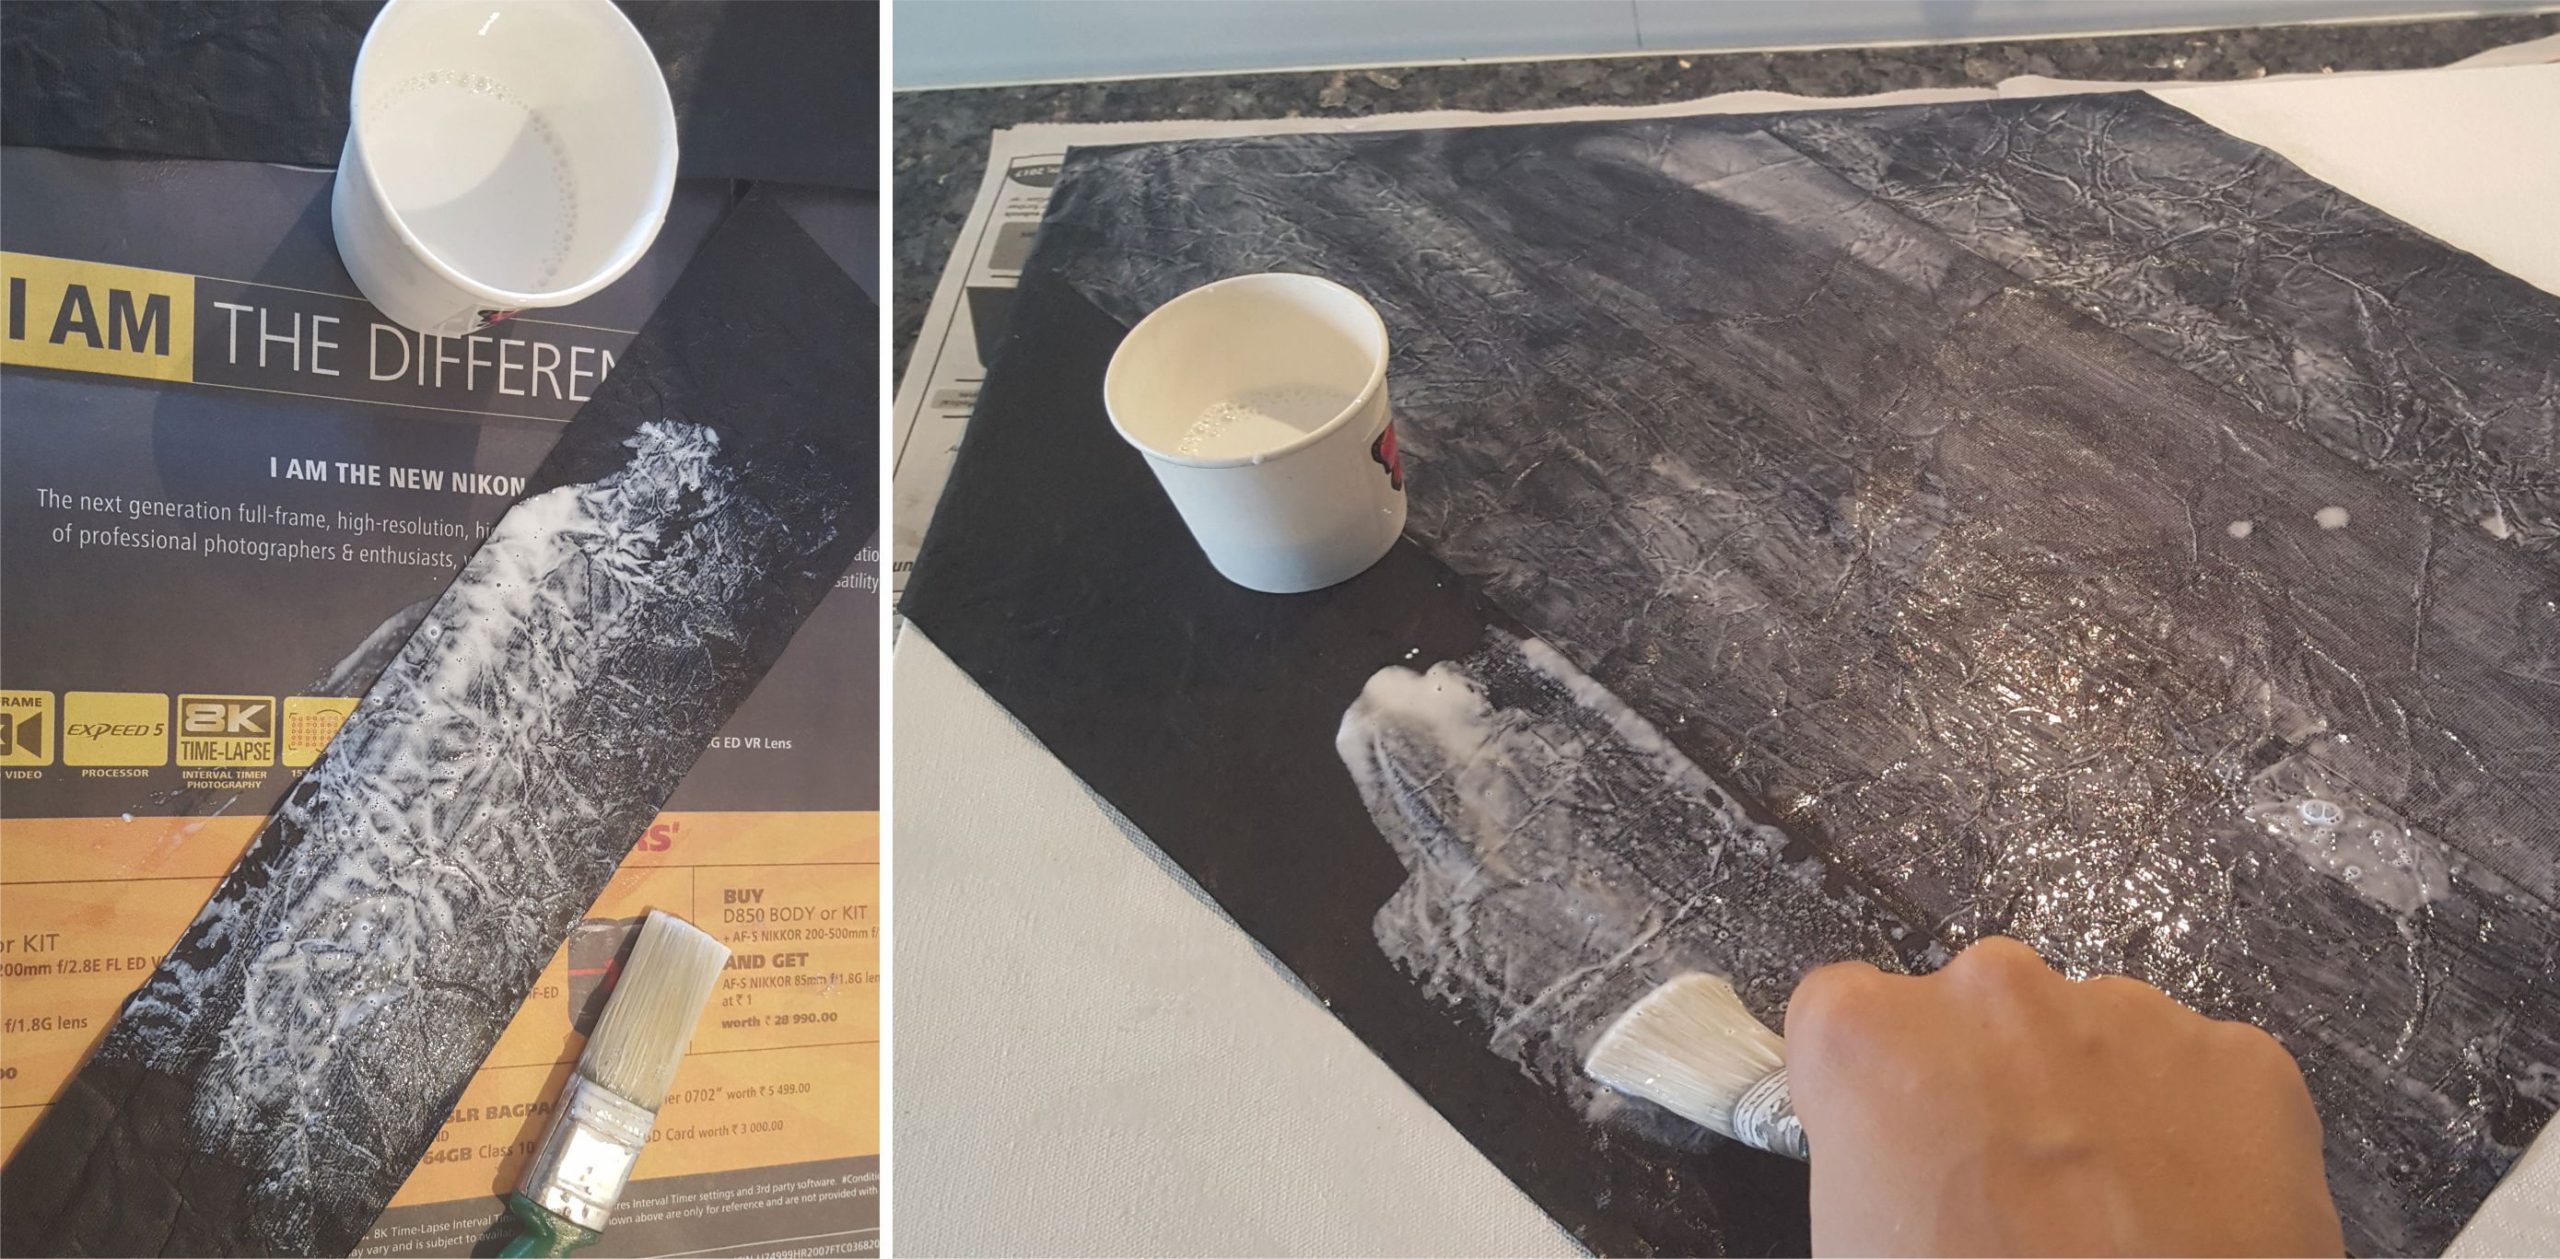

Start by gluing strips of paper (or pieces) onto the canvas by mixing the fevicol with a little water. About 4 glue to 1 water. Keep the canvas elevated on a few plastic bowls so you can fold in the paper properly without it getting stuck to the newspaper.


Fold in the corners like this


When it is fully covered, paint the entire surface with the glue/water mixture.


Choose your child’s drawings and cut them out. This is a great way of using even the smallest drawings (where the rest of the paper is full of fingermarks or scribbles). If the paper is dry, add the glue/water mixture to the back of the drawings before placing them on the canvas. Then add a layer of glue/water on top. Don’t worry if it’s all white and messy. It will dry beautifully and have a shine to it afterwards. Note: Drawings with sketch pen are not suitable for this! Because of the water and the glue, the sketch pen drawings tend to “run”. Drawings made from acrylic paint, colour pencils or crayon work best.


Let it dry and your decoupage is ready.


You can also decoupage old toys -like this BRIO trolley, which was still functional but water damaged before I decided to fix it up.


Leave a Review
You must be logged in to post a comment.