- October 18, 2021
- 1 Like
- 0 / 5
- 3,618 Total Views


- Prep Time90 min
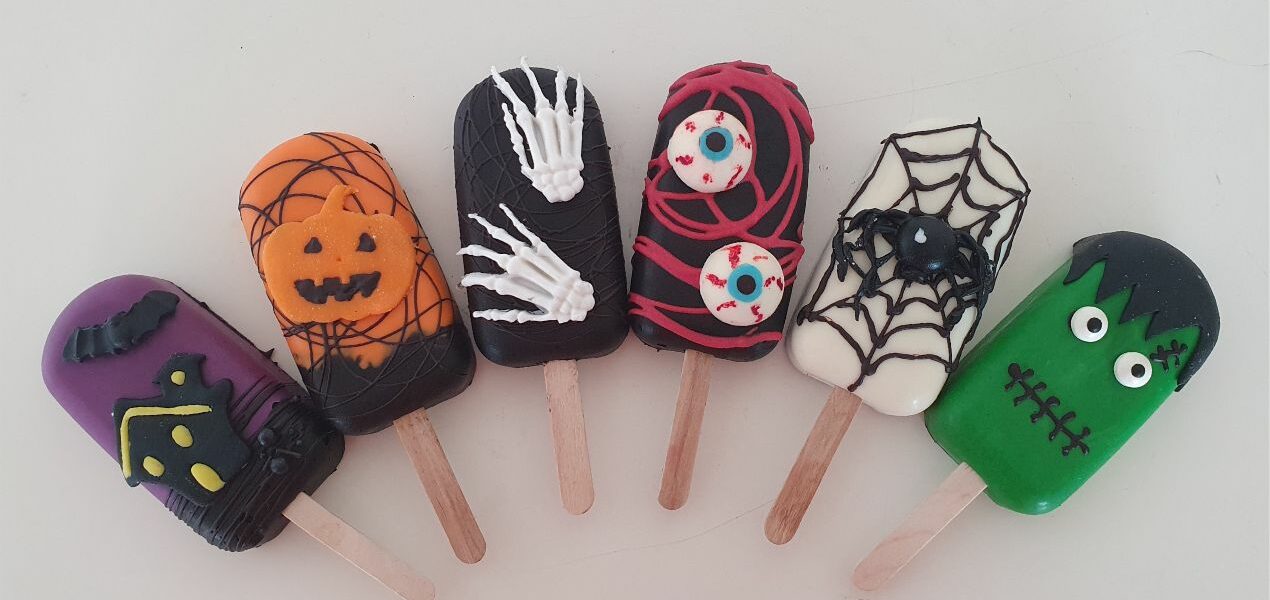
I generally love cakesicles and these Halloween Cakesicles are no different. They are yummy to eat, fun to make and it’s completely up to you and your imagination what they should look like. I personally love that I can change the look or design every time I make a set. Cakesicles also make a wonderful hostess present, if you are ever in need.

Cute or spooky Halloween Cakesicles?
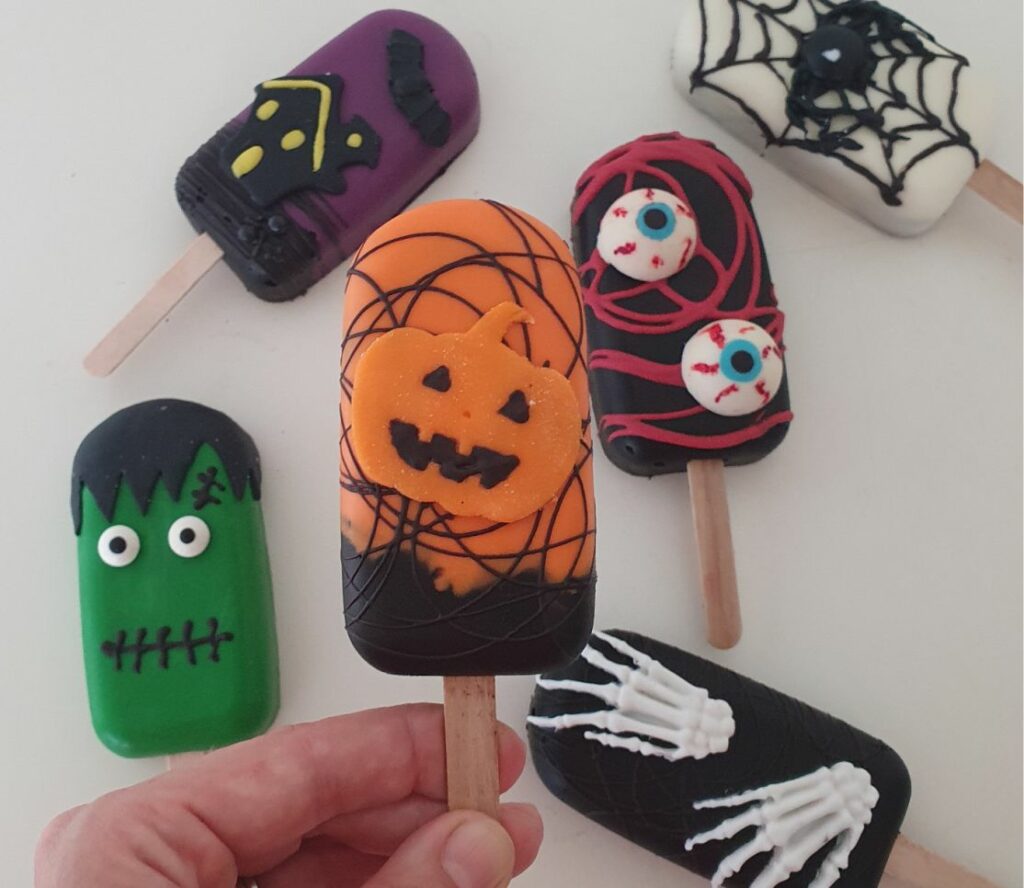
I have made a few child-friendly Halloween cakesicles: the Frankenstein, haunted house and pumpkin ones. There are also a few that are a bit more spooky… and nearly too yucky to eat! 🙂 I am of course talking about the eyeball and skeleton hands ones. You can make anything you like -it all depends on what you like and how used to Halloween spooky-ness your kids or guests are. My kids loved the eyeballs (however gross they are) but others might end up with nightmares if you serve something like that 🙂
See the full step-by-step guide below the ingredients.

What do you need to make Halloween cakesicles?
There are a few necessary thing to get you started:
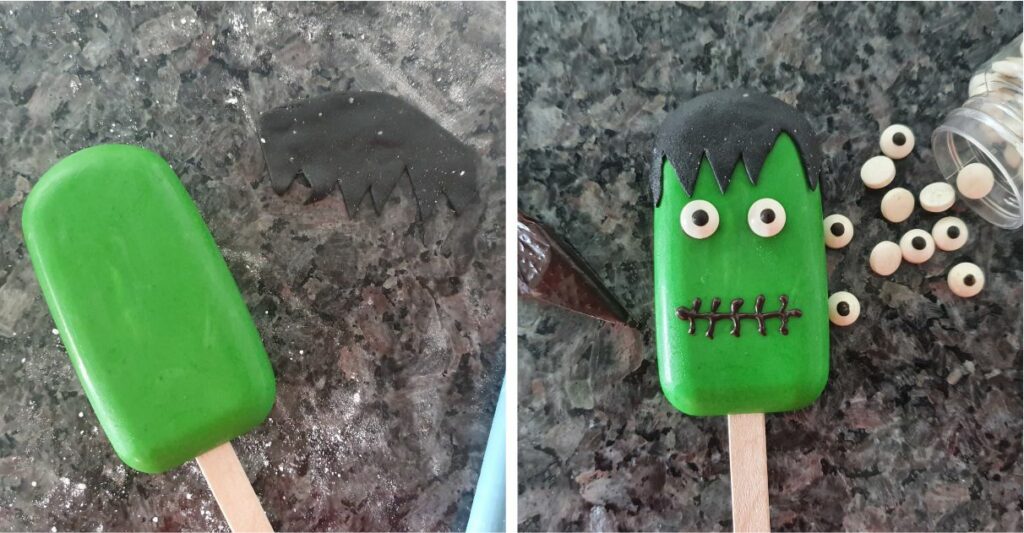
- Cakesicle mould. They make the job a lot easier and are not very costly online. If you don’t want to buy any, you can also make cakesicles as large cake pops instead. Follow my instructions here for cake pops.
- Chocolate. You will need both dark and white chocolate. Buy the best quality you can find so you don’t compromise on the taste of the cakesicle. Cheaper brands also don’t melt as easily and you will find it harder to get a smooth surface.
- Cake. Make a batch of chocolate muffins, use leftover cake or buy one from the supermarket. Anything goes for cakesicles. I always make a rich chocolate cake for mine to give them that extra bit of oomph.
- Popsicle sticks. The gold acrylic ones are beautiful but weaker, so I normally only use those if I am making mini cakesicles for cake decoration. The plain old wooden ones are strong and good and can hold the cakesicle without bending or breaking.
More tips below the picture…

Things you need to make Halloween Cakesicles continued:
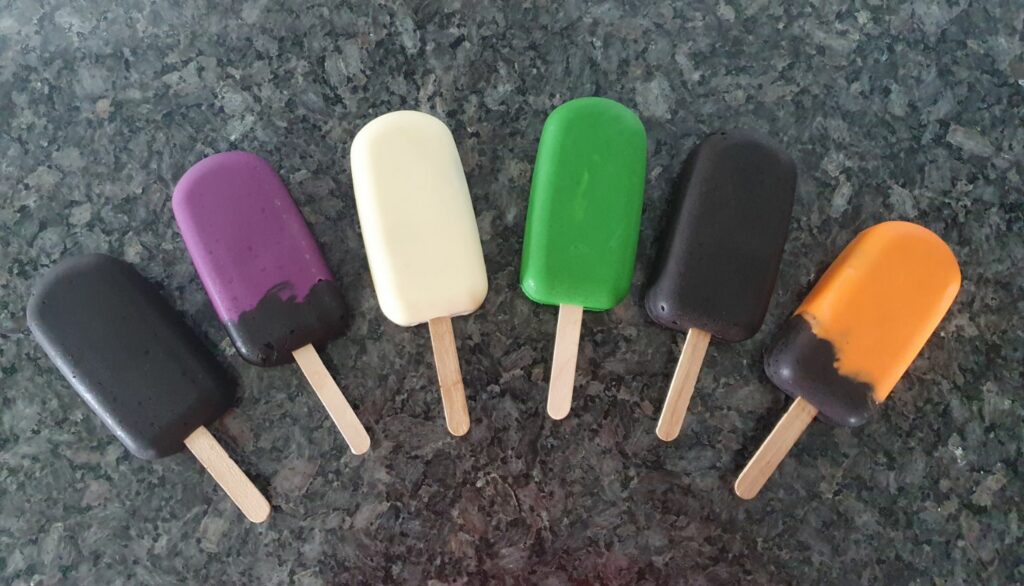
- Food colour. Use either gel colour or chocolate colour as any kind of liquid colour will harden the chocolate. I generally use the Magic Colours brand gel colour and have never had any complaints when colouring chocolate. I used “garden green”, “magic red”, “radiant violet” and “orange” for these Halloween cakesicles.
- Fondant, sprinkles and other decorative items. I found the sprinkle eyes on Amazon.in.
- Fondant moulds and fondant. It’s also handy to have a few Halloween themed fondant moulds, but not strictly necessary. I get mine on amazon.in (I have not put any links as they change all the time unfortunately)
- Piping bags. Piping bags are essential for cakesicles as you will need some kind of swirls on them. You can get a packet of 100 for less than 100rs on Amazon.in. You can also buy a reusable plastic piping bag and though I like the idea of reusable ones (with the environment in mind) they are quite difficult to use for chocolate swirls unless you have the right piping tips too.
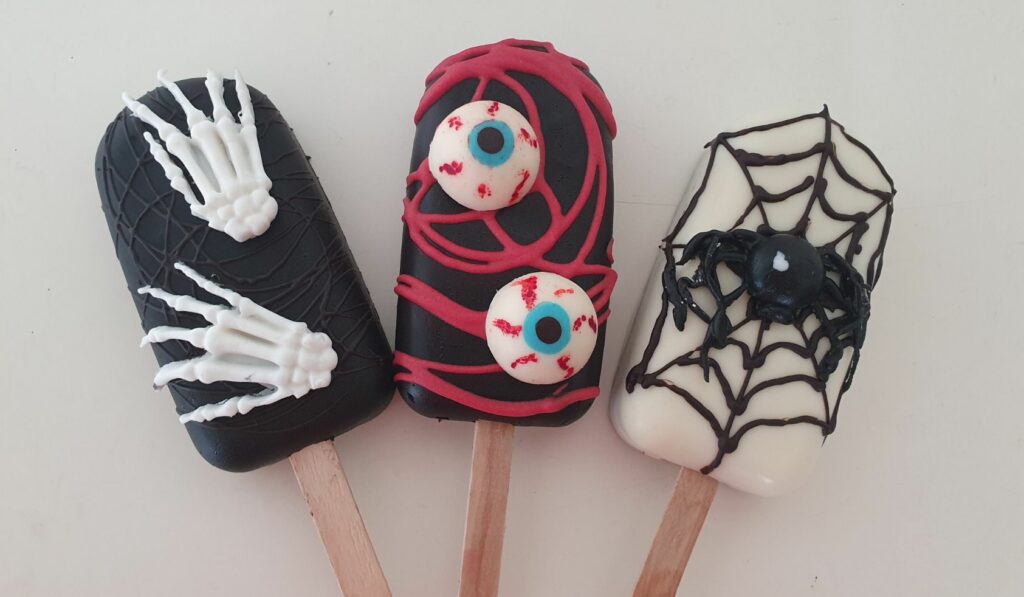

If you love these cakesicles, see my Among Us Cakesicles and how to make them here.
I have lots of other Halloween ideas on this page:
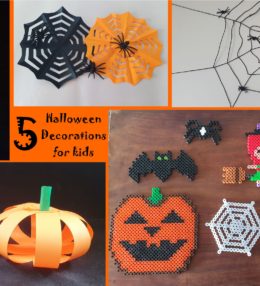
- 5 Easy Halloween Decorations For Kids (and I mean EASY! Max 10-15min jobs for kids)
- 8 Healthy No-Bake Halloween Treats (amazing if you don’t have an oven and would like some healthier treats for the kids…)
- Severed Finger Biscuits -Perfect for Halloween (spooky but delicious! AND super fun to make for kids. Total win-win for the entire family. You can find the perfect butter cookie recipe in this link as well)
- Spider Cookies for Halloween (creepy but fun for everyone :-))
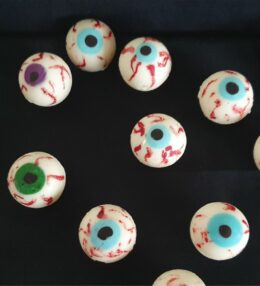
I will soon be adding a post on how to make the scary chocolate eyes. They are also perfect for cupcakes or as cake decoration.
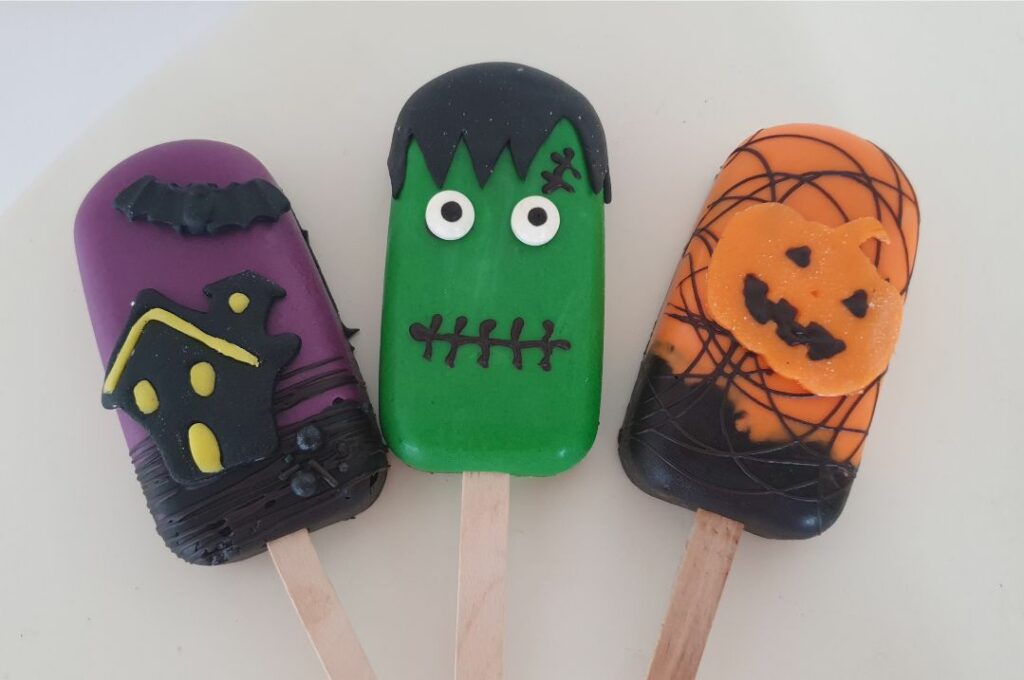

The ingredients mentioned below is to make 4 cakesicles
Ingredients
Directions
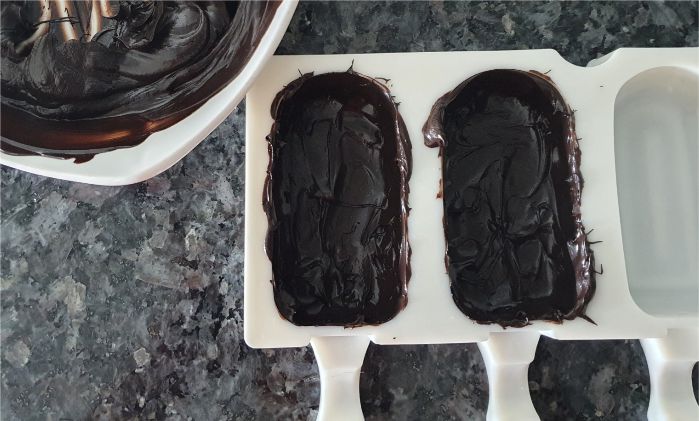


Melt the chocolate and add a layer to the cakesicle mould
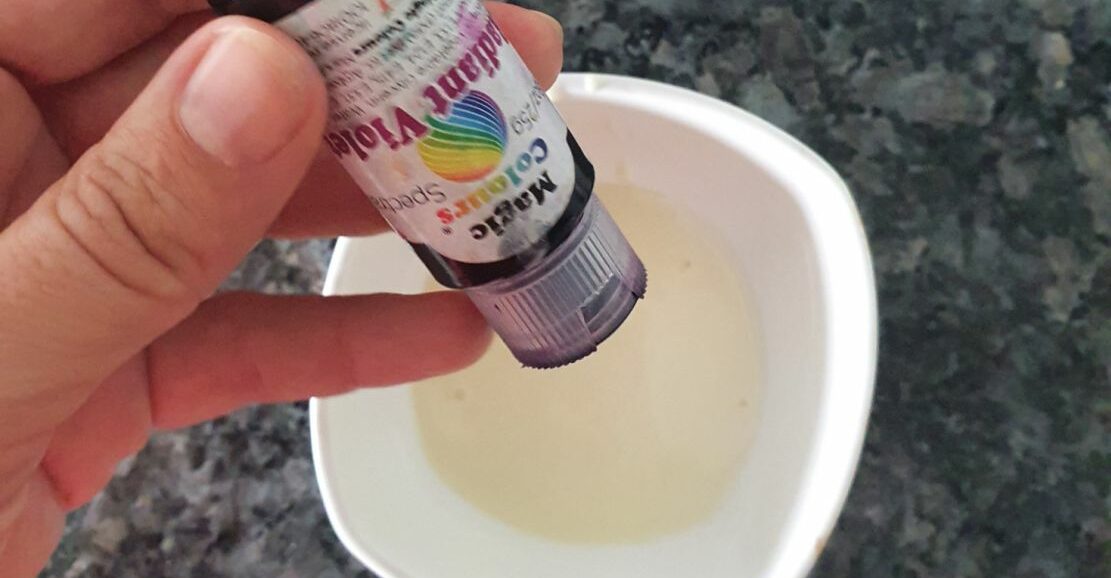

For coloured white chocolate, add a drop of the colour to the white chocolate. Be careful to only add a little colour so the chocolate doesn't harden.
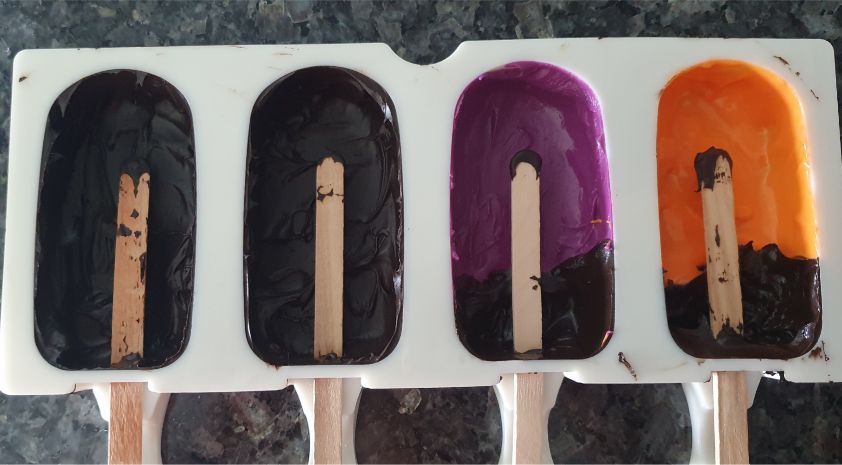


Fill up with your desired colours and add the popsicle stick and scrape off the leftovers on top. Leave the chocolate to set in the fridge for 5-10 minutes.
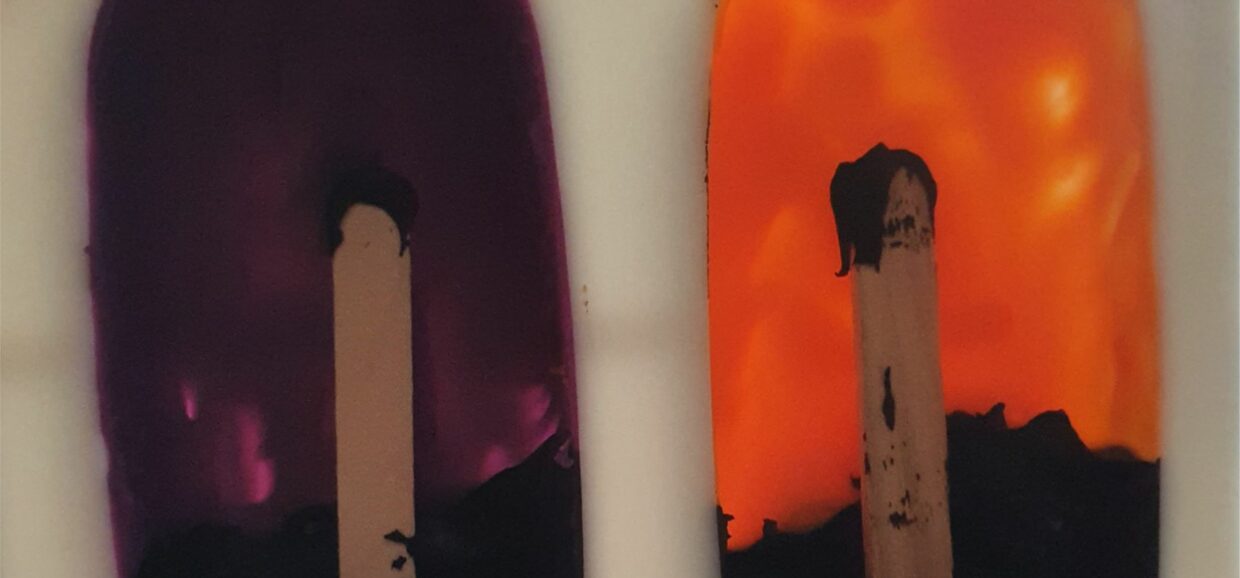

TIP. To see if you need to add more chocolate, hold the mould up against the light. As you can see, there are some lighter patches where the sun is coming through. You will need to add more chocolate there.
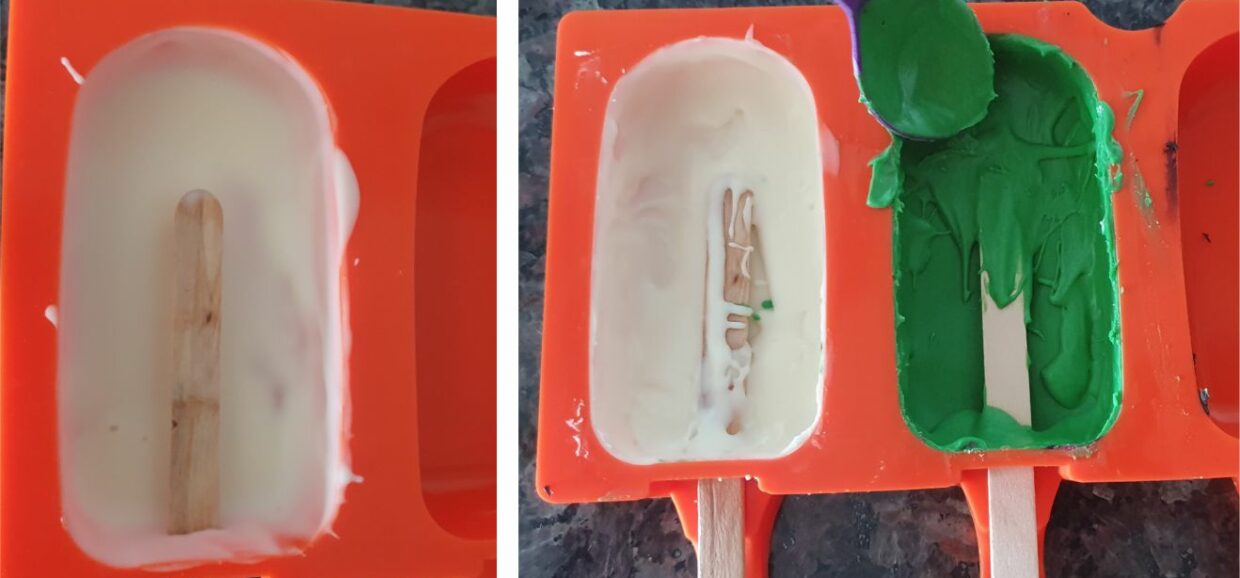

Add another thin layer of chocolate to make the cakesicle chocolate stronger. Let them set in the fridge for 5-10 minutes
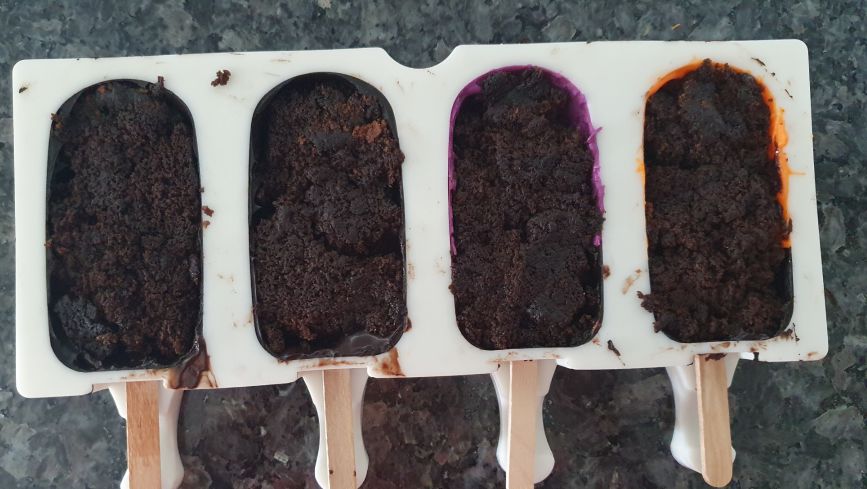


Add your favourite cake to the mould. I also love to add different flavours, sauces or jams at this point. But that is completely up to you.
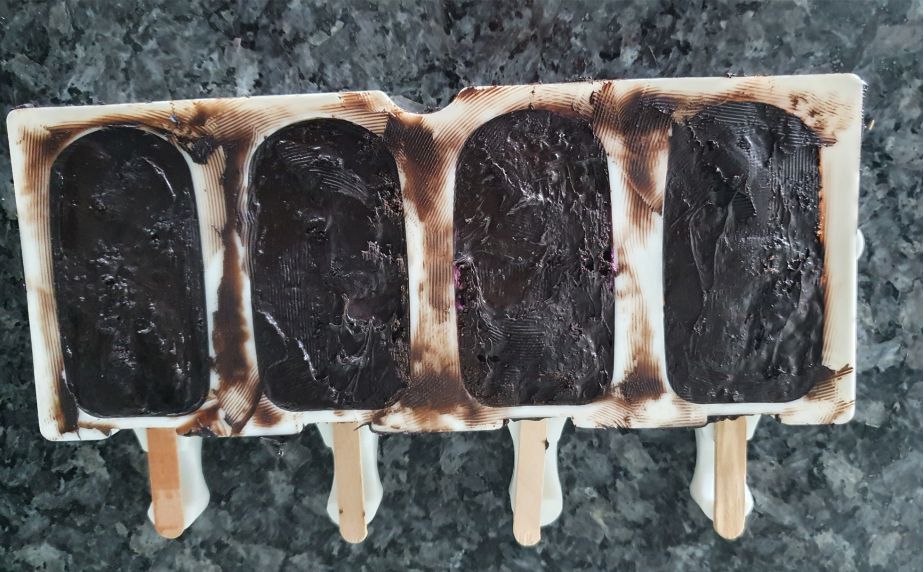


Finish them off with another layer of chocolate. Let them set completely in the fridge for 10 -15 minutes.
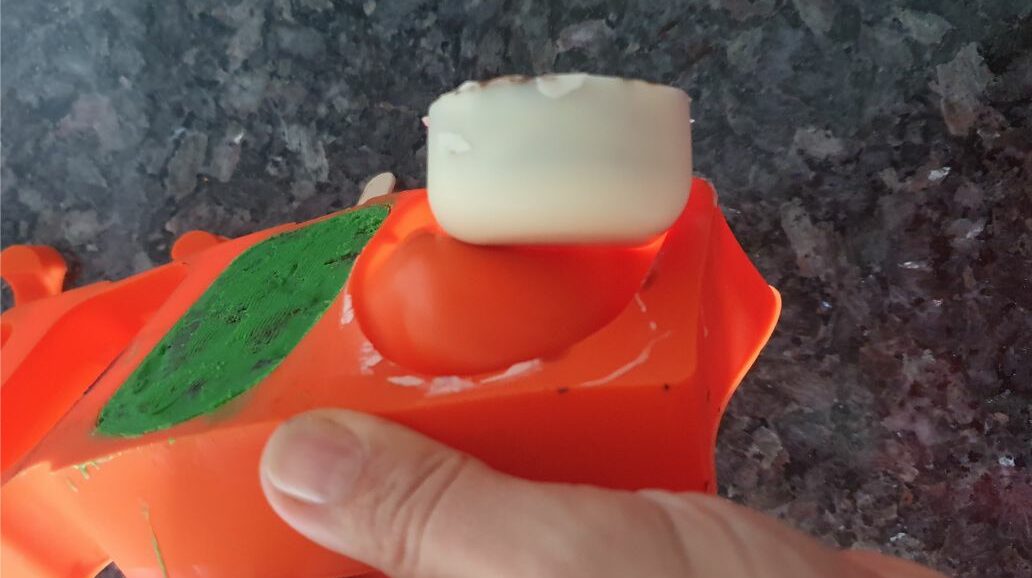

Take the cakesicle gently out of the mould starting from top. Slide the popsicle stick out at the end. Be careful not to break the chocolate around the popsicle stick.
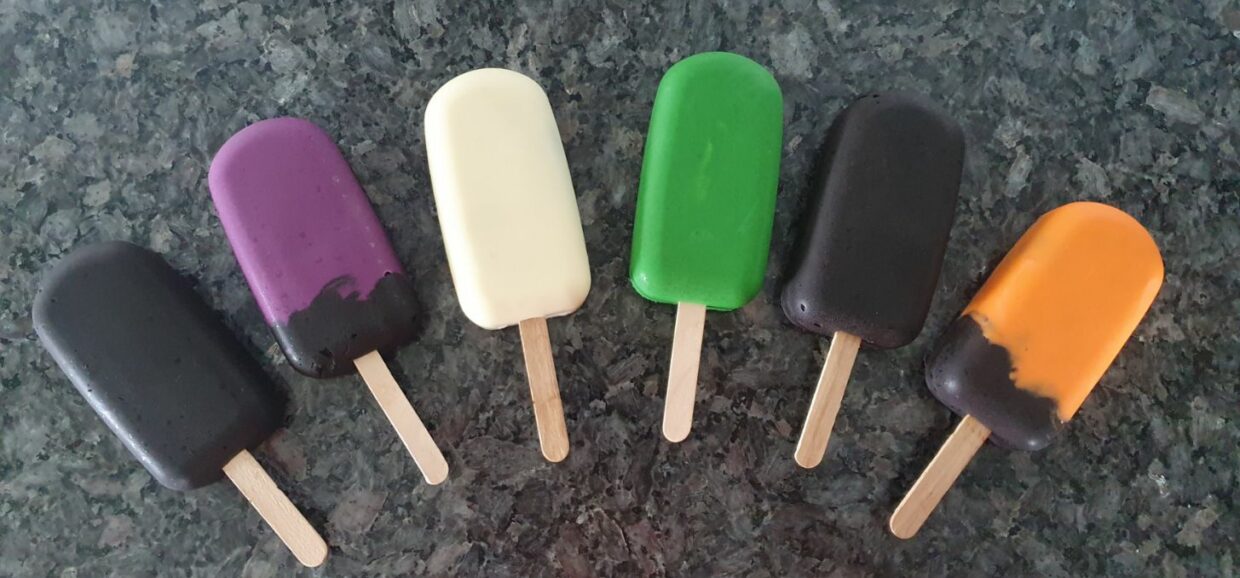

They are now ready to be decorated.
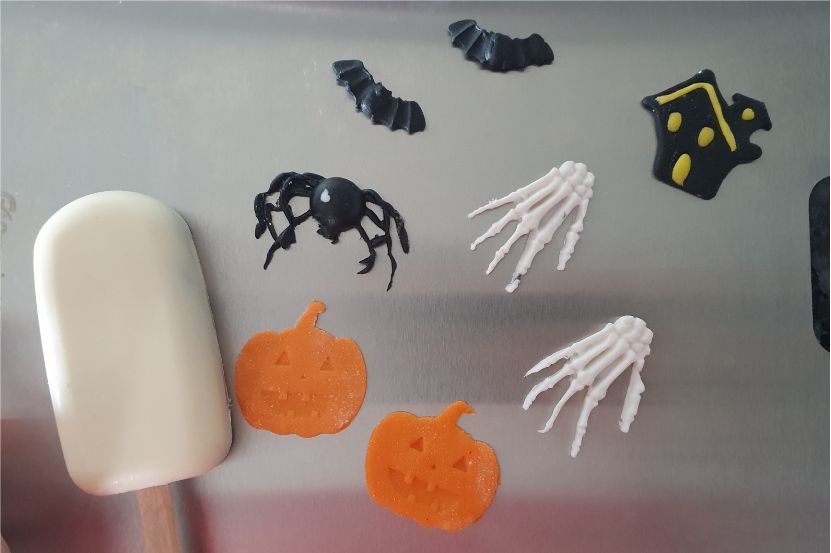


Make a few decorative pieces and set aside. These are made out of fondant.
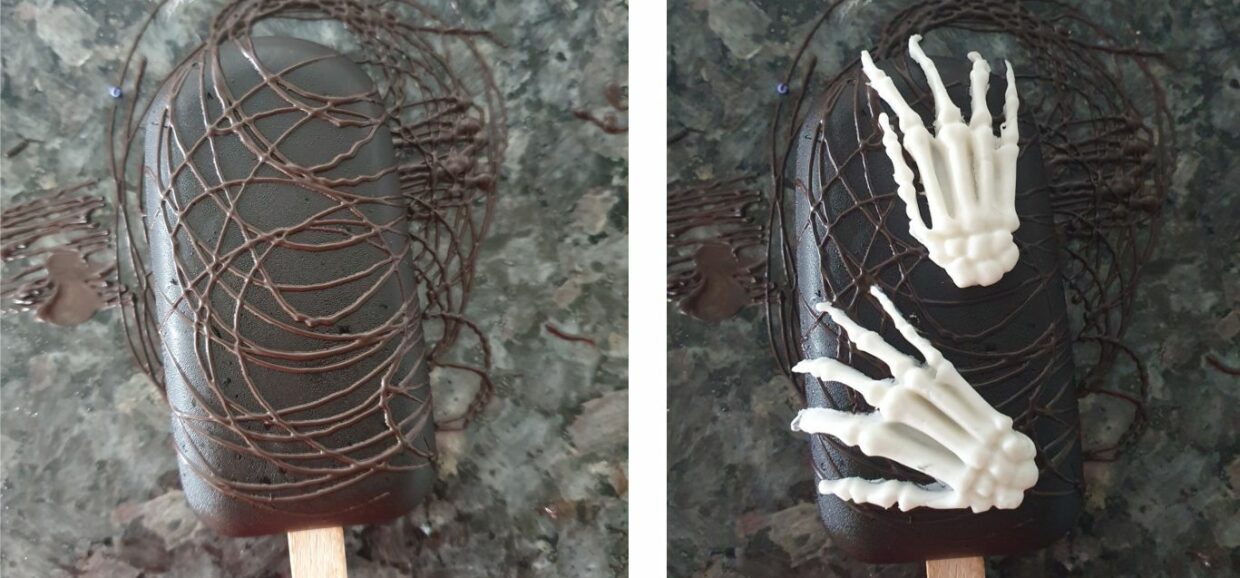

This is when the fun really starts! Decorate with chocolate swirls, sprinkles, eyes, fondant and whatever else you have handy...
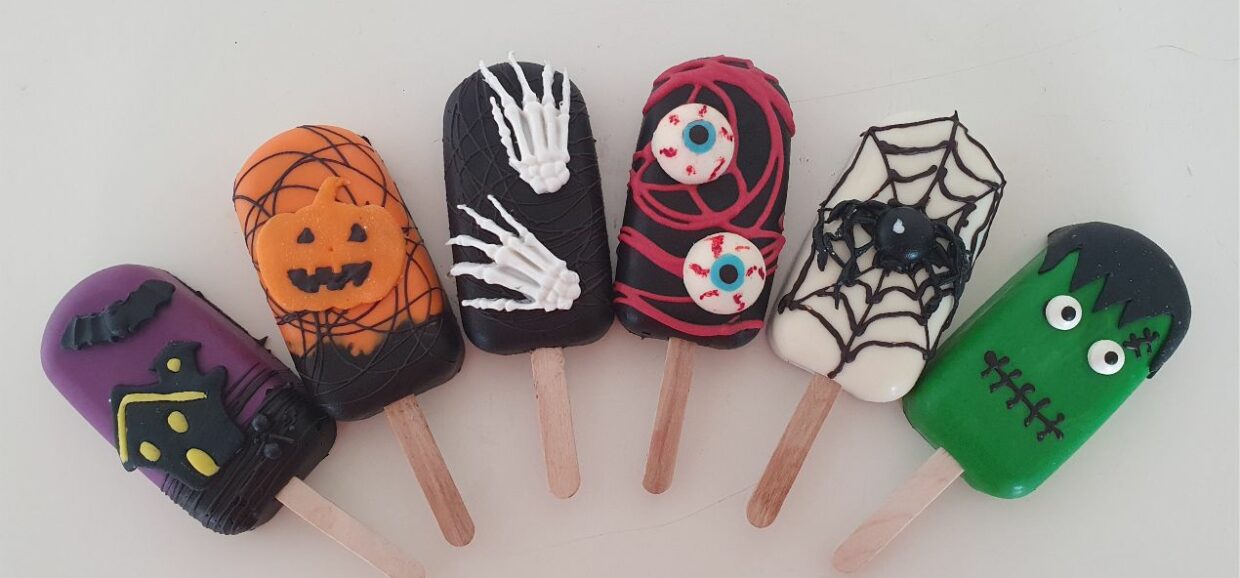

And they are all done and ready. Hope you liked this idea. Happy Halloween.
You may also like
Spooky Halloween Cakesicles
Ingredients
Follow The Directions


Melt the chocolate and add a layer to the cakesicle mould
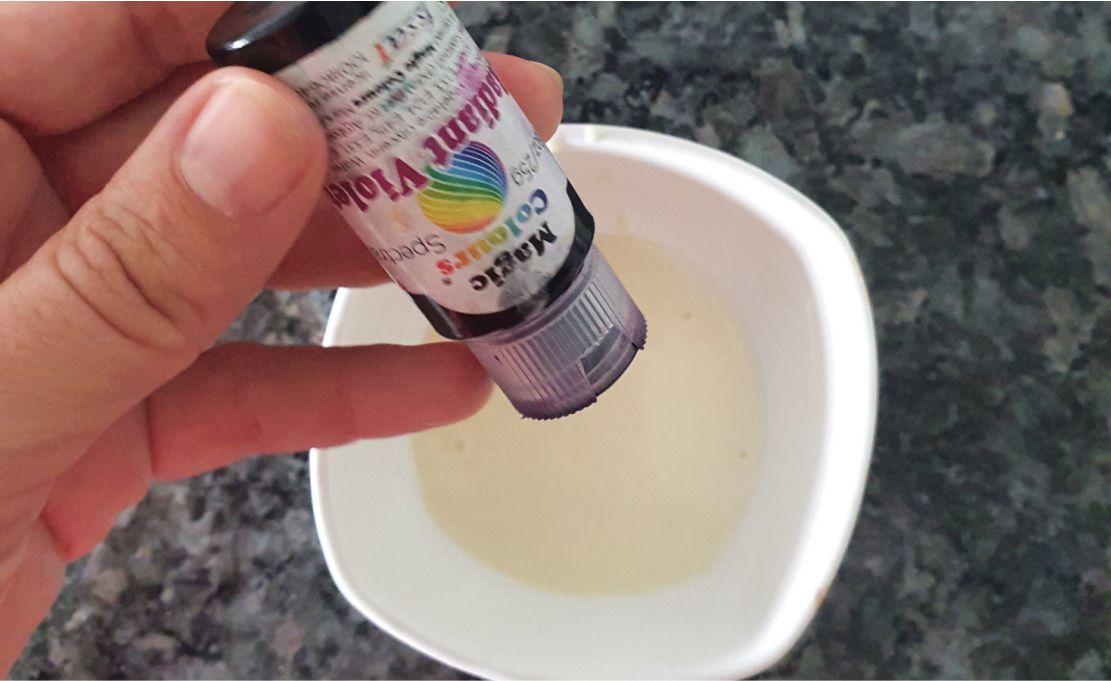

For coloured white chocolate, add a drop of the colour to the white chocolate. Be careful to only add a little colour so the chocolate doesn't harden.


Fill up with your desired colours and add the popsicle stick and scrape off the leftovers on top. Leave the chocolate to set in the fridge for 5-10 minutes.
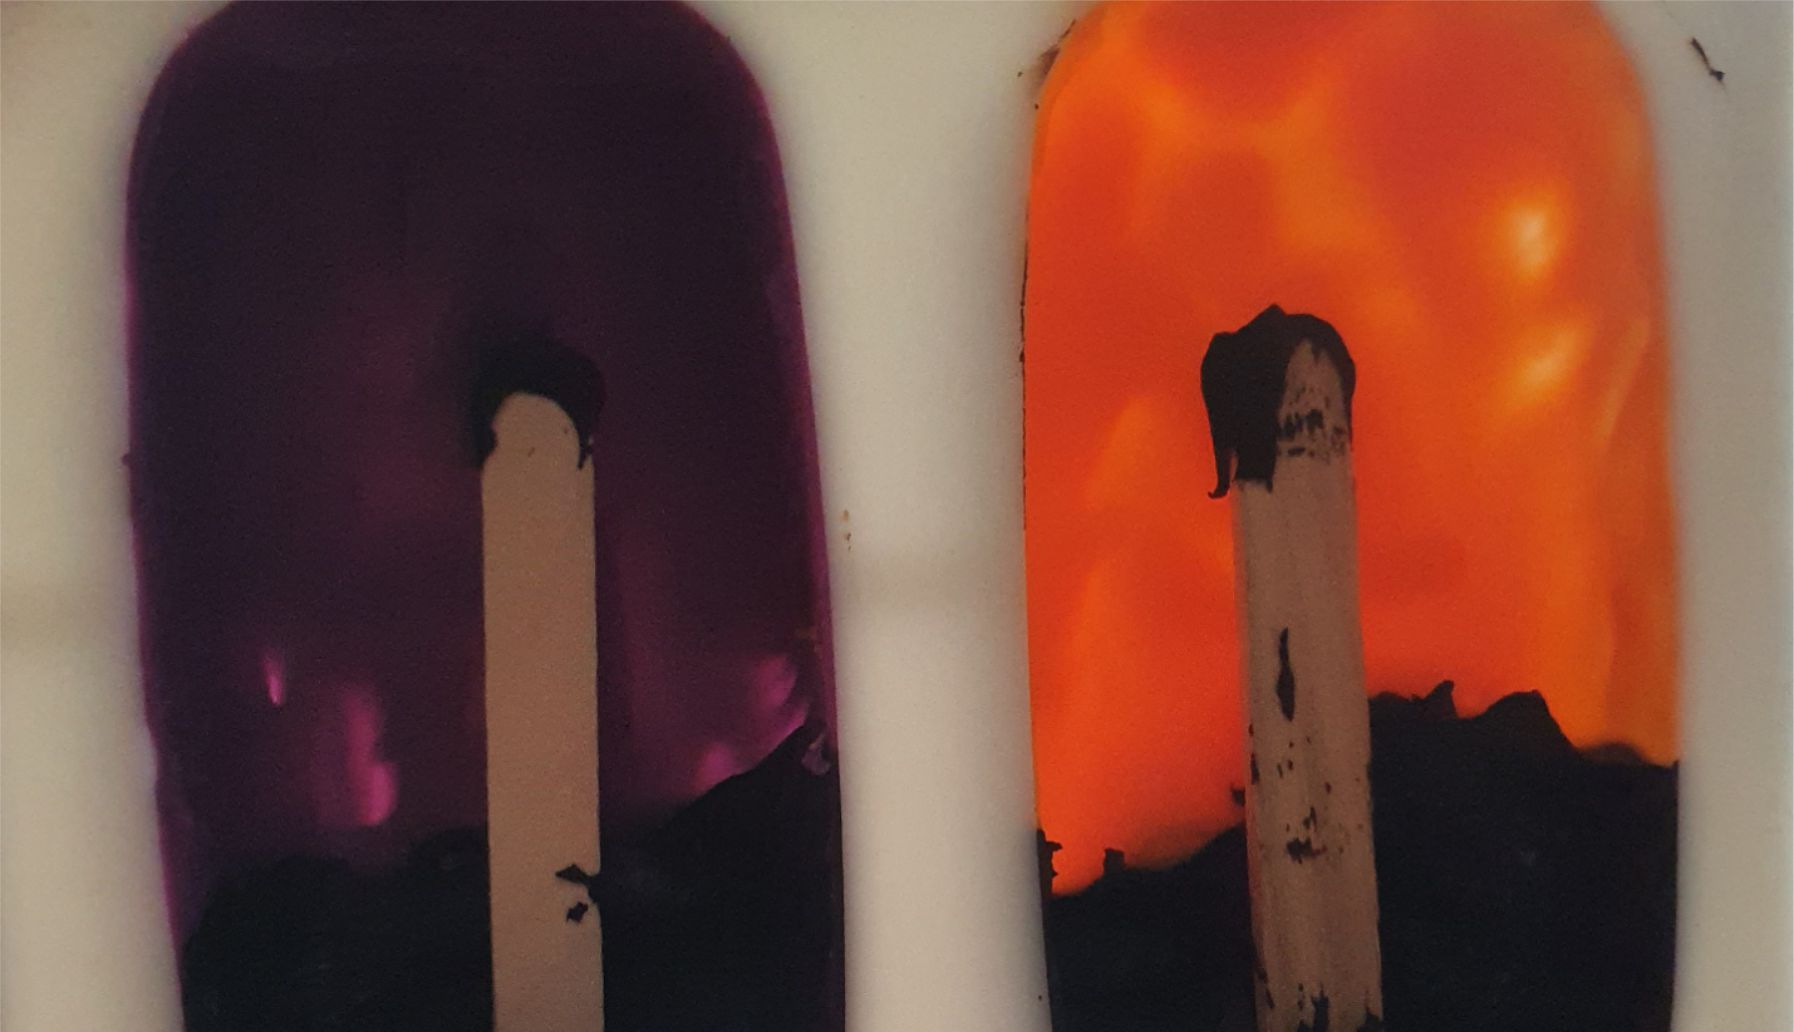

TIP. To see if you need to add more chocolate, hold the mould up against the light. As you can see, there are some lighter patches where the sun is coming through. You will need to add more chocolate there.
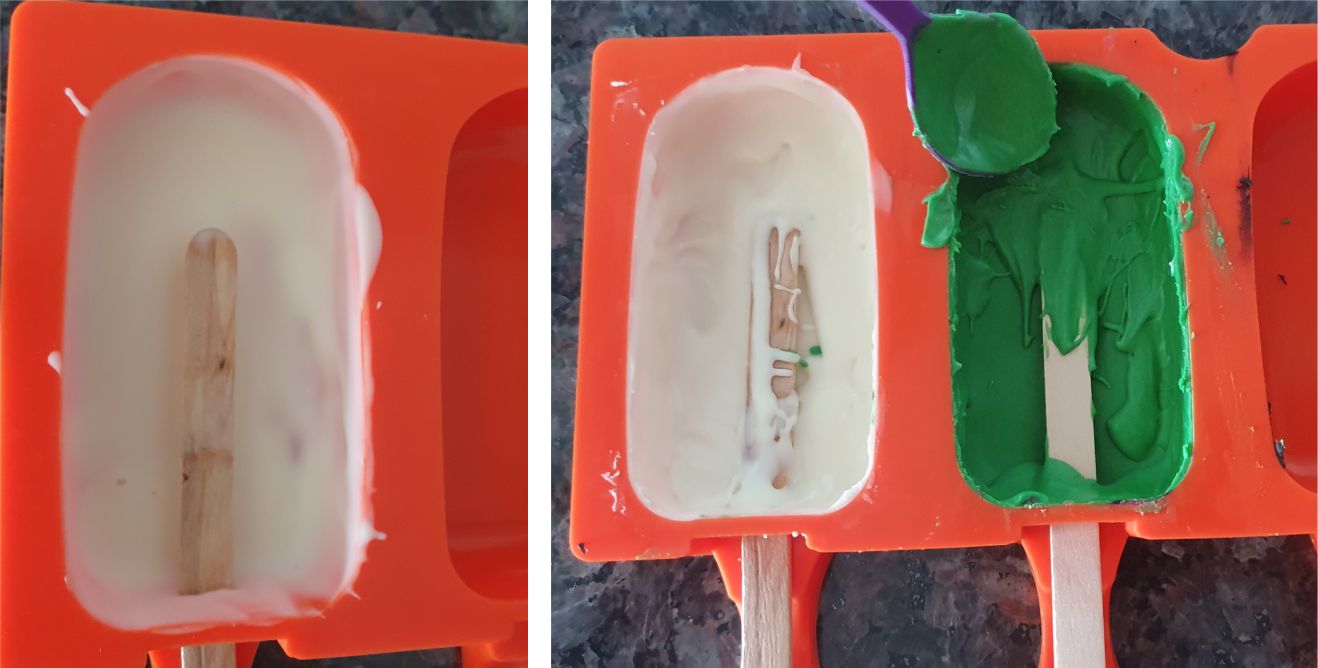

Add another thin layer of chocolate to make the cakesicle chocolate stronger. Let them set in the fridge for 5-10 minutes


Add your favourite cake to the mould. I also love to add different flavours, sauces or jams at this point. But that is completely up to you.


Finish them off with another layer of chocolate. Let them set completely in the fridge for 10 -15 minutes.
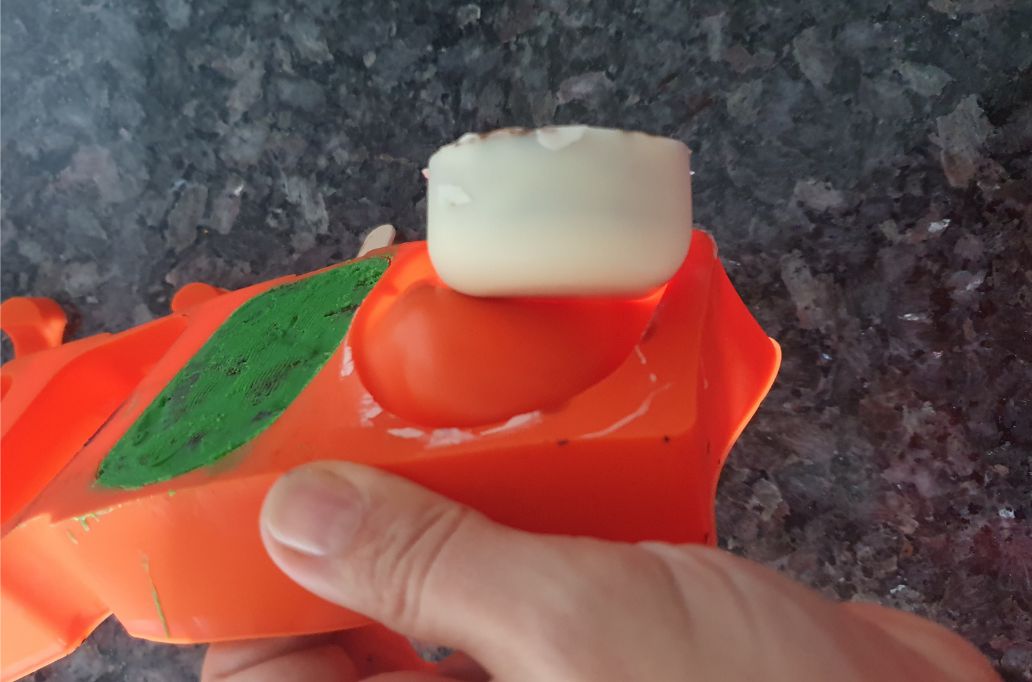

Take the cakesicle gently out of the mould starting from top. Slide the popsicle stick out at the end. Be careful not to break the chocolate around the popsicle stick.
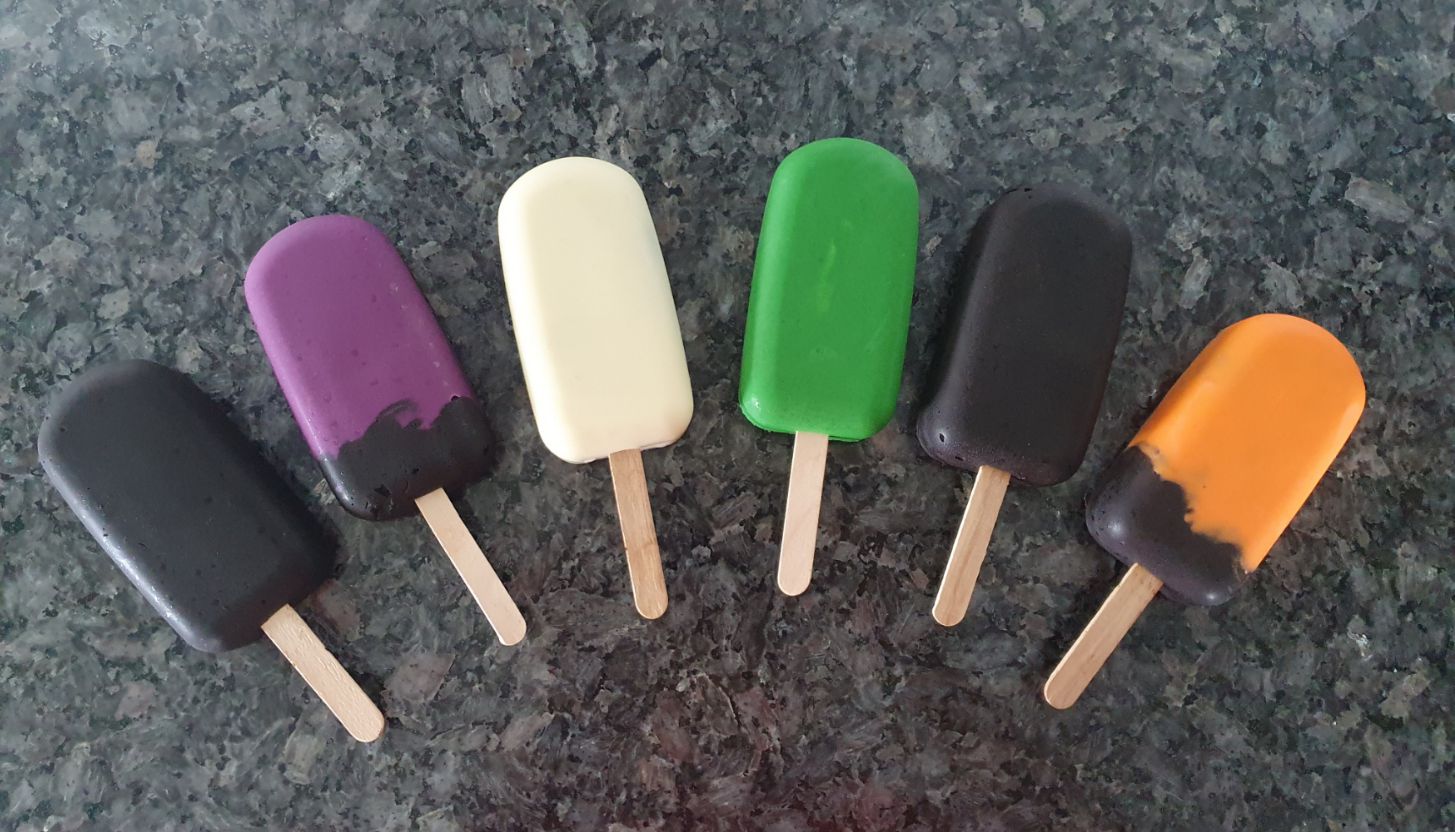

They are now ready to be decorated.


Make a few decorative pieces and set aside. These are made out of fondant.
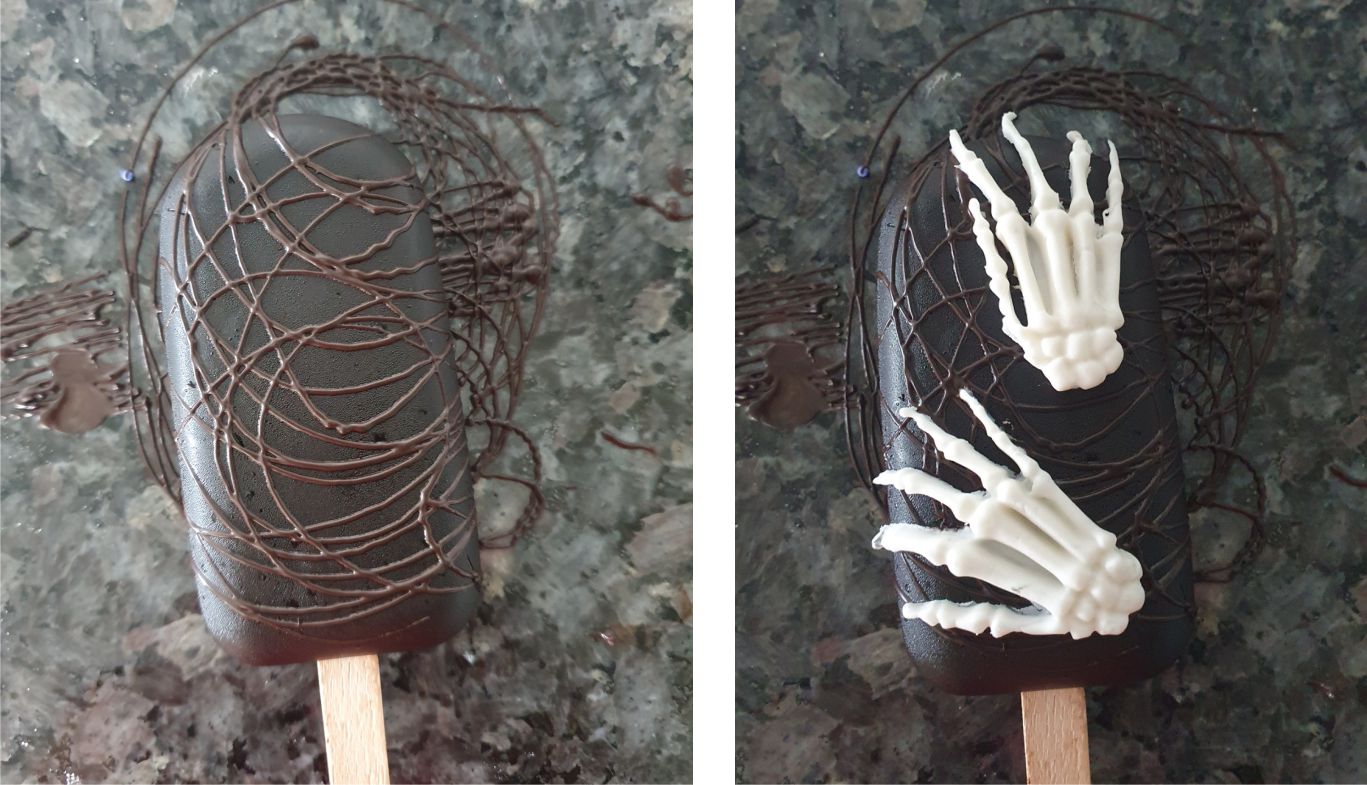

This is when the fun really starts! Decorate with chocolate swirls, sprinkles, eyes, fondant and whatever else you have handy...
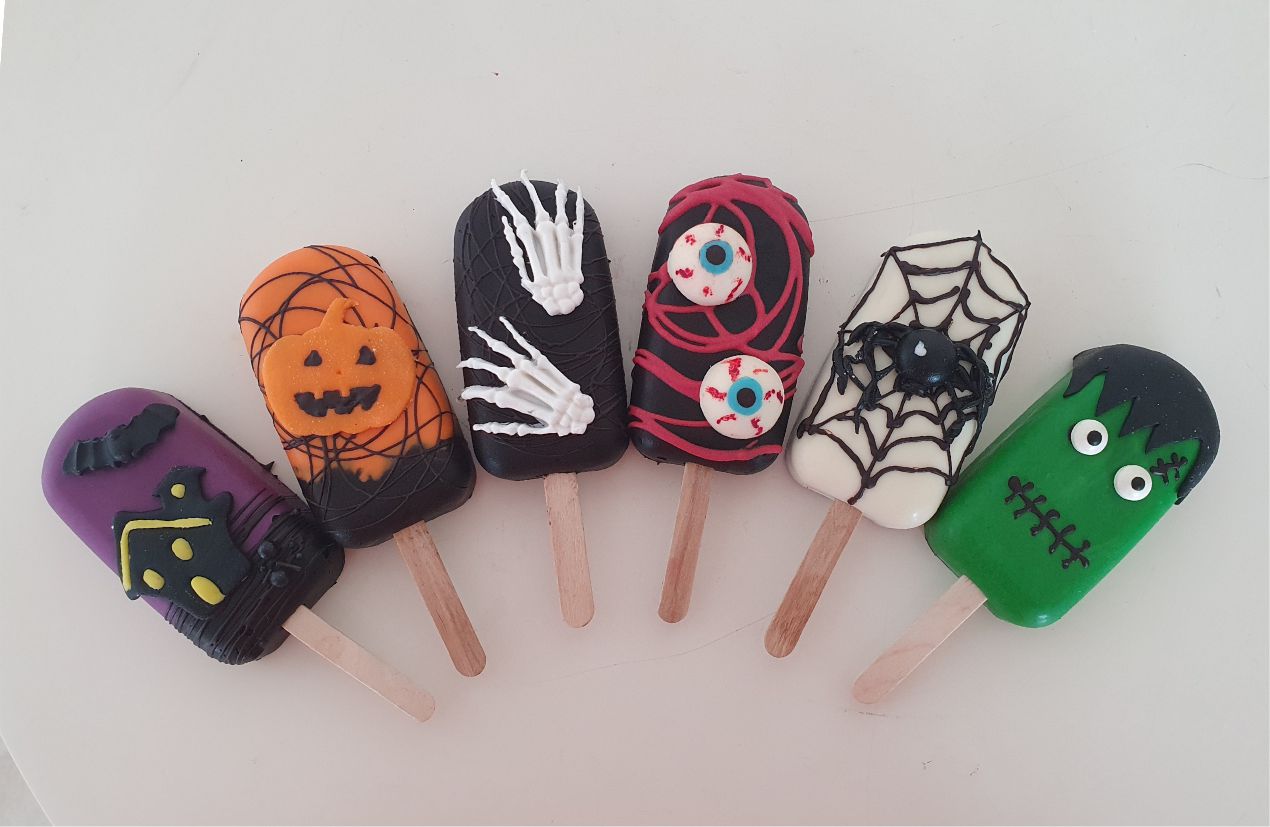

And they are all done and ready. Hope you liked this idea. Happy Halloween.



Leave a Review
You must be logged in to post a comment.