- December 15, 2021
- 1 Like
- 0 / 5
- 3,891 Total Views


- Prep Time20min
- Total Time30min
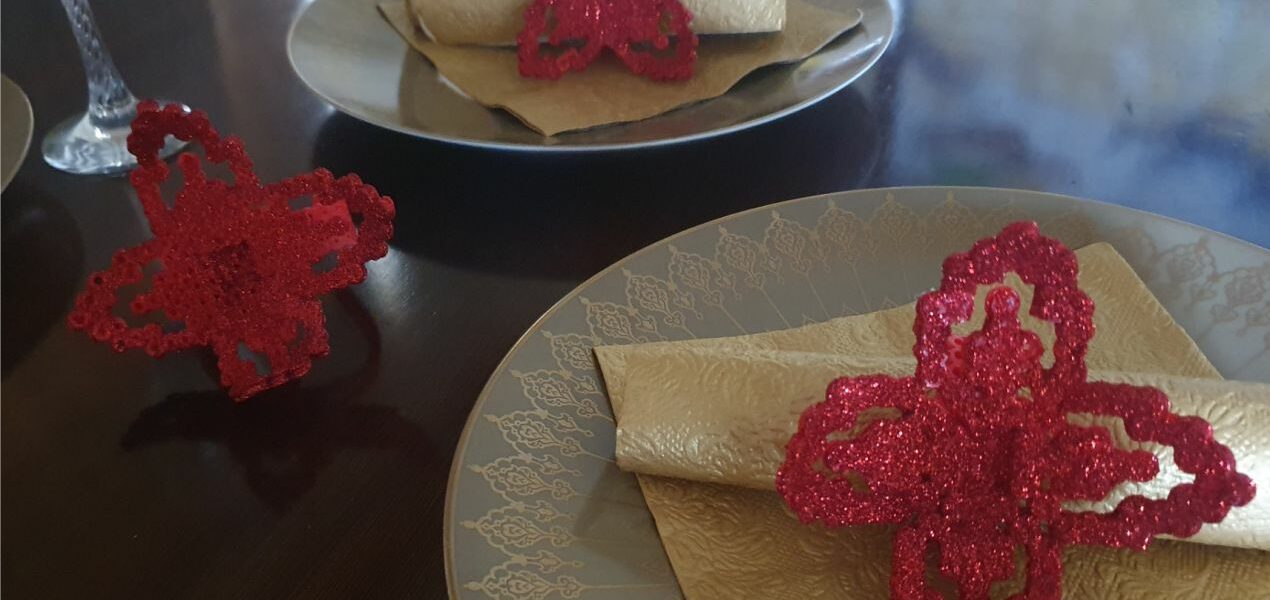
Brighten up your table with this beautiful homemade perler beads napkin ring or impress the grandparents with a homemade Christmas gift. They are ever so pretty and much easier to make than they look!
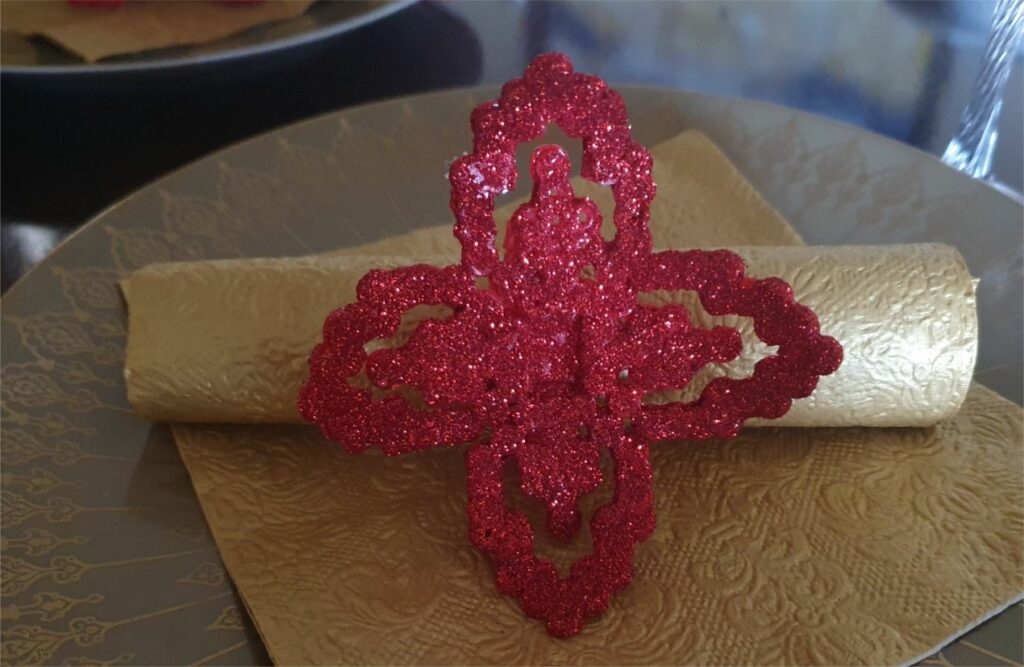

Let’s make a perler beads napkin ring!
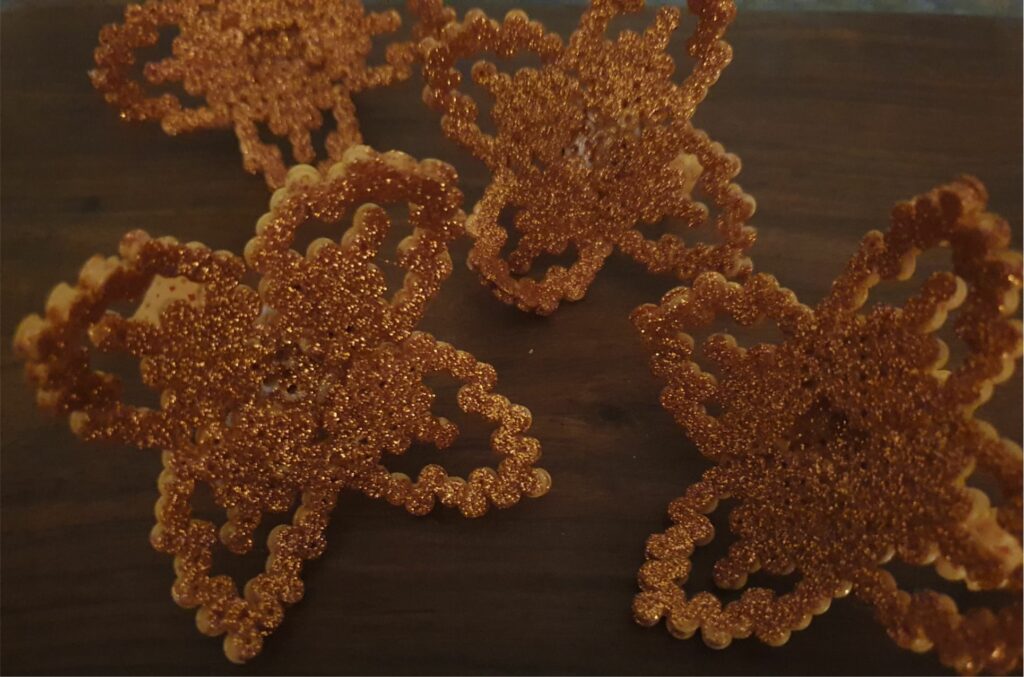
The napkin ring may look slightly complicated when you see it all together like this, but it’s really not. It’s basically just 6 pieces of ironed beads glued together. The glitter also adds that little bit extra. And that is also what I love about this -and similar craft projects! It SHOULD look difficult but it also SHOULD be possible for kids to do by themselves. My 5-year old made the red ones for my mom for Christmas. She needed help with the ironing and the bending but could easily do the rest herself. My 9-year old made the gold ones. She did most of it herself -I only helped a little to make it faster so it didn’t become too tiresome to make so many 😉

My perler beads tips and tricks
The main thing that sets this napkin holder apart from regular perler beads designs is the bent shape of the “leaves” and the napkin ring itself. The trick is to iron the beads on one side and then take them off the peg board. You then iron them on the other side (to make them stronger) and bend the beads into the desired shape while they are still hot. Hold the beads under cold water (under the running tap or in a bowl filled with water) and the beads will cool and set within a few seconds. Leave the beads to dry on a cloth or wipe them down before you glue them together.
See all the pictures in the step-by-step guide below the ingredients.

What do you need to make a perler beads napkin ring?
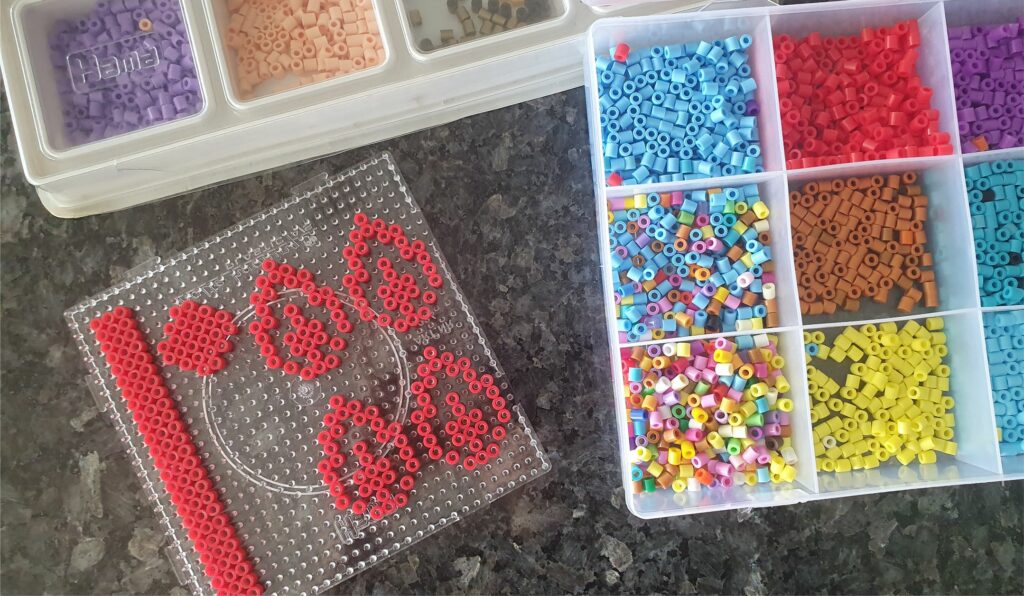
You will need 6 parts for each napkin holder; 4 leaves, 1 small circle to attach the leaves to and 1 long band that becomes the napkin ring itself. Here are a few tips for getting the correct ingredients:
- Perler beads. As mentioned in many of my previous perler beads posts I like the perler brand and the hama brand for beads. But as both can be quite expensive here in India, it’s also possible to use the Ikea perler beads. They do the job quite as well and will cost a fraction of the price. Just remember to iron them a little less as their melting point is lower than other brands.
- Peg boards. You can find them in various sizes and shapes. If you are new to perler beads, then start with a few cheaper/smaller ones until you find out if this craft is for you. You will need square ones for this design.
- Iron & baking paper.
- Glue and glue gun. To stick the pieces together, you will need a glue gun. I got my glue gun from itsybitsy but anyone will do the job. You will need regular white craft glue to stick the glitter.
- Glitter. I buy bags of glitter in the local art and craft shop.
- Hairspray. Any brand will do. This is my little trick to get the glitter to stay on the napkin ring and not fall off every time you touch it. If you don’t have any hairspray, don’t worry. It’s also possible to make the napkin ring without it, just dust off as much of the glitter after it’s dry.
See the full step-by-step guide with pictures below the ingredients.
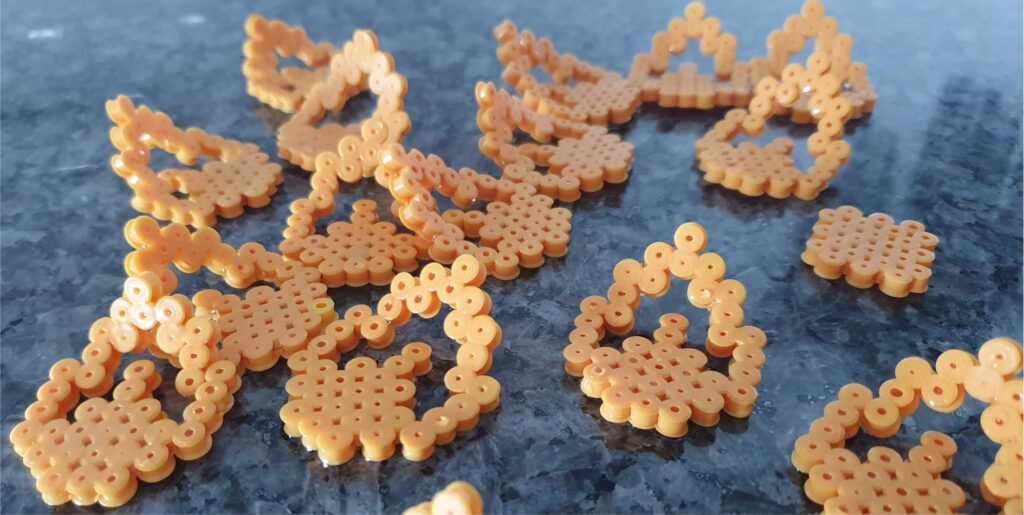

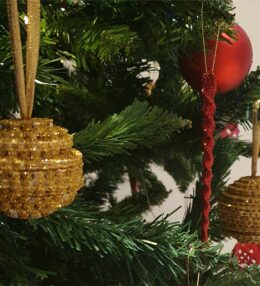
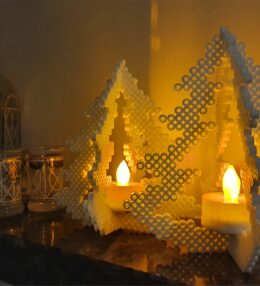
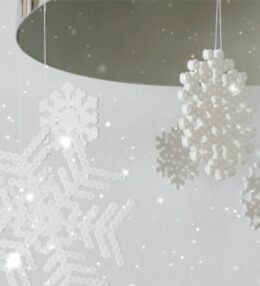
Other perler beads Christmas ideas
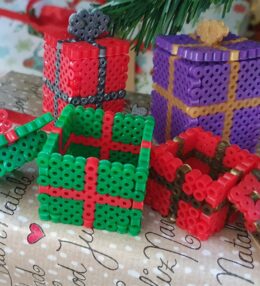
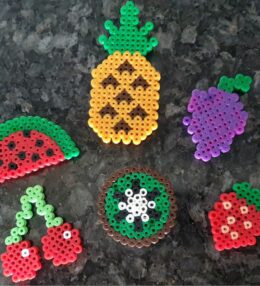
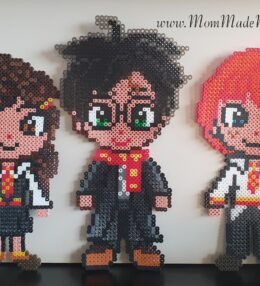
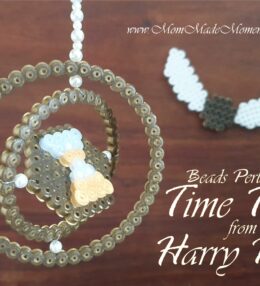
The kids and I love making perler beads for Christmas crafts. You can see some of my other Christmas ideas here:
Ingredients
Directions
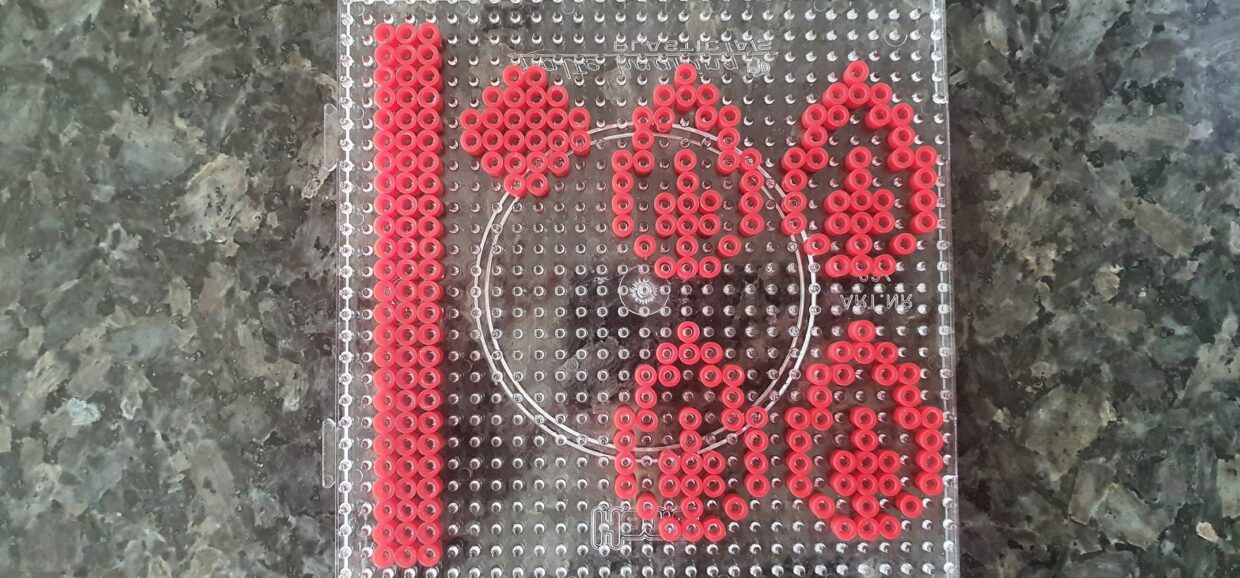

Make the design as shown here on a square pegboard. You will need 4 leaves, 1 circle and 1 long band.
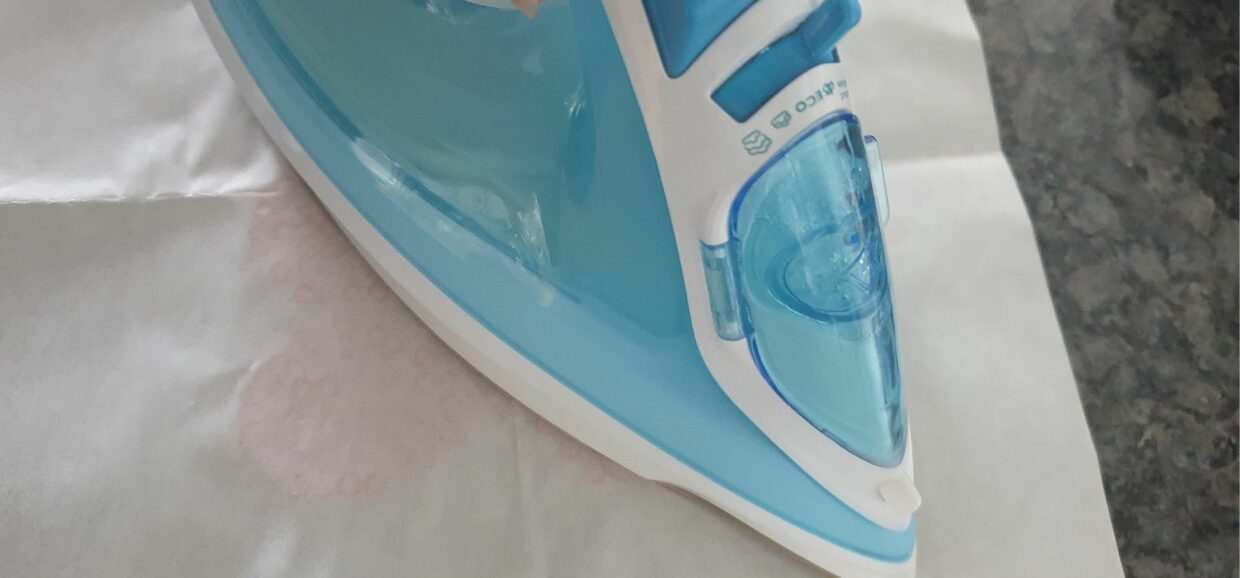

Cover the beads with the baking/parchment paper and iron them gently on medium to low heat until they are fused together
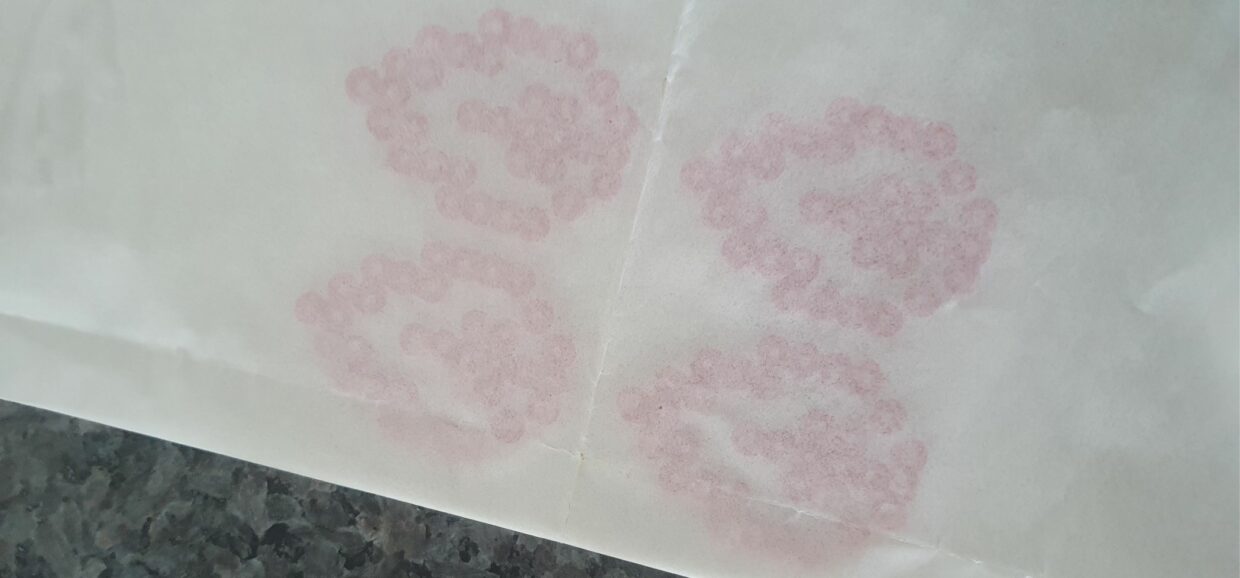

Take the beads of the pegboard and iron them on the other side too. Do one leaf at a time so you have time to bend it before it cools. See more in the next step.
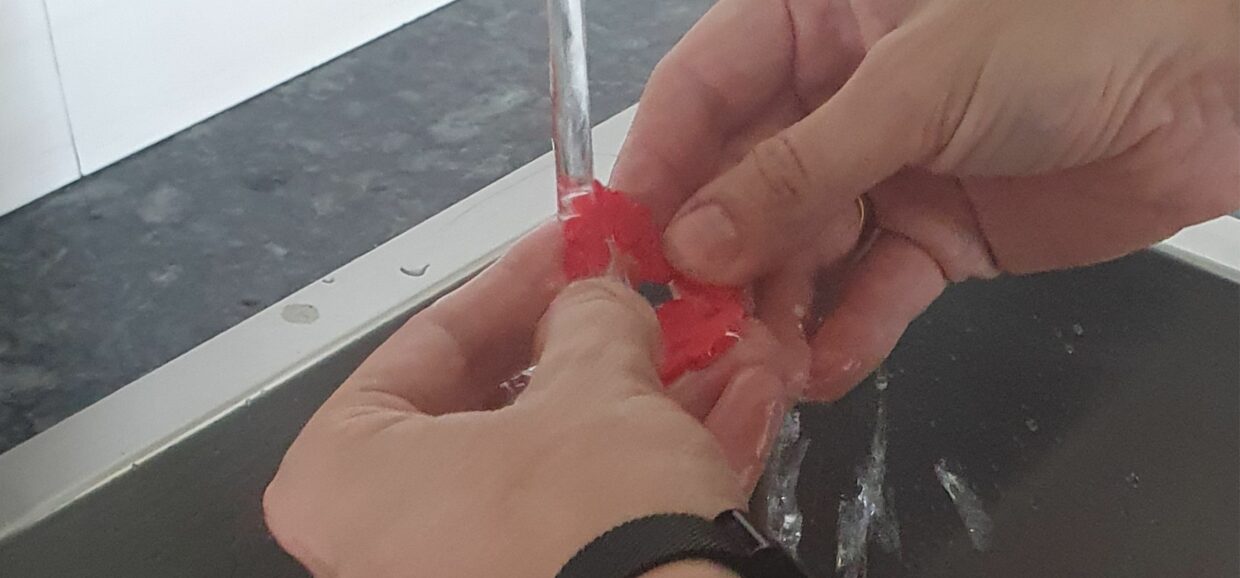

While the beads are hot from the iron, fold the tip a little and hold it under the cold running tap (or dip it in a bowl of water) so it cool immediately and sets in that design.
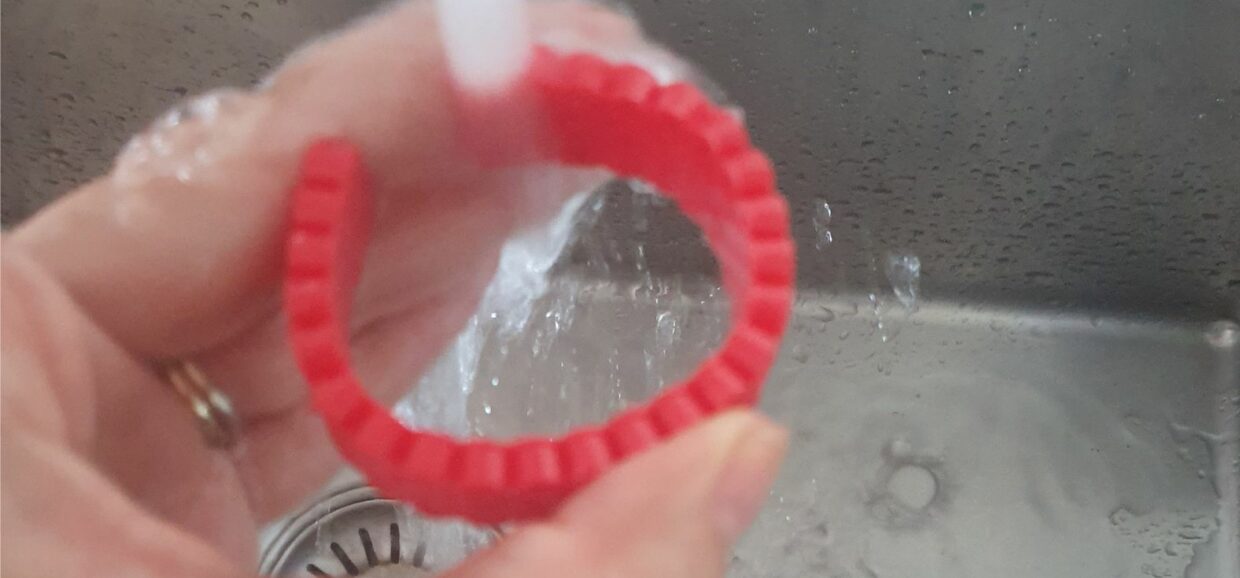

Do the same for the band which will become the napkin ring. Dry off all the excess water.
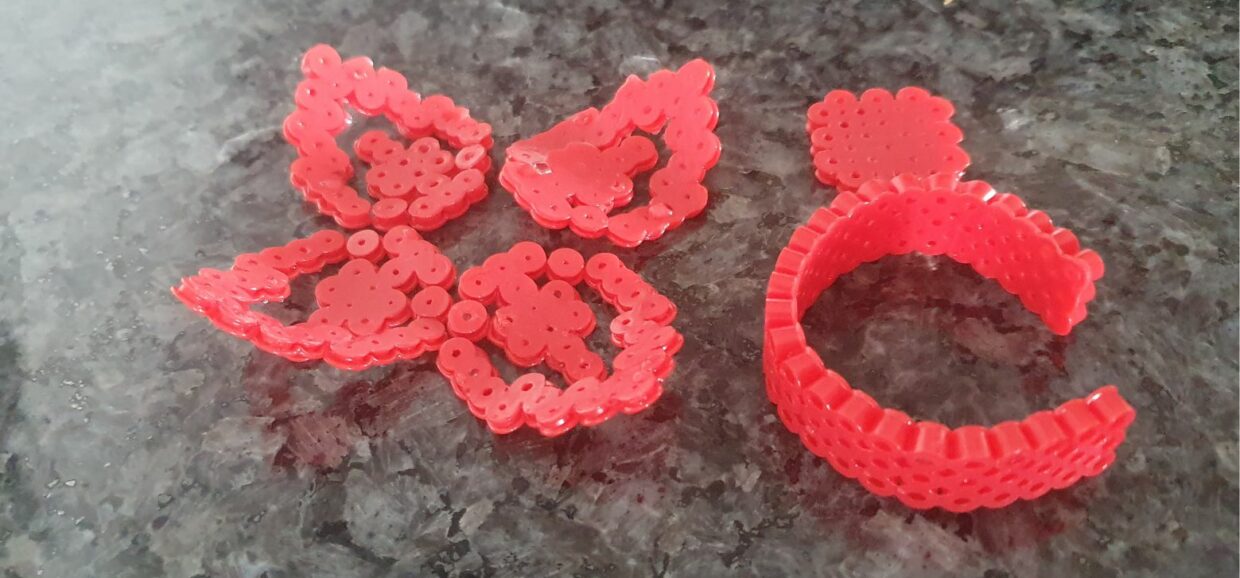

You will now have a set like this
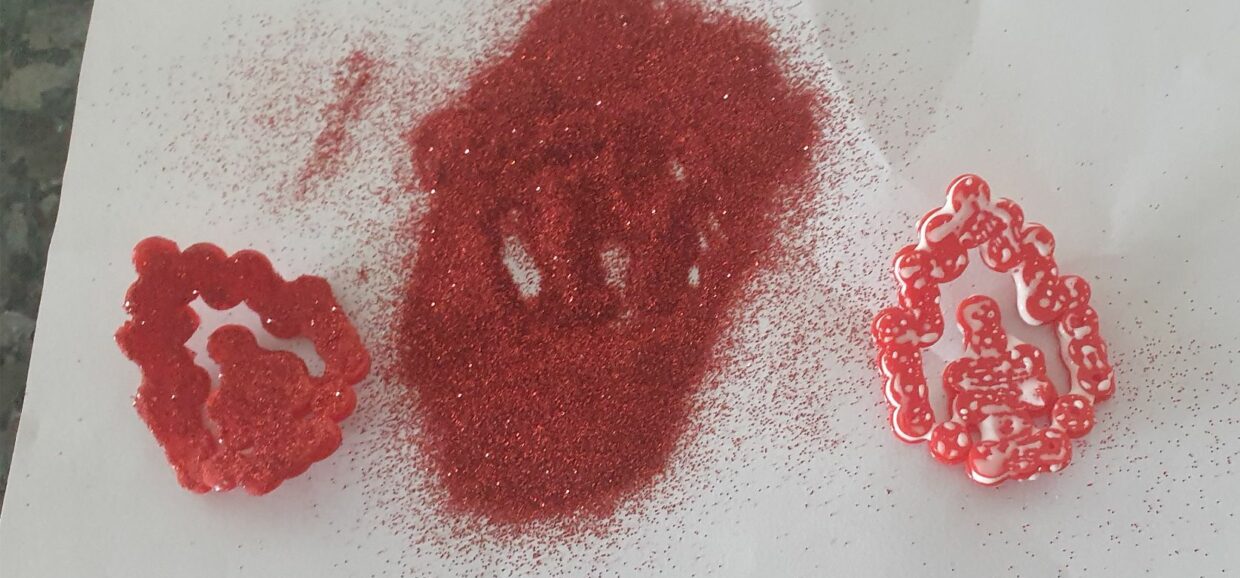

Add the glue with a brush and sprinkle the glitter on top as shown here. Leave the leaves to dry. You can also assemble the napkin ring first and then do the glitter.
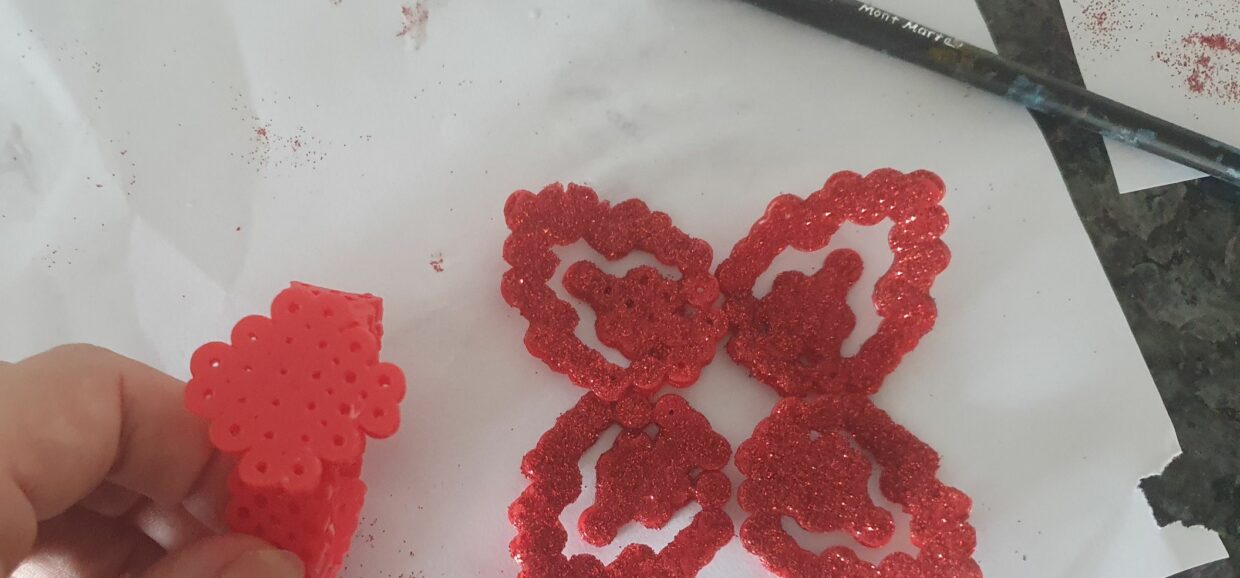

Using the hot glue gun, glue the circle onto the band and the leaves onto the circle. You can do this before or after doing the glitter. Let the glitter dry completely before continuing with the next step.
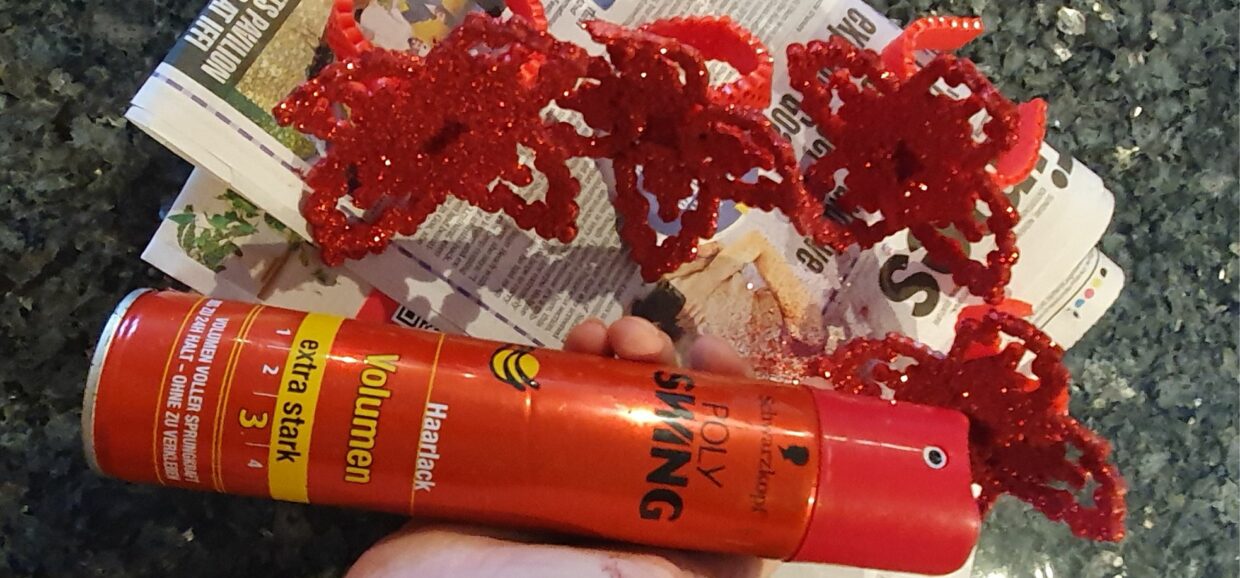

Once the glitter is fully dry, use a hairspray to seal the glitter so it doesn't fall off later when you touch it.
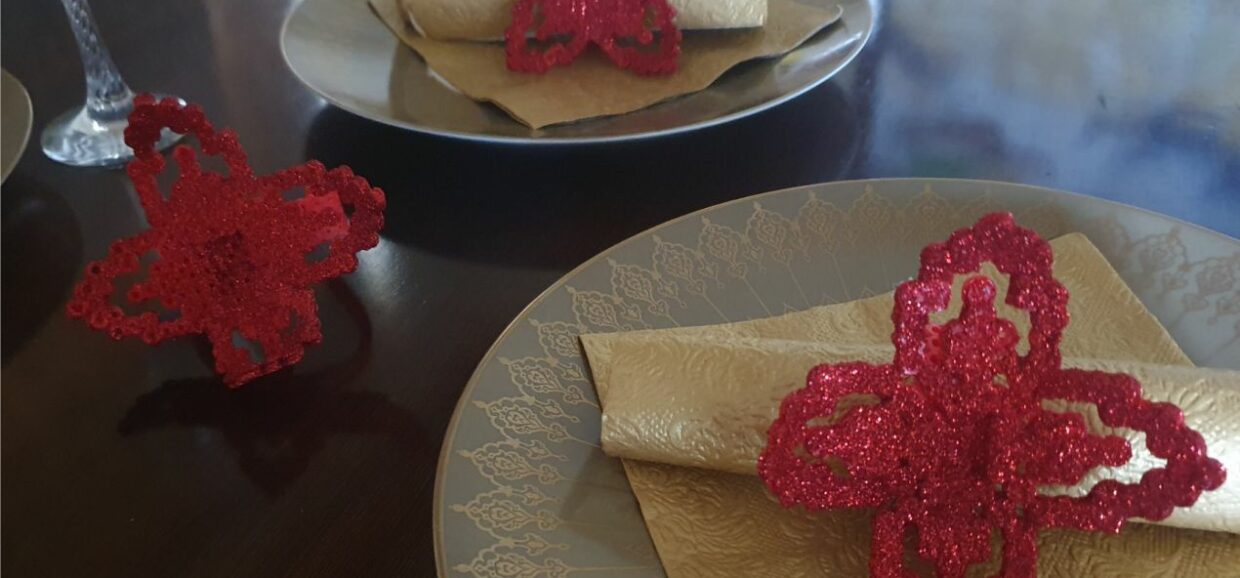

And the napkin rings are ready!
You may also like
Perler Beads Napkin Ring
Ingredients
Follow The Directions
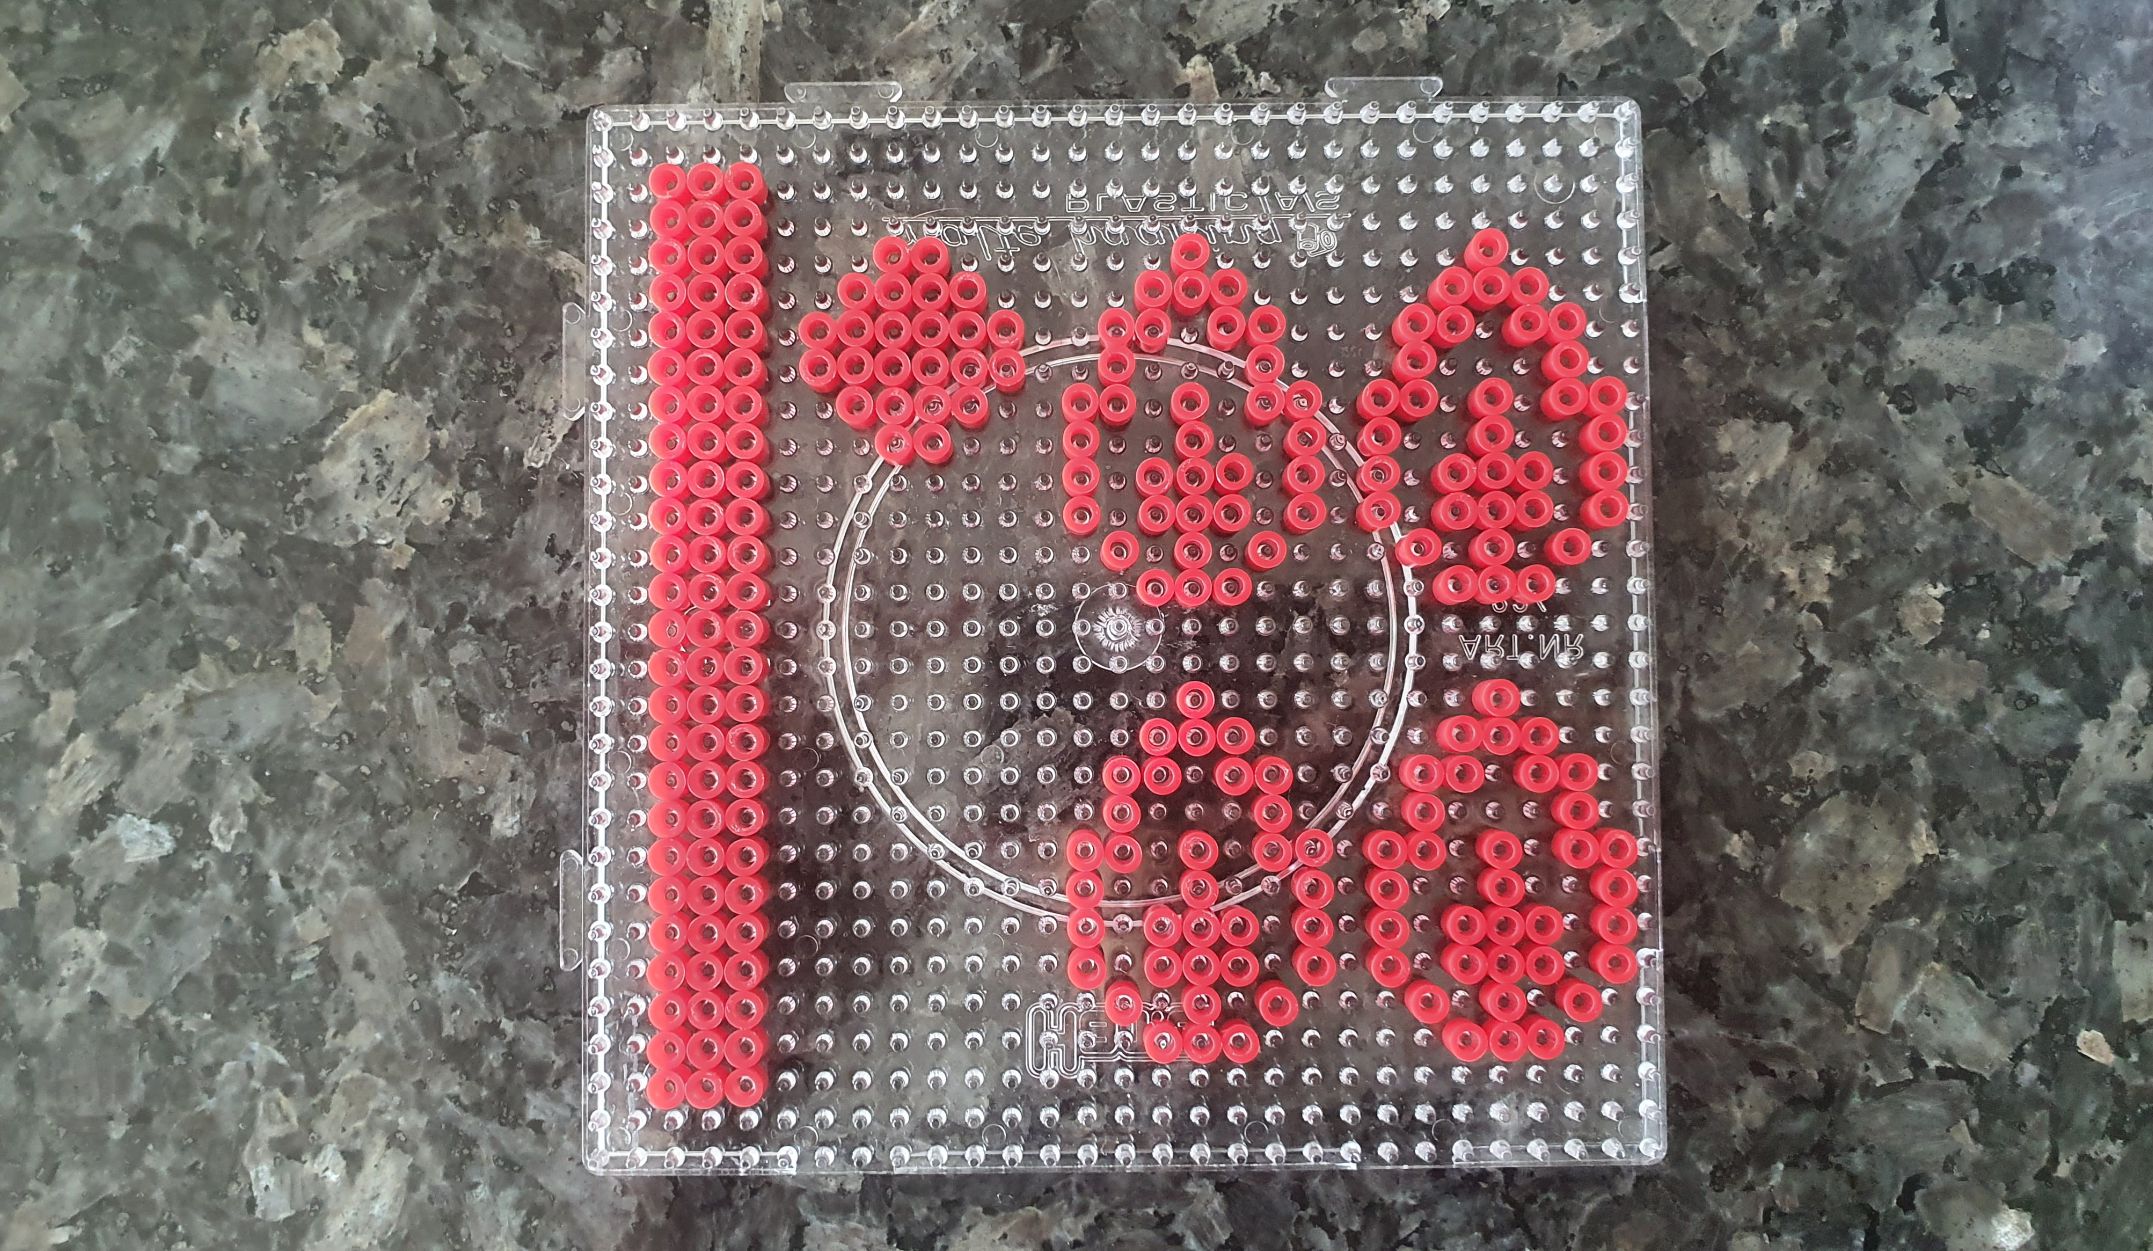

Make the design as shown here on a square pegboard. You will need 4 leaves, 1 circle and 1 long band.
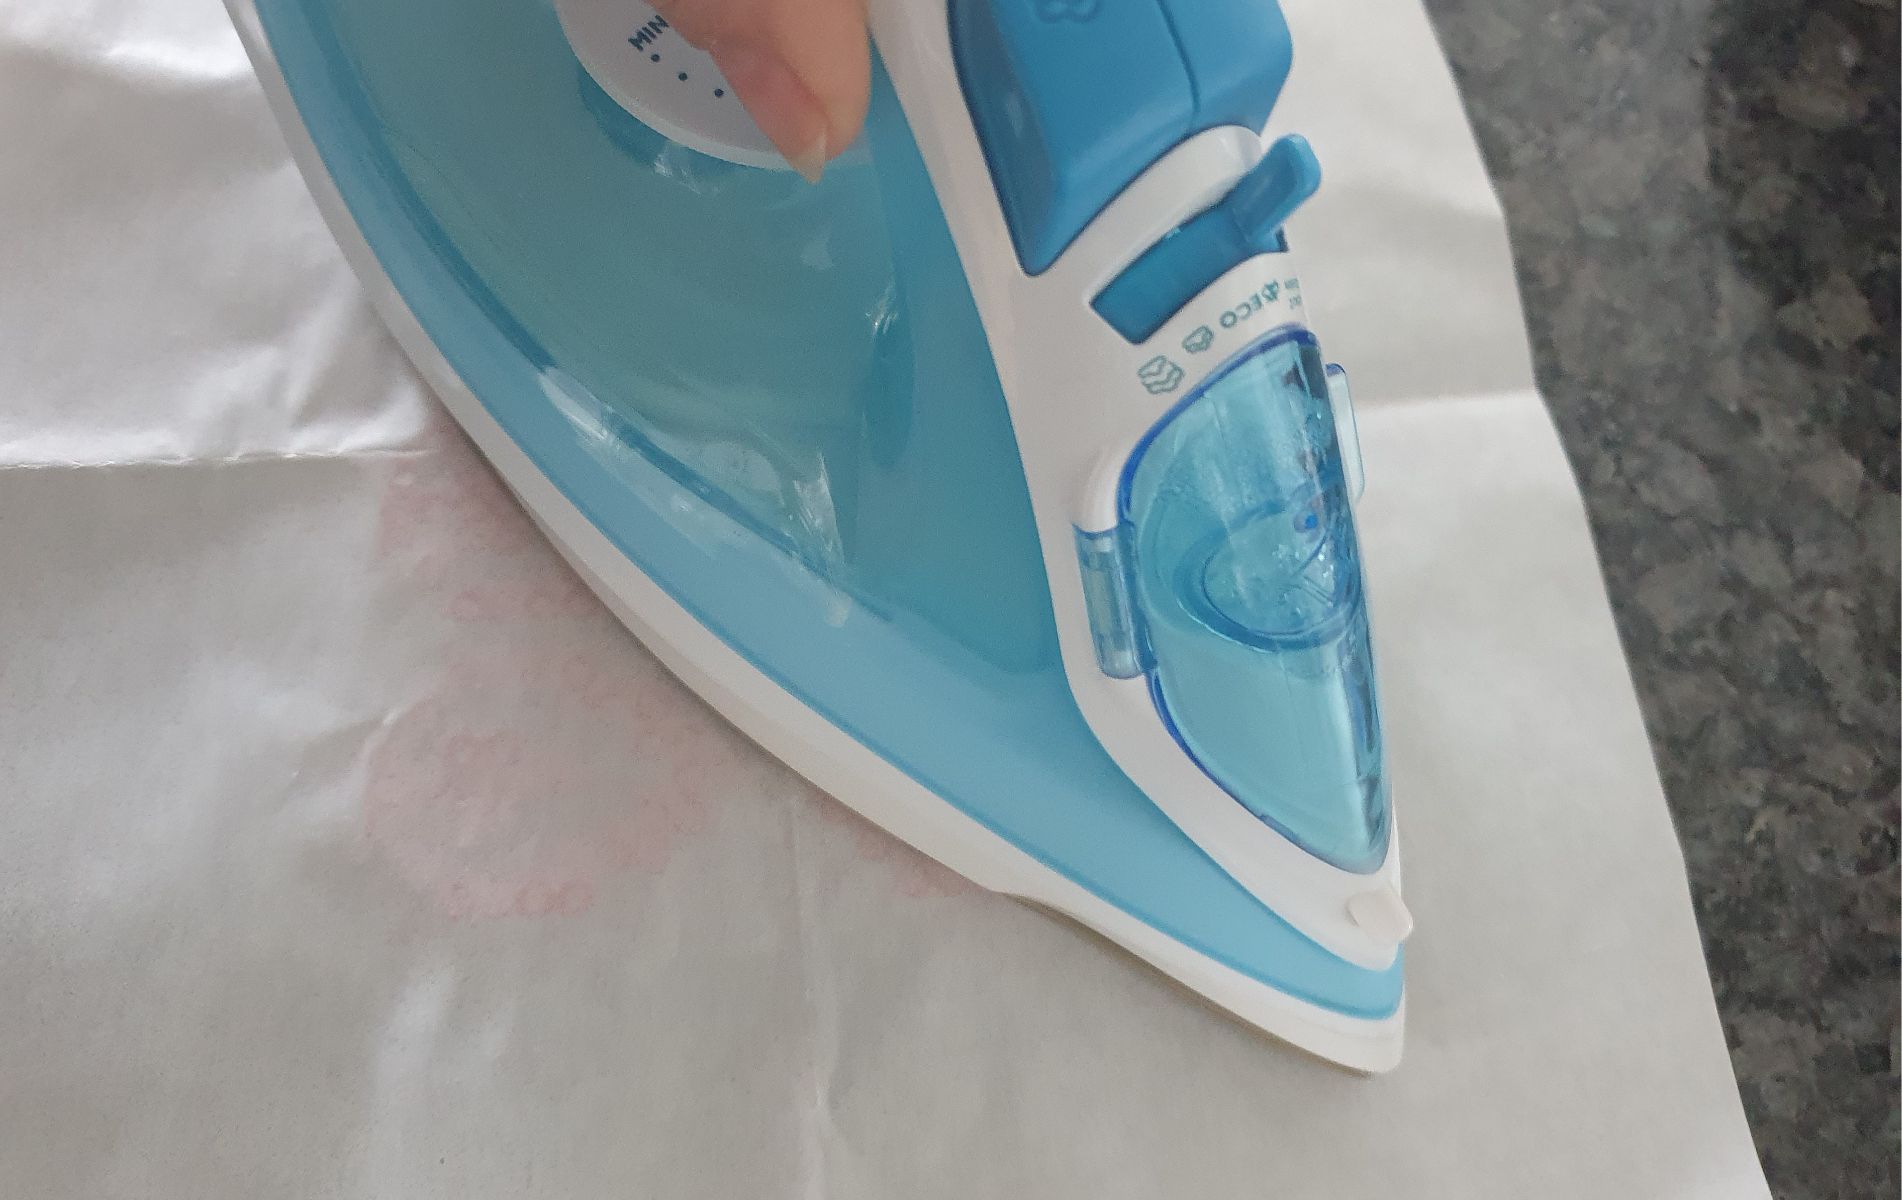

Cover the beads with the baking/parchment paper and iron them gently on medium to low heat until they are fused together
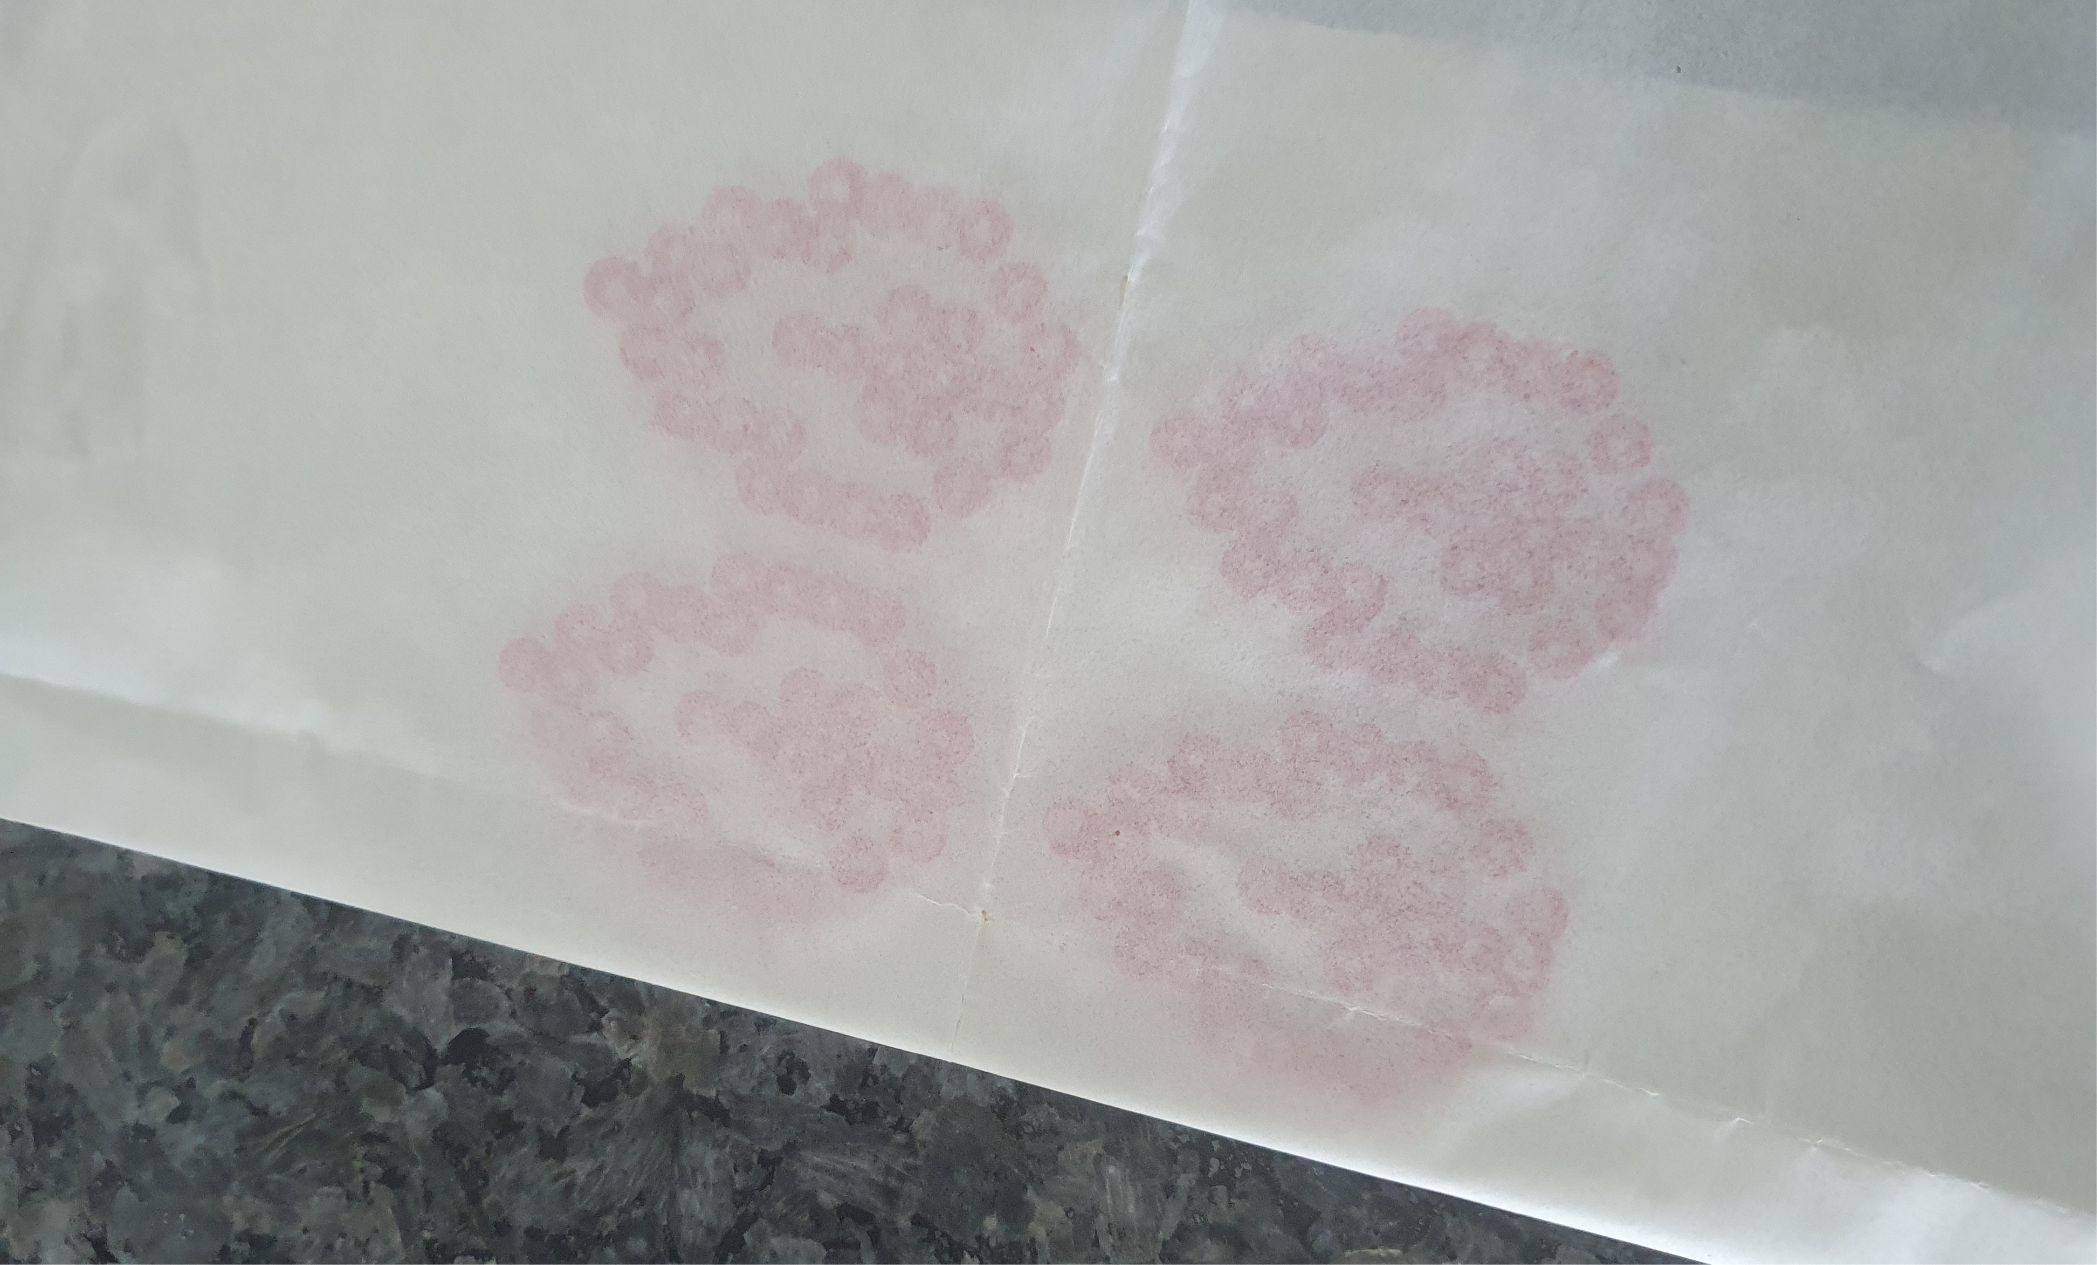

Take the beads of the pegboard and iron them on the other side too. Do one leaf at a time so you have time to bend it before it cools. See more in the next step.
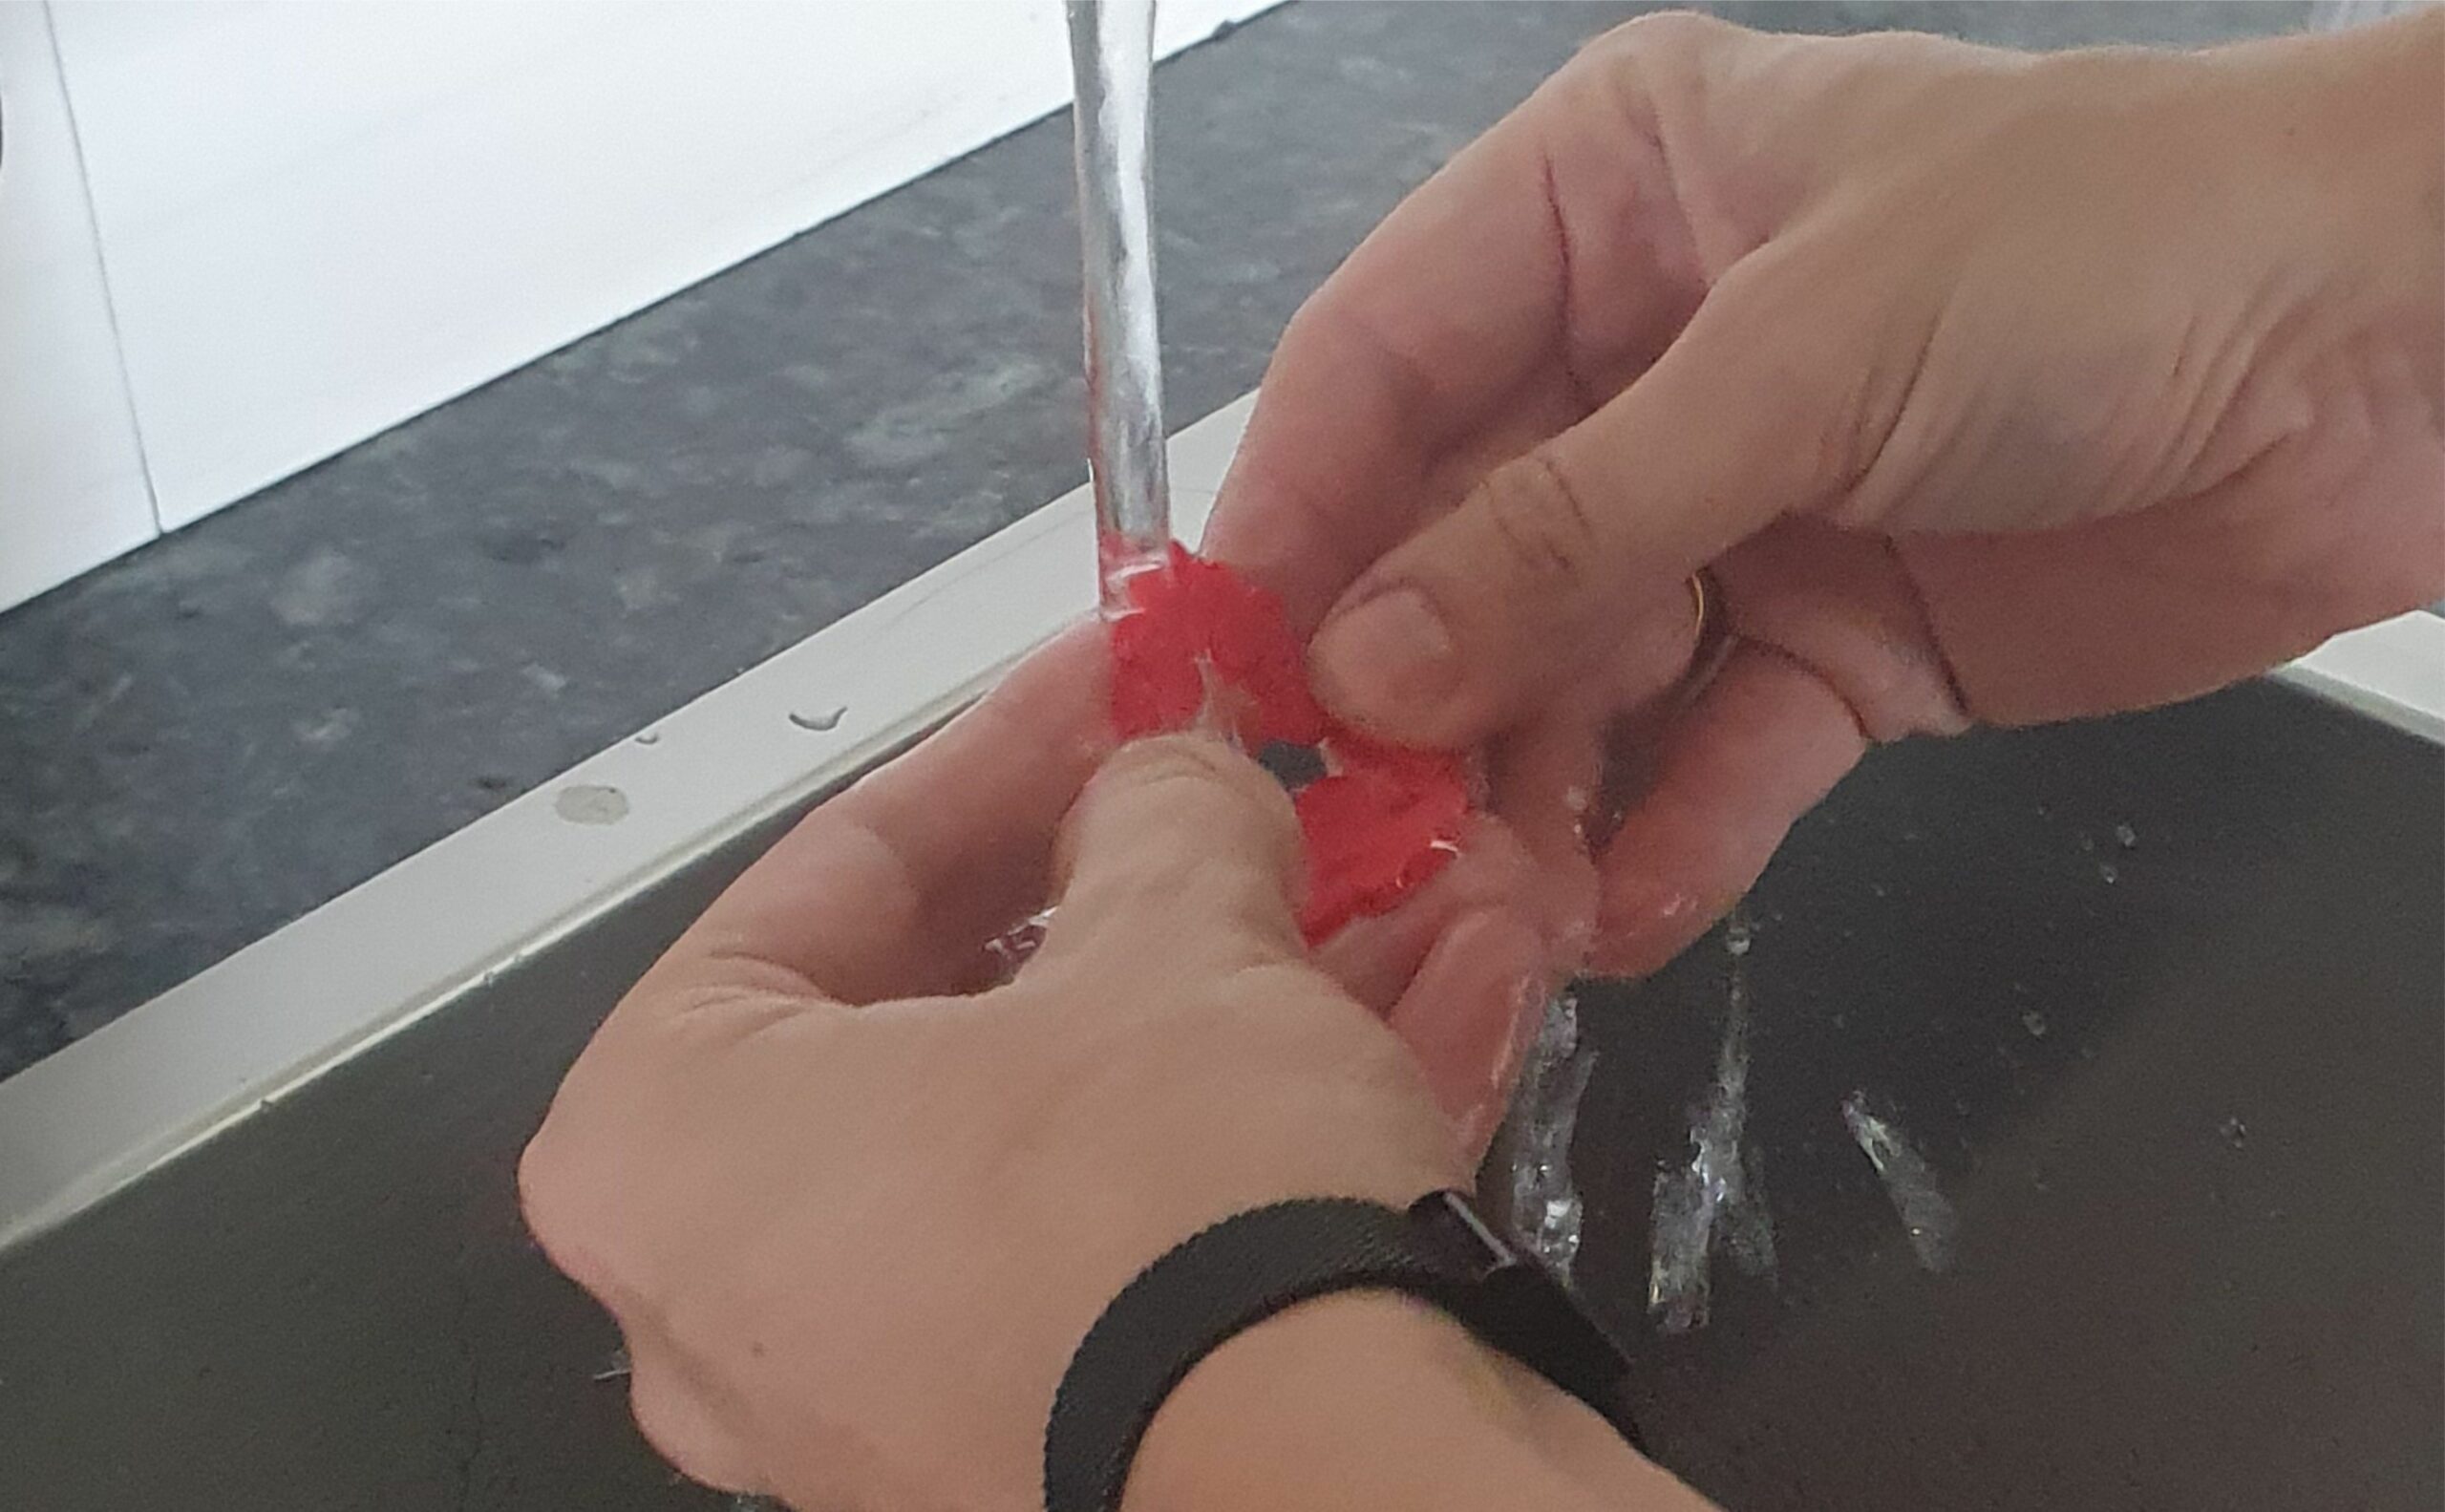

While the beads are hot from the iron, fold the tip a little and hold it under the cold running tap (or dip it in a bowl of water) so it cool immediately and sets in that design.
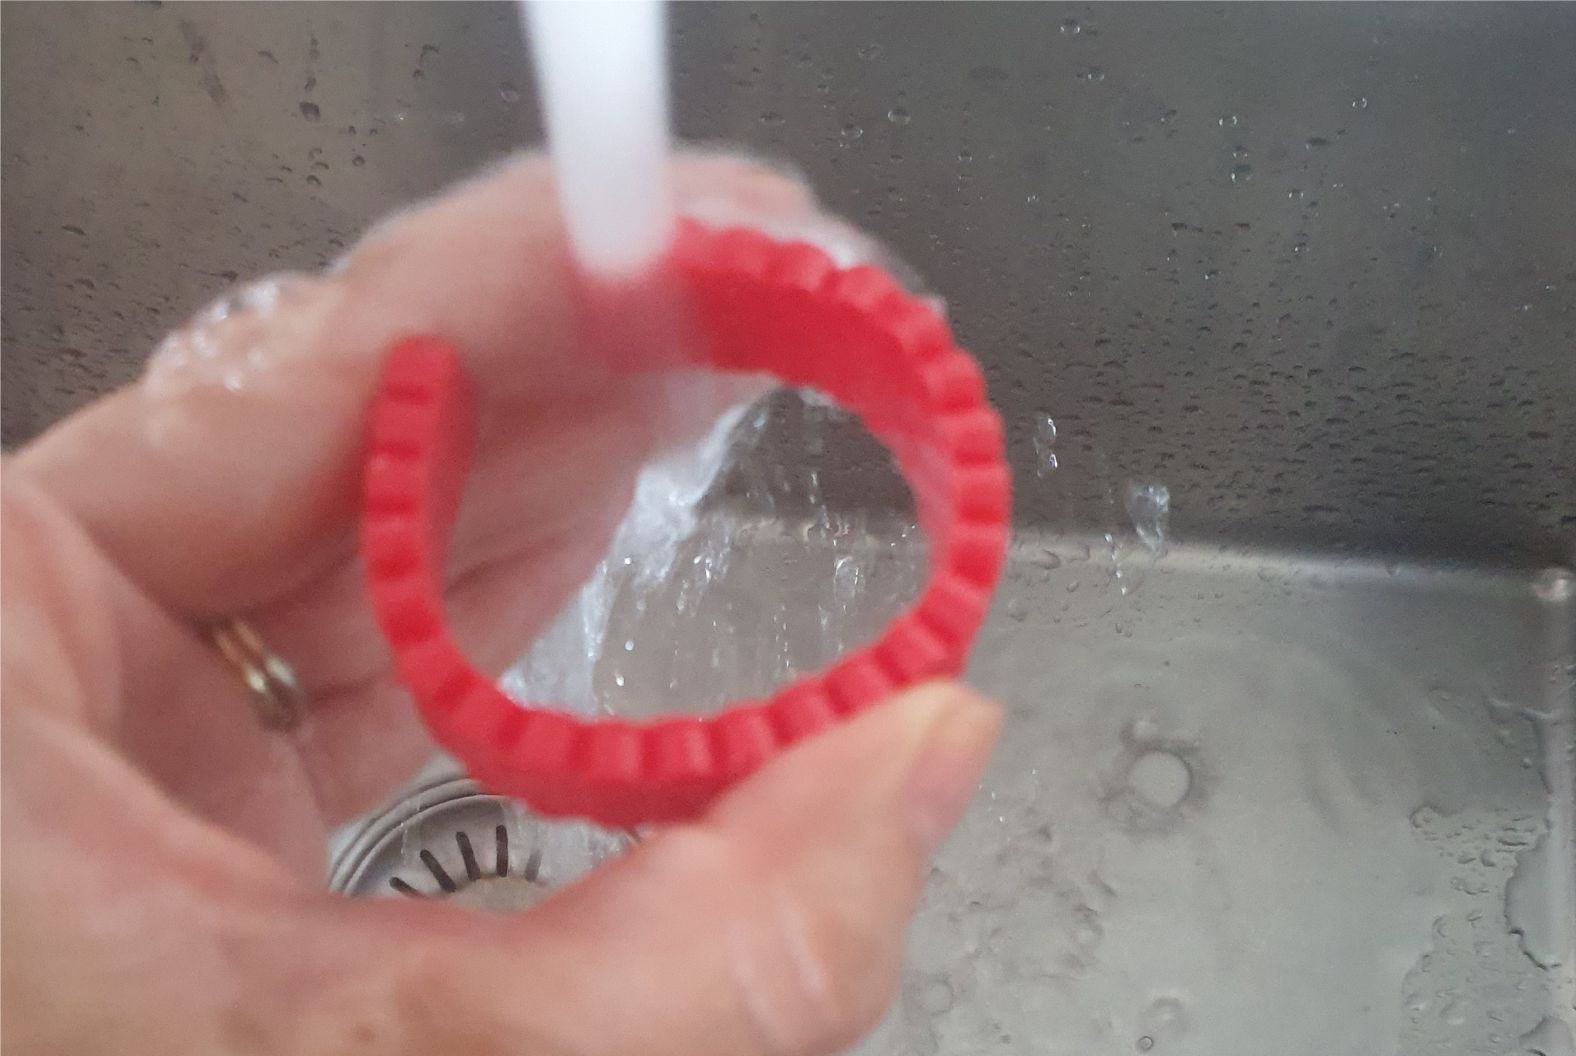

Do the same for the band which will become the napkin ring. Dry off all the excess water.
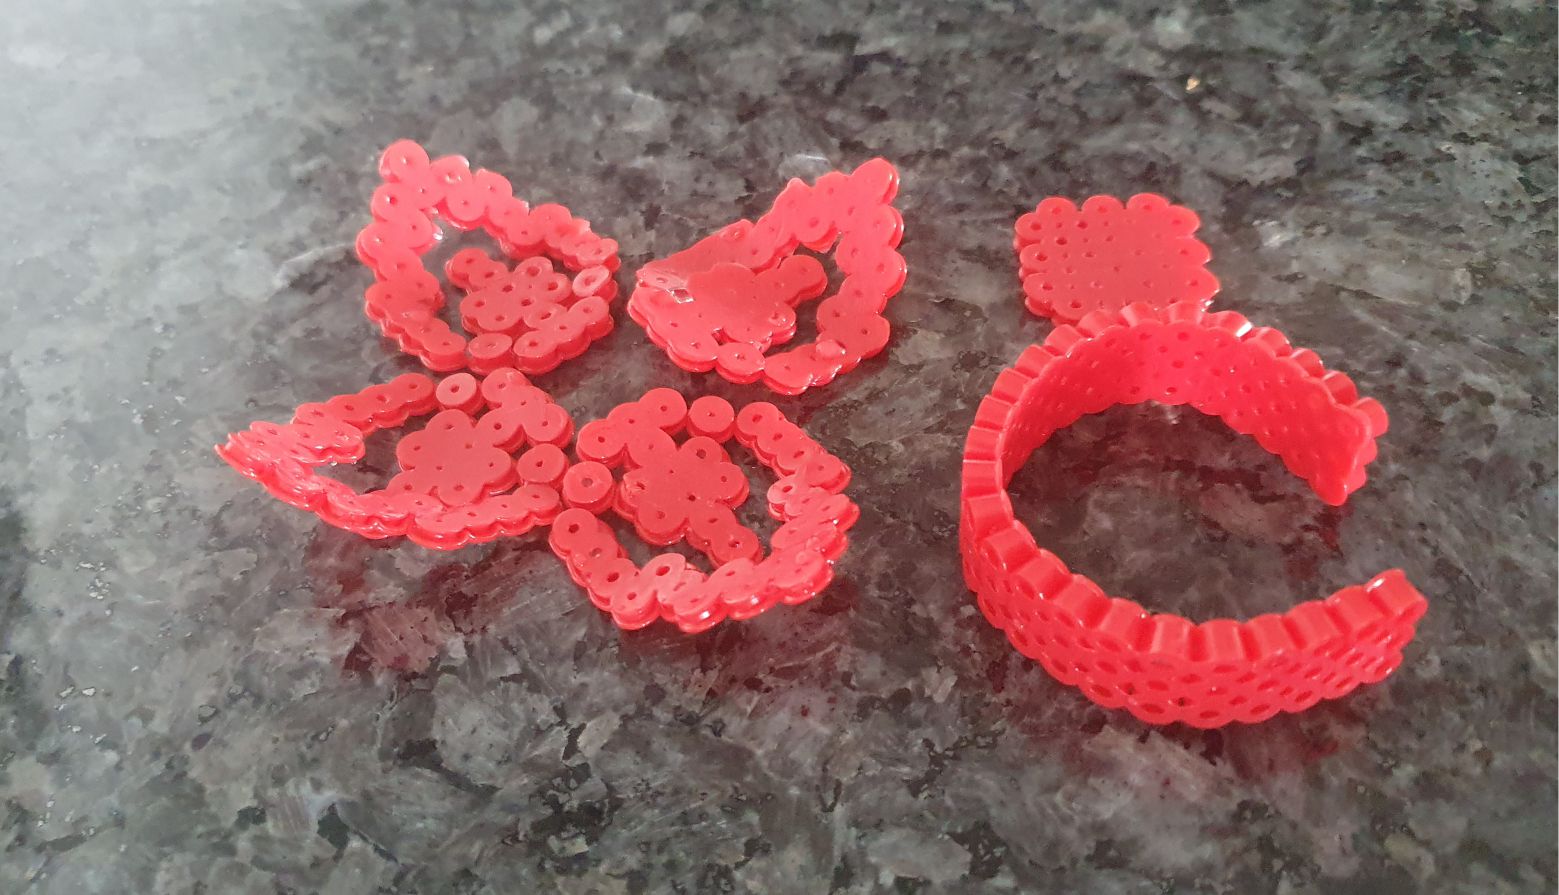

You will now have a set like this
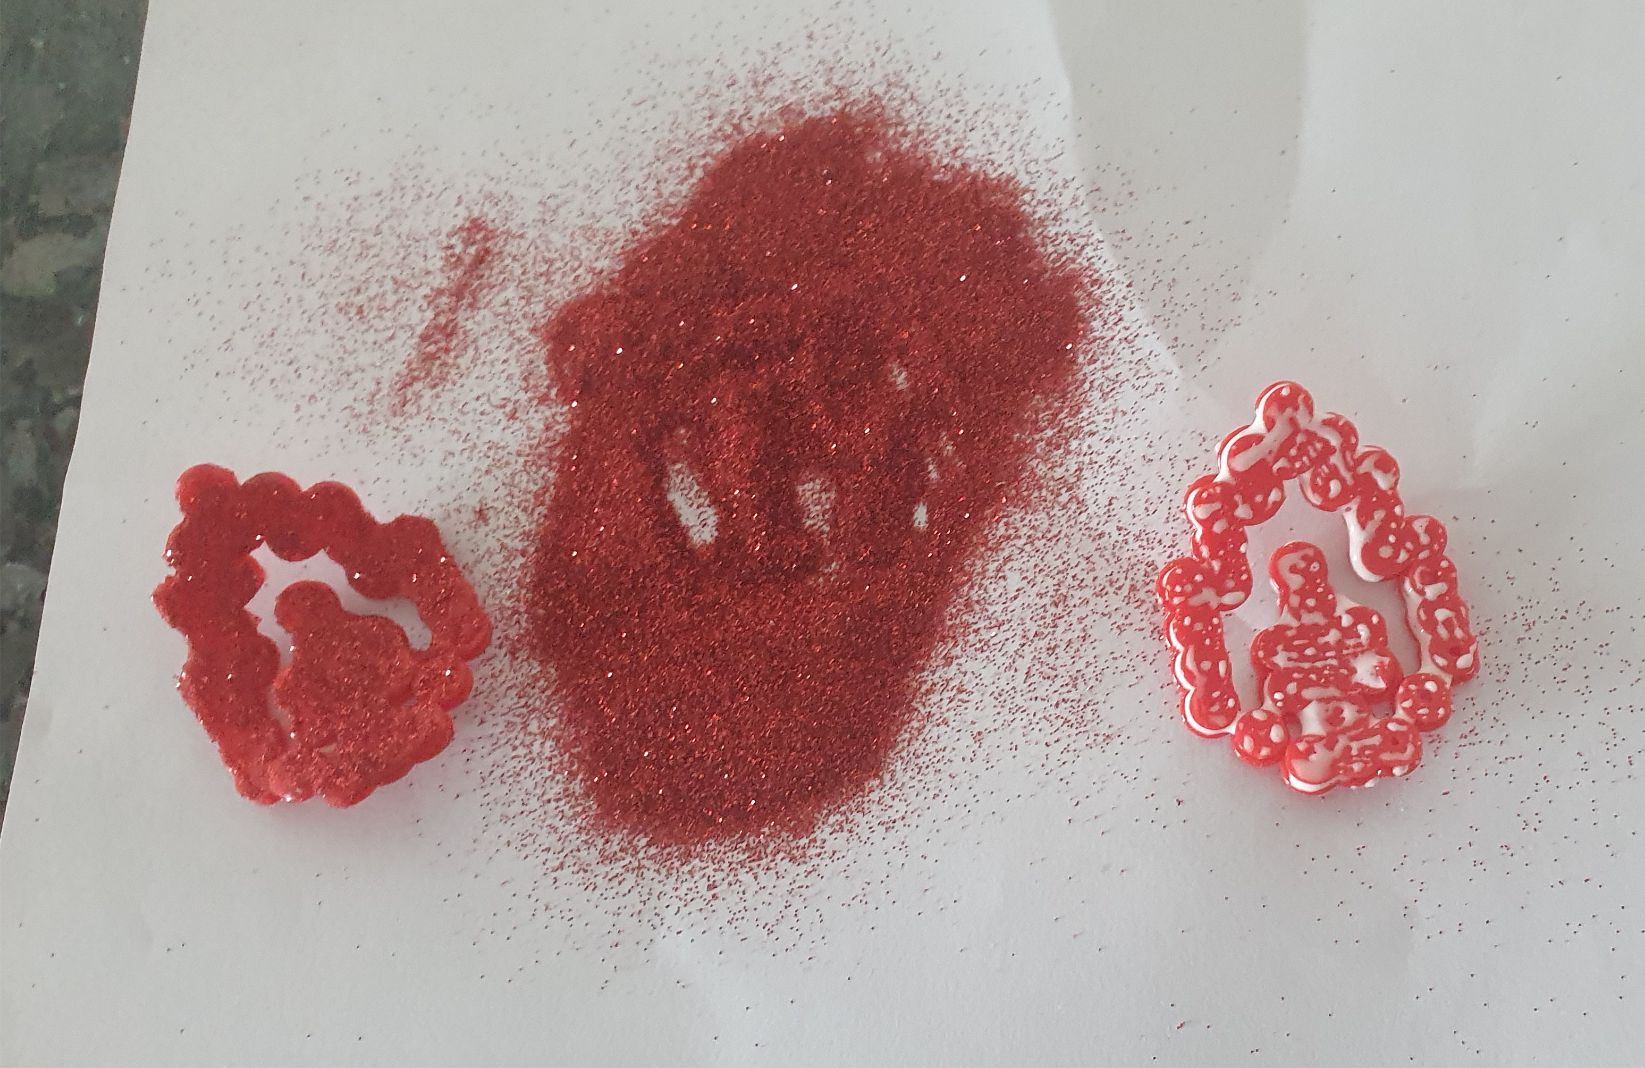

Add the glue with a brush and sprinkle the glitter on top as shown here. Leave the leaves to dry. You can also assemble the napkin ring first and then do the glitter.
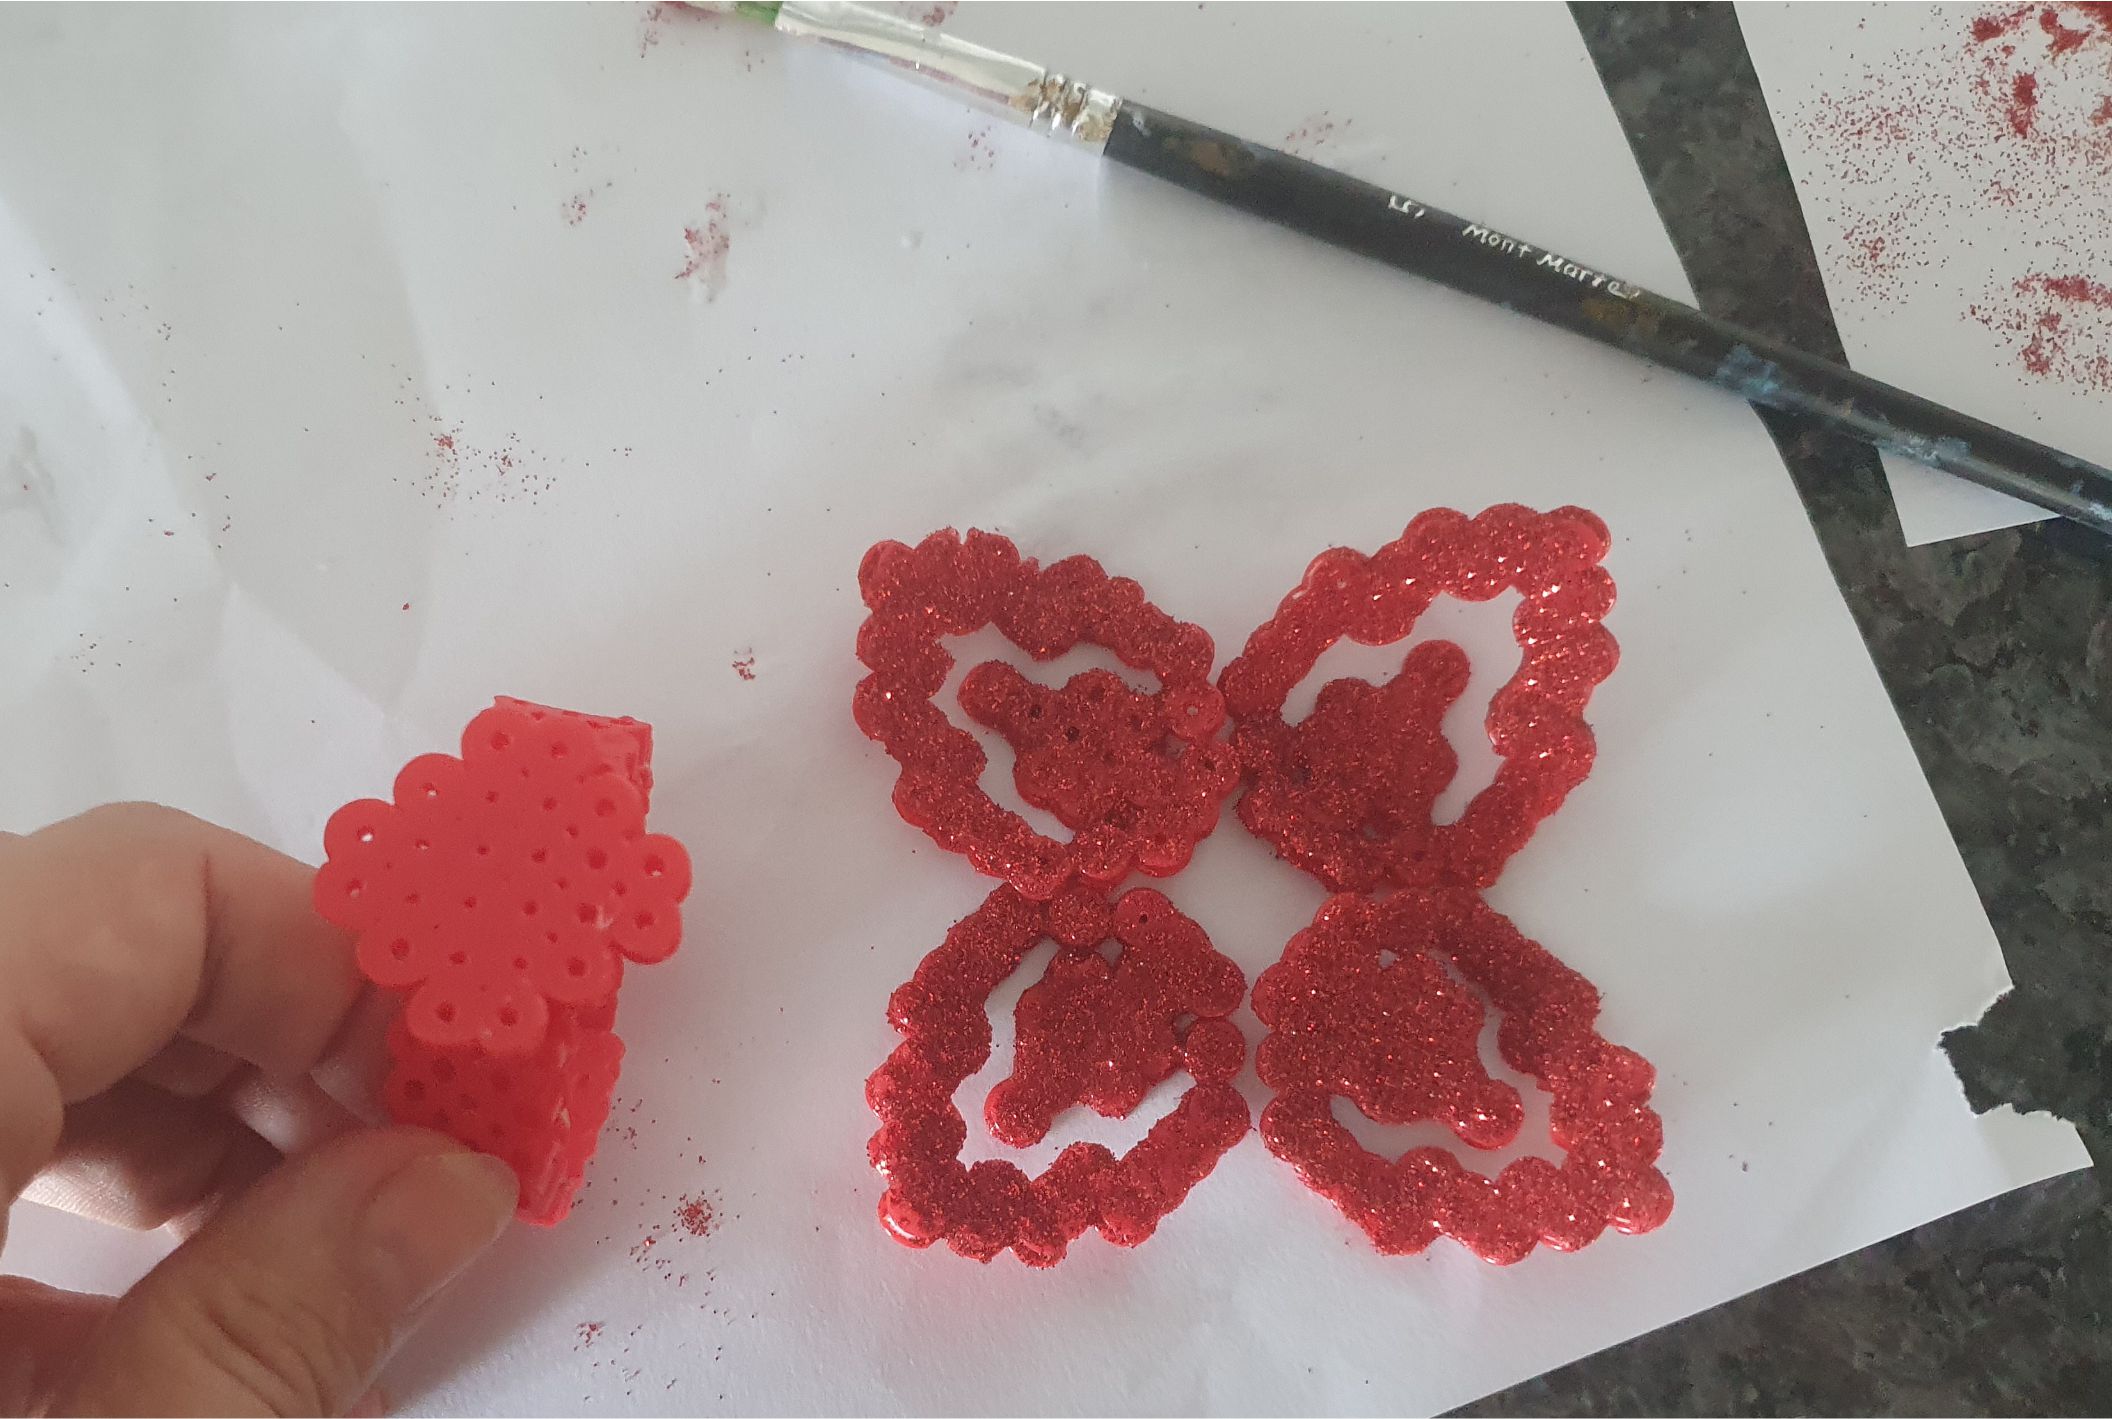

Using the hot glue gun, glue the circle onto the band and the leaves onto the circle. You can do this before or after doing the glitter. Let the glitter dry completely before continuing with the next step.
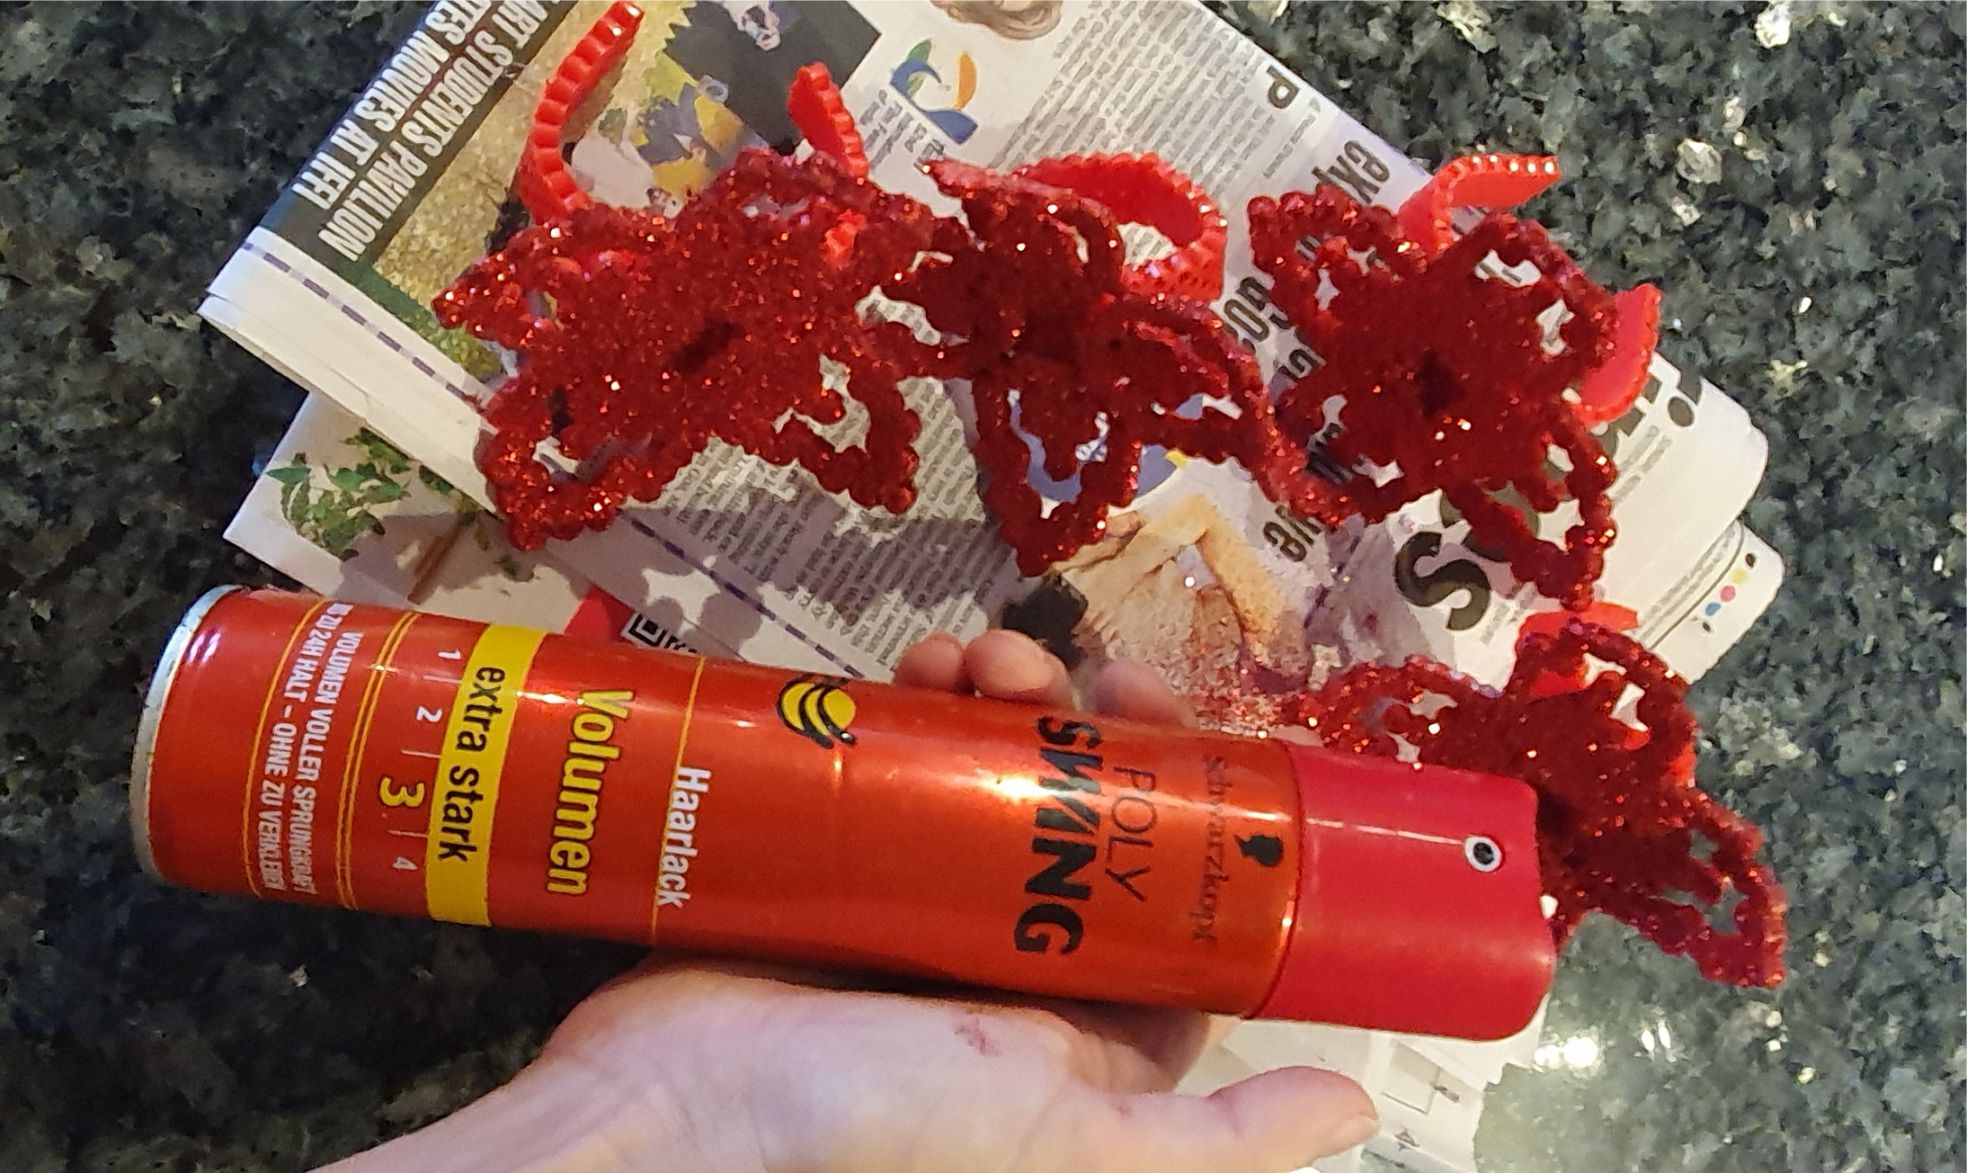

Once the glitter is fully dry, use a hairspray to seal the glitter so it doesn't fall off later when you touch it.
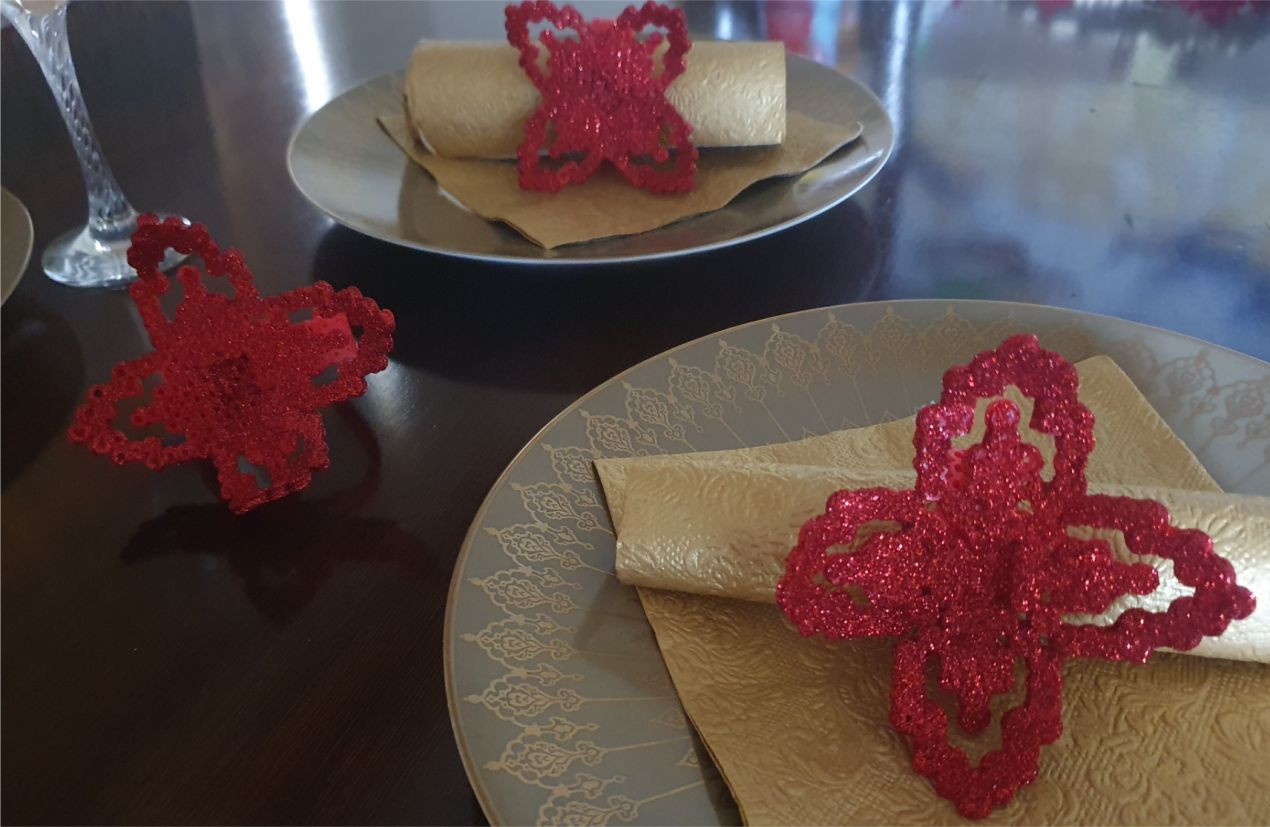

And the napkin rings are ready!


Leave a Review
You must be logged in to post a comment.