- October 12, 2021
- 1 Like
- 0 / 5
- 8,532 Total Views


- Prep Time20min
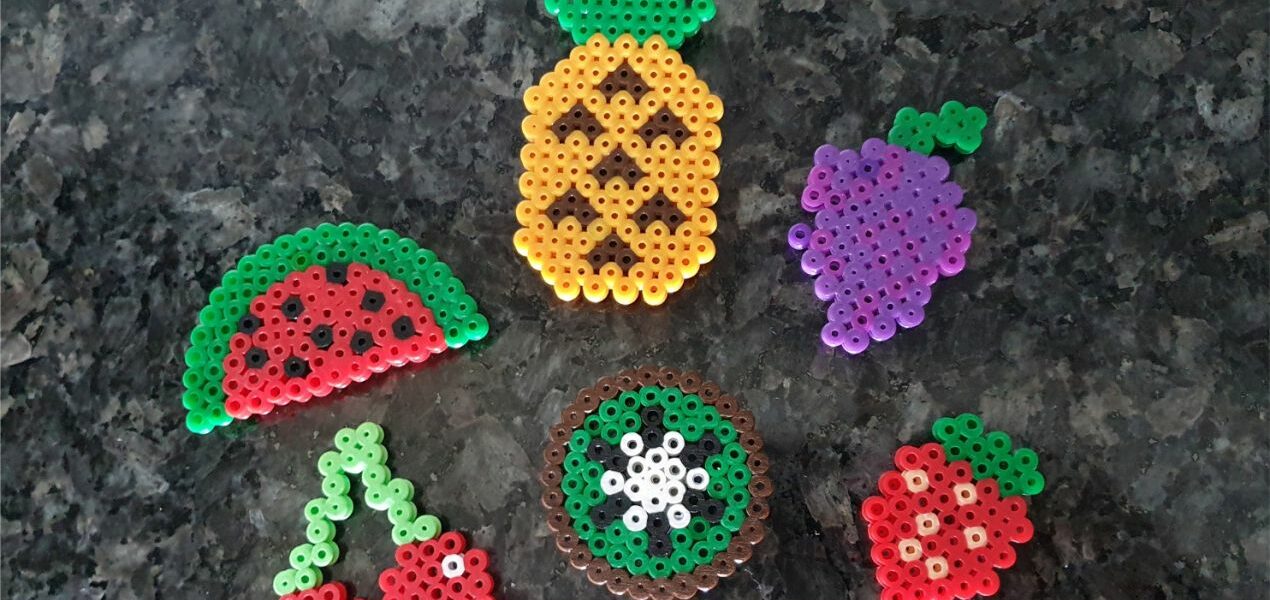
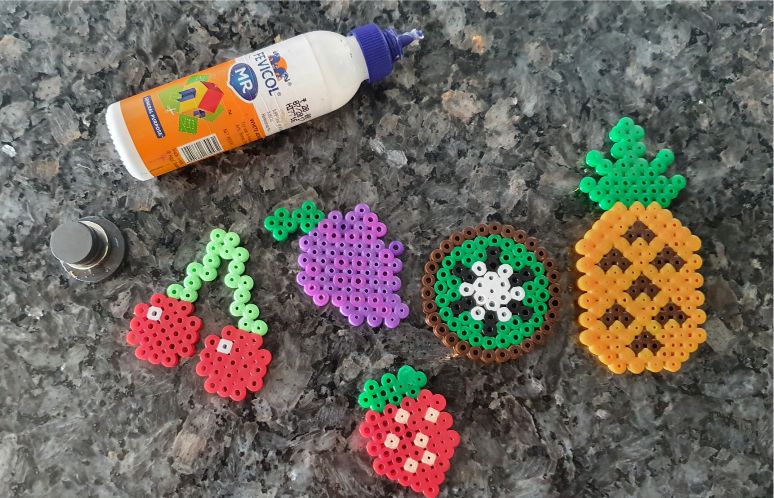
Looking for some quick and easy perler beads designs for the kids? These cute perler beads fruit magnets are quick to make and children of any age can take part!

A quick introduction to perler beads
If you are new to perler beads, here is a short introduction:
- Perler beads are small plastic tubes -originally from Denmark- that you arrange on a pegboard in patterns.
- They are then covered with baking paper and ironed together.
- The word ‘perler’ literally means beads in Danish, so “perler beads” is basically “beads beads”.
- There are several brands -and as always, some are better than others. “Perler” and “Hama Beads” are the two best brands, as they don’t melt as fast and come in many beautiful shades. These two brands can sometimes be quite expensive in India so keep an eye out for offers and such.
- It is also possible to buy cheaper options like these Ikea beads. There is nothing wrong with them and 10 colours are enough to start with. They also have a mixed bucket of lighter shades.
- Whatever you choose to buy, try not to mix beads by two brands in the same pattern. They don’t always have the same melting point and some will melt completely while others will not be stuck together at all.

Okay, let’s make some perler beads fruit magnets
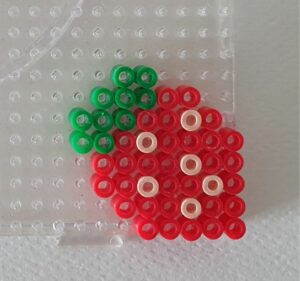
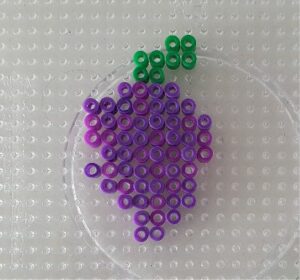
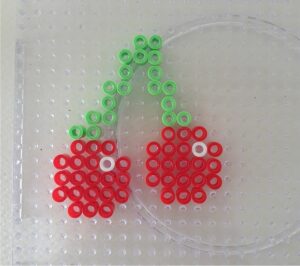
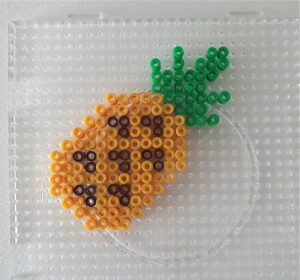
You will -of course- need perler beads, pegboards and magnets (follow the link to see what magnets, I use). The square pegboard is good for most fruits and the round pegboard is good for the kiwi, watermelon and other such round fruits.
TIP. The corner of the square pegboard is used for the pineapple and strawberry to get the outer lines a little uneven.


How to iron perler beads?
It is not as tricky to iron the perler beads, as you might think. But here are a few tips to make it even easier.
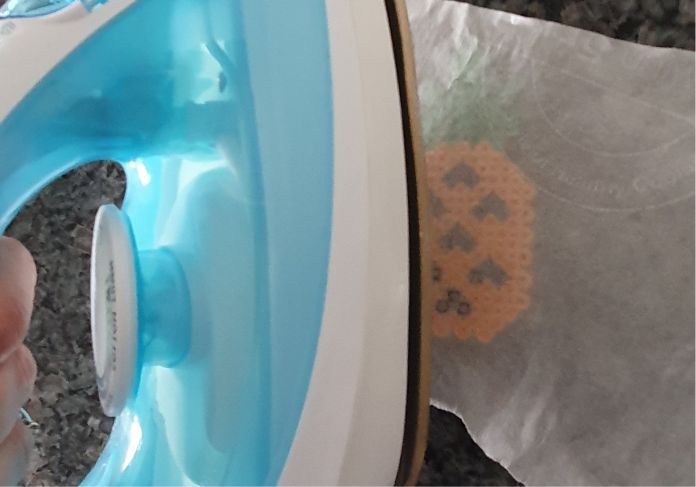
- Heat up the iron to low to medium heat. It’s better to iron the beads slowly and evenly than getting them as flat as a pancake within seconds.
- Cover the perler beads design with baking paper
- Gently iron the design while moving the iron slowly across the entire design.
- Once they are all fused together, remove the iron and let the perler beads cool a little.
- Gently remove the design from the pegboard, turn it over, cover it with baking paper again and iron it on the other side too. (this is not strictly necessary but IT WILL make the designs stronger and less likely to break. We always do it)
- The perler beads tend to contract a little (and bend) while cooling so let the design cool under a heavy object (like a book or cutting board) to dry straight.

If you like these perler beads fruit magnets, check out these other perler beads posts:
- Harry Potter Perler Beads
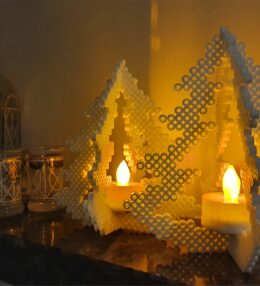
- 3D Perler Beads Christmas Tree
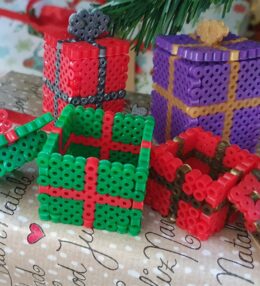
- 3D Perler Beads Present -with removable lid
- 5 Easy Halloween Decorations For Kids
I hope you enjoyed this little craft activity. Please let me know in the comments below if there is any special design you are looking for and I will gladly try to make it for you.
See the full step-by-step guide below the ingredients.
Ingredients
Directions
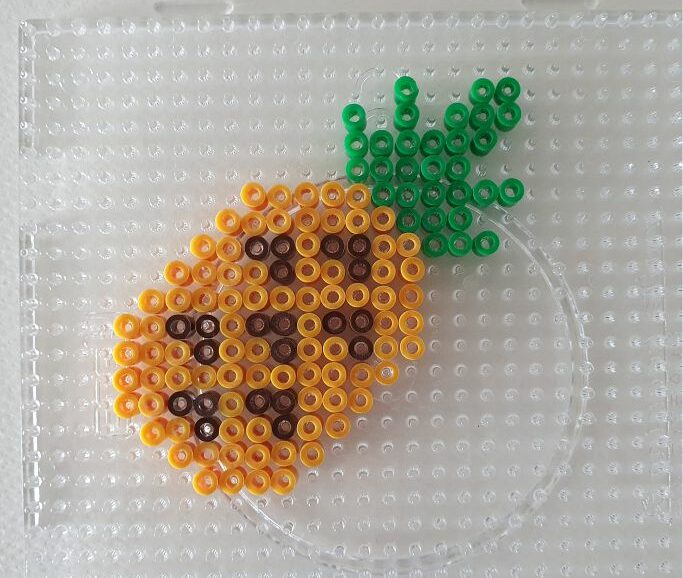

Start by making your design
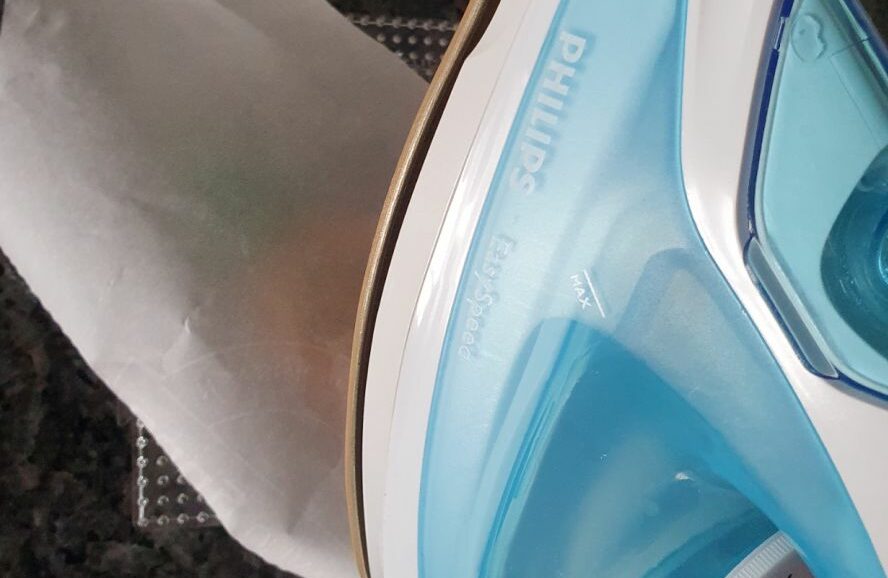

Cover it with baking paper and iron on low heat until all the beads are fused together


Take the design off the pegboard, cover with baking paper again and iron on the reverse side.
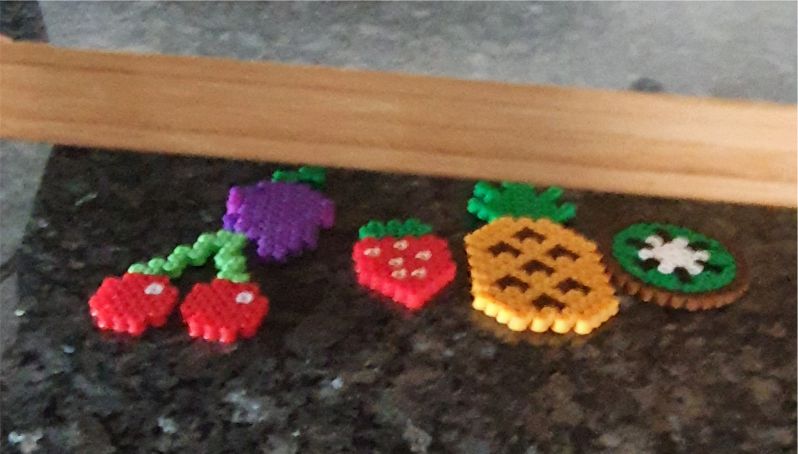


Let the perler beads cool under a heavy object -like a wooden cutting board,
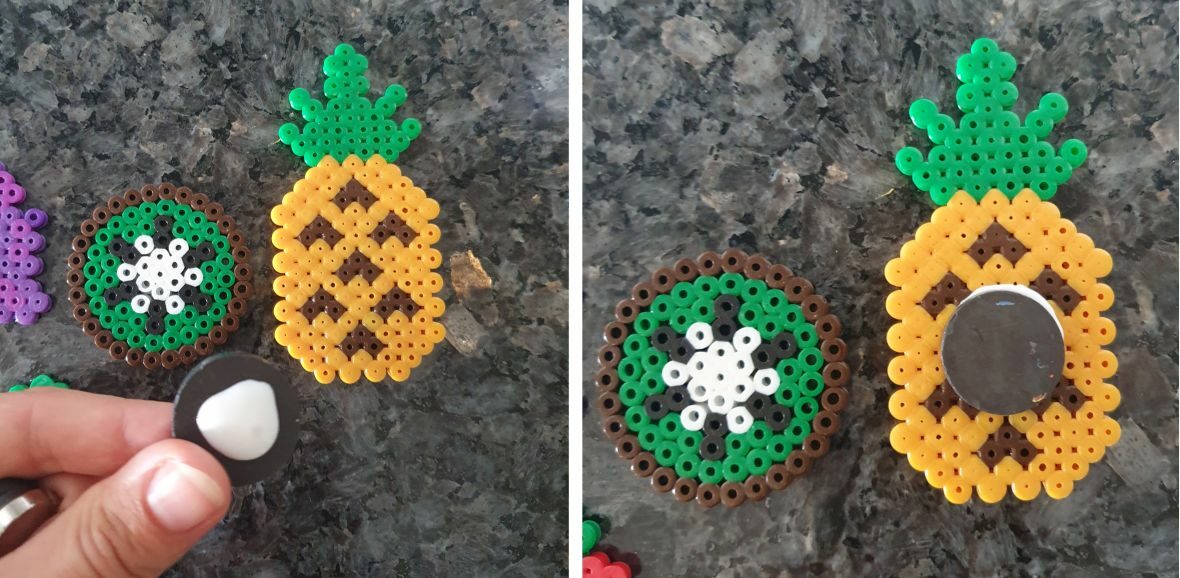

Use regular white glue (or a glue gun if you are in a hurry) to stick the magnets onto the perler beads design. Let it dry for min 2 hours.
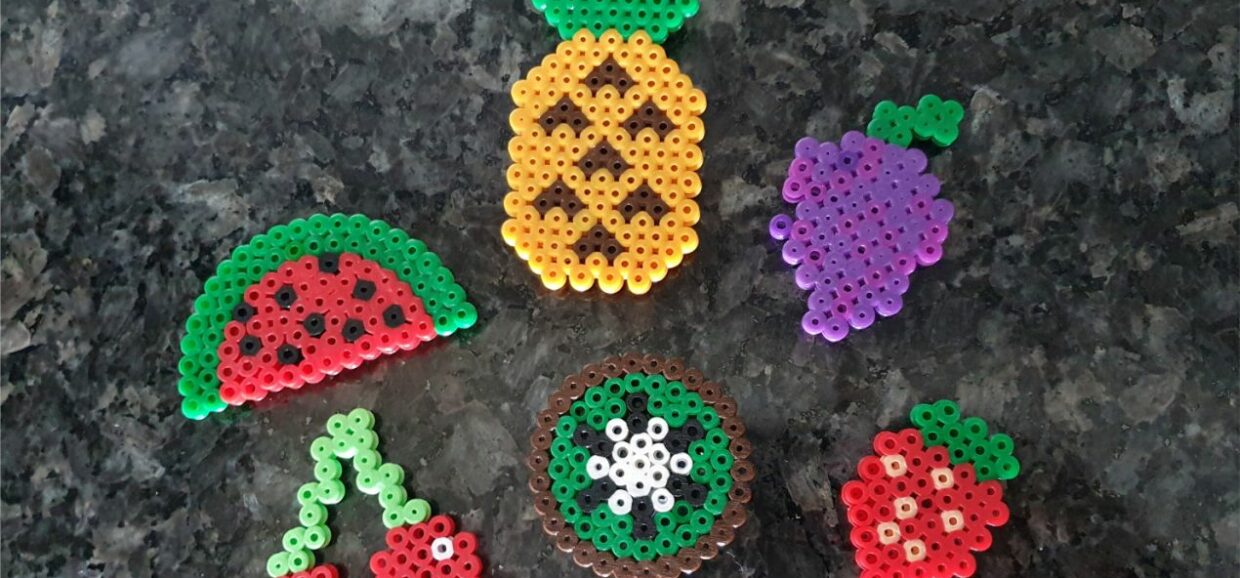

And the magnets are ready to use! Beautiful as a present or on the fridge.
You may also like
Perler Beads Fruit Magnets
Ingredients
Follow The Directions
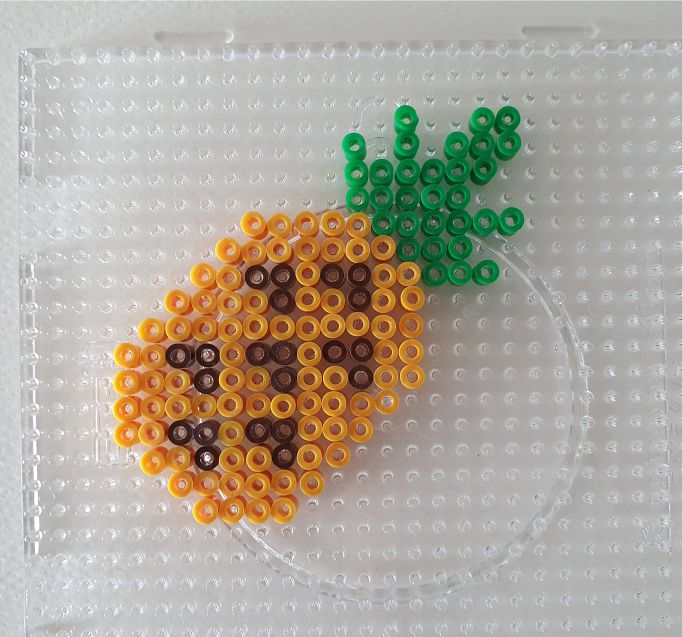

Start by making your design
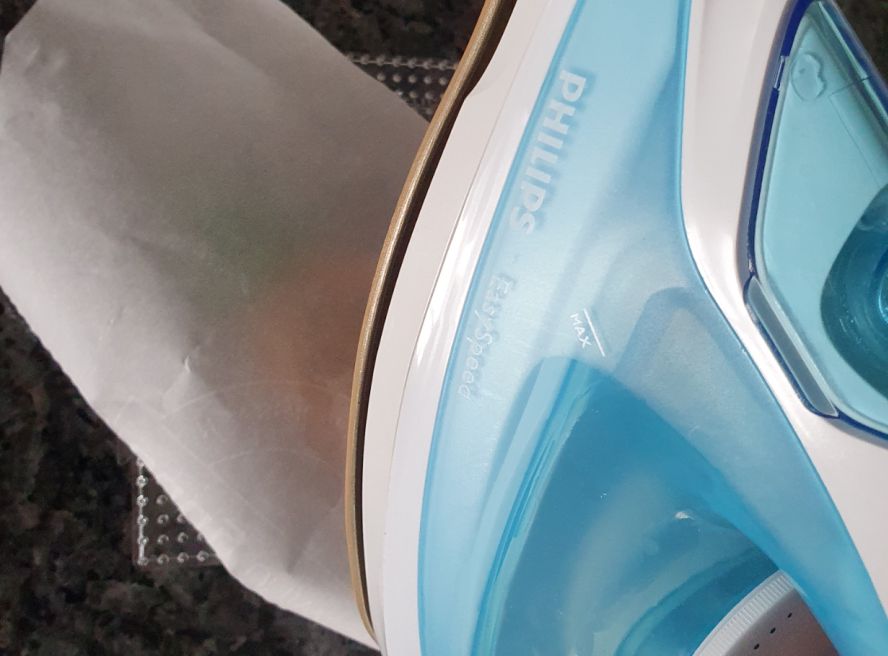

Cover it with baking paper and iron on low heat until all the beads are fused together


Take the design off the pegboard, cover with baking paper again and iron on the reverse side.


Let the perler beads cool under a heavy object -like a wooden cutting board,
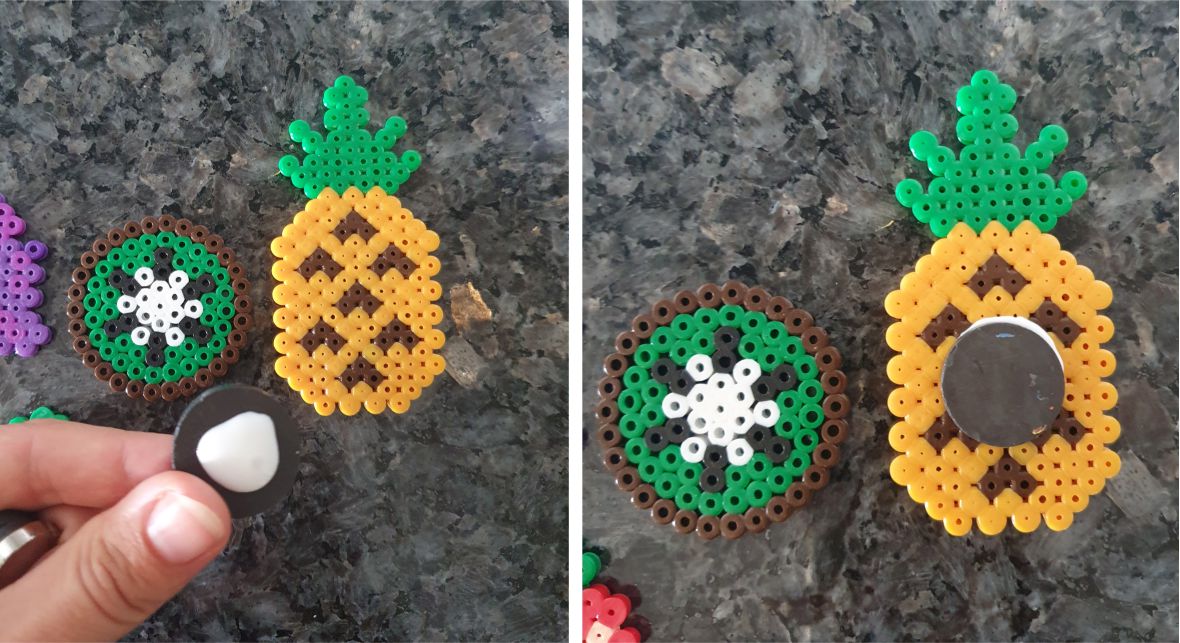

Use regular white glue (or a glue gun if you are in a hurry) to stick the magnets onto the perler beads design. Let it dry for min 2 hours.


And the magnets are ready to use! Beautiful as a present or on the fridge.



Leave a Review
You must be logged in to post a comment.