
- Prep Time30min
- Total Time40min
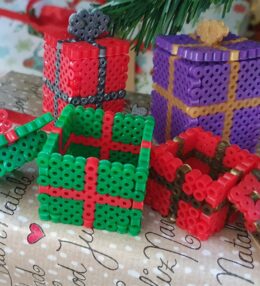
Christmas is a great time for creativity. In our house we love to have some family time and bring out the bead box and get creative with that. This year, we have made 3D presents, 3D Christmas baubles, pleated hearts, snowflakes, angels and now also these 3D perler beads Christmas tree tealight holders, all out of ironed perler beads. It’s so simple, yet amazing what you can create with these tiny plastic pieces.
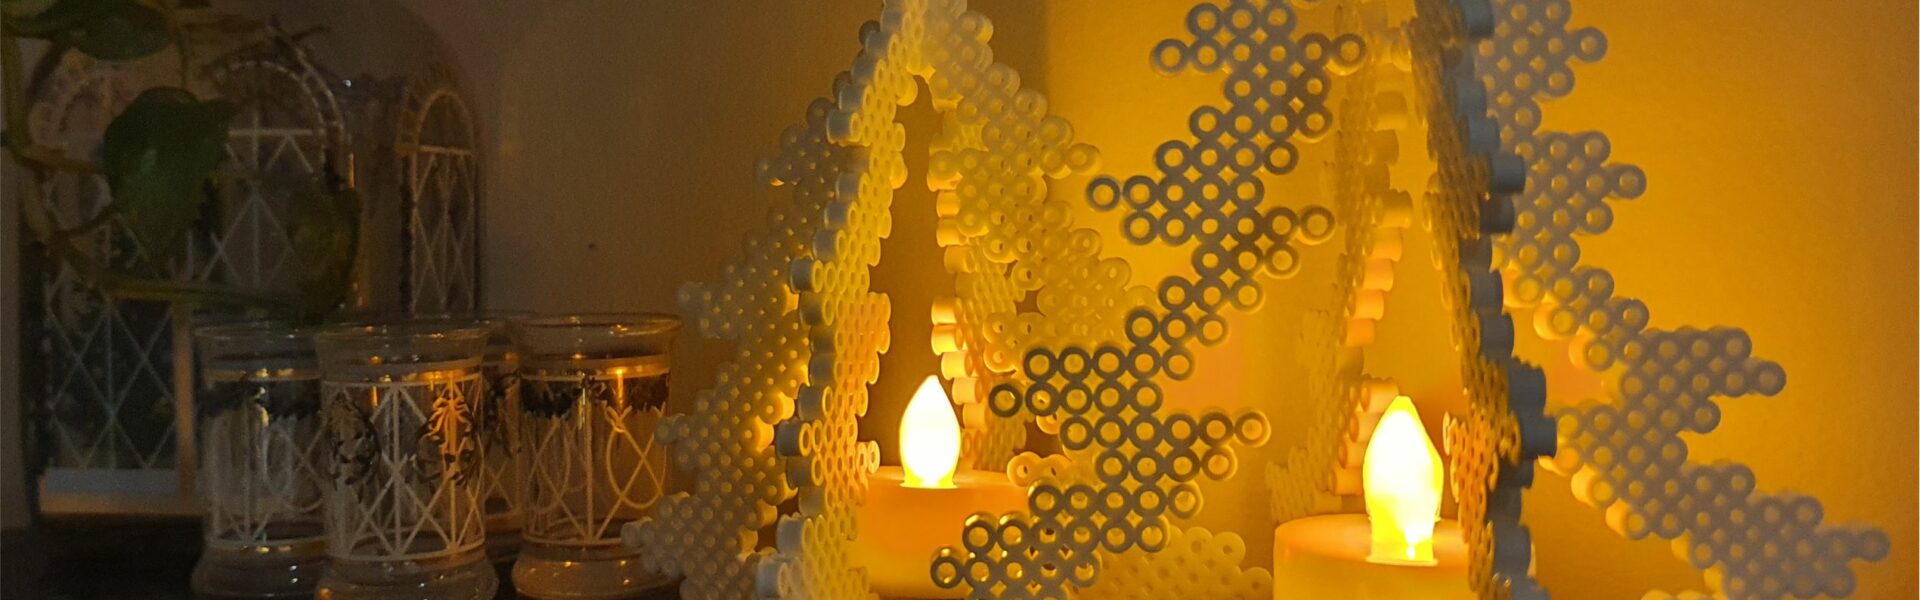
3D Perler Beads Christmas tree tealight holder
If you are new to beads, I recommend getting the mixed box of beads from Ikea. It contains around 5-6000 beads, I think, and you will have lots to keep the kids happy for a long time. Ikea also sells the perler beads peg boards for around 300rs for 4 pieces. They can be reused again and again. Both the beads and the bead shapes are available on Amazon.in
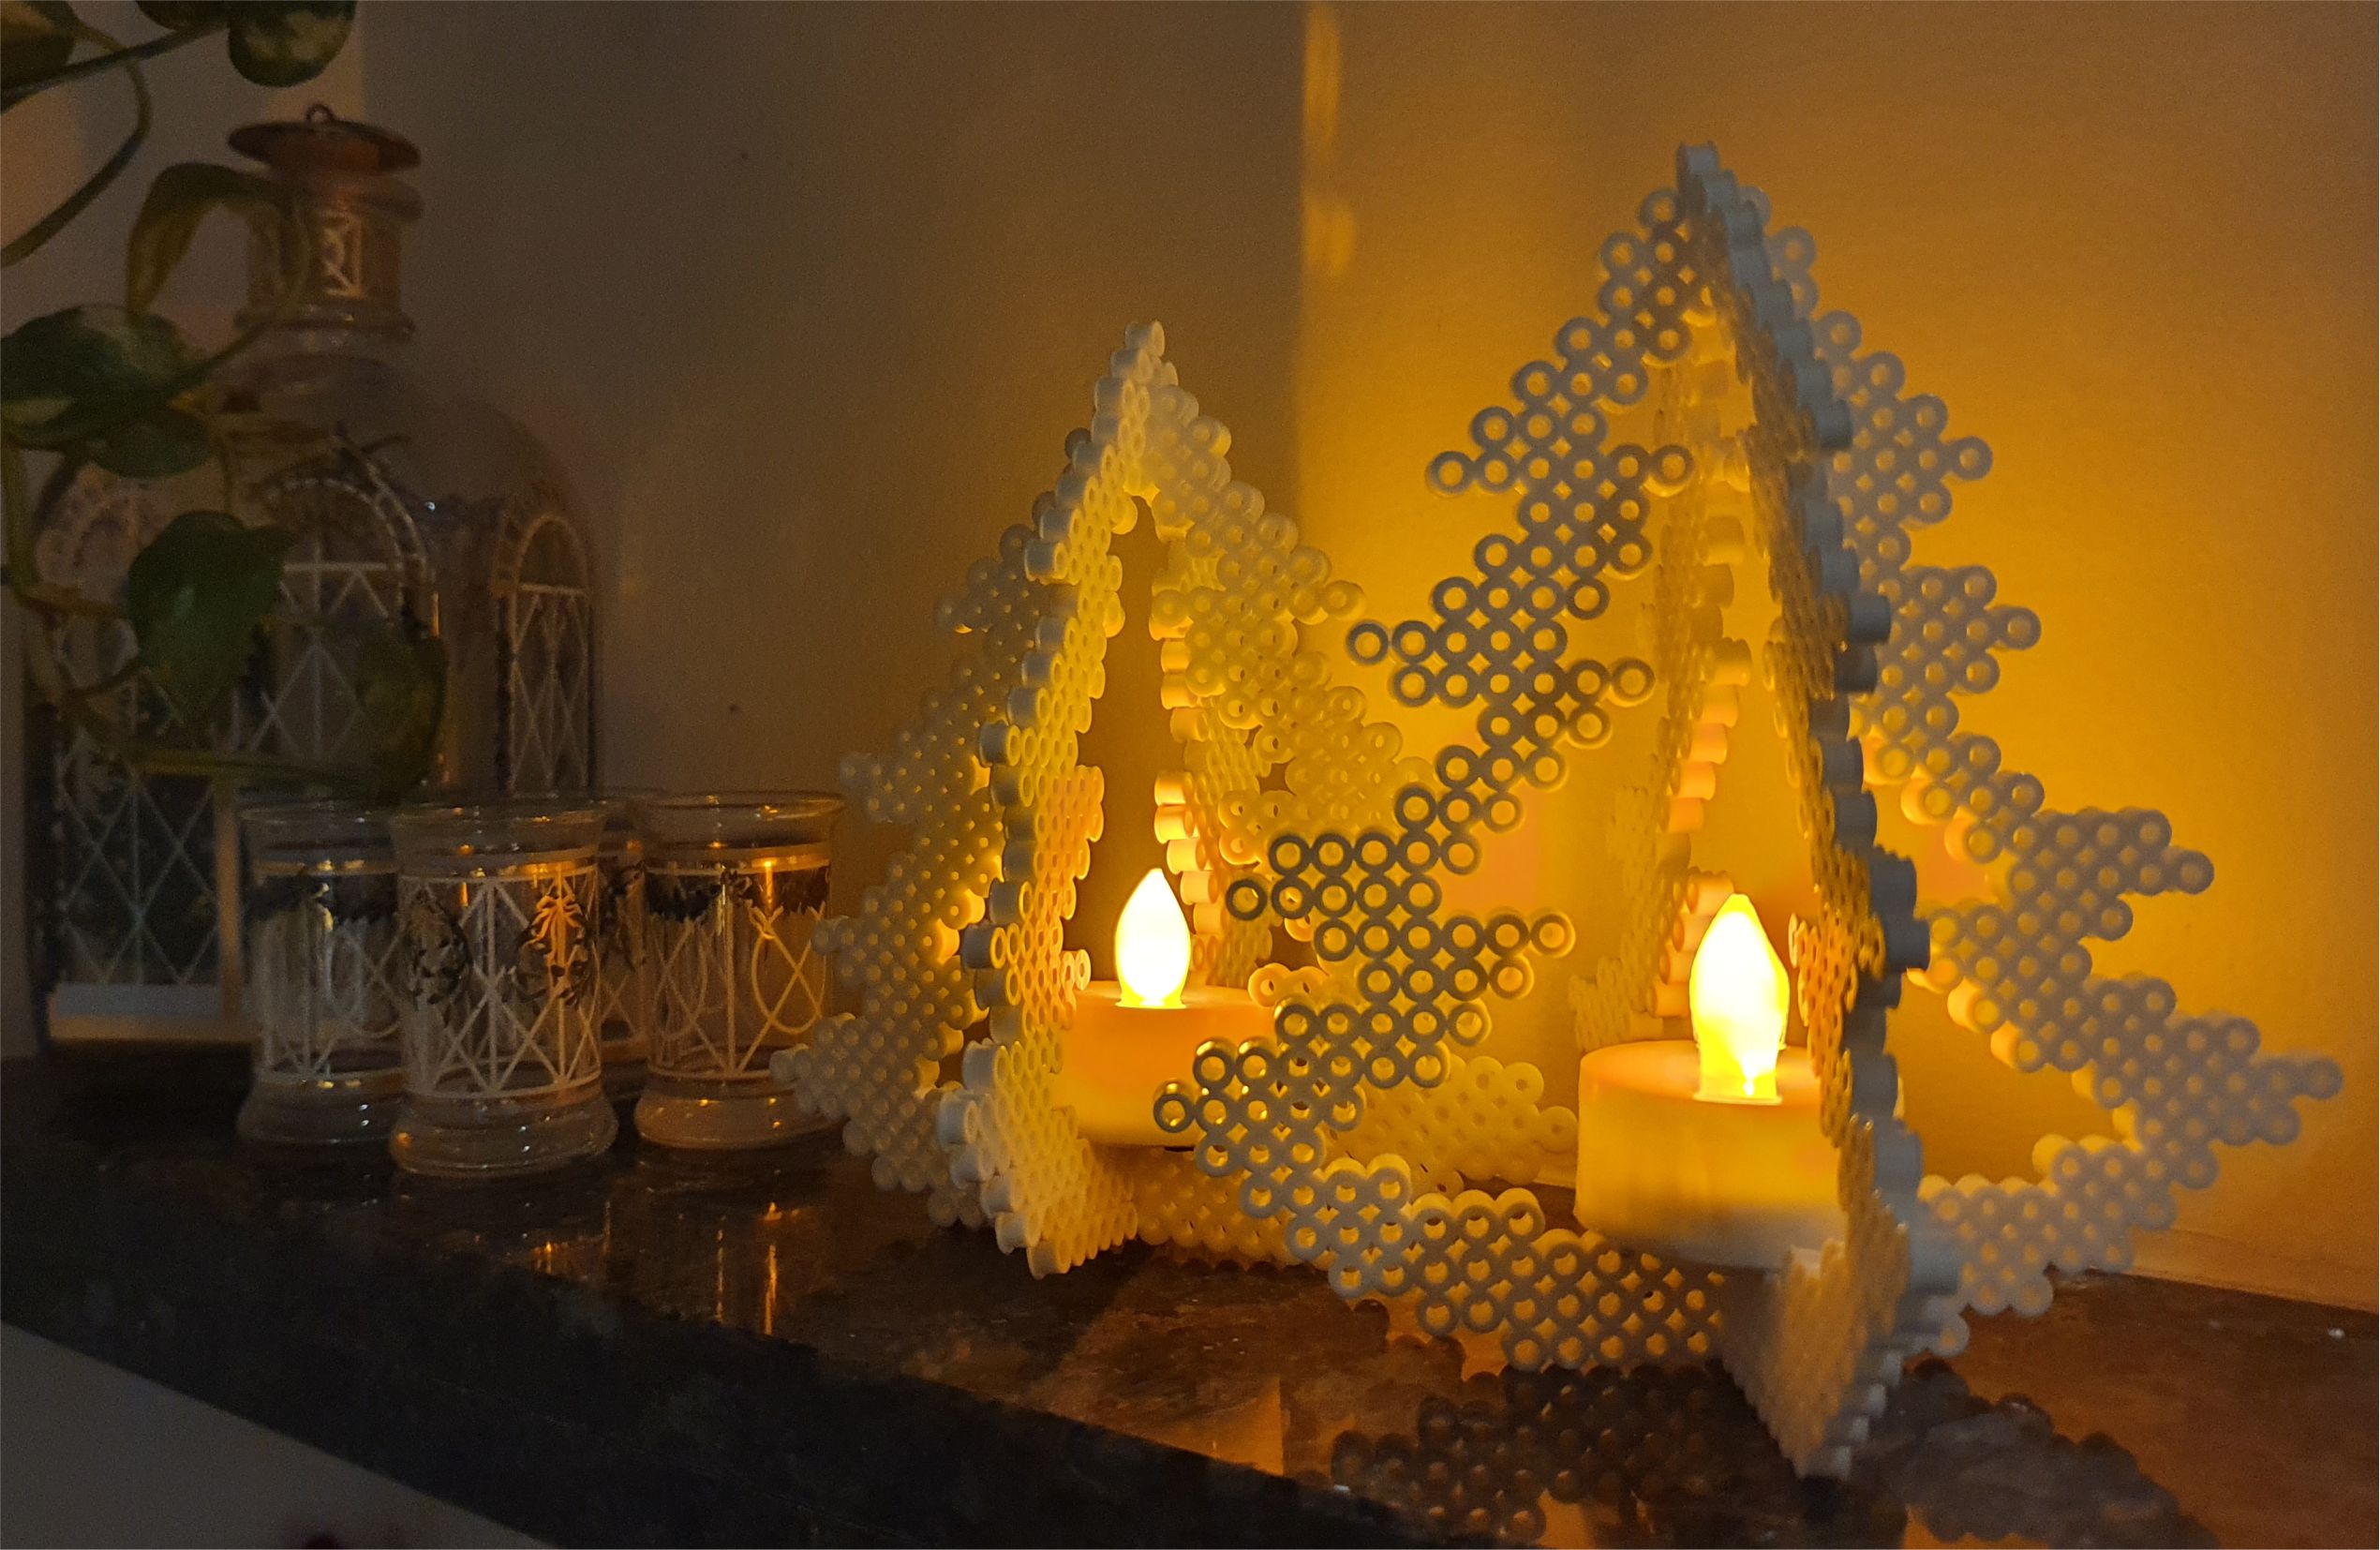
Use LED tealights for this perler beads Christmas tree
Even though real tea lights are beautiful (and nicer), use the electric LED ones for this Christmas tree. The real flame will melt the beads and all your hard work will be ruined. The electric tealights have their uses though as they can also be kept in the kids’ rooms or on lower tables where kids or hair might come in the way. I got my electric tealights from amazon.in
Get the free template and see the detailed step-by-step guide below the ingredients.
A few tips before you begin…
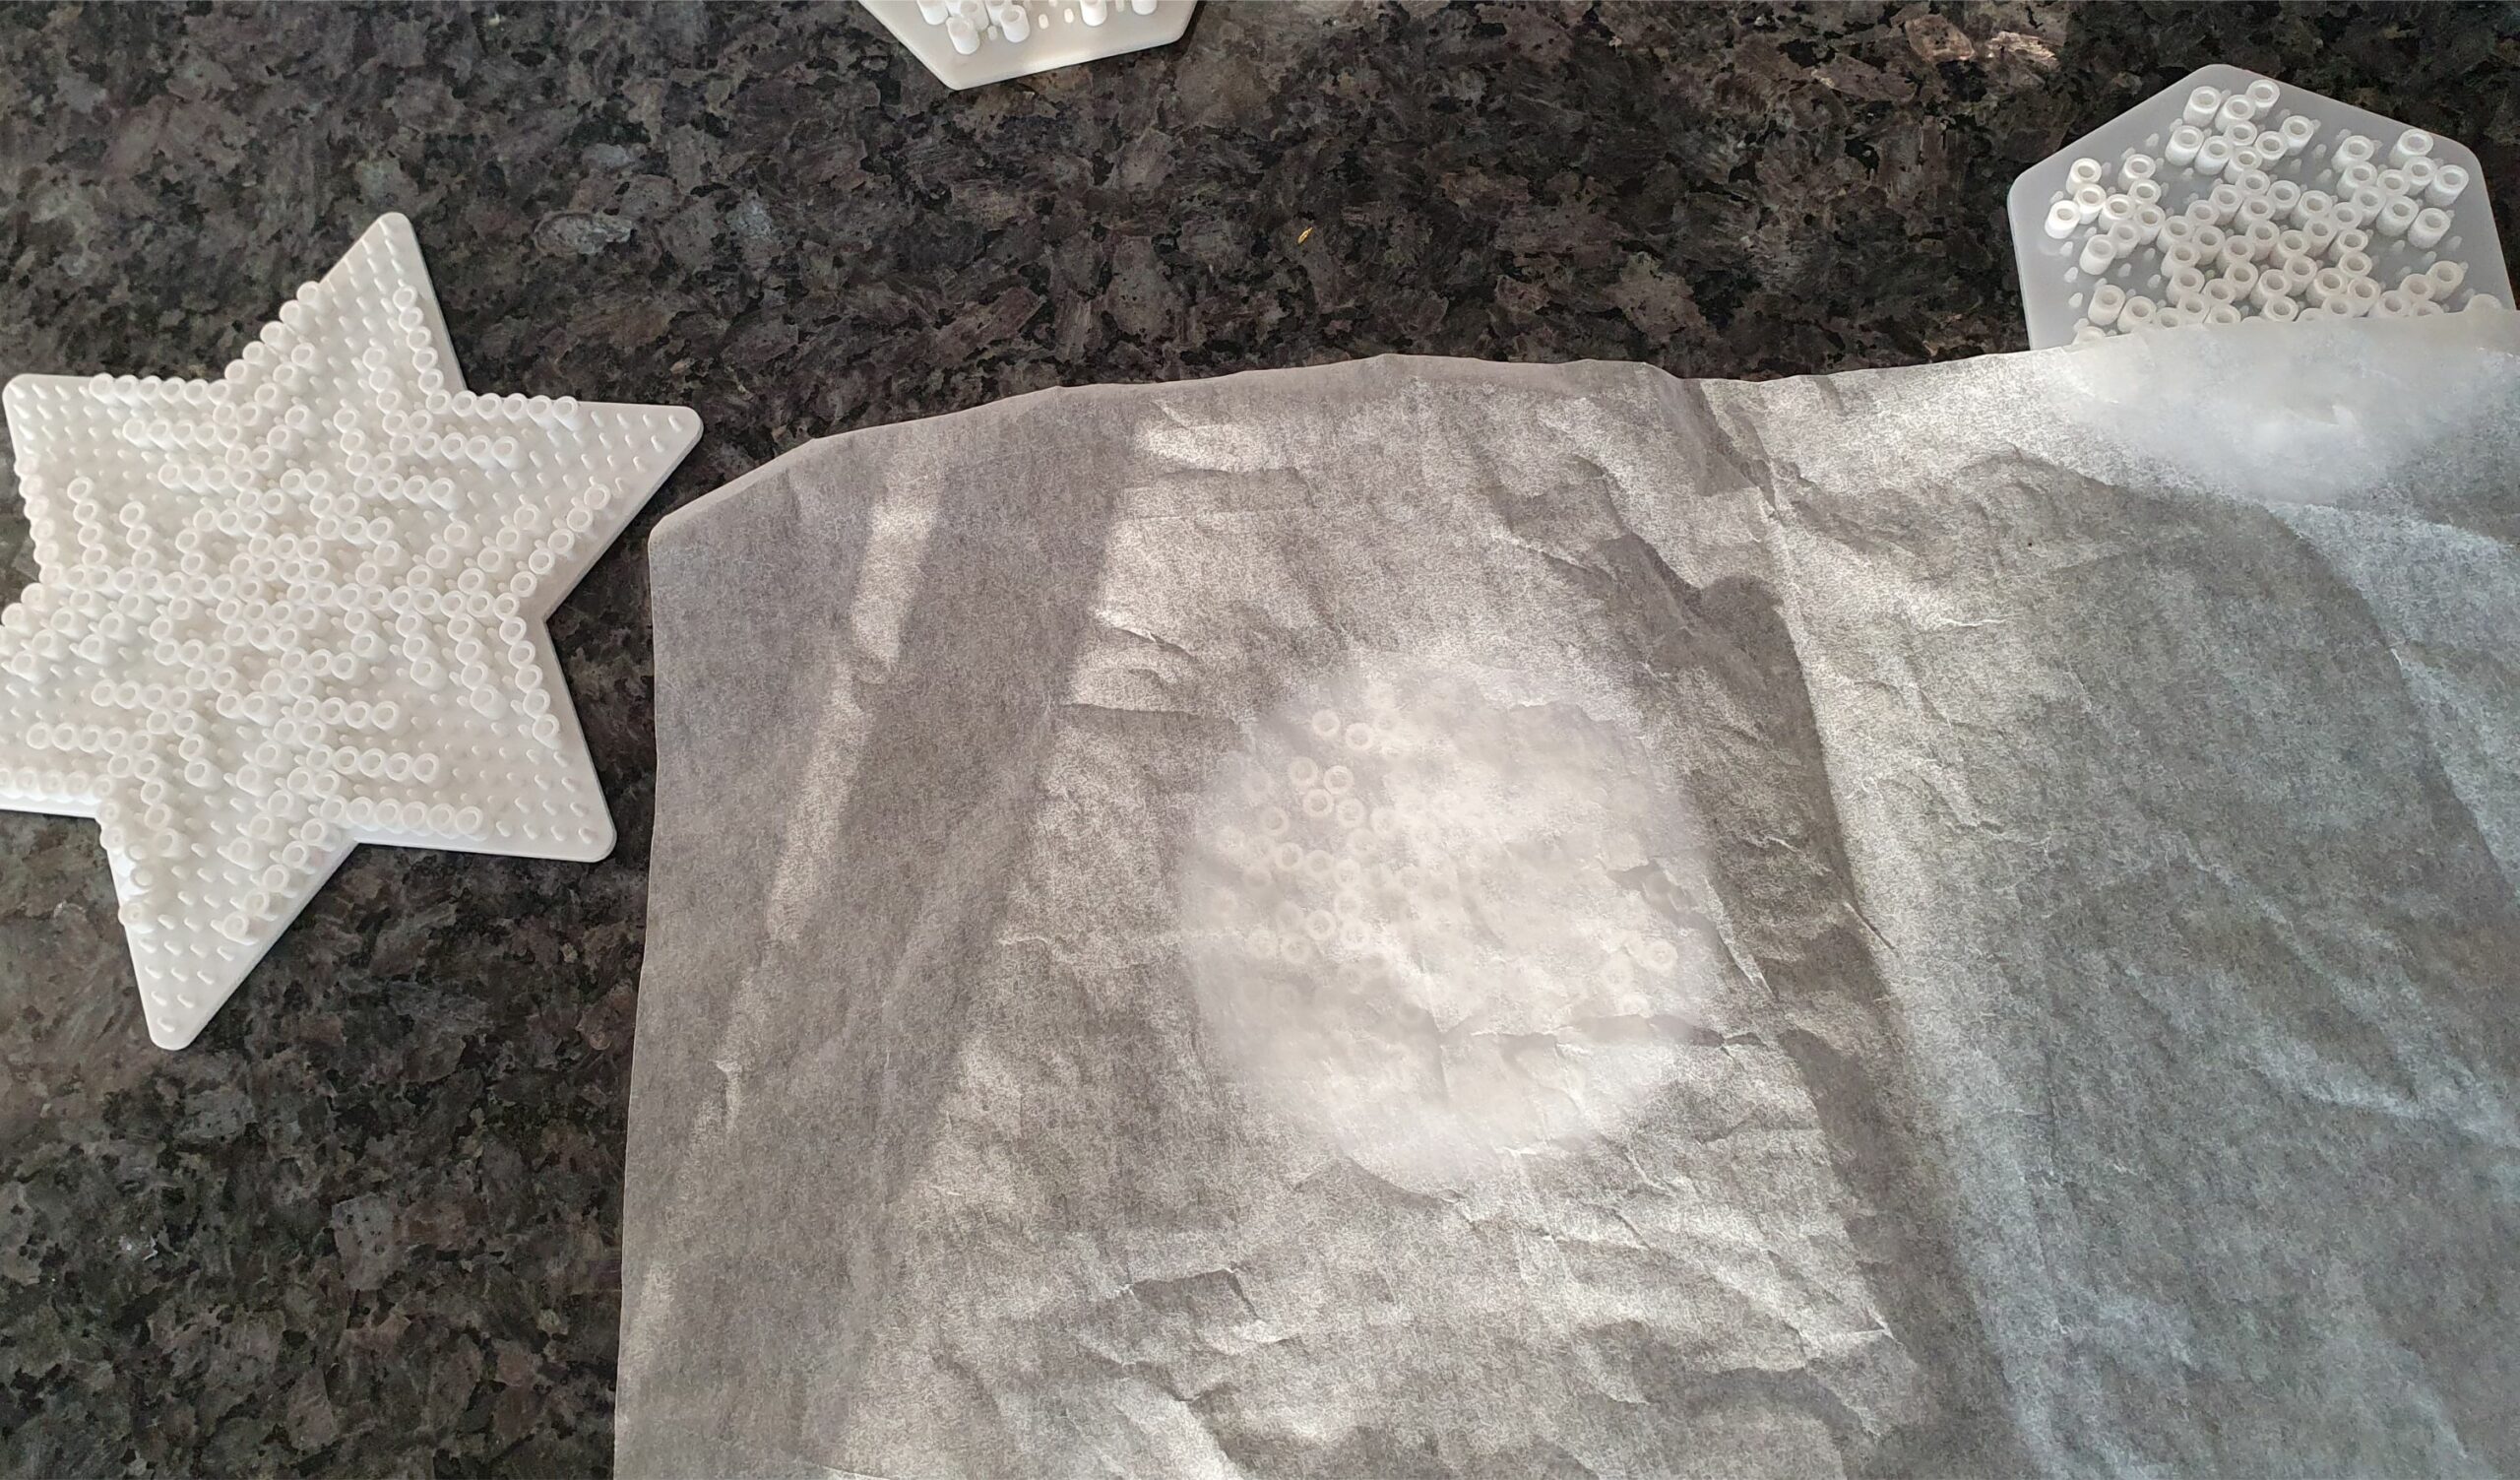
Iron the beads using parchment/baking paper with a medium-hot iron. The beads should stick well together and be strong, but not be so flat that they won’t fit together afterwards. I use the Oddy baking paper for these as well as for all my baking needs.
See my short video below to see how to assemble the Christmas tree. It can easily be taken apart as well and stored carefully for next year. Place it lying flat in a box and your Christmas decorations for next year is ready 🙂
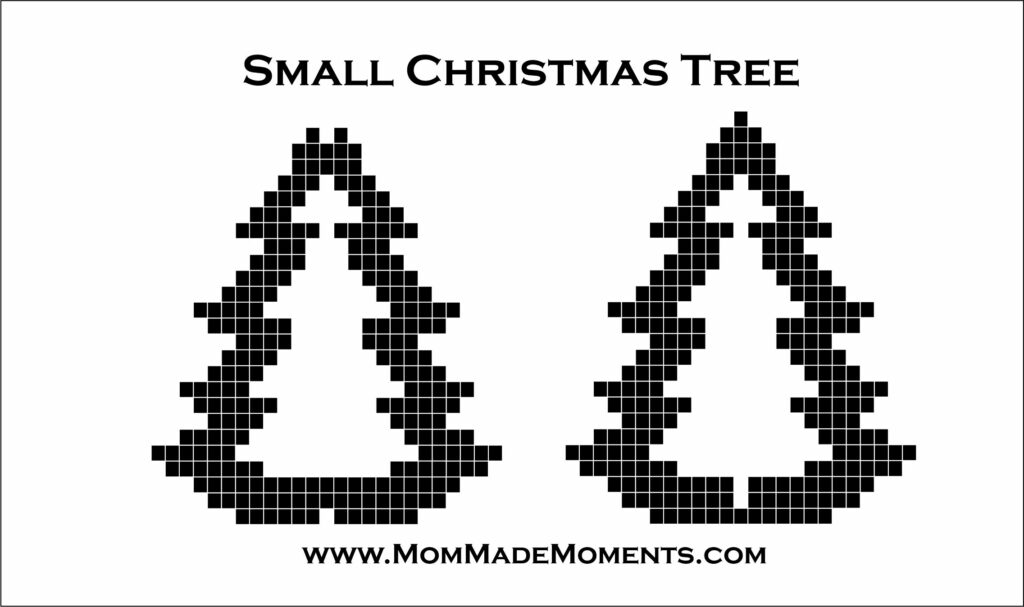
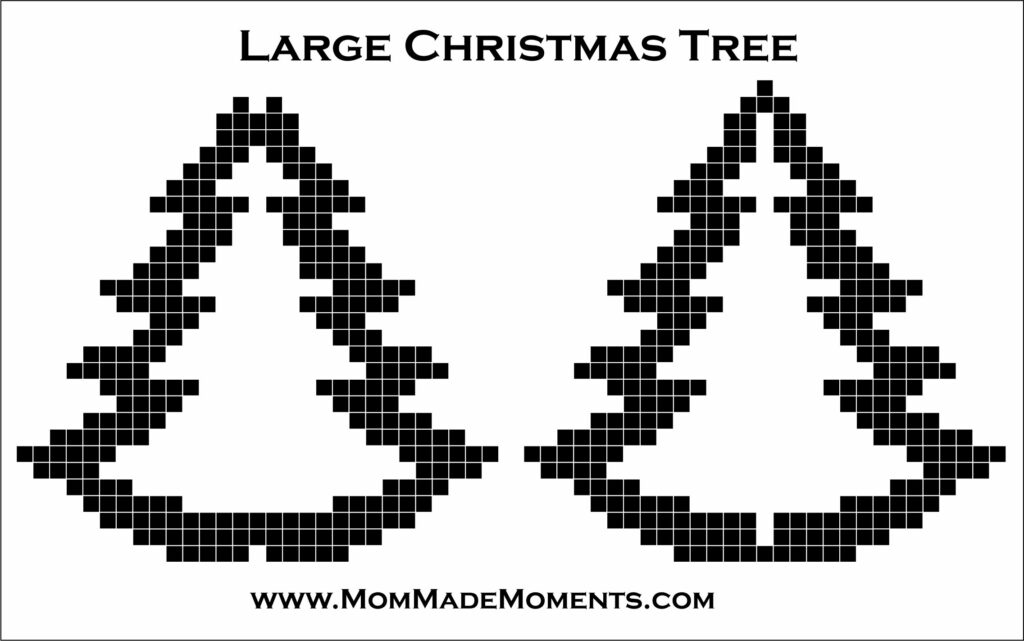
The templates for both trees are shown below here. You can also download the pdf copies here to print; Large 3D Christmas tree and Small 3D Christmas tree
Hope you have fun with this project. Merry Christmas
Ingredients
Directions
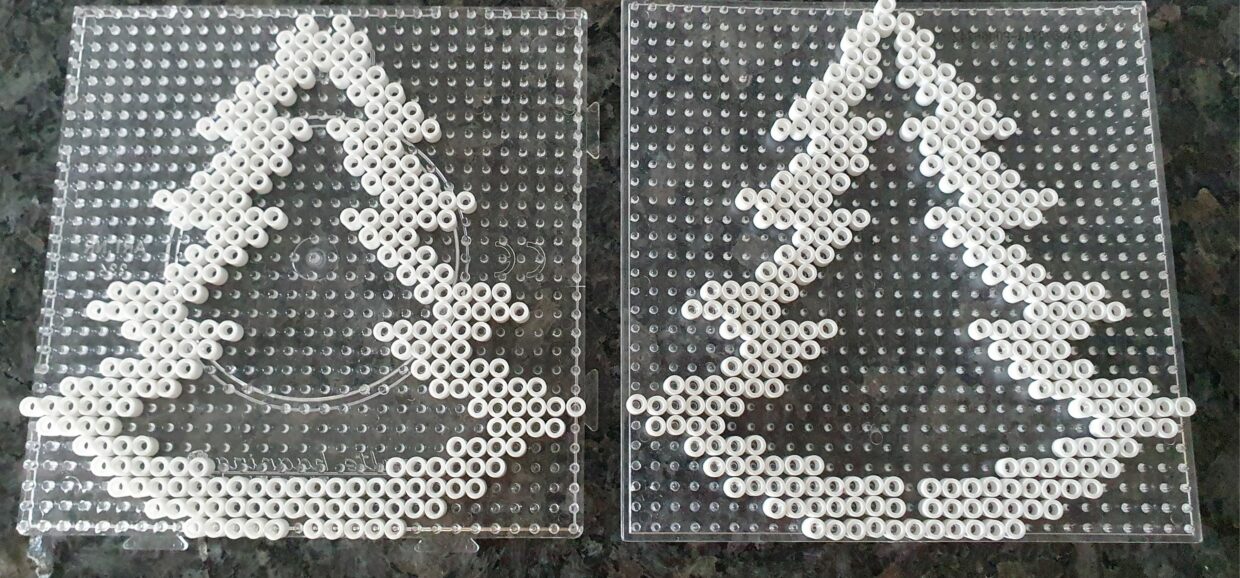
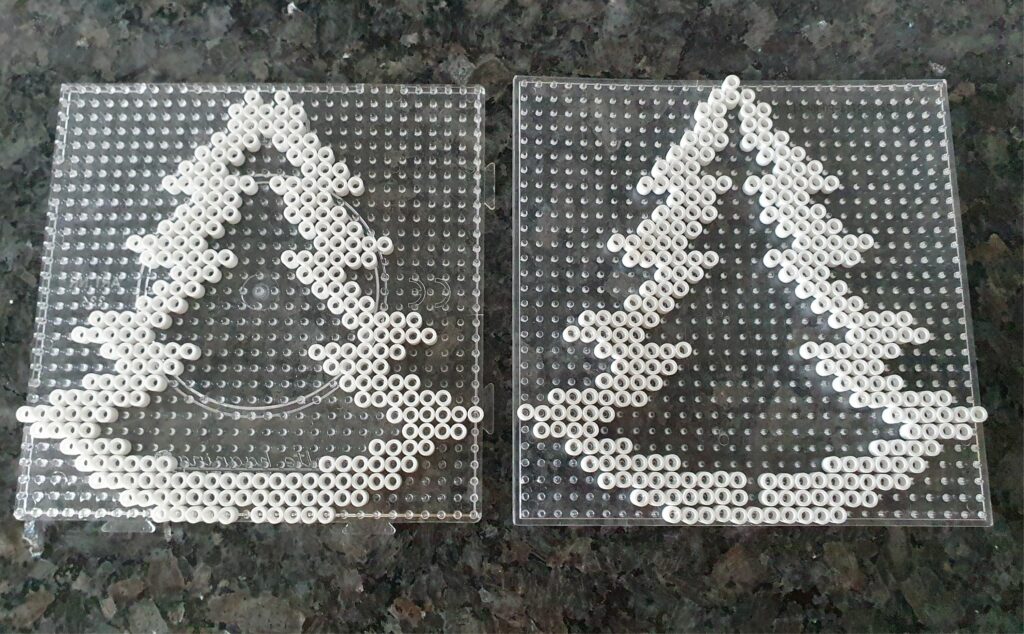
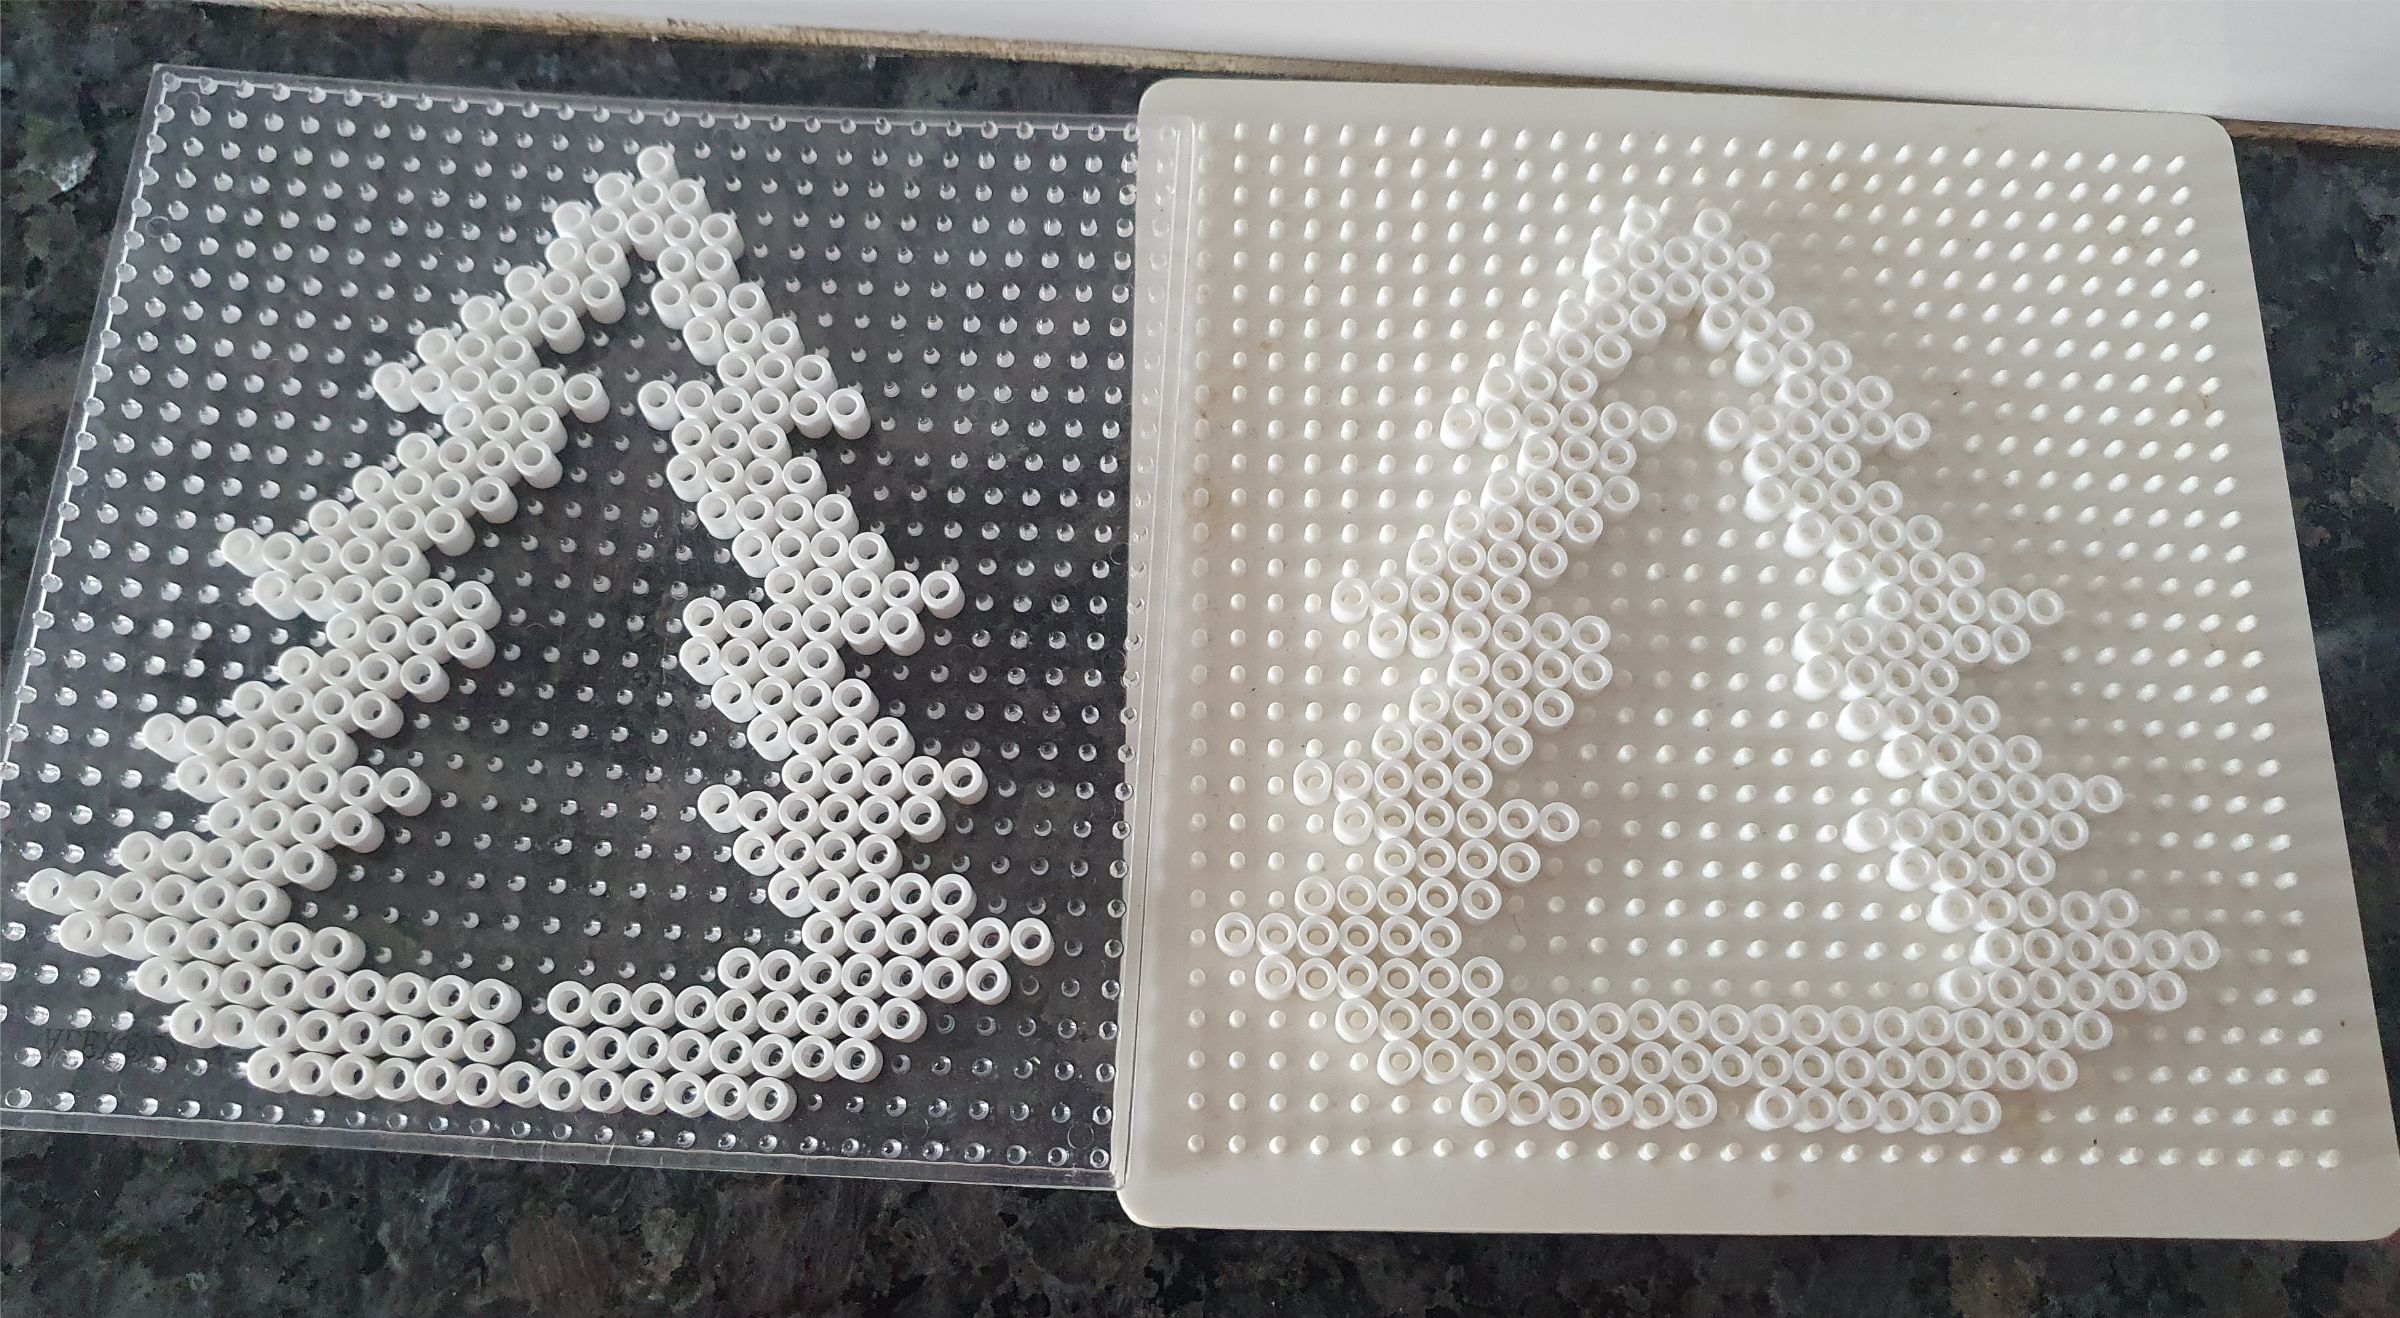
Make both sides of the Christmas tree according to the template above. This is the large Christmas tree. You will need to use the square bead shape for this. If you only have one bead shape, make one side of the Christmas tree, iron it and then make the other one.
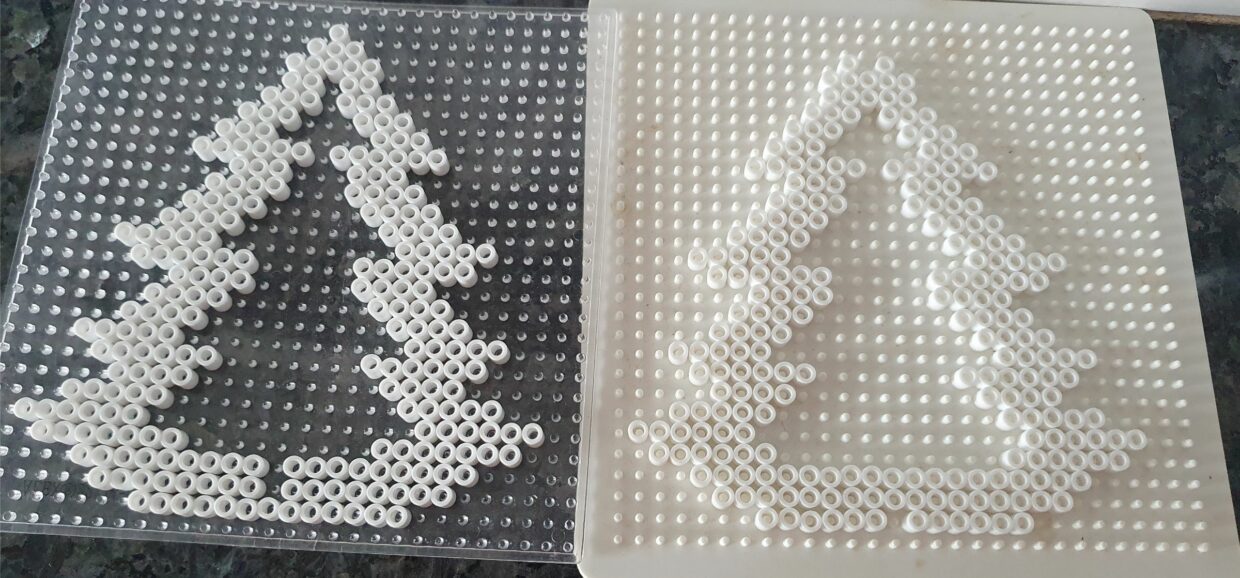
This is the small Christmas tree. Both the right and the left sides are nearly the same -but please note the small adjustments at the bottom and top to make them fit together after ironing.
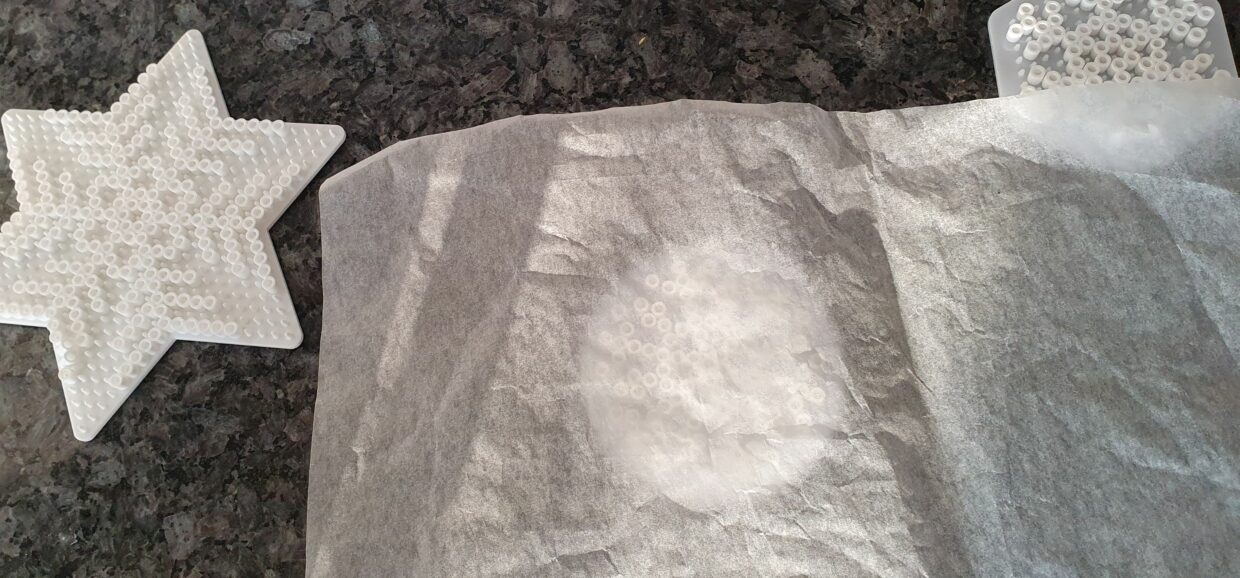
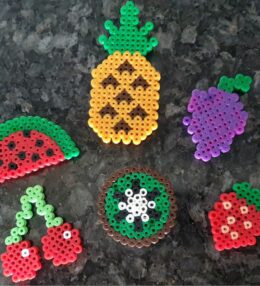
Iron the beads on medium heat using parchment/baking paper. Iron the beads on both sides to make them stronger but be careful to not make them too flat so they won't fit together afterwards. The picture is from our perler beads snowflakes but the principal is the same.
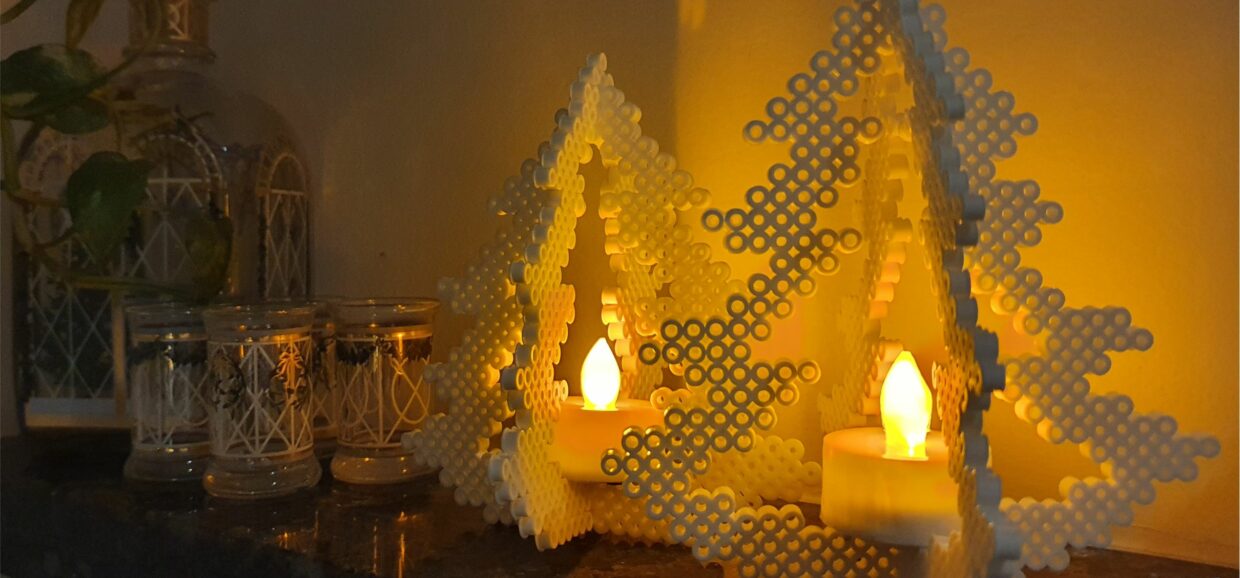
And you are done. A beautiful -yet simple- DIY project. See the video above on how to easily assemble and disassemble these Christmas trees.


Leave a Review
You must be logged in to post a comment.