- December 18, 2020
- 1 Like
- 0 / 5
- 4,299 Total Views


- Prep Time30min
- Total Time45min
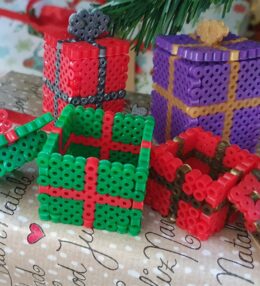
We are loving 3D perler bead Christmas decorations this year. Here is another one: Perler Beads Christmas baubles for the tree made entirely of beads. We have also made 3D Christmas presents with removable lids, Christmas tree tealight holders and of course the lovely bead snowflakes 🙂
Perler Beads Christmas Baubles, a craft activity for all ages
Me and my 4-year old made the rings together one day. It was easy for her and it didn’t really matter what size she made. I just made the remaining rings in the missing sizes later. You can make them a single colour, dotted, with stripes or cover them in glitter afterwards. There are lots of options and that’s entirely up to you.
I buy the beads from Amazon.in whenever I see some on sale. The mixed box from ikea or from the perler brand are good option to start. You may have to sort the colours yourself, but you get a lot of different colours for the lowest cost.
See the full step-by-step guide below the ingredients
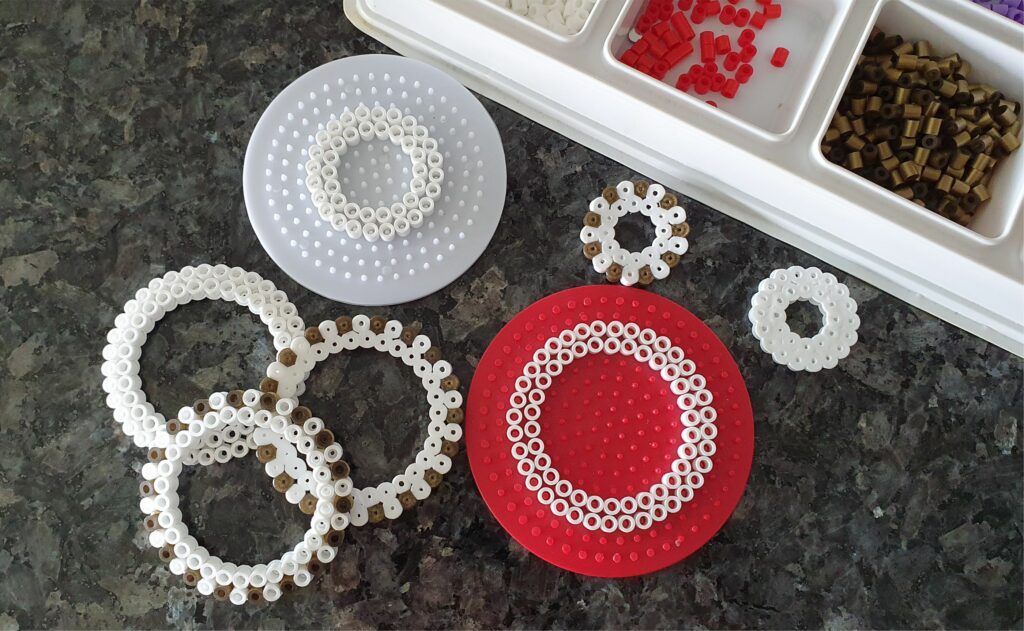

My top tips for making perler beads Christmas baubles:
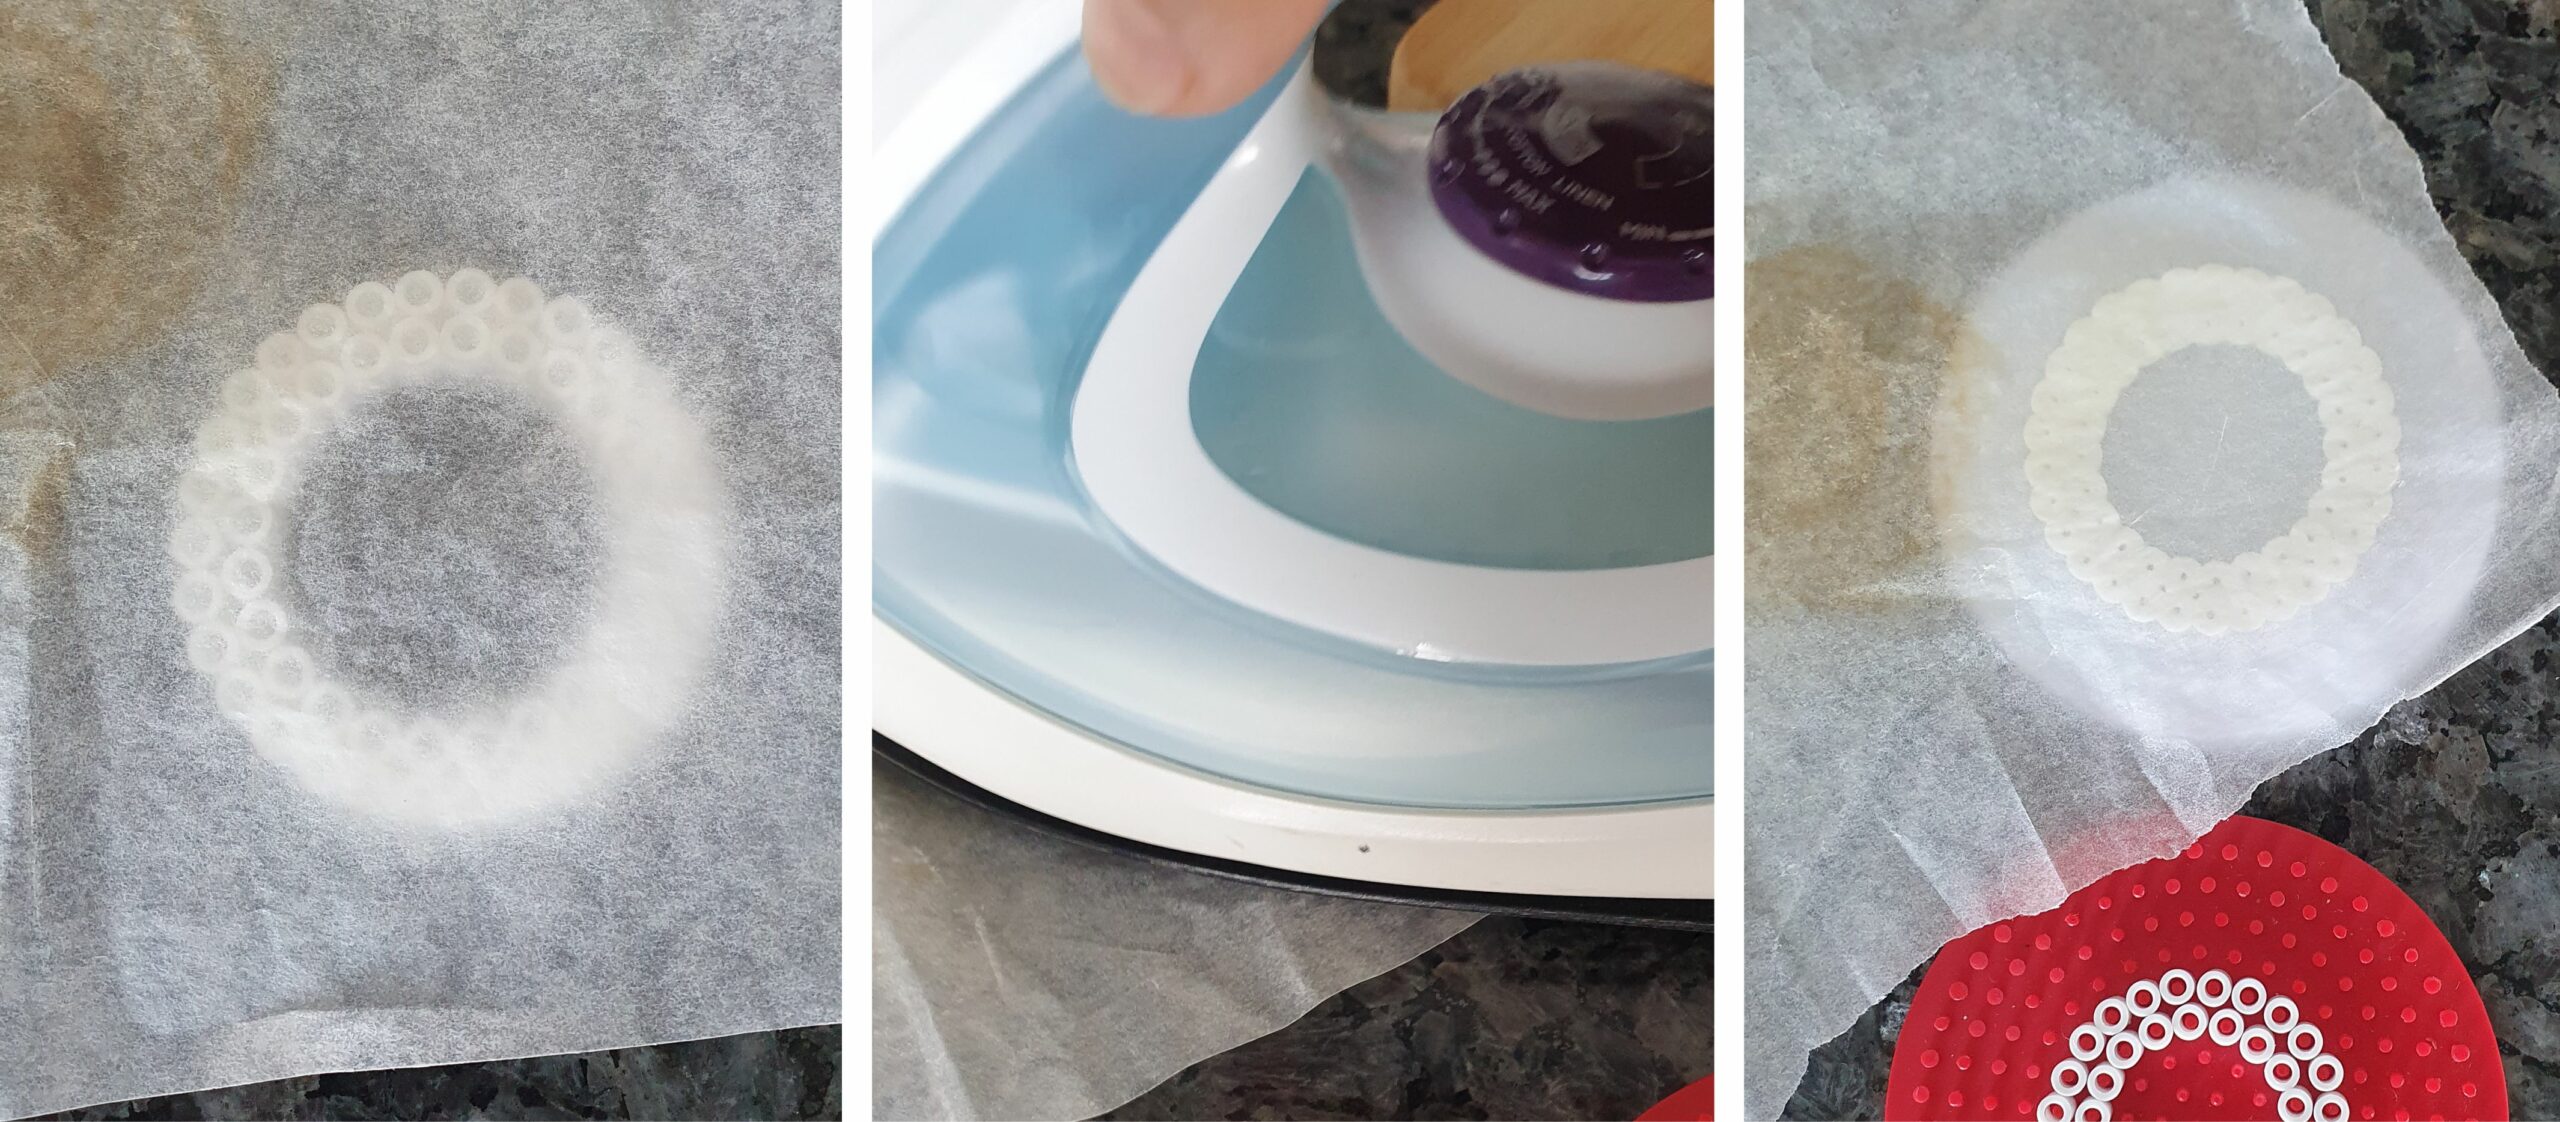
- Make sure to iron the beads on both sides so they become quite flat. Otherwise the final bauble will be oval rather than round in shape.
- To tie the ribbon, make sure one of the bigger rings has a “bridge” between the sides
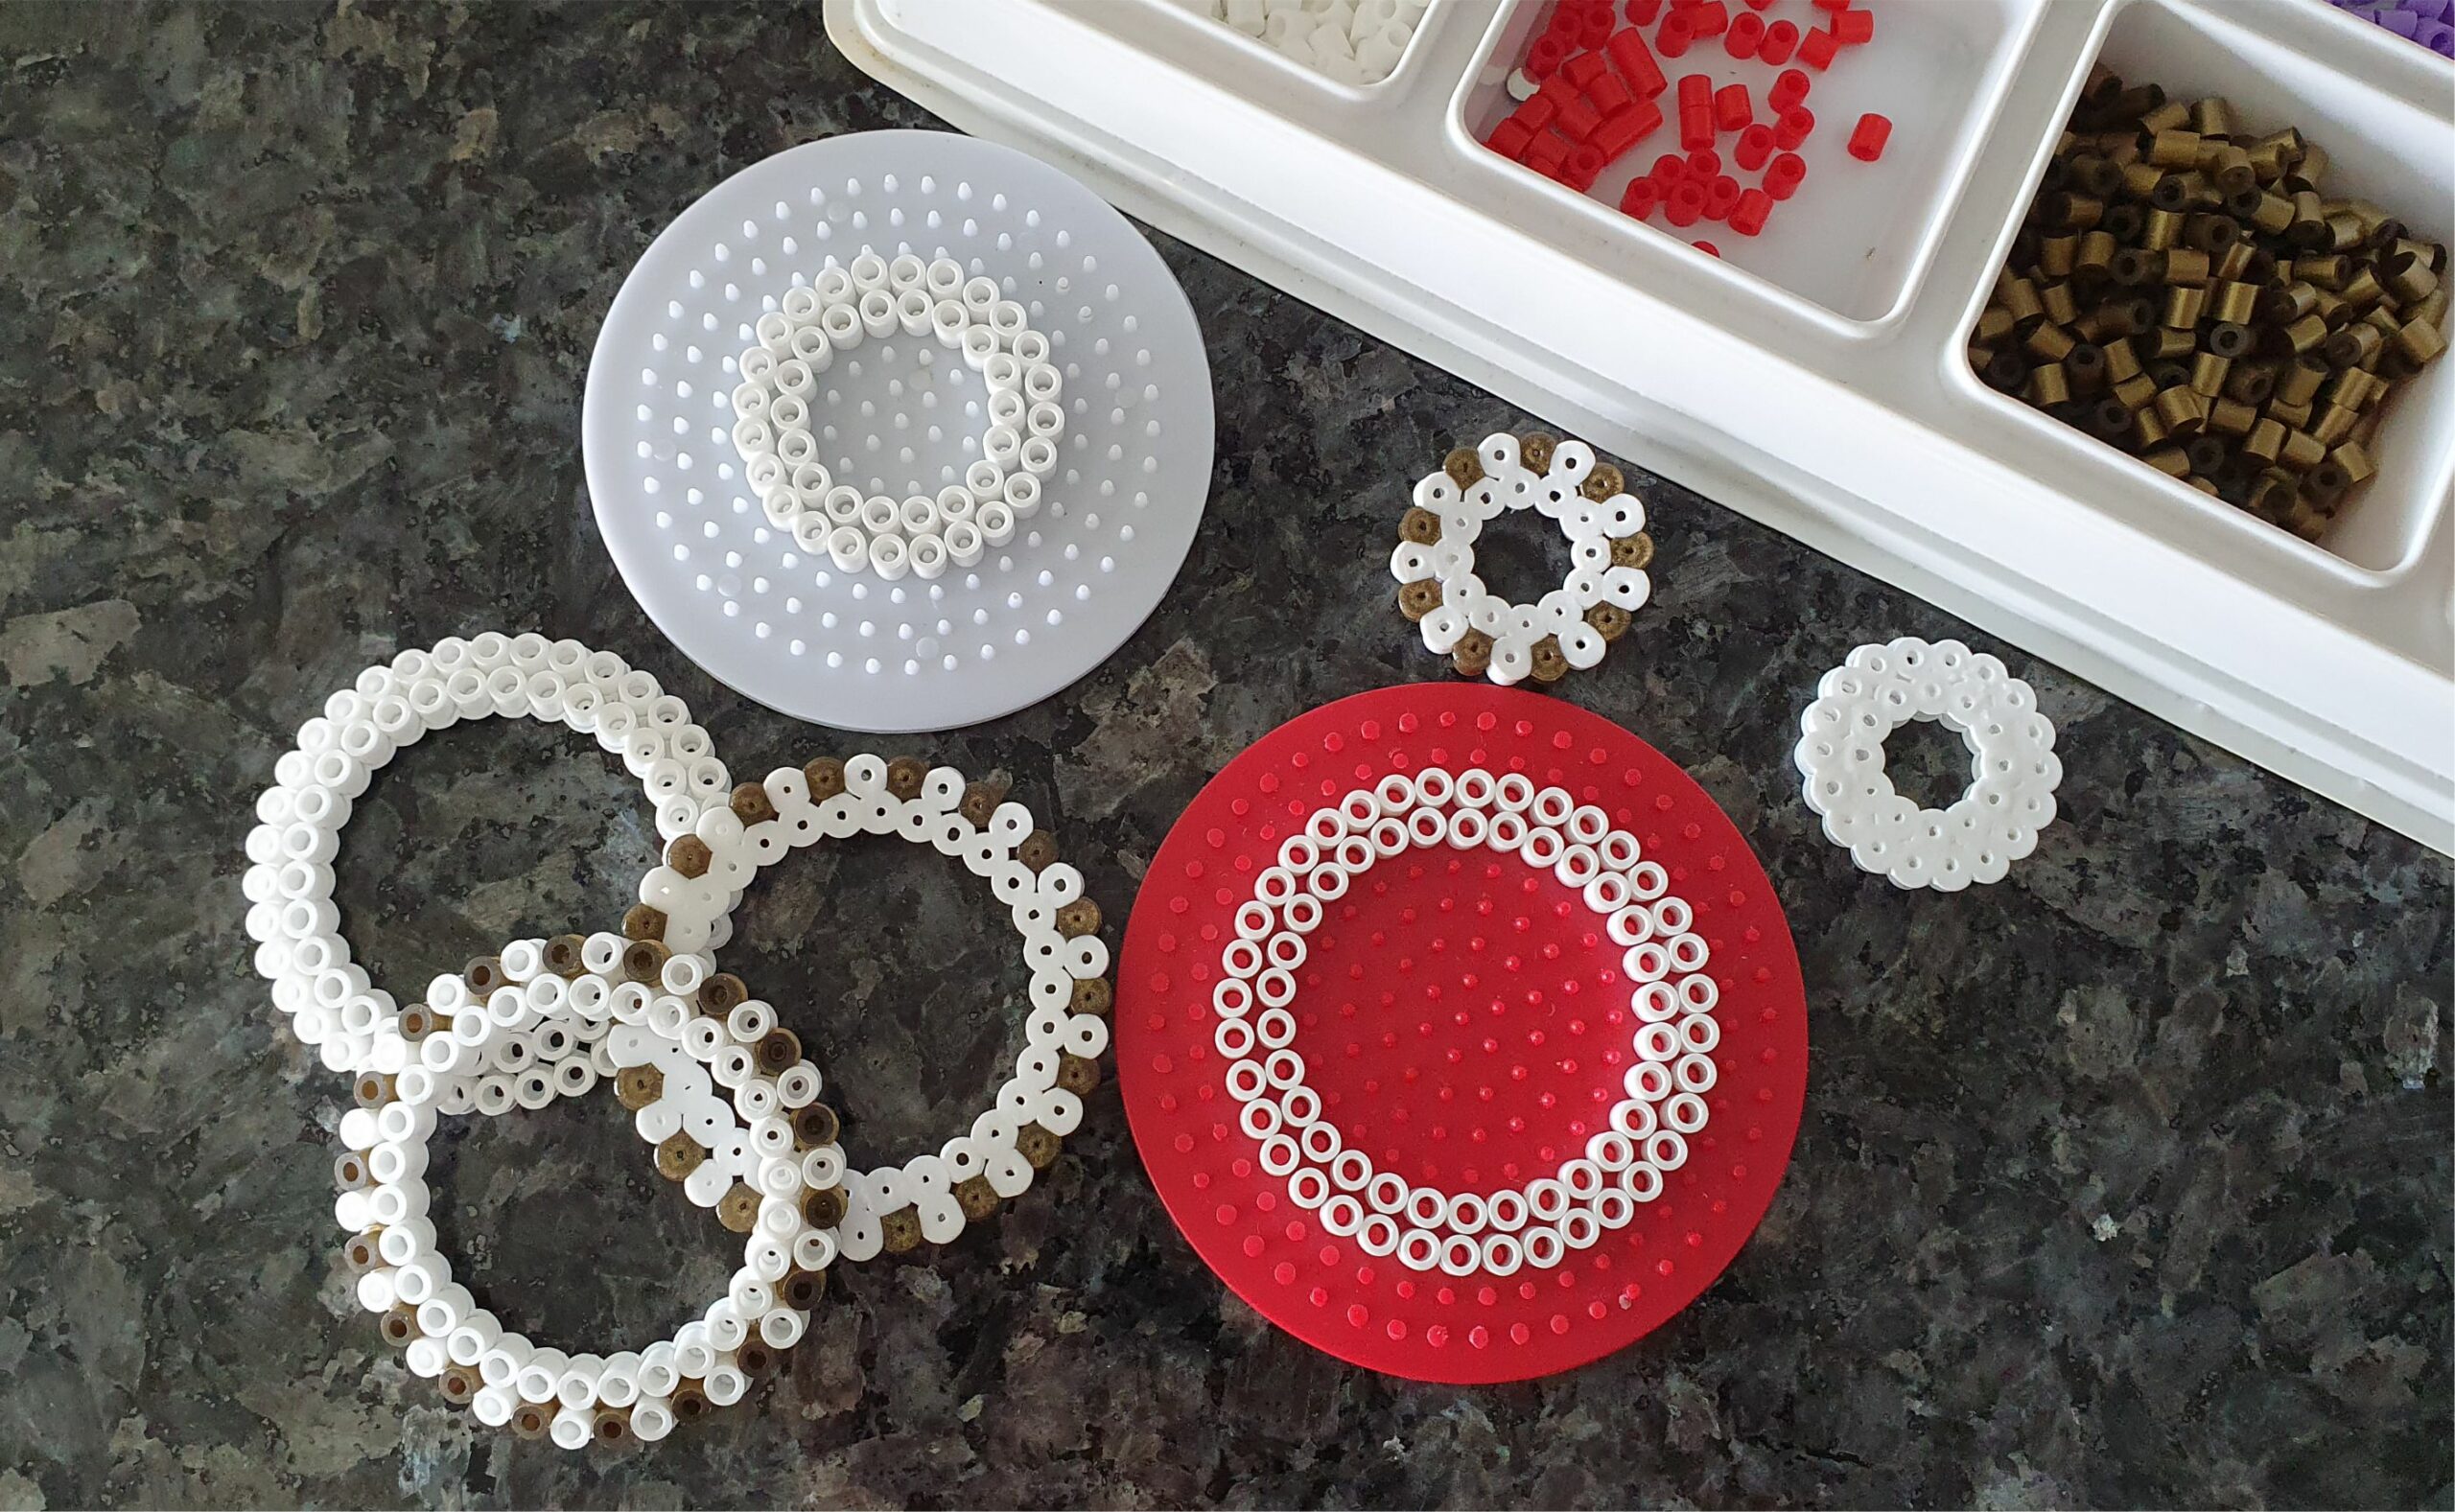
- Use the round pegboard for these rings. It’s easier if you have more than one round pegboard but if not, make the ring, iron it and then make the next one.
- The rings should be fully flat, so they can stick together properly. Keep them under a heavy book or cutting board after ironing.
- Use regular white glue (fevicol) to glue the rings together. Make sure to keep the string tied around the “bridge” before you close the ball.
You will need 12 rings for the small Christmas bauble in the sizes shown here:


You will need 16 rings for the large Christmas bauble in the sizes shown here:


Follow me on instagram @mommademoments_ or facebook (MomMadeMoments) to get regular updates on new recipes and creativity for kids.
Ingredients
Directions

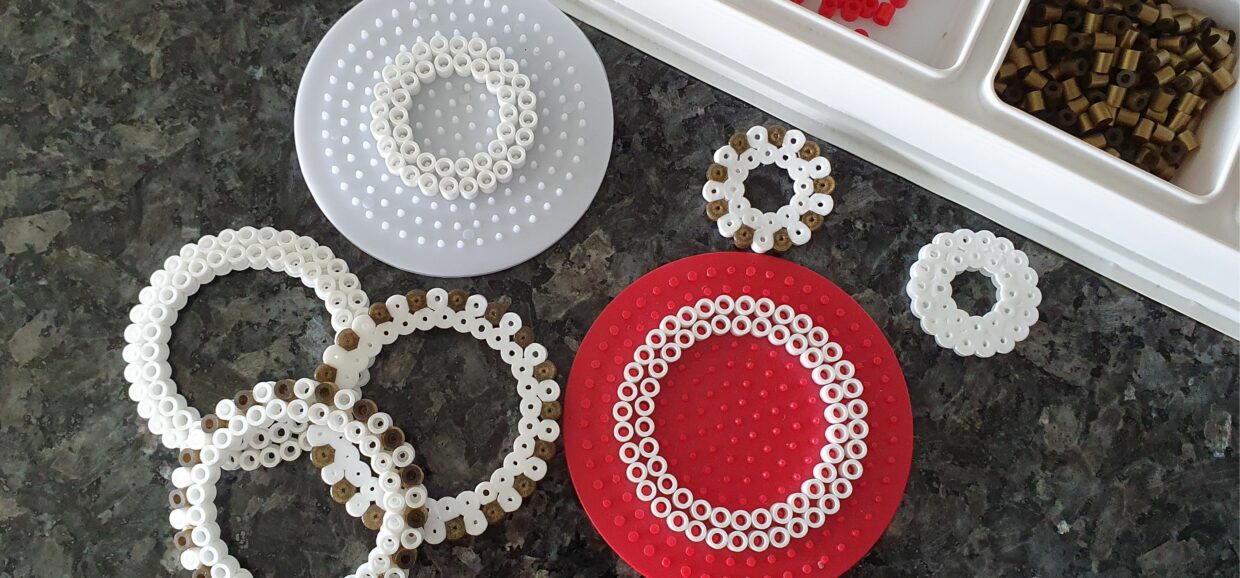
Make the rings according to the design shown above. Use the round pegboards for this. It's easier if you have more than one pegboard but if not, make a ring, iron it and then make the next one.

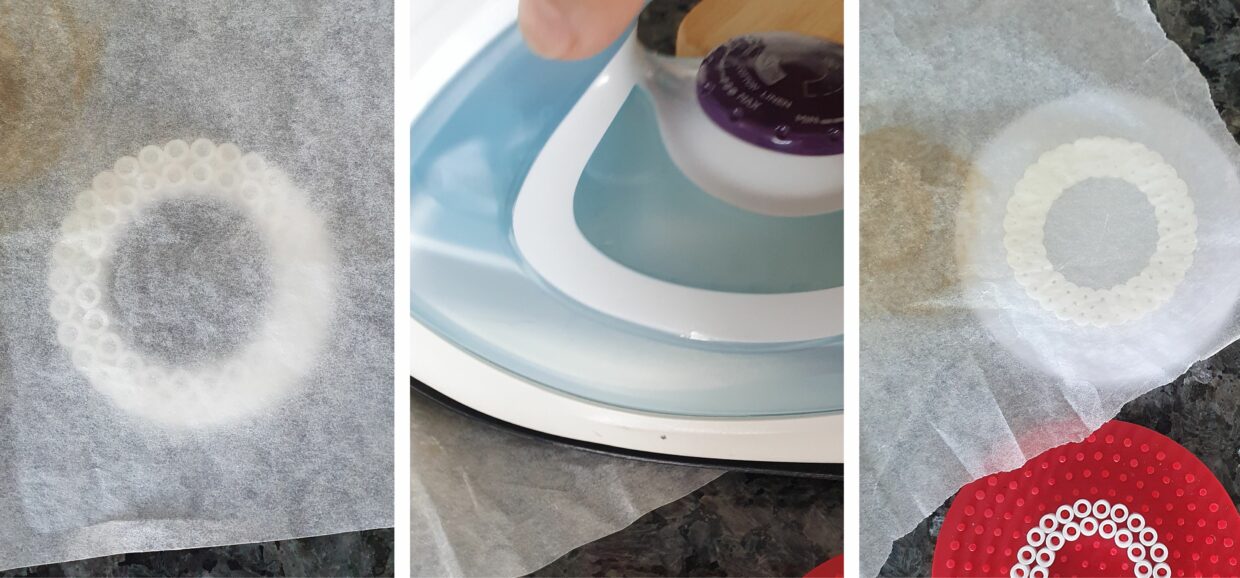
Iron the rings on both sides and make them quite flat. If you keep them tall, the Christmas bauble will become longer and not round in shape
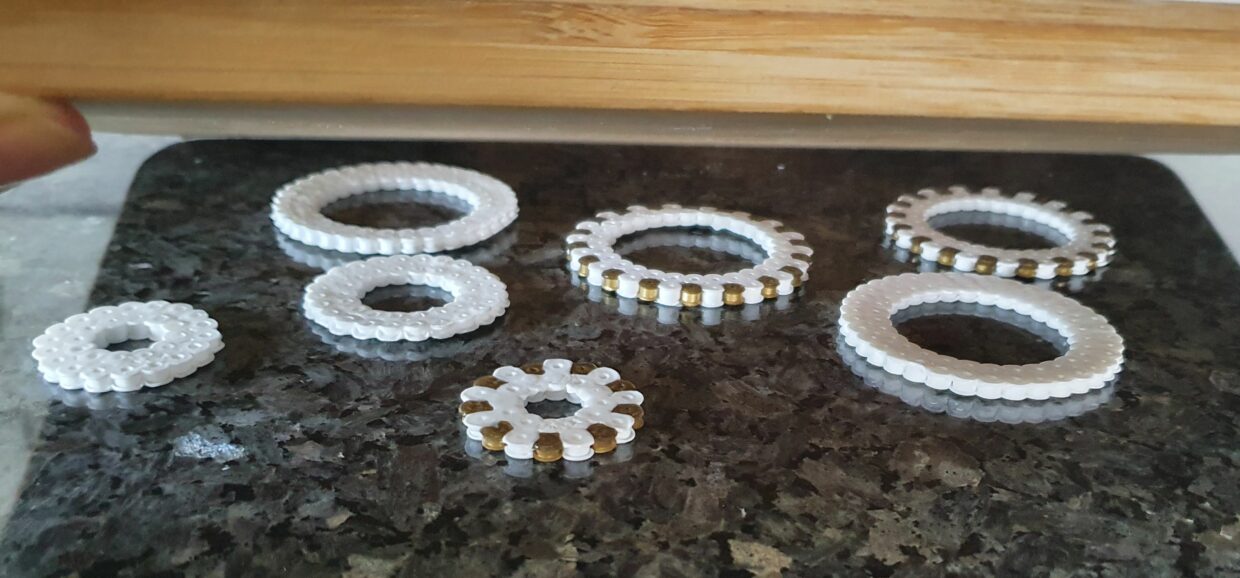

While still hot, keep the ironed rings underneath a heavy wooden cutting board or a book to make sure they are all fully flat
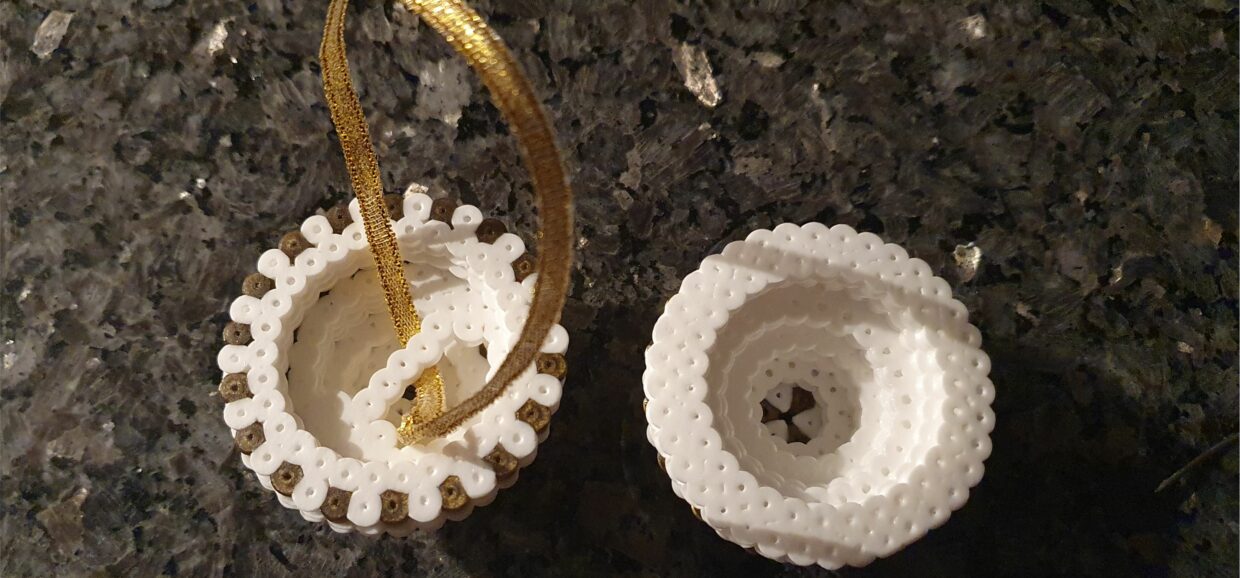

Assemble the rings in the order shown above with fevicol/white glue. Tie the ribbon around the "bridge" inside.
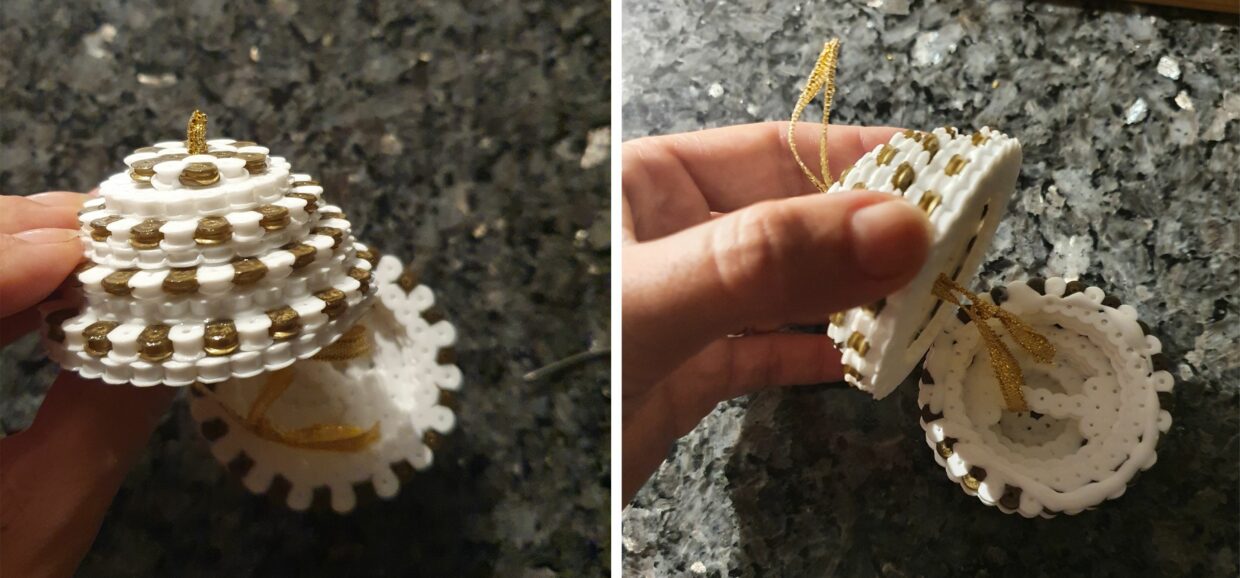

Pull the string through the top hole. Add glue around the edge and close the bauble. Let it dry.
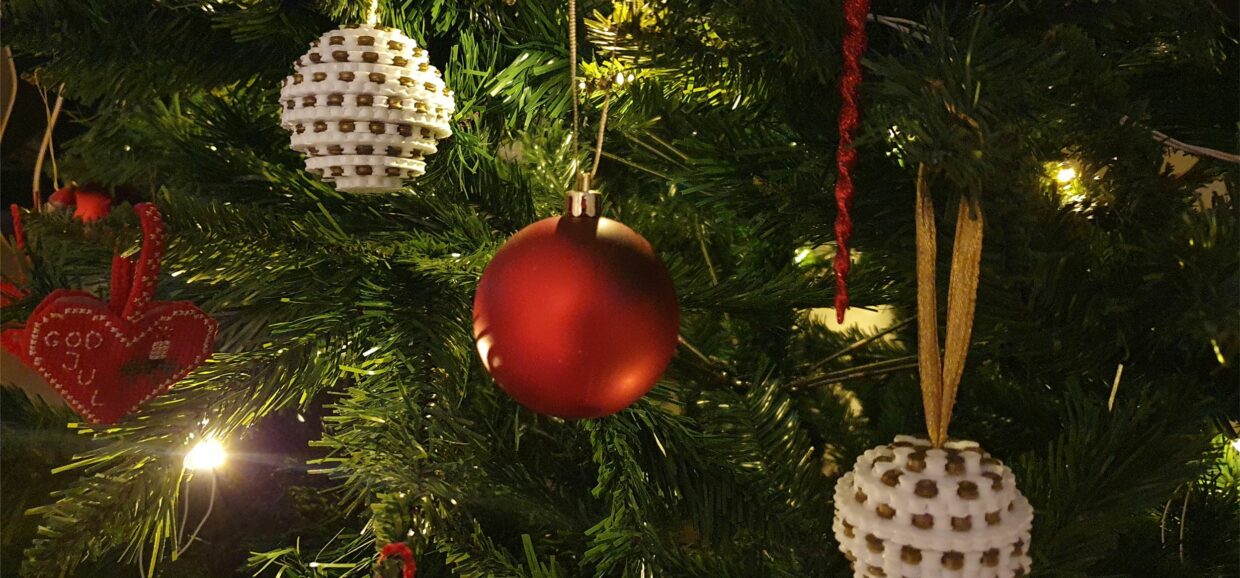

You can hang the Christmas baubles directly on the tree
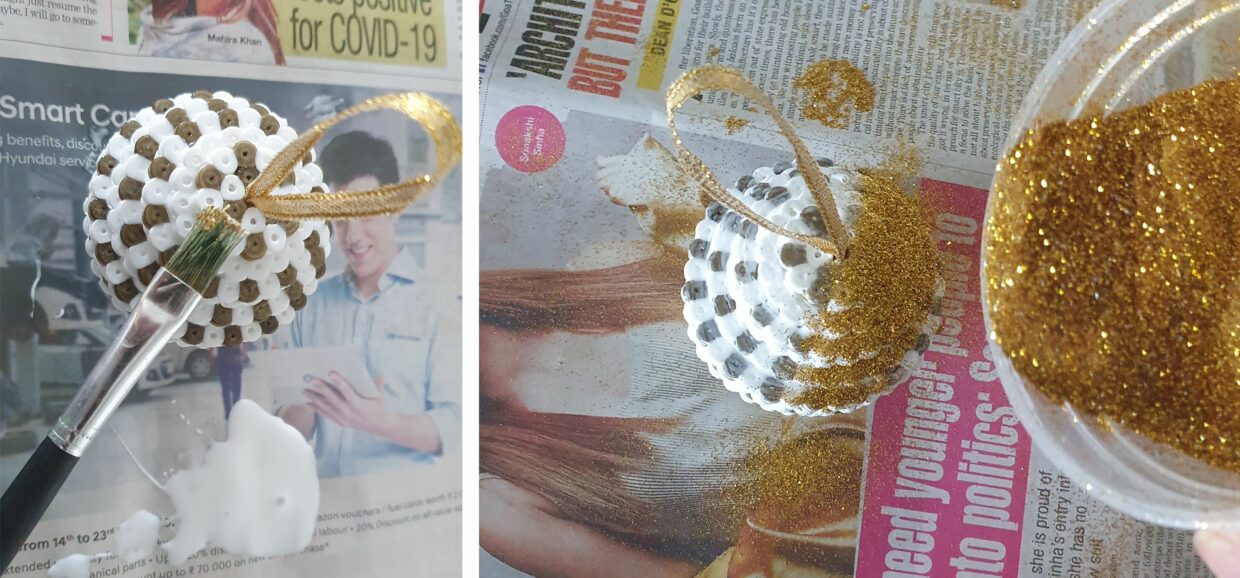

Or you can choose to cover them in glue and sparkly glitter.
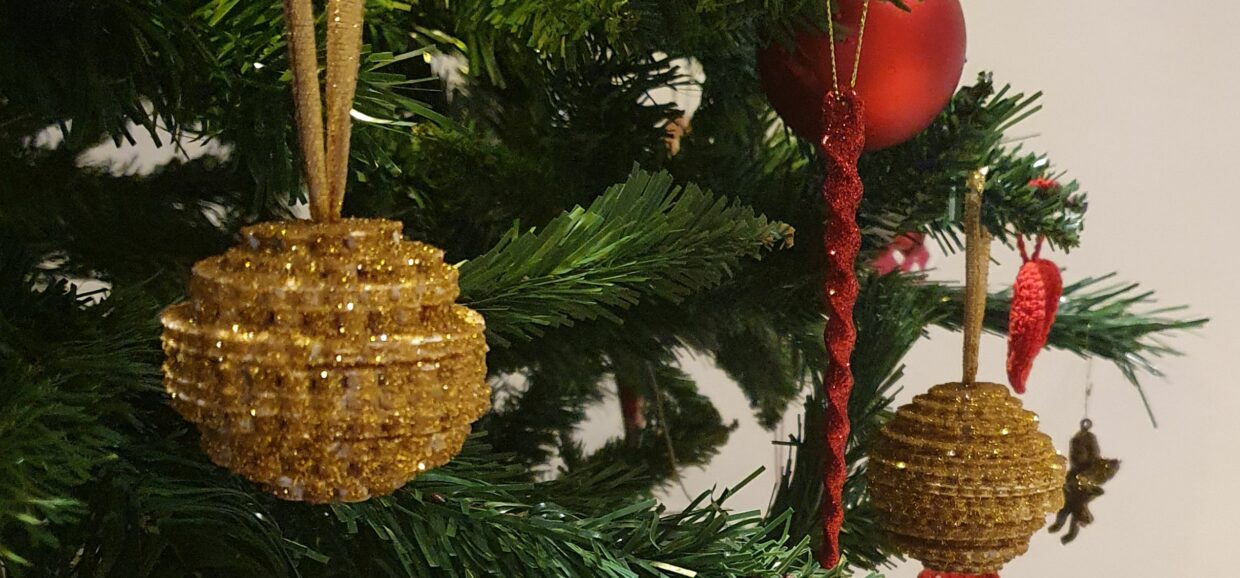

Hang them on your tree and you have beautiful handmade Christmas baubles that will last year after year. Merry Christmas!
You may also like
Perler Beads Christmas Baubles
Ingredients
Follow The Directions

Make the rings according to the design shown above. Use the round pegboards for this. It's easier if you have more than one pegboard but if not, make a ring, iron it and then make the next one.

Iron the rings on both sides and make them quite flat. If you keep them tall, the Christmas bauble will become longer and not round in shape
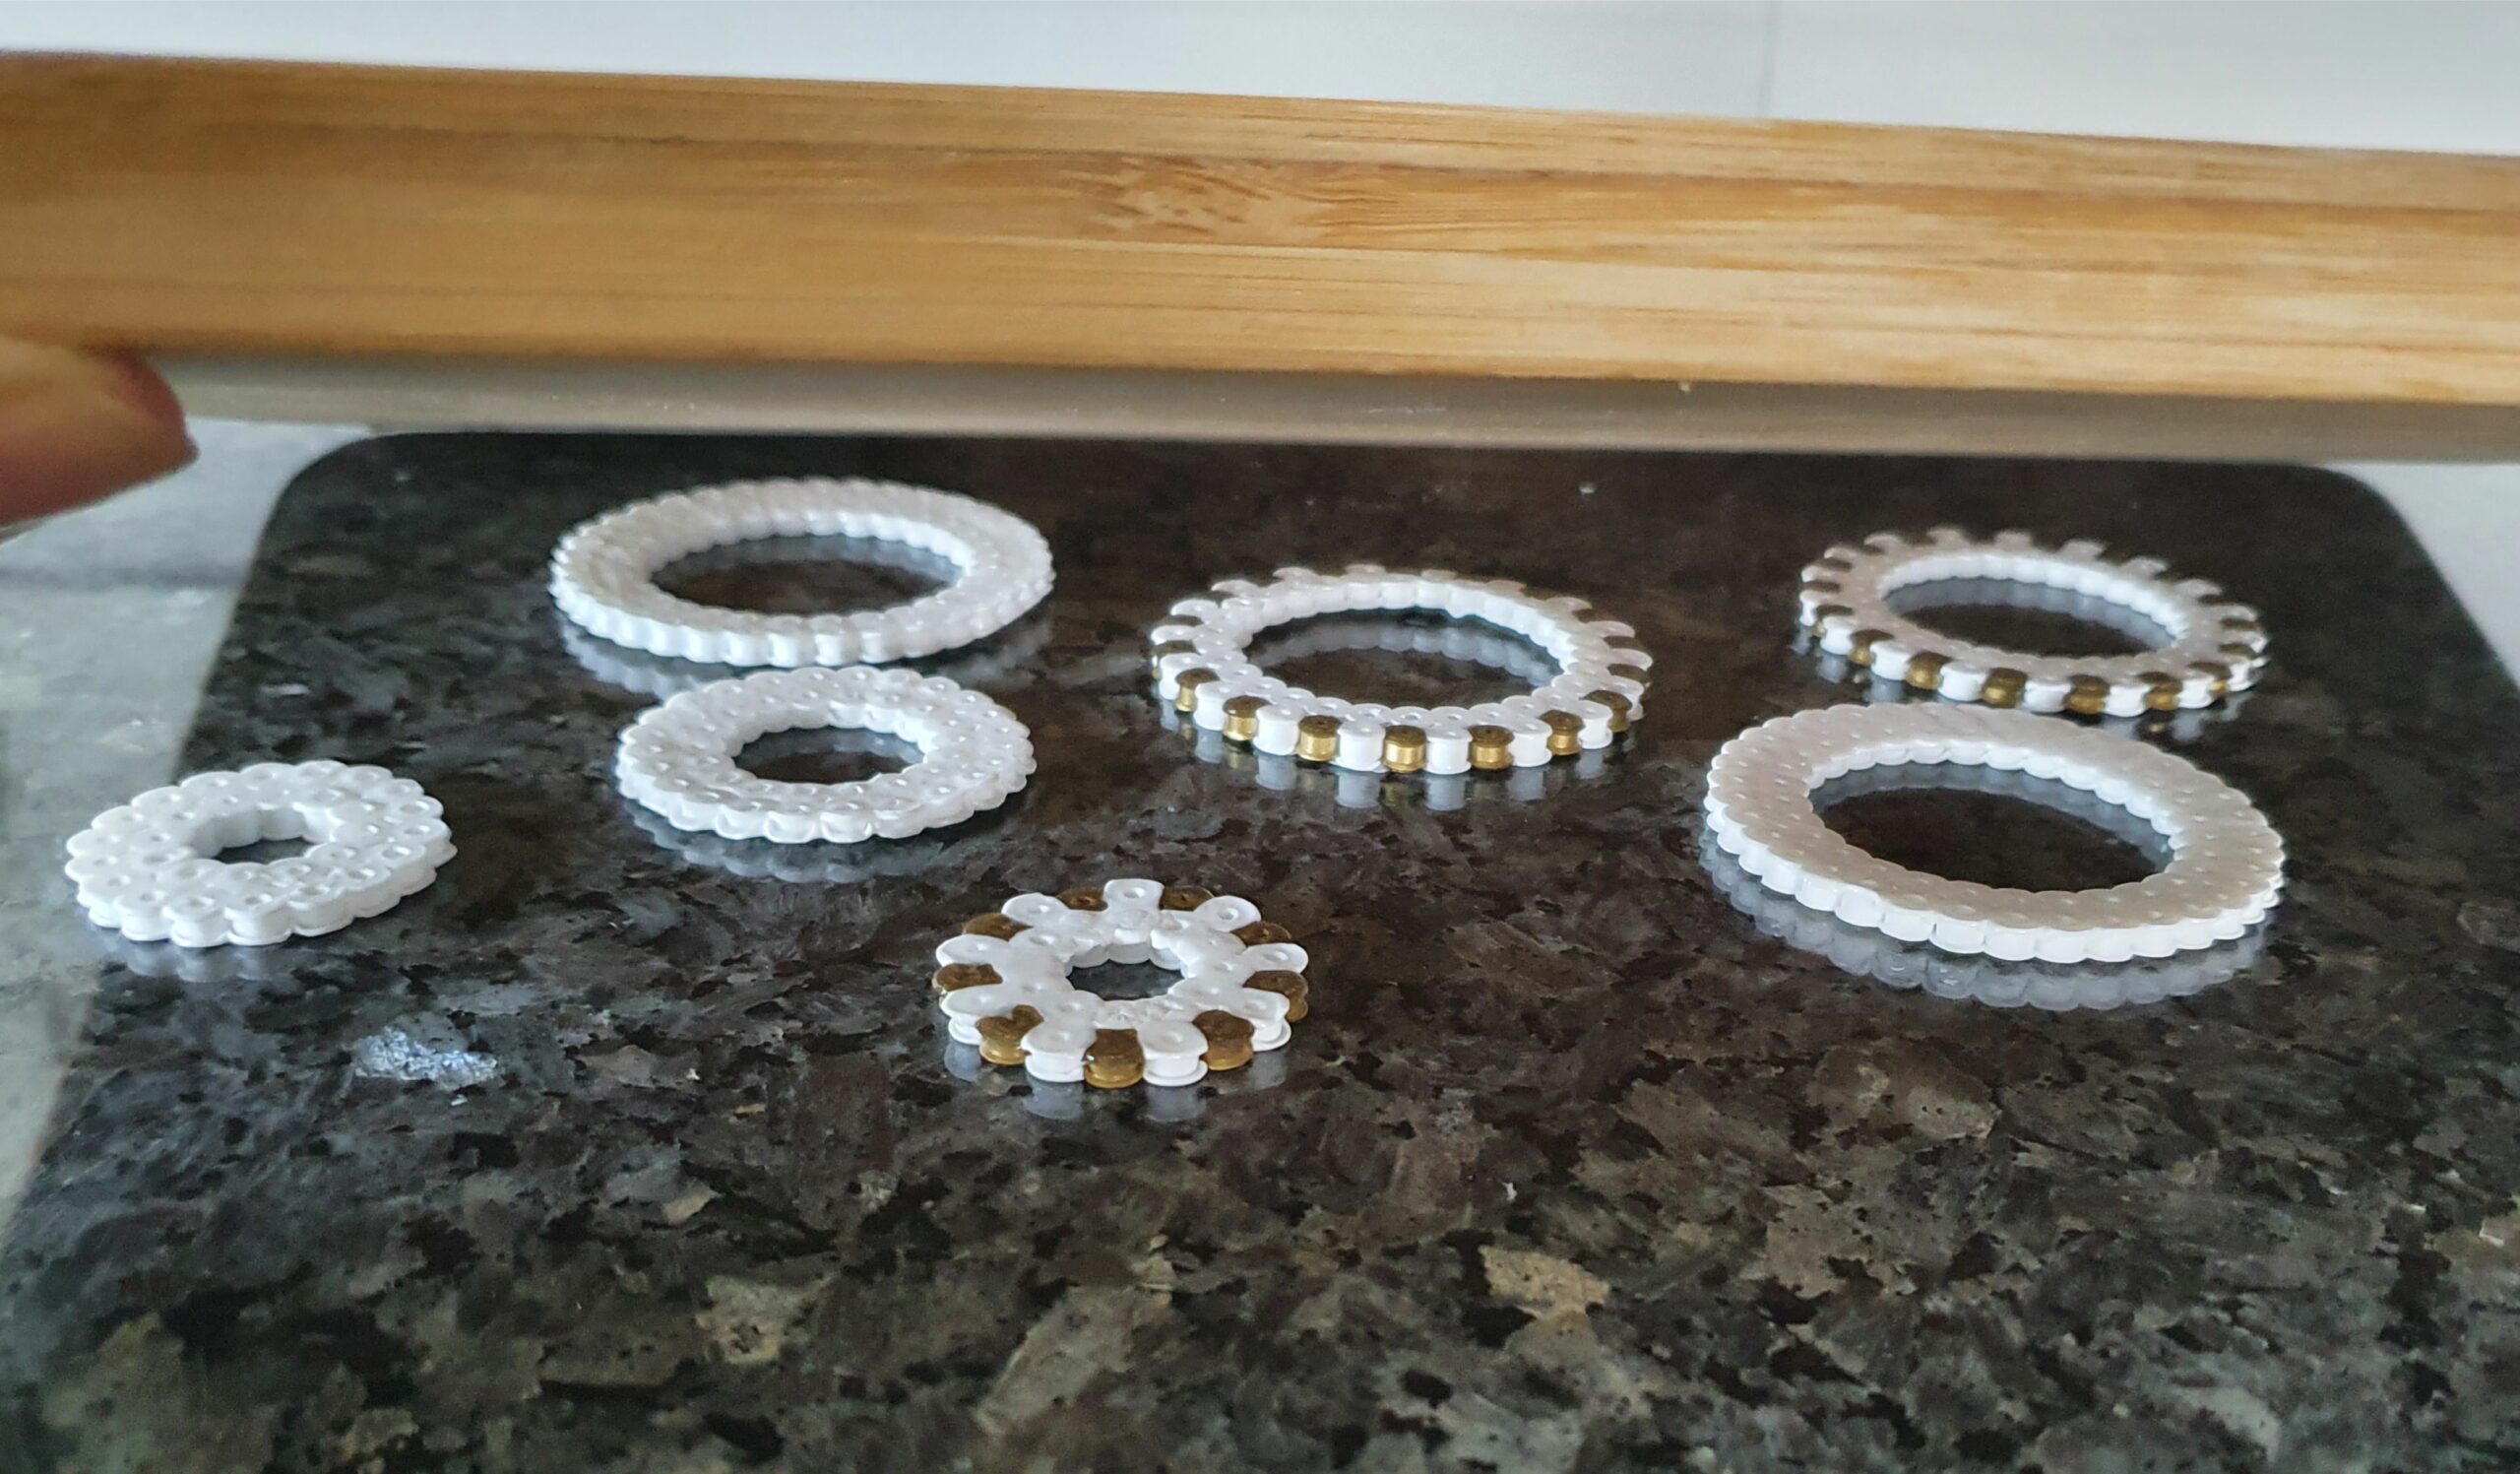

While still hot, keep the ironed rings underneath a heavy wooden cutting board or a book to make sure they are all fully flat
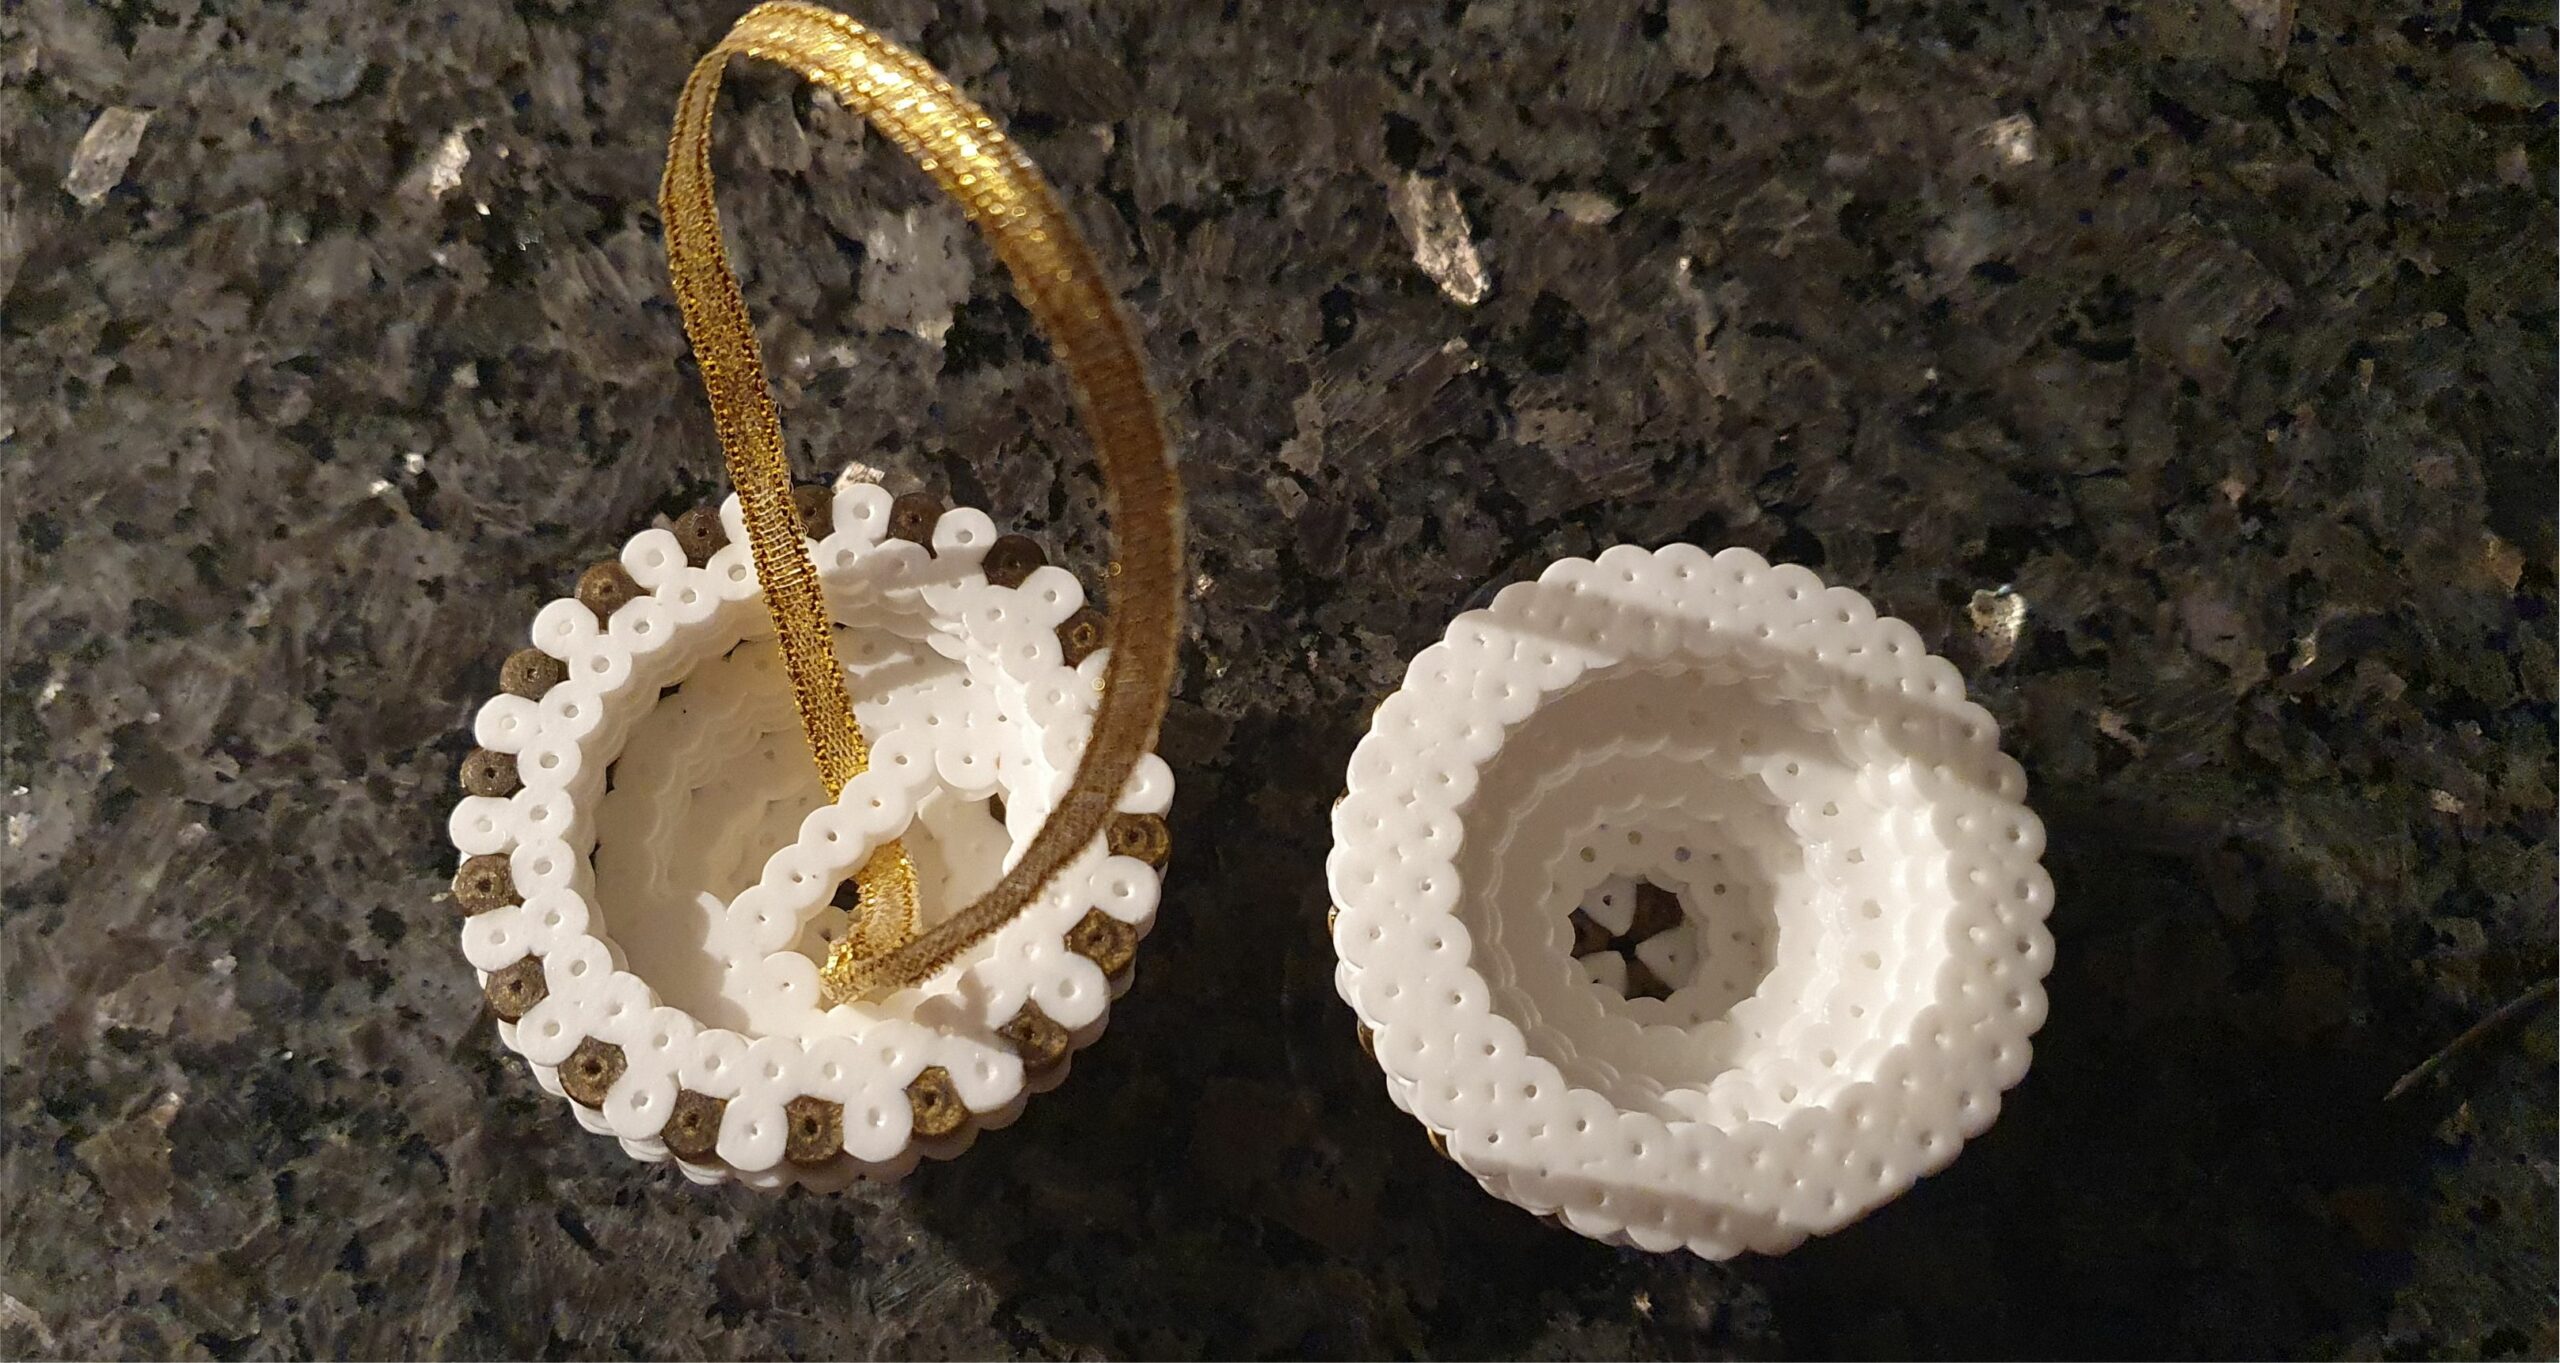

Assemble the rings in the order shown above with fevicol/white glue. Tie the ribbon around the "bridge" inside.
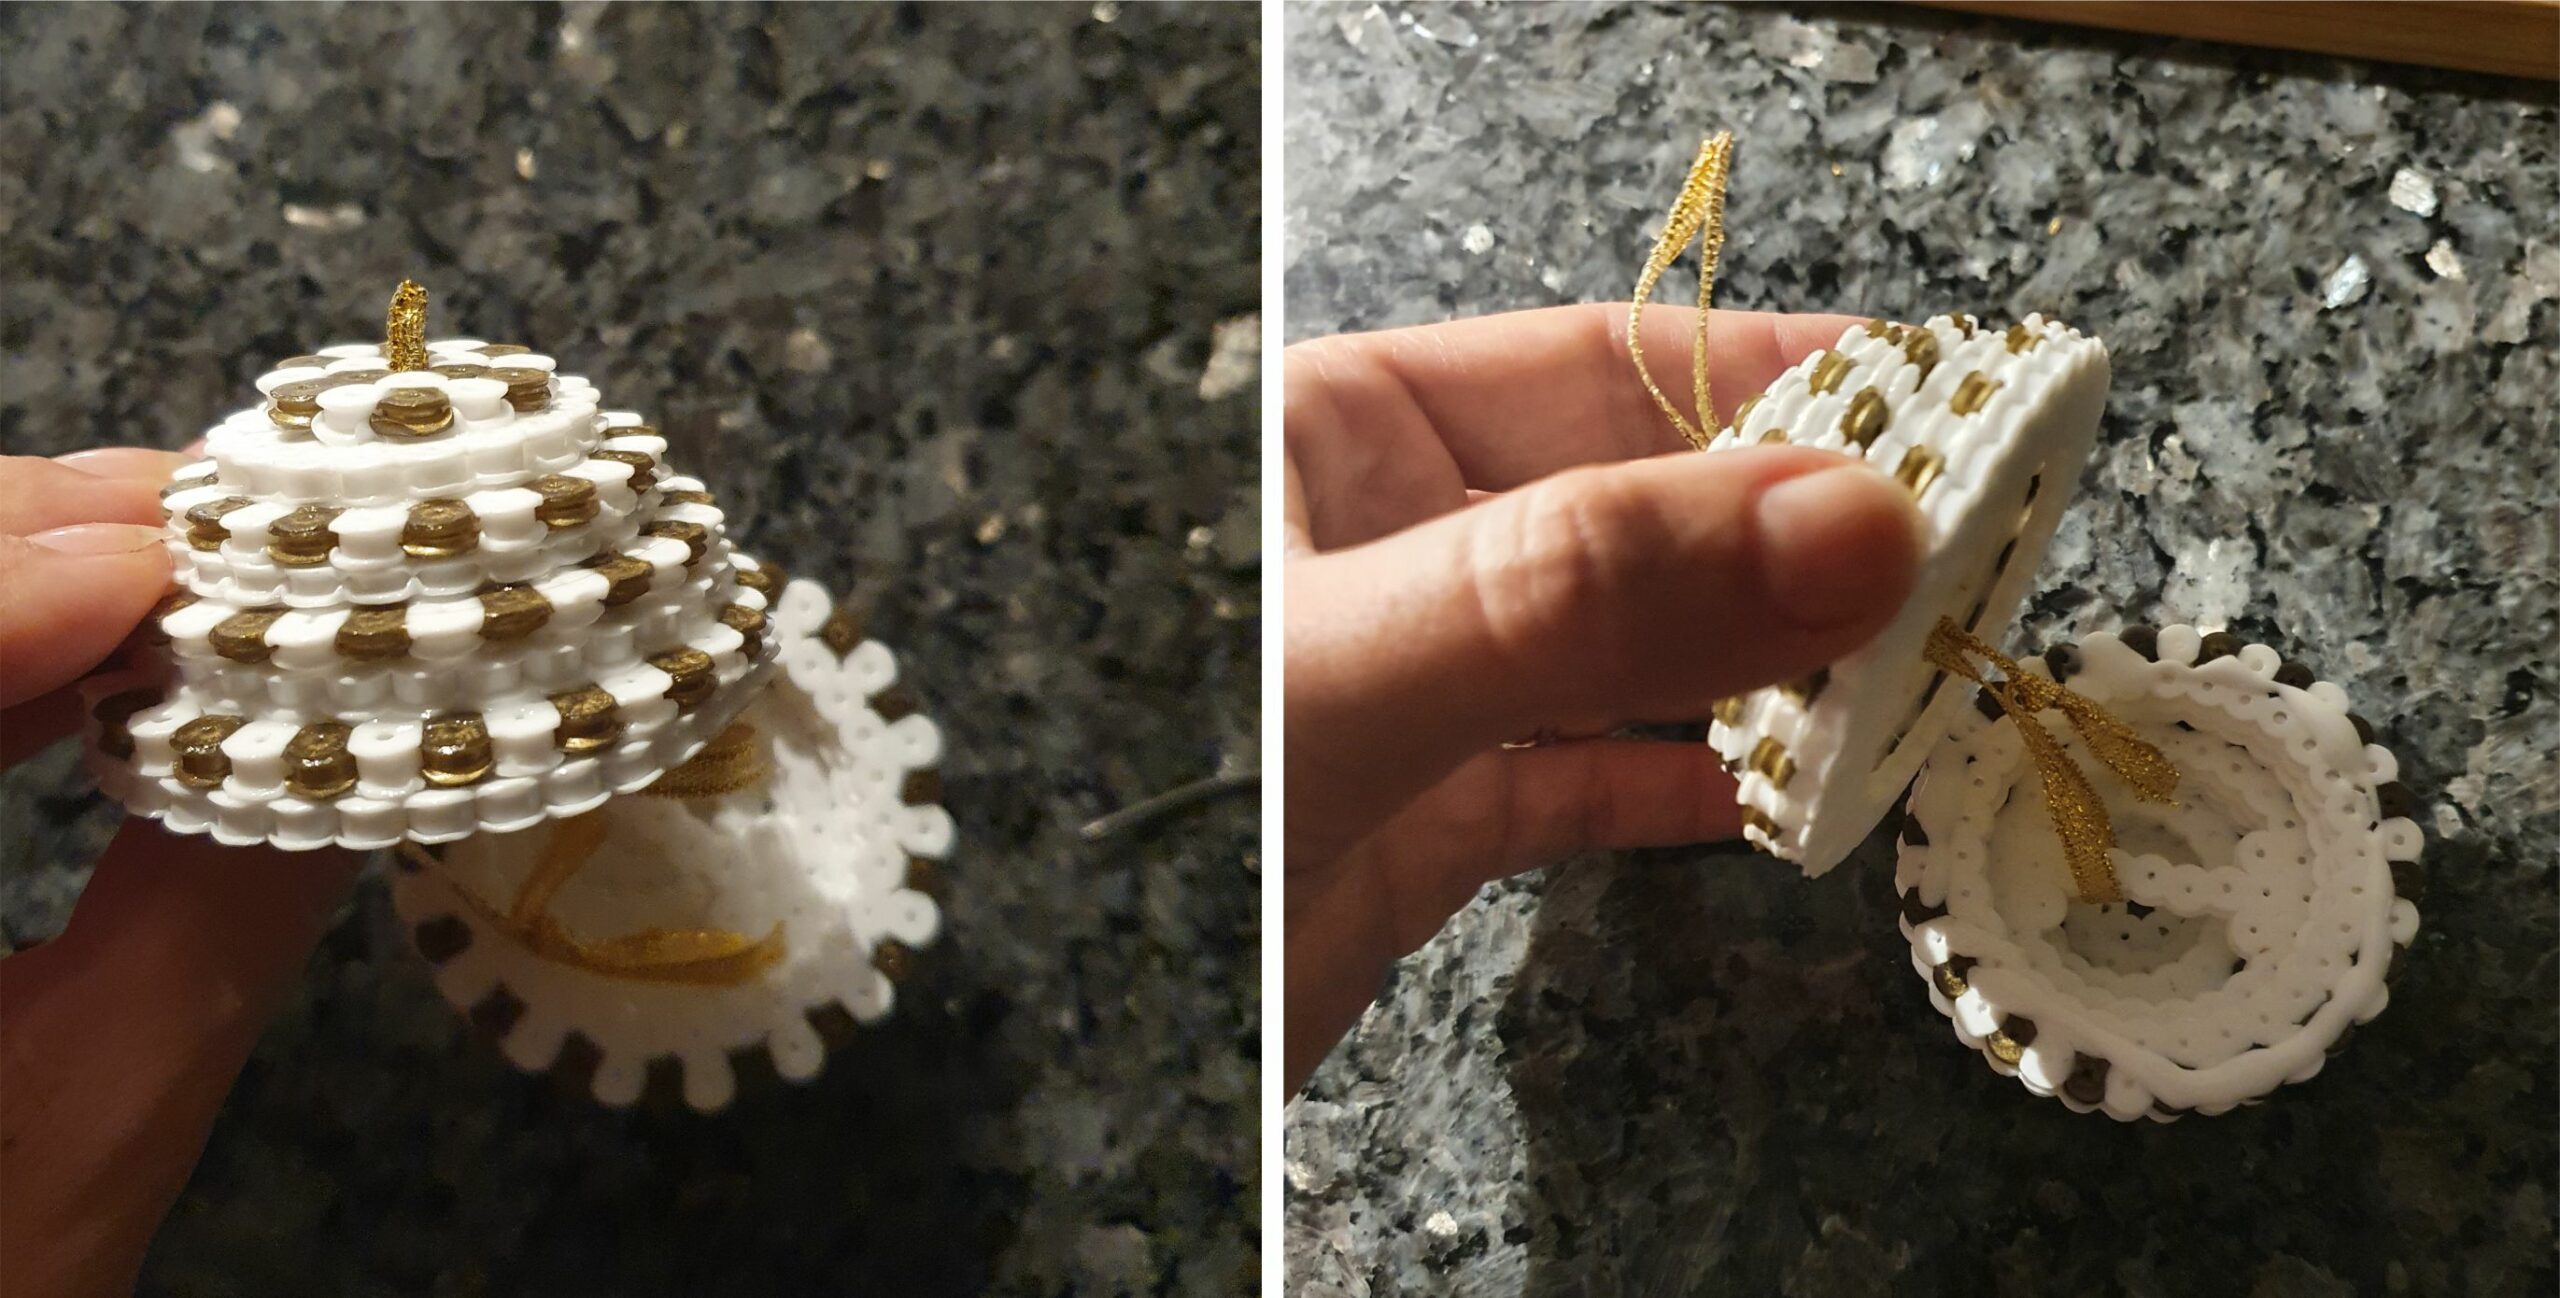

Pull the string through the top hole. Add glue around the edge and close the bauble. Let it dry.
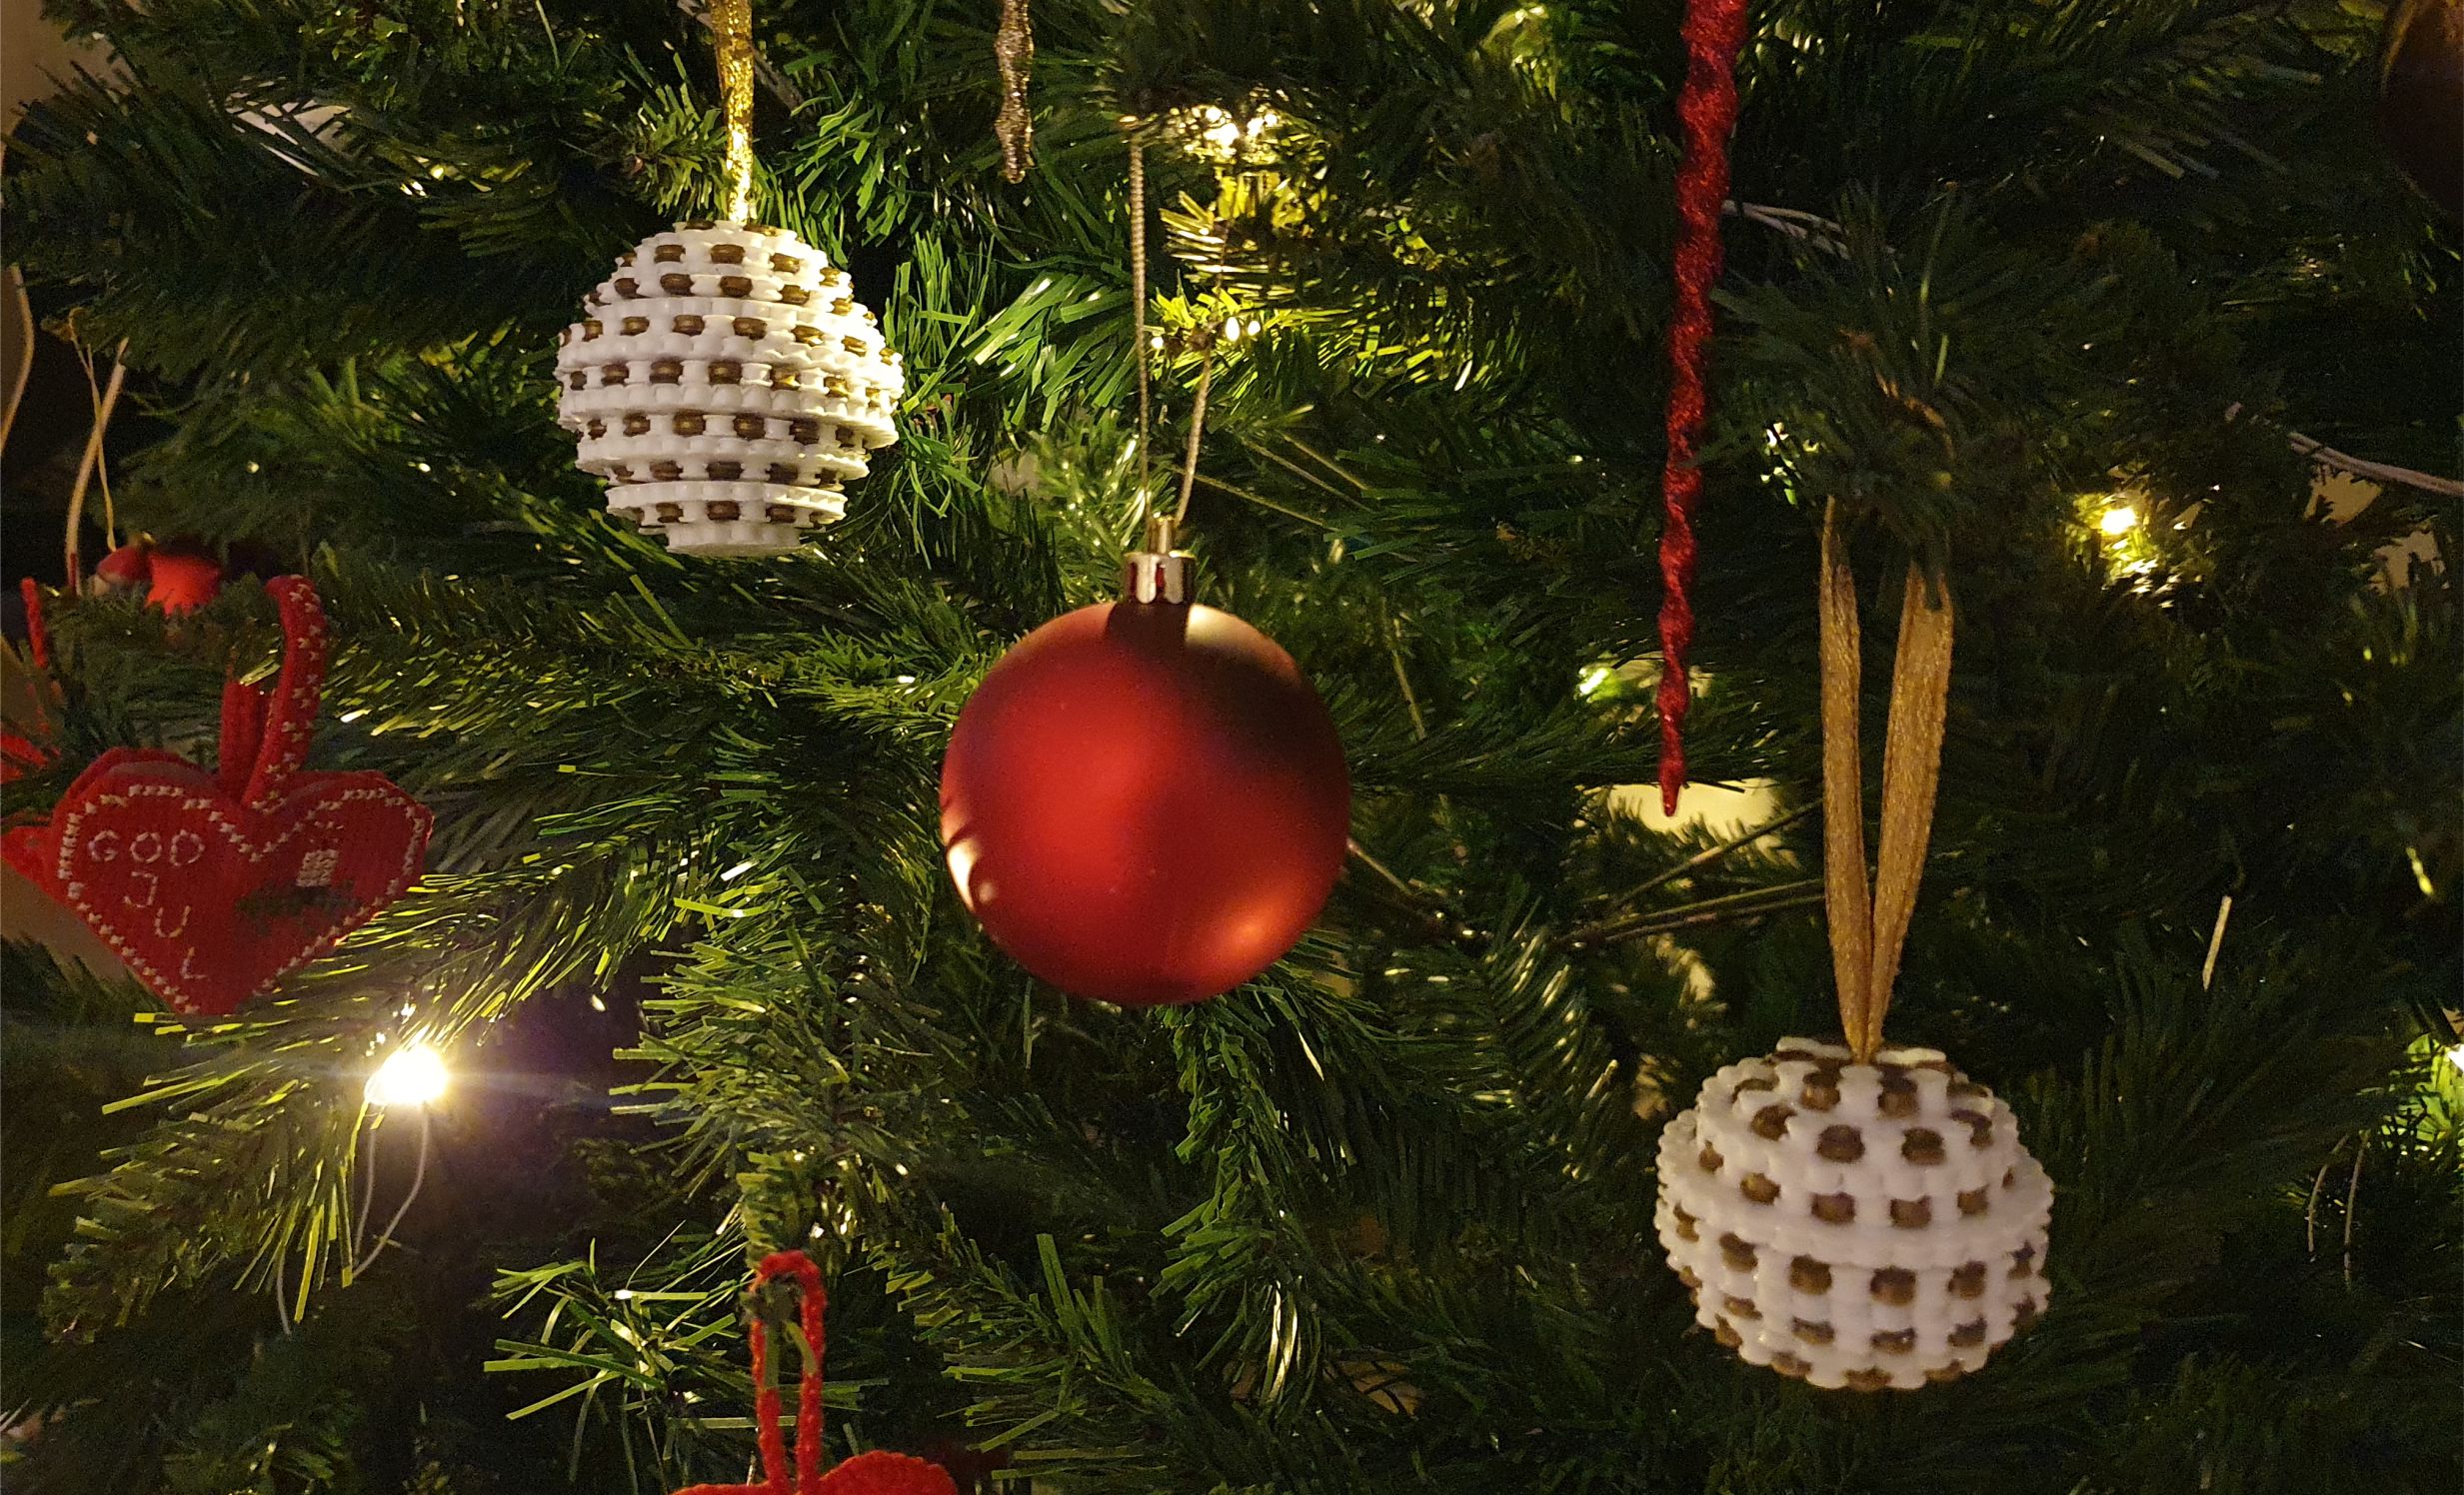

You can hang the Christmas baubles directly on the tree
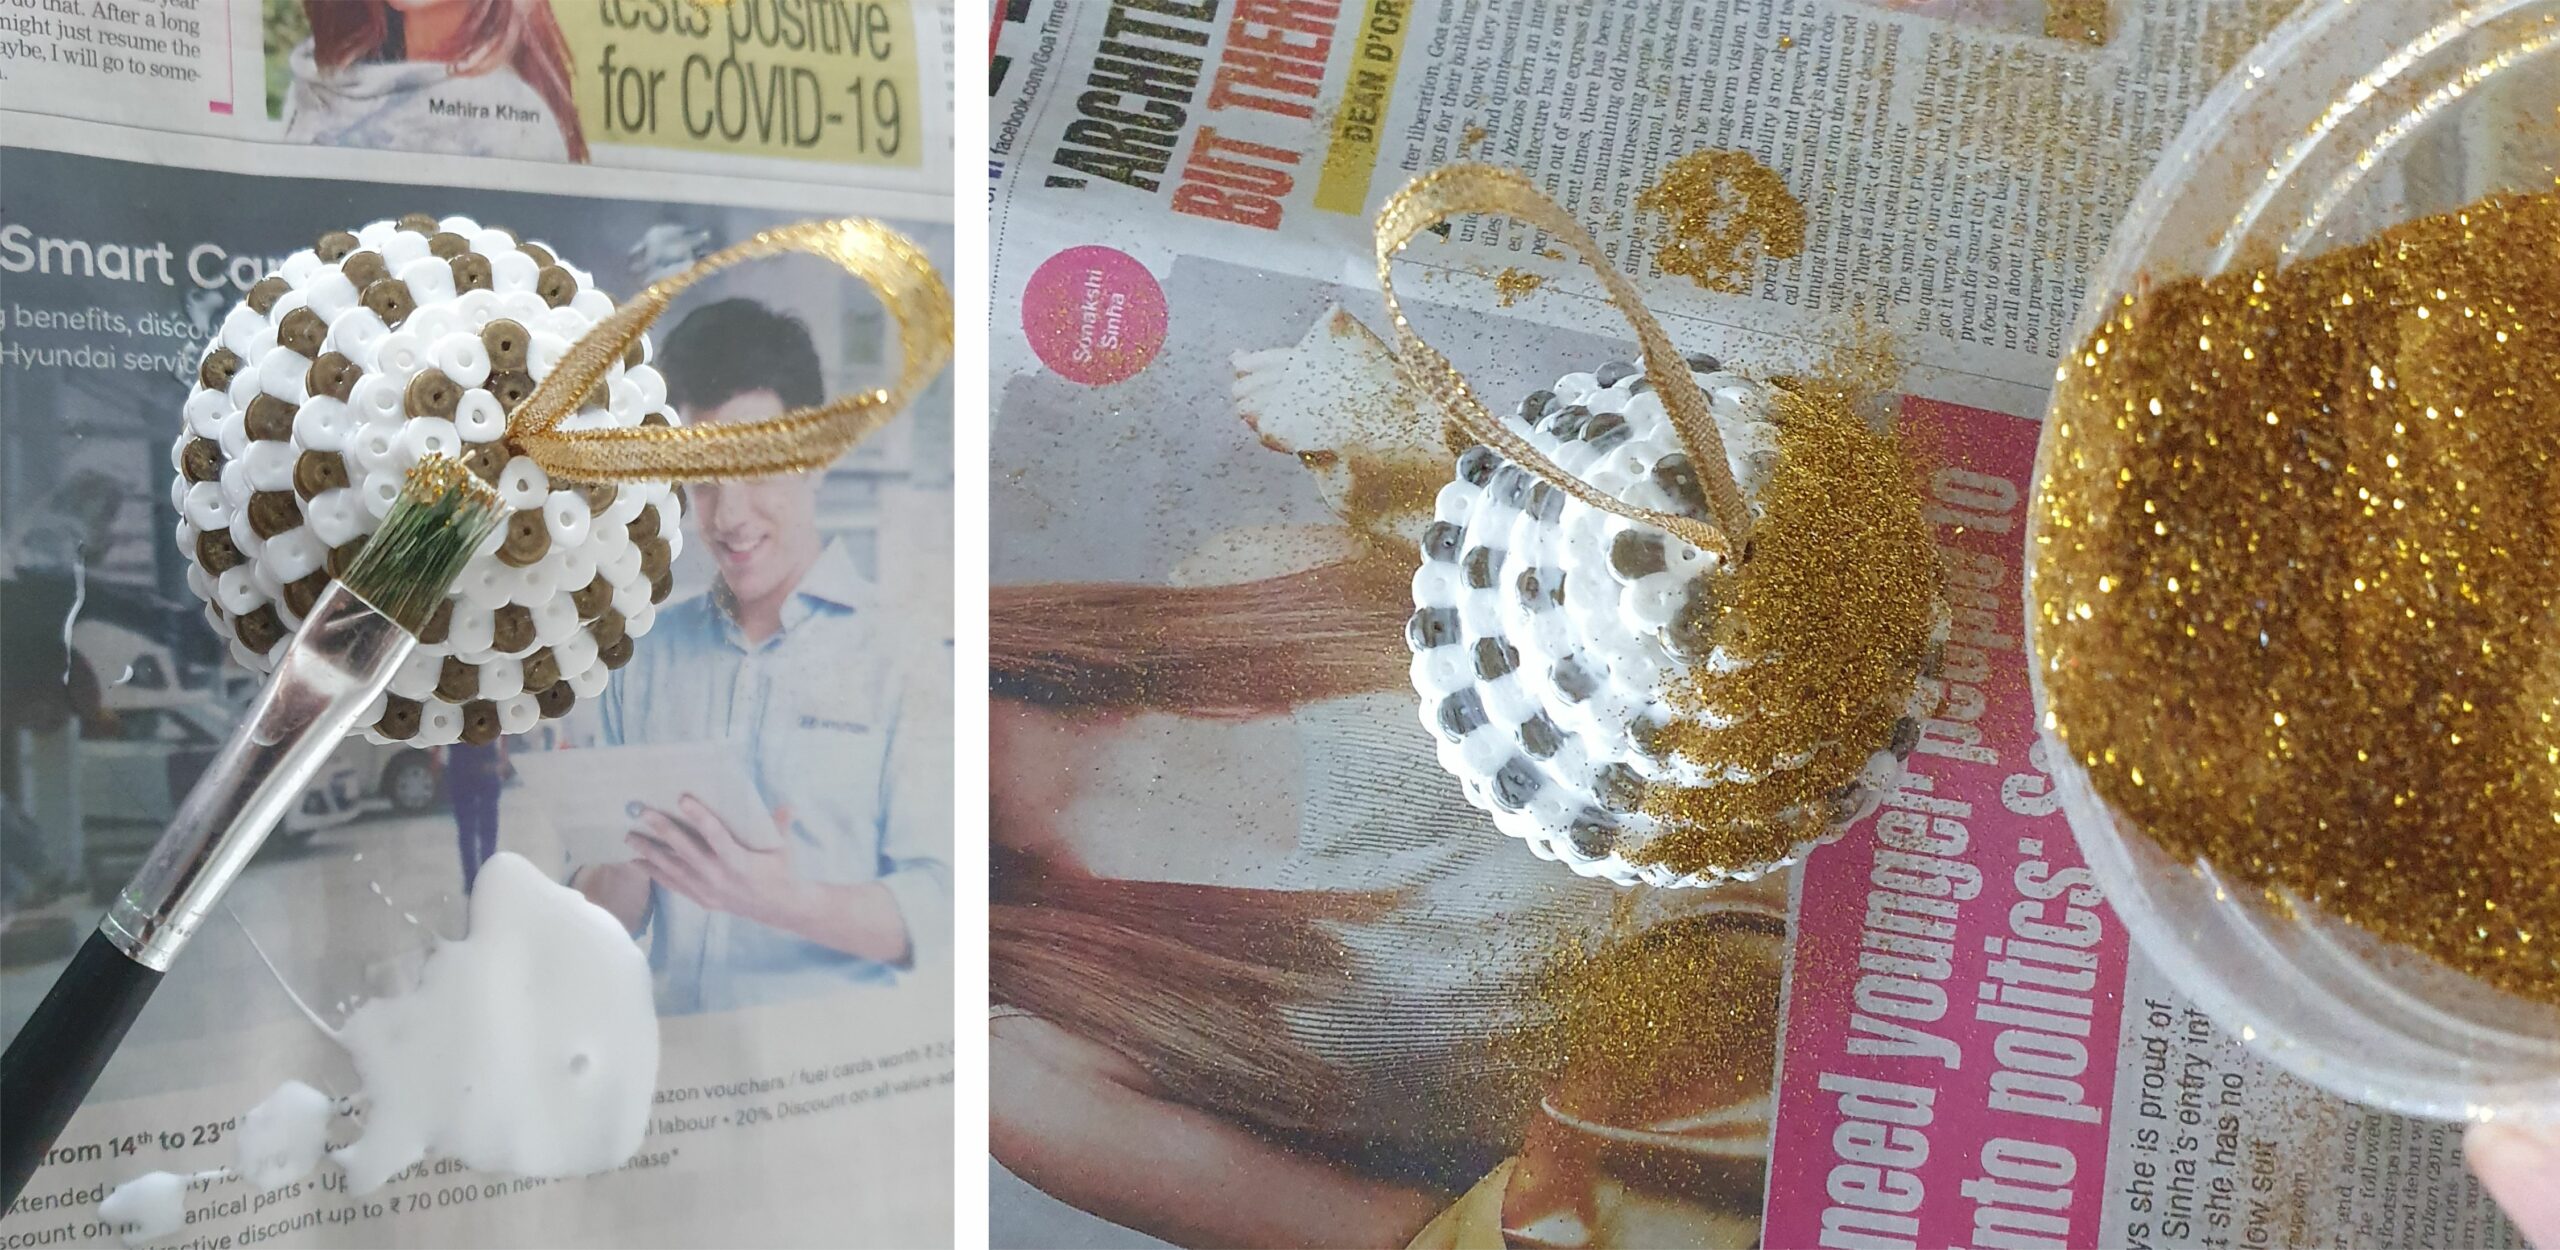

Or you can choose to cover them in glue and sparkly glitter.
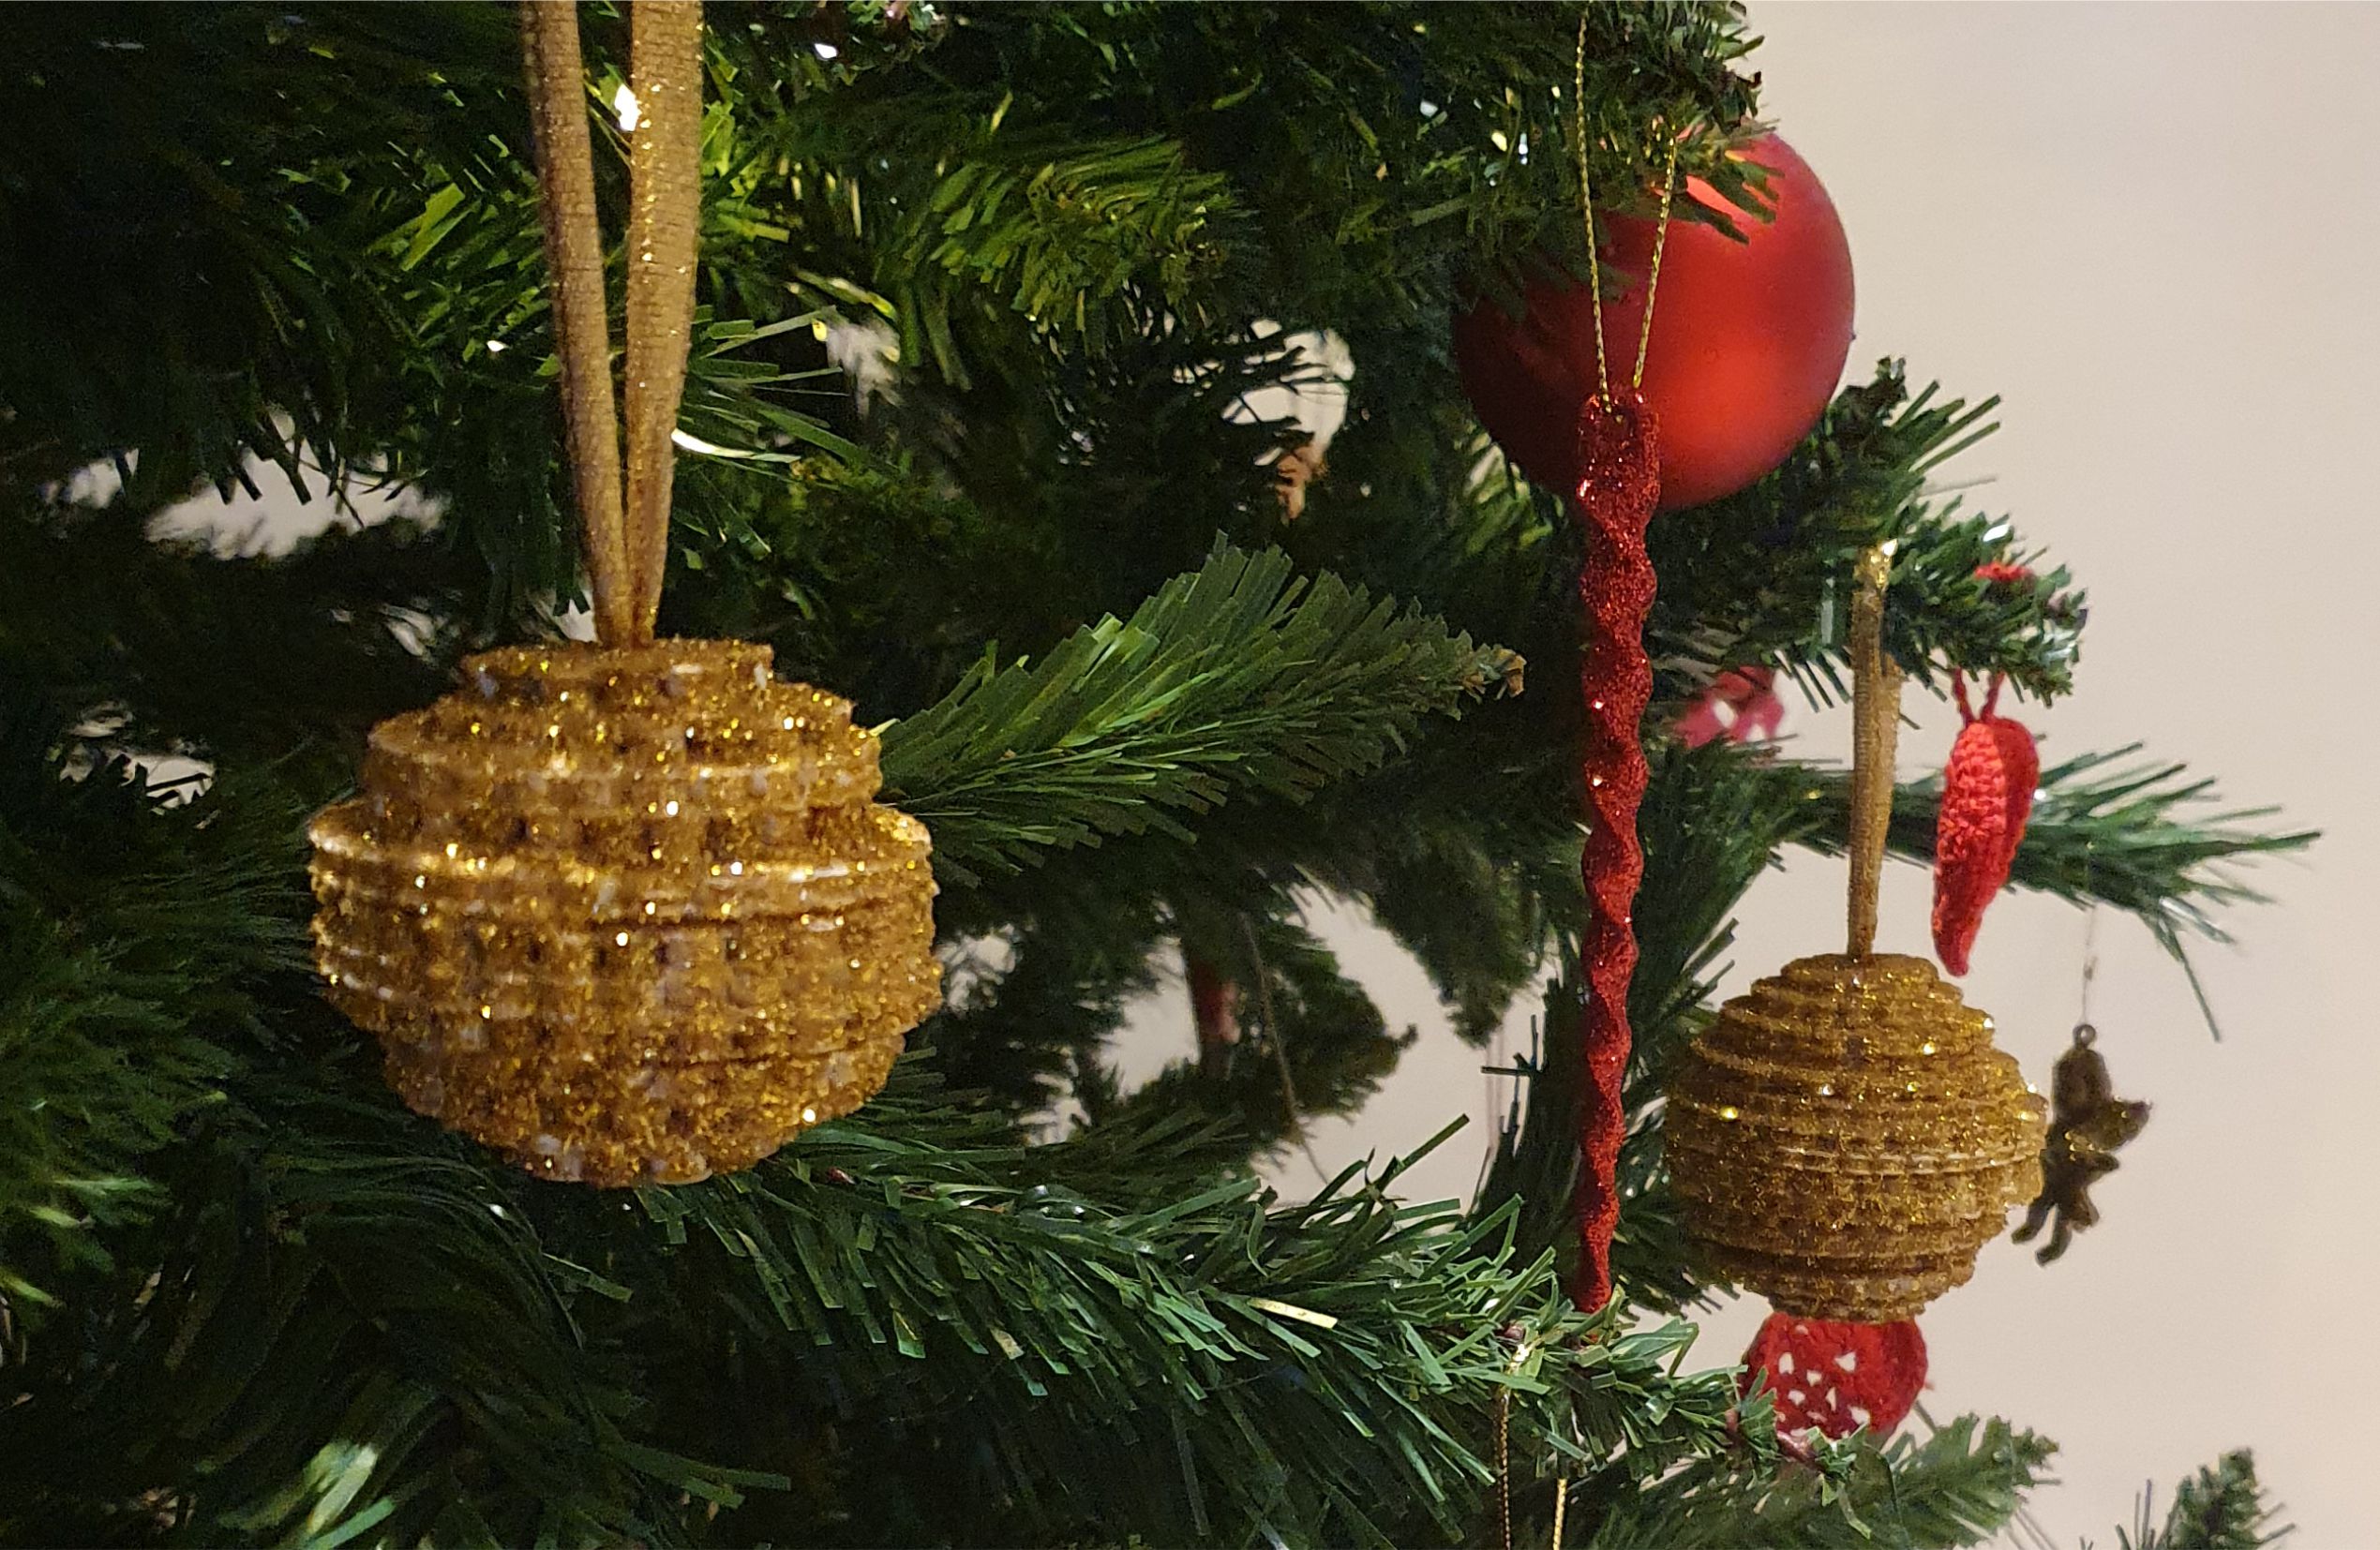

Hang them on your tree and you have beautiful handmade Christmas baubles that will last year after year. Merry Christmas!


Leave a Review
You must be logged in to post a comment.