
- Prep Time30 min - 1 hour
- Total Time1 hour
Learn how to use shrinking plastic -it’s a fun craft activity for EVERYONE! Smaller kids, teenagers and adults can have fun with this.
How to use Shrinking Plastic
When we have friends visiting and the number of kids in the house increase to 5 -or more! (This is a regular occurrence when I have 3 myself!) And we want to do something crafty, it has to be simple, fun and not too messy. So strictly no glue, wet paint or glitter crafts allowed! Shrinking plastic is the perfect craft for such occasions –it is fun and the kids can do it by themselves without too much guidance.
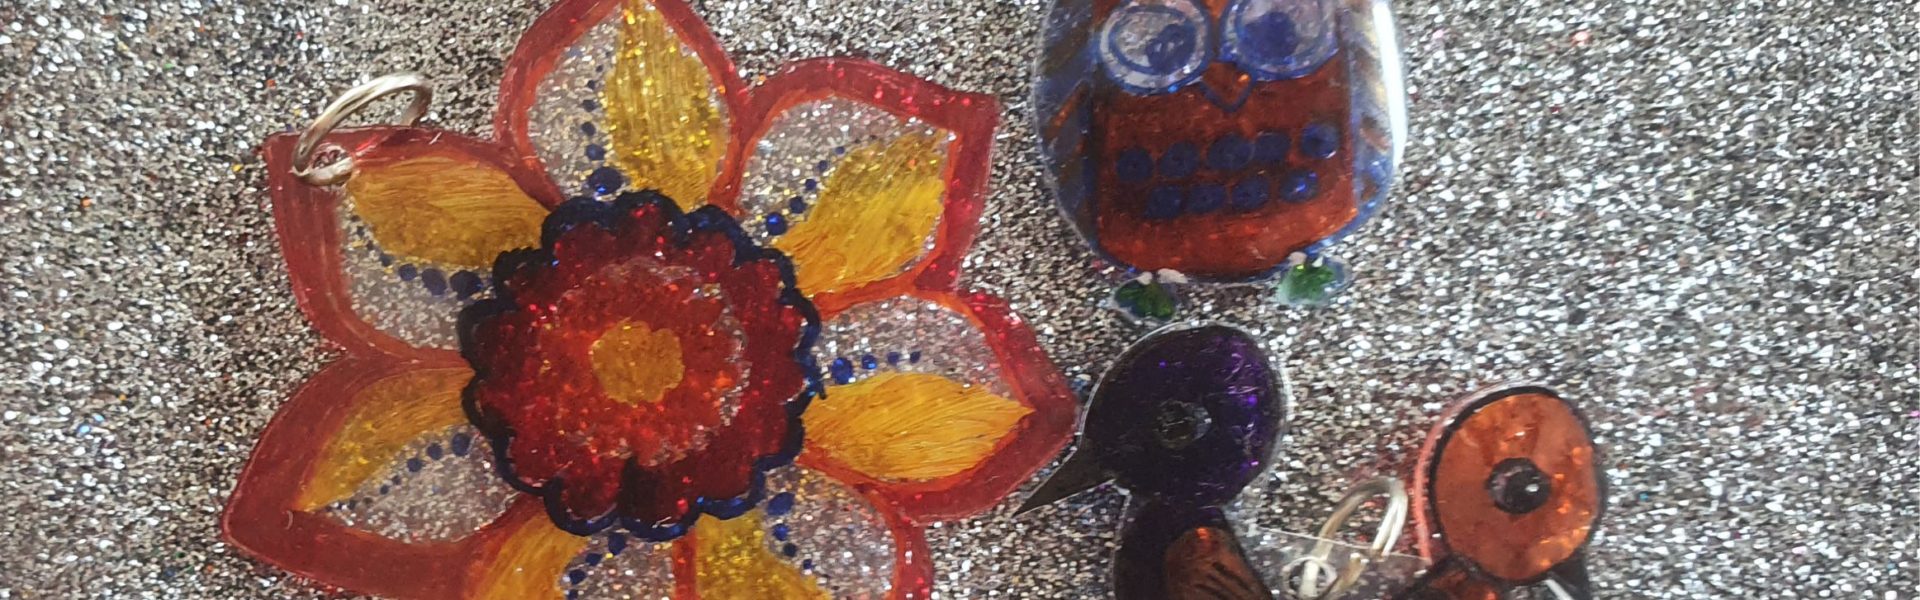
The shrinking plastic sheets shrink about to about 1/3 of its original size, so I recommend thinking about what you want to make before starting. You can make key rings, charm bracelets, ear rings, a pendant for a necklace, a wind chime, magnets or anything you want really. The thin plastic sheet shrinks to a smaller, harder and thicker piece of “real” plastic.
Can you use any plastic sheets for this?
I have seen people on Facebook using old plastic take away boxes and plastic fruit packaging for this purpose, but I have never succeeding in shrinking any of those. And I have tried a lot of different thicknesses and types. Do let me know if any of you find something that works.
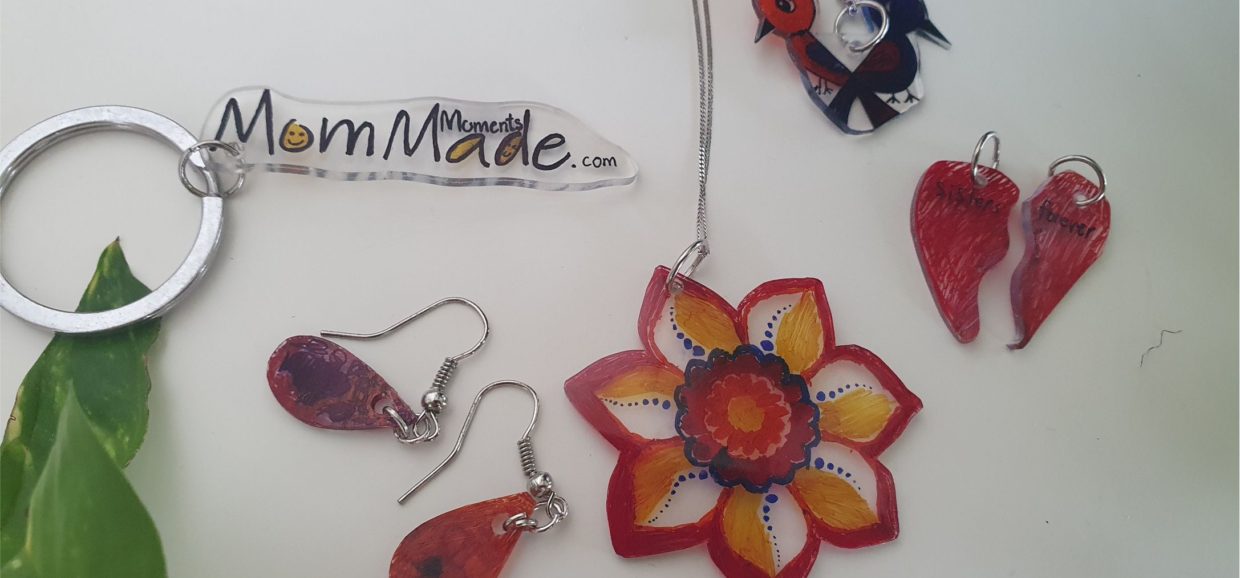
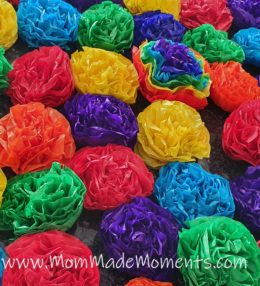
I usually buy Shrinky Dinks. It works every time without fault. You can also get other brands on amazon.in but I have never tried them. The packet of shrinking plastic sheets is quite costly at first glance (I have recently seen a packet of 10 for Rs 1000). But a packet of 10 sheets should be enough for many many craft sessions. We have had ours for more than 2 years and we have made a lot of jewelry (like these rainbow earrings and pendant my 5 year old made for her rainbow party) key rings, charms and presents. And we still have about 5 sheets left.
What pens to use?
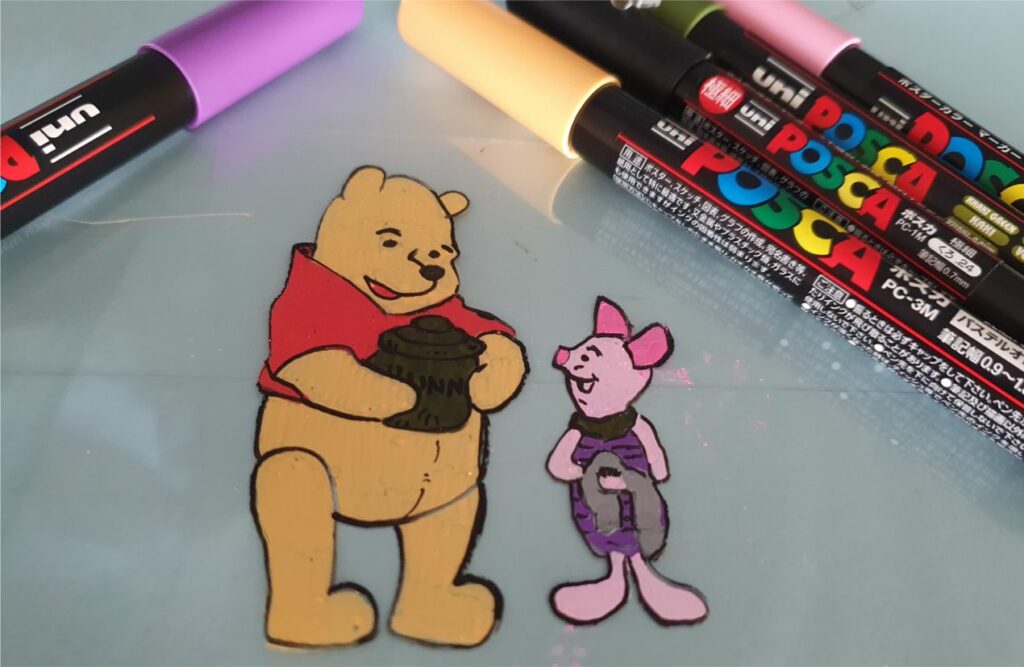
You have to use marker pens for this activity, preferably thin tipped like these ones from Sharpie. I also love these ones from posca. They have a ability to write on top of each other (even the white on black) and the colour is beautiful, mat and consistent. I have made Winnie the Pooh and Piglet with these pens.
How to make shrinking plastic jewelry?
I usually buy my jewelry accessories in the local ItsyBitsy store but they are also available online on www.amazon.in or www.itsybitsy.in
See my best tips here for making shrinking plastic jewelry.
See the detailed step-by-step guide and more tips below the ingredients
Ingredients
Directions
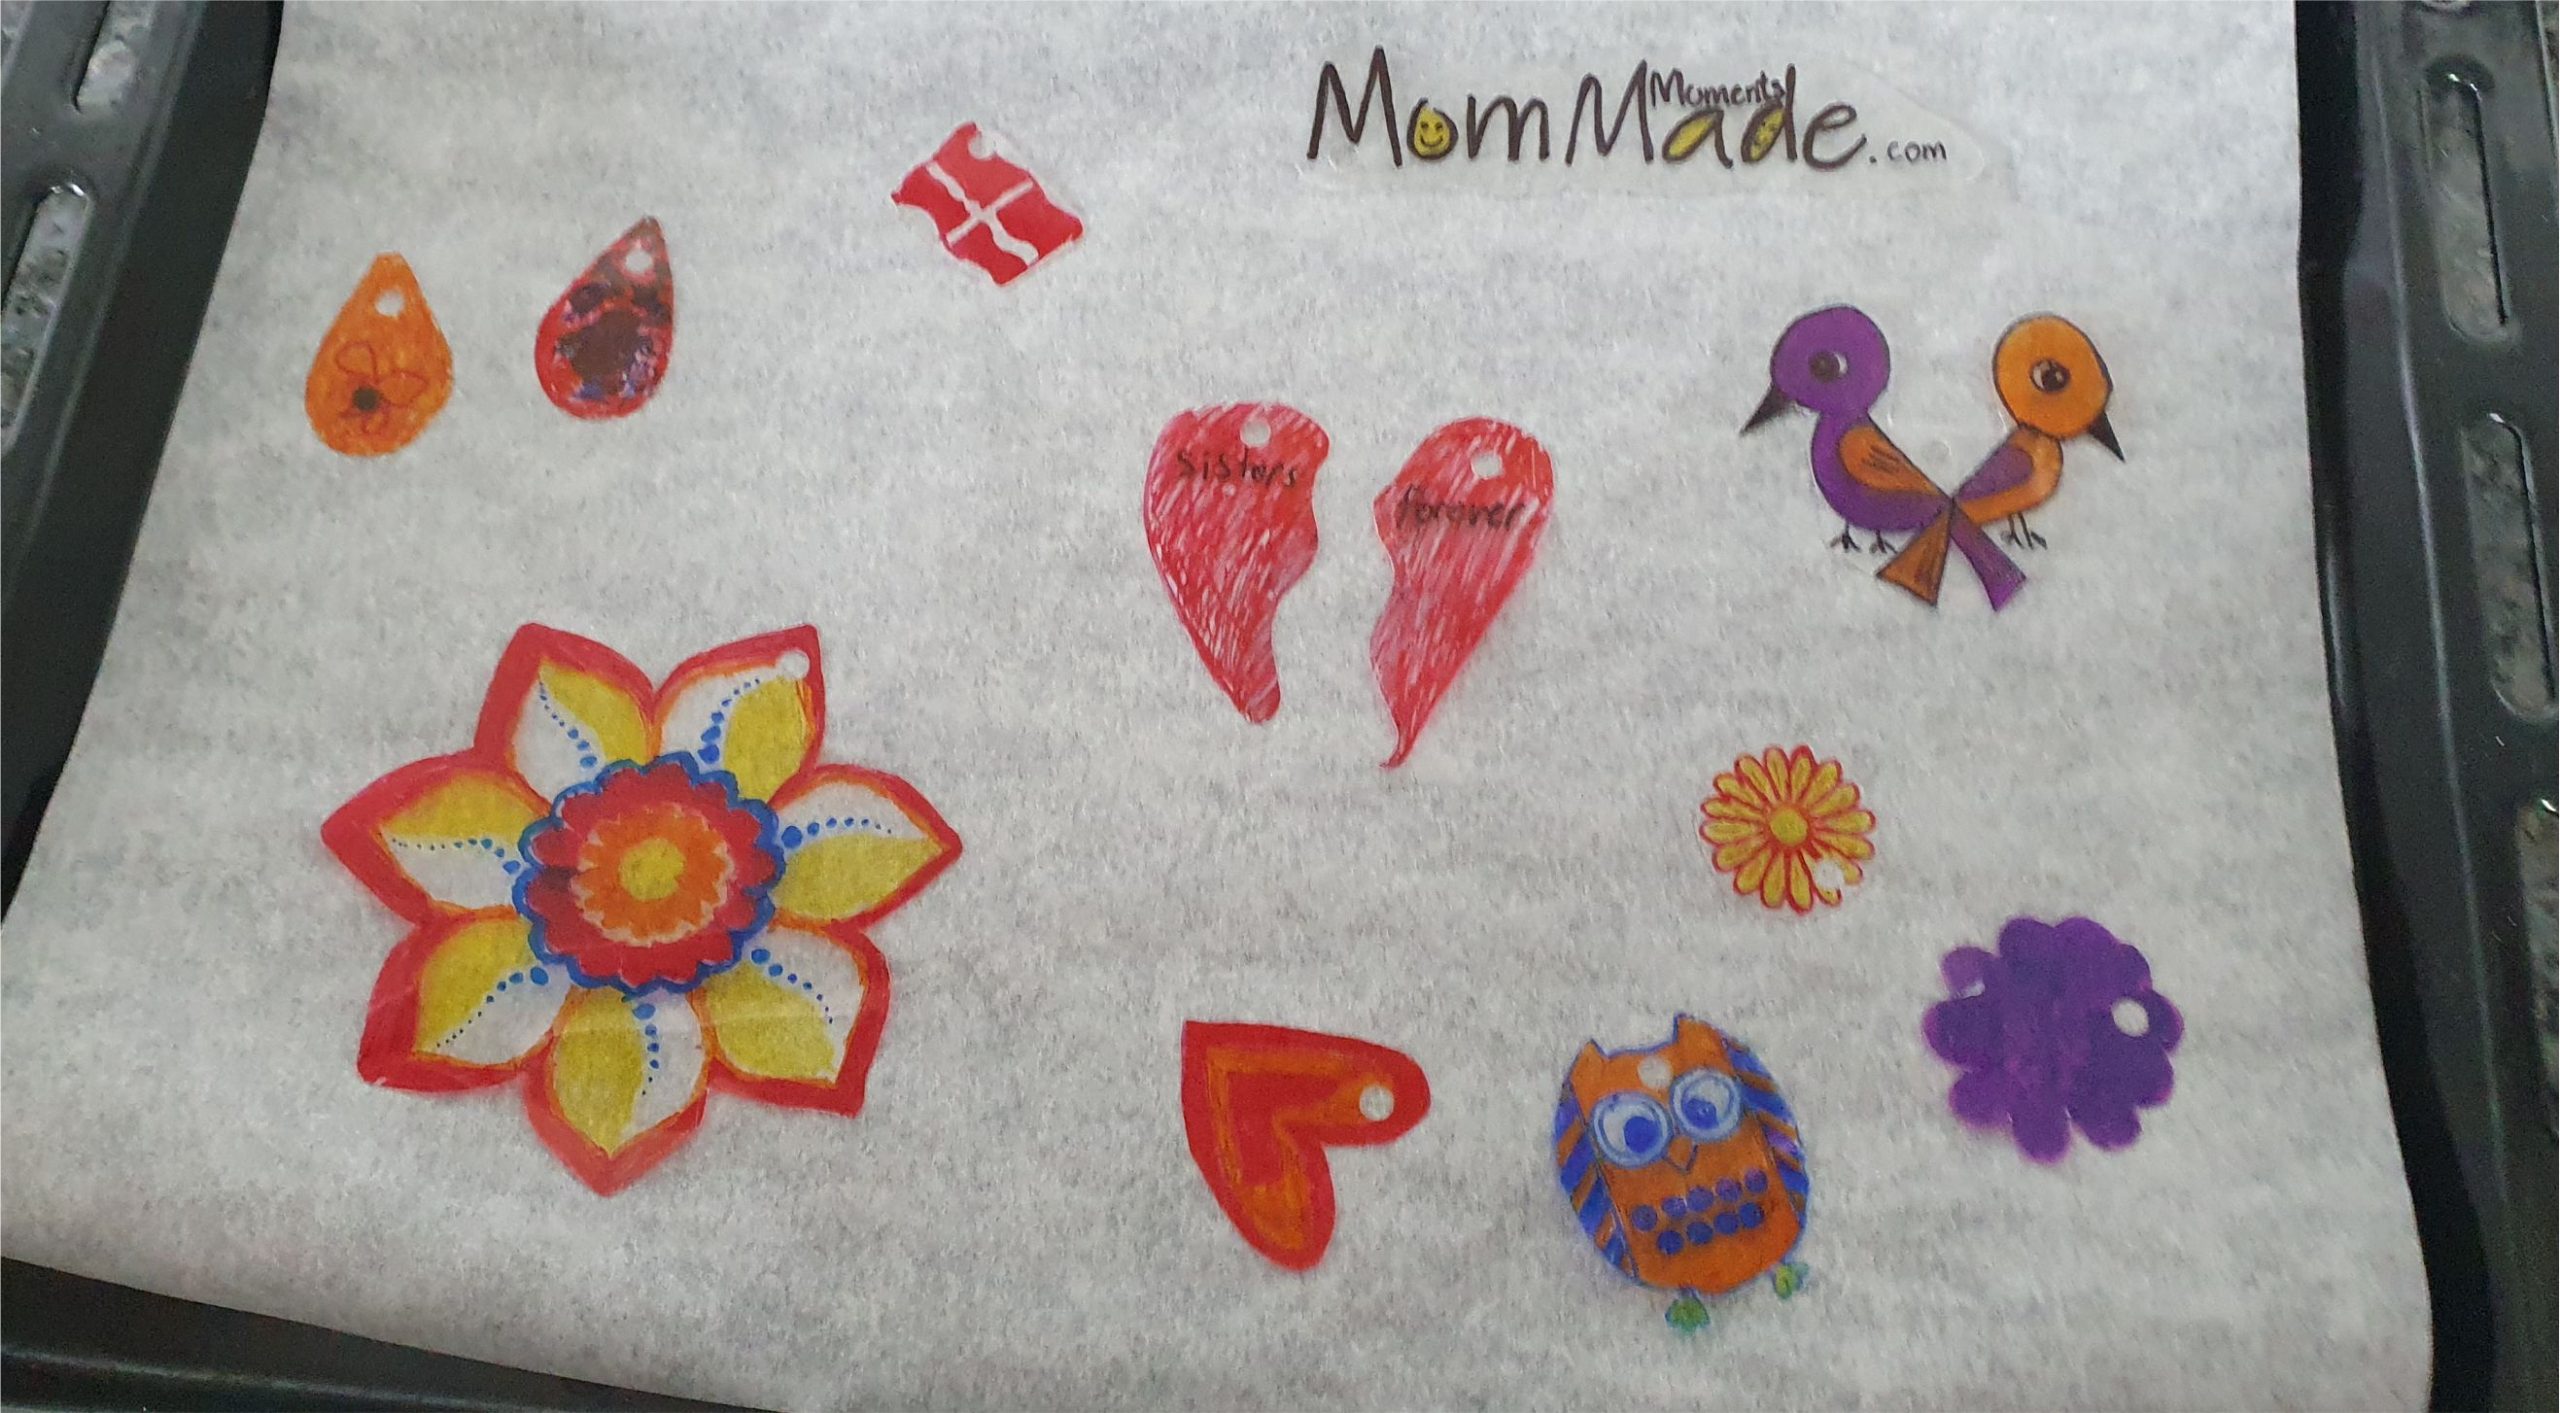
Start by giving each child a piece of shrinking plastic. If you don’t want to waste the paper (and I am sure you don’t) cut one A4 sheet into 4 pieces and give one to each child. If they get a big piece each, they will most likely draw in the middle of it and a lot will go to waste while cutting later.
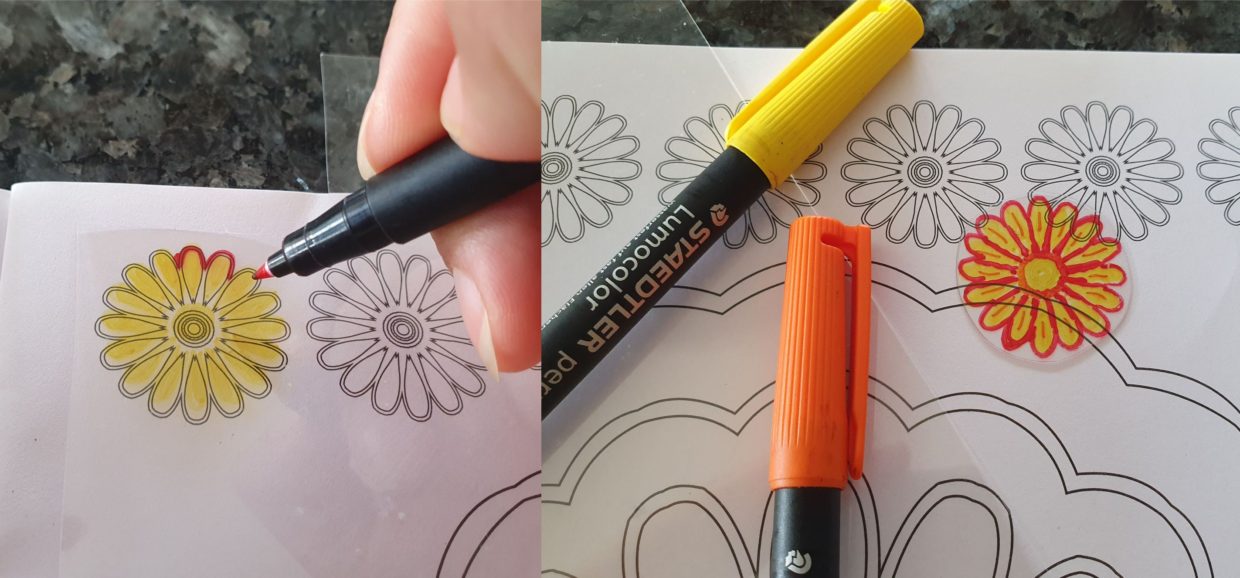
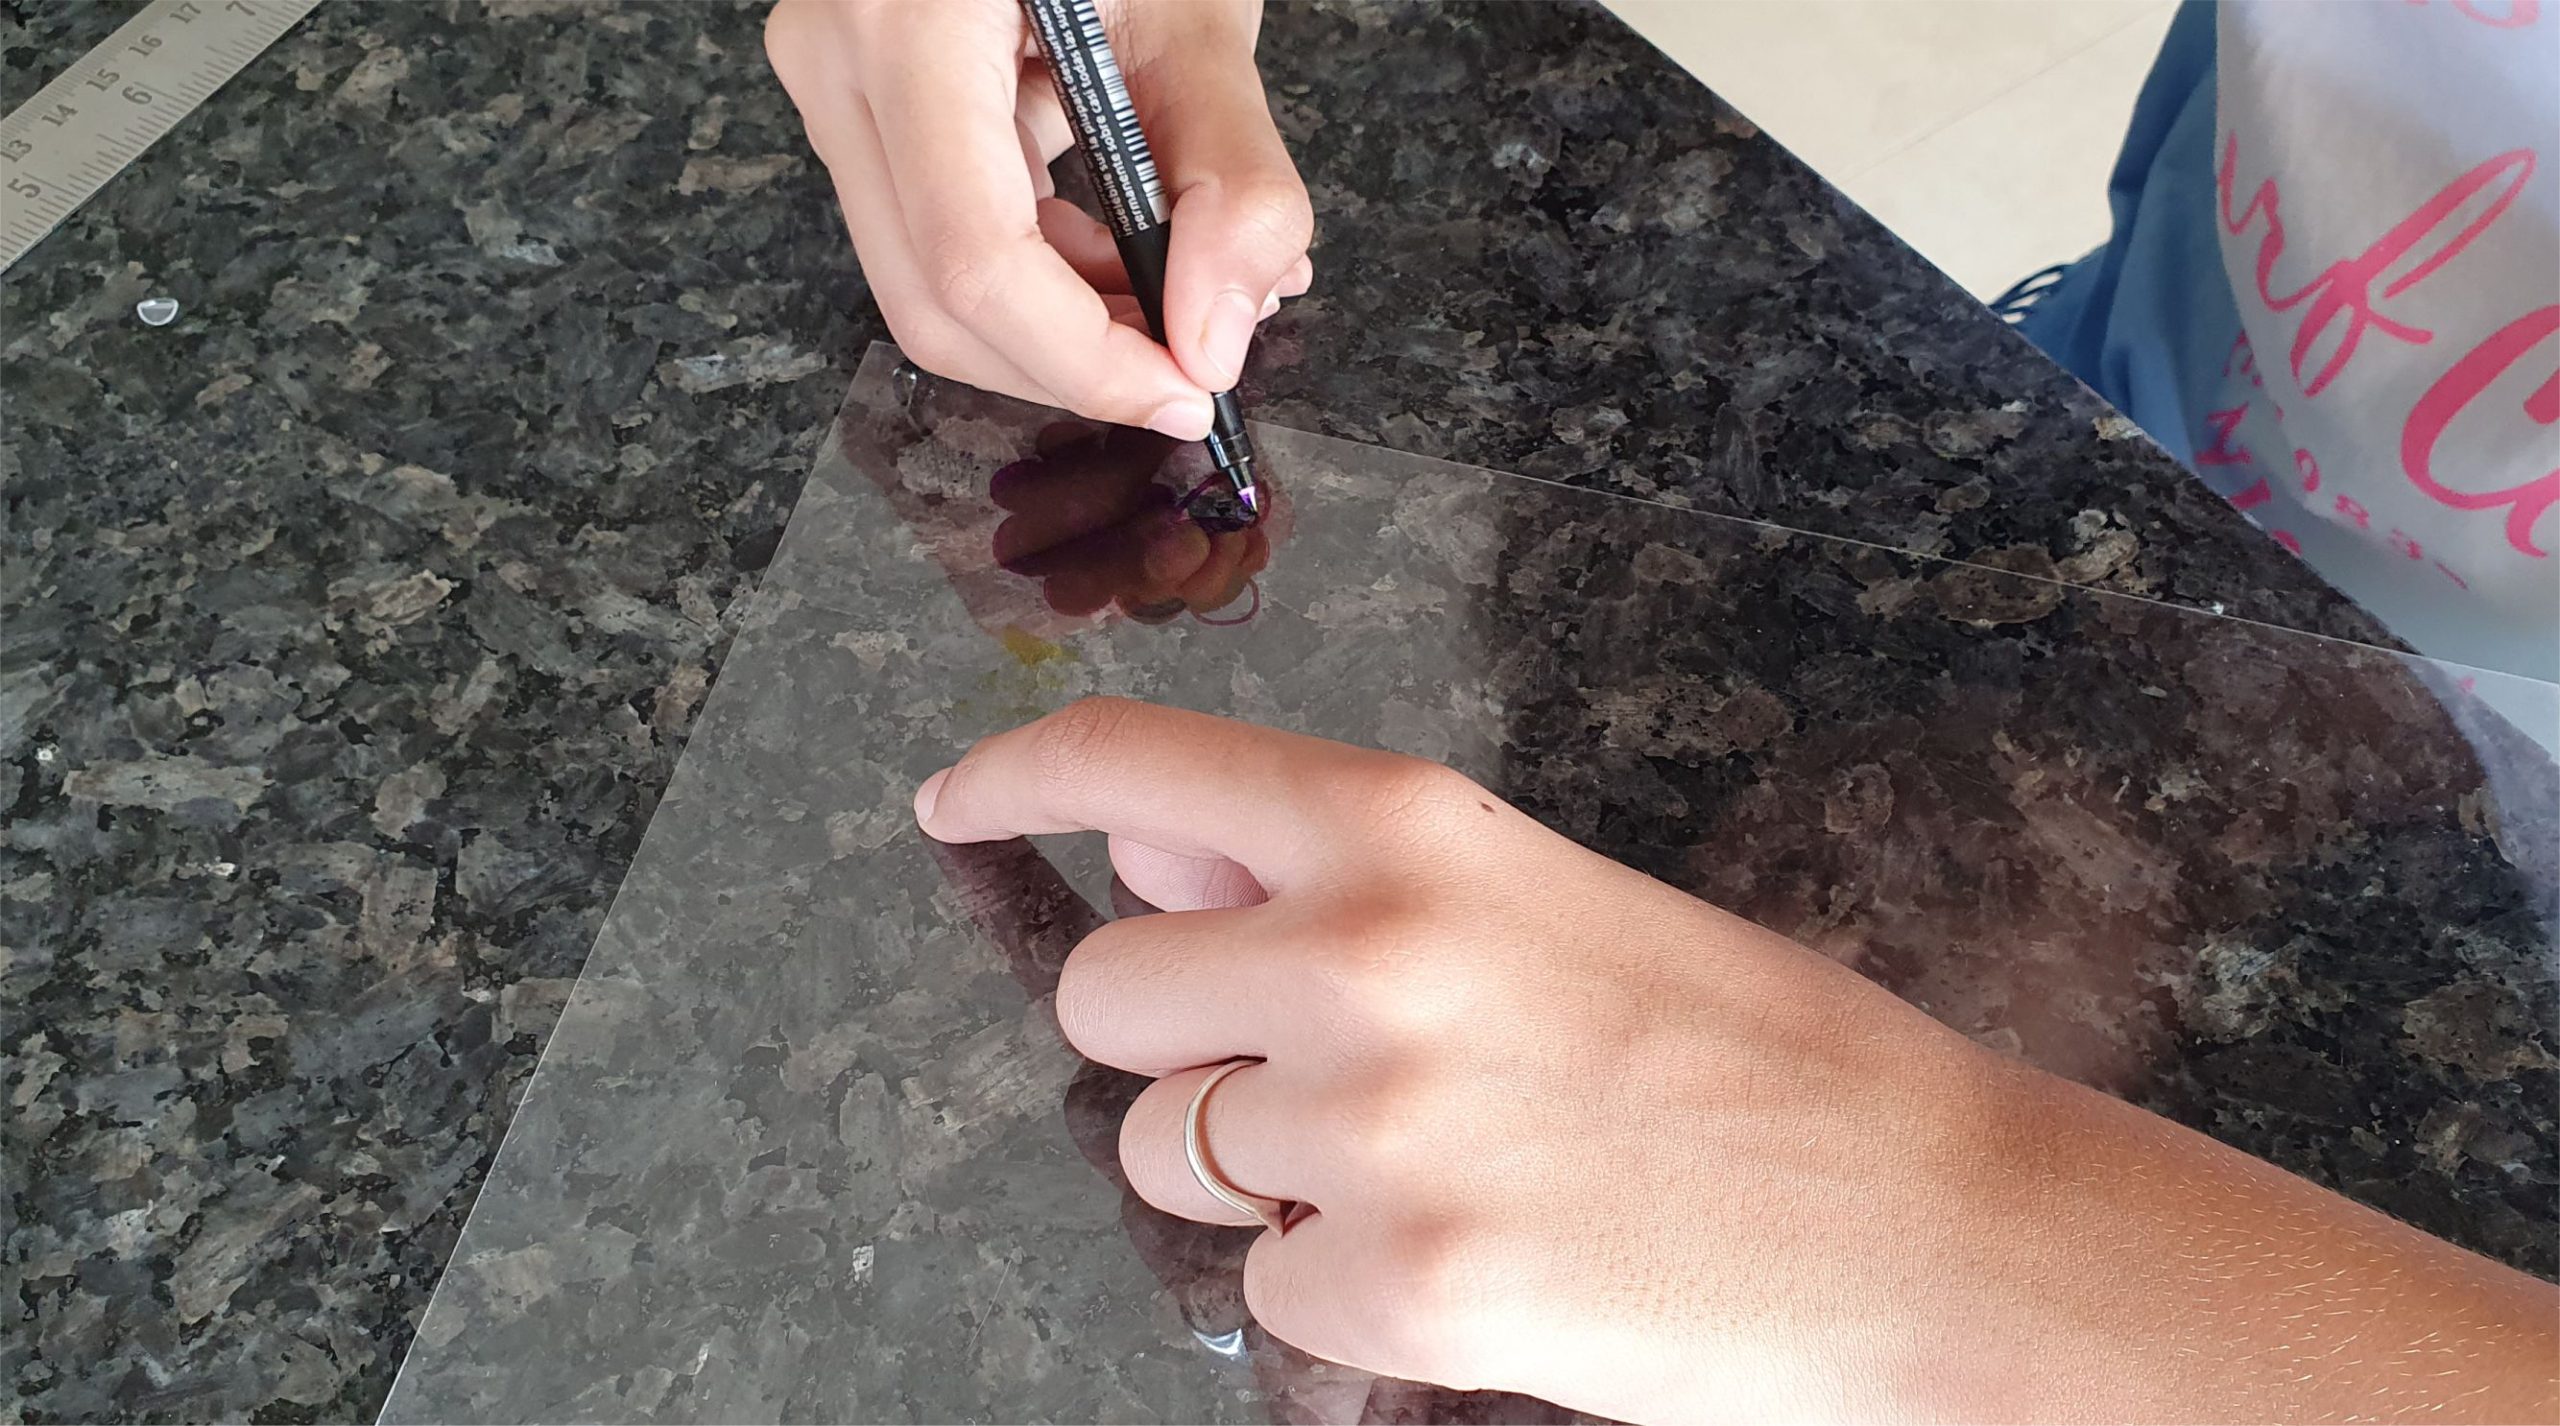
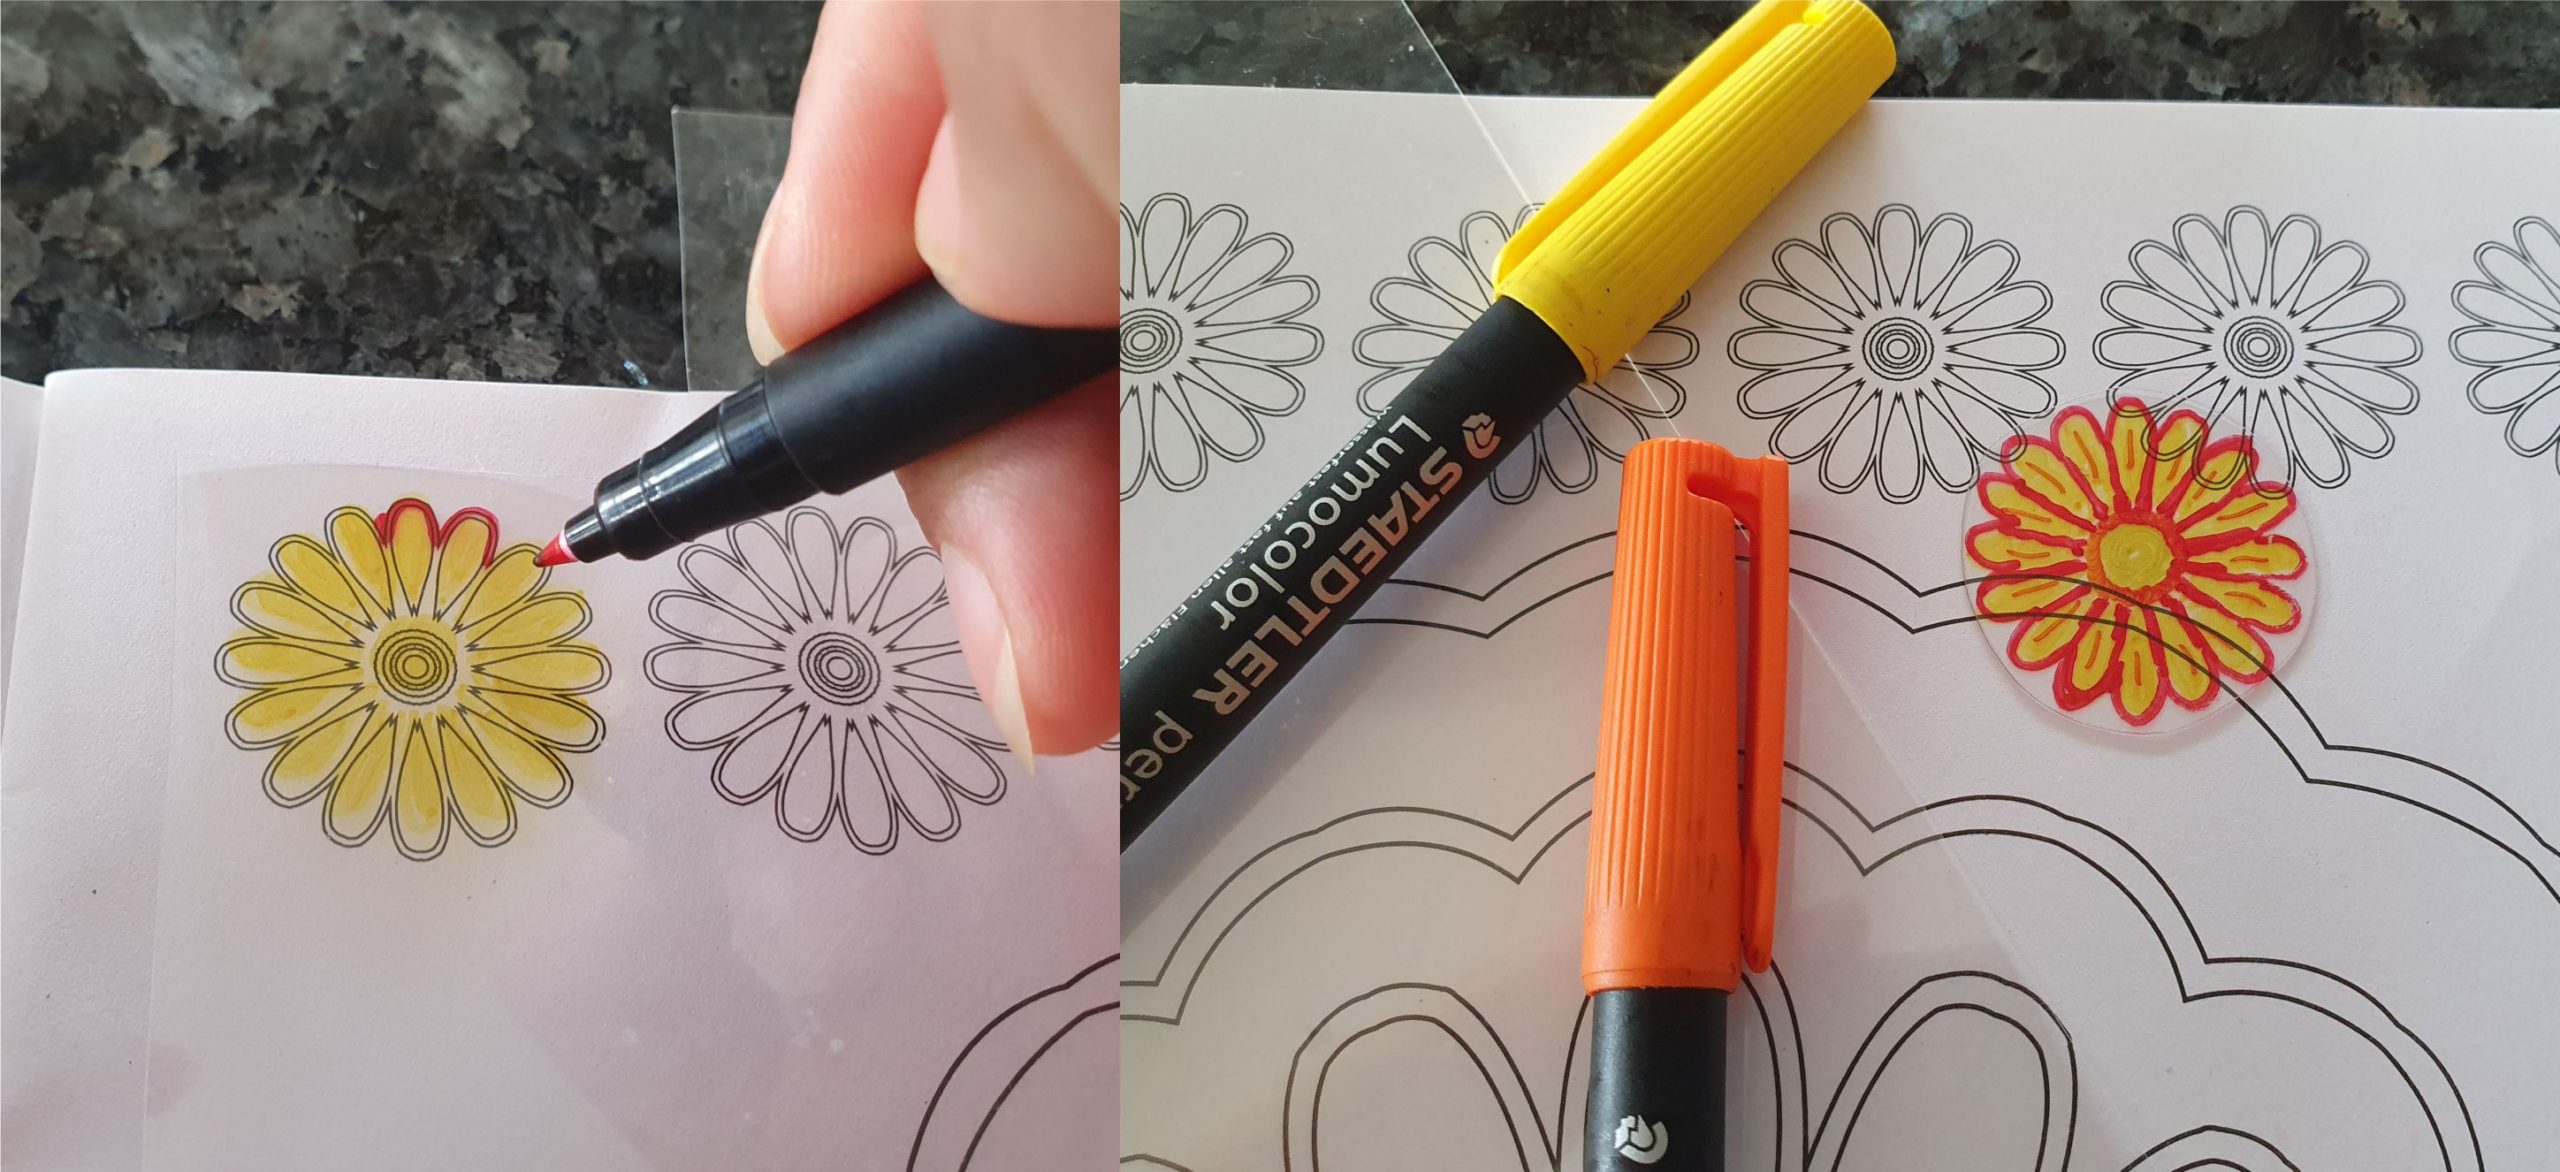
Be creative and draw whatever comes to mind. You can also copy from a picture in a book by laying the transparent plastic sheet on top of the book.
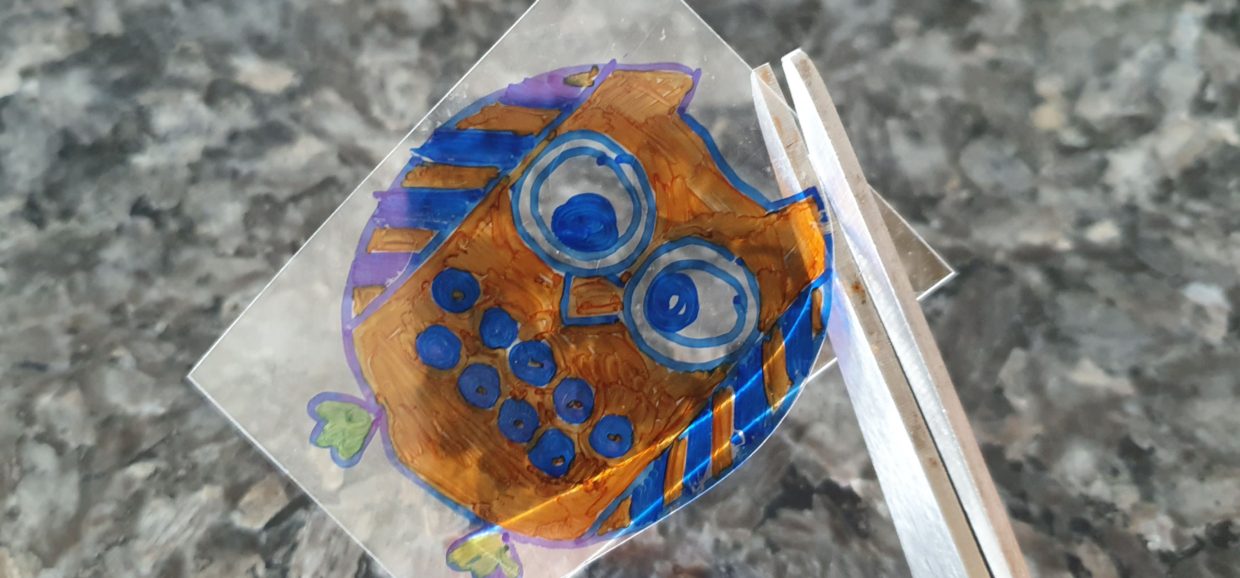
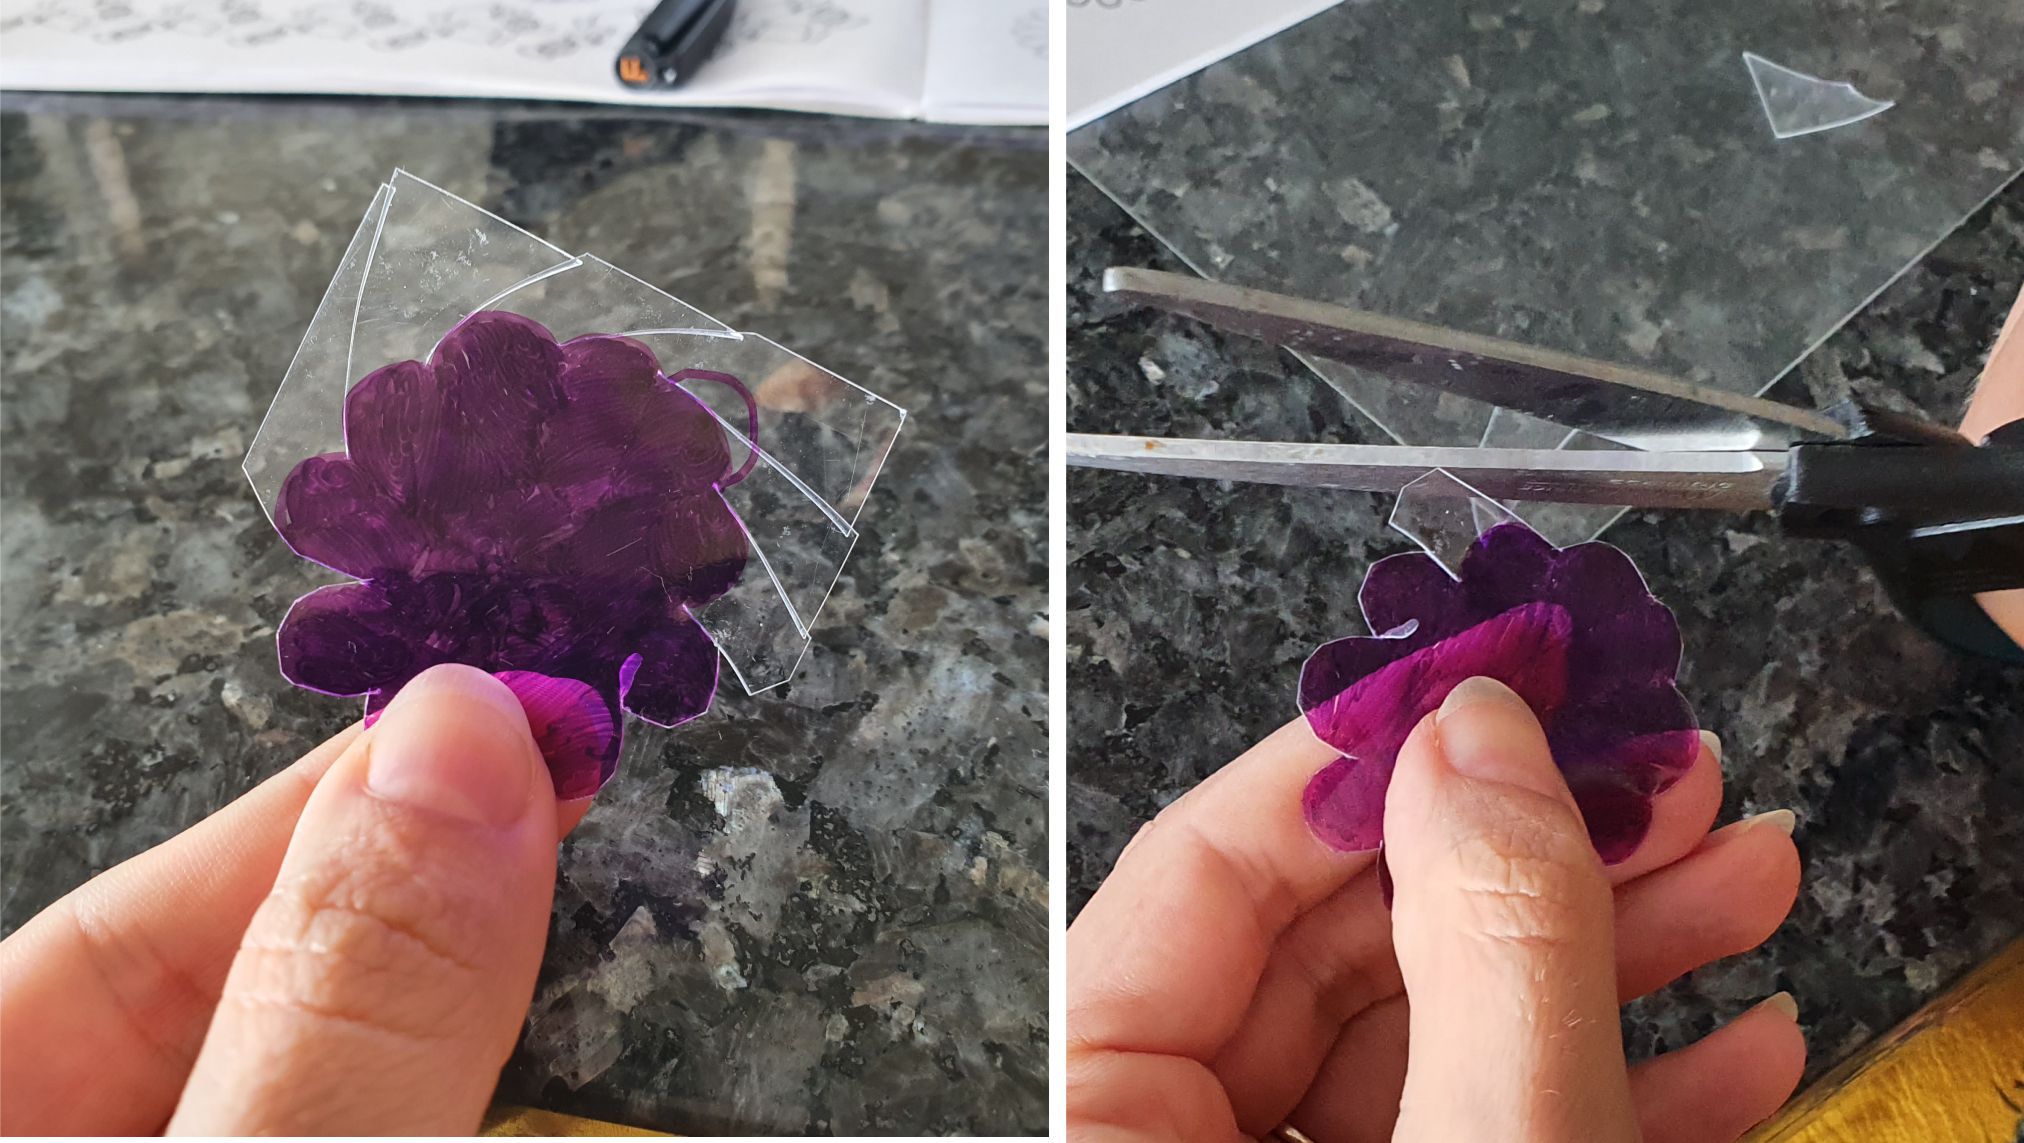
Cut it out and make a hole with a holepunch. You might need to help smaller children to cut it as the plastic can be a bit harder to cut than ordinary paper.
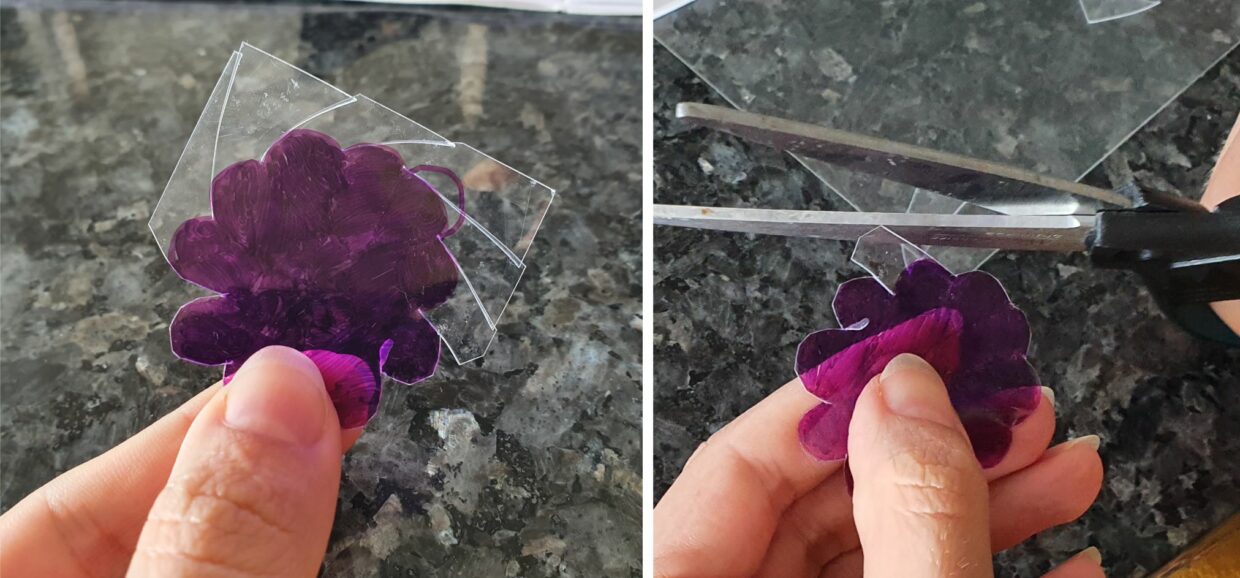
It can be a bit tricky to cut out the finer details –like the petals of a flower- because the plastic is quite thick and unyielding. I recommend cutting in like this from one side, turn the plastic over and cut the rest from the other side.
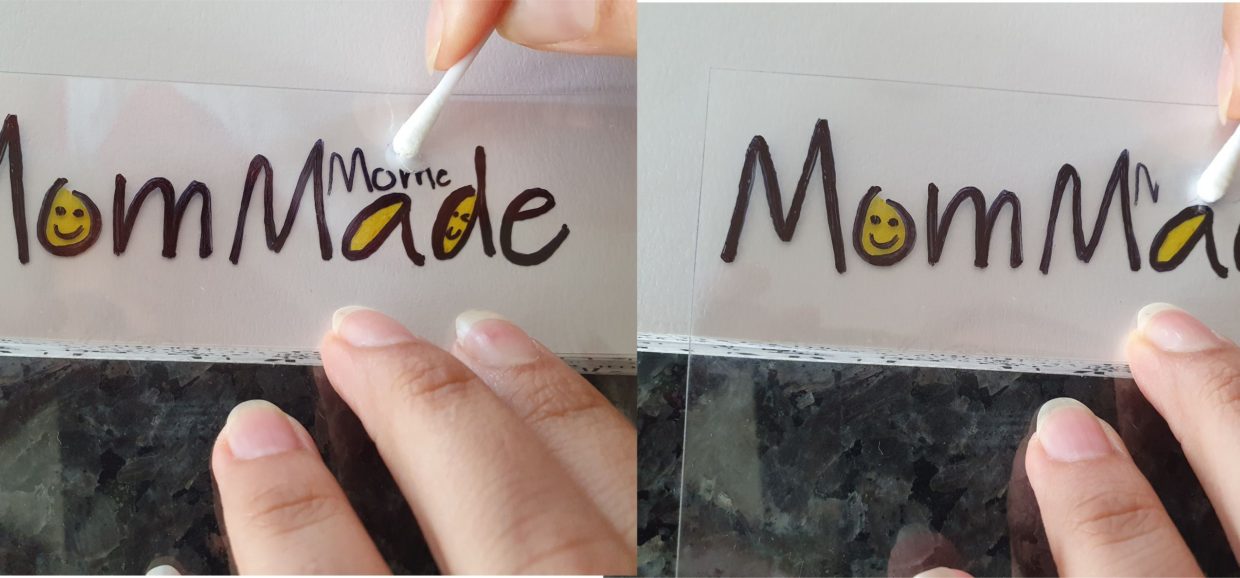
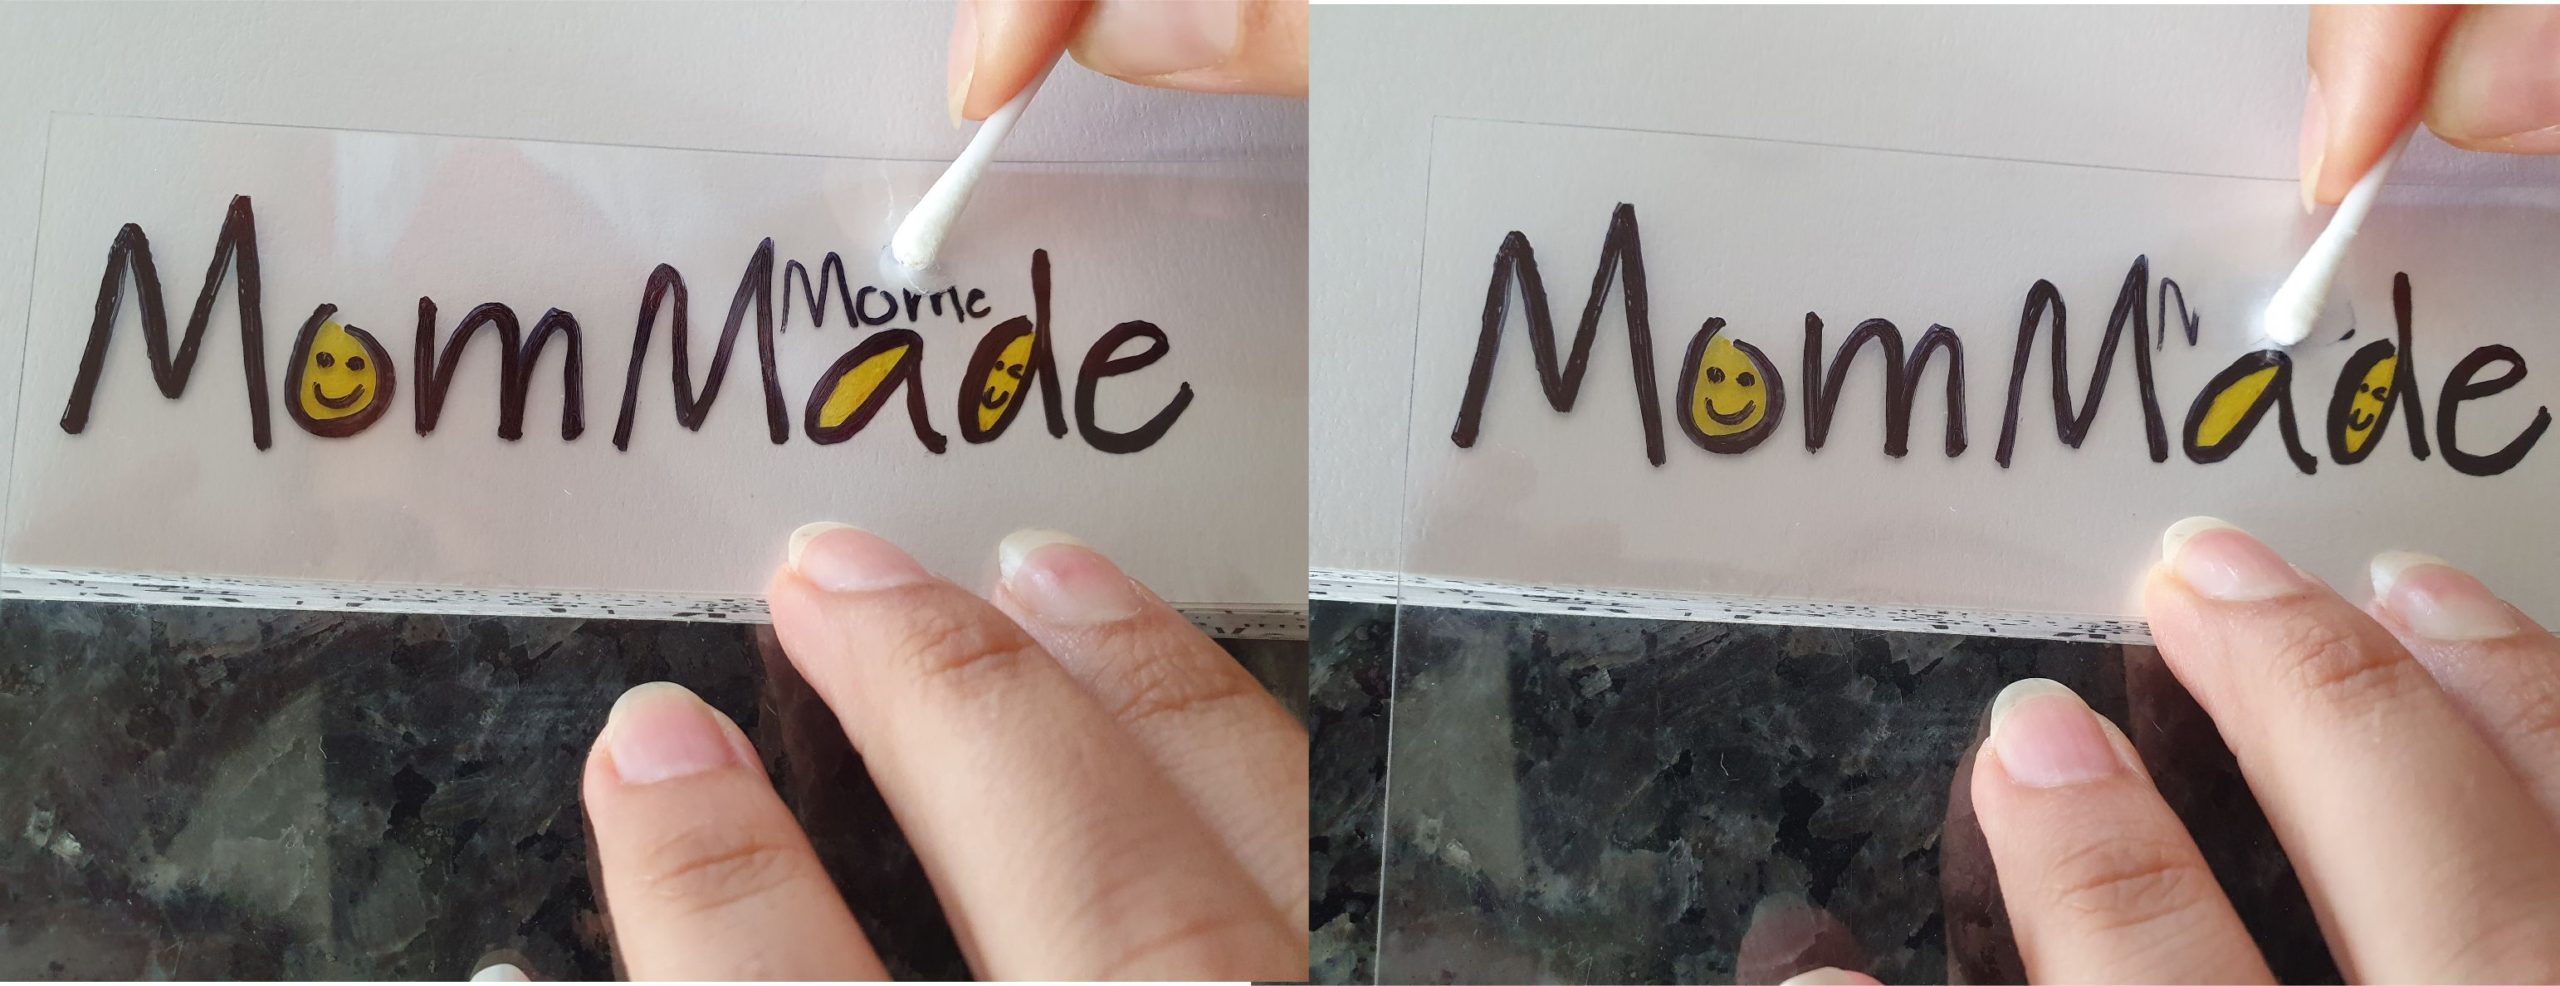
If you want to erase any mistakes, you can do so with a cotton stick and a little acetone or nail polish remover. This works best for when you plan to colour again, as it makes the plastic sheets a little bit whiter too.
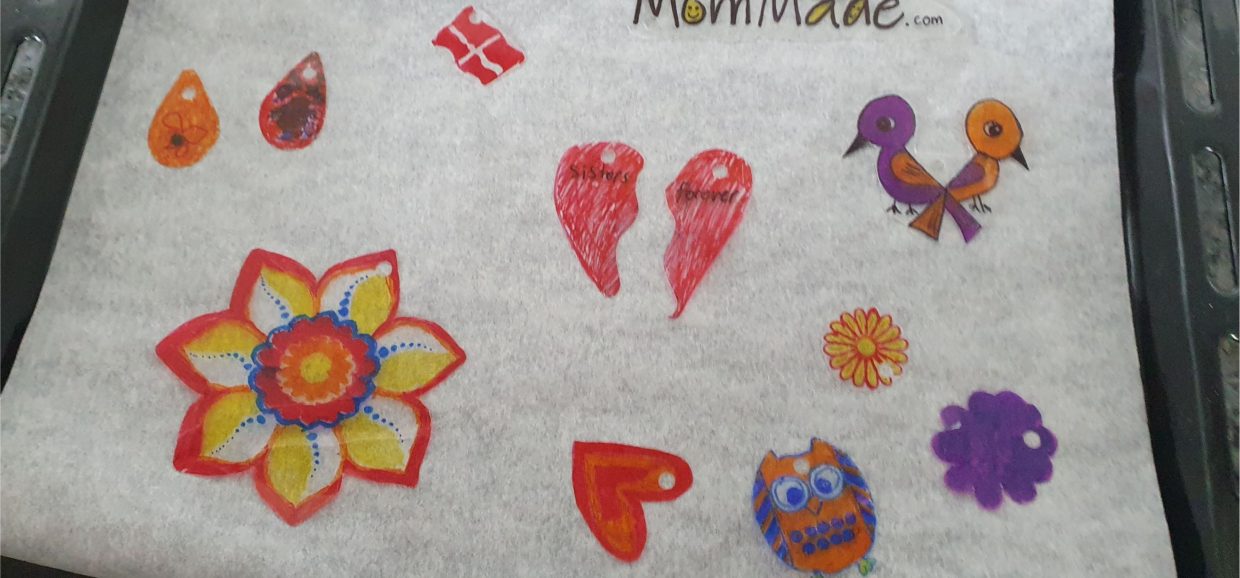
Put all the shapes on the oven tray with the colouring facing upwards. They should not touch each other.
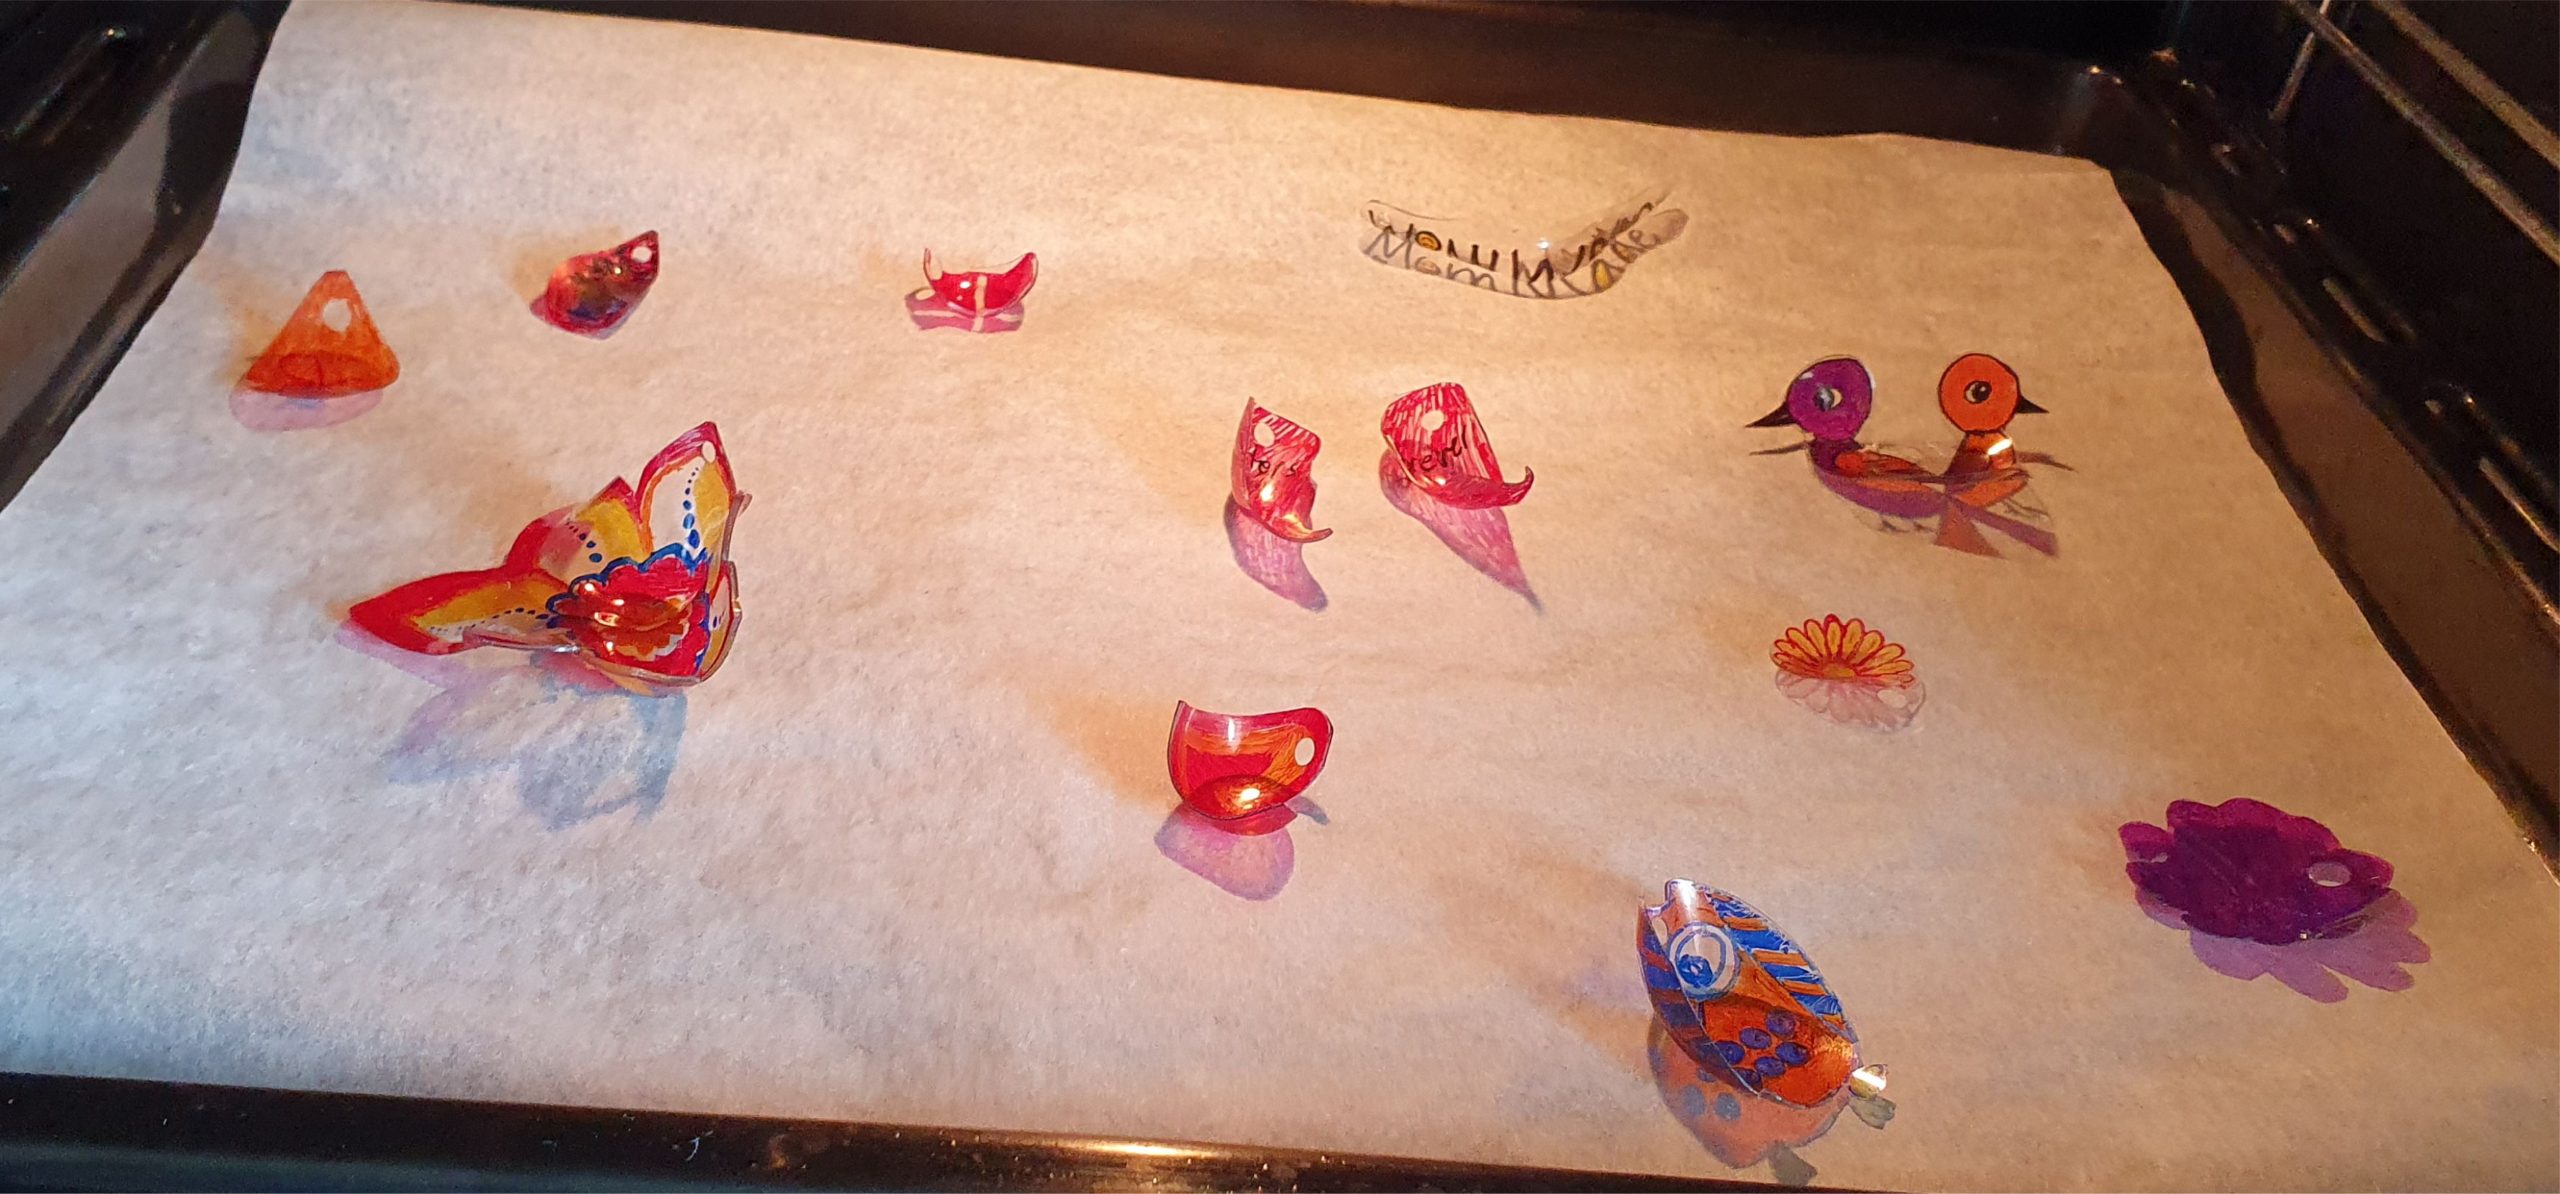
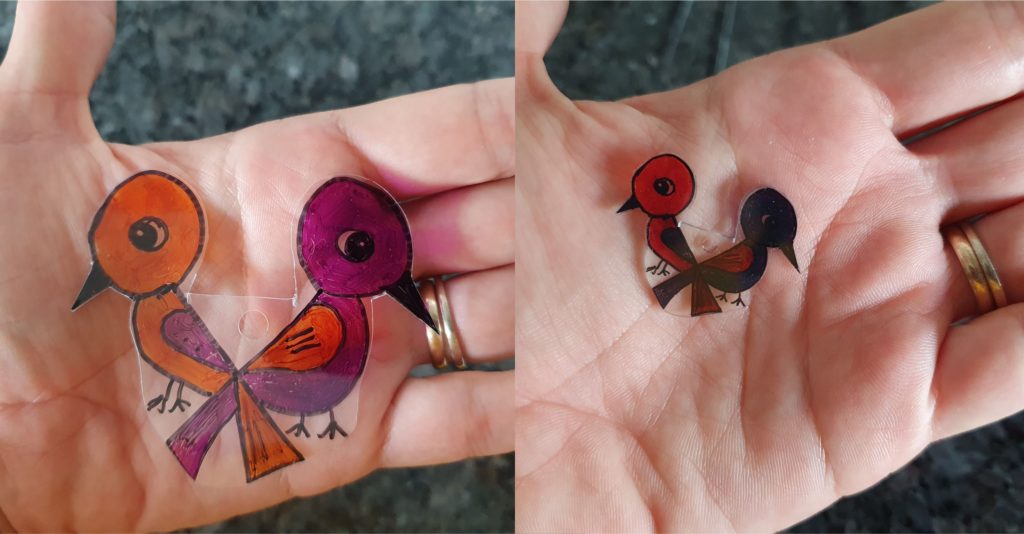
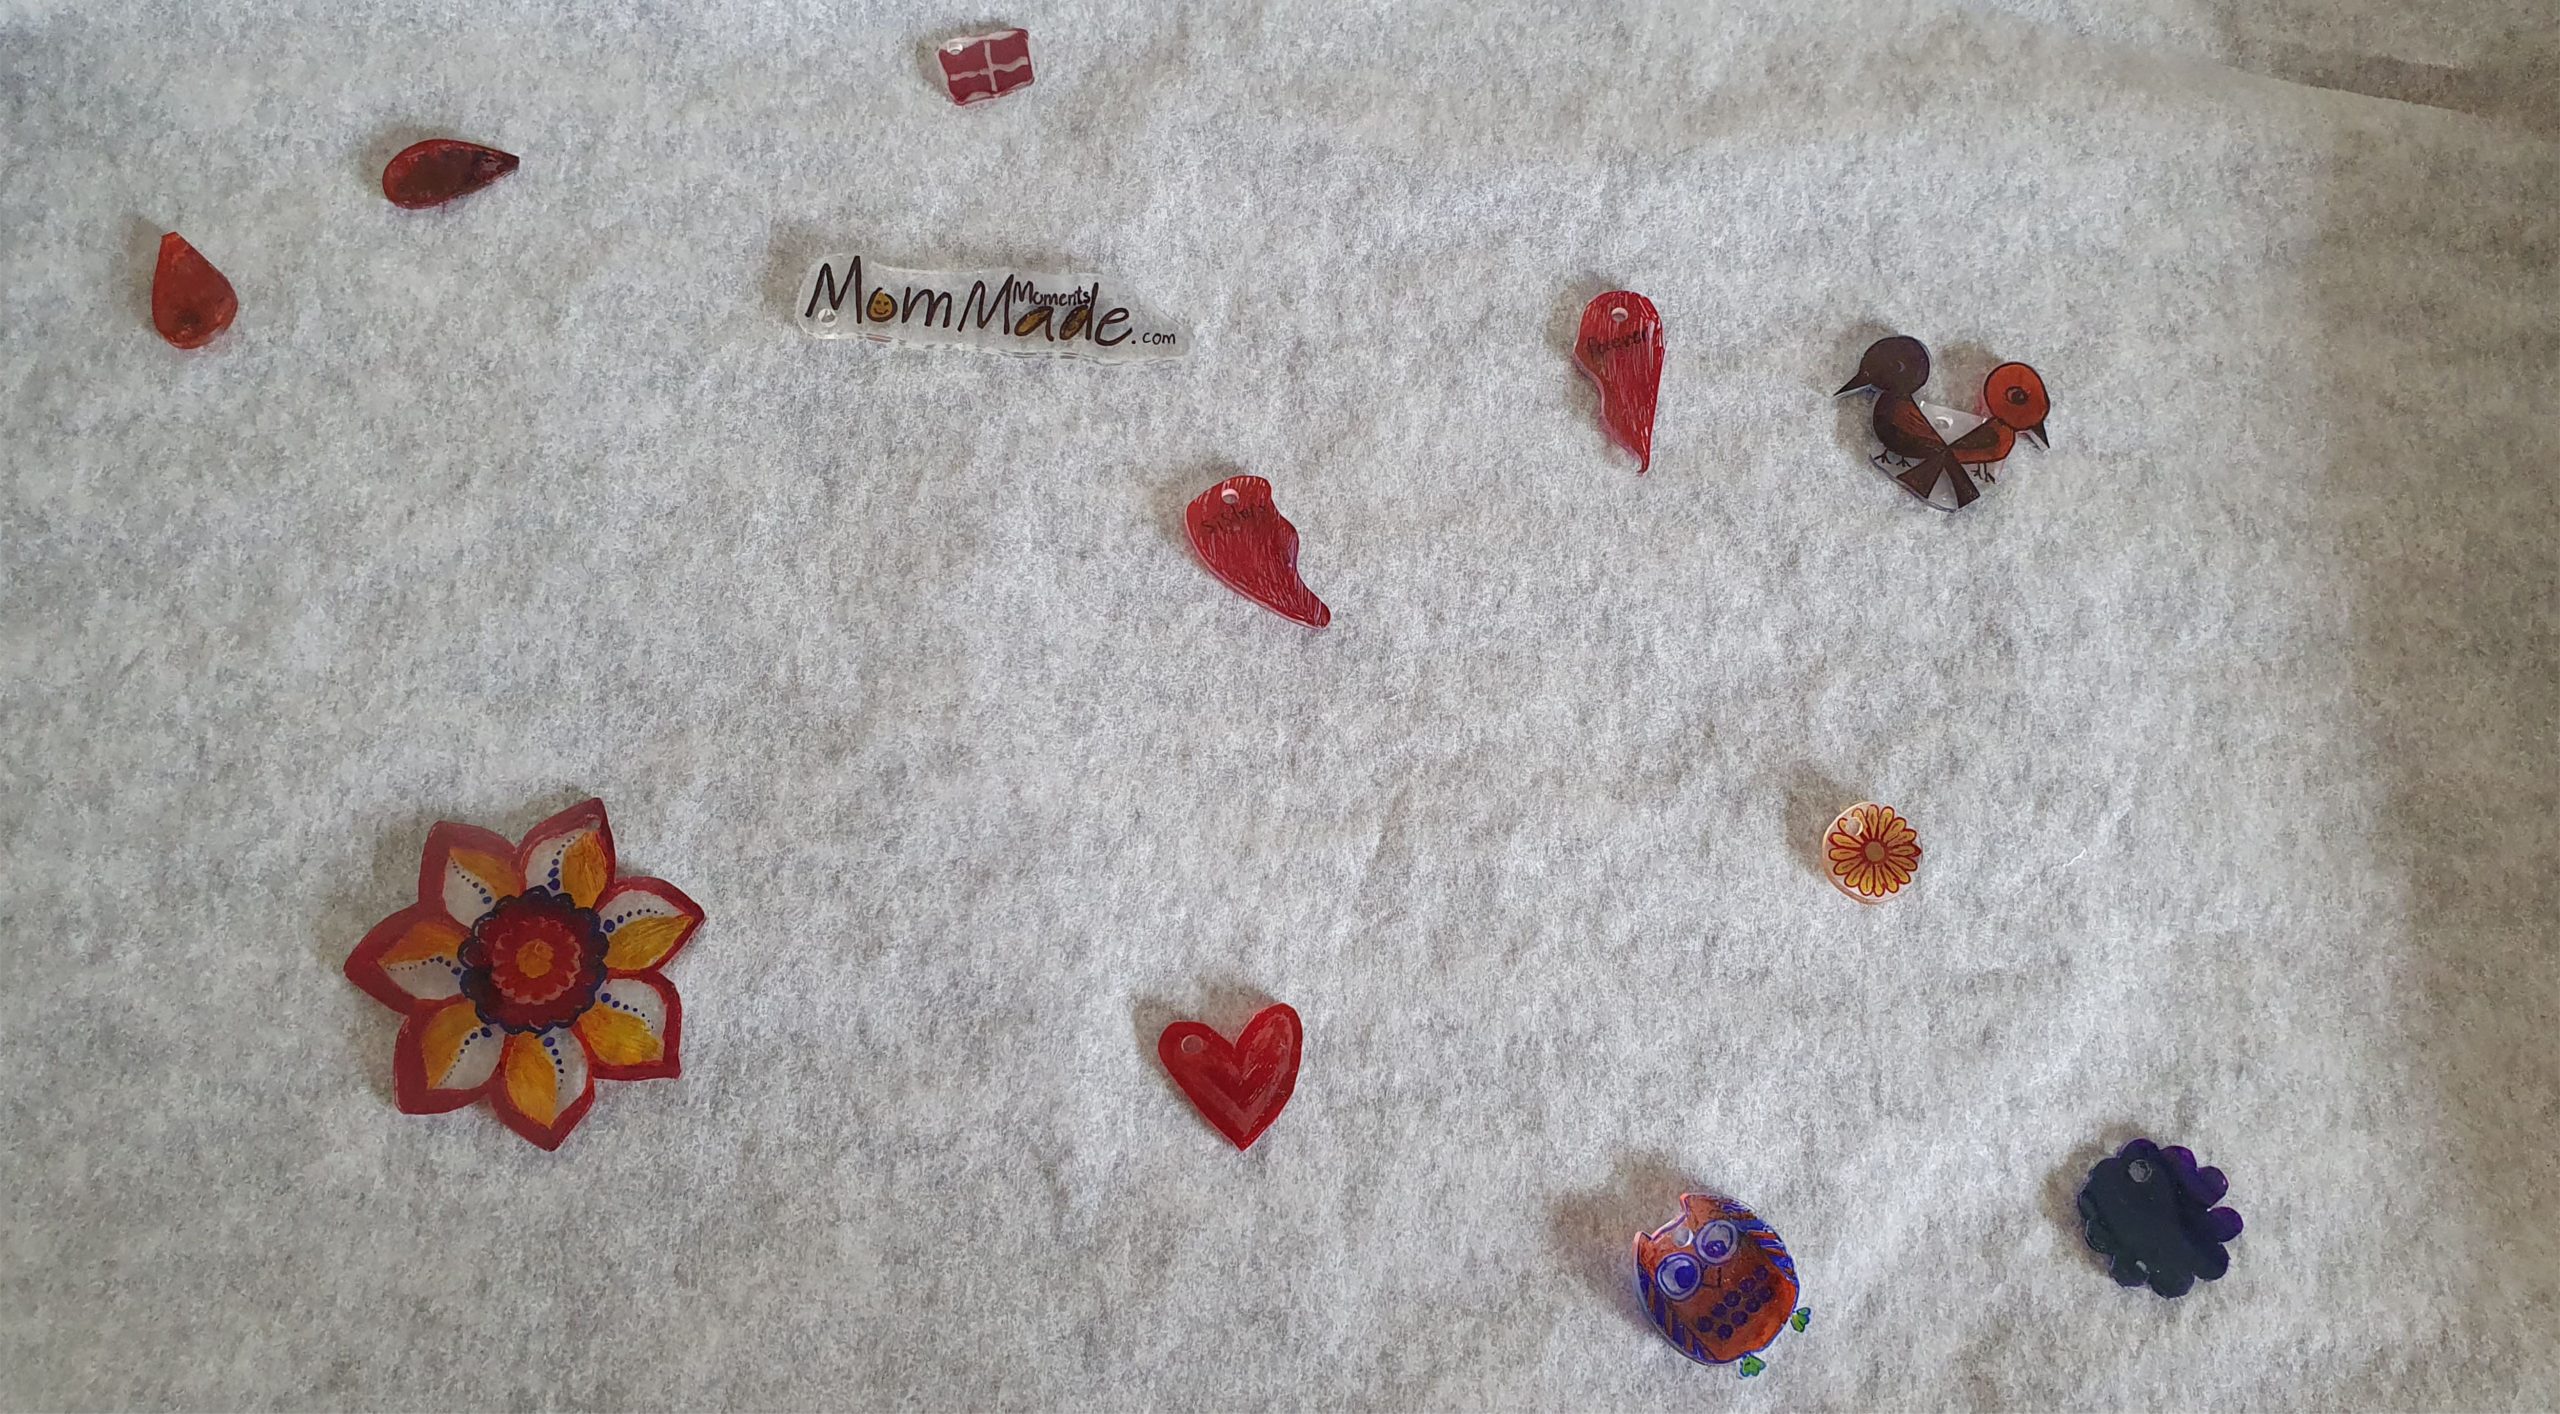
“Bake” the plastic shapes in a preheated oven (150-160 degrees Celsius) for 2-4 minutes. Remember to tell the kids to watch. It’s fast and fun to see the artwork take its new form. The shapes will curl up and/or roll over while shrinking. Don’t worry! They are supposed to do that.
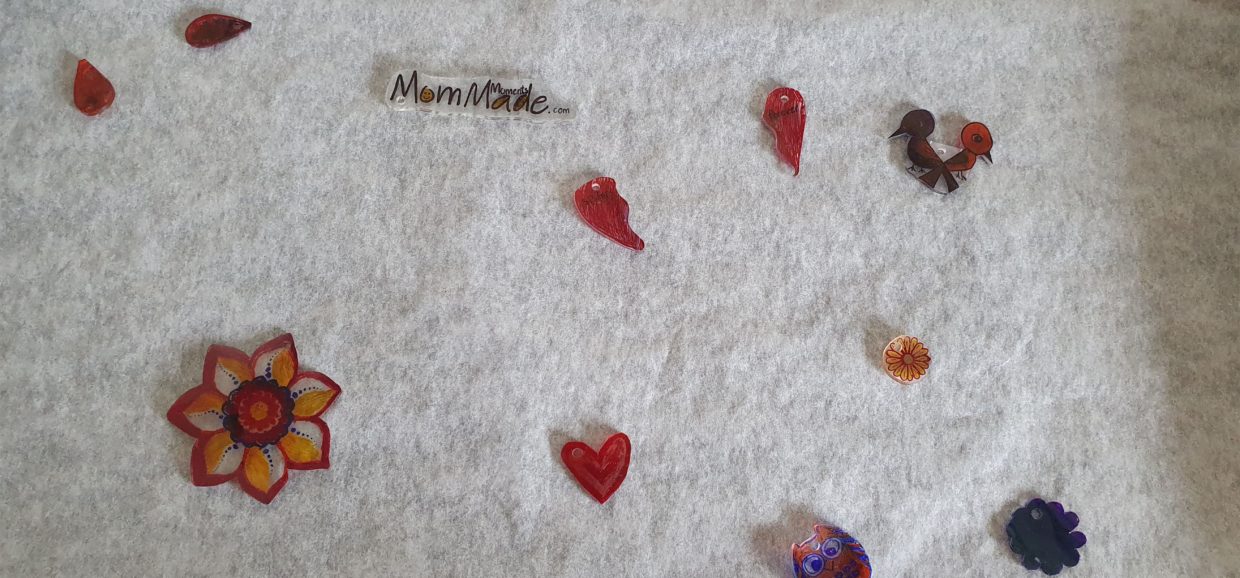
They are fully cooked when they again are lying flat on the baking paper. Some larger pieces might need a small helping hand if they don’t unroll by themself. Leave to cool for a few minutes until completely hard.
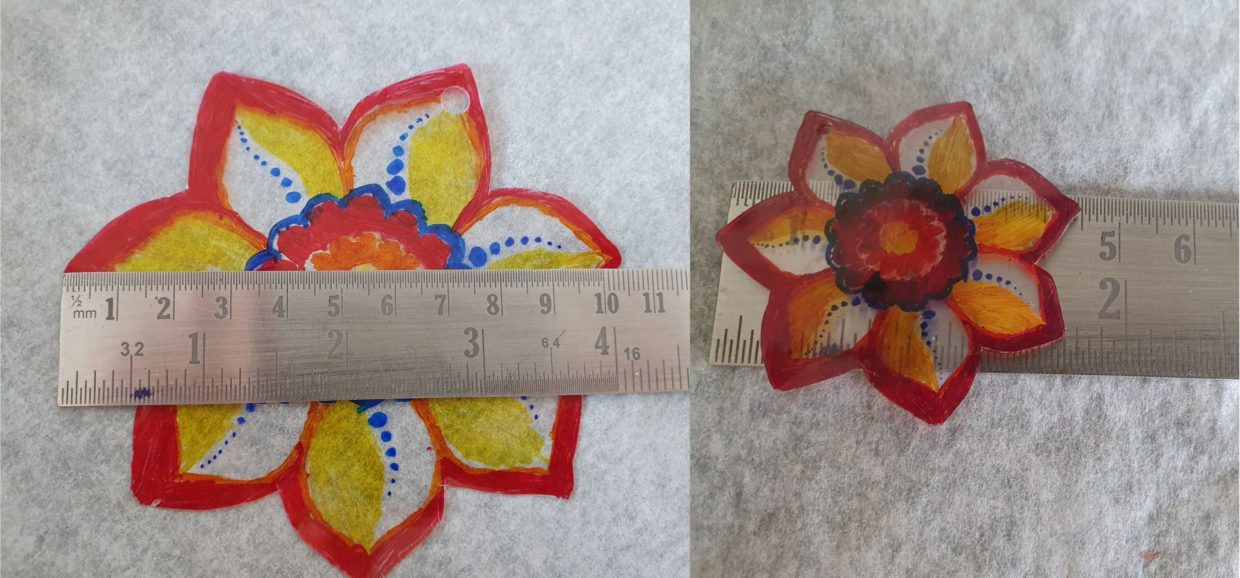
Before and after pictures of the flower pendant.
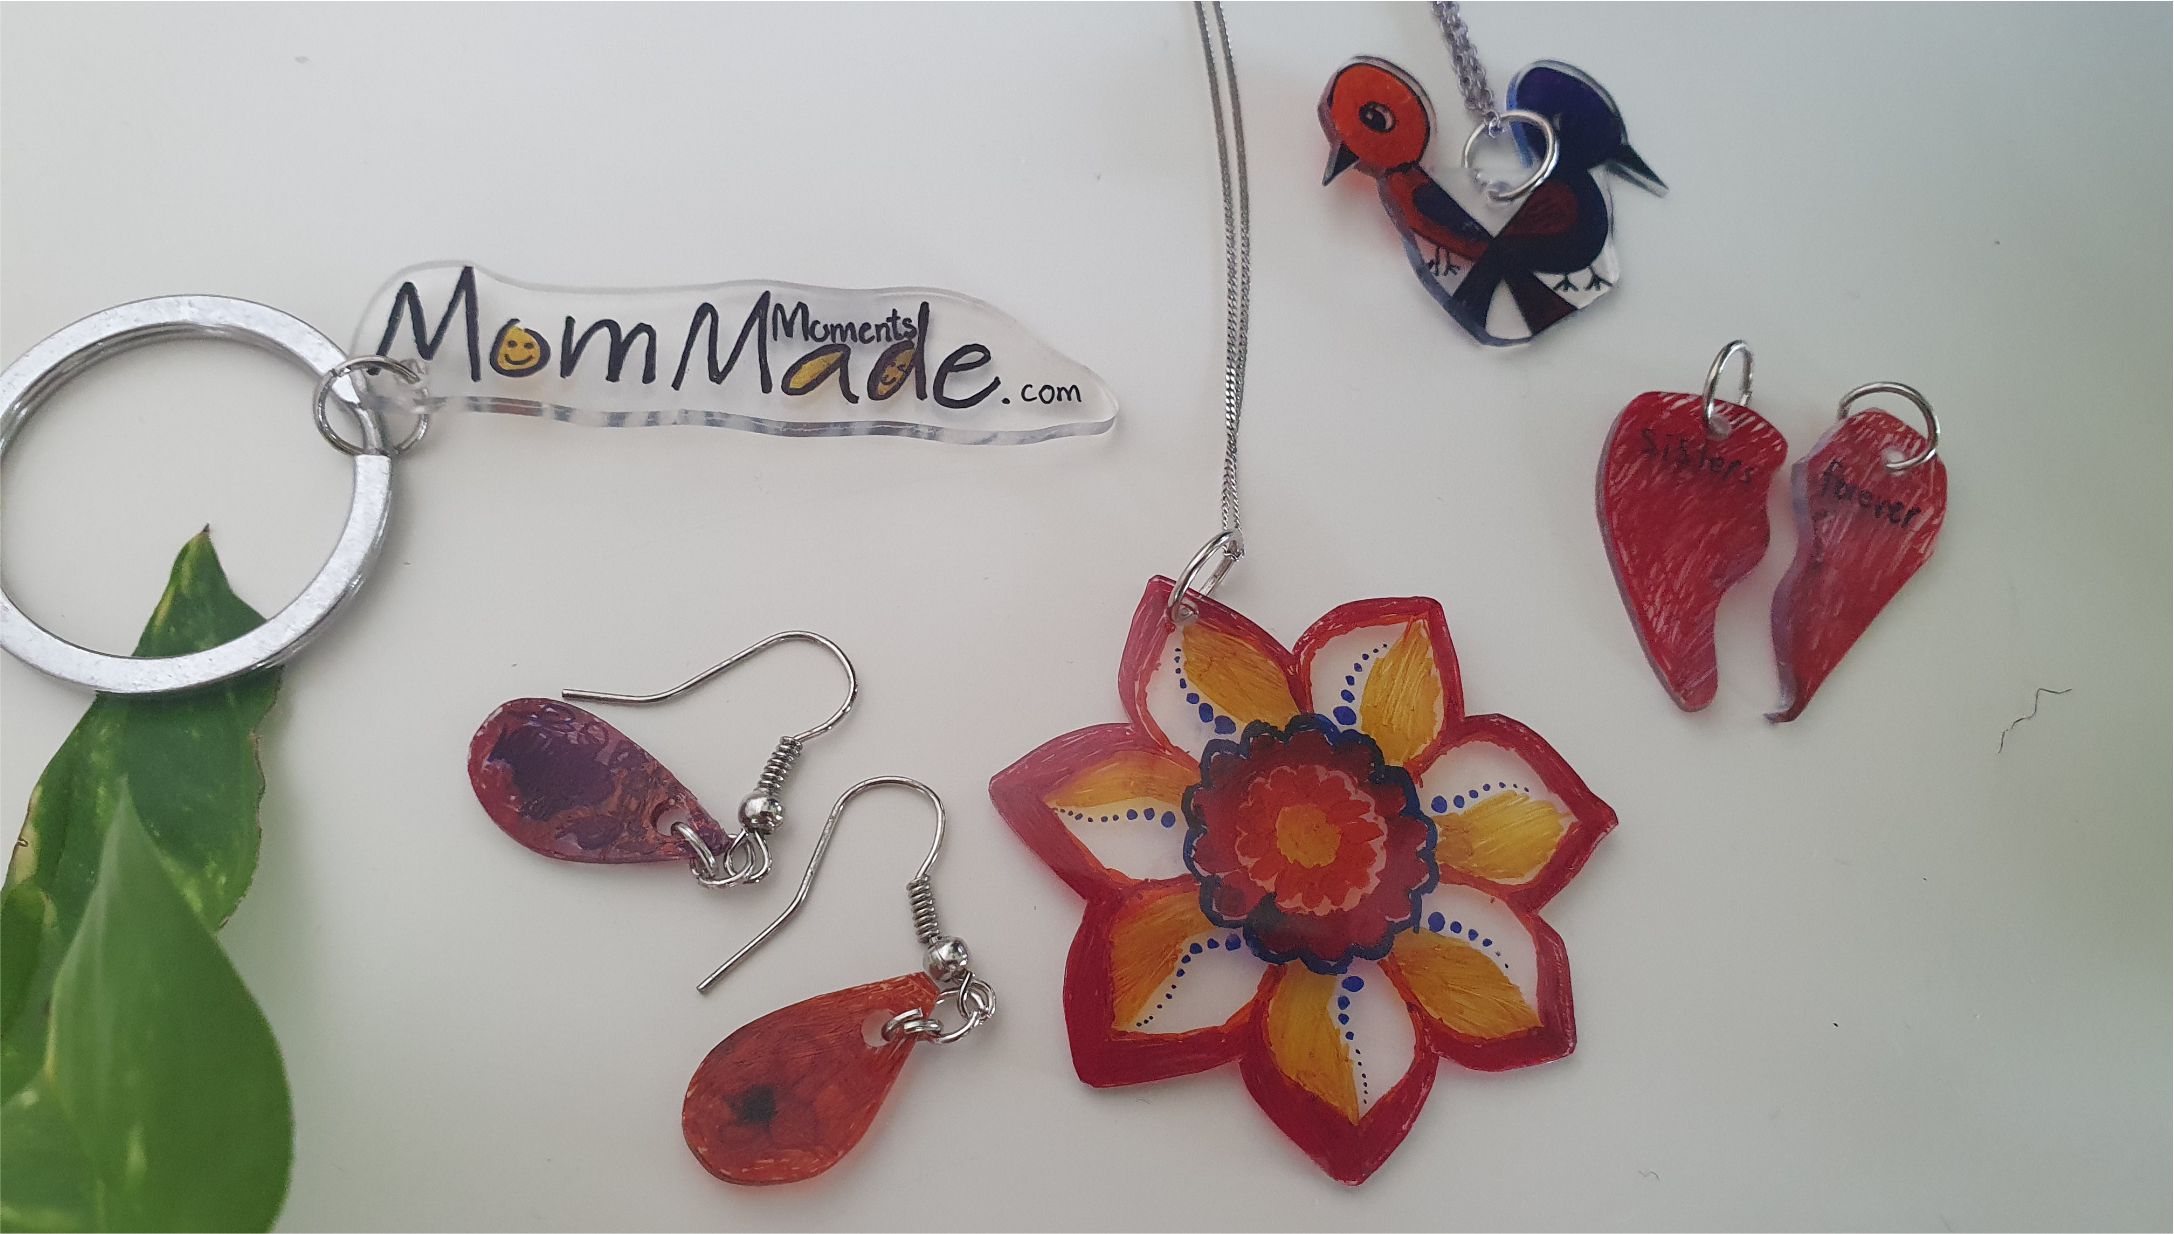
Make your artwork into necklace and bracelet pendants, earrings, magnets, key rings or even your own personal charm bracelet. It’s totally up to you. Hope you have lots of fun. Please let me know in the comments below how you got on with it all and don’t forget to share pictures of our creations.


Leave a Review
You must be logged in to post a comment.