- December 5, 2020
- 2 Like
- 0 / 5
- 5,006 Total Views


- Prep Time1 hour
- Total Time24-30 hours
- Ready In24-30 hours
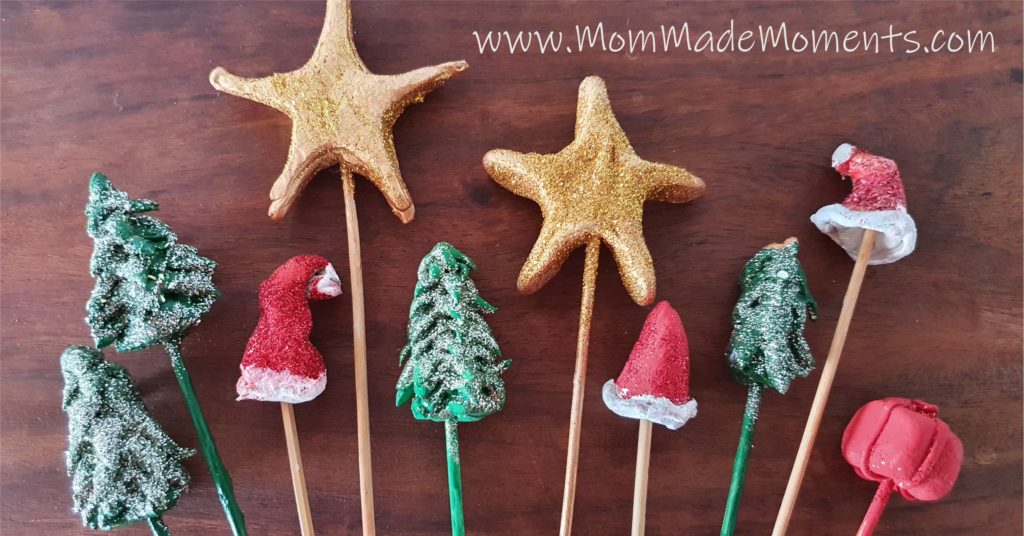
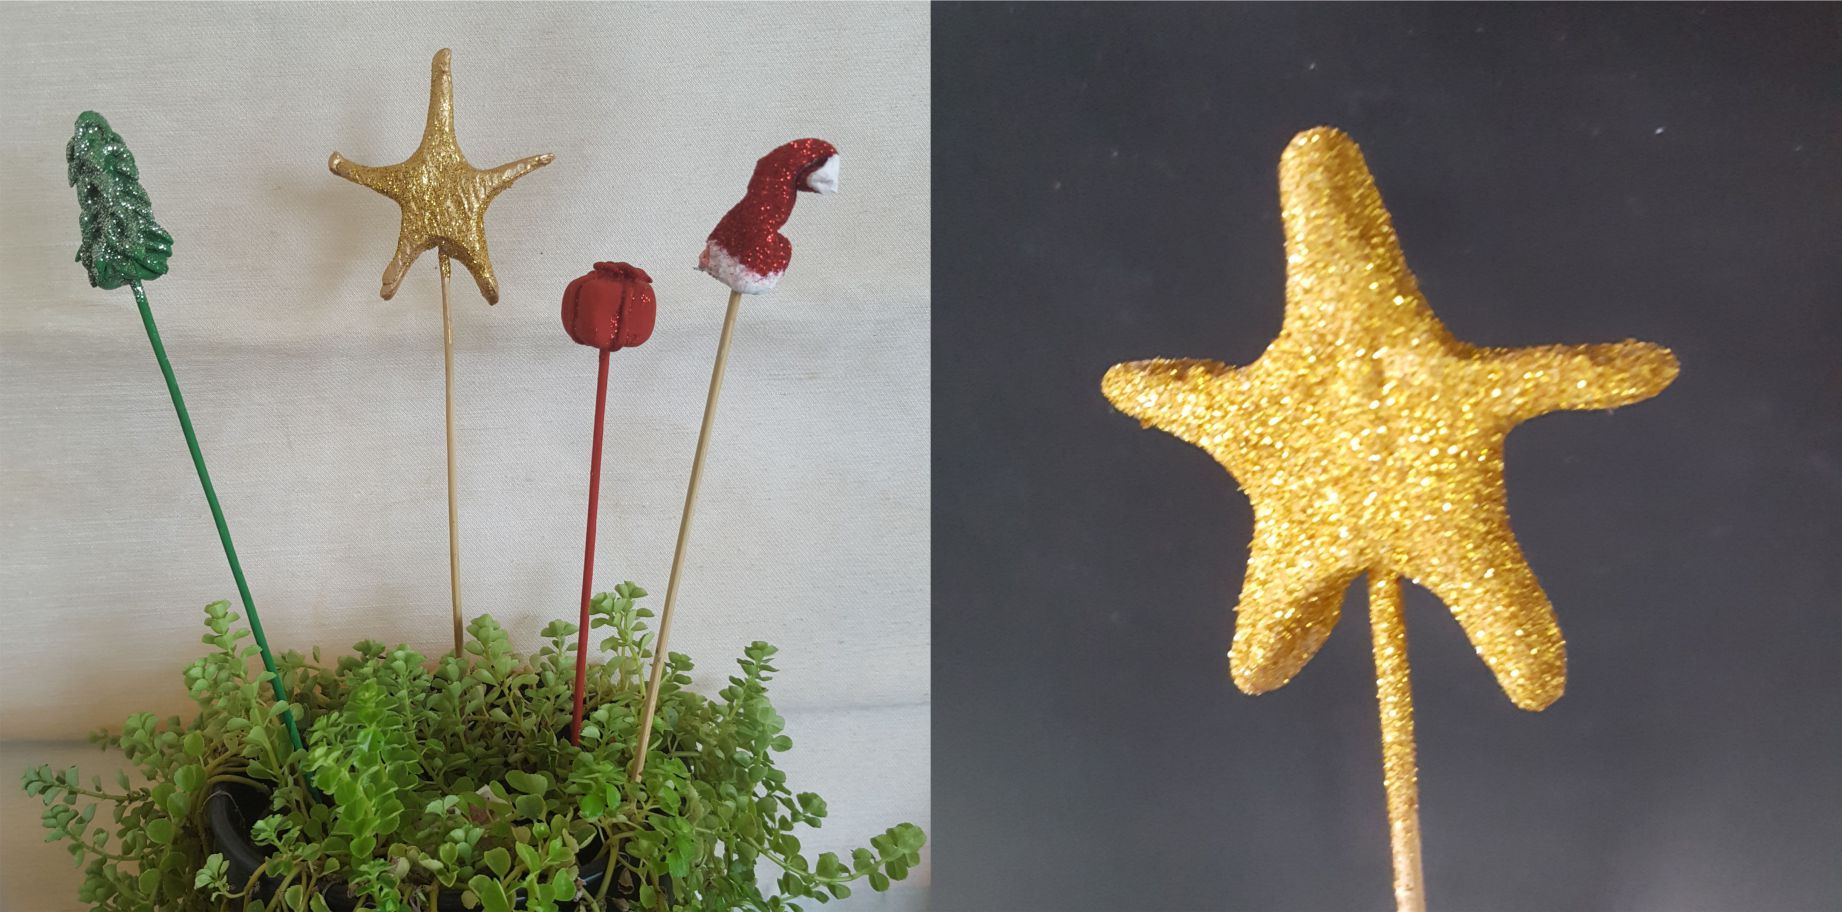
Need a quick present for the grandparents? Or some new Christmas decoration for the house? Make these fun Christmas Craft Clay Sticks with your kids this December. You can change the level of difficulty according to your kid’s age. My kids were quite young when we made these, so we stuck to stars, hearts, santa hats and Christmas trees.
What are these Christmas Craft Clay Sticks?
They are basically small festive air drying clay pieces attached to wooden skewers. You can then place them in pots or planters around the house during Christmas. They are fun to make and something everyone can do -no matter skill or age. Ours are now a part of our Christmas decorations every year as they are ever so festive and decorative.

What ingredients do you need?
- Air-drying clay. I use Fevicryl Shilpkar for this as it dries really quickly and it doesn’t break as easily as clay. The packs are available in the local stationary shop for 30 rupees and it isn’t toxic compared to the ones you can get in hardware shops. The ones from the hardware shop is not meant for kids to use.
- Acrylic paint. We usually use whatever paint we have lying around, but if painting isn’t something you do a lot, then it’s possible to get a box of 10 colours to get you started.
- Paint brushes. You will probably need one for each child. I always buy the semi-expensive ones, as in not the cheapest but certainly not the expensive ones either. A pack like this Brushes Set of 8 is good enough. And when the kids paint and forget to clean the brushes afterwards (because they left them in the sink for you!) or the kids use them for glue instead, you don’t have to feel too bad.
You can make around 3-4 small clay shapes per pack. You cannot save the remaining clay for later.
My kids shape them straight on the granite table but if your table is wooden, make sure to keep a plate or something underneath. If the plate is ceramic, make sure to wash it immediately after use to avoid stains.
Tip: Do not water down the paint. Acrylic paint does not need to be watered down before use. It will only make it messier and you will need 2 layers to cover the white clay.
Ingredients
Directions
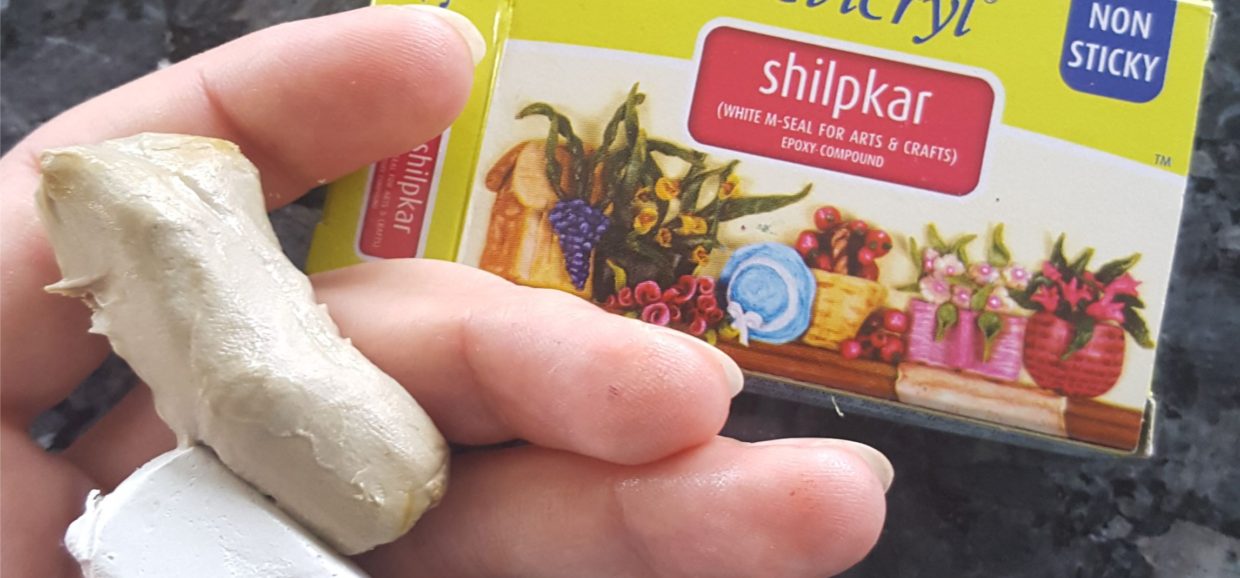

Start by mixing the two clays inside the box until they get a very light grey uniform colour
Put a small piece of clay on the stick. For kids it might be easier to wait until after shaping to insert the stick, but there is always the risk that the stick will tear the shape. So mums, please help here!
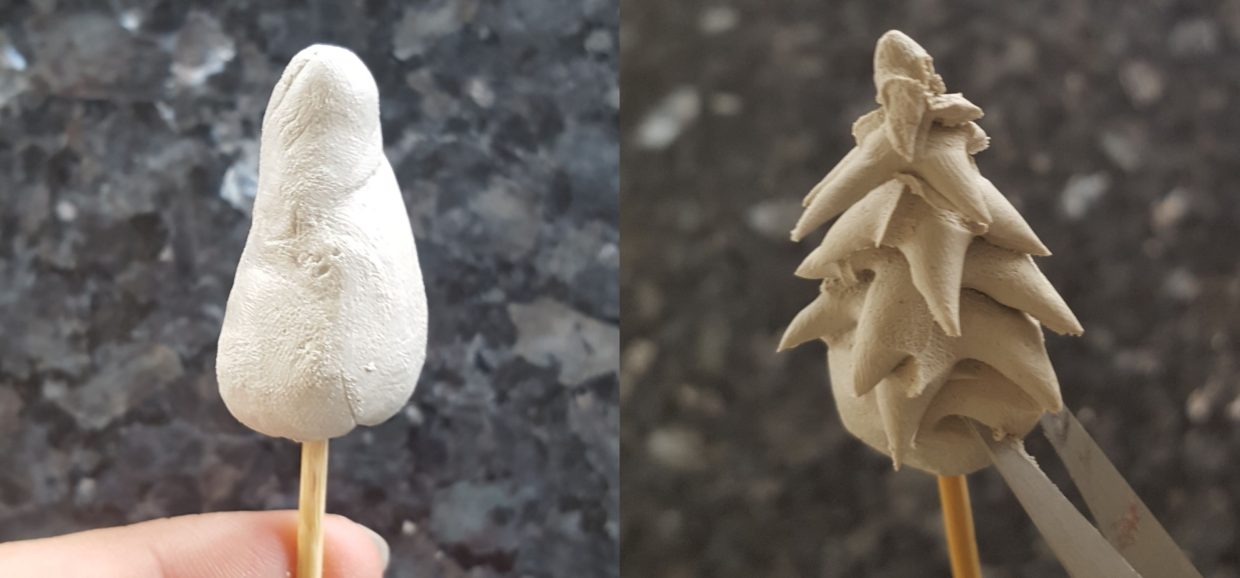

Shape your clay into a Santa hat, Christmas tree, present, snowflake, star, heart, snowman etc. To make an easy Christmas tree, form a cone shape on the stick and cut into it using a pair of scissors.
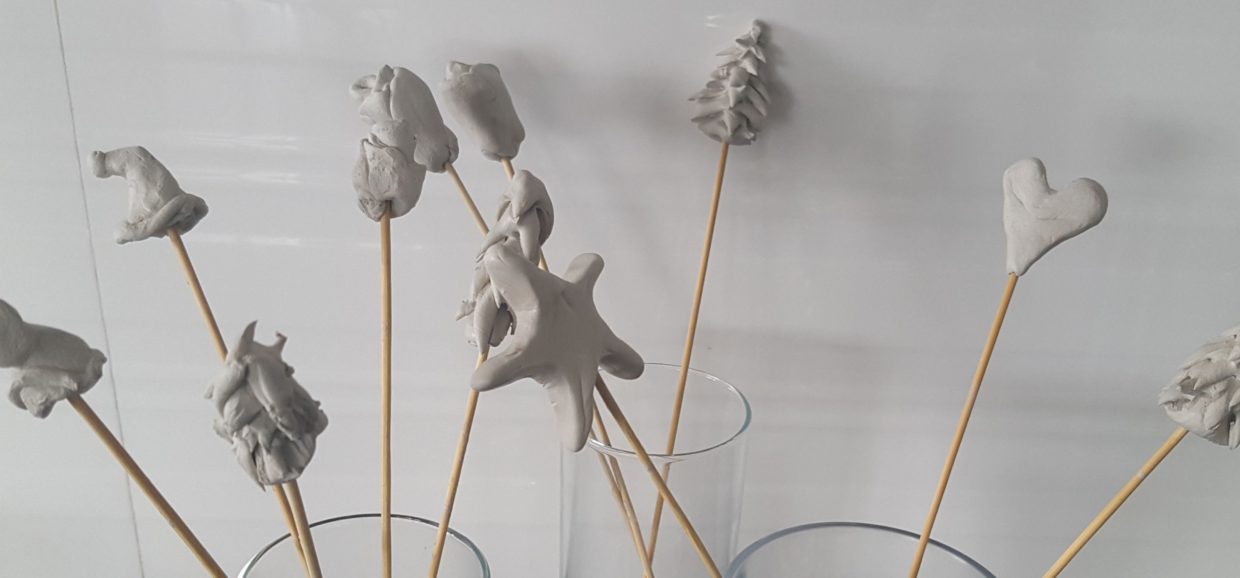

When all the clay is used, let the sticks dry in tall glasses for about 24 hours until rock. Make sure they don’t touch each other. The clay will turn almost white when completely dry.
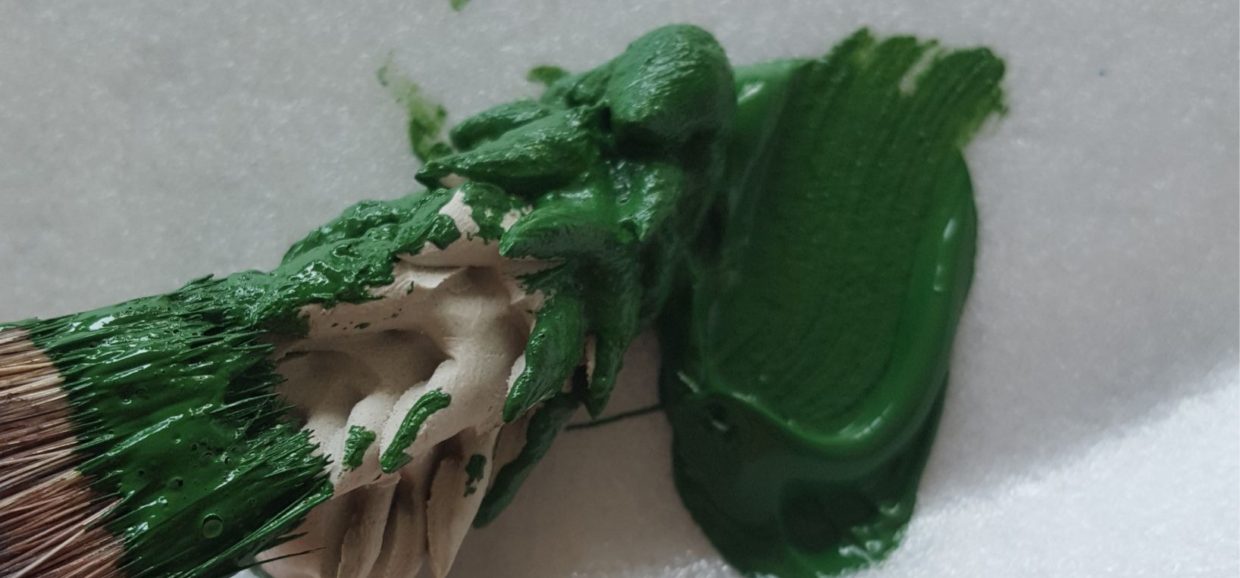

After drying, paint them with acrylic paint.
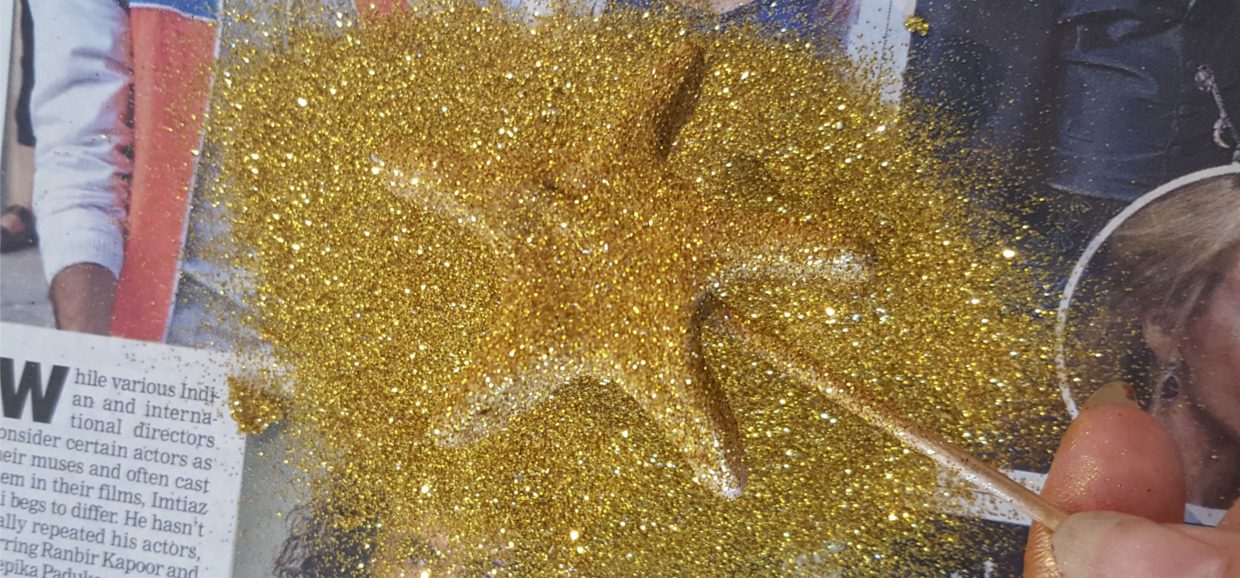

I recommend dipping them in matching glitter afterwards. So pretty! BUT glitter can get everywhere really fast when kids are involved, so our rule in the house is that I handle the glitter for kids below 8 –or at least take an active part. The kids decide the colour and where of course, and we put it on together over a piece of paper or paper plate. That way the glitter stays in one place and can be easily returned to its bag. Remember to turn off fans before starting with the glitter.
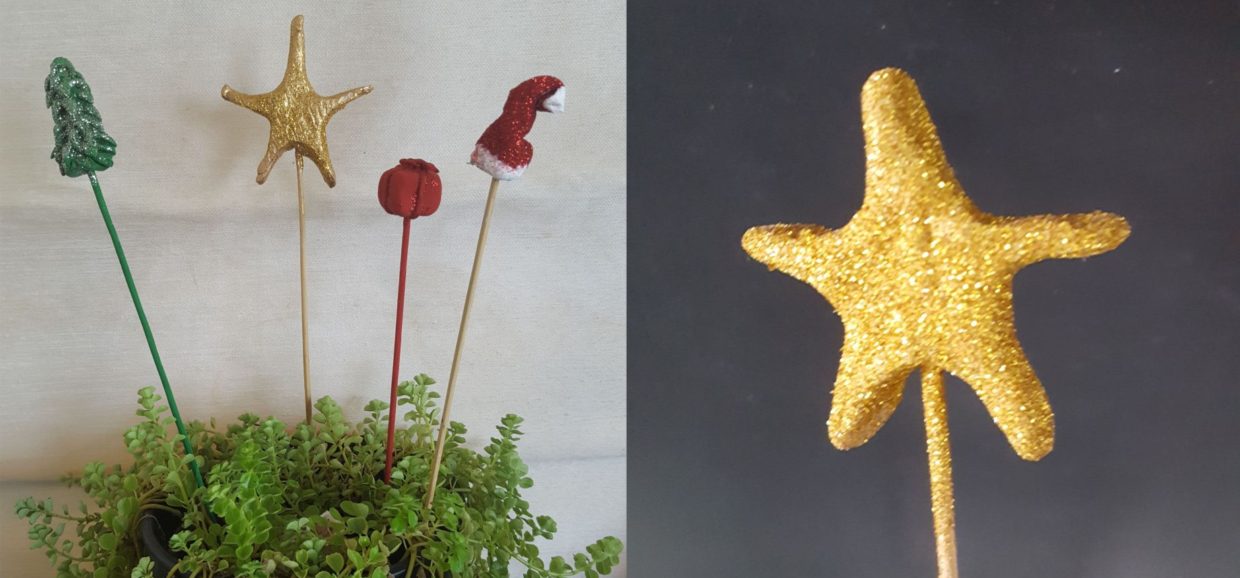

Shake off excess glitter and let the paint dry fully and your Christmas Clay Sticks are ready!I hope you enjoyed this post. Please let me know how you and your kids got on with the Christmas Clay Sticks and if you made any changes. We can all benefit from your experience. Merry Christmas.
You may also like
Christmas Craft Clay Sticks
Ingredients
Follow The Directions
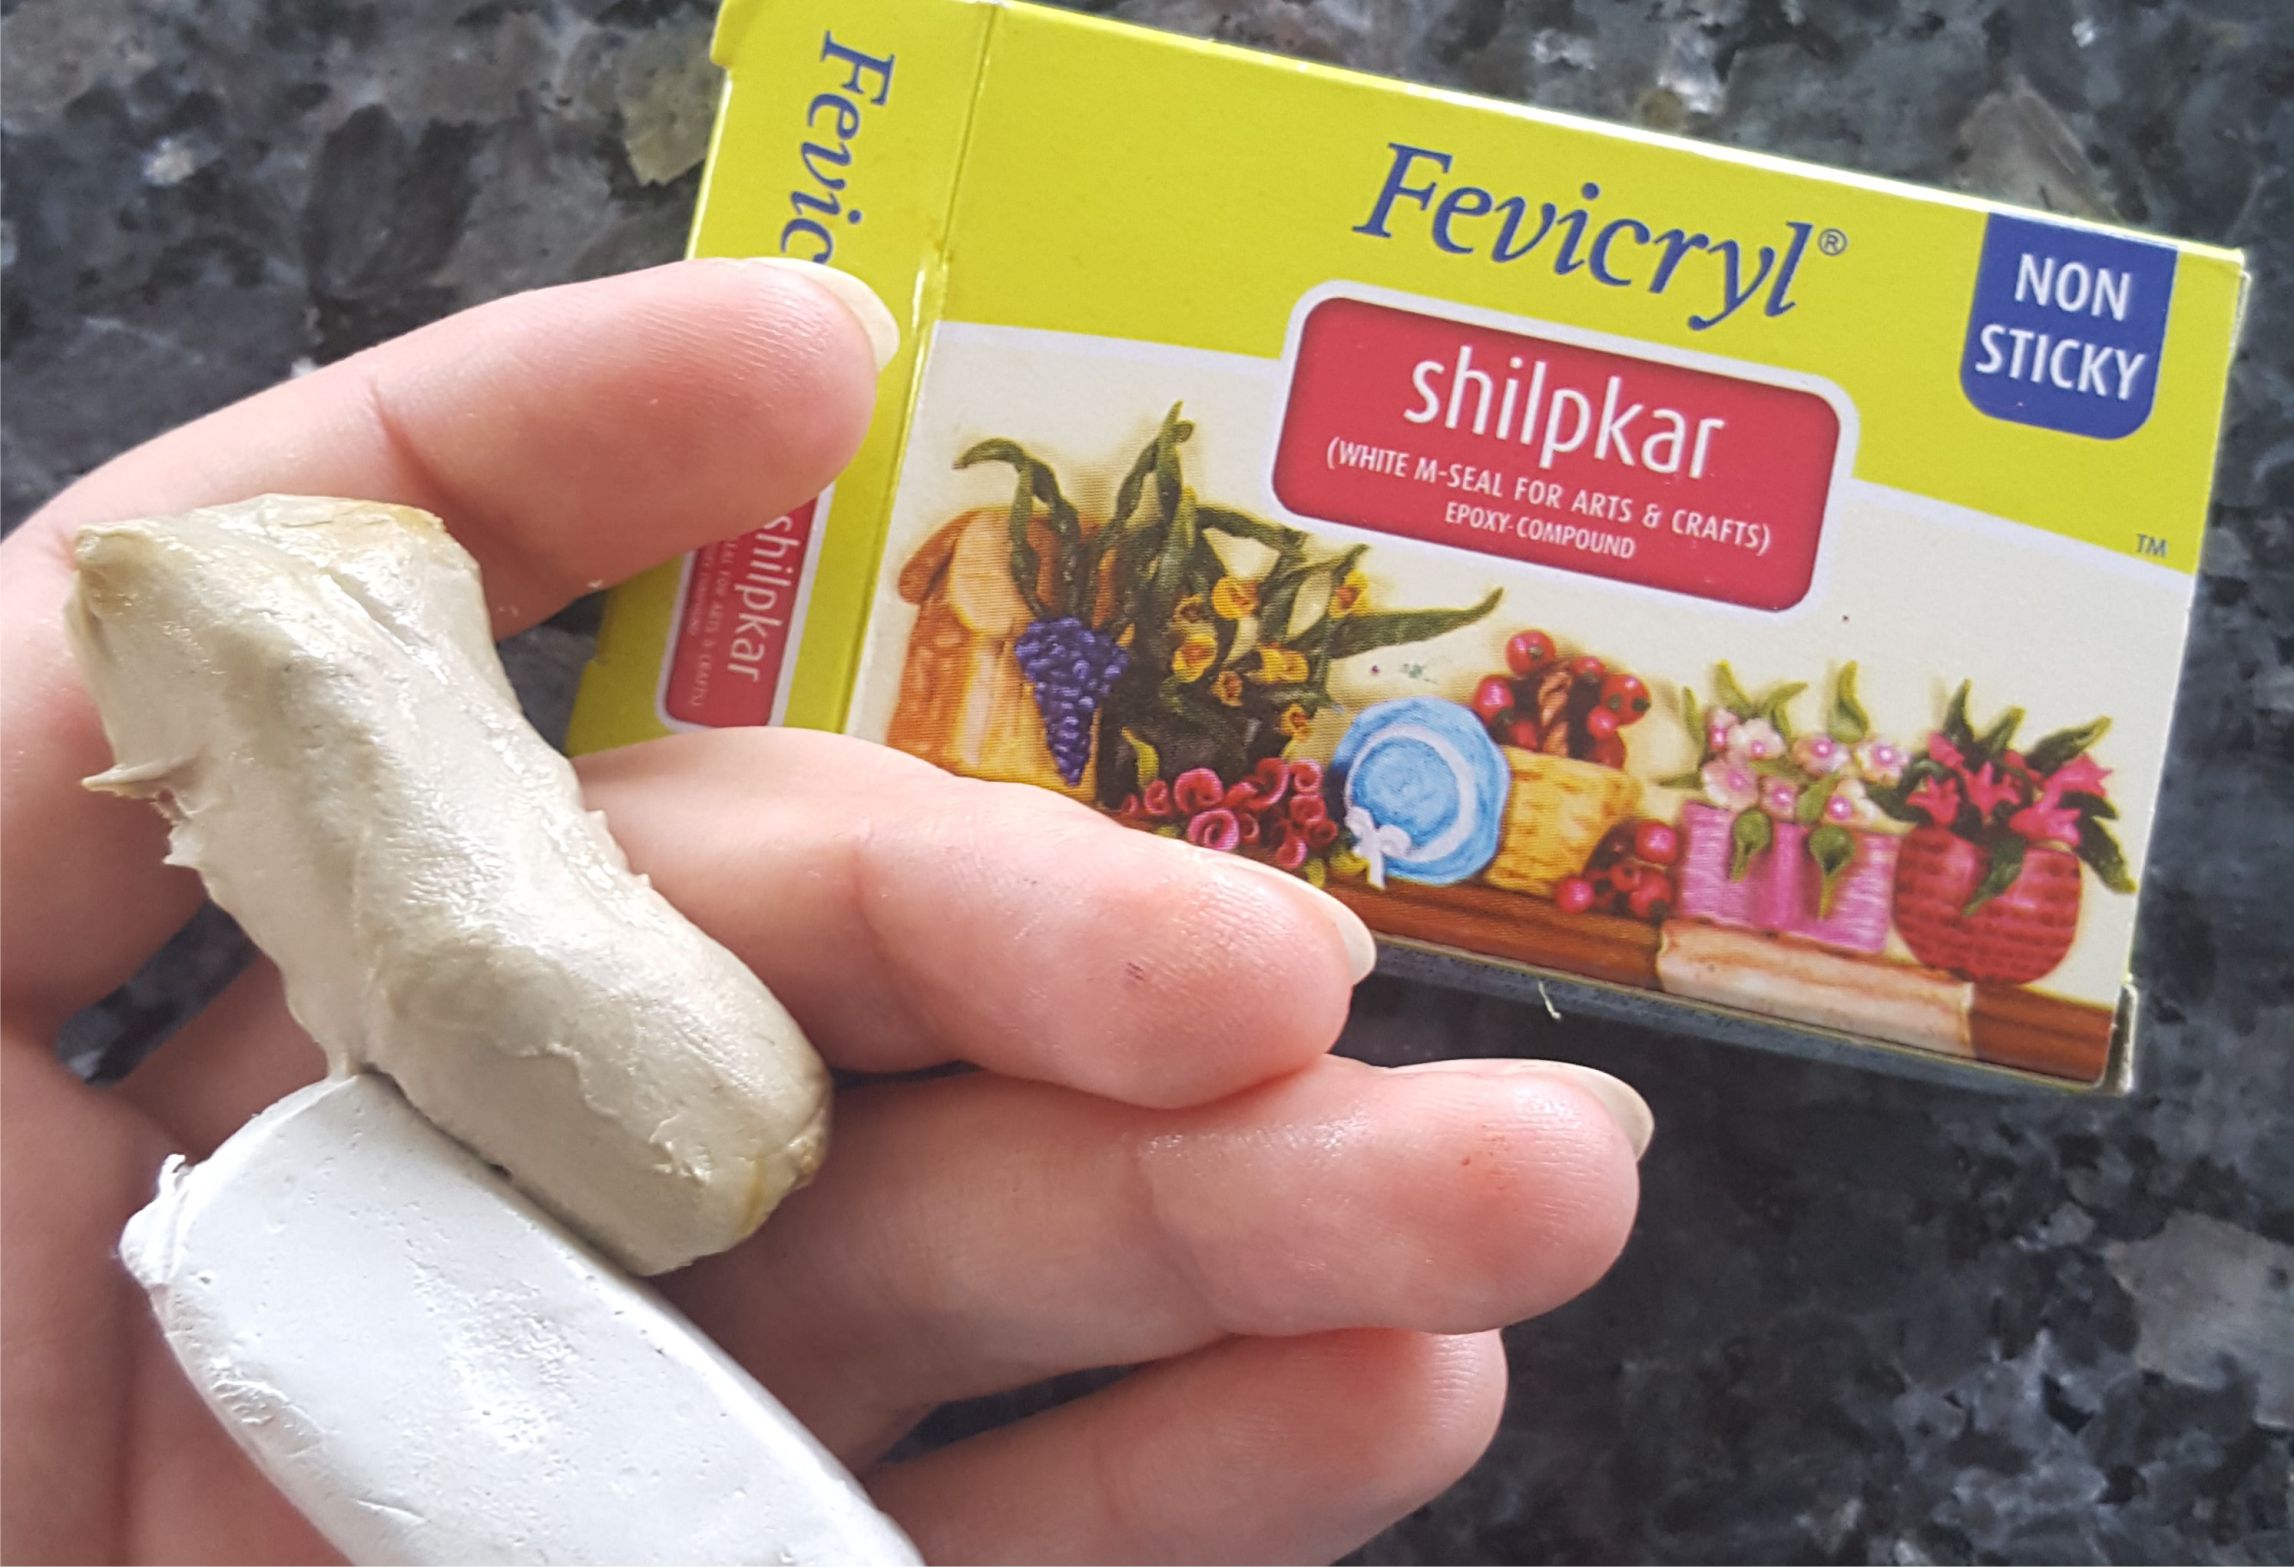

Start by mixing the two clays inside the box until they get a very light grey uniform colour


Put a small piece of clay on the stick. For kids it might be easier to wait until after shaping to insert the stick, but there is always the risk that the stick will tear the shape. So mums, please help here!
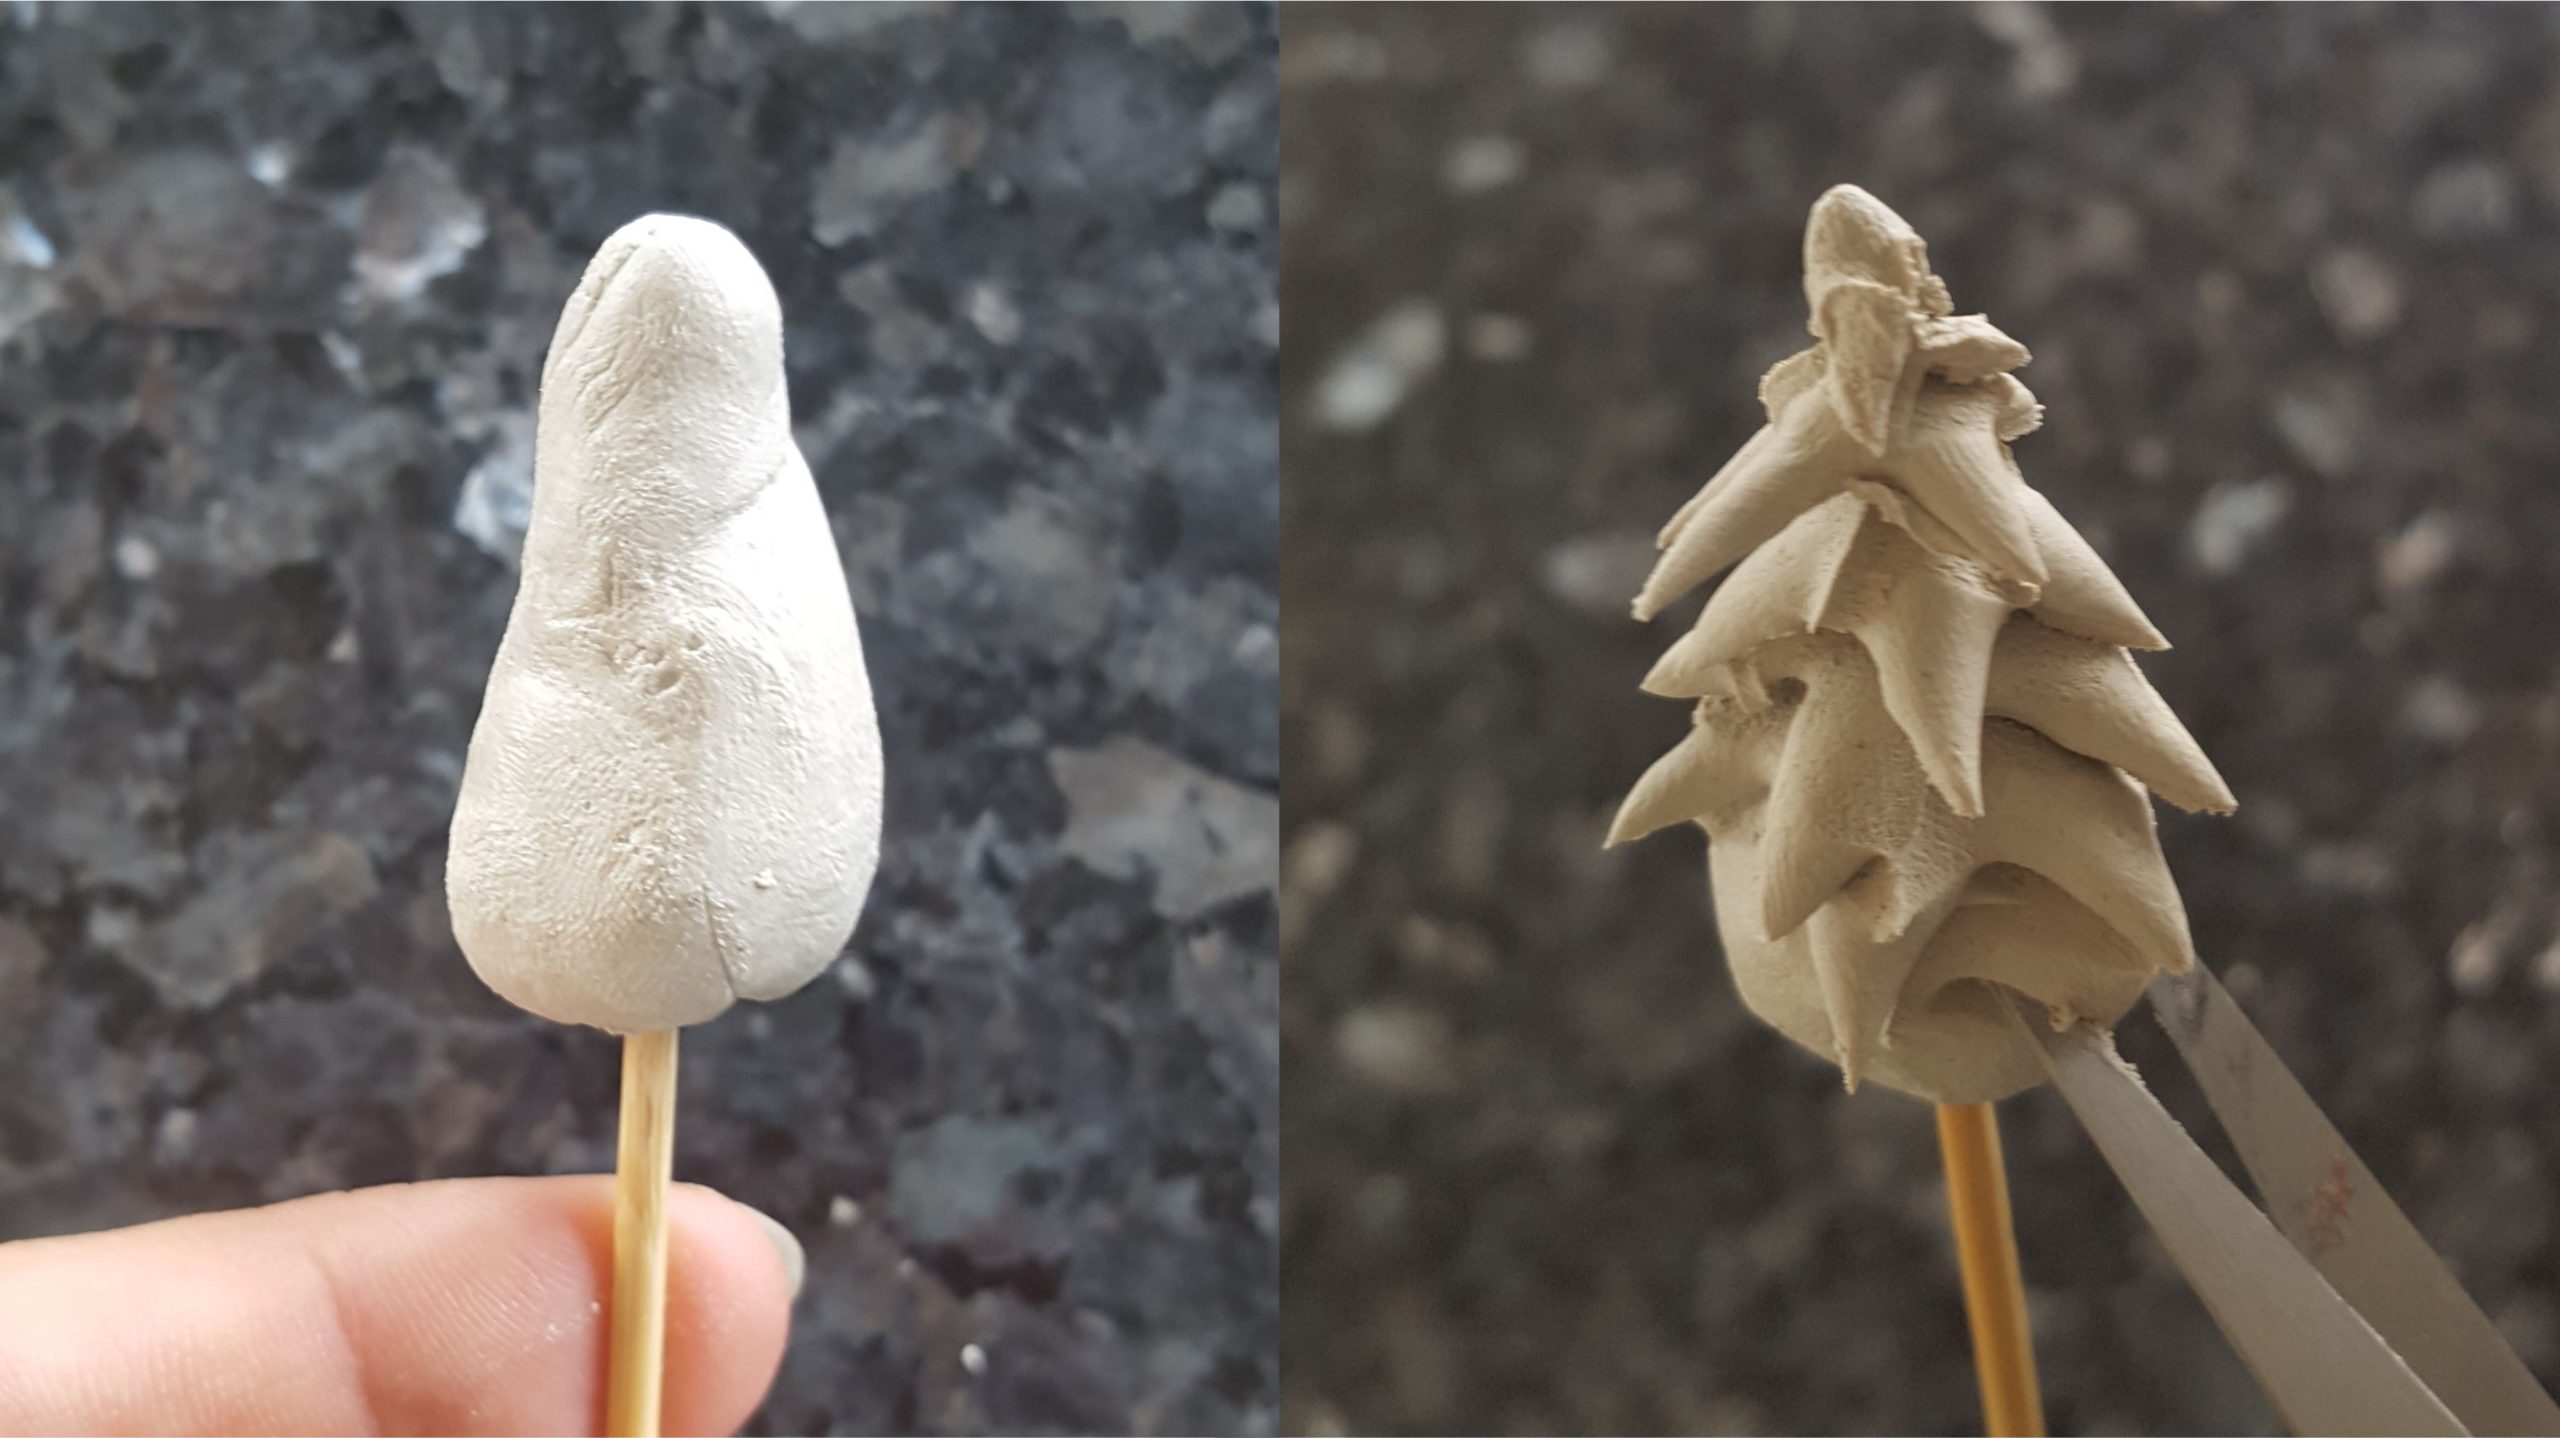

Shape your clay into a Santa hat, Christmas tree, present, snowflake, star, heart, snowman etc. To make an easy Christmas tree, form a cone shape on the stick and cut into it using a pair of scissors.
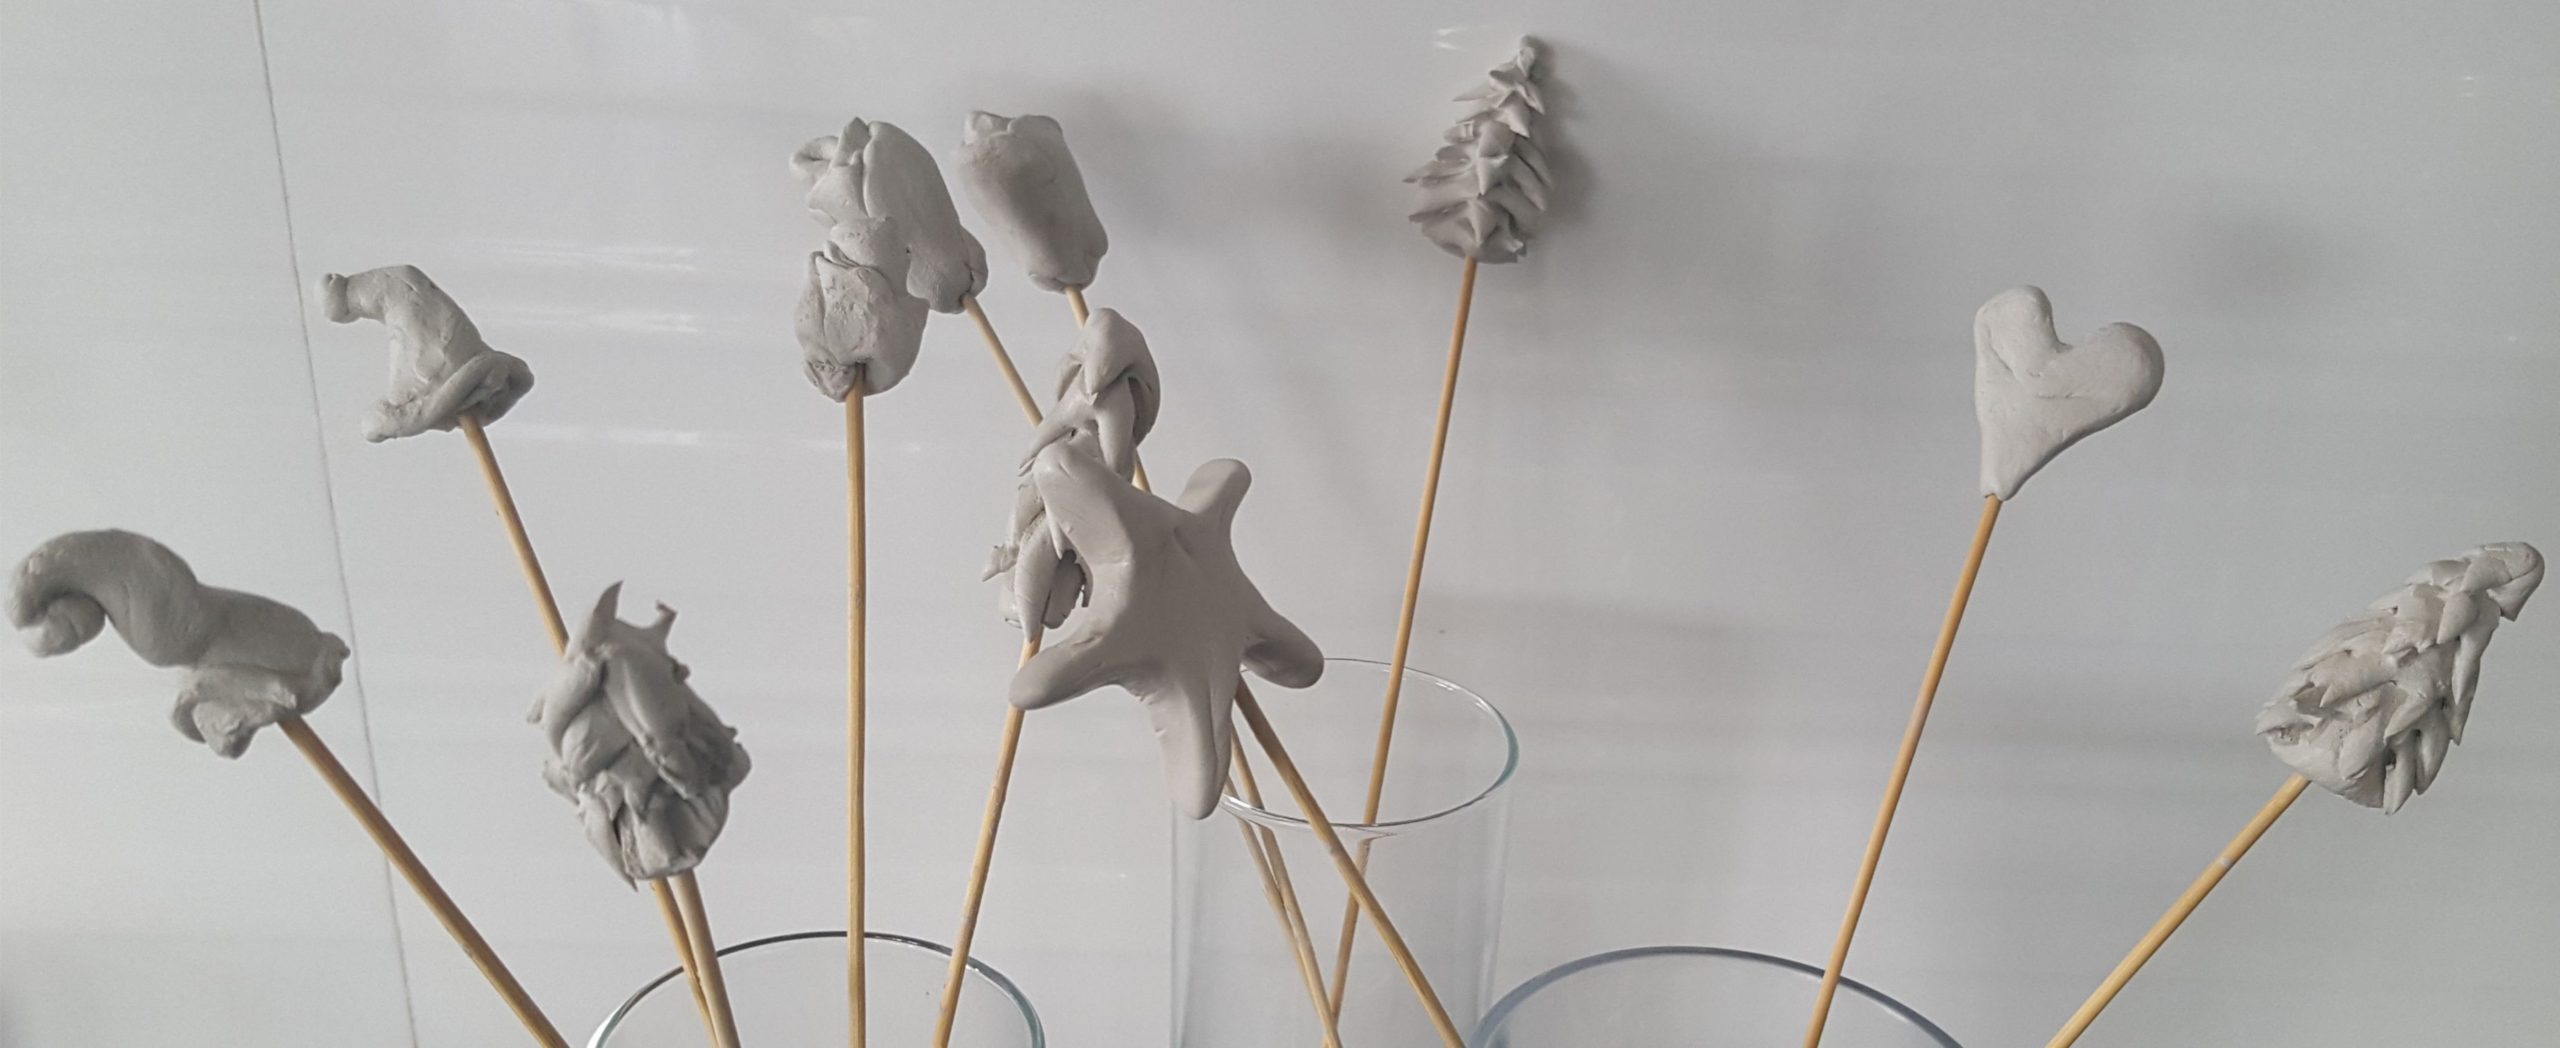

When all the clay is used, let the sticks dry in tall glasses for about 24 hours until rock. Make sure they don’t touch each other. The clay will turn almost white when completely dry.
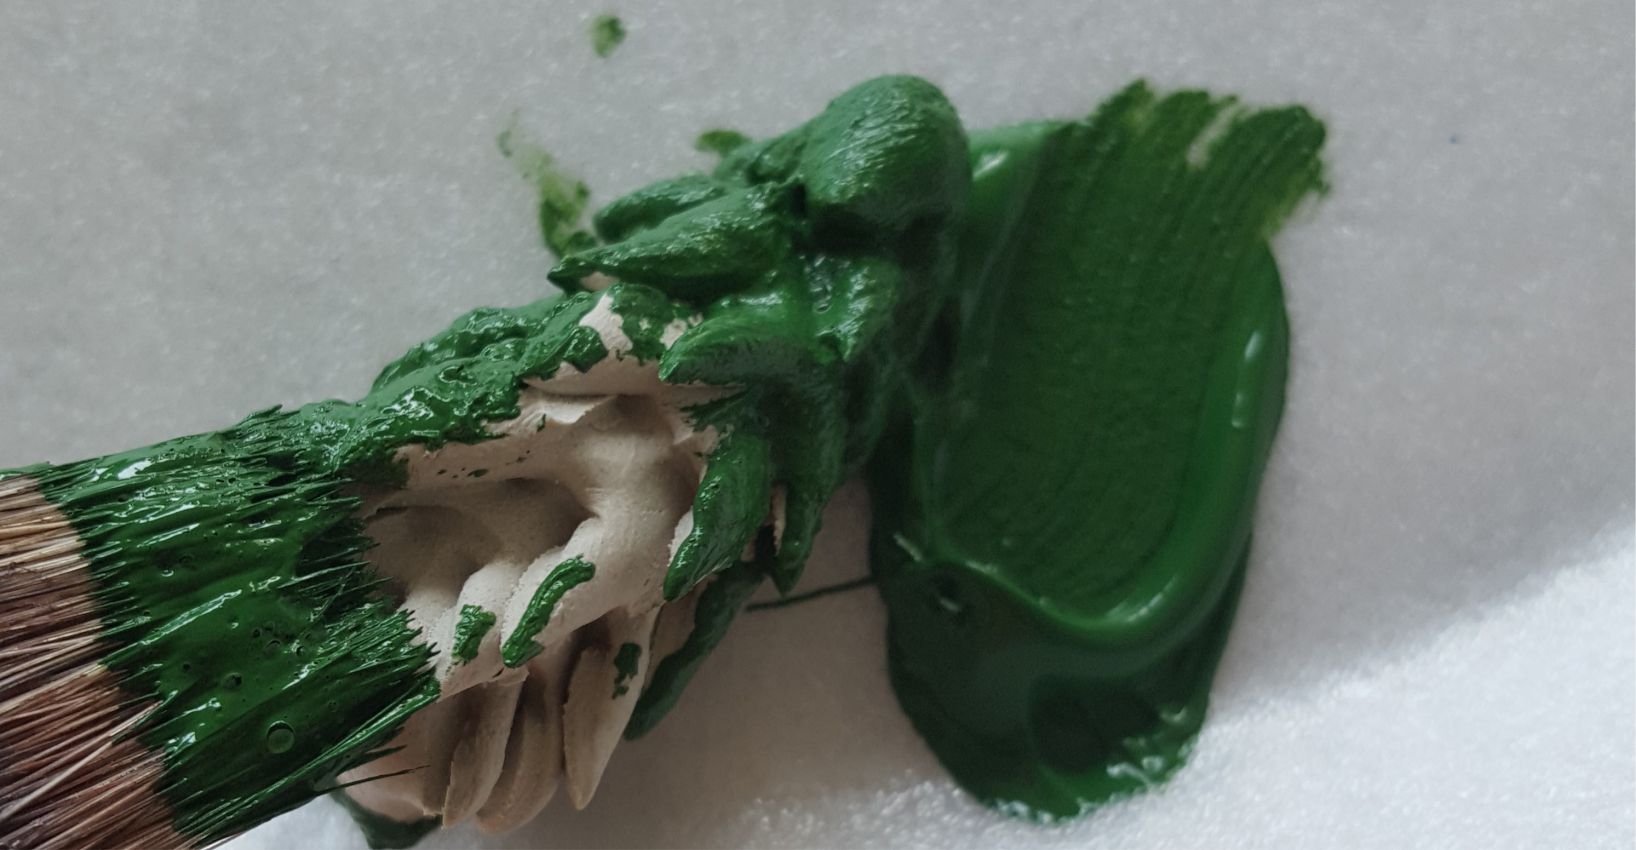

After drying, paint them with acrylic paint.
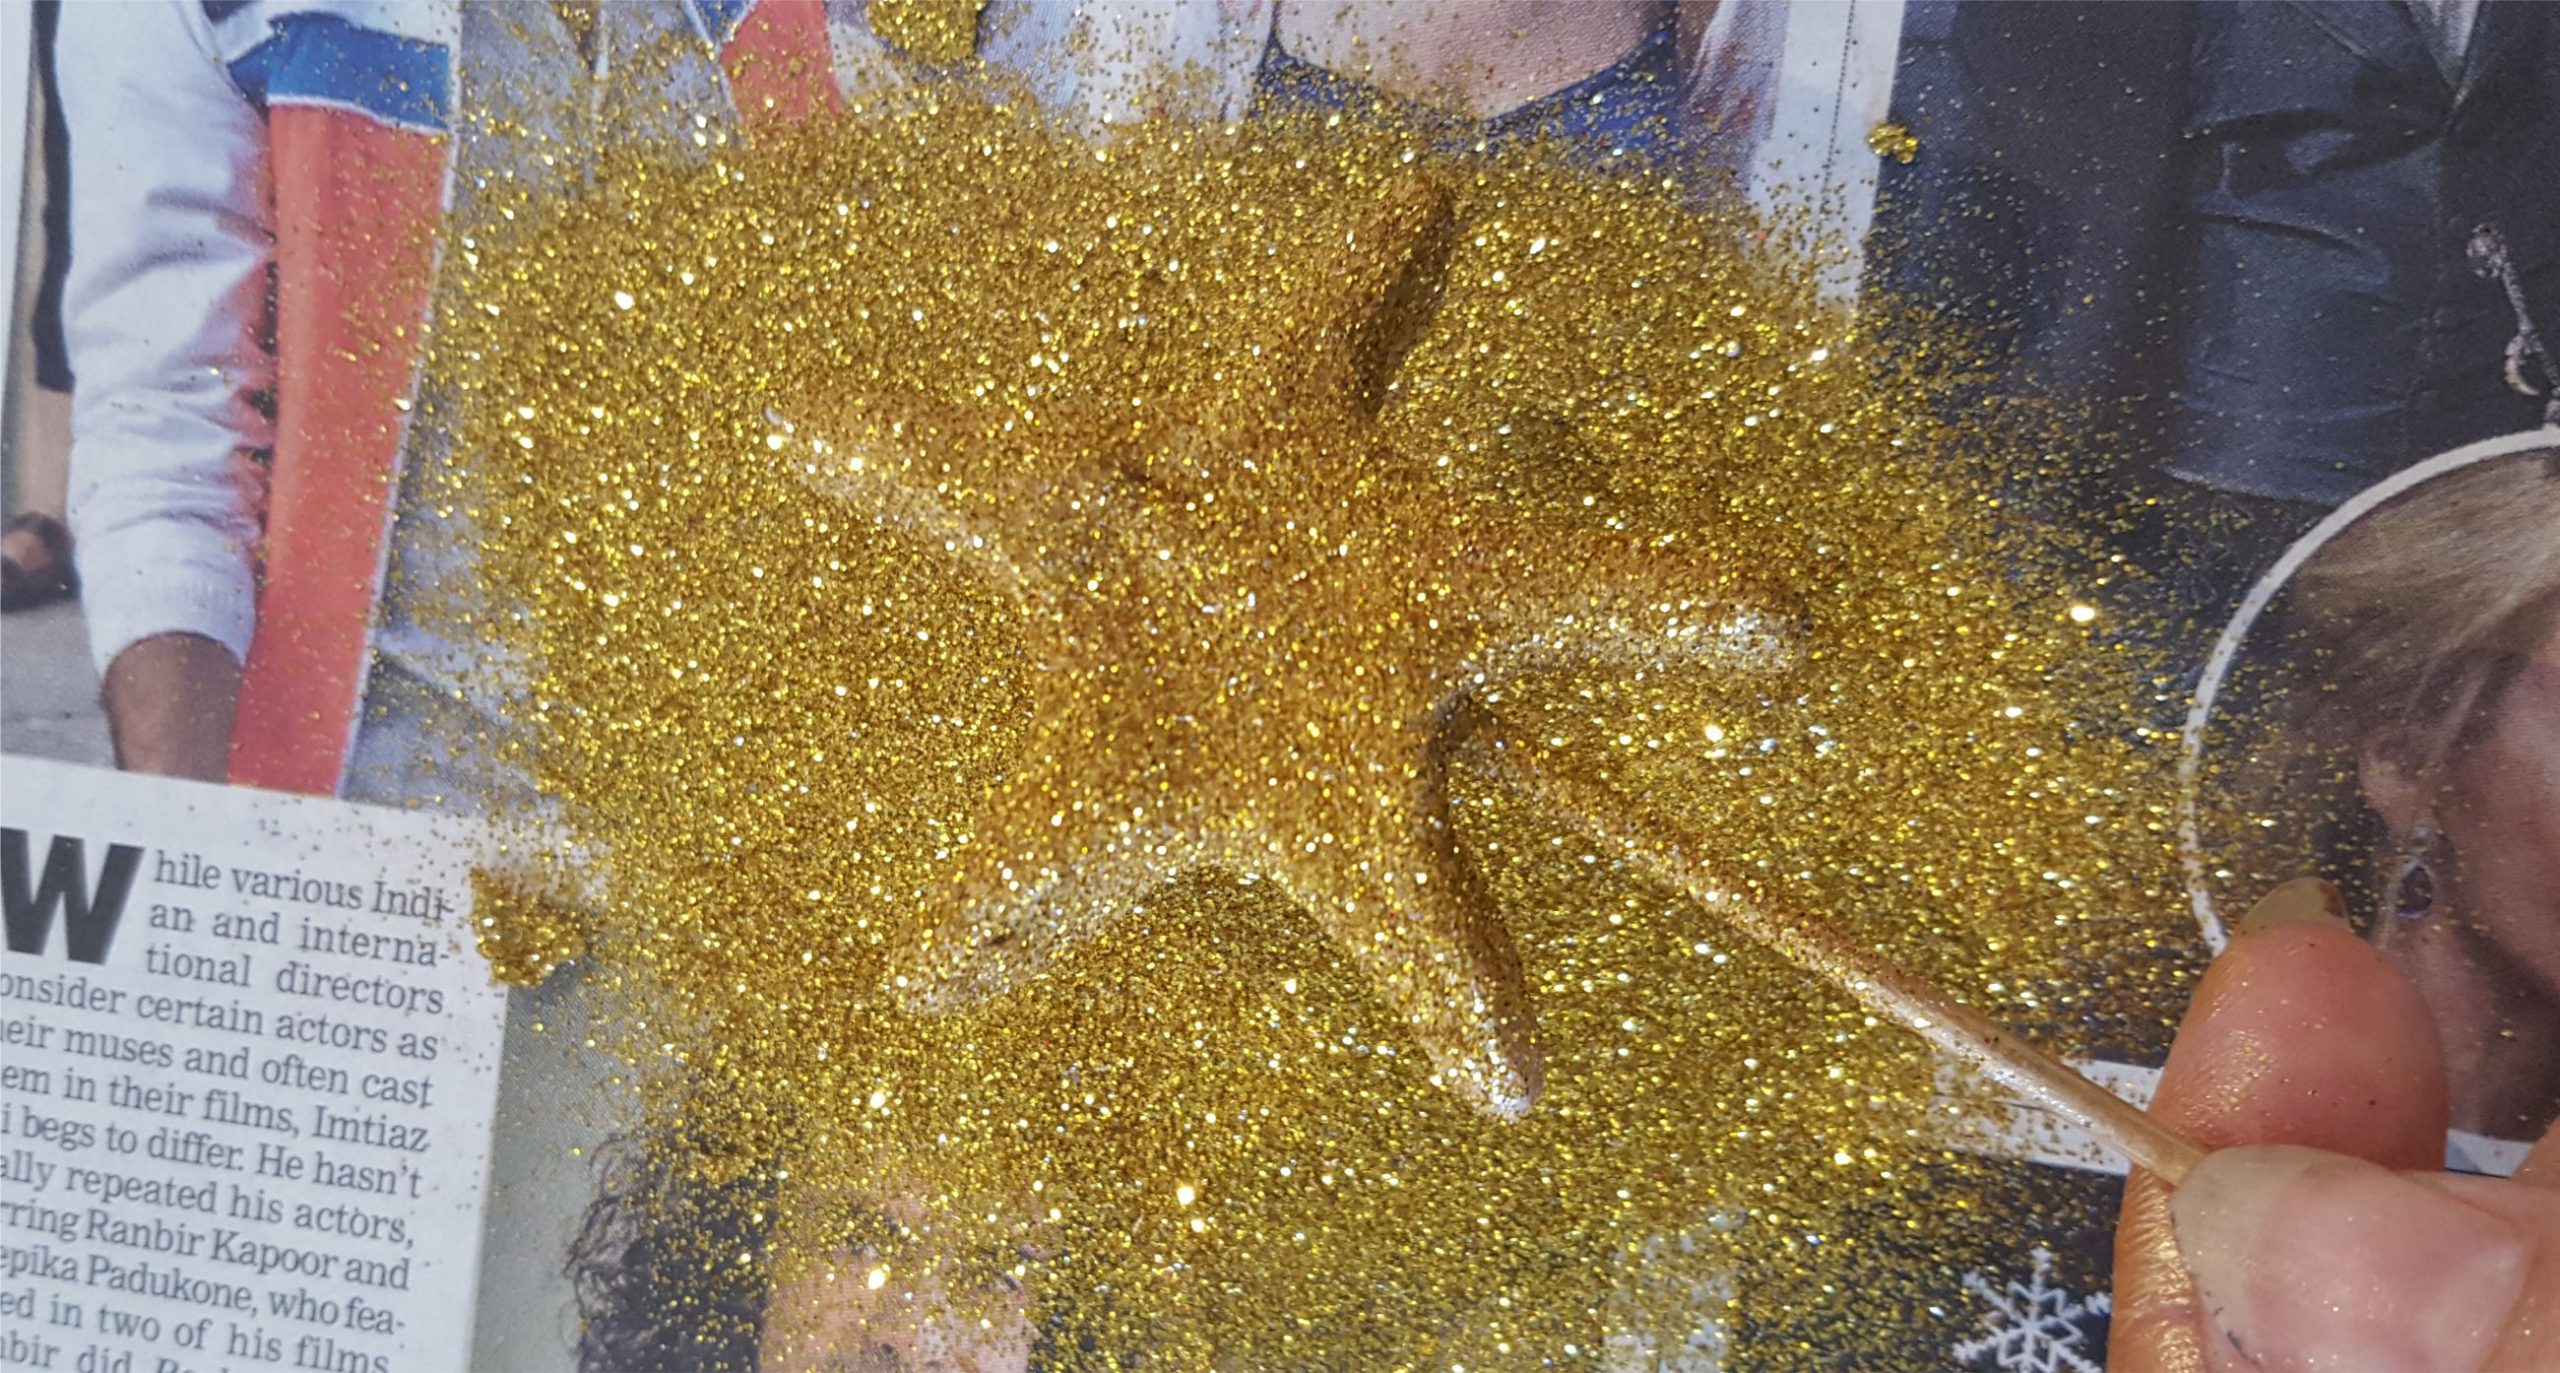

I recommend dipping them in matching glitter afterwards. So pretty! BUT glitter can get everywhere really fast when kids are involved, so our rule in the house is that I handle the glitter for kids below 8 –or at least take an active part. The kids decide the colour and where of course, and we put it on together over a piece of paper or paper plate. That way the glitter stays in one place and can be easily returned to its bag. Remember to turn off fans before starting with the glitter.

Shake off excess glitter and let the paint dry fully and your Christmas Clay Sticks are ready!I hope you enjoyed this post. Please let me know how you and your kids got on with the Christmas Clay Sticks and if you made any changes. We can all benefit from your experience. Merry Christmas.


Leave a Review
You must be logged in to post a comment.