
- Total Time1 hour
The concept of this bag is simple, yet super smart and neat. It is so easy to make that even people with limited sewing skills (like me!) can make it.
Make sure you have two proper pieces of fabric for the front and for the back. My daughters wanted the bag to be red on the outside and we decided on a lighter colour for the inside to make it easier to see the small Lego pieces. For the inside stuffing I bought the cheapest and thickest fabric I could find -even when the size of the fabric was way too small. I just stitched the two smaller pieces together first to make bigger pieces. You can also use old cloths, bedsheets or pillow cases to make it a best out of waste project. It doesn’t really matter as only the outside will be seen whereas the inside is hidden and you can use anything. The fabric stores sell smaller pieces of fabric for nearly nothing -the end of the roll that they haven’t been able to sell. It’s perfect for these kinds of projects, where the pattern doesn’t matter.
If your daughter or son is handy with the sewing machine or wants to take on a sewing project, this one is ideal or them. It’s bulky enough to hide mistakes and useful afterwards -something I love in a creativity project.
I bought the large eyelets from the market. They are also available in the ItsyBitsy store or on www.itsybitsy.in. I recommend using the metal ones as the plastic ones tend to be more flimsy.
Also, as always with my sewing ideas, I urge you to look at the idea and not the skill. Hope you like this one.
Ingredients
Directions
Okay, let’s get to it.
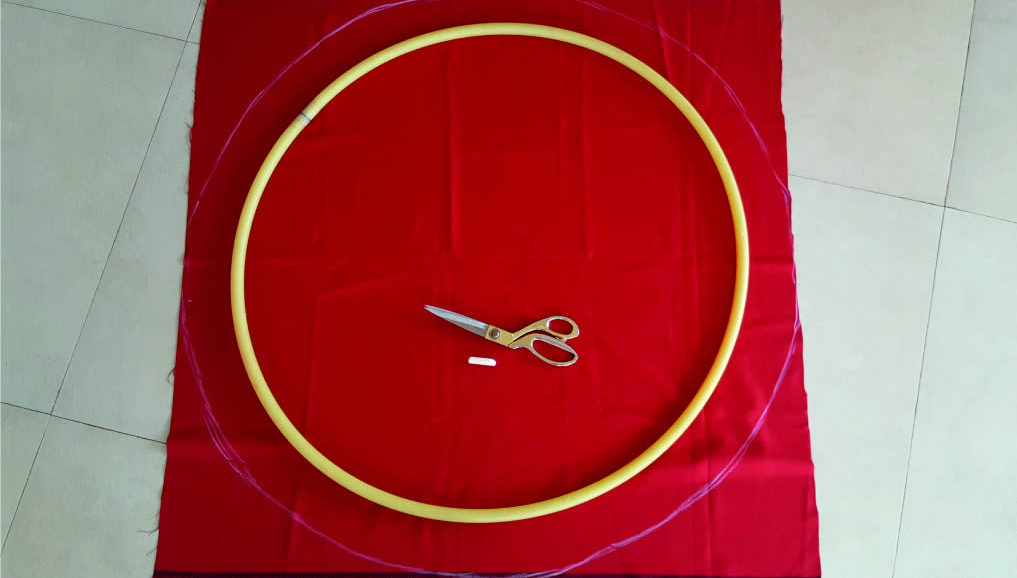
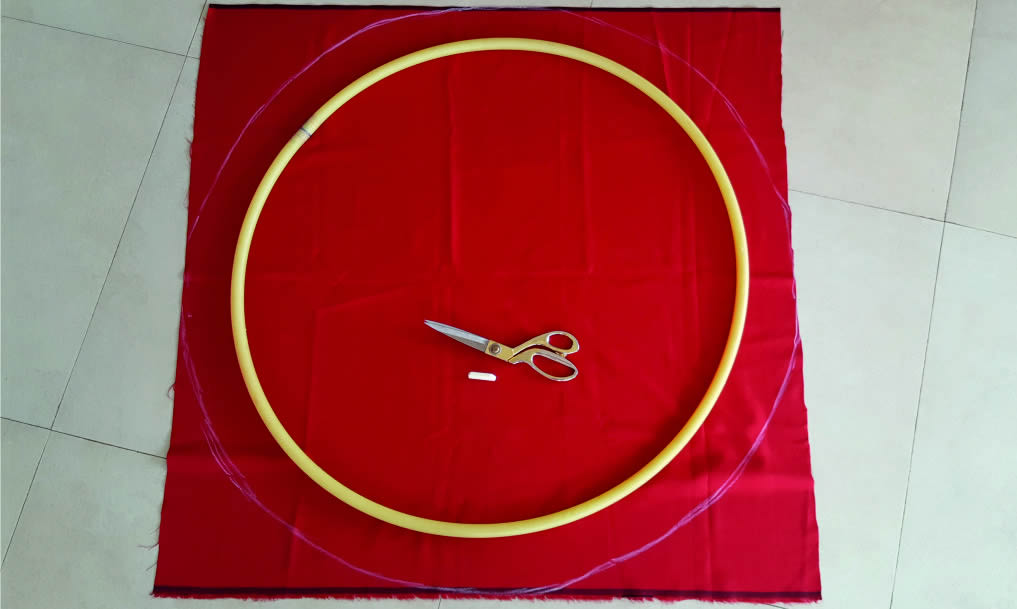
Start by laying all your fabric pieces on top of each other in a neat stack with the hula-hoop on top. Measure 9cm from the hula-hoop and draw a full circle.
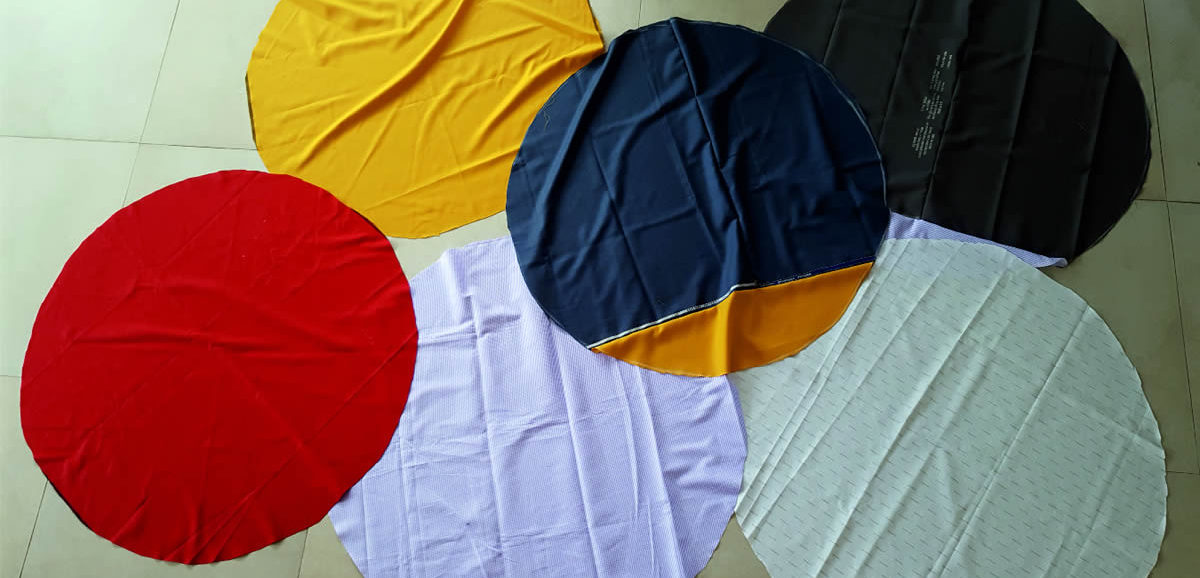
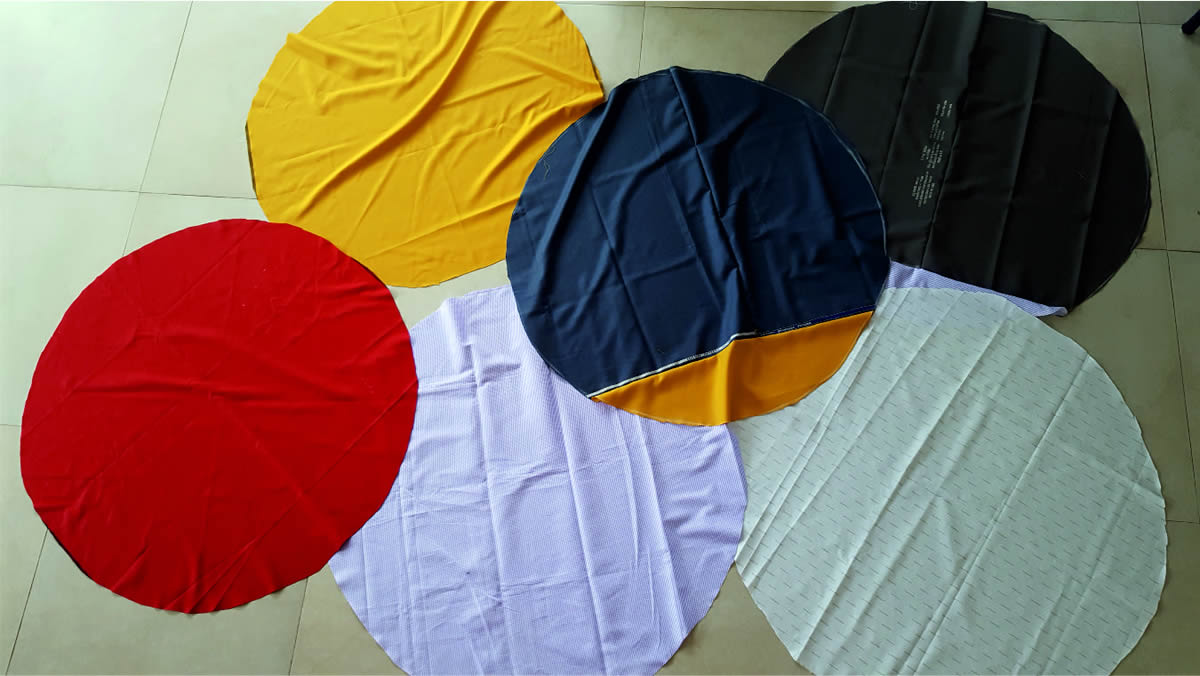
Cut them out. You will now have 6 identical circles
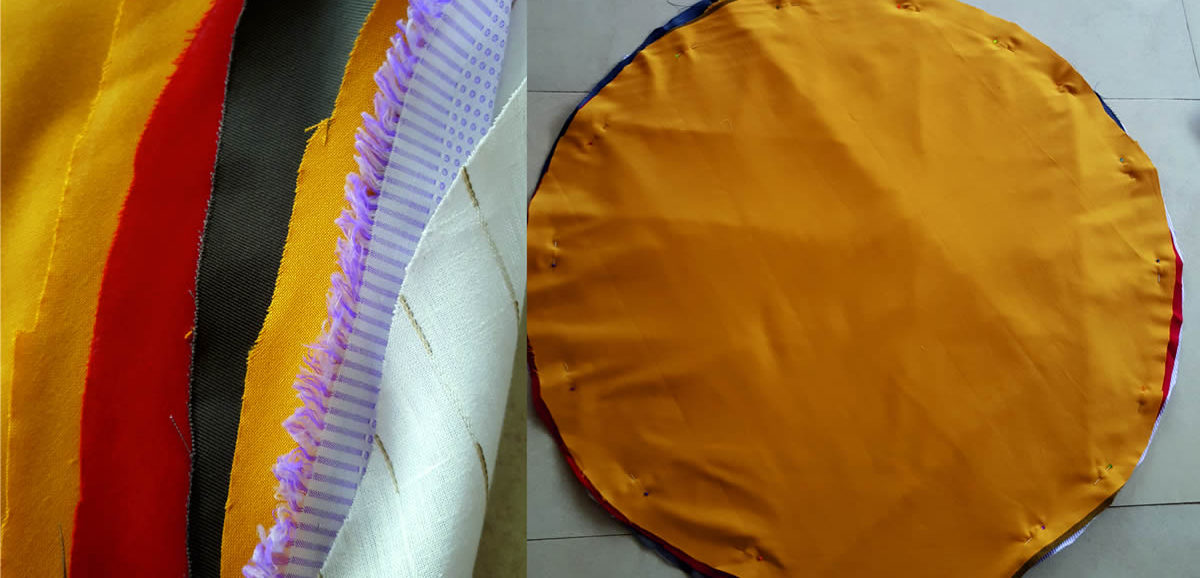
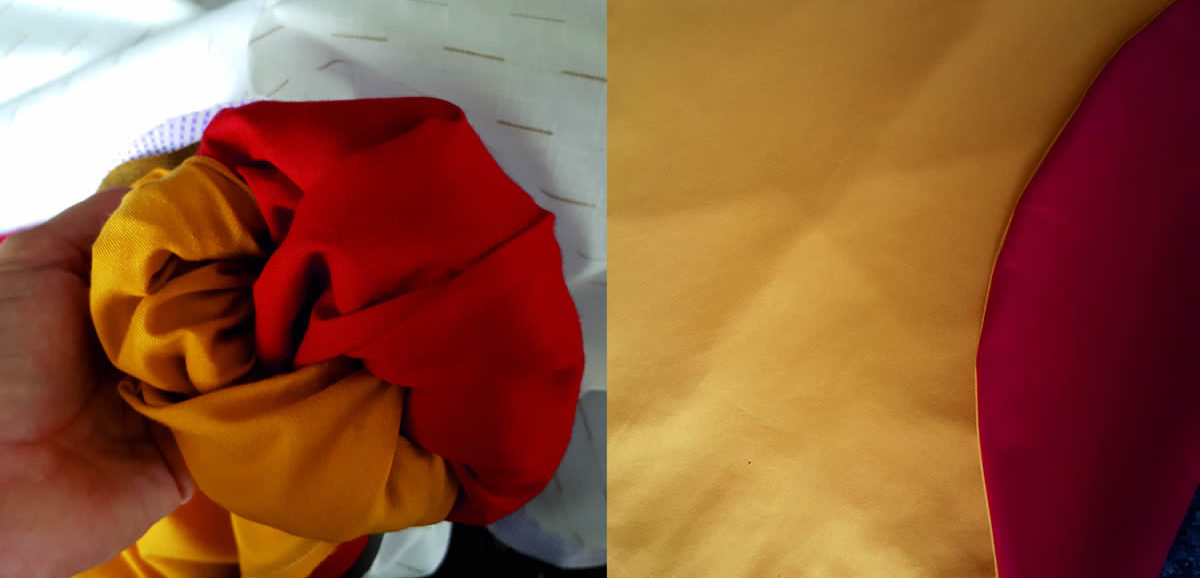
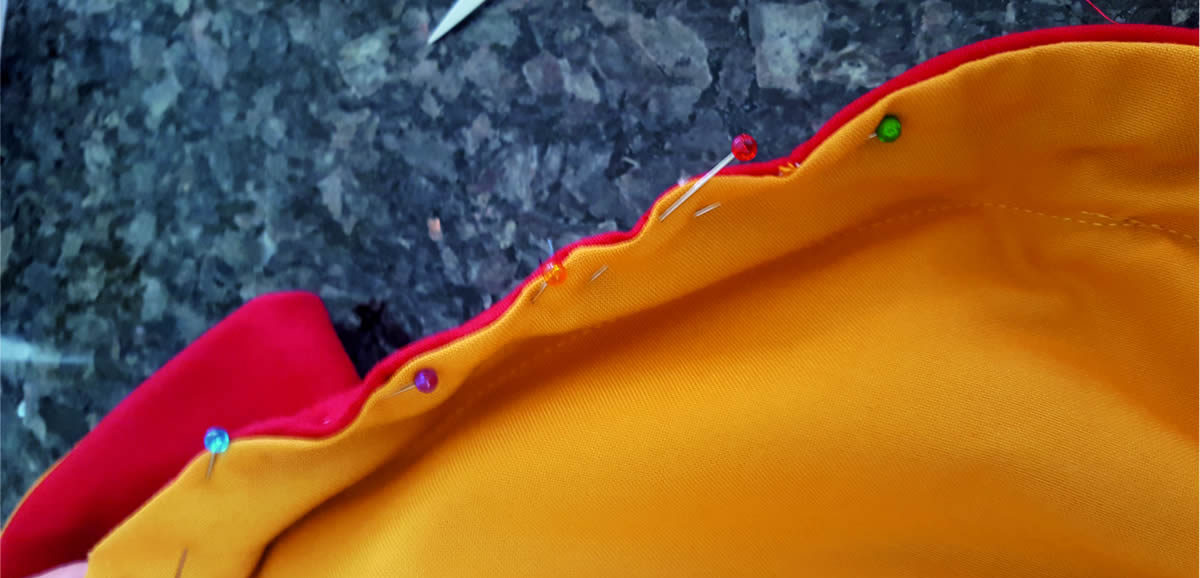
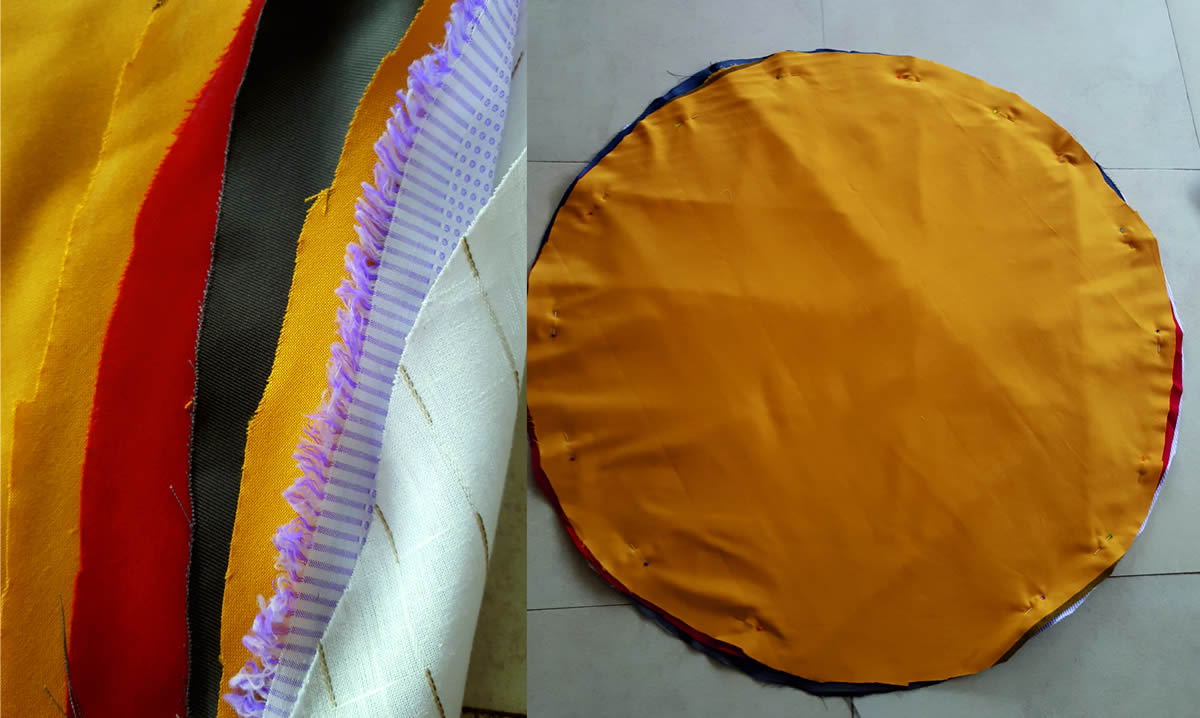
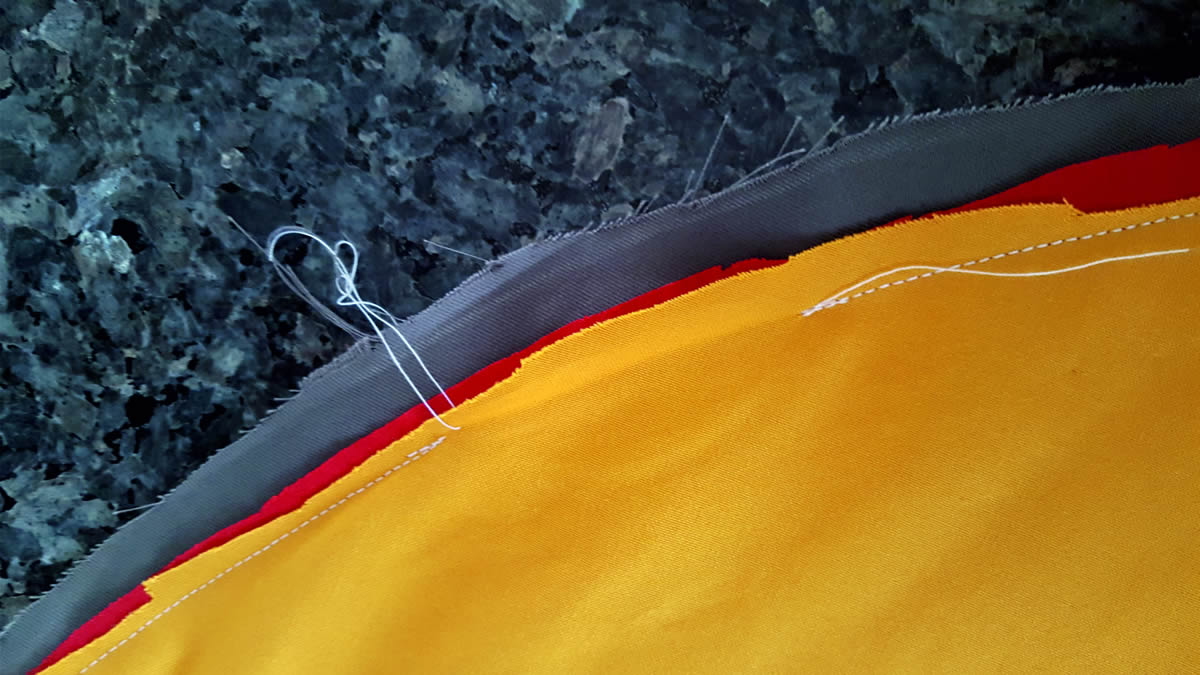
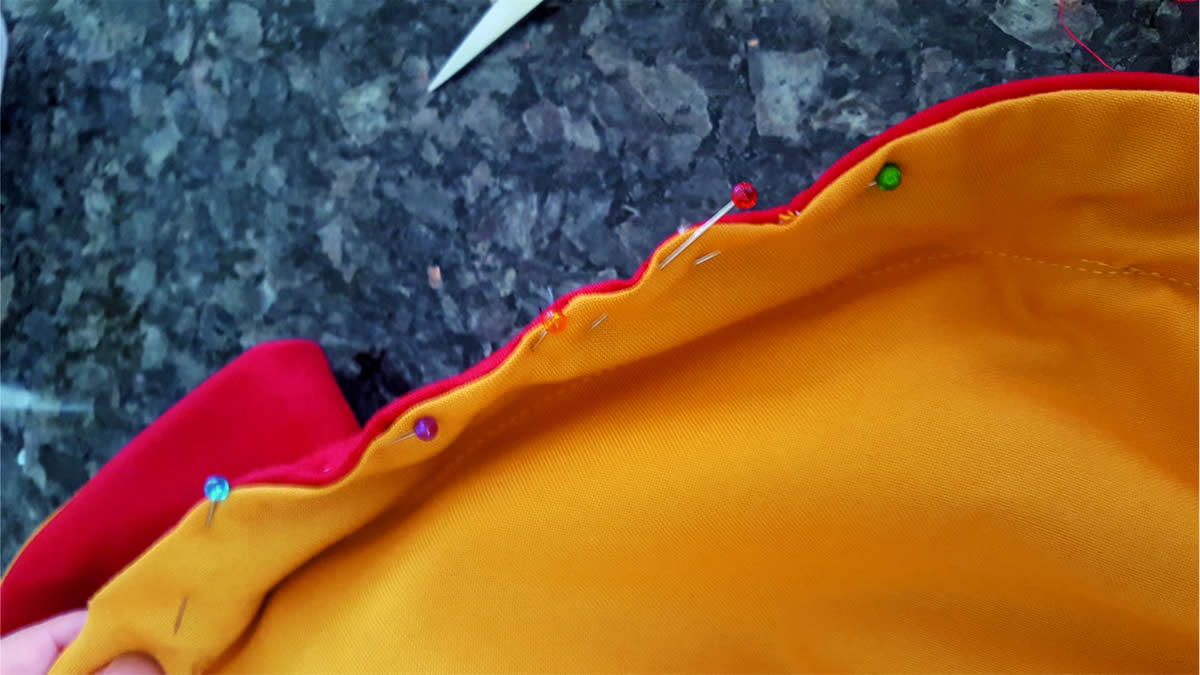
Pile them on top of each other as shown below. The fabric for the front and back of the bag should be next to one another near the top, right sides together. (We are using the red and yellow for the front and back)
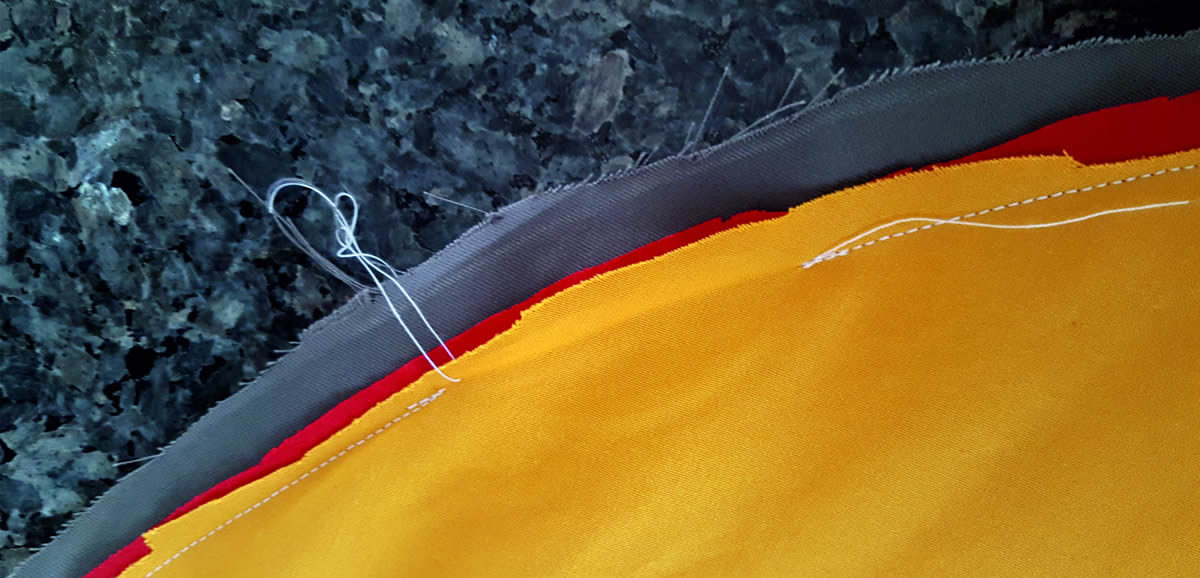
Stitch all the way around about 2cm from the edge. Leave an unfinished seam of about 10cm. As you can tell from this closeup, I am not super neat when I stitch or cut fabric. But it does not matter. So stitching is not one of your skills either? Don’t let it stop you.
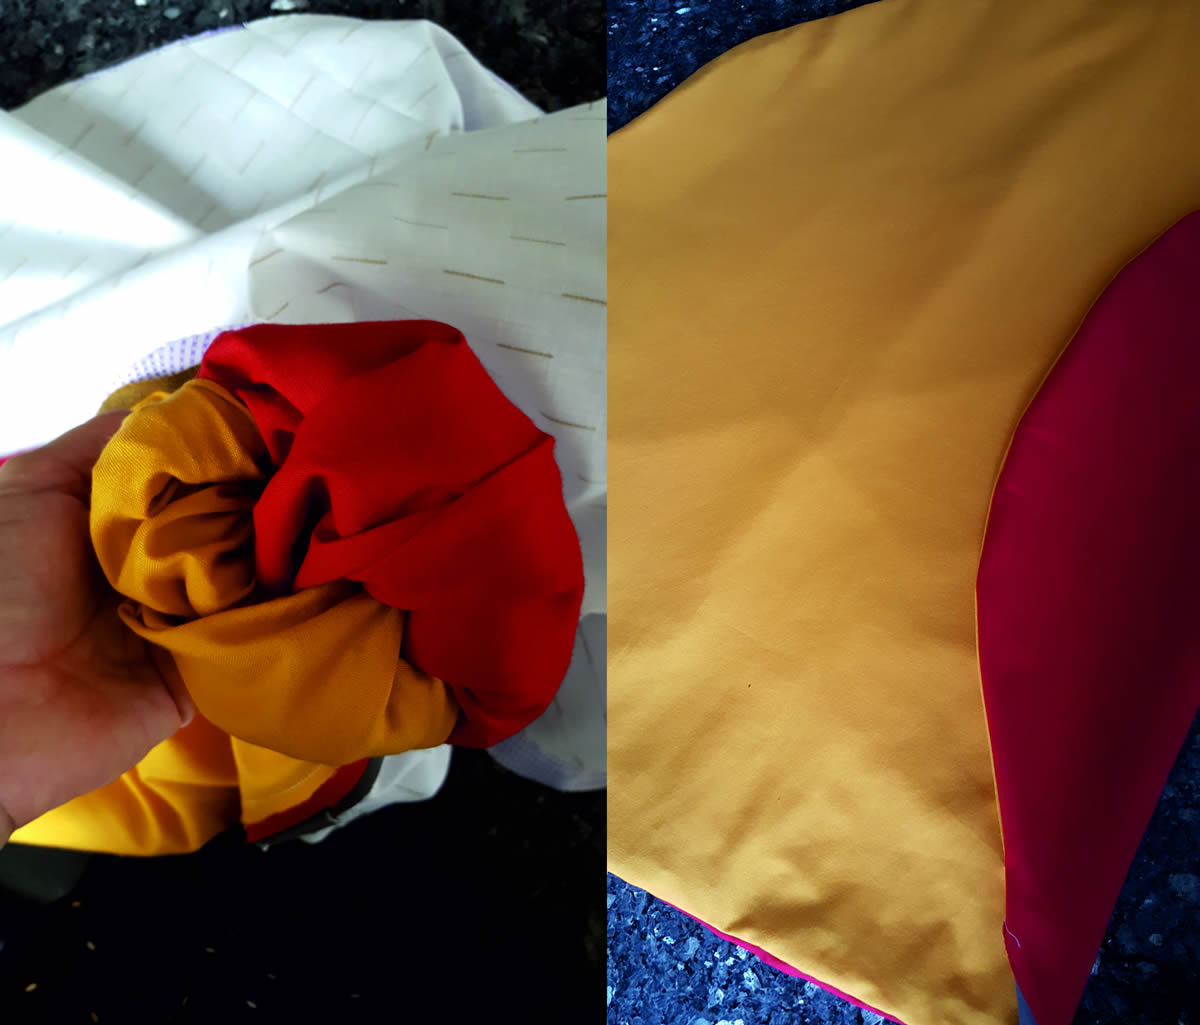
Turn the bag inside out using the gap in the fabric
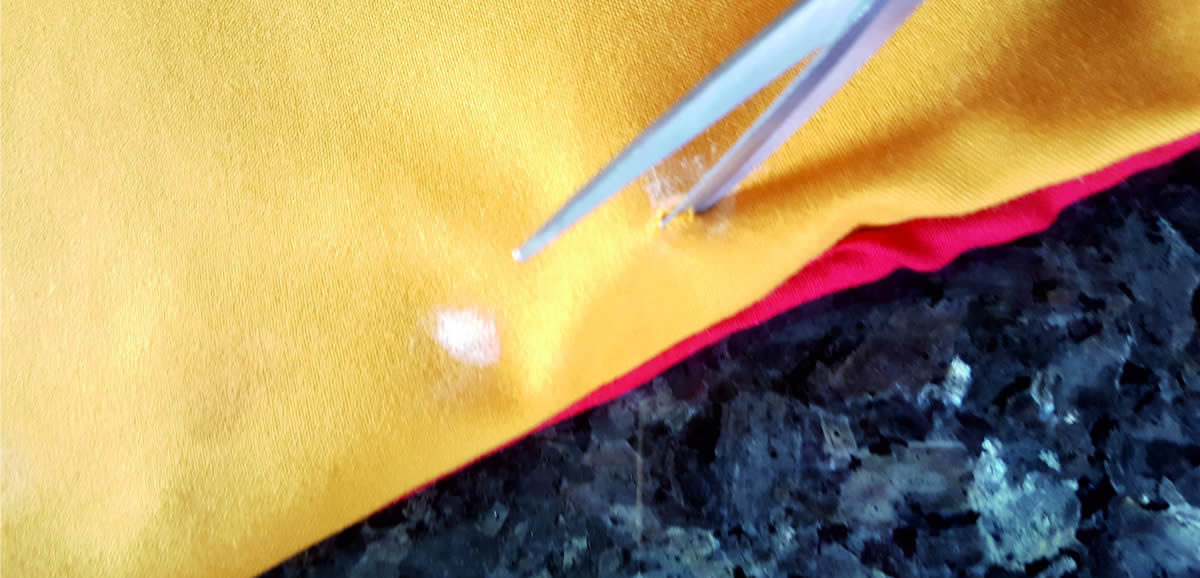
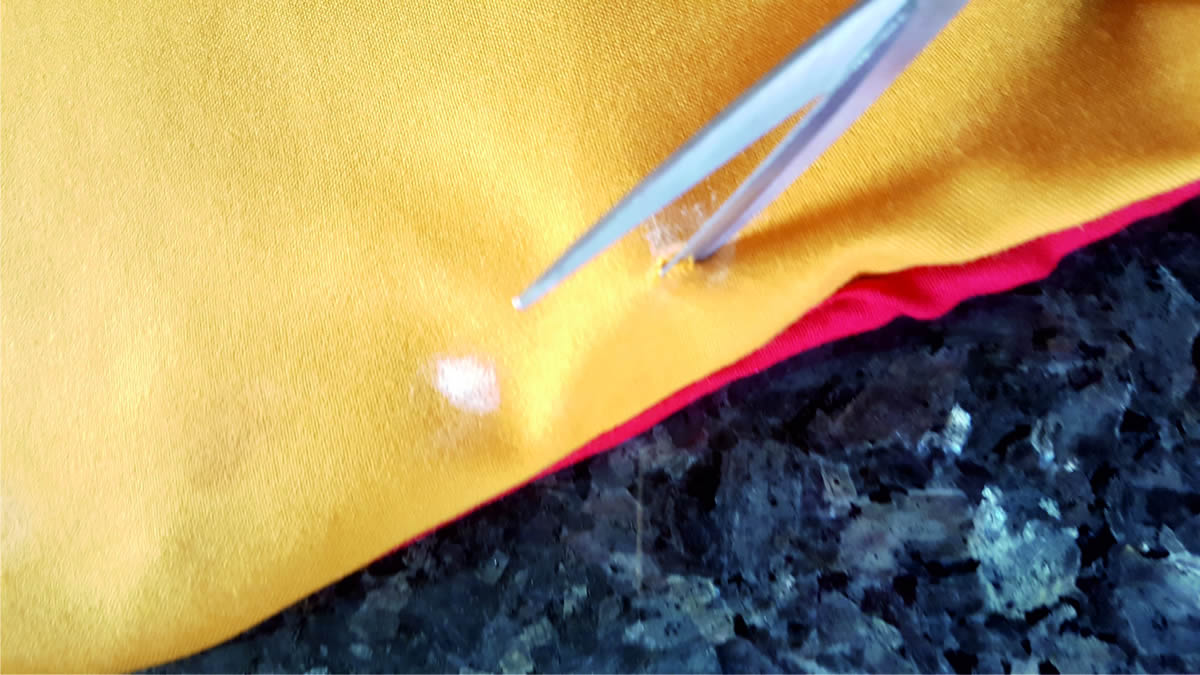
Make two small holes on either side of the circle (4 in total) on the inside of the bag near the edge. Be very careful to make the holes small with a sharp scissor
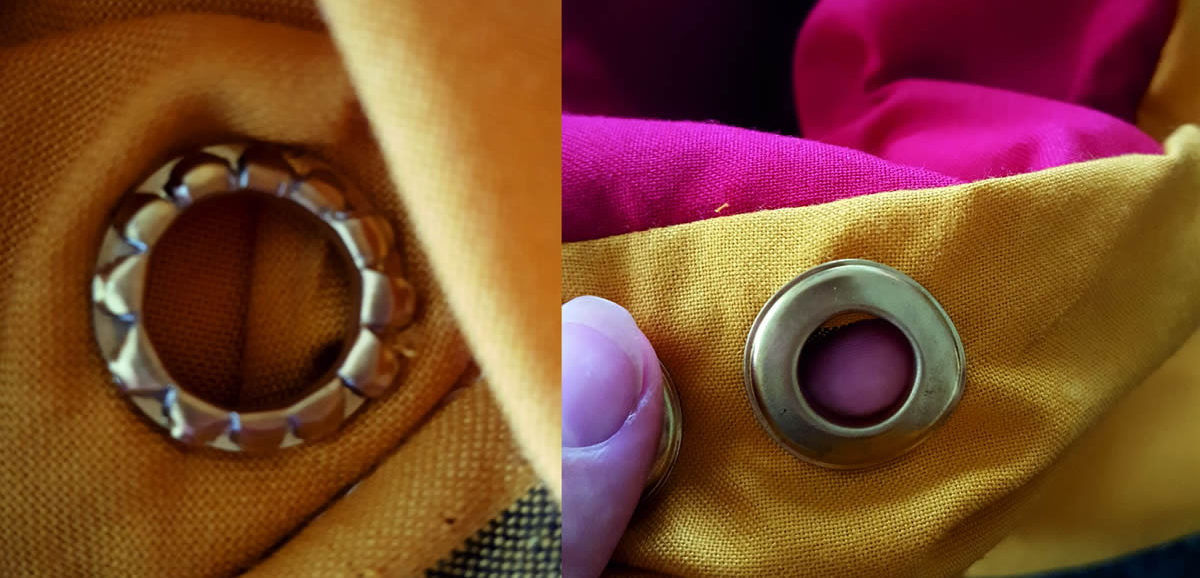
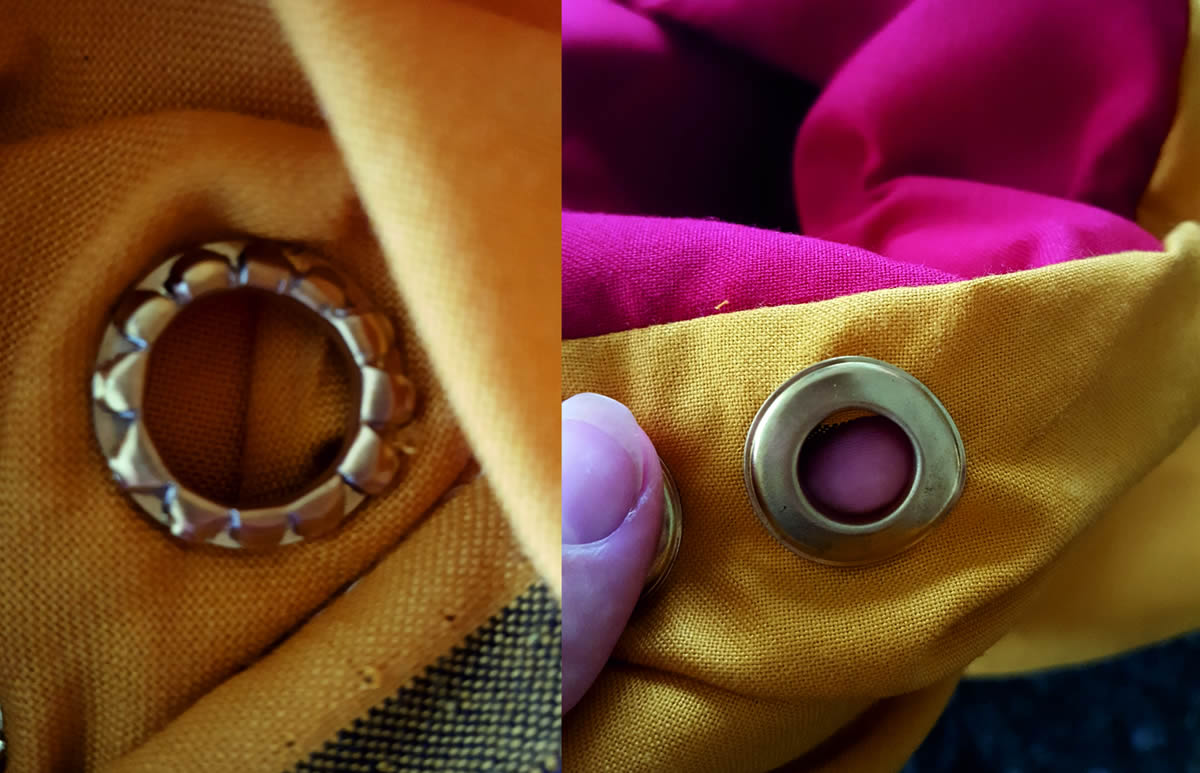
Add the eyelets to the holes and punch them in using the eyelet punch and hammer.
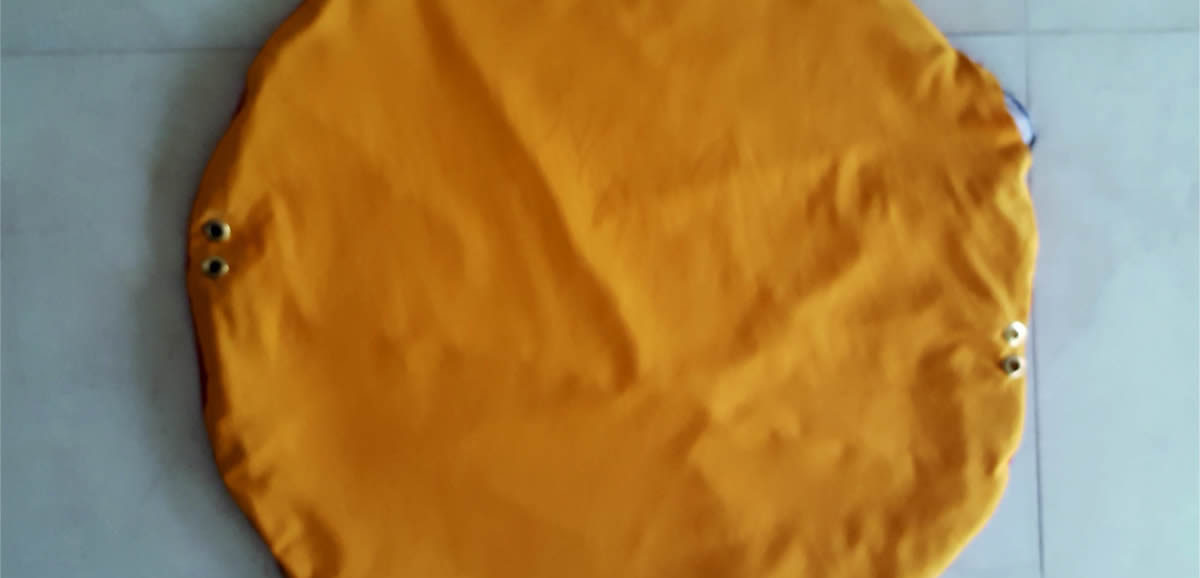
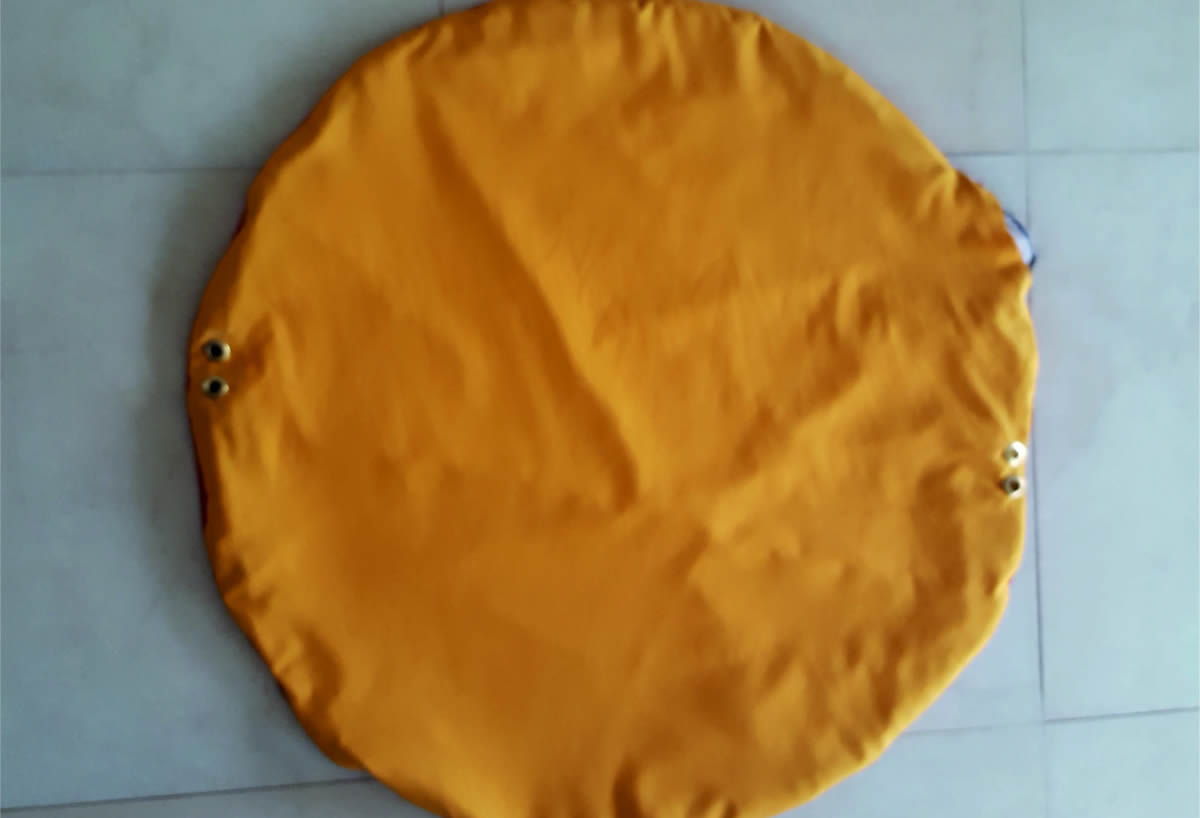
You will now have 4 eyelets -two on either side
Stitch a circle about 3cm from the edge to make the casing and close the small gap by stitching neatly either by hand or on the machine.
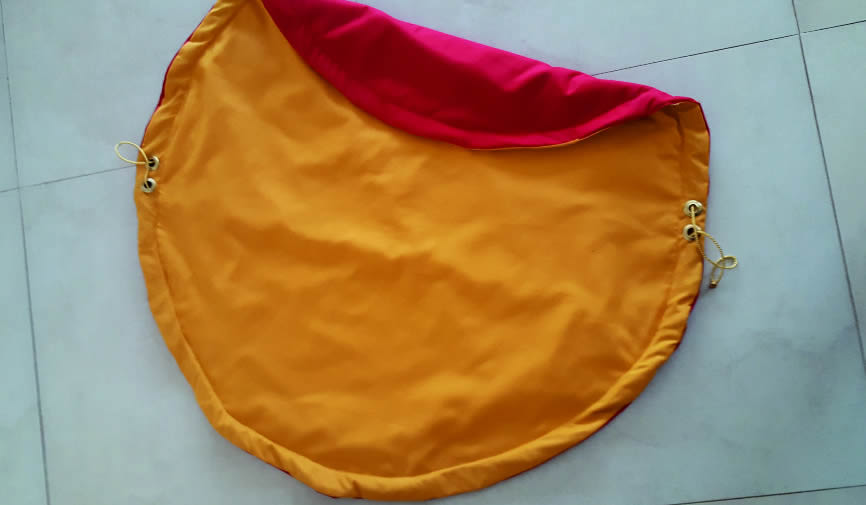
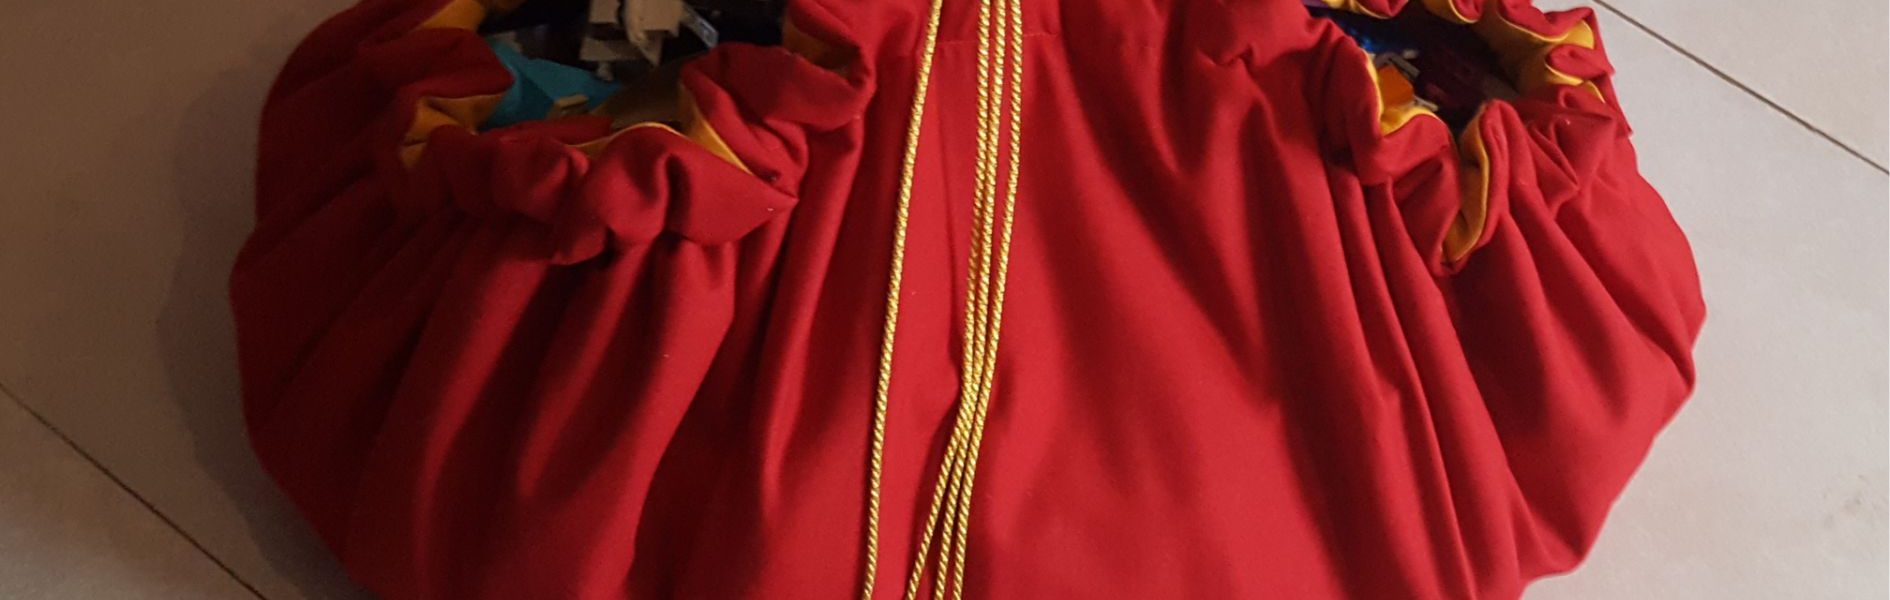
Add the string inside the casing, tie a knot and you are done!
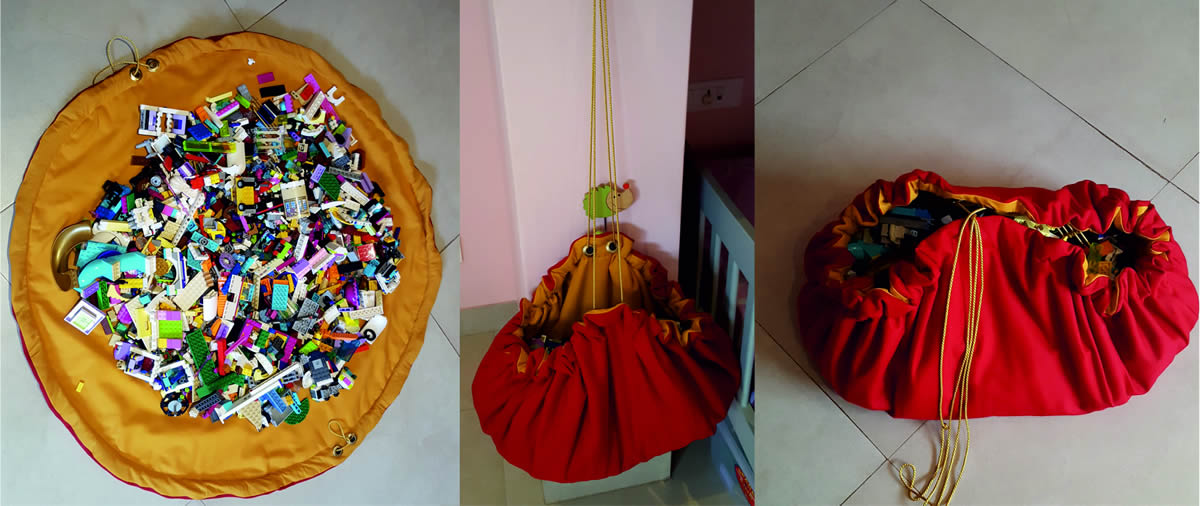
Fill the bag with all those tiny building blocks that are always all over the floor (!!!) and enjoy a neat and fast clean up in the future.Hope you liked this idea. Please let me know how you got on with it and if you made any altercations to it. We can all benefit from your experience.


Leave a Review
You must be logged in to post a comment.